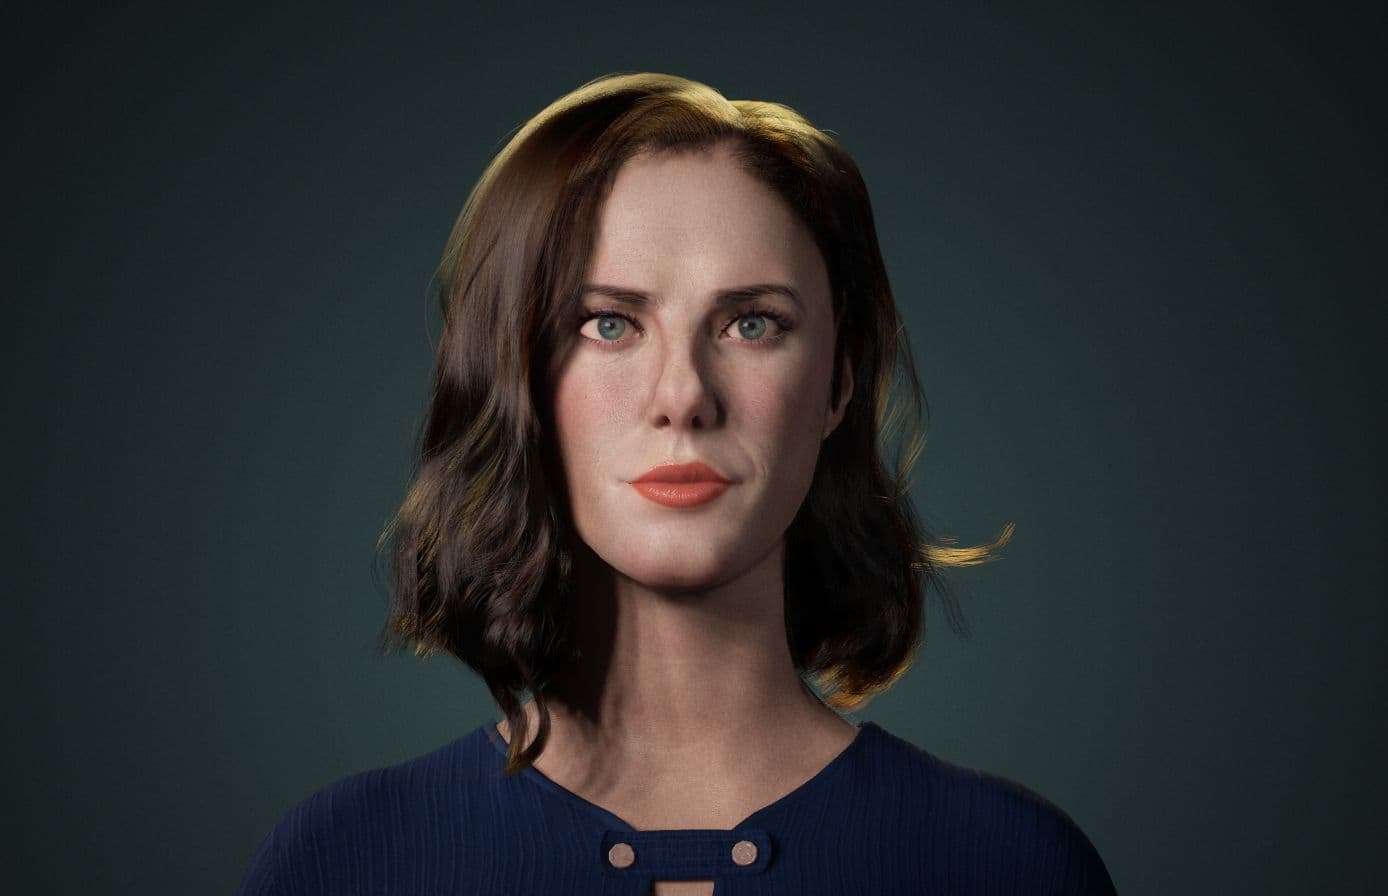
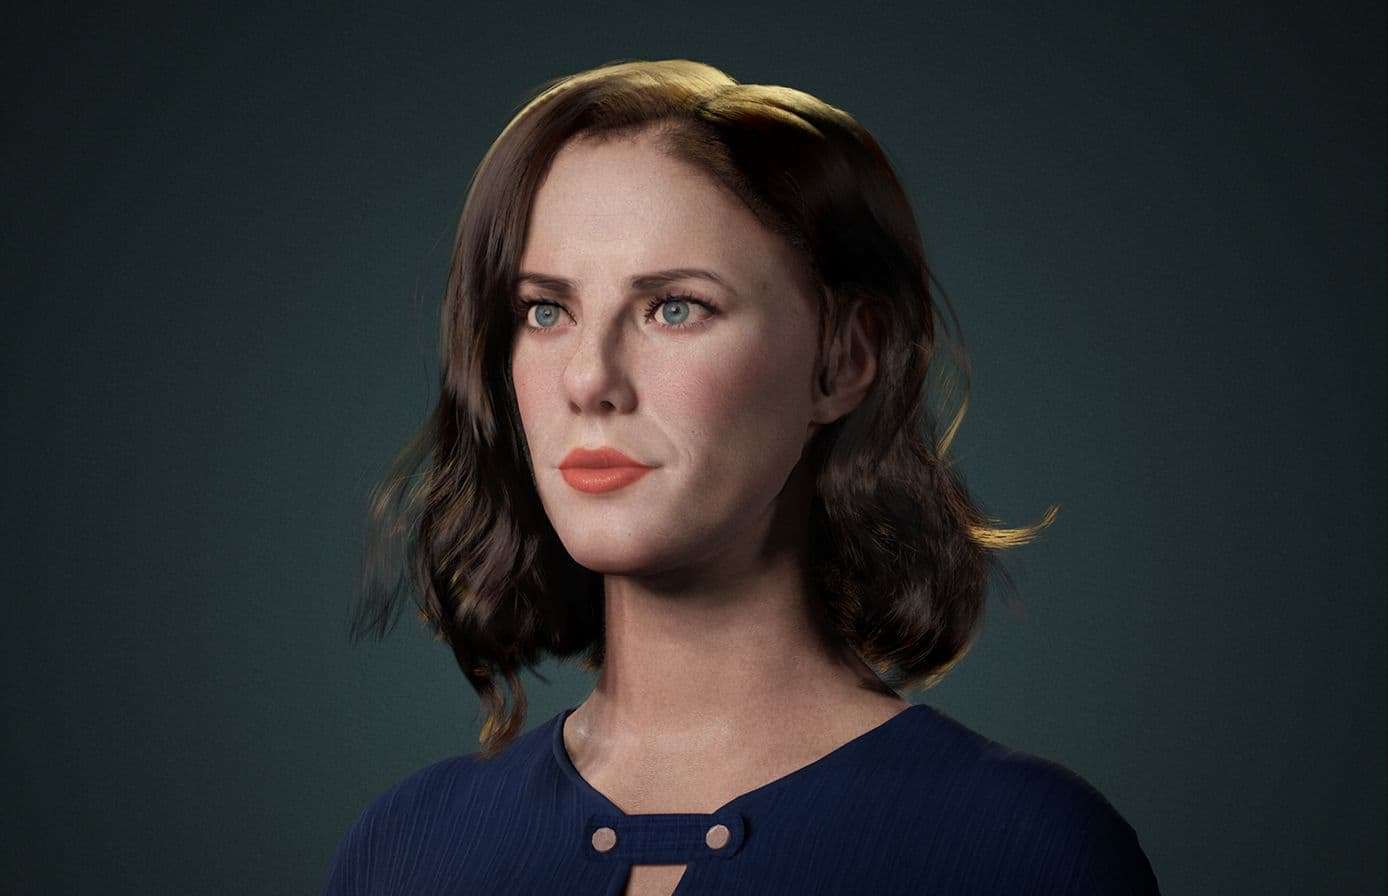
Creating Hair with the New Unreal Engine Hair System and X-Gen
The new UE4 Niagara particle system let us import alembic files from Xgen (or any hair creation system for that matter) with a few quick steps...
The new UE4 Niagara particle system let us import alembic files from Xgen (or any hair creation system for that matter) with a few quick steps...
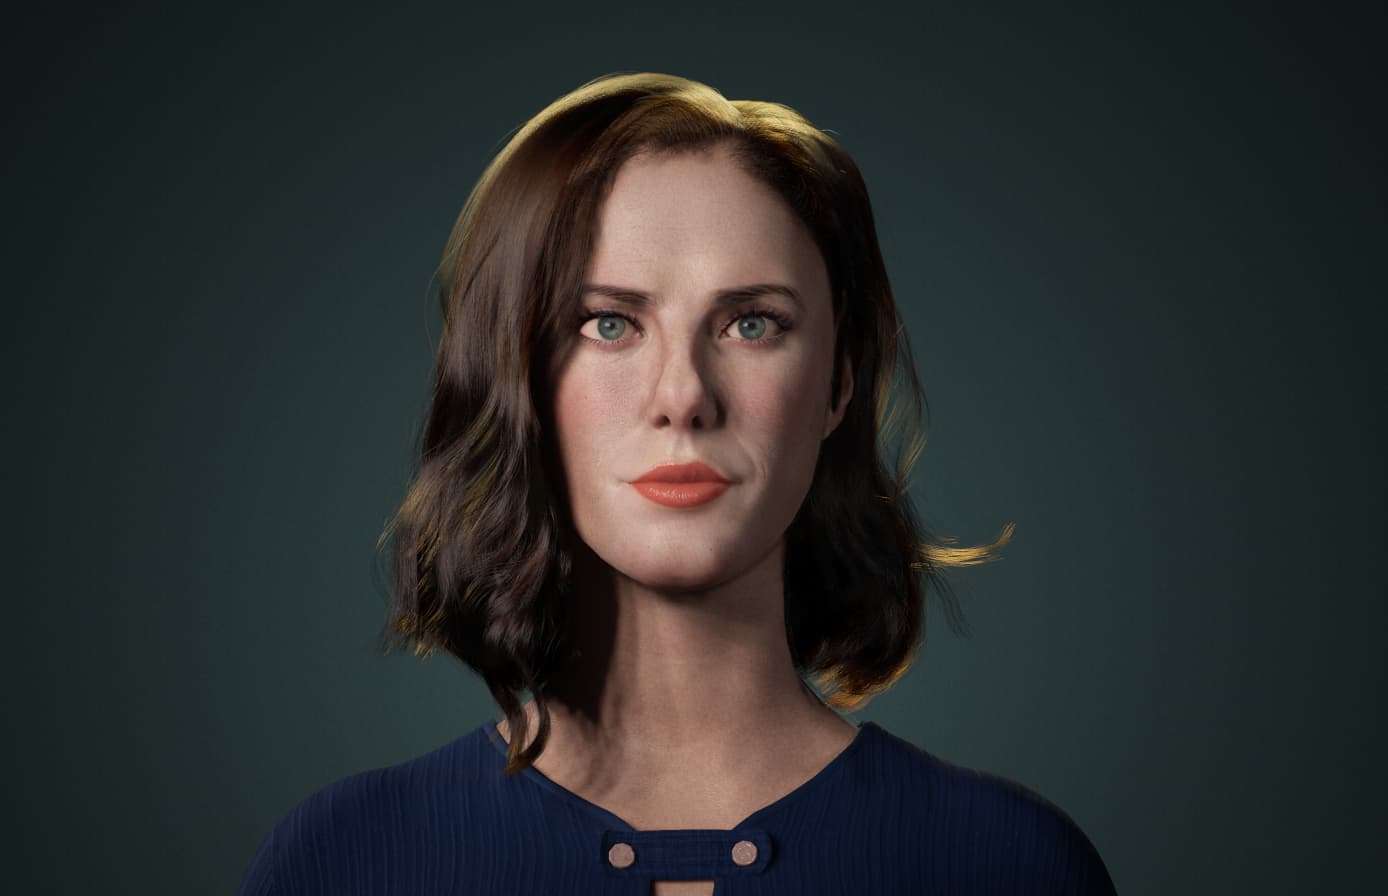
Victor Beltran is a Texturing Artist at Brown Bag Films in Ireland. Victor realised that he wanted to be a 3D artist during an "Intro to 3D class" while taking an Illustration vocational degree at Vertex School. Victor shares with us how to create hair with the new Unreal Engine hair system along with Maya's X-Gen.
The new UE4 Niagara particle system lets us import alembic files from Xgen ( or any hair creation system for that matter) with a few quick steps. First, let me show you how to create a simple hairstyle in X-Gen.
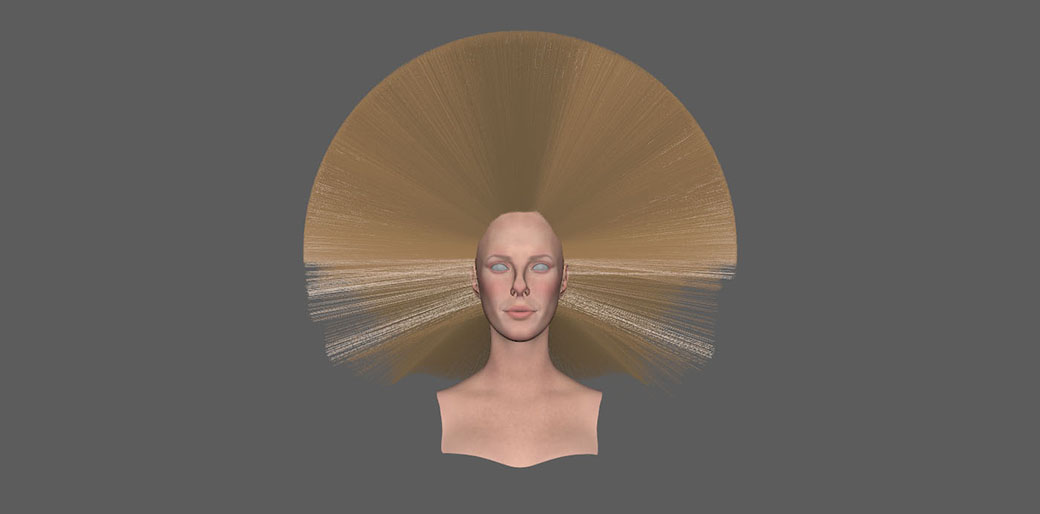
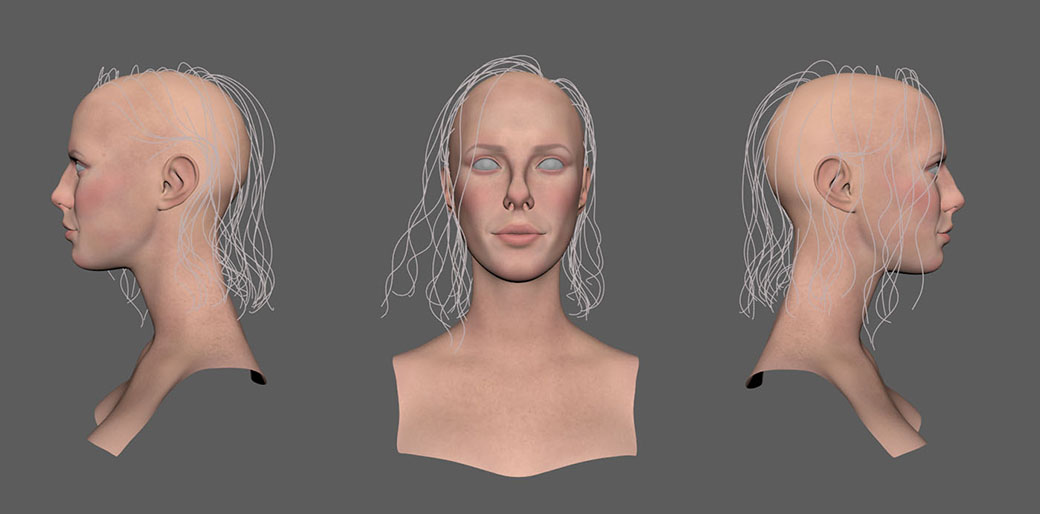
To create this Groom I used XGen’s Interactive Groomable Splines. I started by selecting the faces of my mesh that would be the scalp. After doing so I went to the “Xgen - Interactive Grooming” workspace and created a new “Interactive Groom Spline” getting this result below.
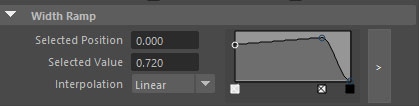
The first thing I did was to give my splines a nice profile by setting the width ramp to the following values:
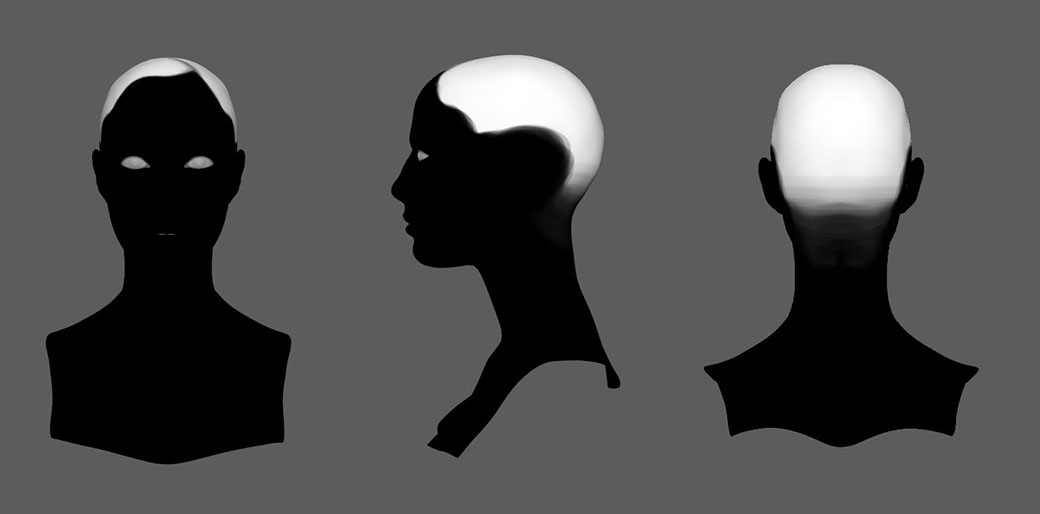
Then, I painted a Density map to have better control over the border of my groom. To give the groom its overall shape I added a Guide Modifier to the hair description.
I set the density of the guides to 0 and with the Place Tool I started placing my guides 1 by 1 while using the Length and Comb tools to sculpt the guides to the shape I wanted
After having my main shape and guides defined, I added a set of modifiers starting with a Clump modifier. This first Clump gives me the largest clumps over all and a second clump modifier with a lower value to give further break up is required. In the X-Gen window, I selected the Curl Scale and set it to 1 to get some curling on my hair strands, and then played with the overall values until I got something I was happy with.
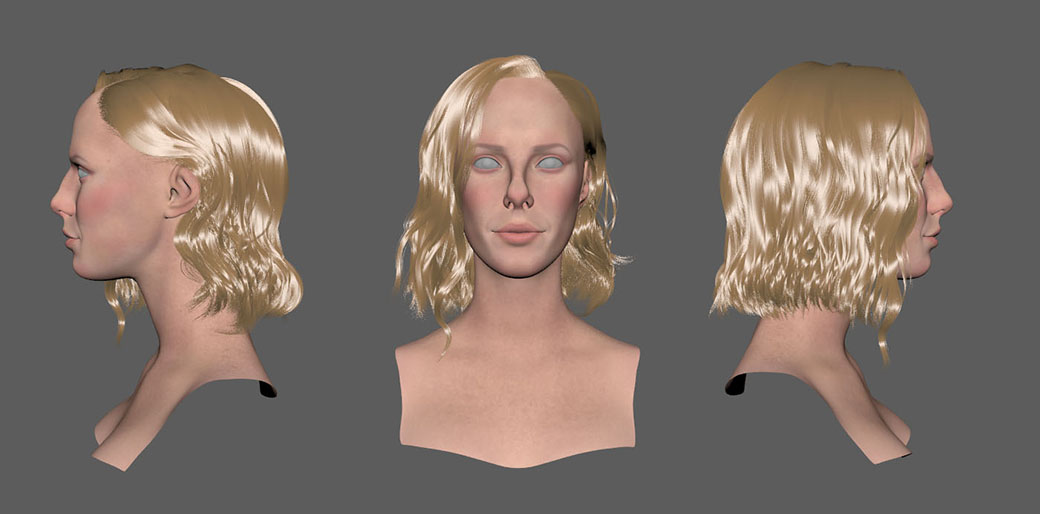
From this point I added more Clump modifier layers, each one with a lower clump size giving a nice variation and natural look to the groom, followed by a noise modifier to give the final touch to it.
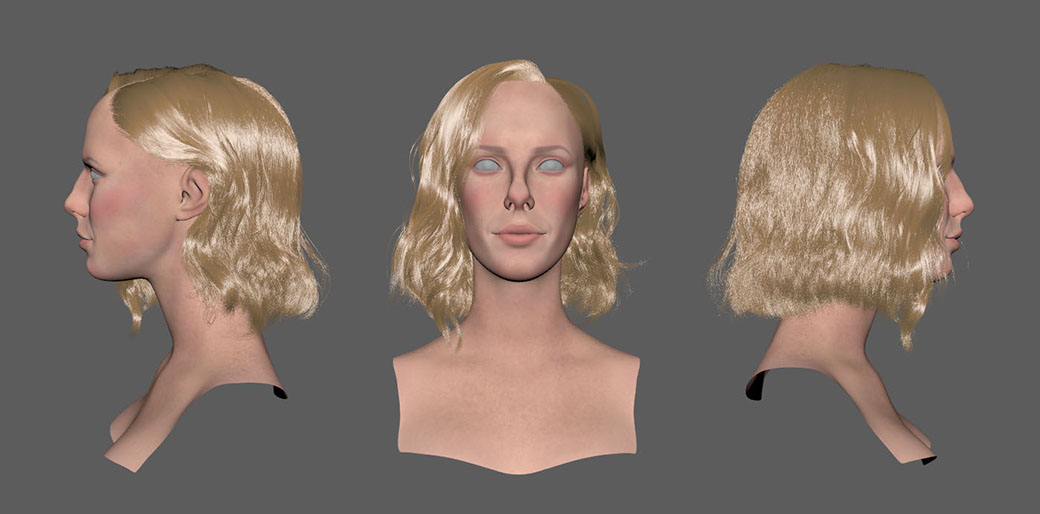
I created another description to add extra hairs in the forehead and flyaways following the same process previously explained, to get the final Groom.
First thing to do when the Groom is ready to be exported from Maya is to duplicate the basemesh and transfer all descriptions to the new mesh that doesn't include any unnecessary information that UE4 won't need.
Now, having the clean Groom I exported the Cache and checked the “Current Frame” and “Write Final Width” check boxes.
I came across a problem where all my grooms where flipped on the X axis. To fix this in a new Maya Scene I imported my alembic files and flipped them on the X axis and frozen the transformations before exporting them once more.
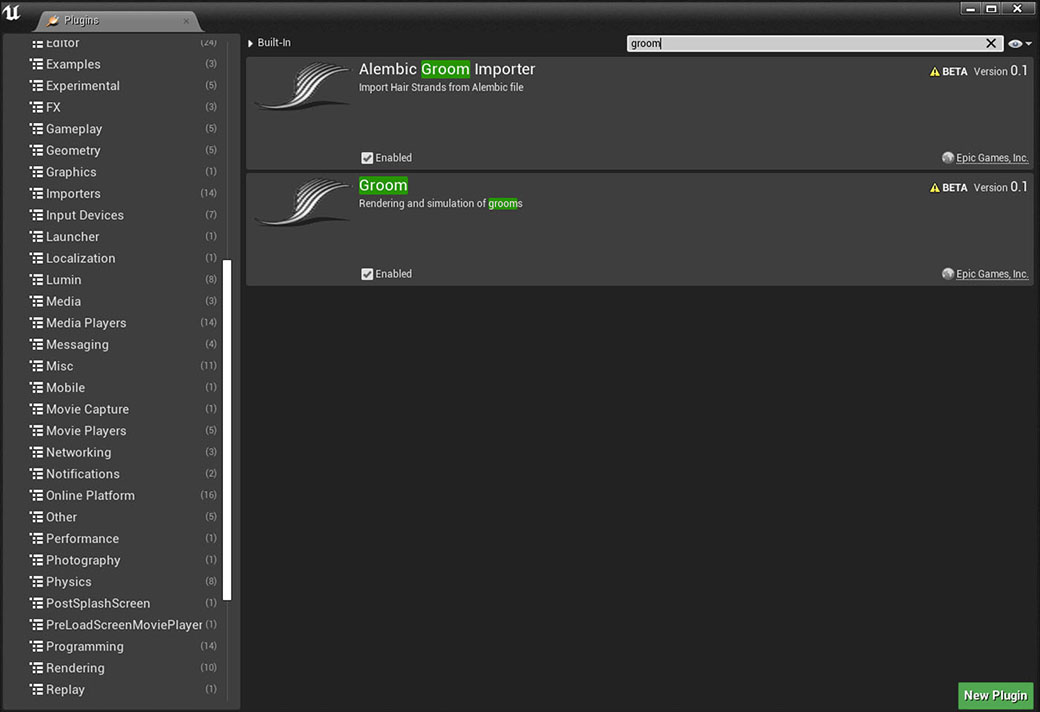
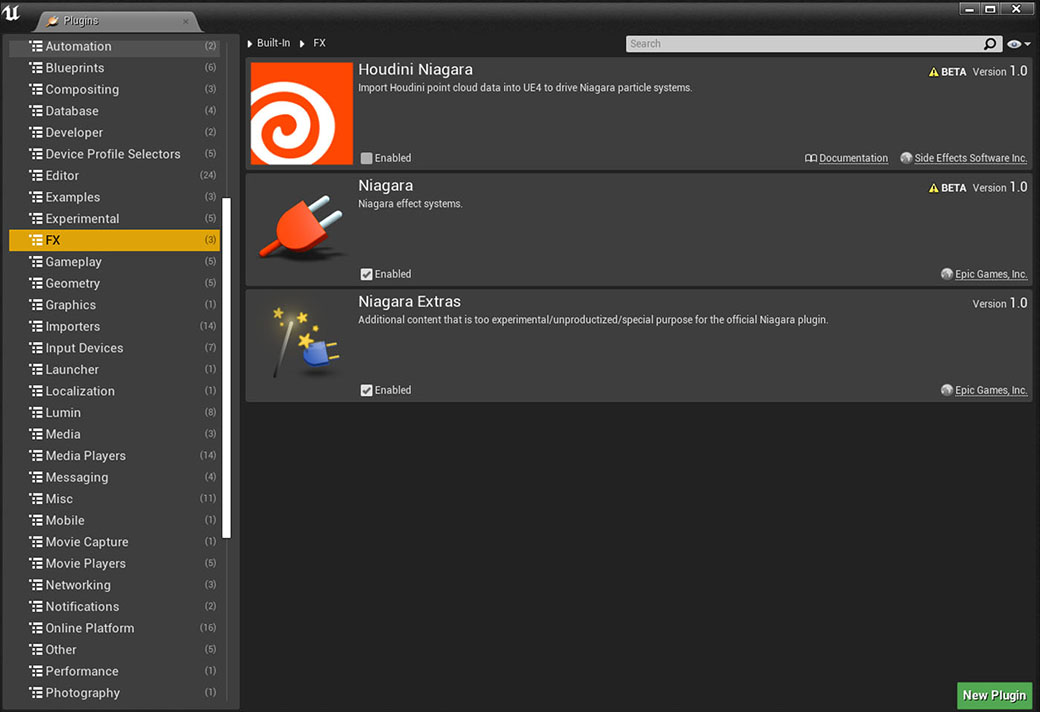
In UE4 I created a new project and set up all my lights and shaders for my model without adding the hair so my project would be more responsive on my PC. After having all that ready to go I went to the plug-in windows and got the “Alembic Groom Importer, “Groom”, “Niagara” , and “Niagara Extras” Plug-in.
After restarting UE4 I was able to drag and drop my Alembic files into the content of my Scene and set the rotation X to -90 an the Z to 180.

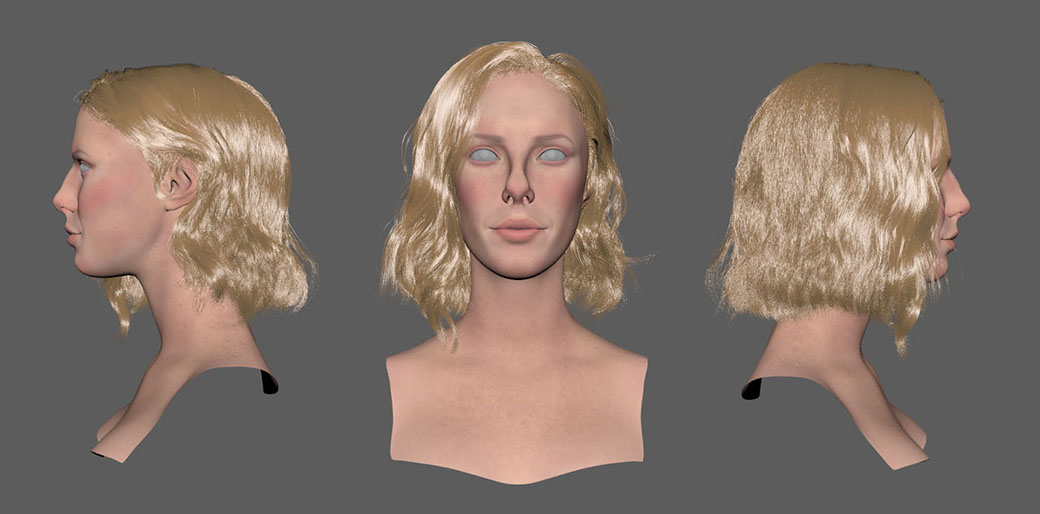
Having the Groom imported and ready on UE4, it was time to add it as a Groom component to the mesh and then add a “Niagara Particle System” to it.
By default, the Gravity Vector is a little too high so I set it to -5.0 on the Z axis.
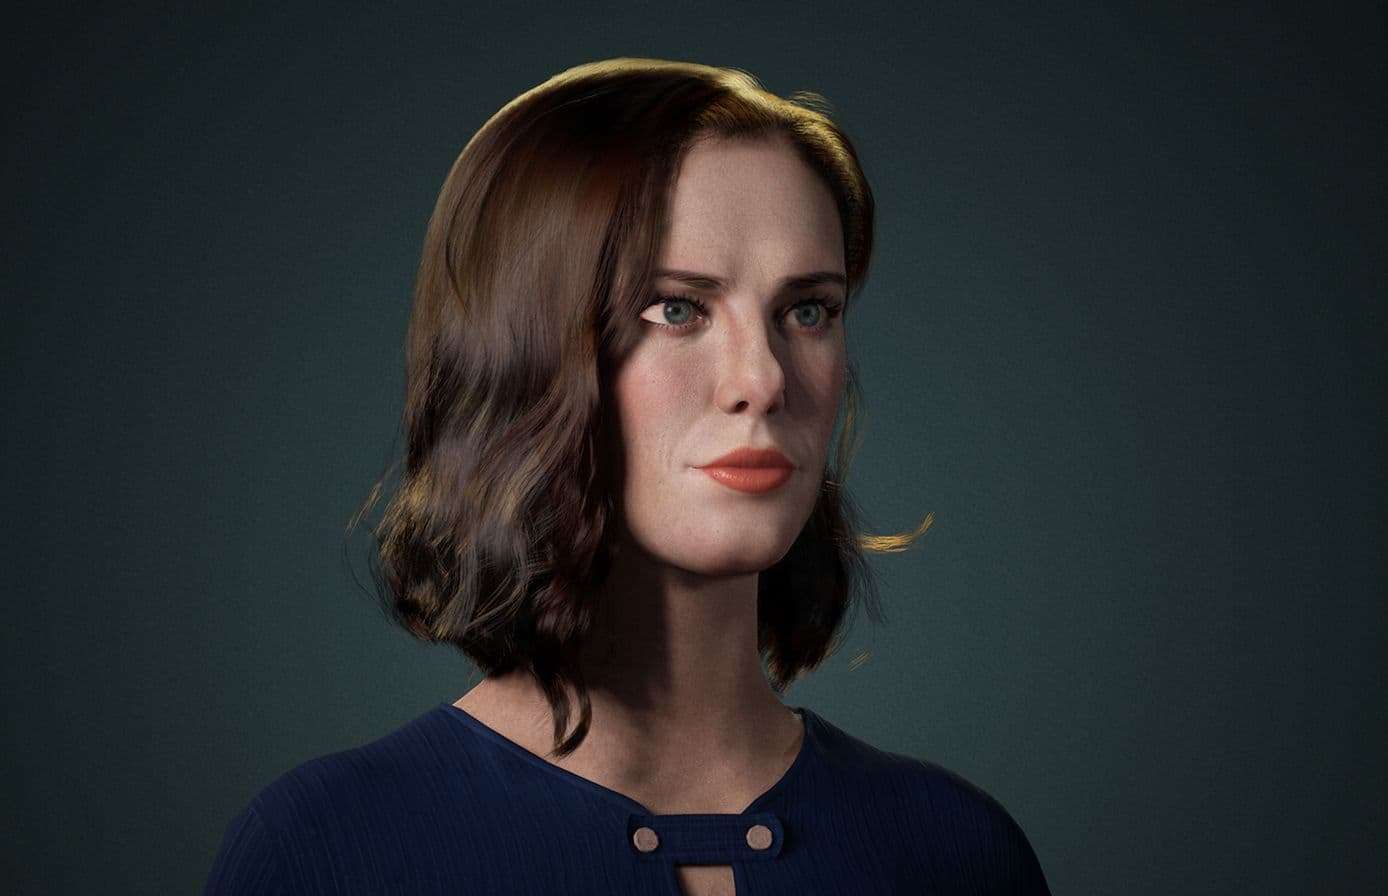
The final step is to set the shader for the groom. The shader that ships with UE4 as default can work more than ok for most purposes but for this character I followed the amazing tutorial by Nick Rutlinh, to create a melanin based shader with the ability to generate colour variation, grey hairs and much more.
You can find more of Victor's work on Instagram and ArtStation.