How to Model and Texture Food Props for Games
Modeling and Texturing Artist Noor Vullinghs, turns 2D concept art into game/film ready high quality 3D assets and shares with us how to model and texture food props for games.
Modeling and Texturing Artist Noor Vullinghs, turns 2D concept art into game/film ready high quality 3D assets and shares with us how to model and texture food props for games.

Modeling and Texturing Artist, Noor Vullinghs, turns 2D concept art into game/film ready high quality 3D assets and shares with us how to model and texture food props for games - specifically one of the short projects she created for Beyond Skyrim: Elsweyr, part of the Beyond Skyrim expansion mod for The Elder Scrolls V: Skyrim.
I was lucky enough to be invited to join the 3D Asset Department of this team, focusing on clutter. There is never enough clutter in games, so I was excited to start on a set of Moon Sugar Donuts; the local Elsweyr snack. Not only do they look delicious, you can actually eat them in-game. Before we have a look at the breakdown, please grab a snack, as this post might make you hungry!

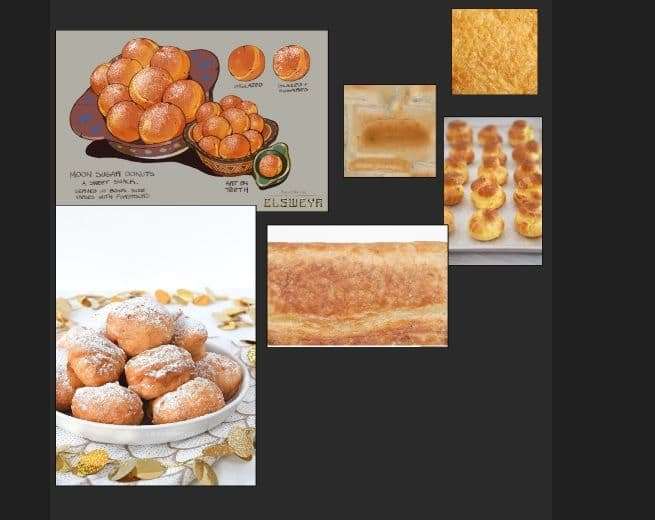
For this particular asset I got a 2D concept from Teeth, from our modeling team. To me, the concept seemed very straight forward, providing two versions of the donuts; one with powdered sugar and one without.
Besides a regular donut, the concept reminded me of a Dutch snack that we eat in The Netherlands during New Year’s Eve called ‘Oliebol’. So I dived into the internet to gather some additional mouthwatering references.
Below you will see my PureRef scene, containing the 2D concept, as well as examples of random pastry. Most of them focus on the discolouration and roughness of Choux Pastry, as it gets these lovely browned edges. I noticed that I would definitely have to make a high poly version to get some good height differences in my maps, as the donuts itself had to be below 400 tris per donut.
I can really recommend using PureRef for any projects that you work on. It makes life so much easier, as it has an ‘Always on Top’ mode (Ctrl+Shift+A) and can be scaled to fit any program you’re working in. I always have it on the side, especially in Zbrush, as that program can sometimes be complicated to import references and image planes.
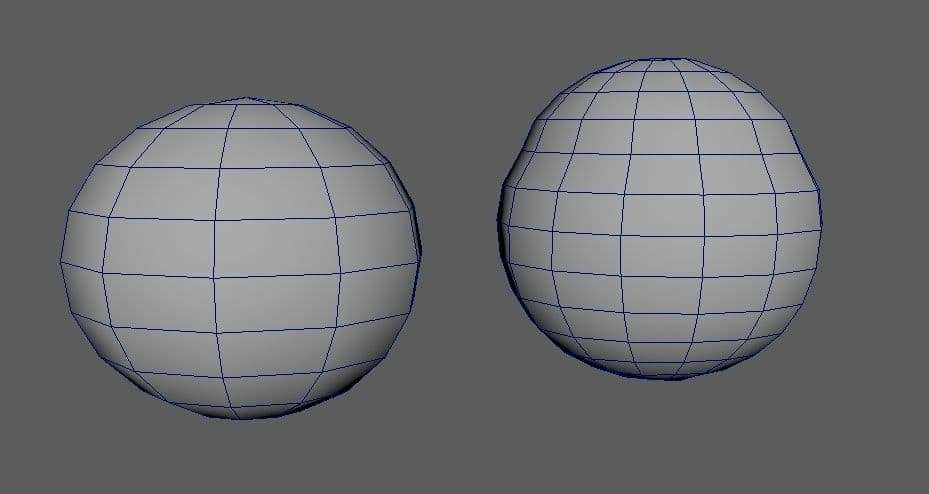
Like I said before, it is a very straightforward concept, with primitive shapes, so this part won’t take long. I created a low poly version of the donut from a sphere, keeping the tris count in mind.
I used Maya’s transformation tool to deform the sphere, as round donuts are, contrary to their name, not perfectly round. I pulled and pushed some vertices around with Soft Selection (B + middle-drag) to create a bit more of a saggy and irregular shaped donut. In the end my donut clocked in at 364 tris a piece.
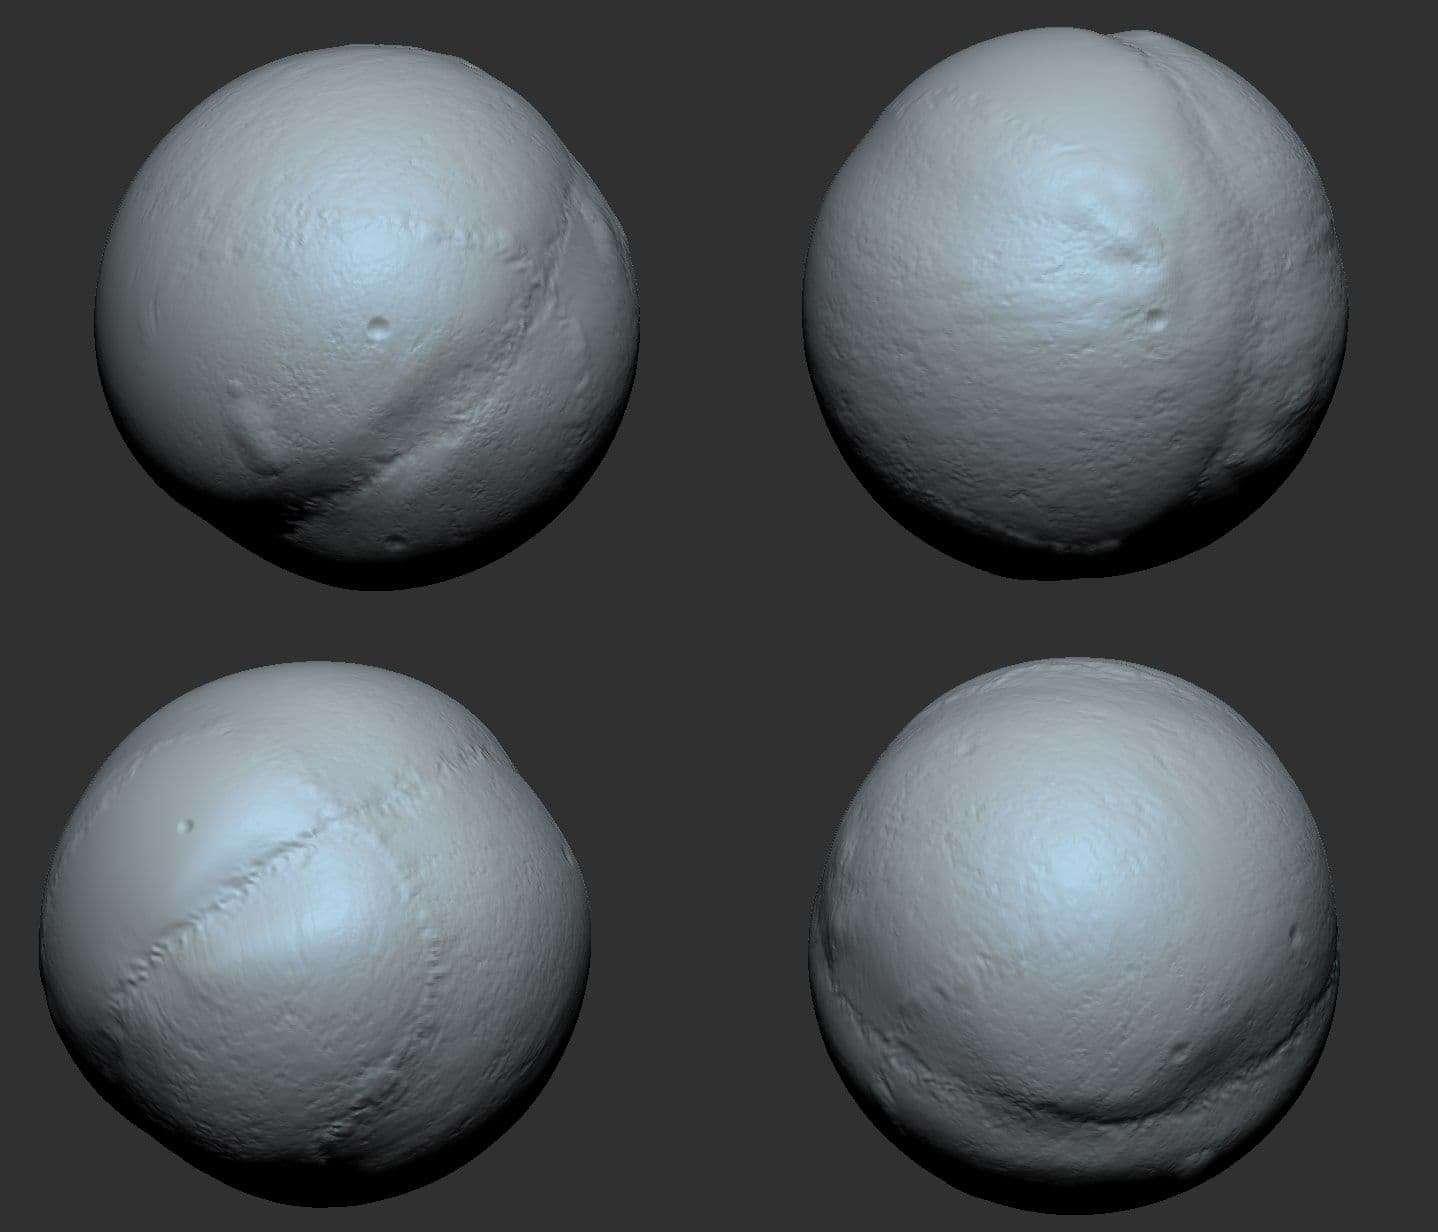
Moving on to the high poly version in ZBrush (make sure you delete history, freeze transformation, and center it in Maya before exporting it). For the high poly I subdivided it a couple times and got started with some basic brushes (ClayBuildup, DamStandard). Pastry normally rises in the oven; creating air bubbles and tearing itself open, so I used a variety of alphas to create some indentations and to roughen up the outside.
It seems like a lot of editing to do in Zbrush for such a small asset, but trust me, in the end it’s so worth it. Especially when you want to create detailed textures for game assets that are on a strict tris count.
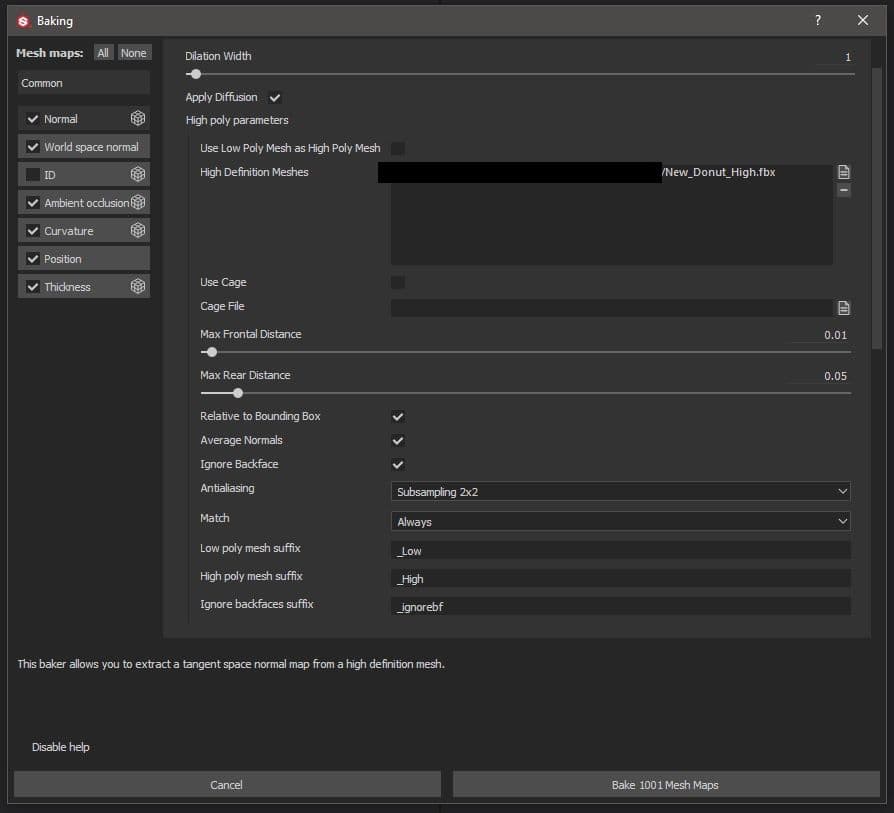
After finishing the high poly version, it is now time to bake the donut in Substance Painter. Since it’s just one mesh, the settings are pretty basic. I have a low-poly mesh ending on ‘_Low’ and a high-poly one ending on ‘_High’. And yes, I use capital letters in my naming; I like to push boundaries!
Make sure to play around with the Max Front and Rear Distance, to have as much detail projected from the high poly onto the low poly. Also, since it’s just one mesh, you can just put it to ‘Match - Always’ and have random naming of your objects, but it’s good practice to name them properly just in case you have to match them by mesh name.
My favourite part of the process; adding life to my little ball of dough.
I wanted to create the base colour from scratch in Photoshop (it’s basically two colours with a marble/warp on top), but if you’re lazy or in a hurry you can just look for a texture image and see how that holds up for the base. Don’t stress out too much about the base colour, as it will be the very bottom layer and it’s just there to provide you with a solid start.
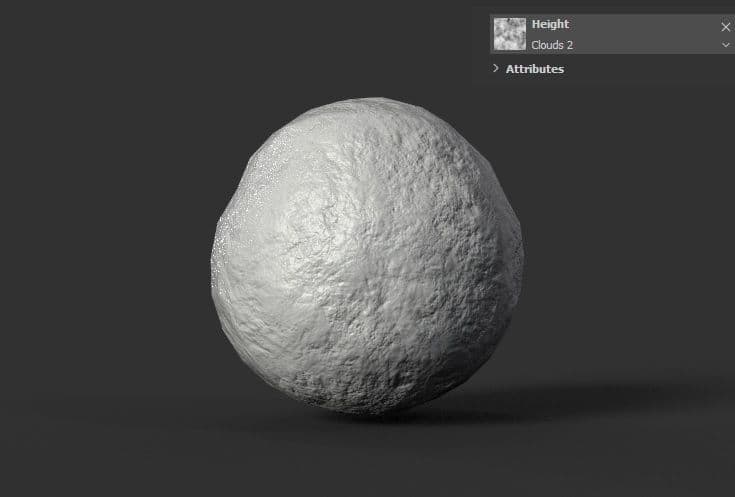
The next couple of layers are height buildups, done with clouds procedurals, to create lots of variety in height and colour.
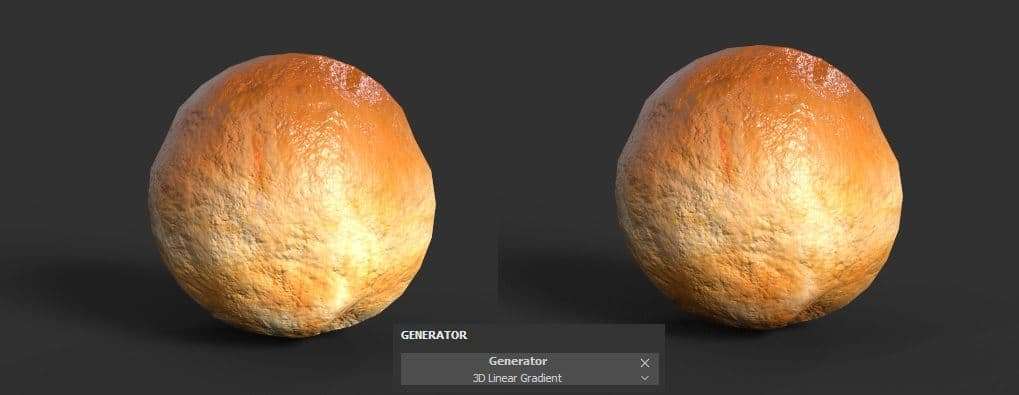
The next step was to create the browned edges on the top, bottom, and protruding parts of the donut. I used a 3D Linear Gradient to do this for the top, inverted it for the bottom and blurred it. I also masked out some areas separately, as I didn’t want to have a harsh straight line.
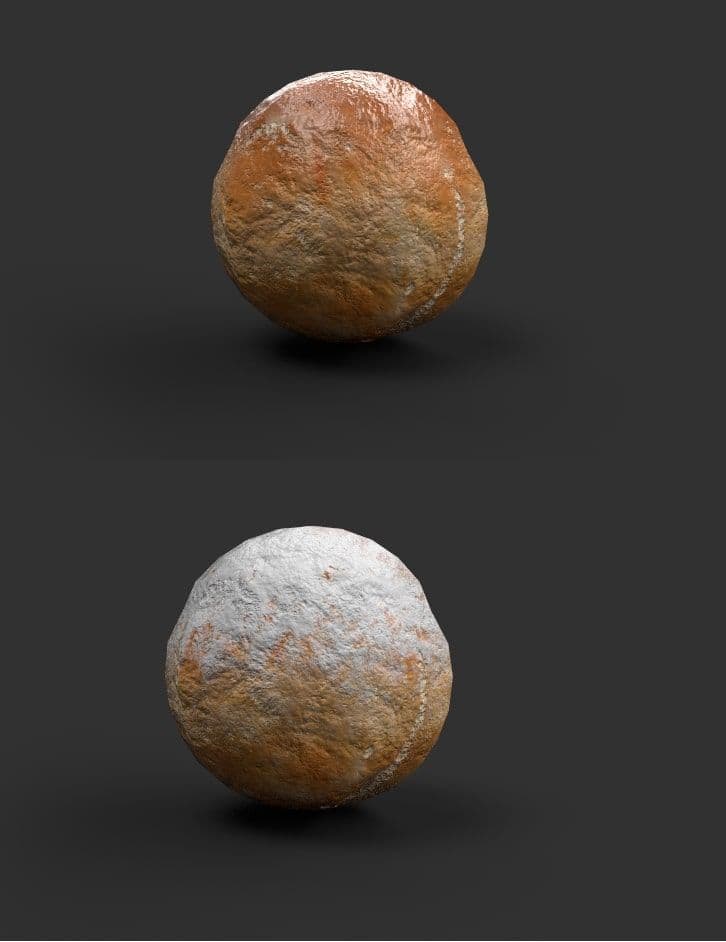
I started playing around with the roughness of the lighter part of the donut, making it very rough, and keeping the top a bit more shiny. Make sure to rotate it around and render it a couple times with different lighting, to get a feel for the height maps and the colouring; you don’t want it to look too homogenous.
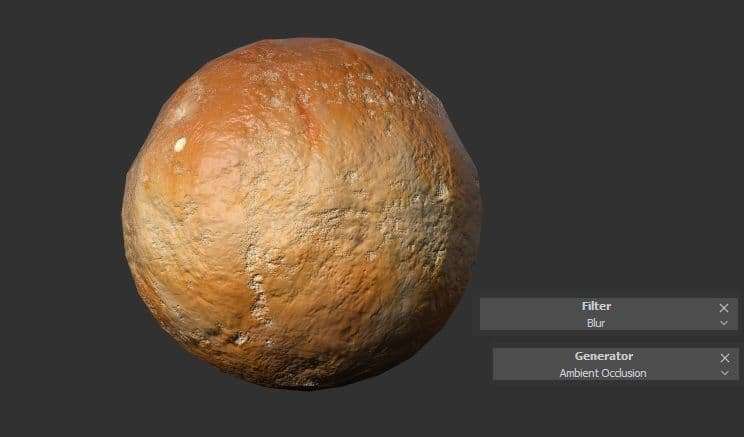
I added an ambient occlusion generator, added some height and a blur filter to really show off the details that I did in Zbrush. I coloured it lighter, to make it seem as if flour/powdered sugar got stuck in the crevices. Now it starts to look like a proper donut texture.
For the other variety I added powdered sugar with a grunge map, transformed it so it would be on top instead of the bottom, and manually painted some extra areas with sugar to make it less uniform. It is also handy to cover up seams, if necessary. I gave it a render pass and it looked fine to me, so I moved it into Marmoset.
I exported my texture maps (2K) with the output template being Unreal Engine (packed), and then you will have some solid maps to hook up into Marmoset.
If you are an impatient human being like me and don’t want to wait for your laptop to fly into space while rendering, Marmoset Toolbag offers the solution.
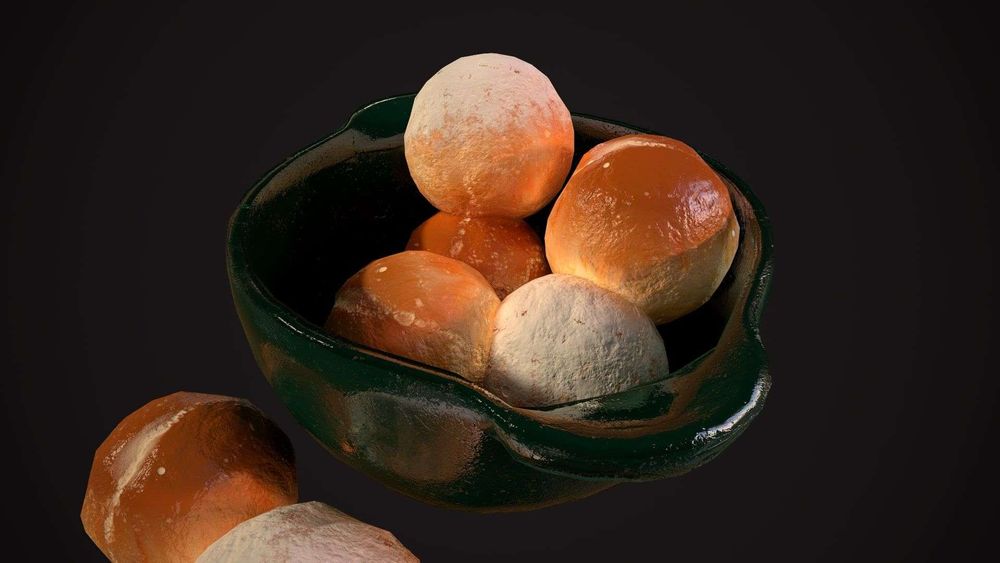
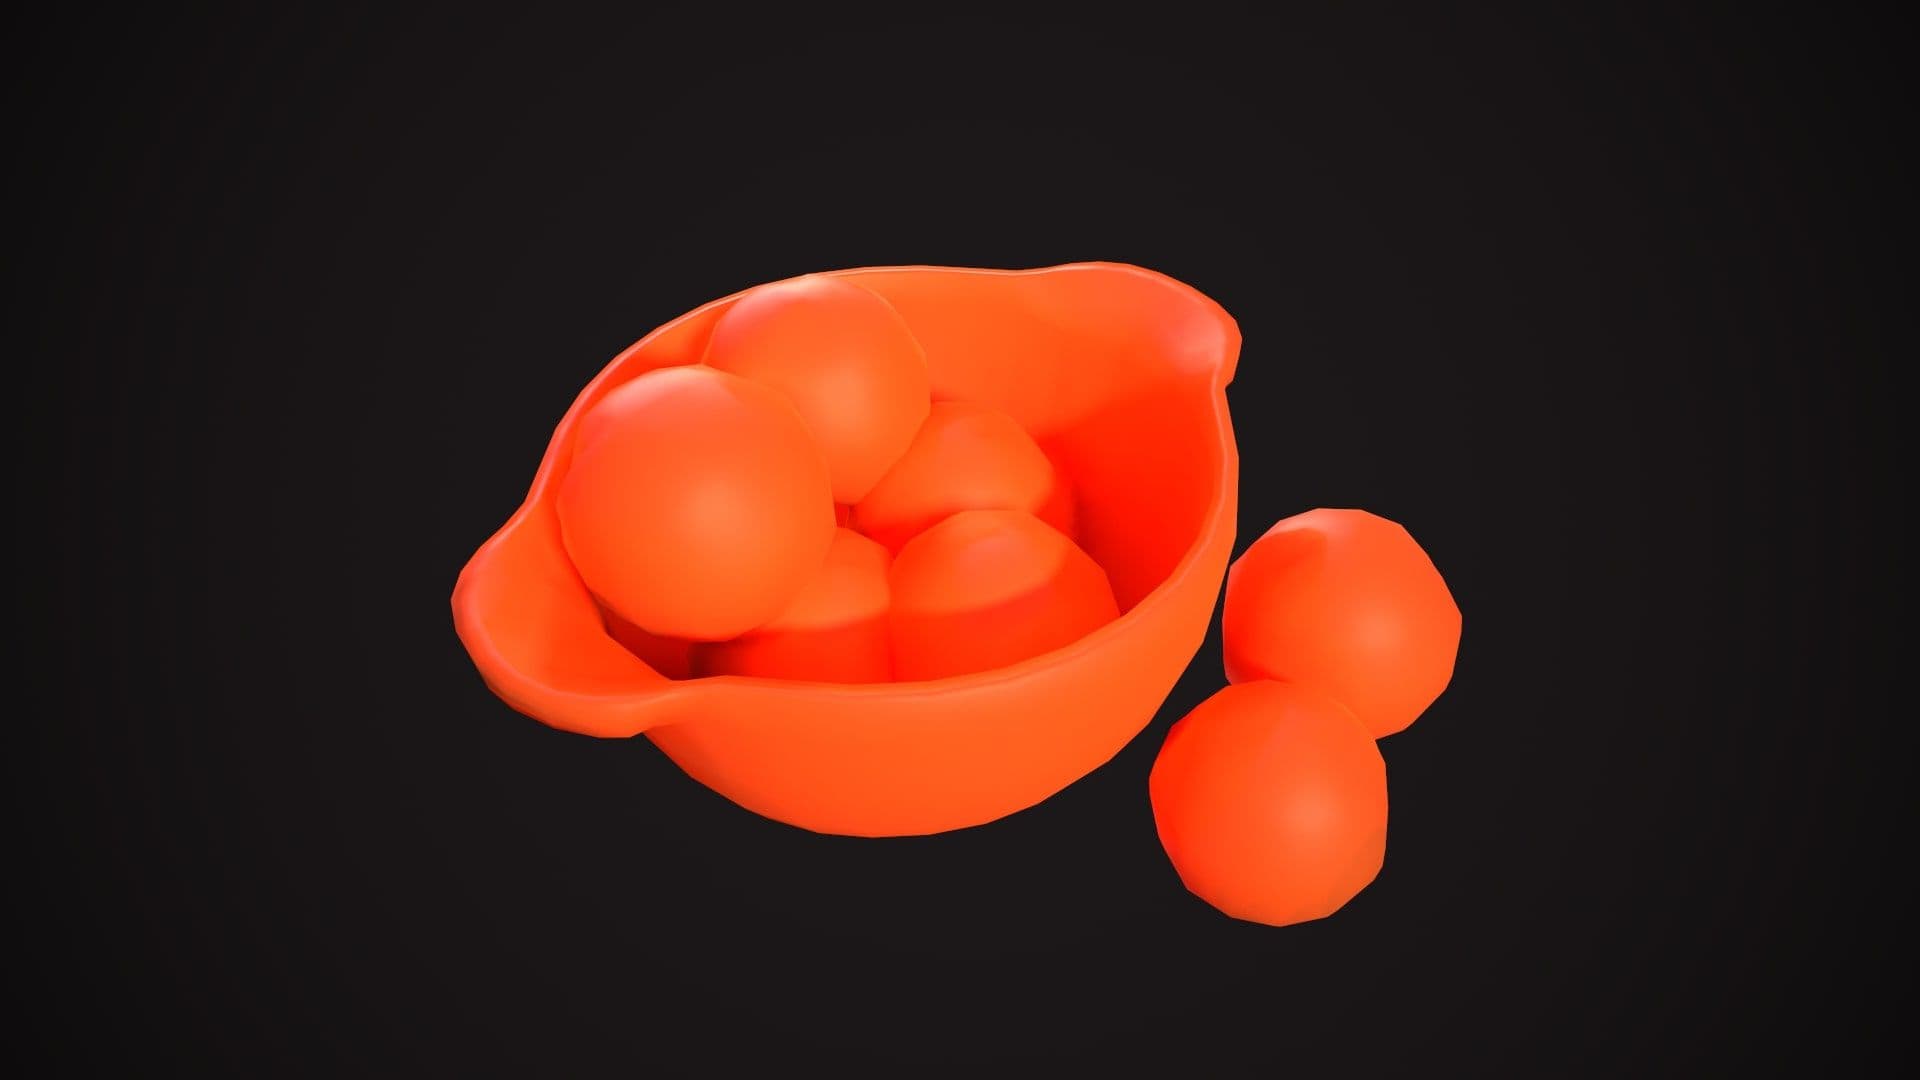
I imported my Donuts and added a bowl for presentation. I gave them a basic shader, just to get a feel for the composition and I needed to decide which donuts to give powdered sugar on top.
Once I was happy with the composition, I plugged in my textures and set up my HDRI and 3 additional lights, and this was the result. I Added the logo from the team, and got permission to upload it of course!
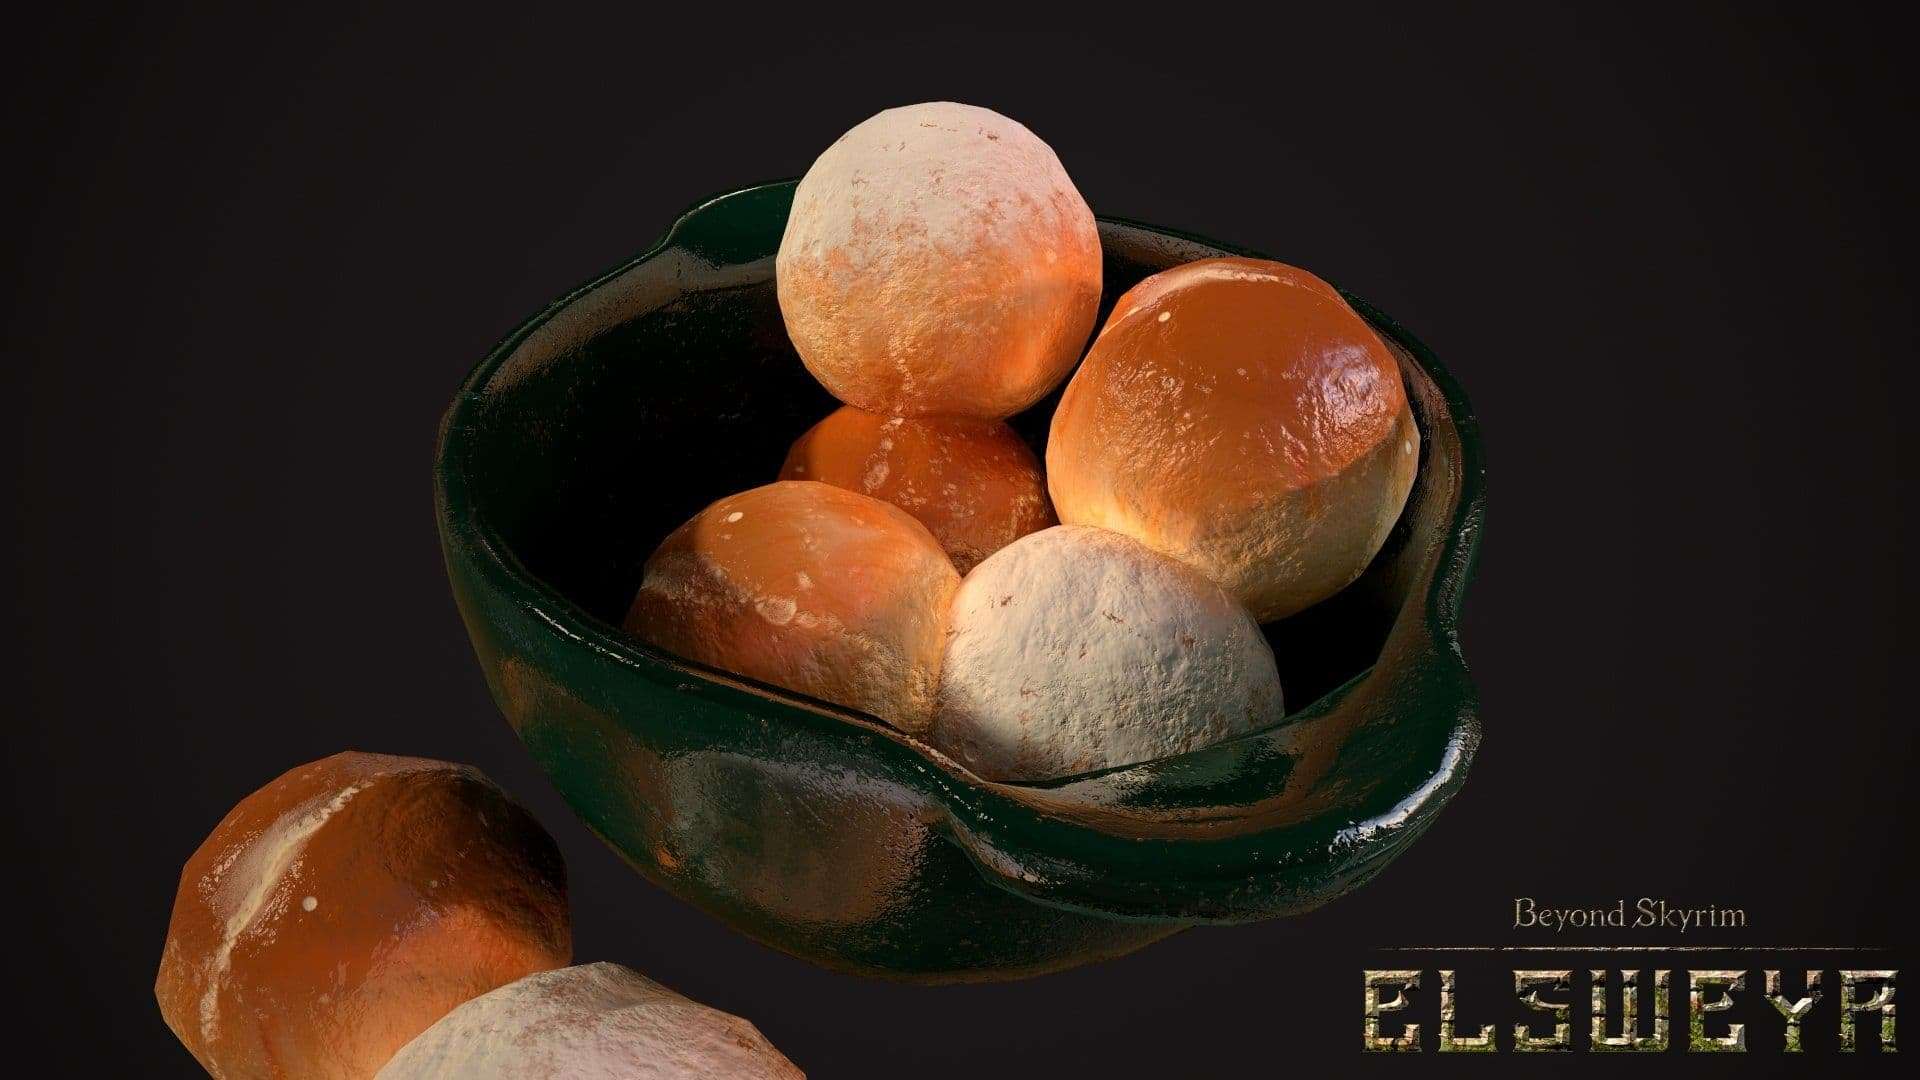
I don’t use post-processing, except for a little bit of a vignette. And that’s it! I know it’s not a groundbreaking tutorial, but hopefully it makes for a good read and can help 3D artists with texturing food items in the future.
You can find more of Noor's work at The Rookies, ArtStation, Instagram and LinkedIn.