
The Basics of Animating Dialogue
Alexi Lianna Tan, a 3dsense Media School student, aspires to work on animated feature films. In this article, she explores facial animation and dialogue, sharing tips and insights from her experience.
Alexi Lianna Tan, a 3dsense Media School student, aspires to work on animated feature films. In this article, she explores facial animation and dialogue, sharing tips and insights from her experience.
Alexi Lianna Tan is a student at 3dsense Media School and has aspirations to work on animated feature films. From a very young age, introduced to simple animations, Alexi knew she wanted to create similar characters and stories that could also inspire others.
In this article Alexi takes us through an animated shot where she explored facial animation and simple dialogue. Read on for a few tips!
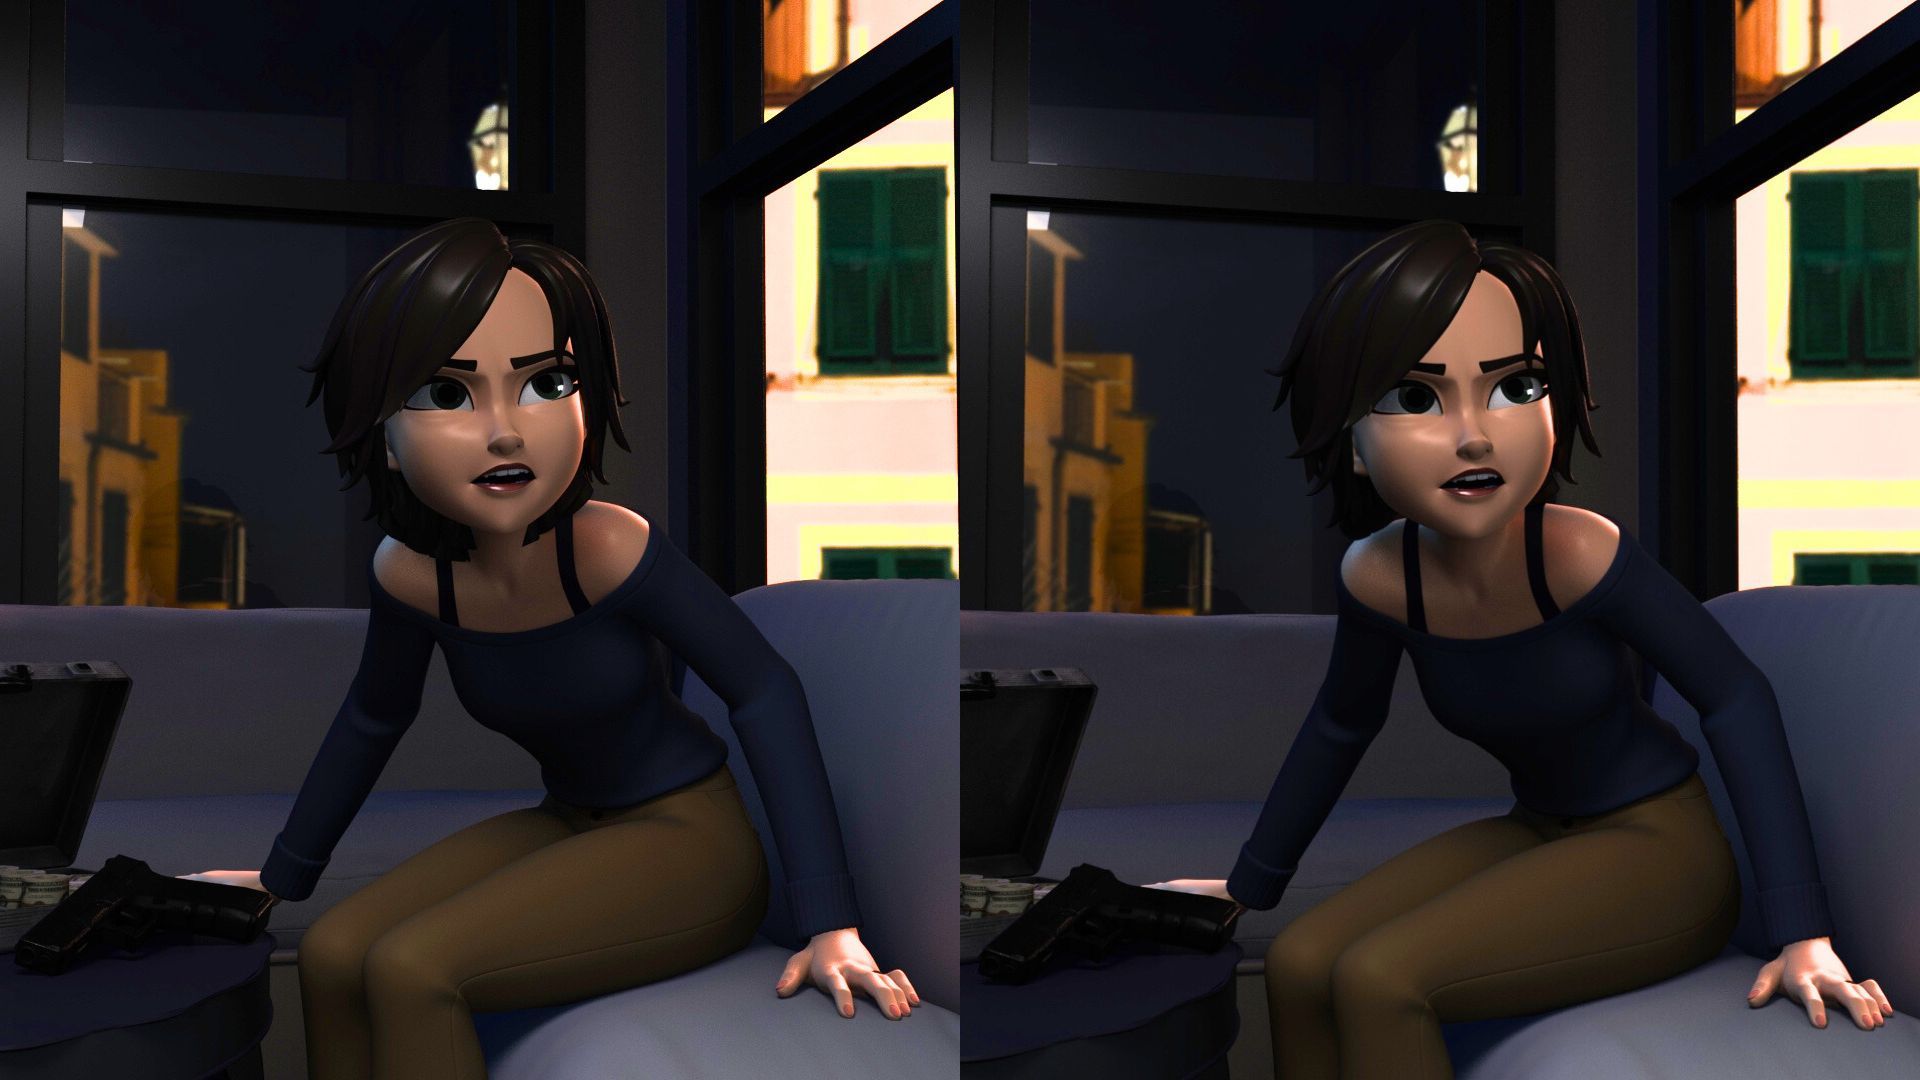
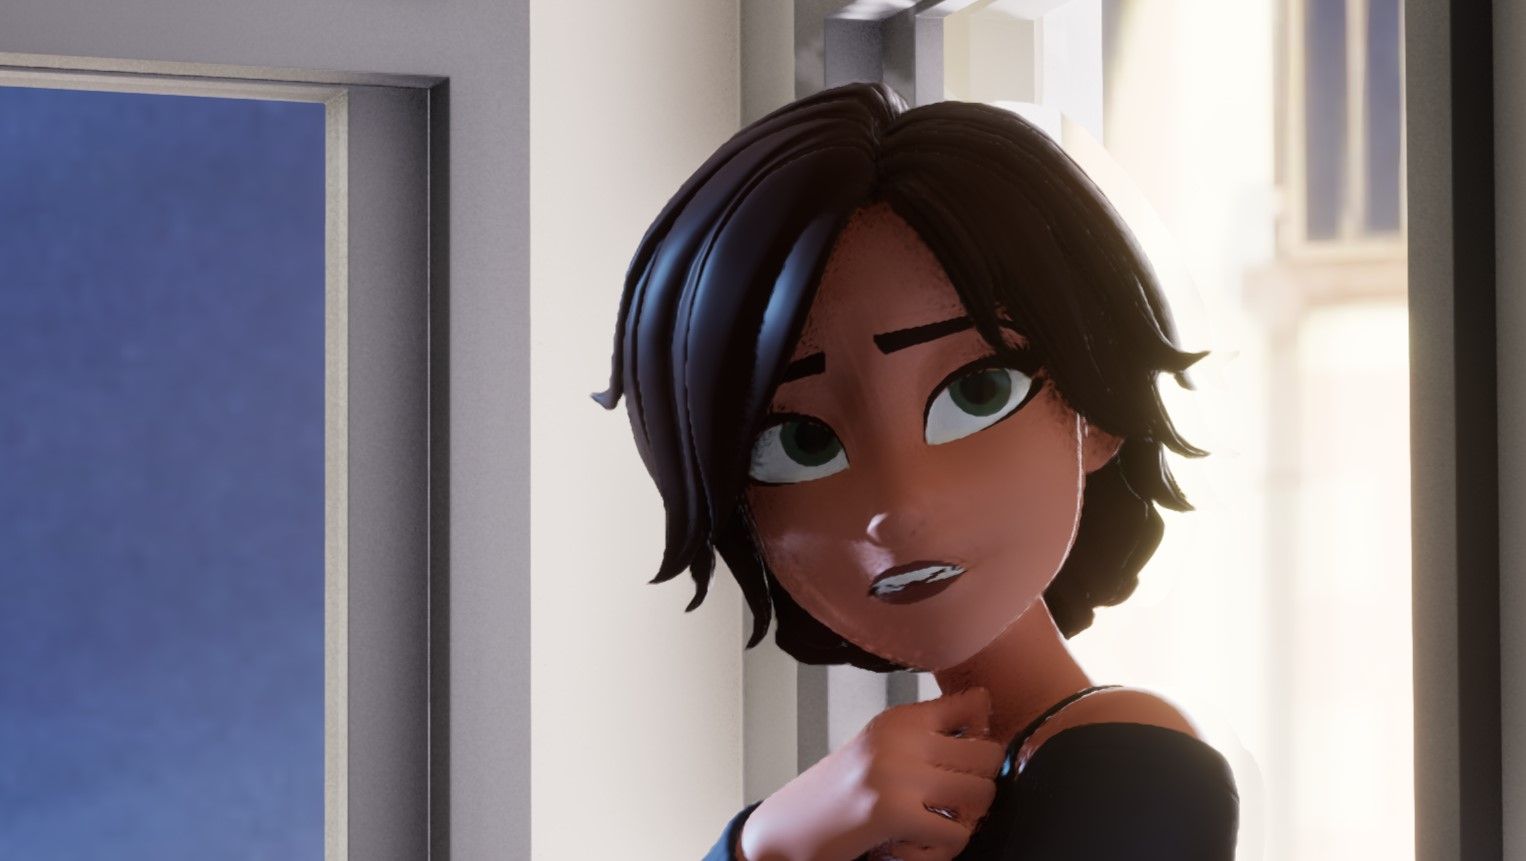
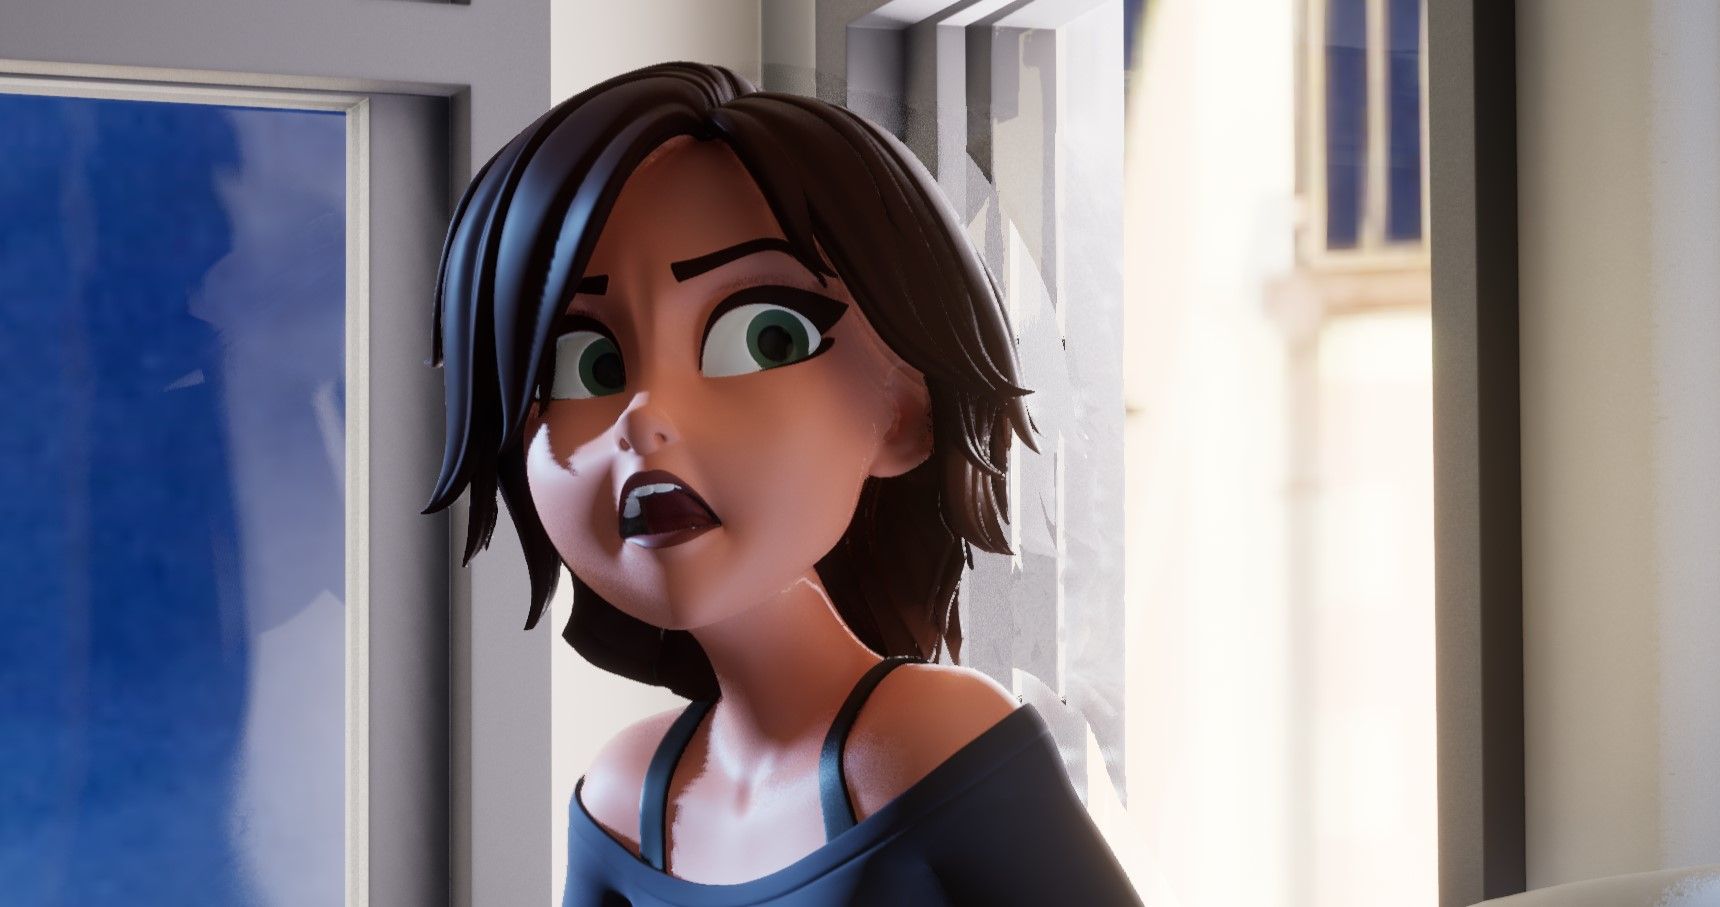
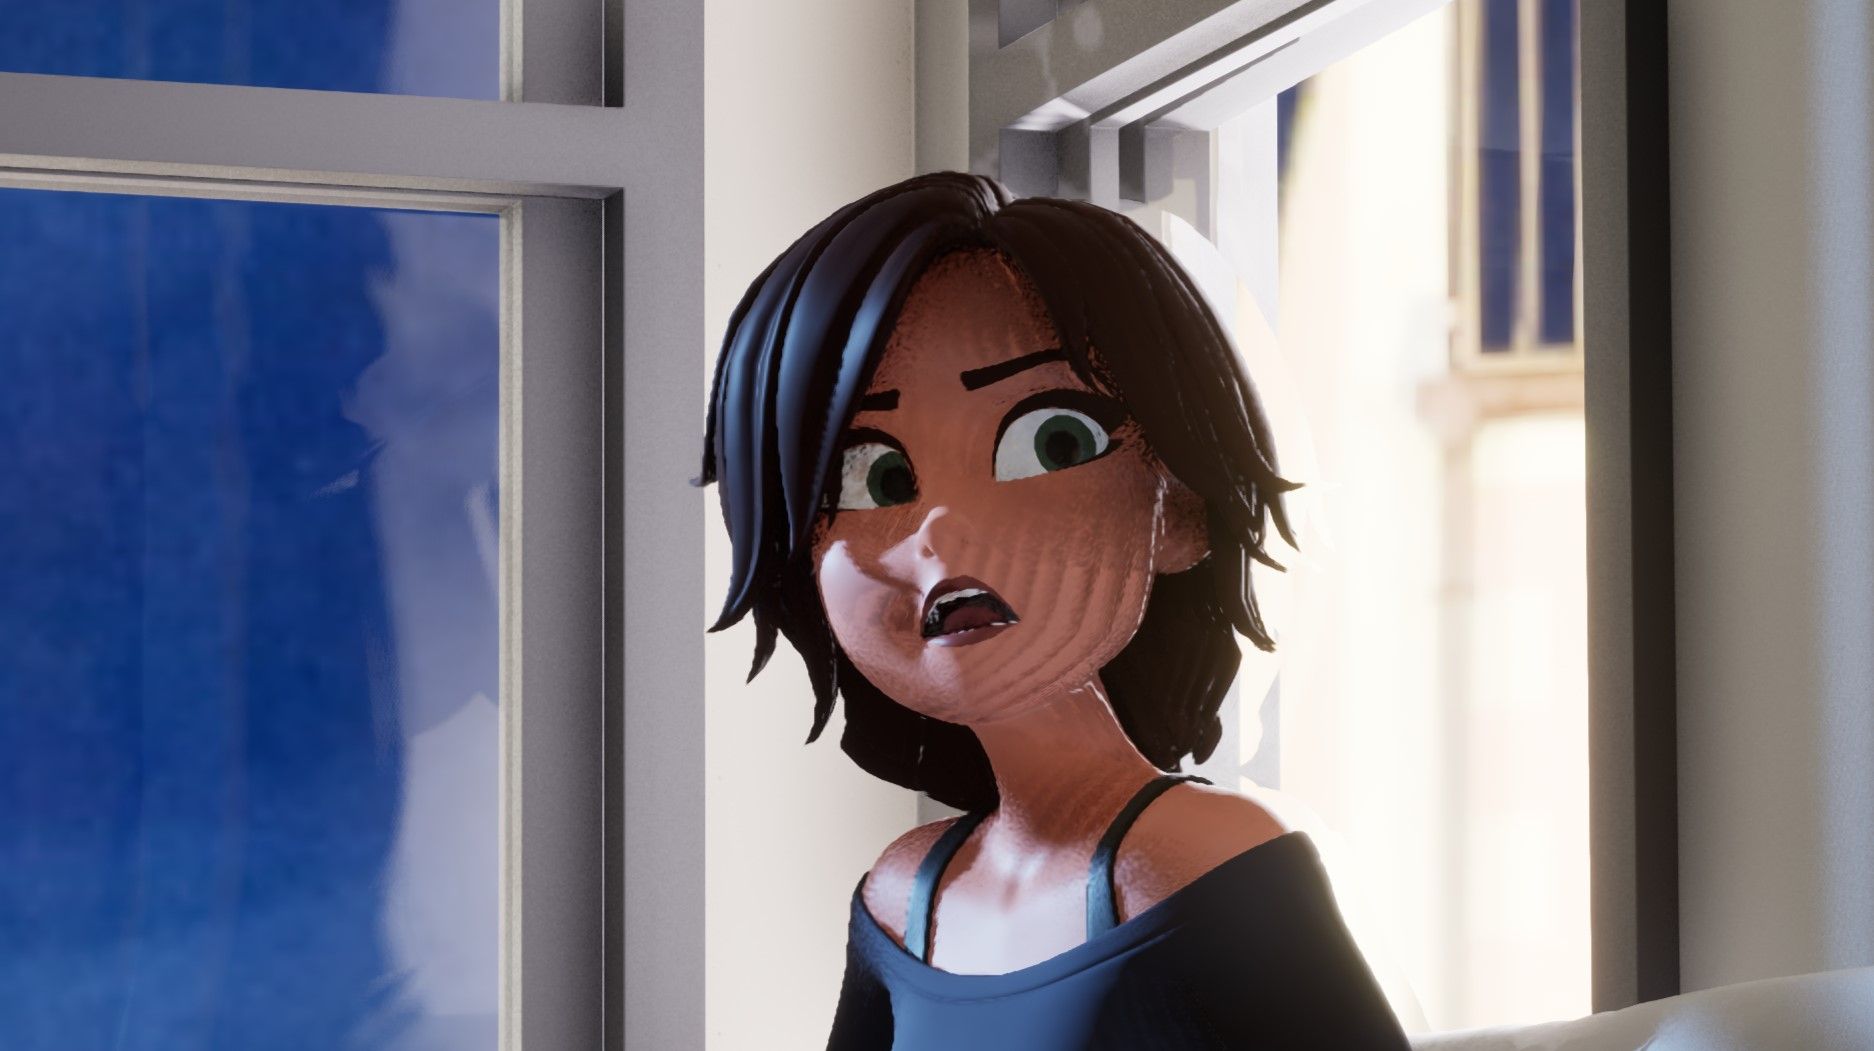
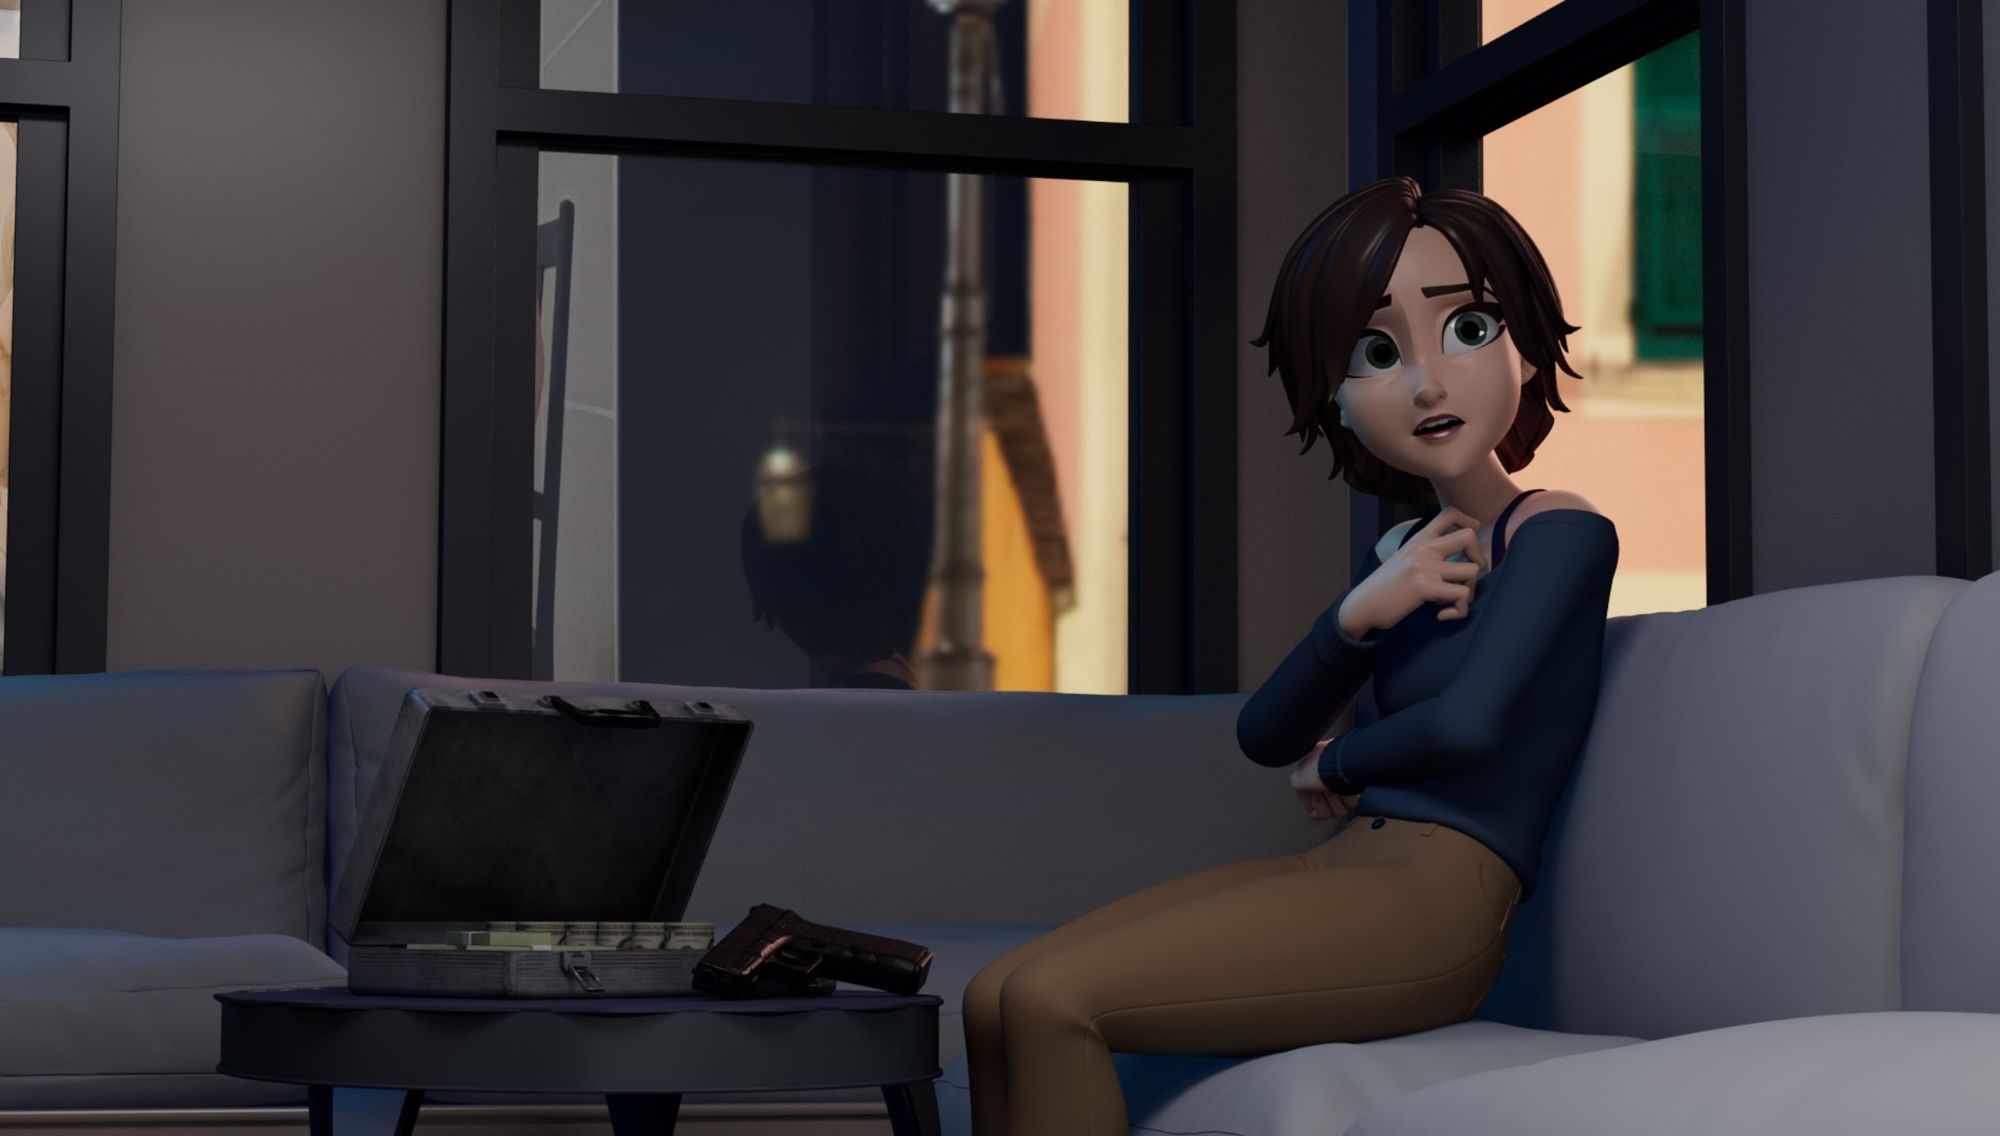
I was so excited to delve into facial animation and had fun emotionally acting for my reference. I watched several episodes of Dirk Gently’s Holistic Detective Agency, taking note of lines I personally loved. After selecting some dialogue from the show, I began conceptualising. I prepared a backstory for the character, considering their motive and thought process. Then, I shot different types of reactions, ranging from angry to sad, sad to angry, upset to scared—there were so many to choose from.
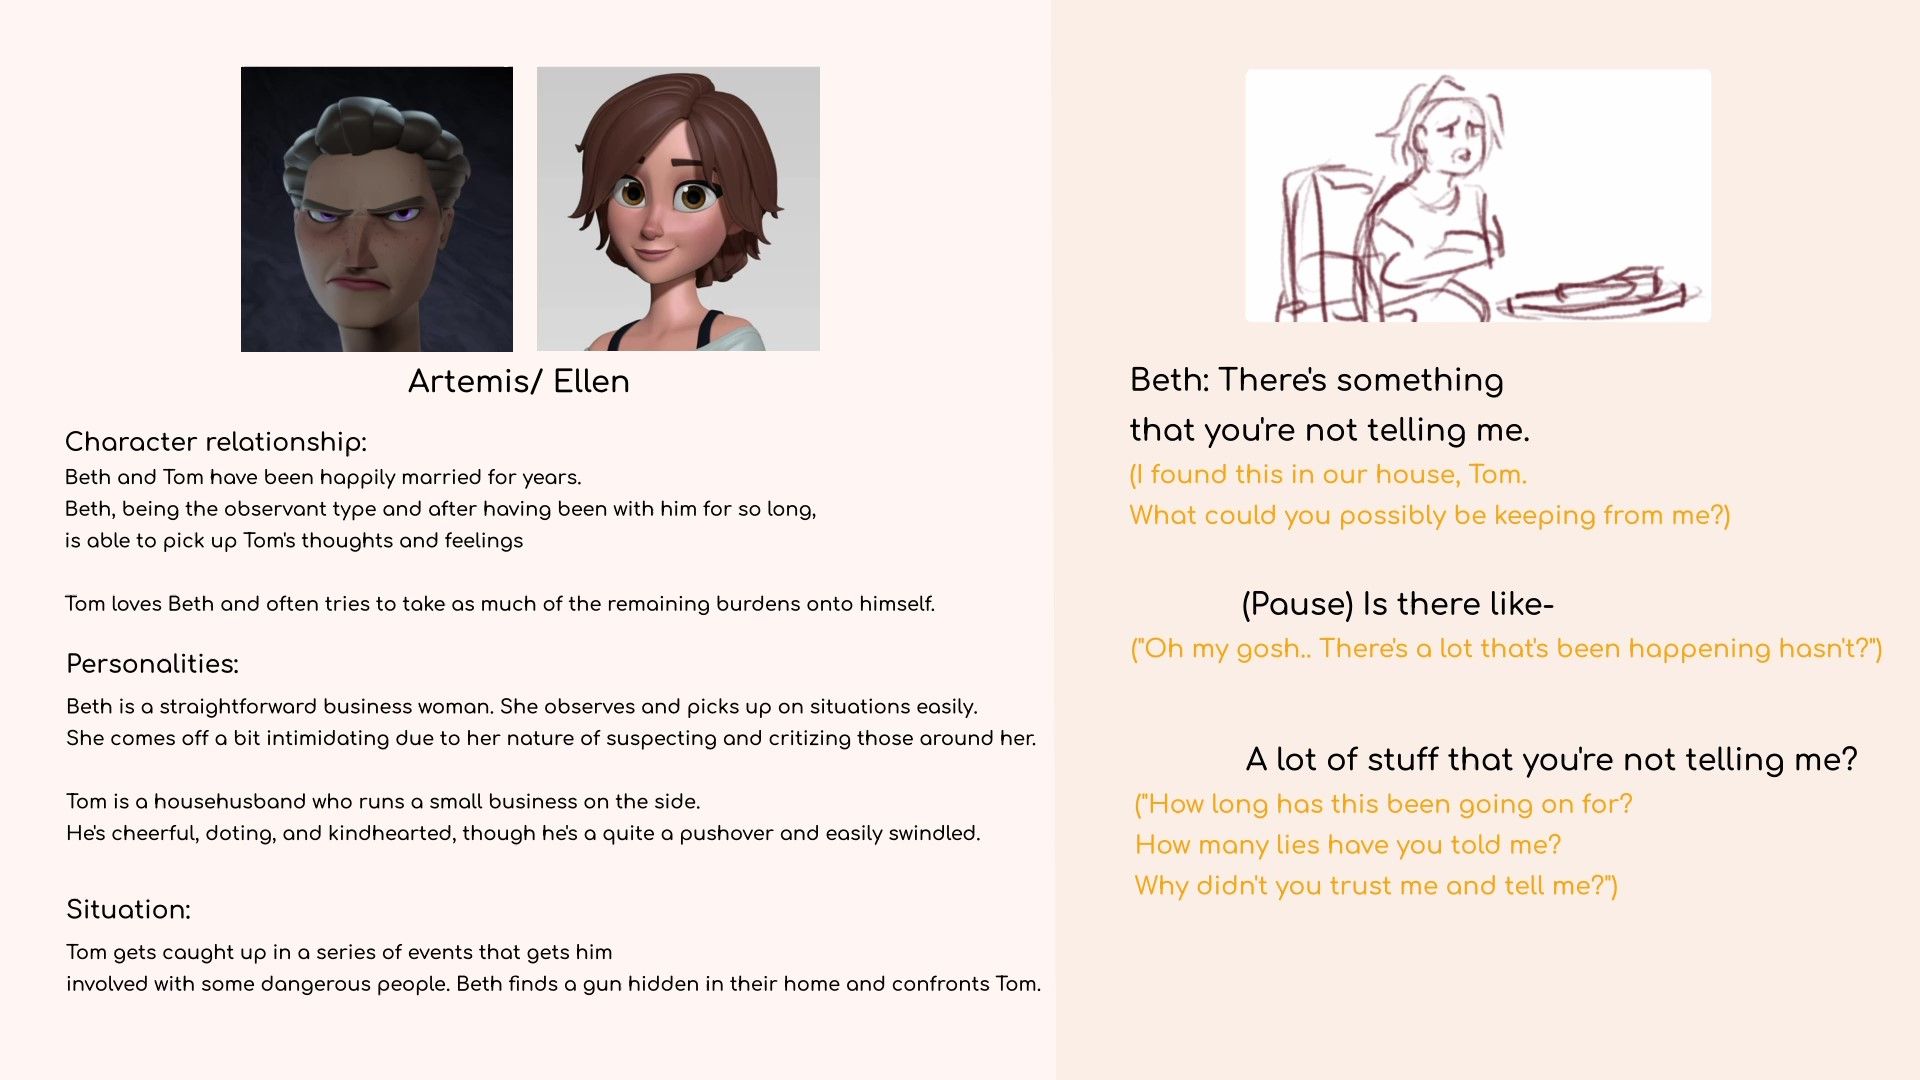
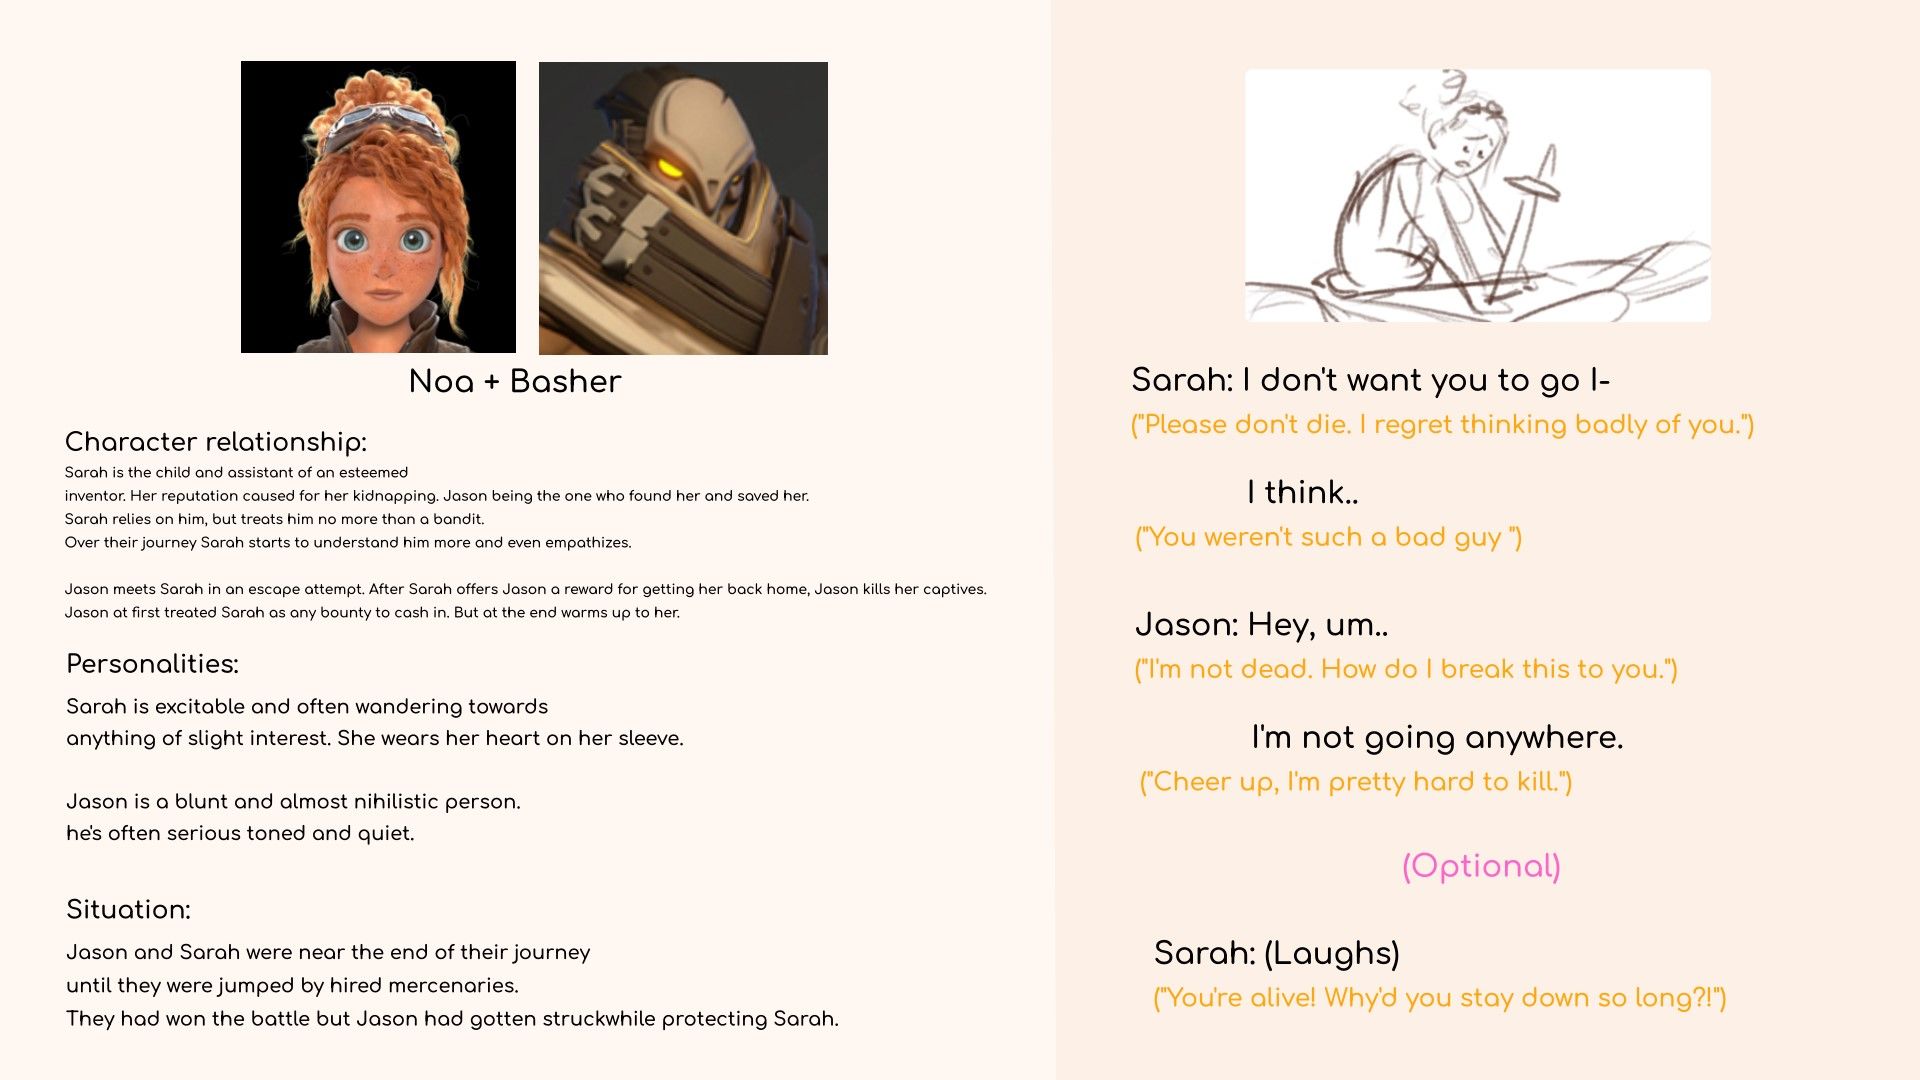
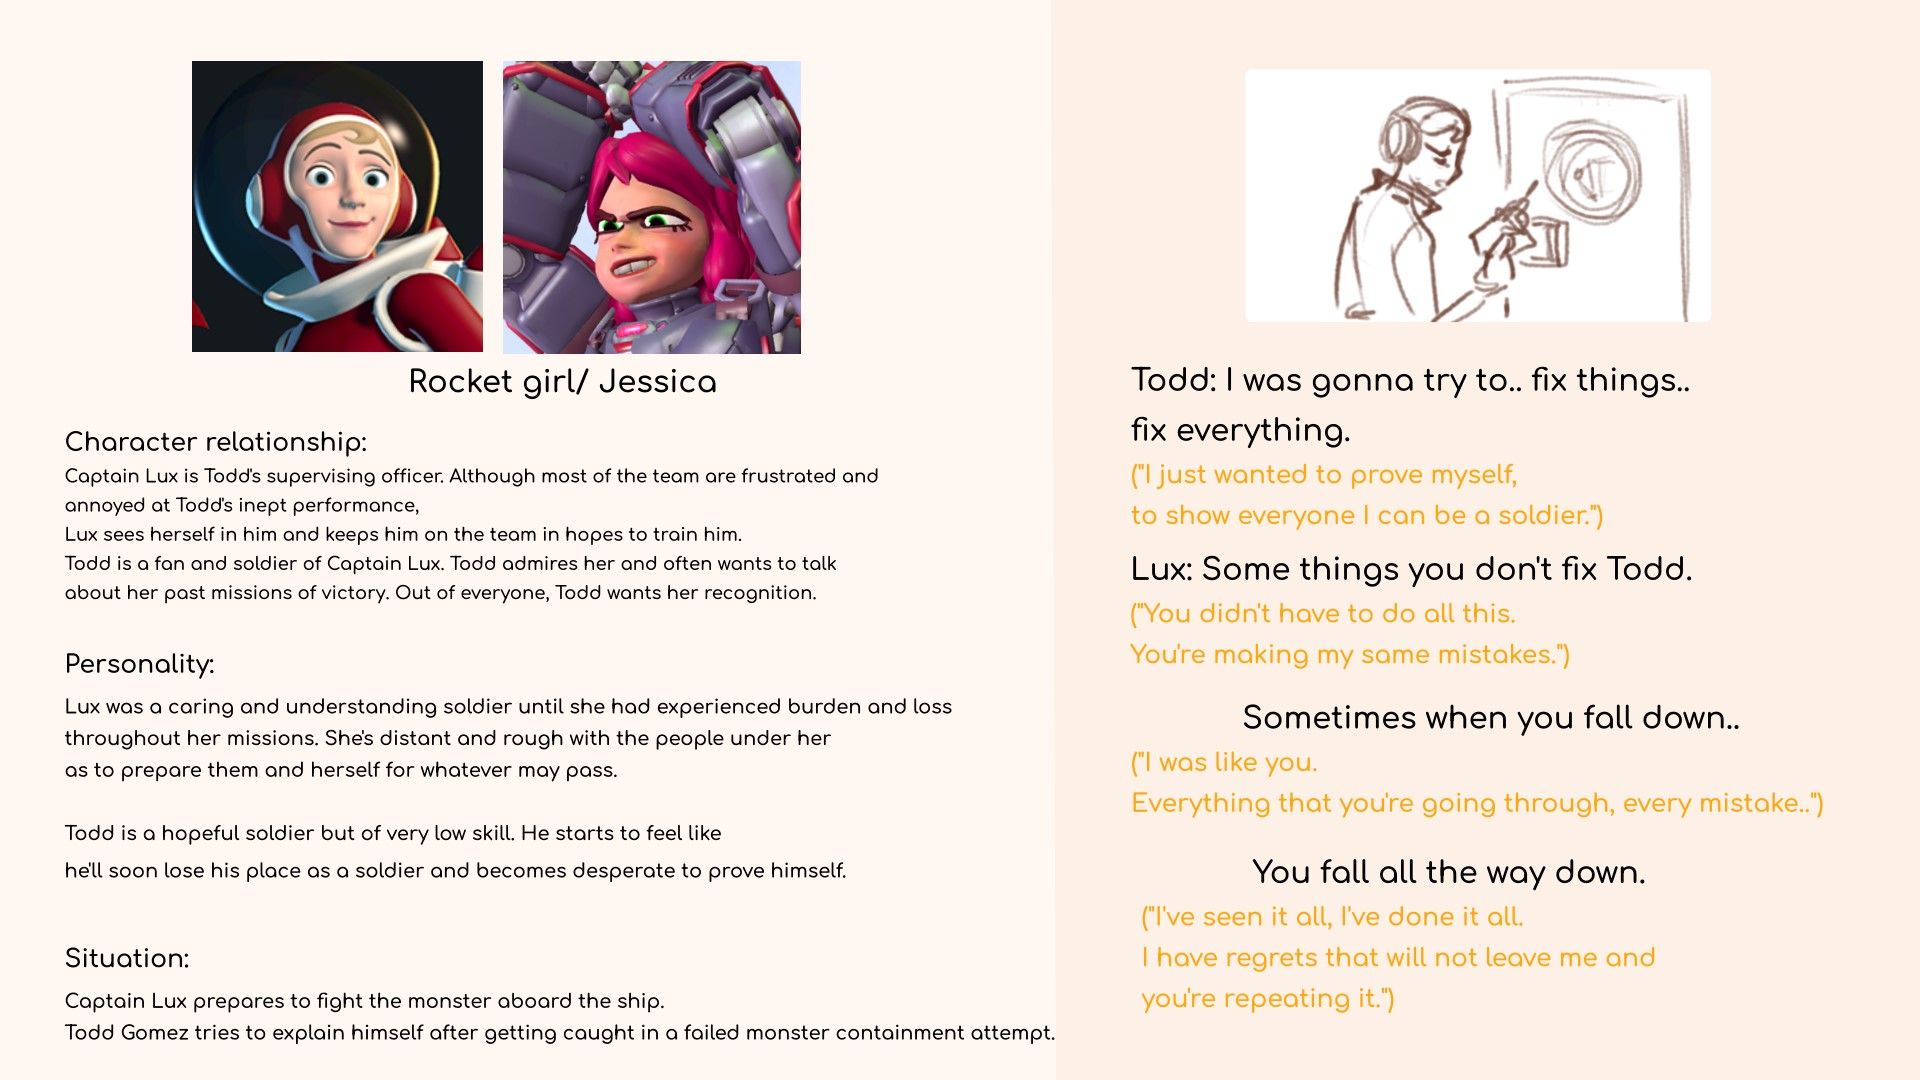
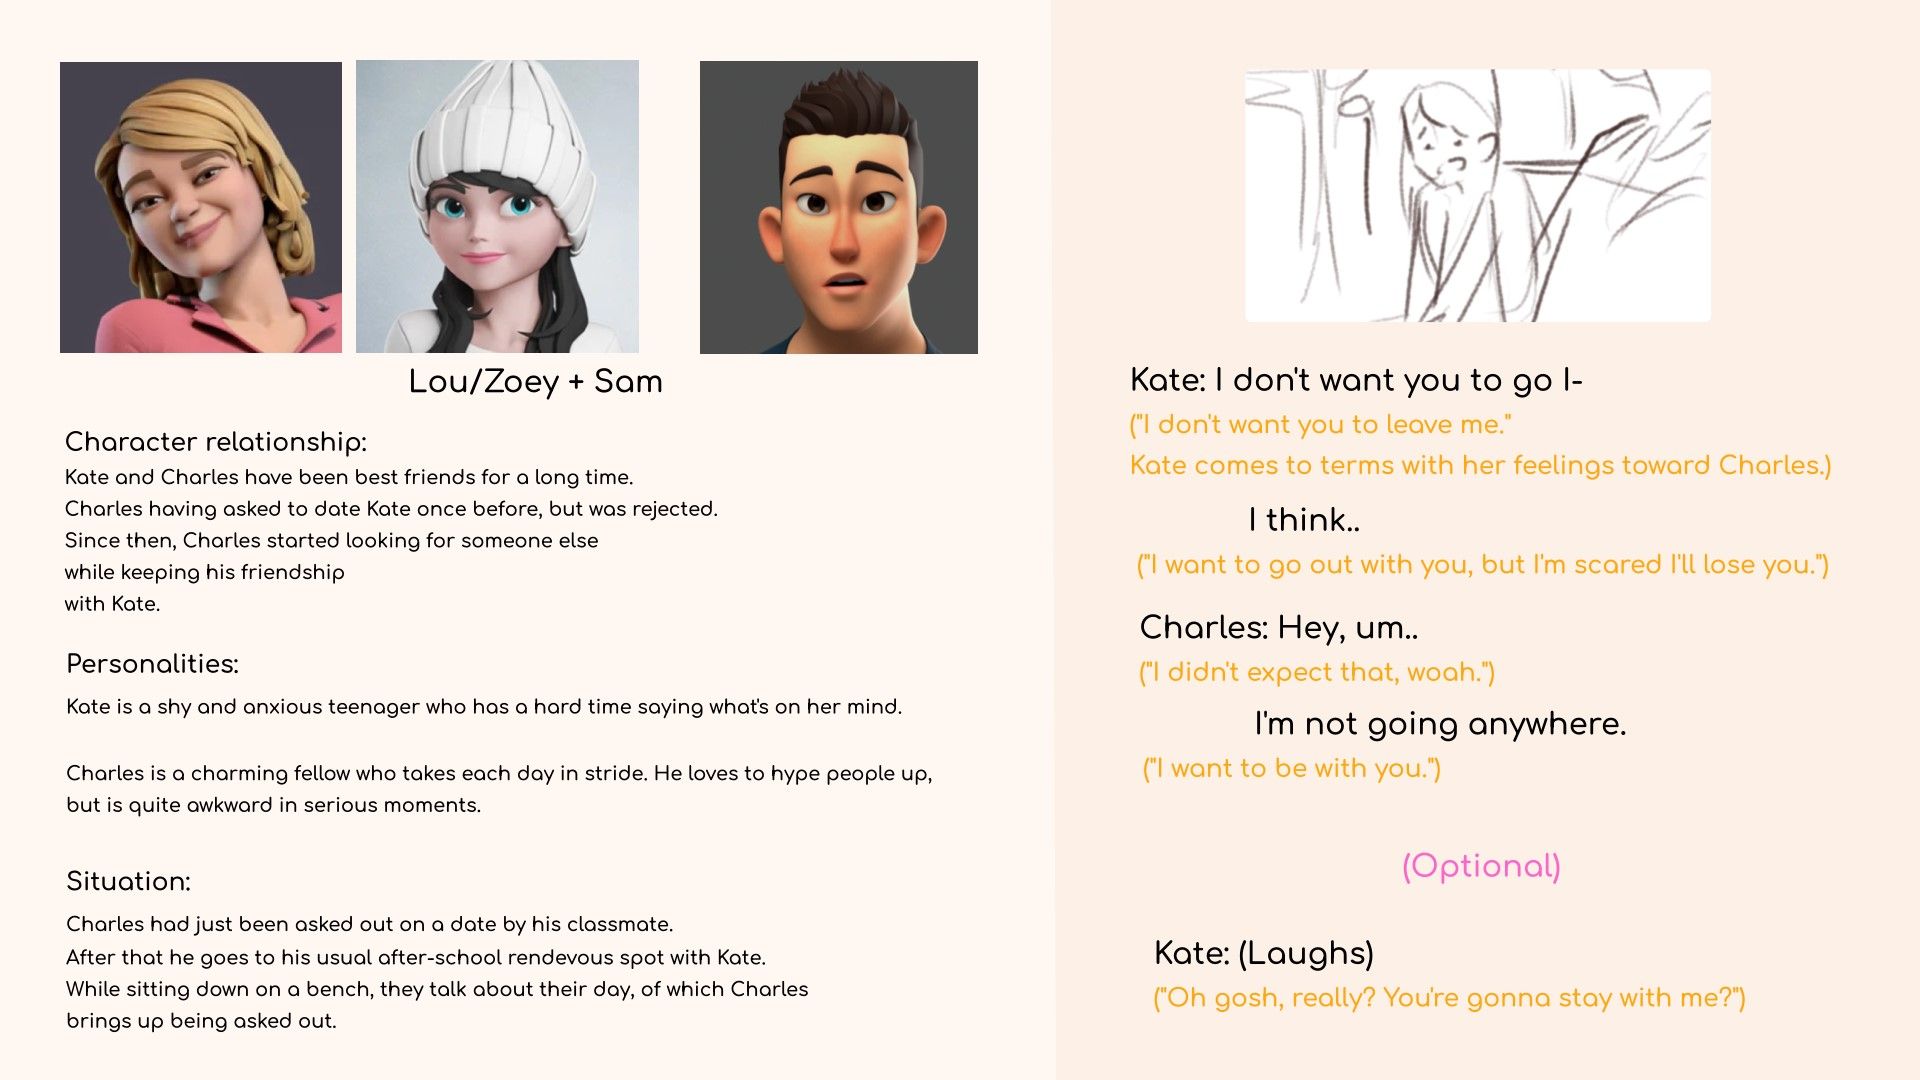
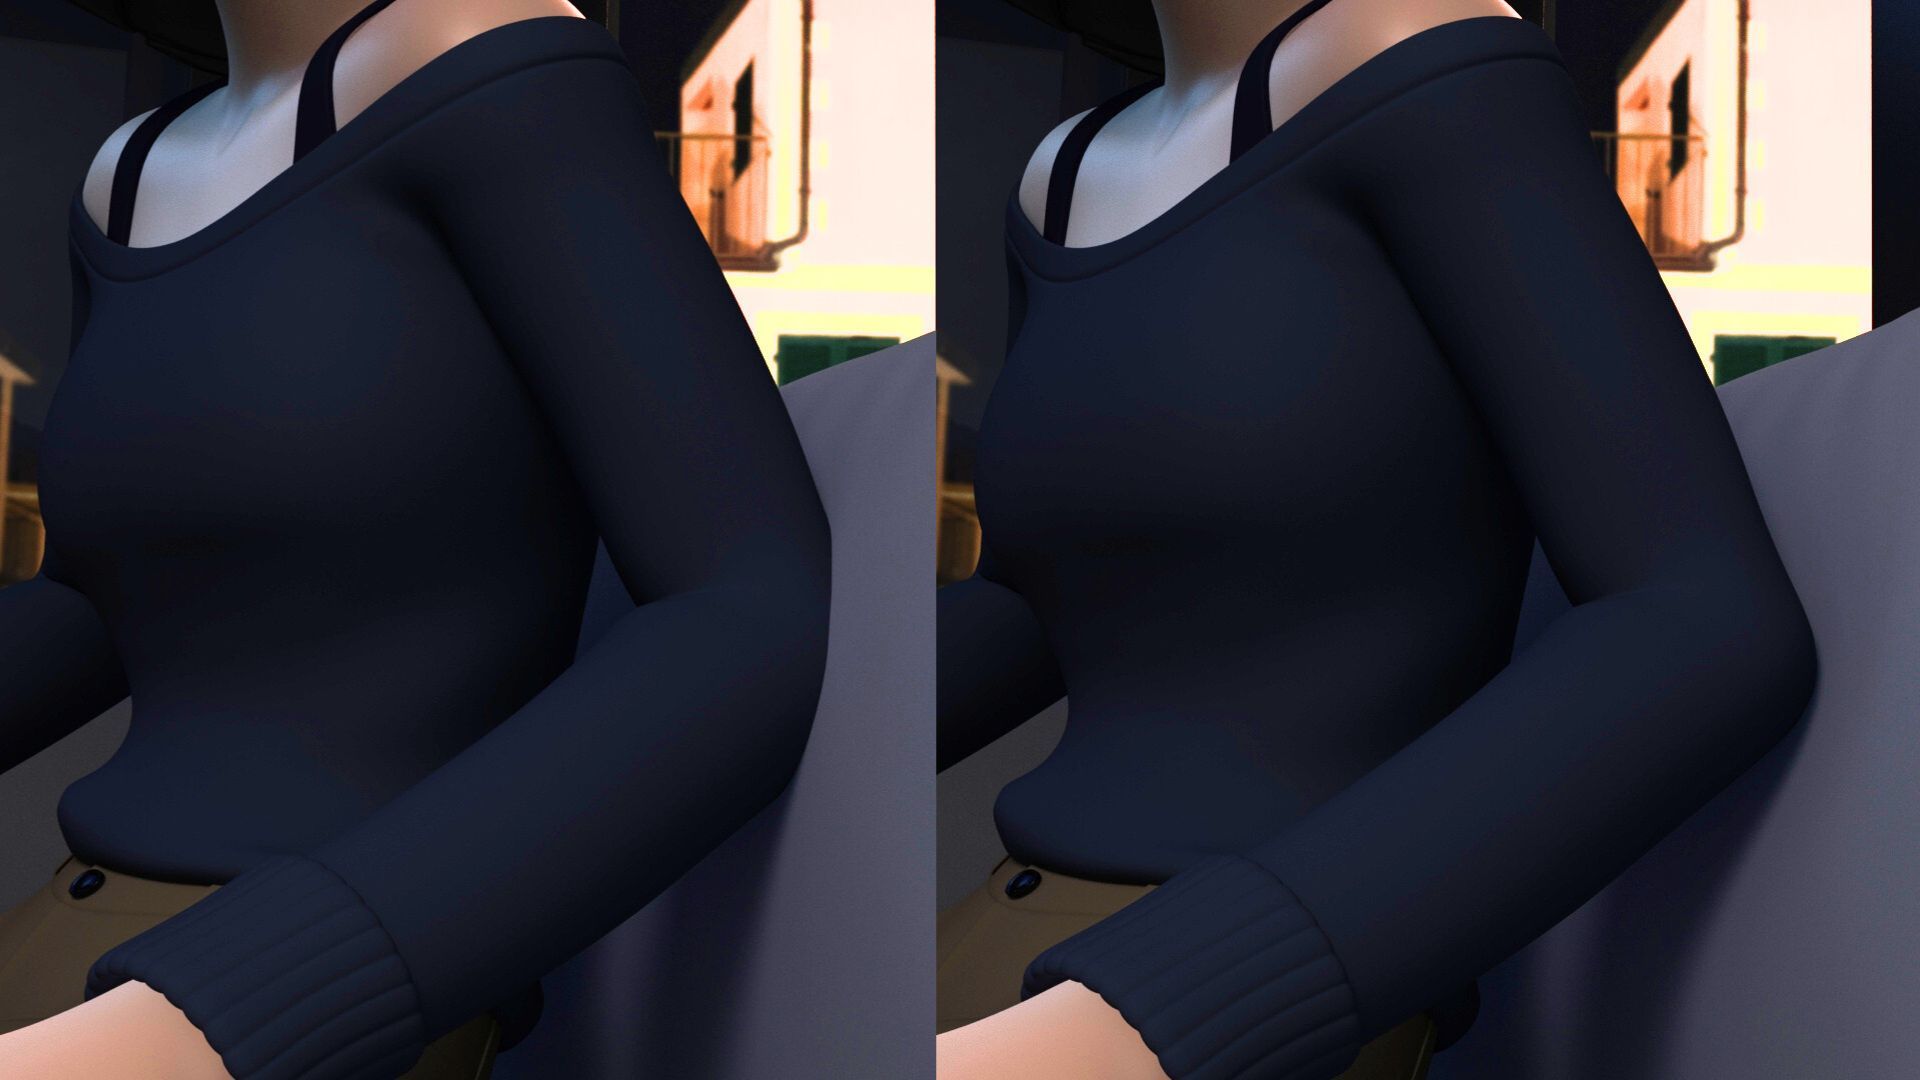
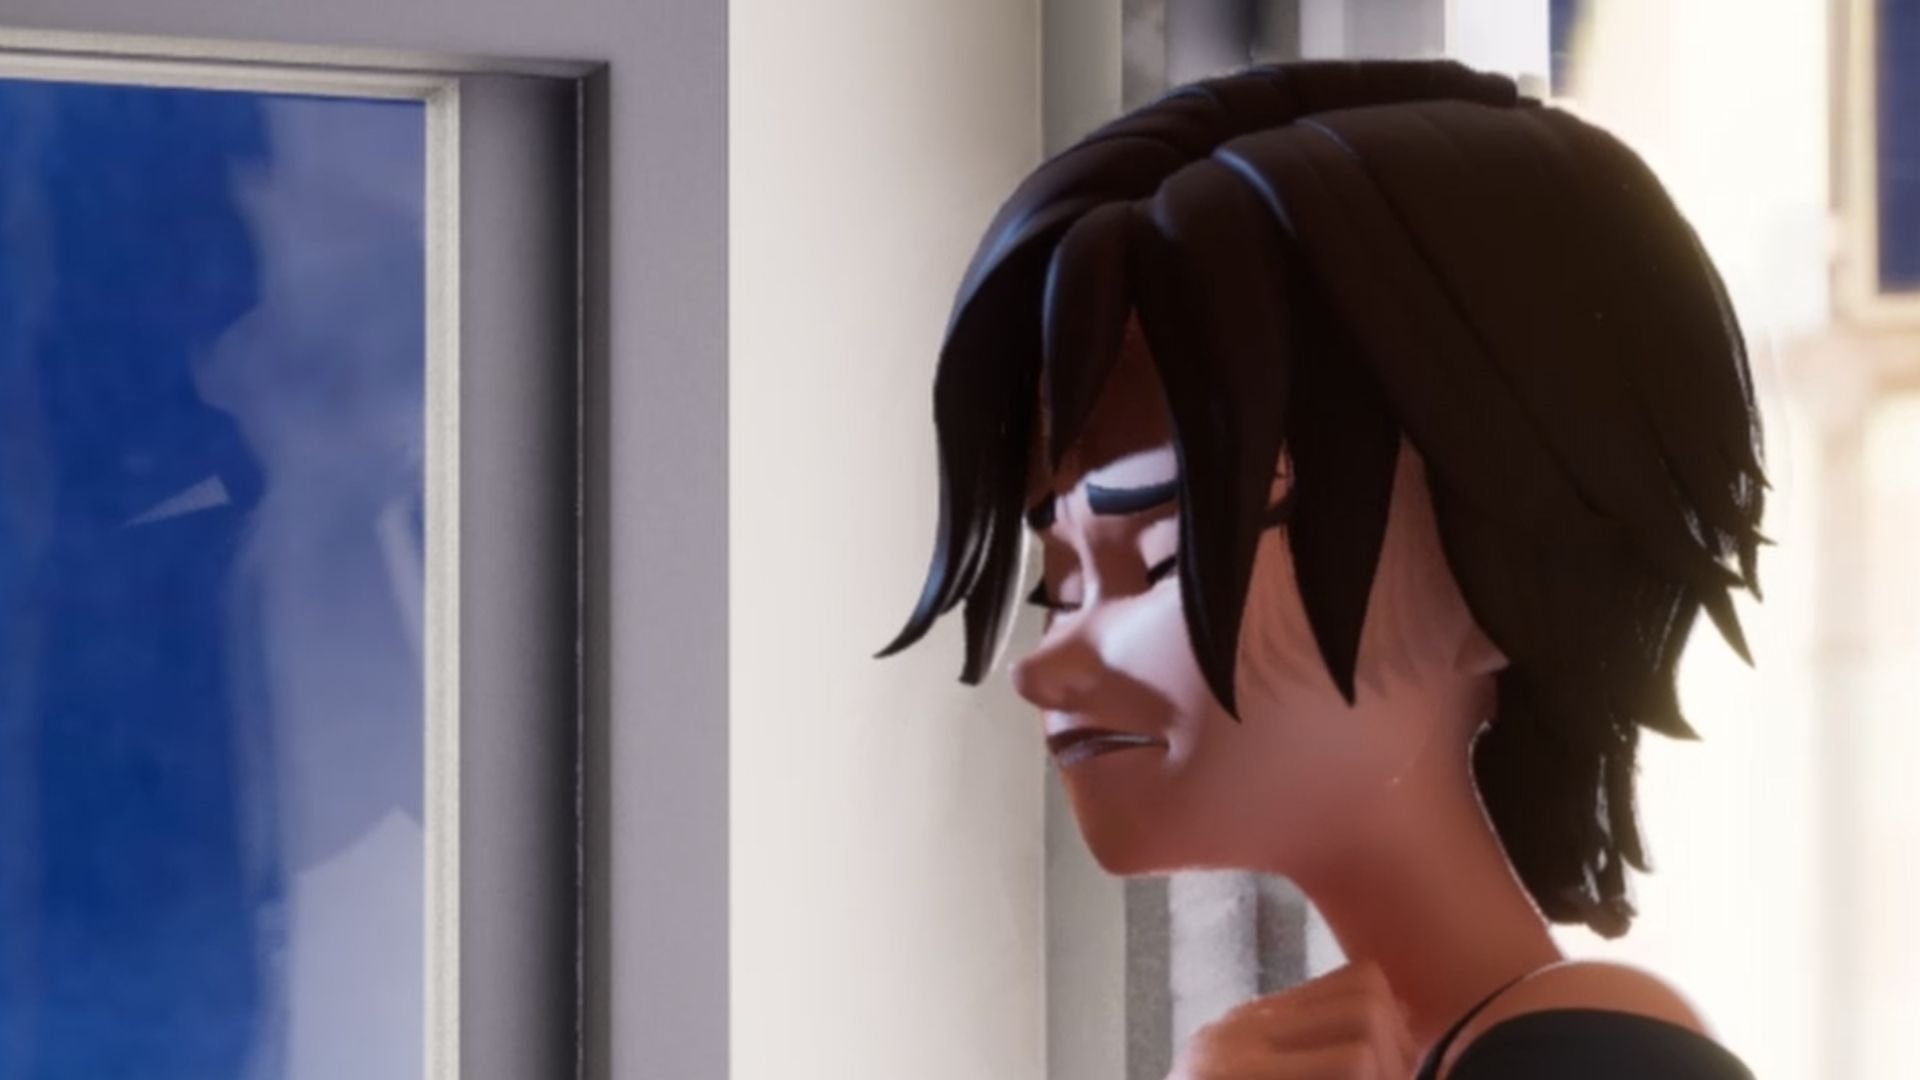
I found that due to how internally emotional this dialogue was, this shot would be a very subtle piece compared to my usually very expressive characters. This was a great struggle since it meant a lot of focus and a restriction to small movements while making sure that the character still felt alive.
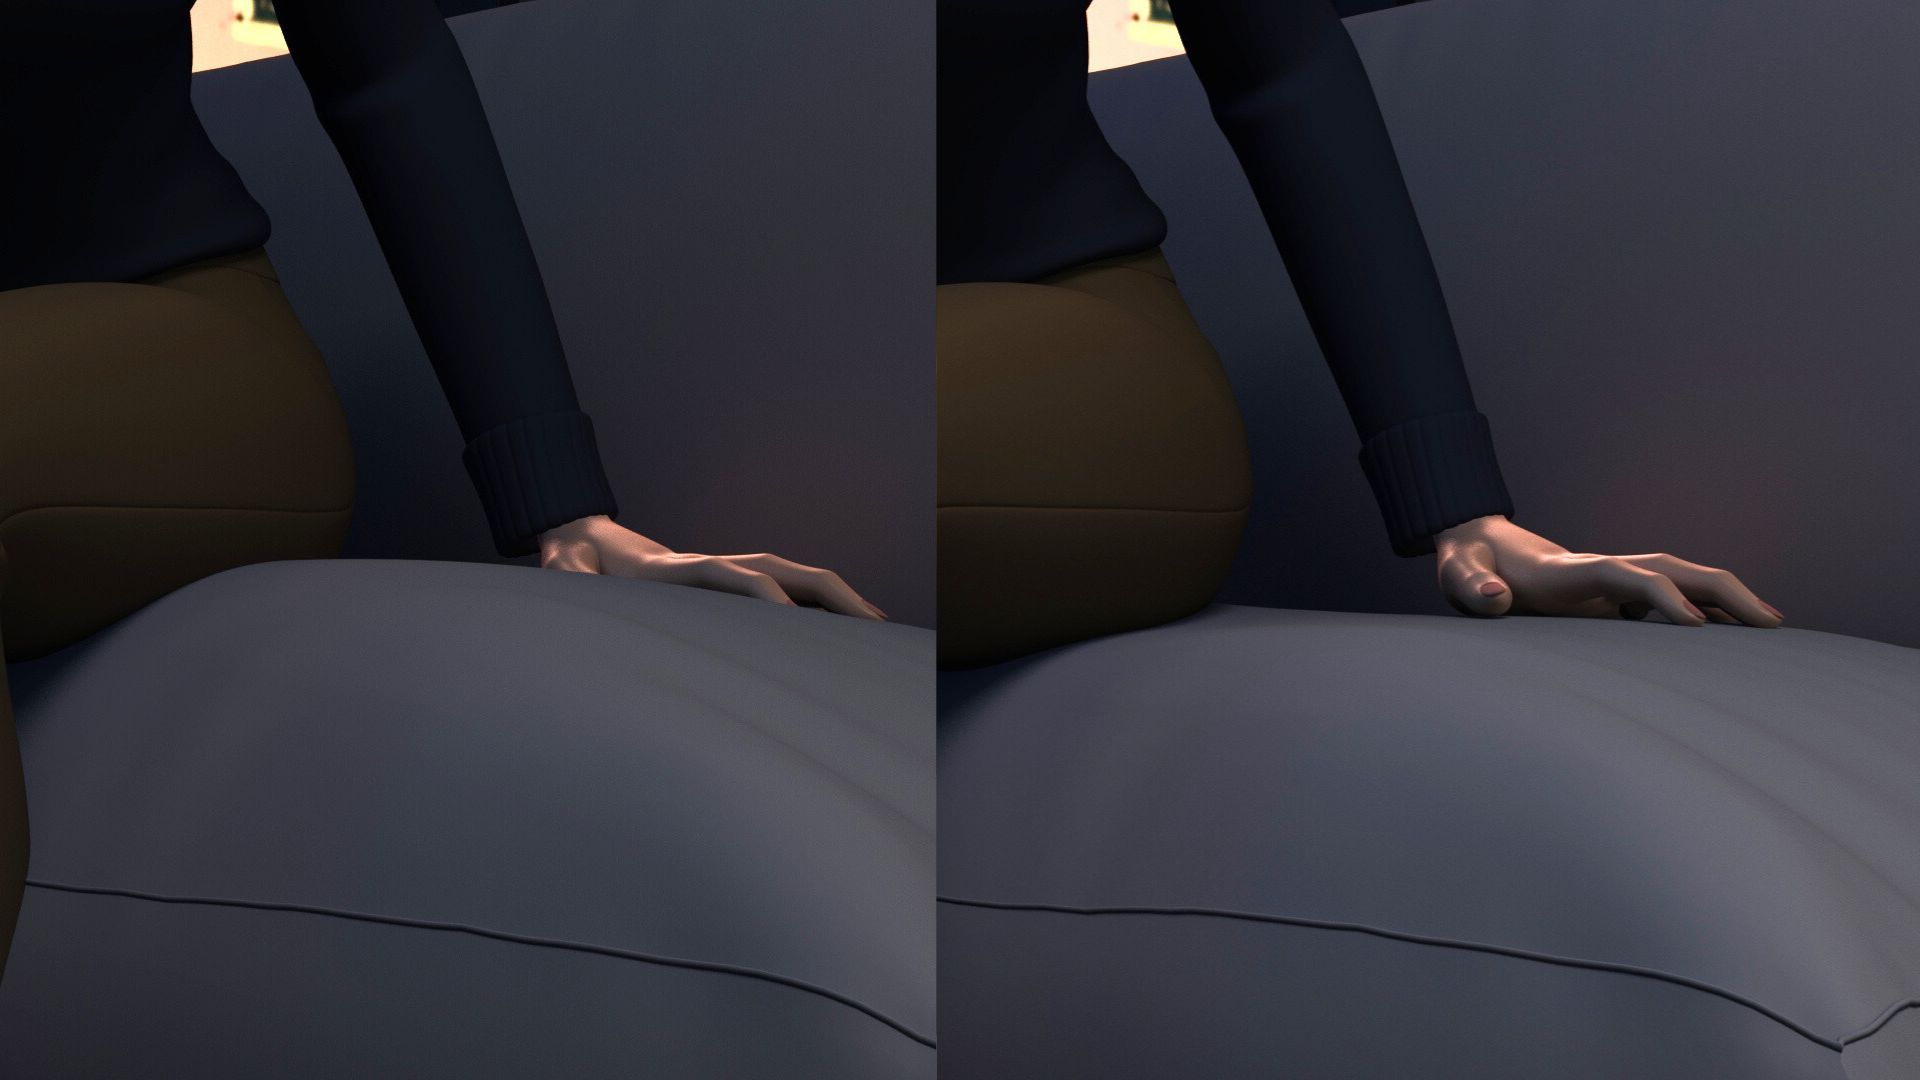
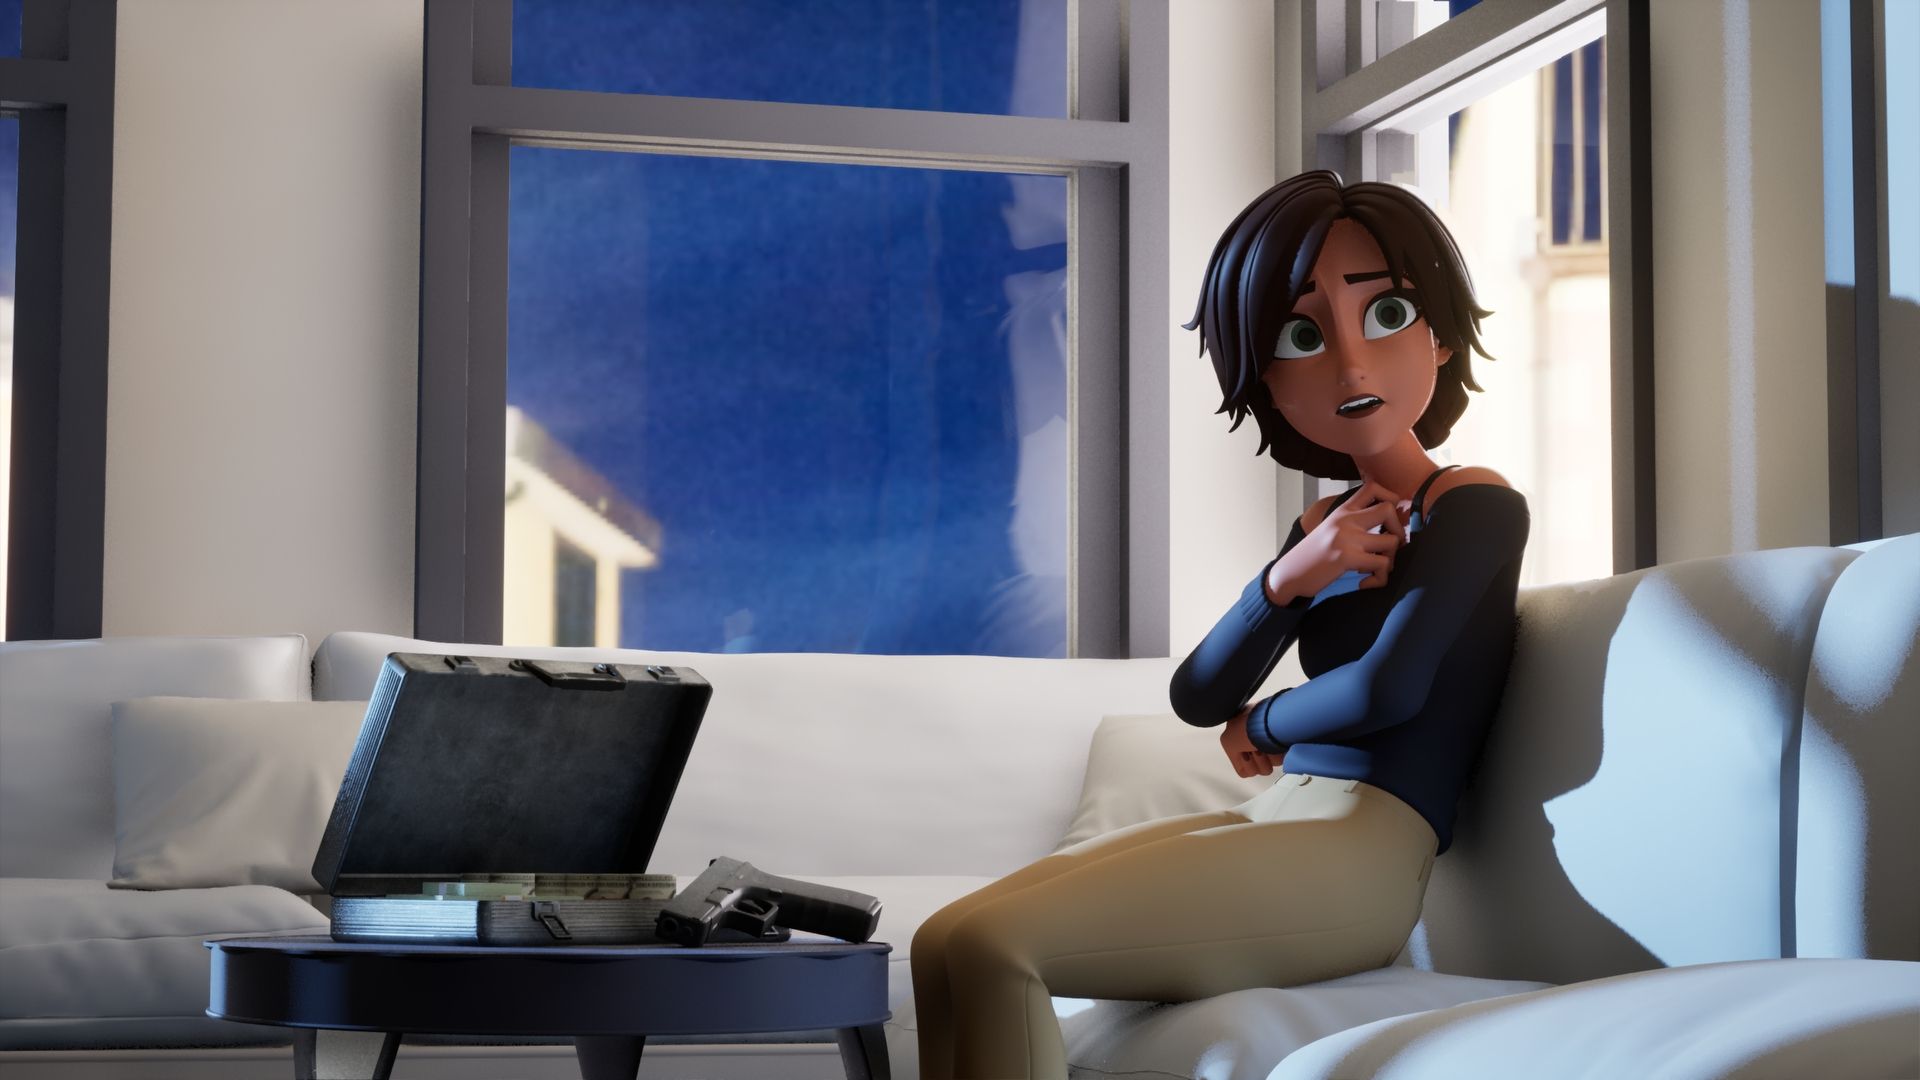
I didn’t expect it to be so hard to animate a face. I was astonished at how stiff my first attempts were for this shot. My amazement and appreciation for acting shots grew significantly after learning what I consider to be just a fraction of what goes into character acting animation. Achieving even a little bit of that organic feeling was such a satisfying accomplishment. There was a lot of focus on small movements, like her breathing. Since she was sitting on a couch, I wanted to give a slight bounce and the feeling that she had sunk into the cushion. Due to the couch not being rigged, I used the JSStickyMod, created by fRigging Awesome Studios, to deform and give that bounce whenever and wherever she interacted with it. This included her elbow clipping, her weight on the couch, and the push from her hand when she placed it down.
I used this same script and method to add animation to the back of my character’s hair which was originally static and had been causing me clipping problems.
This script allowed me to deform these objects and areas, but it didn’t animate them for me. The couch, whenever it was deformed, was hand-keyed. I scrubbed through my frames to every moment my character interacted with the couch. From there, I followed the character’s motions and kept in mind drag and follow-throughs.
Her hair was a mix of hand-keying and using a script called Spring Magic by YanBin Bai, which is helpful for overlaps and follow-throughs. I made it a personal challenge to hand-key her hair at the start, but due to time constraints, I used Spring Magic to simulate the overlap and follow-throughs for the unfinished strands. I had problems enabling the script’s collision function, which required me to still hand-key and adjust whenever those strands would clip and bounce.
This was the same workflow I used for my other shots with hair strands: simulating, adjusting, and hand-keying.
When I had to finally render it, I first tried to light it using Unreal Engine, specifically UE 5.2 & 5.3.2 Although I got a lovely lit shot with desired shadows, I noticed a strange ghosting effect affecting her hair.
It was as frustrating as it was confusing. After all, I had rendered two of my other shots in Unreal Engine without this problem occurring.
At first, I thought it was due to Unreal Engine’s built-in motion blur. I disabled those features from the project settings, post-processing volumes, and even used the console variable feature of Unreal Engine’s movie rendering plugin to try to remove this effect. When that didn’t work, I tried different project anti-aliasing methods and tinkered with the movie render plugin’s anti-aliasing settings. I experimented with different temporal samples, hoping to find the sweet spot.
Although I rendered versions where the ghosting of the hair was fixed, the problem would then appear on the face, creating a muddy look. There would be ghosting problems on the body or flickering of lights. I fiddled with my light settings, attempted to import the settings of another project that didn’t have such problems, and tried creating new projects and putting the assets back in from scratch, thinking I must have messed up a setting due to all my tinkering. Still, the problem appeared again and again.
Despite hours of tinkering, asking peers, watching videos, and referencing online threads, it just wouldn’t fix. The shot was rendered over and over. A major pro of Unreal Engine is its quick rendering, but I still wasn’t getting the shot I needed.
At one point, I tried to Frankenstein renders together in DaVinci Resolve to see if I could blend my version of the fixed hair with a version where only the hair was the problem. It was messy and ultimately posed more problems and required ludicrous labor.
So, I decided to scrap my Unreal lighting and start anew in Maya Arnold. After a long time of back-and-forth adjustments to the lights, waiting, and rendering frames, I finally settled on a different atmosphere from my original lighting.
After it was rendered, I found that due to the difference in how Maya encodes colour, the export didn’t match my rendered previews. I used DaVinci Resolve to adjust the colours, brightness, and blurs.
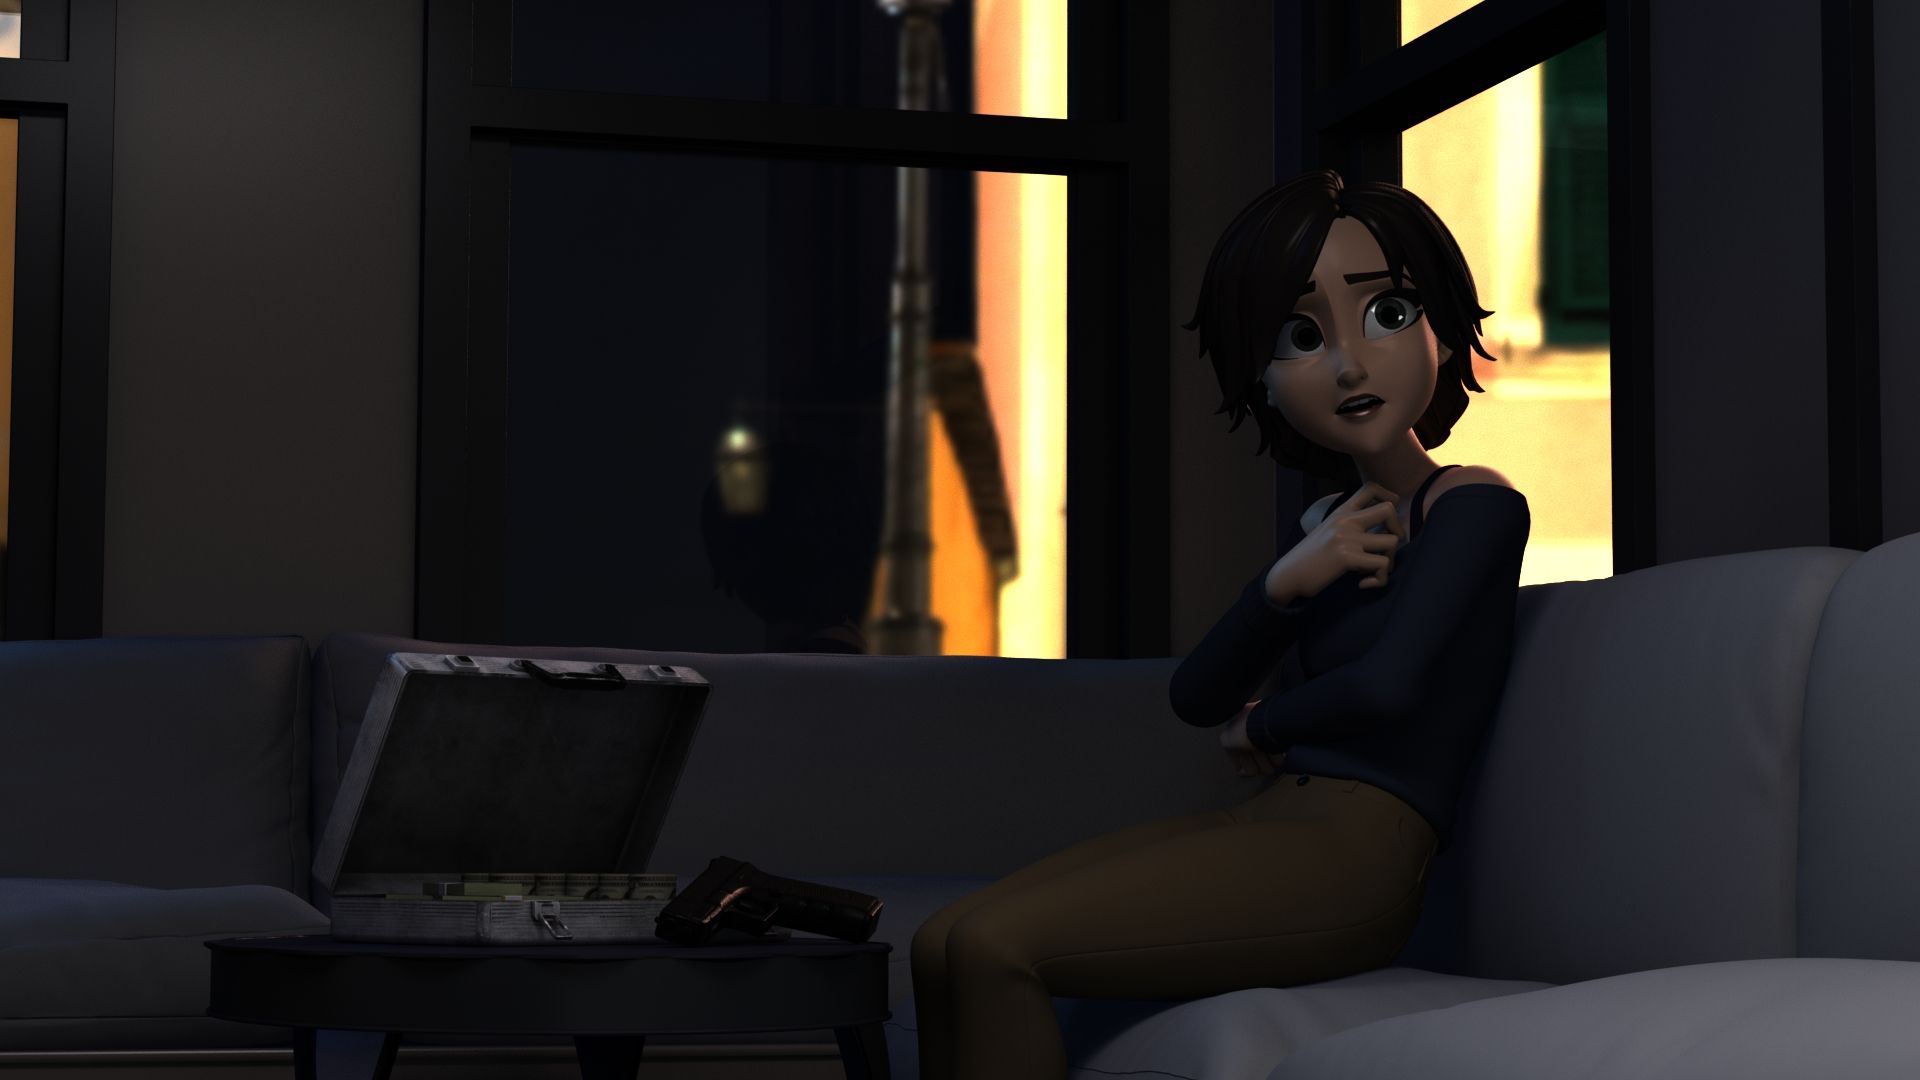
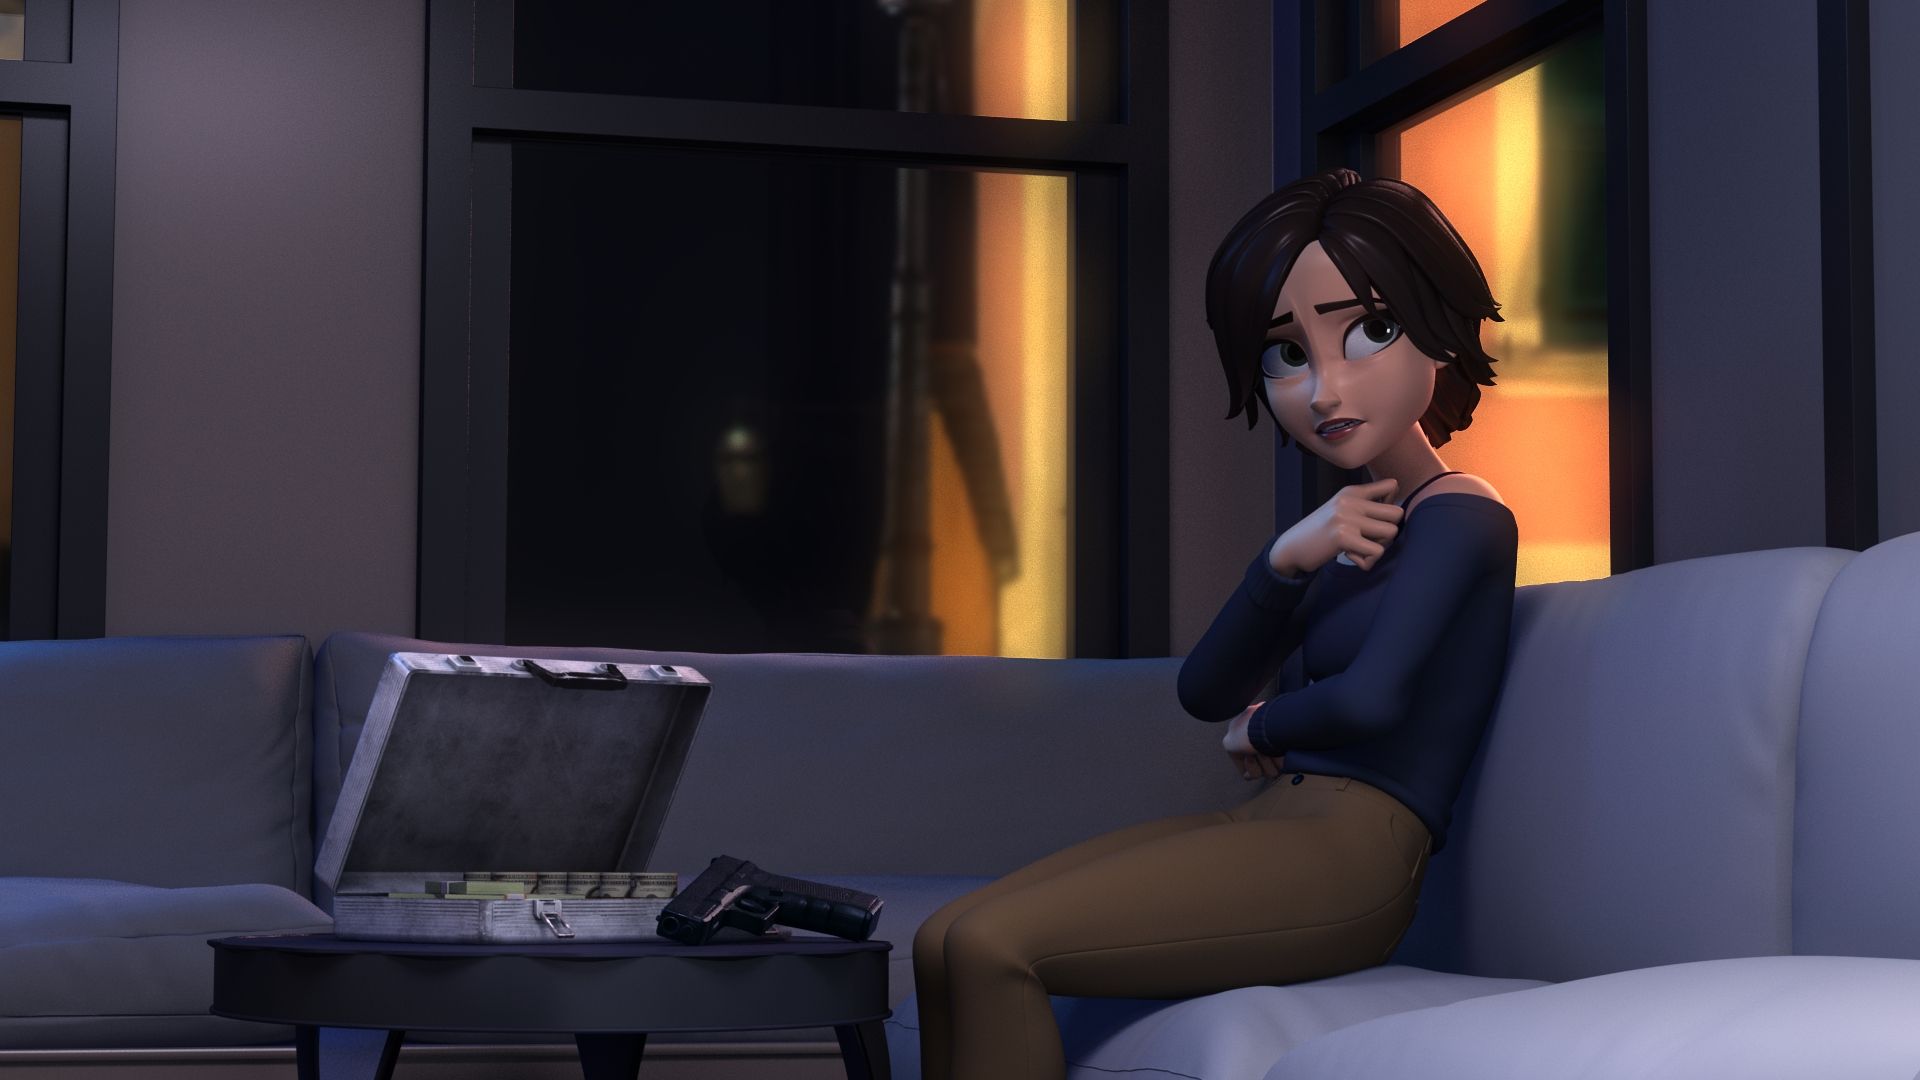
When I imported the EXRs into Davinci, the sequence was much darker than the preview. The main room was dark, and the background was too bright and saturated. I adjusted the overall shot to be brighter, a bit more saturated, and towards a blue hue for a more mysterious night feel.
I was thrilled to discover that "We Suck Less" had created a cryptomatte feature within their plugin, Reactor 3. I learned how to use it, and thanks to that, I was able to easily comp my dialogue shot. By installing Reactor, running it in Davinci Fusion, and enabling Hos_SplitEXRUltra and Cryptomatte, I was able to use the feature within Davinci’s Fusion Page.
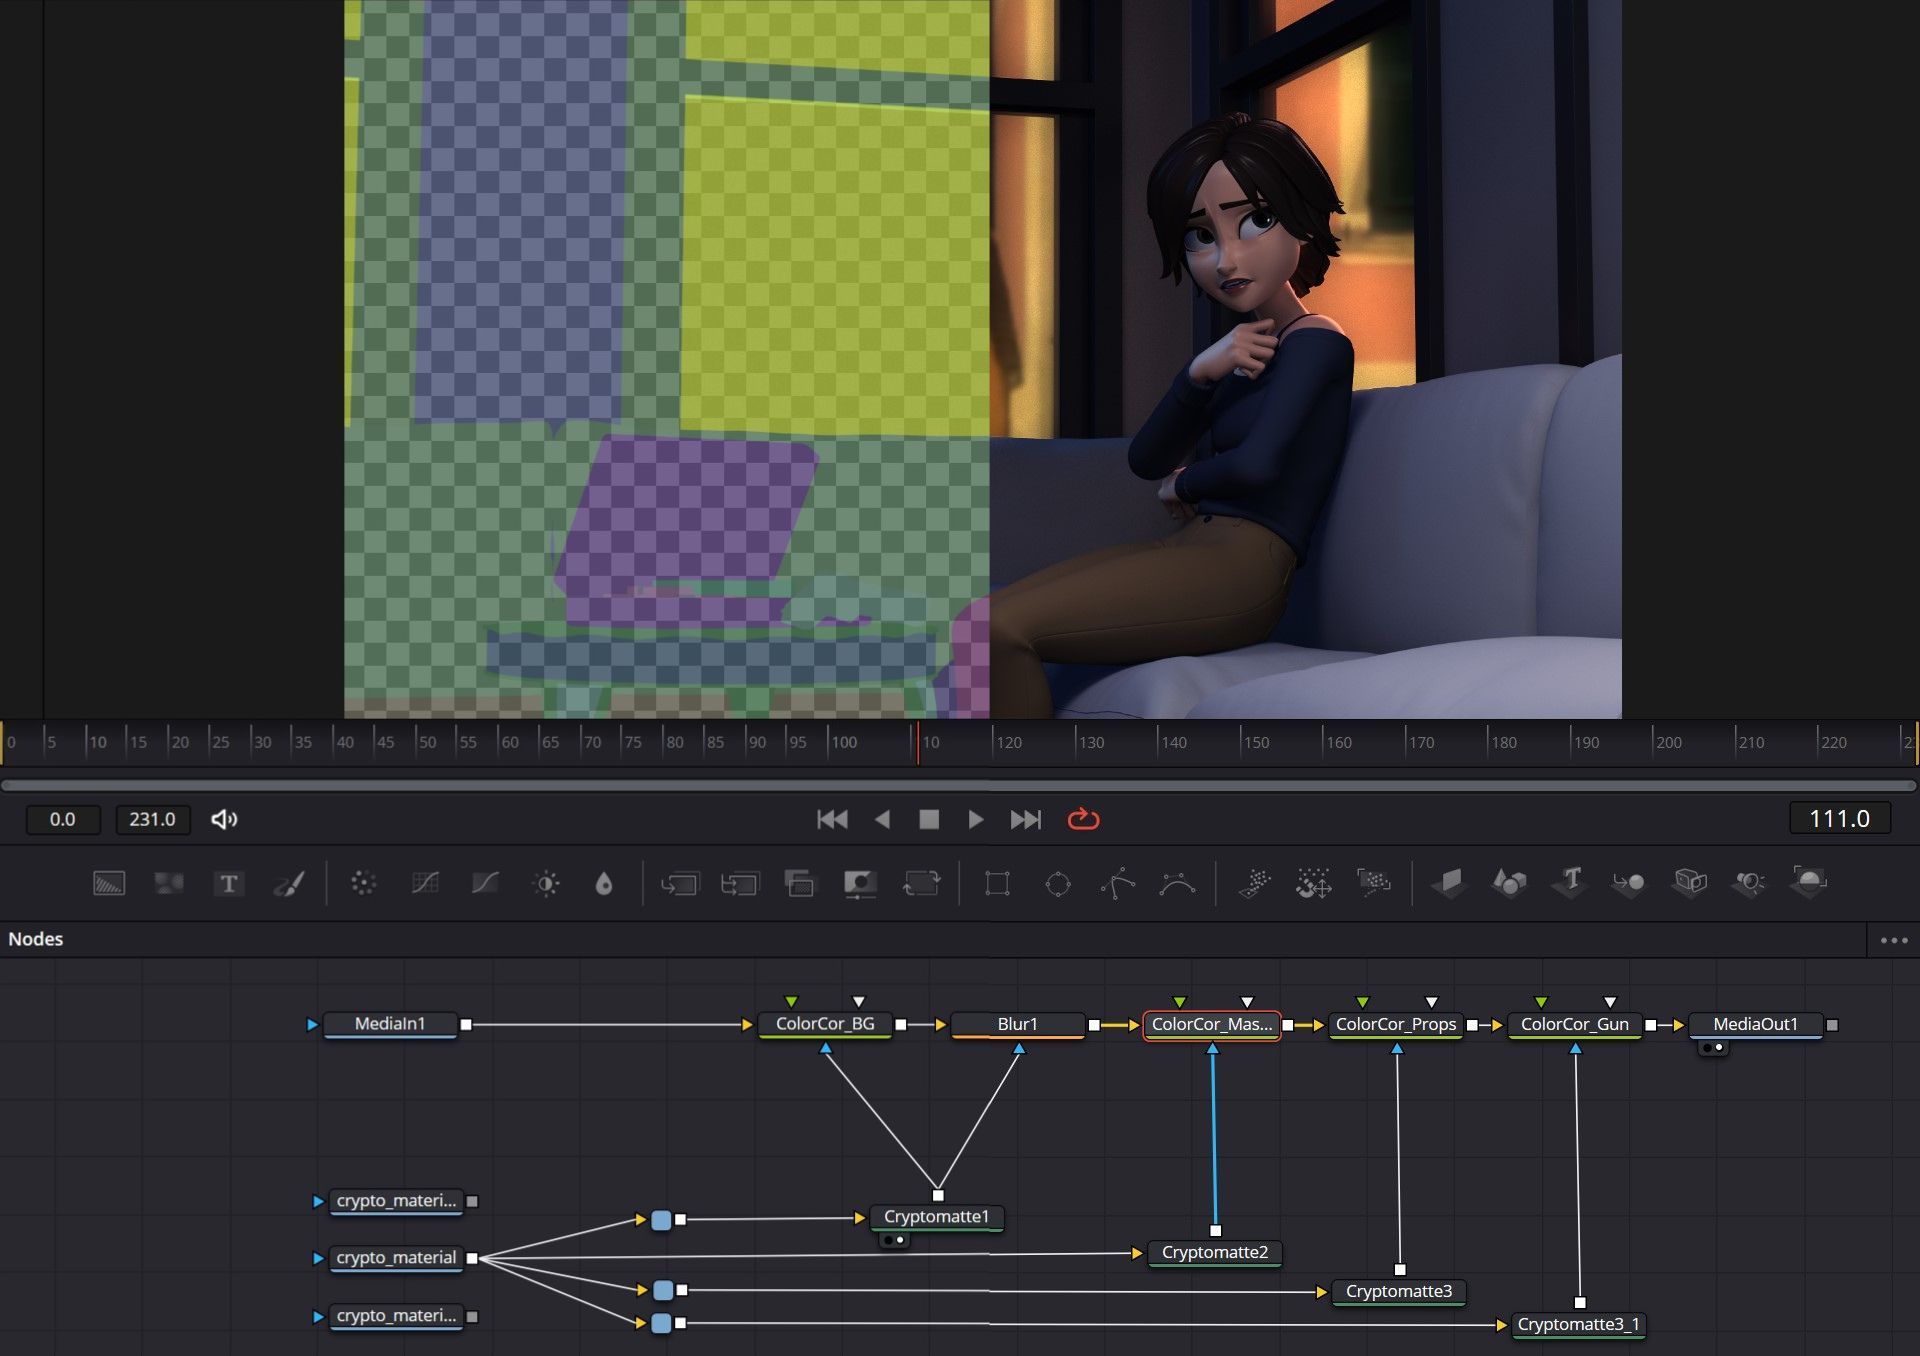
Using material cryptomatting, I was able to adjust the background to be less saturated, reduce its brightness, and add blur for a feeling of depth. I increased the brightness of the suitcase and pistol so that they would stand out more and be better seen without being too loud for the shot while keeping them from blending into the couch. I then changed the tones of the pistol to have a blue hue instead of its original red-yellow hue to better match the color of the scene.
Once all the colour and brightness adjustments were done, I topped it off with subtle light rays using DaVinci’s effects in the editing page. Had I not discovered and learned how to use cryptomatting in Davinci, I most likely would have had to manually and laboriously rotoscope the shapes combined with chroma keying. Thanks to the plug-in, I saved a lot of time and avoided unwanted frustration.
There was a lot to learn, learnt, and to be learned. Despite the challenges, I’m overjoyed to see my character talking and expressing. I only hope to get better and to eventually create characters that have their audience rooting for them.
Check out more of Alexi's work here.