A Beginners Guide to 3D
If you're a beginner in 3D, you're perhaps just starting to realise how big of a world you're stepping into. So here's a beginners guide to 3D.
If you're a beginner in 3D, you're perhaps just starting to realise how big of a world you're stepping into. So here's a beginners guide to 3D.
If you're a beginner in 3D, you're perhaps just starting to realise how big of a world you're stepping into. So here's a beginners guide to 3D.
It's an immense field you can spend a lifetime learning, and as such, it's very intimidating. We remember how incredibly lost you can feel when you're new to 3D and perhaps art, in general. We're going to try to help you to get an overview of what 3D actually is and how you can get started with it, such as core concepts, basic terminology and a brief description of all the major 3D applications out there.
The internet is amazing for learning about 3D and all the information you'll ever need is out there, but the problem is that it's scattered all over the web. This was one of our main motivations for making this extensive tutorial – to collect the information in one place and to help beginners in the field.
While 3D can definitely be technical at times once you know the core concepts, it's fairly straightforward and you can start to create art from your imagination without being constrained by technical limitations. In this section, we're going to explain the overall process when working with 3D, using more real world terms you are all familiar with. The numbered sections show the order of processes during a project. The earlier you are in the project, the more back and forth you can go between processes. For instance, you can concept using modeling and vice versa. Once your concept idea is cemented, you usually need to stick fairly rigidly to this process, to save yourself a lot of time and stress.
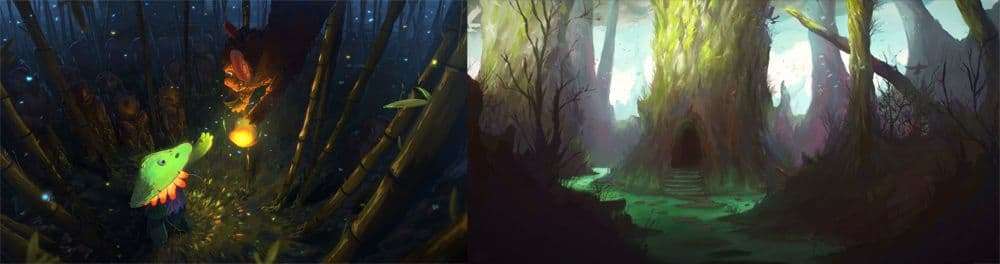
This is usually the first step in any project. Here you start with really just figuring out what you want to make. There isn't really one way to do this, as the mindset of whatever works is king at this stage. It doesn't matter whether you use a photo or a drawing here. The point is to get an idea of what you want your final image to look like.
Here are some examples of concept sketches for various projects. As you can see, they vary a lot of styles and how they are made. In the creative industry, a concept artist is also a profession which can be a full-time job in a lot of cases.
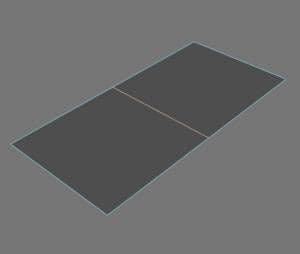
We can compare 3D modeling to being a sculptor, but a digital one. In 3D, the basic building blocks are polygons, rather than stone, wood, or clay. 3D models you see in games and movies are made out of polygons.
All 3D applications can do polygon modeling to some extent, where some are better than others. Polygonal modeling is very precise, you create the 'clay' as you go along, kind of like lego bricks that you invent out of thin air.
We all know a cube is made up of 6 faces, and so it is made up of 6 polygons. Polygons are just a fancy term for faces. When one is connected to other polygons, you can make a shape in 3D. You can also imagine them as sheets of paper you cut out and stick together in different ways to form a shape.
The fancy name for the corners or junctions of the polygon are called vertices (singular = vertex), and the corners are connected by edges to form the lines that bound the polygon. Together they are the simplest building blocks you need to know in order to get started in 3D.
Below are three examples of this, a cube in 3D where you can see we have marked off one of the faces as a Polygon. Another is showing four Vertices selected and the last one is showing an Edge.


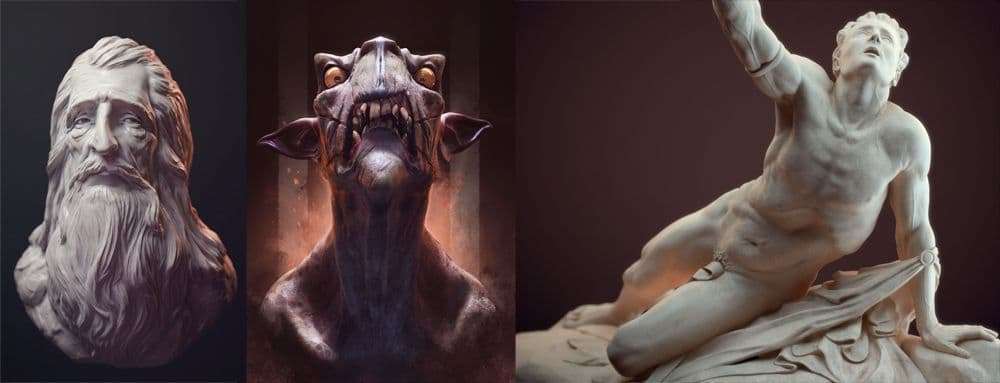
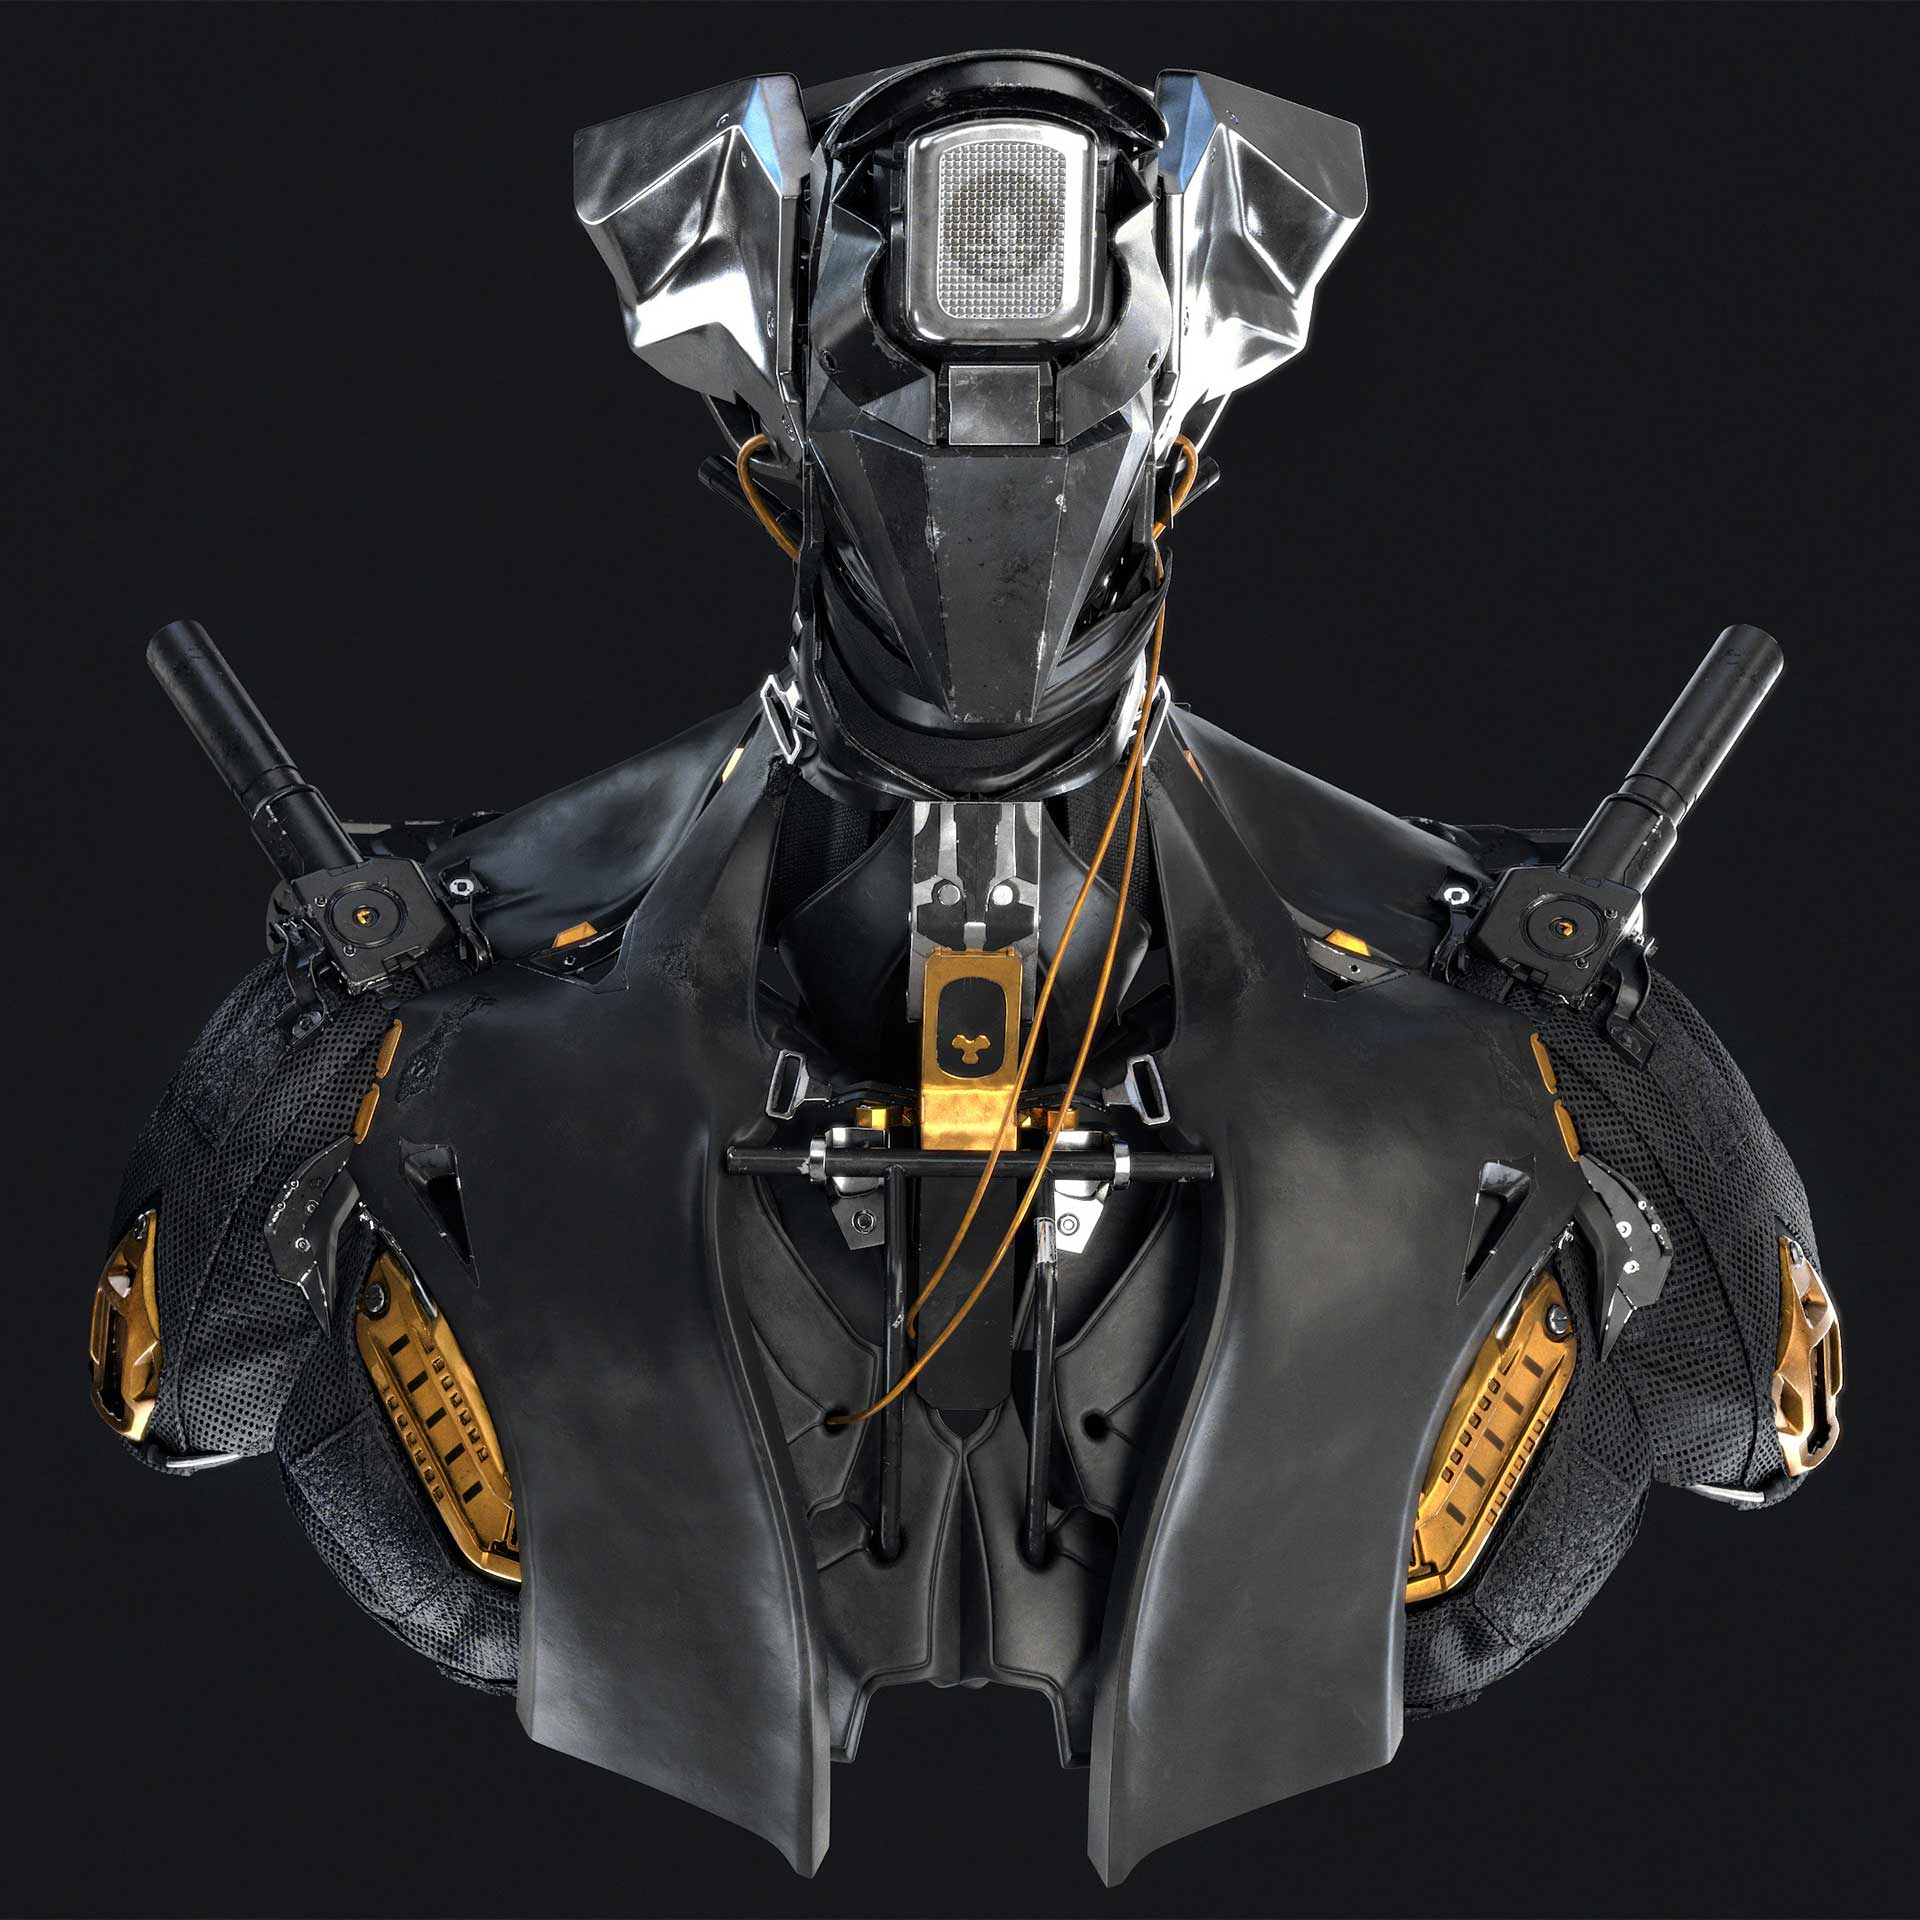
You can start with polygonal modelling, which will help you really understand all 3D, or you can play around with sculpting, which is more specific to certain types of software and more like what a traditional sculptor does. In sculpting you start off with just a pile of 3D 'clay', that is basically a load of messy polygons which you move around to sculpt the characters and environments. This is very creative and flexible and good for things like people and trees, but not so much for objects like cars that are very precise.
So to sum up, you can split modeling into two categories: Polygonal modeling and sculpting. Both require different pieces of software and different skill-sets.
Sculpting is more organic and artistic friendly and for this we recommend checking out ZBrush or Sculptris (you can read more about these below in the Software-section). It's a very natural process and it's very similar to working with real clay. The ZBrush video below is a good example of sculpting. Here you're modeling something which is alive, like a human, a tree or an animal.
Texturing and shading is the phase where you're defining the colours and materials on your model. While texturing and shading work very much together, we have to split them up in order to explain the two parts in an easy and understandable manner.
Texturing can be compared to painting your model with real paint. You have a bucket of paint and a brush which you use to colour the model.
Of course, once we get into actually painting the textures, it will become more complicated than that, but for a simple explanation, it works fairly well. As opposed to modeling, texturing is a very specialised task and only a select few applications can actually do it, and even fewer are great at it.
Texturing is an extremely important part of the project. If the model is bad, you can sometimes hide it with good texturing, but a good model can never hide bad texturing.
Shading is where you tell the 3D application what material something is made of. For instance, if you’re making a soda bottle in 3D, you need to make the overall bottle transparent plastic and the cap into opaque plastic. You wouldn’t need much texturing if any at all, for this part. Then you need to make the label.
You use shaders to tell the application that the label is made of thin opaque plastic, and paint a texture to put on the label, which shows the logo and anything else, like text, you want to include. Now your label will have the right paint on it, and it will be really reflective, shimmering in the light like a real plastic label. Shading can be more technical than texturing, as all you’re doing here is adjusting numbers in a shader. The key to mastering shading is to know how light operates in real life and how to control things like reflection, transparency and so on.
Four important concepts we're going to explore in regards to shading: Refraction, reflection, diffusion and scattering.
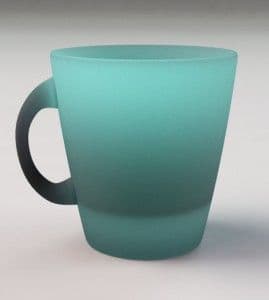
Refraction is the way that light behaves when it goes through a translucent or transparent object, like water or glass.
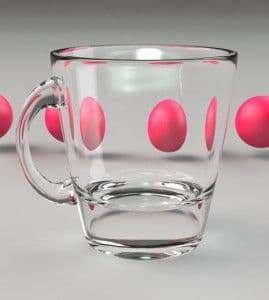
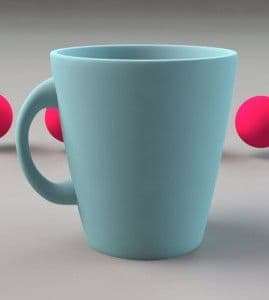
Reflection is about how much light bounces back off an object when it hits it. An object can be fully reflective like a mirror, or only very slightly, like the black drapes used in theatres. A lot of people just think of 'glossy' reflections when they hear the word reflection. Glossy reflections are ones like reflections of water, or ceramic mugs, metal spoons etc.
But objects can still reflect a lot of light without being glossy – you experience this when your eyes hurt after looking at paper or snow on a bright day. In reality, almost all materials that you will encounter in life are at least a little bit reflective, so remember this when you are building shaders, or none of them will look right.

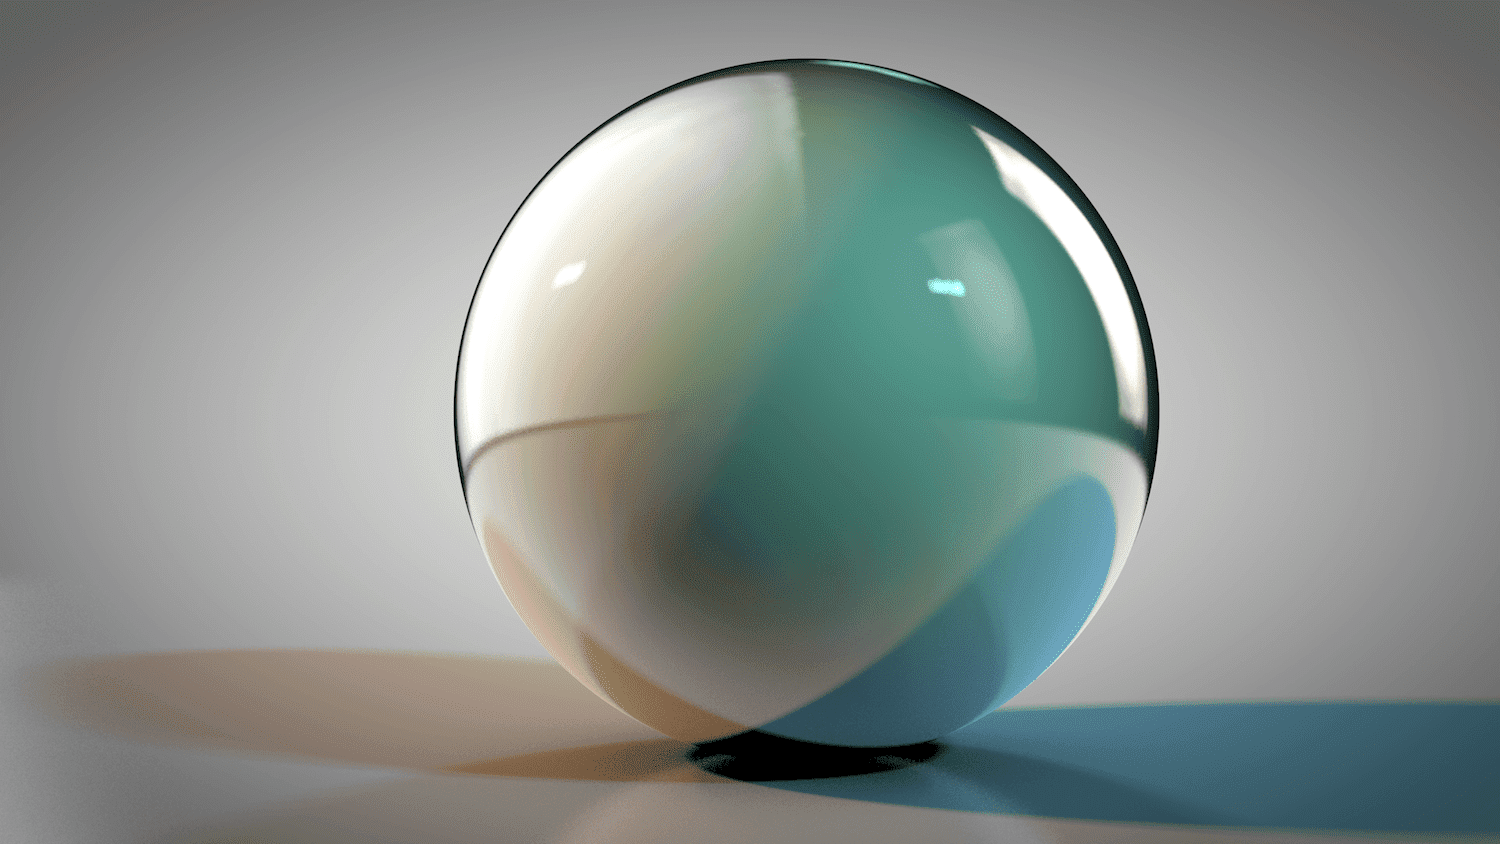
Diffusion dictates how light scatters on top of a surface, and has to do with how rough the object is, An object that is fully diffuse scatters light particles in every angle when they hit the surface. Examples of objects which are diffuse can be bed sheets, walls or paper. An object with very little diffusion is one that reflects light particles mainly at one angle when they hit an object. Something like a mirror, that is very smooth, has almost no diffusion.
Subsurface scattering which is often abbreviated SSS, is the concept of light going into an object and scattering around inside, rather than on the surface like diffusion. The best way to see this is to look at your hand in front of a light bulb. Subsurface scattering is the red light that seems to be on the insides of your fingers – it's light bouncing around off your blood and muscles.
In order to make a character move, you have to build a skeleton inside the model. This process is called rigging. It's the step between modeling and animation and it's essential in order to get any animation.
Rigging is by far one of the most technical parts of a CG project. One of the reasons it's so technical is not because of building the bones, but instead defining how they move using maths and logic.
For instance – how do you build a shoulder joint, versus how do you build a knee joint? Once the skeleton is built, you need to attach it to the skin of the model, as can be seen by 'smooth bind' below.
This is the very artistic part of rigging, as it can be very enjoyable to define how the skin moves around the bones – like looking at how beautifully muscles move on a running animal or an athletic person. A lot of technically geared people tend to be attracted to it because it merges technology and art in a nice way. It can be overwhelming in the beginning, but once you get a hang of it, it's a very rewarding process. The first time you see your model move, it's like Christmas.
Rigging is essentially split into two parts.
Firstly you place the skeleton inside the model. This determines how your character can move. The skeleton will be different if you're making a human compared to a four-legged animal. Other things require rigging as well. Take a light switch, for example, which can only be turned on and off, but as it's still moving, it requires rigging.
Secondly, you define the skinning. This is where you make sure that all parts are deforming nicely when you start to animate and move the character around. You are literally wrapping skin around bones, therefore, the name skinning.
This is the stage where you get to move your model around. It's a very specialized part of a project. Once you dive deeper into it, there are a lot of things you need to be aware of, such as: acting, staging, timing etc. You're basically bringing the model to life. Before that, it's just a pretty statue.
Scripting is basically using a little bit (or a lot) of programming in your 3D applications. Applications use different languages. Usually, you script either to automate tasks that you do all the time, for creating things like rigs that are very prone to human error or to create custom setups for things like shaders. If you know how to do it, scripting can be very powerful and save you a lot of time and effort. It is a discipline in itself though and takes a time to learn. If you're interested, we would recommend checking it out after you have become proficient in the other areas of 3D.
As this is an Introduction to 3D we have to talk about simulation and effects. The reasons we do this is to mimic reality as closely as possible. In some cases, you save time by not having to animate everything, and other times simulation is essential to get the result you want, like making fire.
Cloth simulation is used a lot in film and animation these days to provide realistic clothing. This means that clothing will react in a physically correct manner, based on forces such as gravity, wind, etc. All the major 3D applications are capable of doing cloth simulation.
Rigid bodies are where you simulate something like buildings being destroyed. At its core, its basic physics at work and how the forces react to each other. It's generally being used for objects shattering or falling. Something simple as dominos falling over each other is a good example of rigid bodies. All the major 3D applications are capable of rigid body simulation.
Hair simulation is also used a lot in film and animation to achieve realistic looking hair. This again is done so that the hair will behave in a realistic manner based on forces of physics. All major 3D packages can do hair, but there are also specialized software and plugins such as Yeti, Hair Farm, and Ornatrix.
Smoke, fire, and water are collectively known as fluids in 3D terms. You see fluid simulations used all the time in films such as Life of Pi, where there are vast amounts of fluid simulations done on the ocean. We also do this to get effects such as realistic looking smoke, dust, etc. Some 3D packages can do this kind of work, but it's mostly done by specialized software or plugins such as Houdini, RealFlow, AfterBurn and Fume FX.
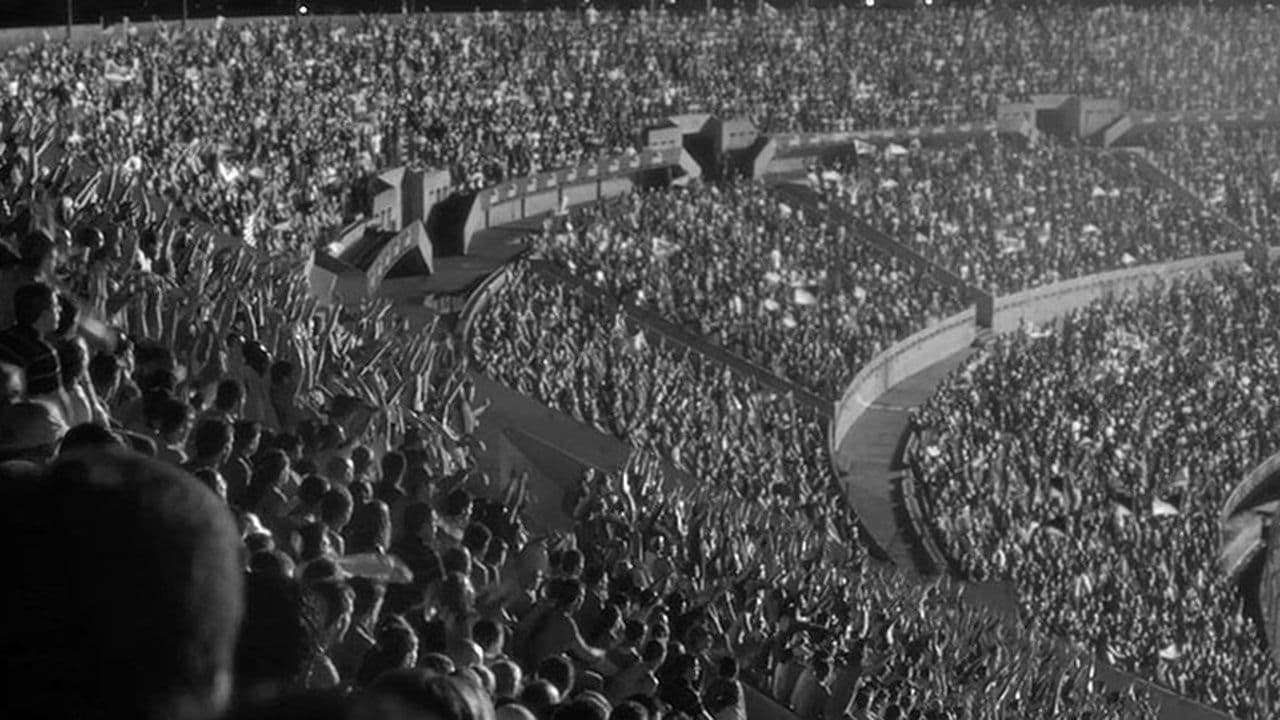
In order to have huge crowds in films, you oftentimes need to simulate it using crowd simulation. This is used a lot these days, as you can use it to generate armies of soldiers which would be impossible to do otherwise. Crowd simulation is mostly done by specialized applications and few of the major 3D applications can do it out of the box.
The film industry uses muscle simulation a lot these days to simulate muscles. This is used a lot to mimic the effect of muscles expanding and contracting based on the movement of a person or creature. It's good to simulate skin sliding on top of muscles, something which is traditionally tricky in rigging. Some of the major 3D applications can do this, such as Maya.
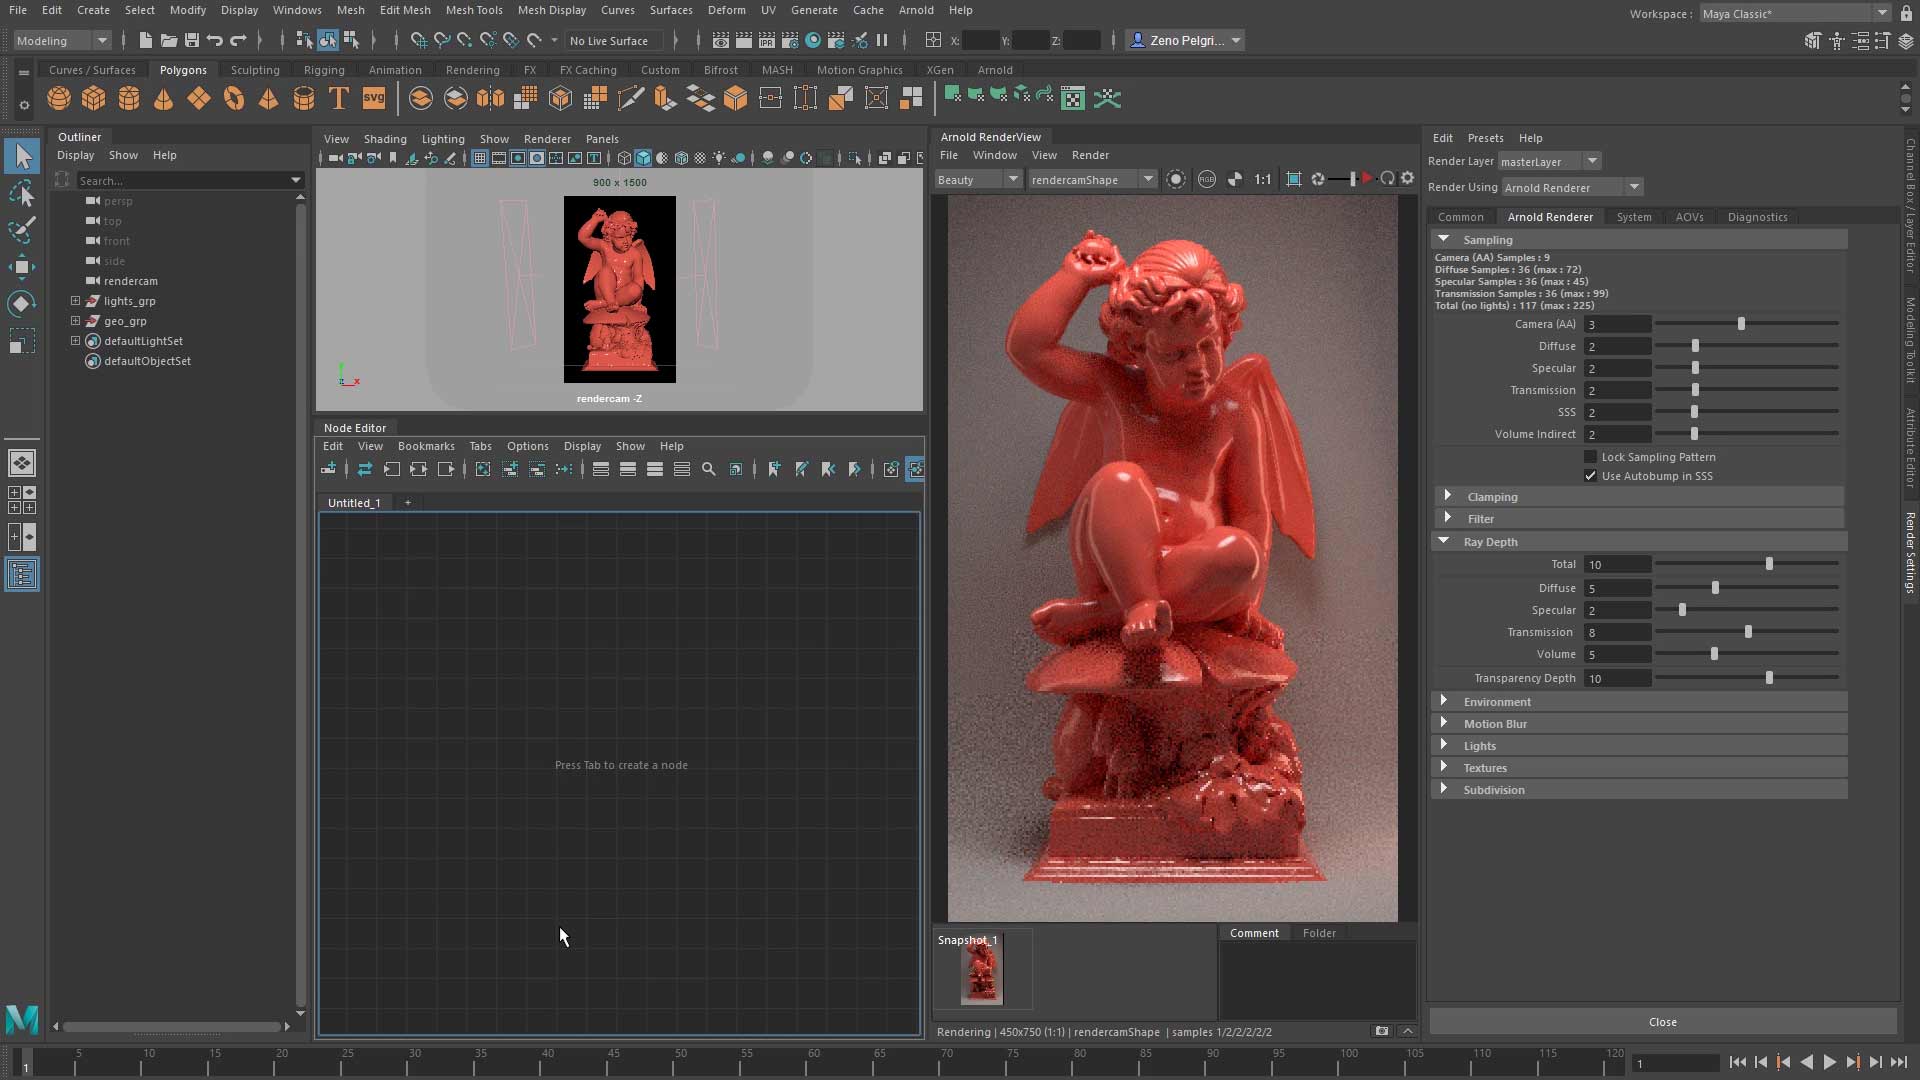
The lighting stage is where you really set the tone and mood of your project. The process is very similar to the way you'd light something in real life: You get the required lamps based on your needs (brightness, colour, shadow sharpness etc.) and you then place them accordingly to get the feeling you want across. Here you can see a model being lit in different lighting settings. Hopefully, it illustrates the importance of lighting and how it can drastically change the look and feel of an image.
Rendering is the stage where everything is combined into a final image where the computer "draws" it for you. Rendering is essentially a press of a button, but you need a lot of technical knowledge to figure out how to render faster and better. It involves a lot of work with sliders and numbers.
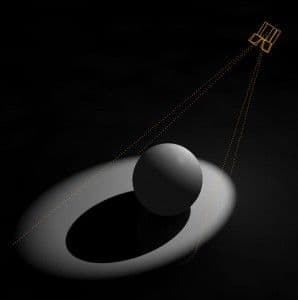
These lights are very similar to spotlights you have in real life, such as stage lights you find in theaters
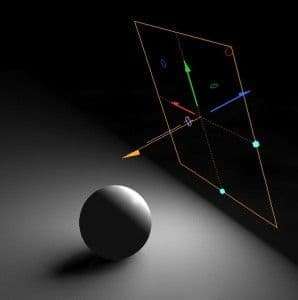
Area lights are like softboxes which photographers use a lot. They are great for lighting characters as they will appear very soft and comfortable. They can also give you some very nice reflections.
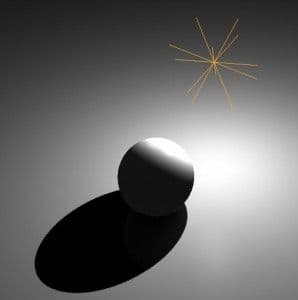
Point (also known as Omni lights in some applications) are as the name implies points in space which sends out light. They are great if you want to mimic something like a candle or a light bulb.
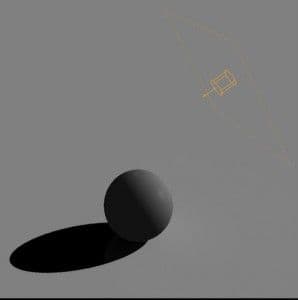
Directional lights send out parallel beams of light, much like the sunlight is perceived on earth. If somebody is lit from the sun, this is the light you want.
A massive thanks to the guys from Flipped Normals for letting us their content. They have some fantastic tutorials and videos for people starting out in 3D if you want to see more, then head over to their website.