Important Steps for Creating Your Blog Article

These steps are for contributors that have been given permission to add their articles to Discover - our official blog. We aim for really high quality content and treat this like a magazine publication, so make sure you are open to hear feedback, make revisions, and work with us to make this the best possible article.
How does this all works?
You've been invite to use our Discover blog editor. This article will help clear everything up so it's a smooth ride.
1. Draft Article Approved
The first step is to impress the Editor. You've clearly done this because you are here and we know you have something impressive to share. Create a Google Document with your proposed text and a folder with your images (see image specs below first!) This should be sent to [email protected] for a first review.
2. Invited via email
Once approved, you will be invited to Discover via email. Follow the links and setup your account in Ghost. This will give you access to create an article.
3. Copy over your text to Discover
You should be working from an approved Google Document or external working file. Simply copy/paste the text directly into the editor page.
TIP: Before pasting in your text, make sure that you have used the Hemmingway Editor to improve the readability of your text.
4. Make article look its best!
Once you have the main content over here, you can start adding headings, quotes, images, videos, and hyperlinks to make your article look its best.
5. Contact Editor to start helping
It's not always easy creating an article, this is why our Editor is here to help. Once you have your article in a good place, it's time to reach out to the Editor again. The best way to do this is to re-engage with an existing helpdesk chat, email thread, or even start a new one.
6. Complete your Profile
This is your article and we want to make sure you are correctly credited for your hard work. So please make sure to upload a photo, add a bio and some links to your Discover profile. Refer to section further down this page to help.
Image Specifications
It's important that all images are optimised for the web. We simply can't use images that are too big if dimensions and file size.
Here’s specs for the various images required for each article:
- Max width 2400px wide
- JPG preferred
- No GIFS
- Optimise so no larger than 2MB each
- We recommend all images to be 85% optimisation and JPEG.
- Please only use PNG files for line drawings, text, and vector style graphics. For anything else, JPEG is the best option.
Need help compressing your images? Tinyjpg is a really cool online jpg compression tool. Drag-n-drop your images onto the page and download your zip file. Boom!
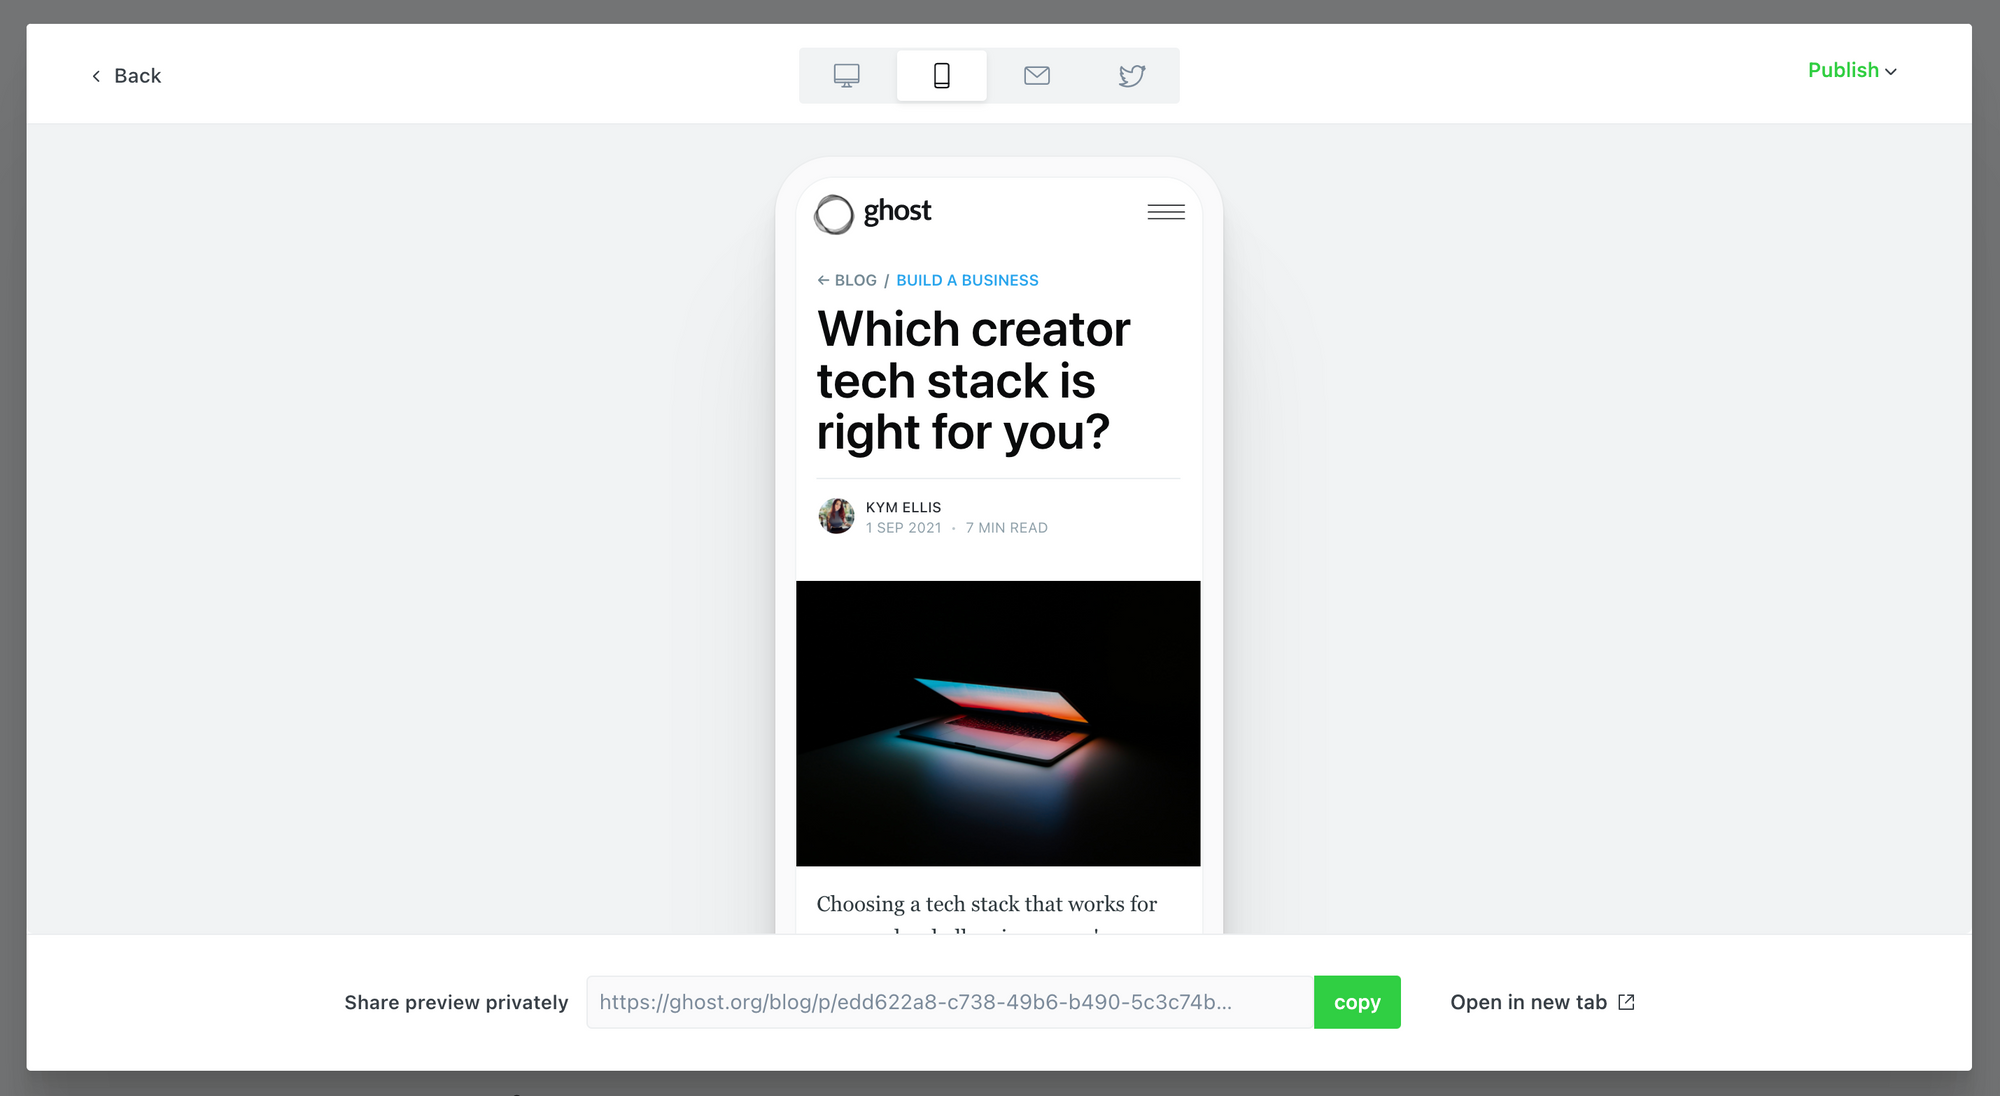
Previewing a post
Posts can be previewed within the Ghost Editor by clicking the "Preview" link in the top right corner. The preview function shows you a live preview of how your post will be displayed on your Ghost site for desktop and mobile devices, as well as in standalone email newsletter, and on social media (Facebook, Twitter) and search engines (Google).
Posts previews also generate a unique shareable URL to allow others to view your post preview.
Setup Your Profile
You can access your profile page from the dropdown menu top-left of The Rookies editor. Simply select Your Profile.
From here you will be able to control:
- Cover Image: Image usually displayed on the author archive page
- Display Picture: Image usually displayed with the author on published posts.
- Full Name: Name displayed with published posts
- Slug: URL for author archive; example: subdomain.ghost.io/author/slug
- Email Address: Used for internal notifications, login, password recovery
- Location: Current location of the user
- Website: Personal website of the user
- Facebook Profile: Link to Facebook profile of user
- Twitter Profile: Link to Twitter profile of user
- Bio: 200 characters or less description of user
Using the Editor
Ghost has a powerful visual editor with familiar formatting options, as well as the ability to seamlessly add dynamic content.
Under the hood, the editor delivers power and flexibility, with the ability to quickly add content such as images, galleries, videos, embeds, and code!
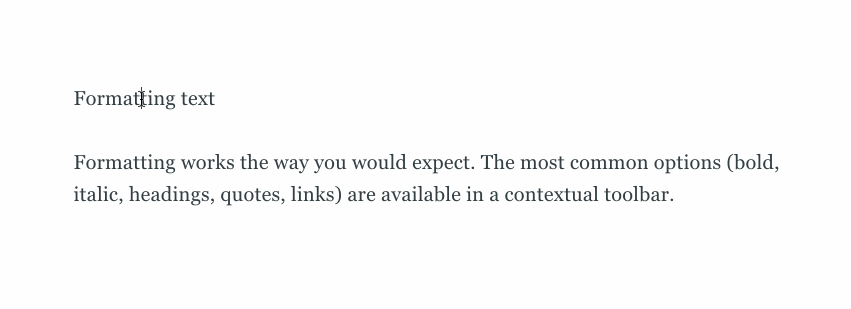
Rich editing at your fingertips
Using the contextual toolbar allows you to efficiently format your text, add links and insert rich media.
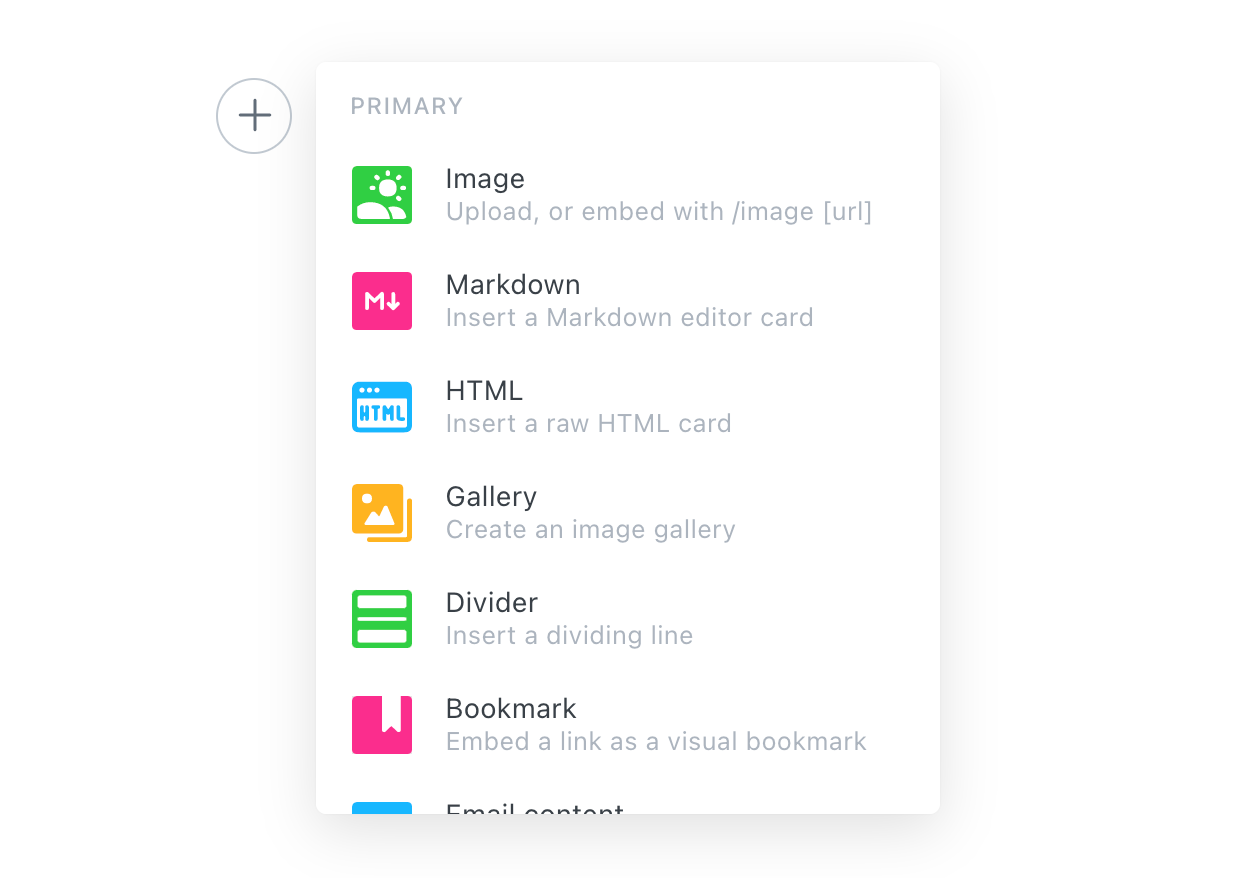
Using the dynamic menu
You can insert a card either by clicking the + button, or typing / on a new line to search for a particular card. This allows you to insert images, markdown, HTML, galleries, email-only content, and embeds.
For example:
- Insert a video from YouTube directly into your content by pasting the URL
- Create unique content like a button or content opt-in using the HTML card
- Need to share some code? Embed code blocks directly
- Can't find a good image? Use the Unsplash integration.
- Include a personalized introduction that only appears in your email newsletter
Bookmark cards
The bookmark card is useful when you want to share a link to a site that doesn't have a direct embed integration with Ghost (like YouTube) - but still want the content to display a reader-friendly card design.
Achieve this by pasting any URL into the editor, or using the Bookmark card from the dynamic menu. If the site you're referencing has enough metadata, the editor will do the rest for you!
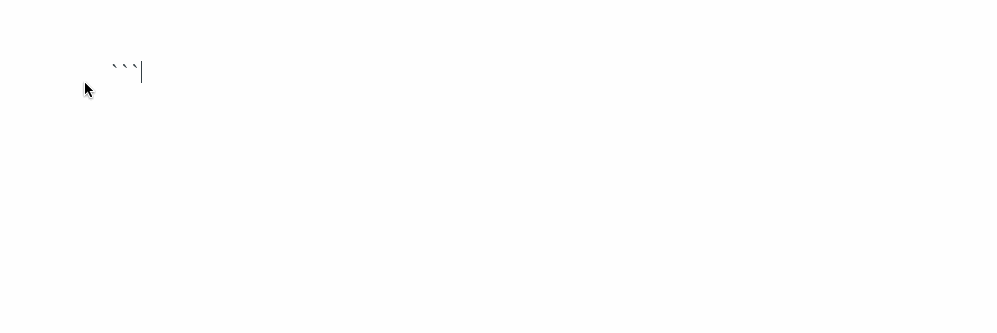
Code cards
If you'd like to share some code in your content, type ``` onto a new line and get started with your code snippet. This also supports language selection and captions.
Uploading images
You can add images to your posts in many ways:
- Upload from your computer
- Click and drag an image into the browser
- Paste directly into the editor from your clipboard
- Insert using a URL
Once inserted you can blend images beautifully into your content at different sizes and add captions and alt tags. They can also be re-ordered easily using drag and drop (this applies to all dynamic cards in the editor).
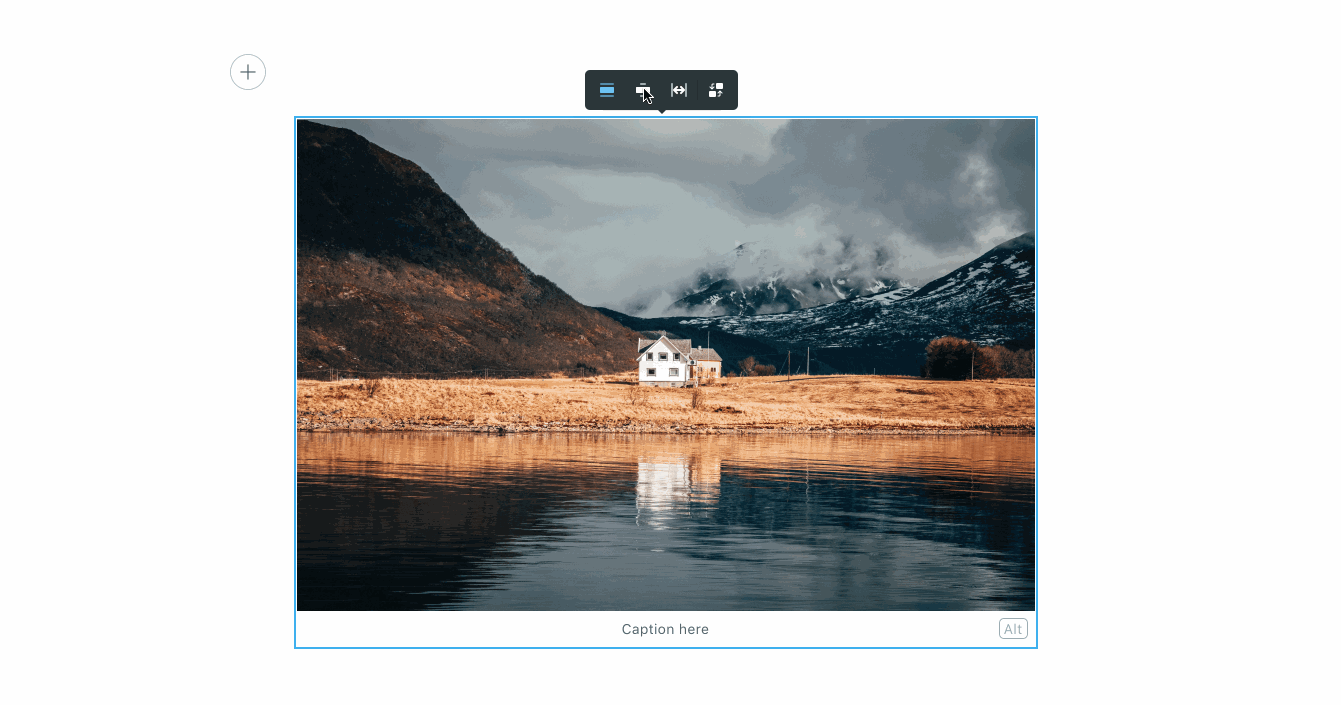
Uploaded images will be automatically optimized for the web with lossless compression, as well as make the image responsive which automatically adjusts the image size based on the viewer's device. Supported image formats include JPEG, PNG, GIF, and WebP.
Using image galleries
Ghost supports image galleries for up to 9 images at a time, all of which are responsively optimized and organized to look their best no matter how many images you add or remove.
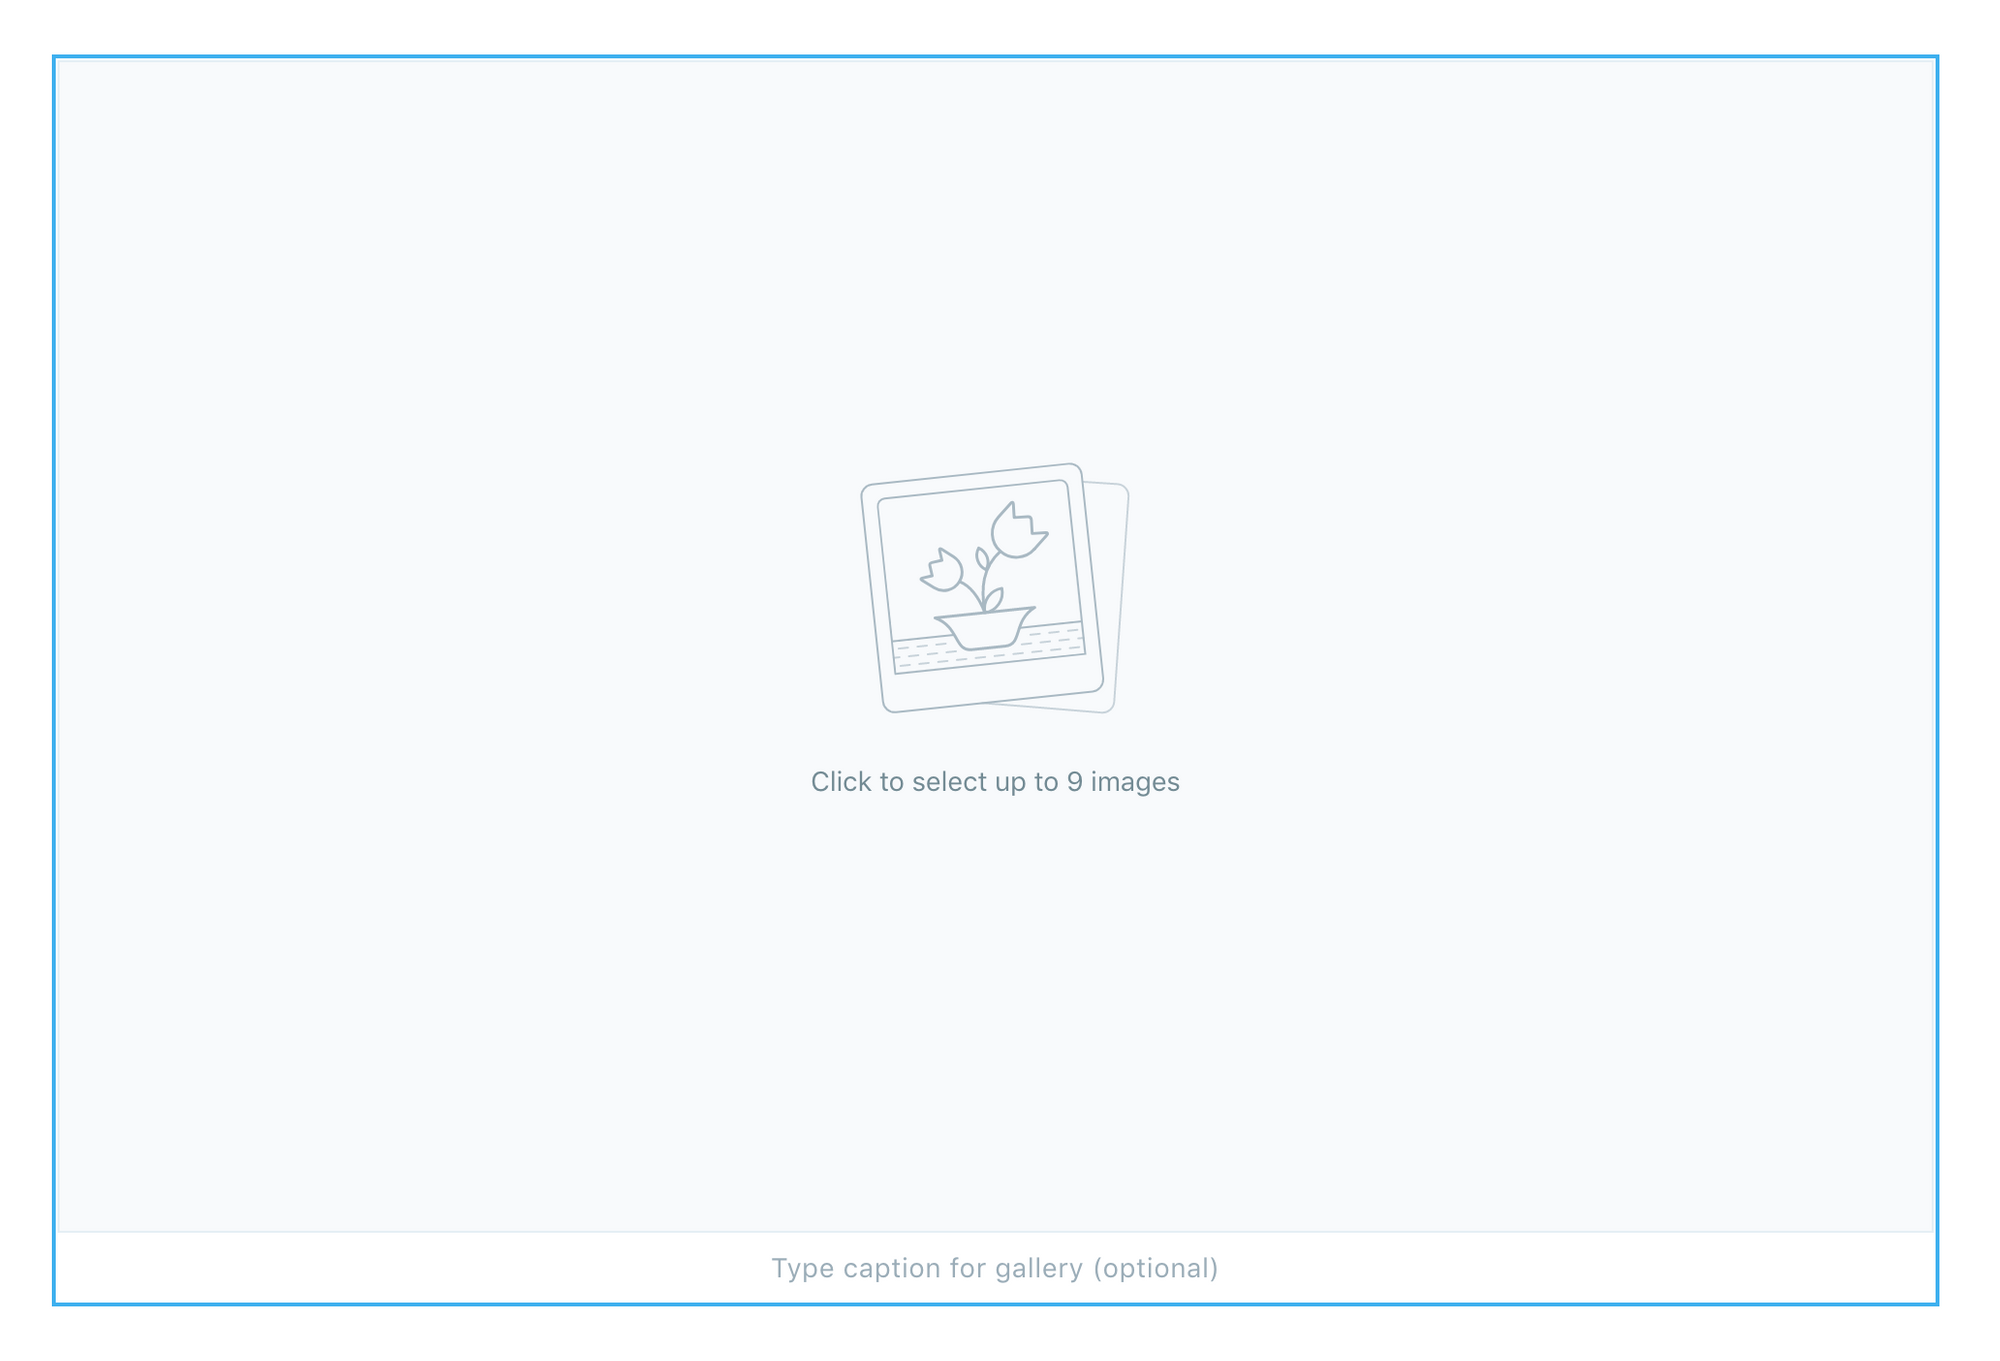
Galleries can be inserted by using the gallery card from the dynamic menu. To add images to the gallery card, drag each image into the image uploader box or select multiple images from your file system. Once uploaded, images can be re-ordered using drag and drop.
FAQ
My article is missing! Where did it go?
This actually means that it has been approved and scheduled by the Editor. Relax and know that your article is going to go live very soon :)
Need help?
Contact the team using the live chat located bottom-right of this page.