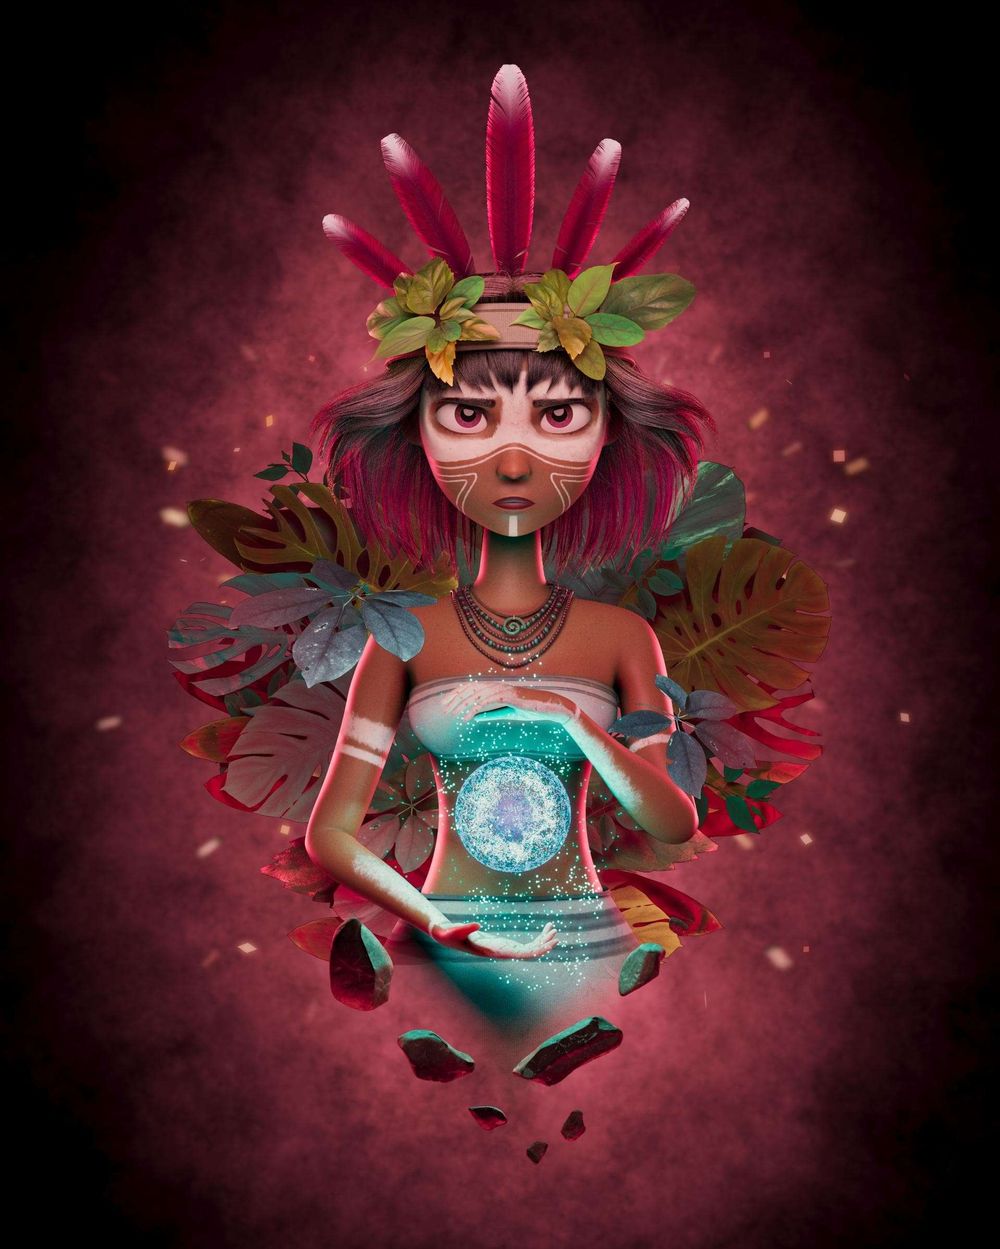

There are certain digital images that everyone instantly connects with. Illa: Amazon Warrior is one of these that was recently submitted to The Rookies and hit us all square in the face. Thankfully the artist, Alvaro Saravia offered to explain how the project came to life.
Hey, I’m Alvaro and I’m going to walk you through the making of my project: Illa:Amazon Warrior. I’ll show you how I made the project as well as what I kept in mind to level up my skills in the process.
When someone is trying to get better, it’s important to work in the most professional way possible. Don't make unnecessary stuff, but also don't try to save time by missing important steps.
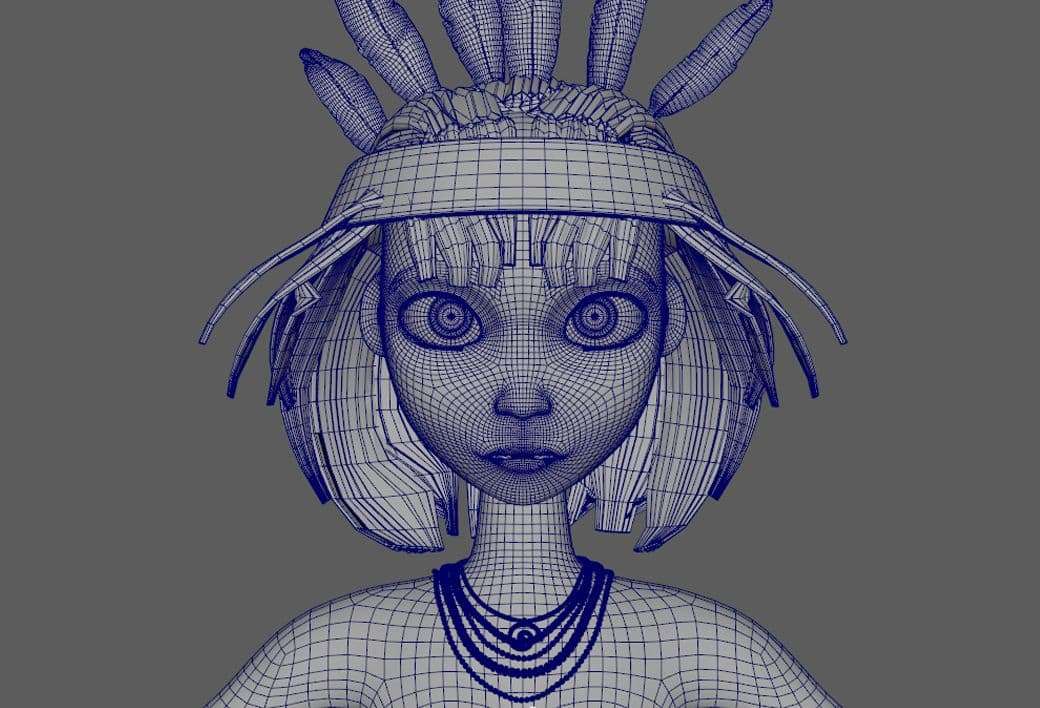
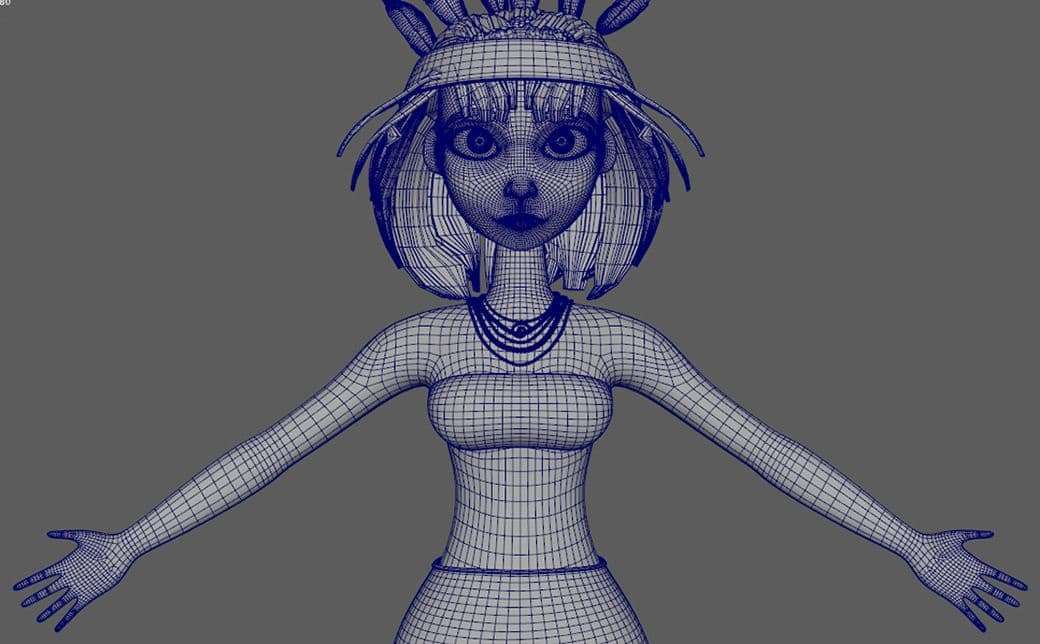
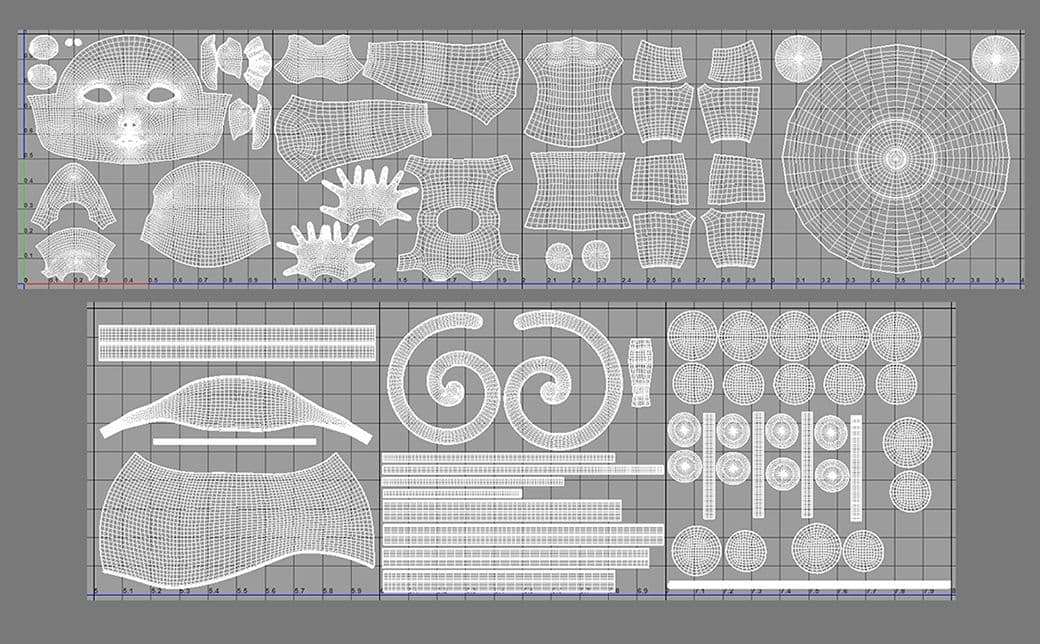
Always think the final goal of your project. If it is using it as a portfolio piece, remember what are the things a recruiter looks for in a portfolio. Such as the “A” pose of the model, the wireframe, and the UV layout.
Even if it’s not true, think of a project as if the studio of your dreams hired you to make it. How much effort would you put into it?
Choosing a Concept
Choosing the right concept sometimes might be a difficult task. I usually consider this things to decide what concept to use:
- Know your limits, you should use a concept that you know you can manage. But at the same time, it should defy your skills and make you learn in the way.
- Choose something that grabs your attention immediately and conveys an emotion. Something that makes you feel something from the moment you see it.
- Choose something that has some kind of storyline to it. Usually those are the most appealing concepts.
- And most important, choose something that you like and inspires you to work in it.
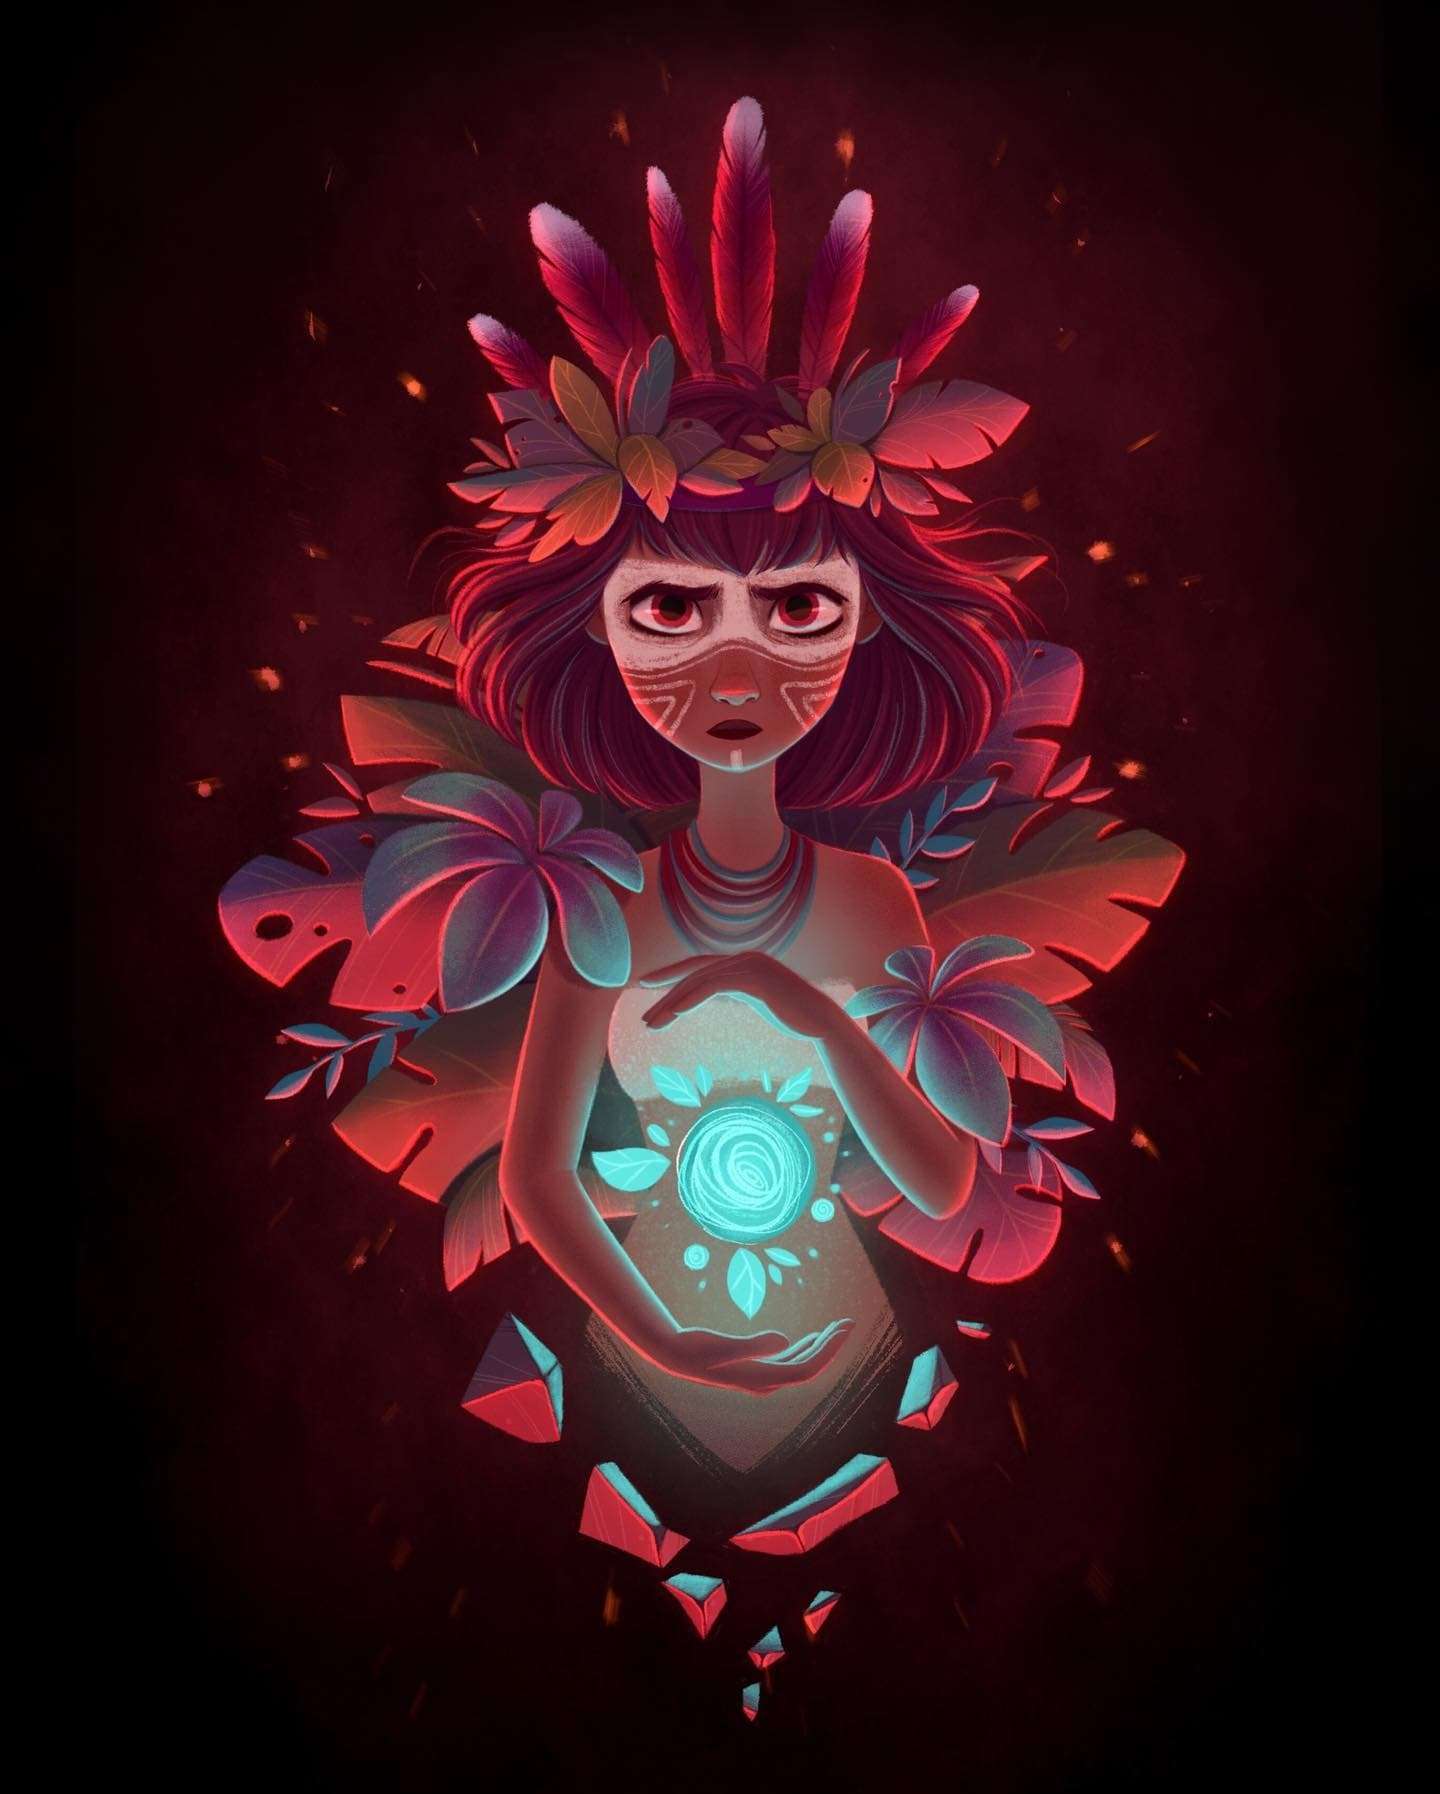
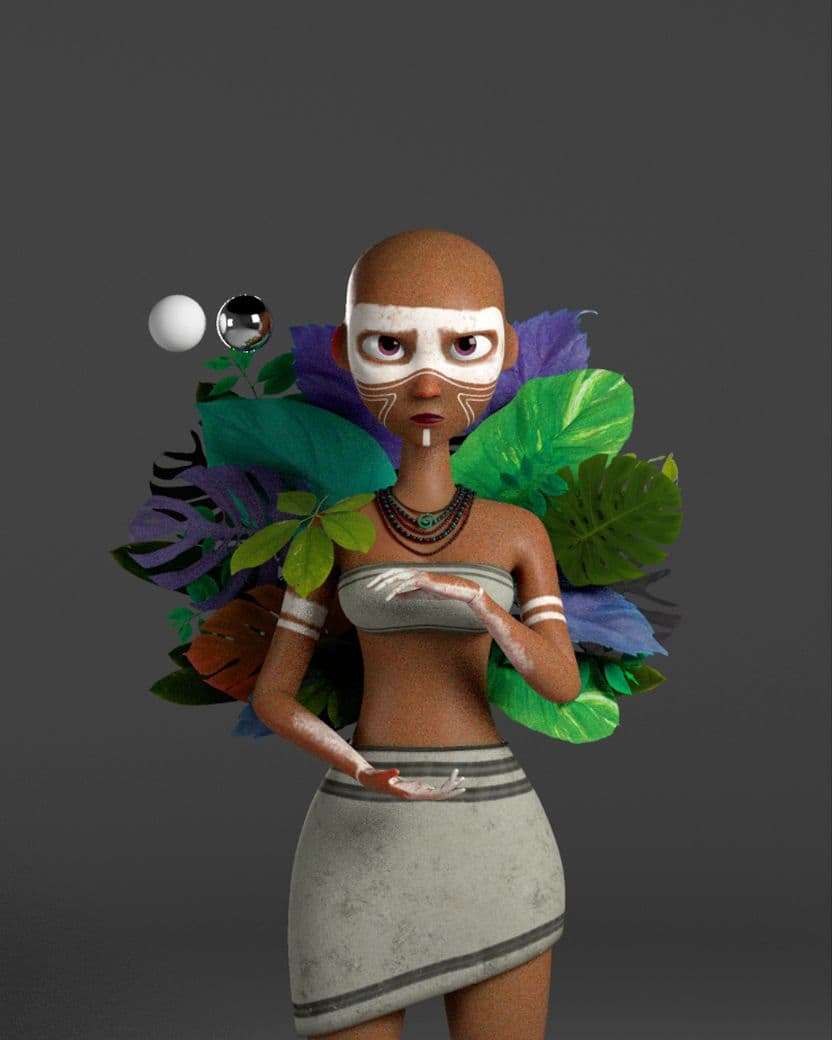
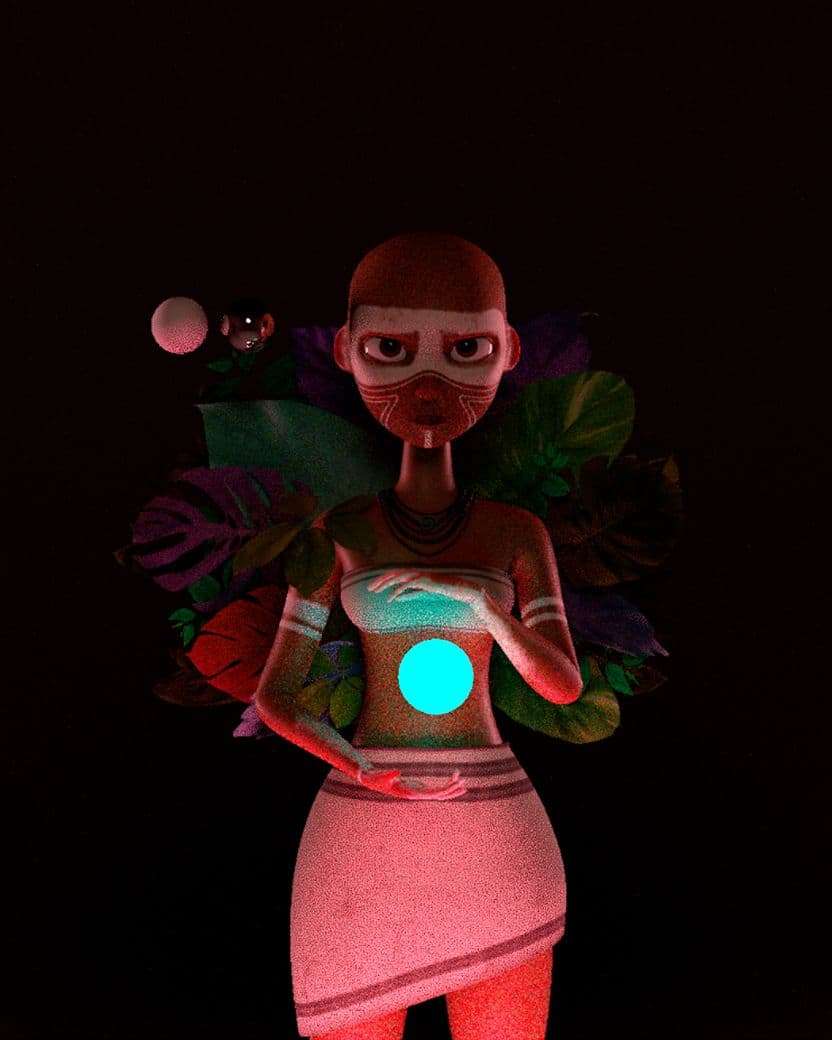
For this project I used the concept of Aveline Stokart. When I saw it for the first time, I spent about 10 minutes contemplating and analyzing it. I knew I was looking at a great and appealing piece of art, so I had to make it in 3D. I noticed the lighting, the diamond composition, the color contrast between the different elements in the scene, and the expression in the character’s eyes.
References
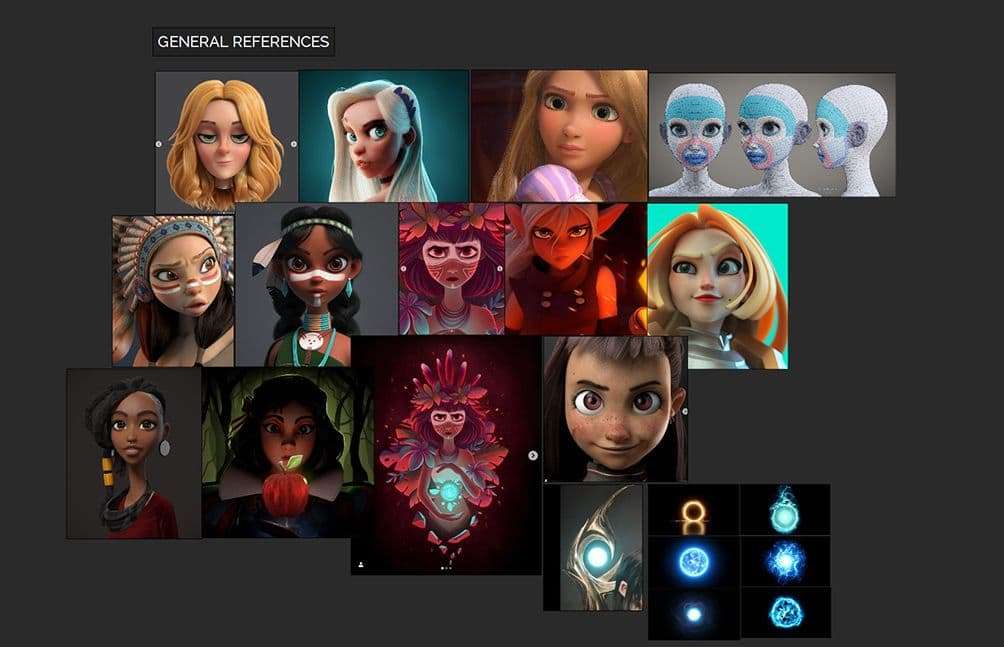
To manage all the references I used PureRef. It’s a great way to have all your references in the same place.
I analyzed the concept some more and even gave a backstory to the character and the situation.
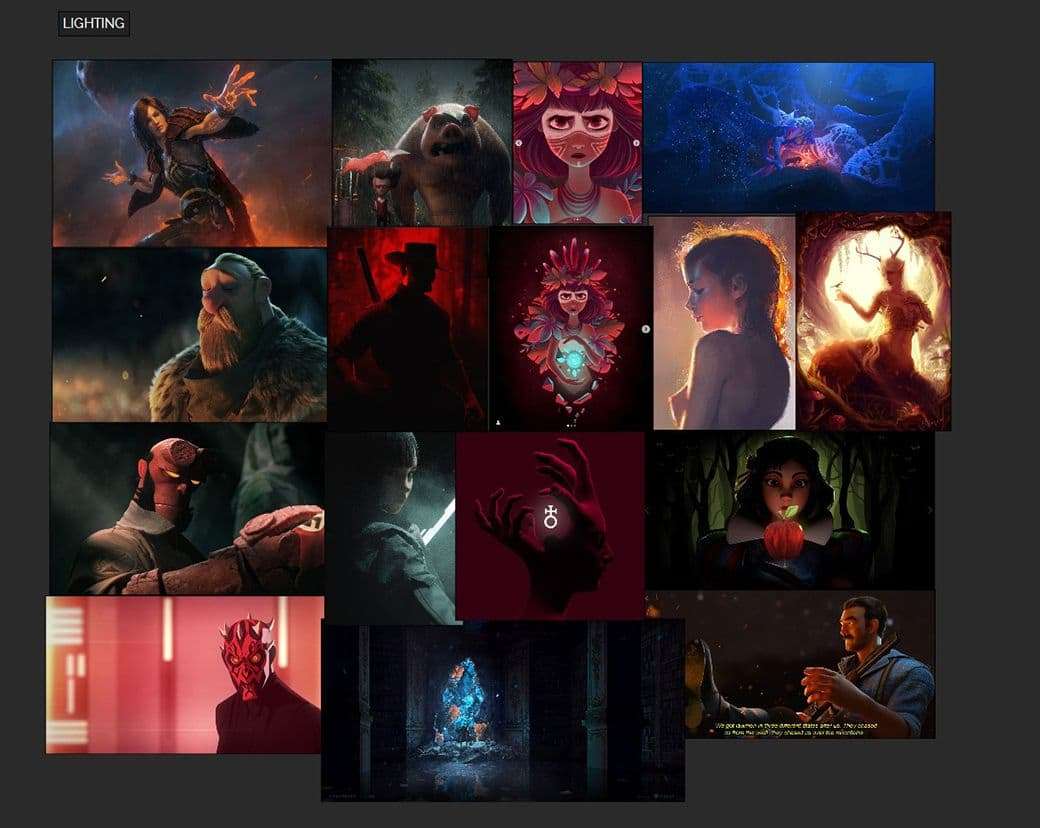
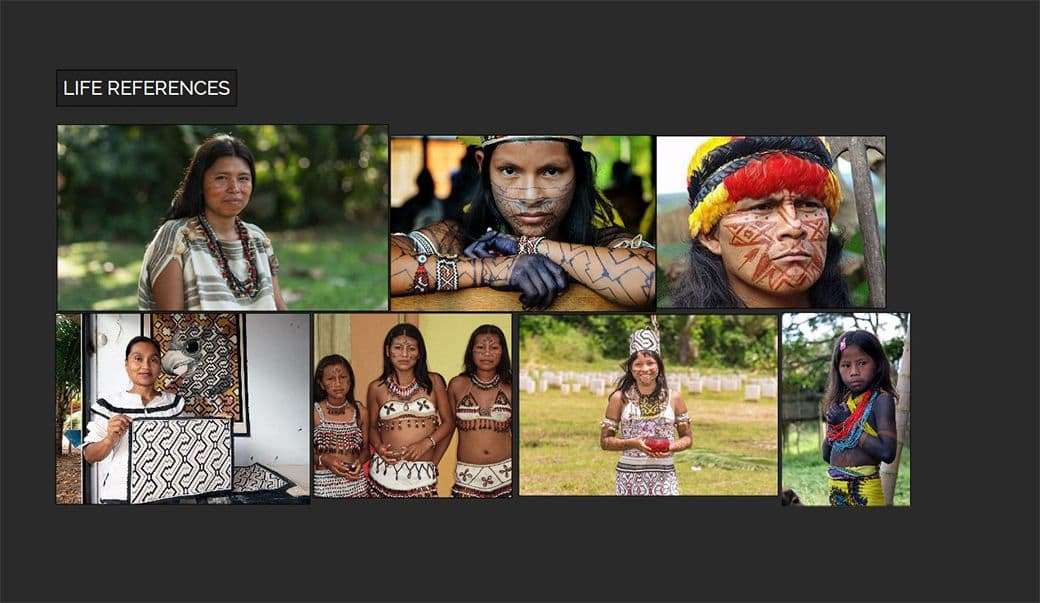
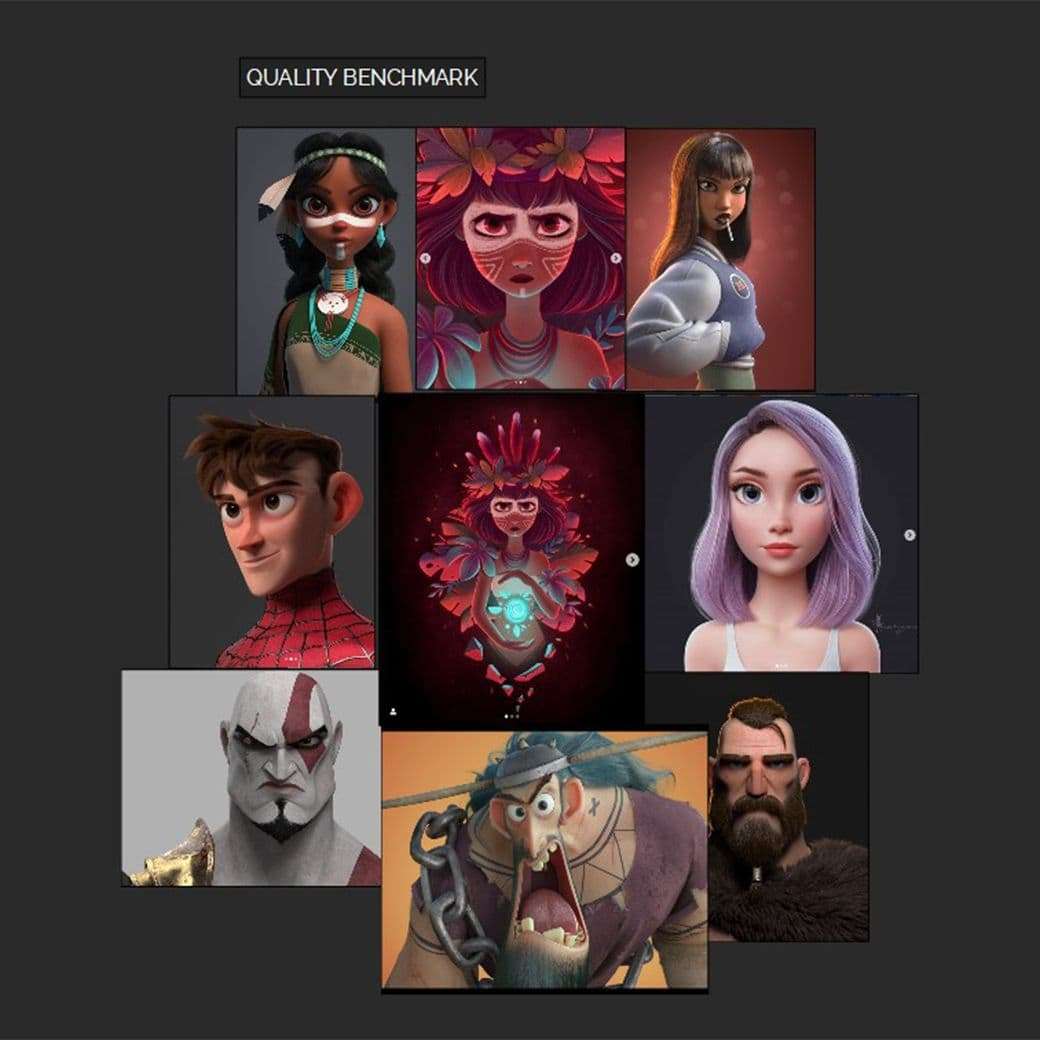
Then I made a board with different topics and gathered references for each one. The style I was trying to get, the illumination, the general features of the concept, real life references, and the backstory. The final topic of the board (and something important to consider while working on any project) was the “quality benchmark”. I got this idea from Tim’s youtube channel, Polygon Academy. This is a section where I put pieces that inspire me and make me want to get to that level. While working on the whole project I had that benchmark in mind.
It’s also important to analyze the whole project and work every part, as far as possible, at the same time. Of course not thinking that you’re going to light without a model. But if you can bring the base mesh for a test, it’s helpful. This way you’ll know problems you might have in the future and take necessary action to correct that in advance.
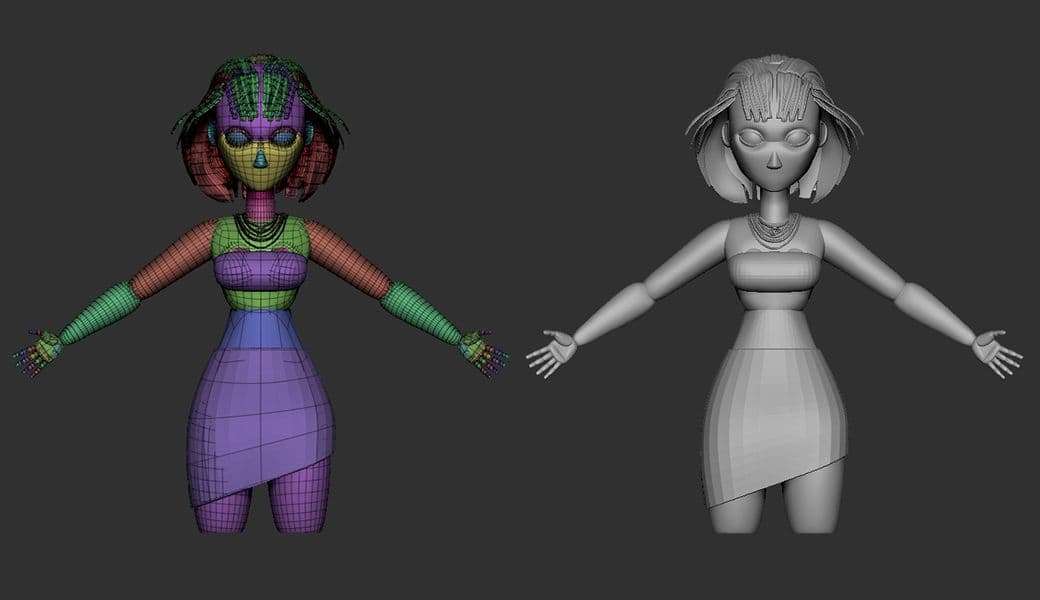
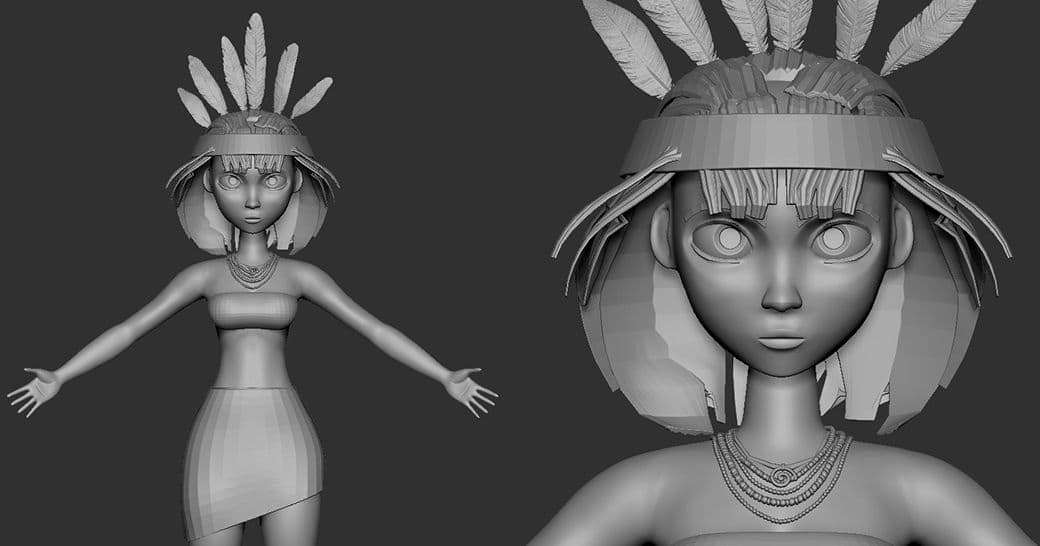
Modeling
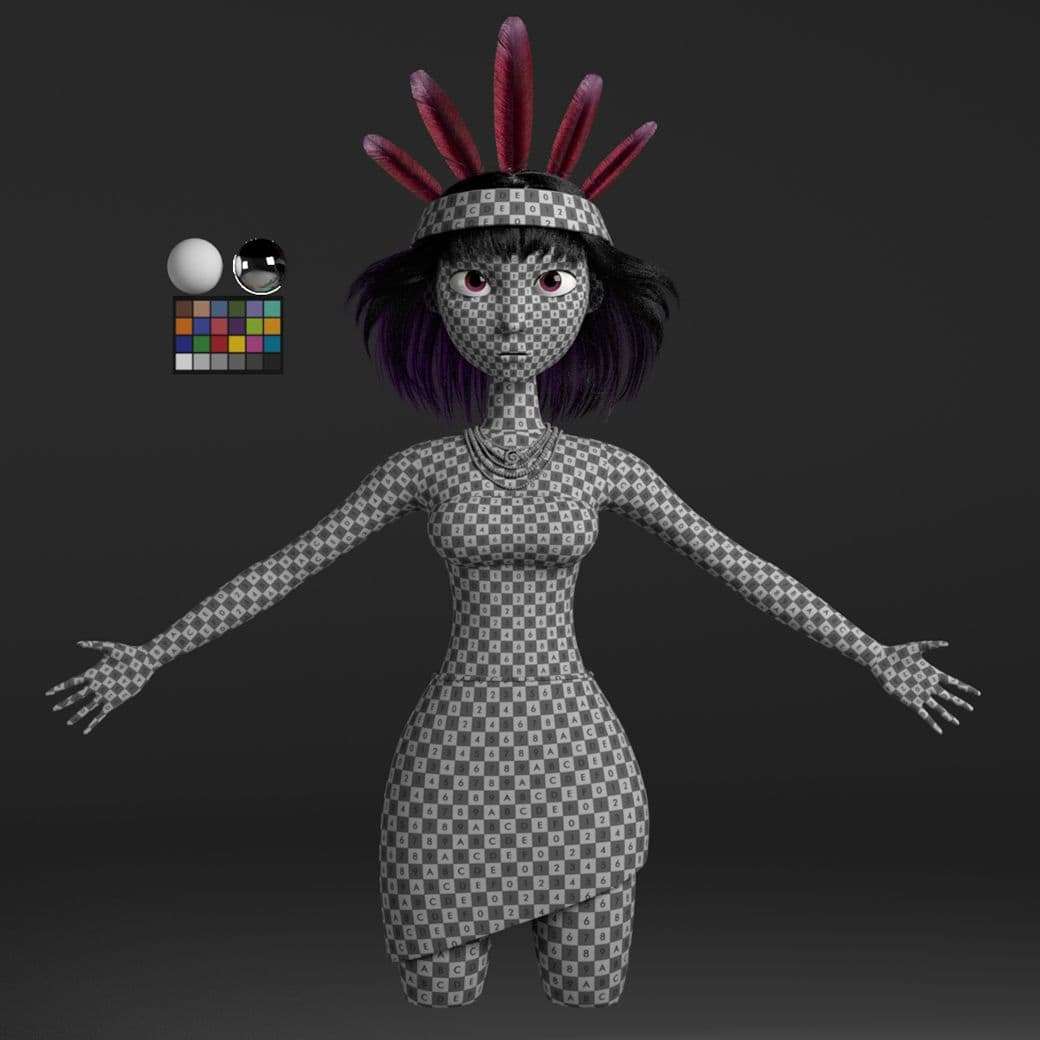
The modeling stage was pretty straight forward. I made the base mesh with spheres and simple shapes following the pipeline Shane Olson shows in his streams.
Then I added detail and made the retopo and UVs in Maya. Finally I came back to Zbrush to project the detail and add some more on the parts that needed it. If I know there’s an element that I will do in other way, like the hair or feathers, I make a placeholder for reference.
After all this, I brought the final model to Maya and started creating the environment and FX.
There were 2 things that helped me a lot during this phase and through the whole project. Getting feedback from people above my level, and giving myself time to rest from the piece. It’s better to work 1 hour for 5 days than working 5 straight hours in 1 day. This are 2 good ways of spotting mistakes in a project.
Texturing
When making the UVs, is important to consider the software in which you’re going to texture and how it works with UDIMs, as well as how the textures are going to be like.
I textured in Substance Painter and tried to keep the textures simple, yet effective. I always use fill layers instead of paint layers in case I need to get back and change colors or properties. Almost in every material, I set a base color and on top I add subtle color variations. Then I start to stack more layers with dirt, wear, rust, and AO depending on the materials’ needs.
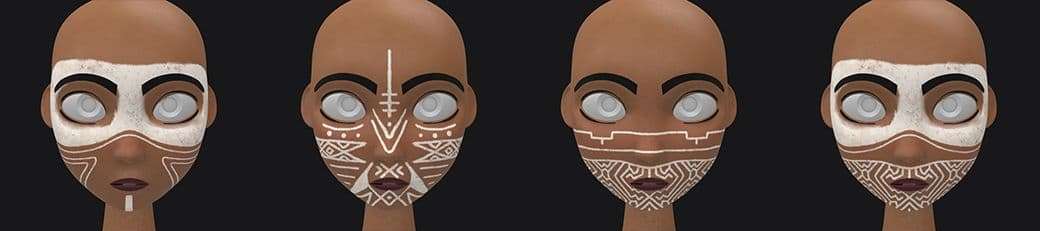
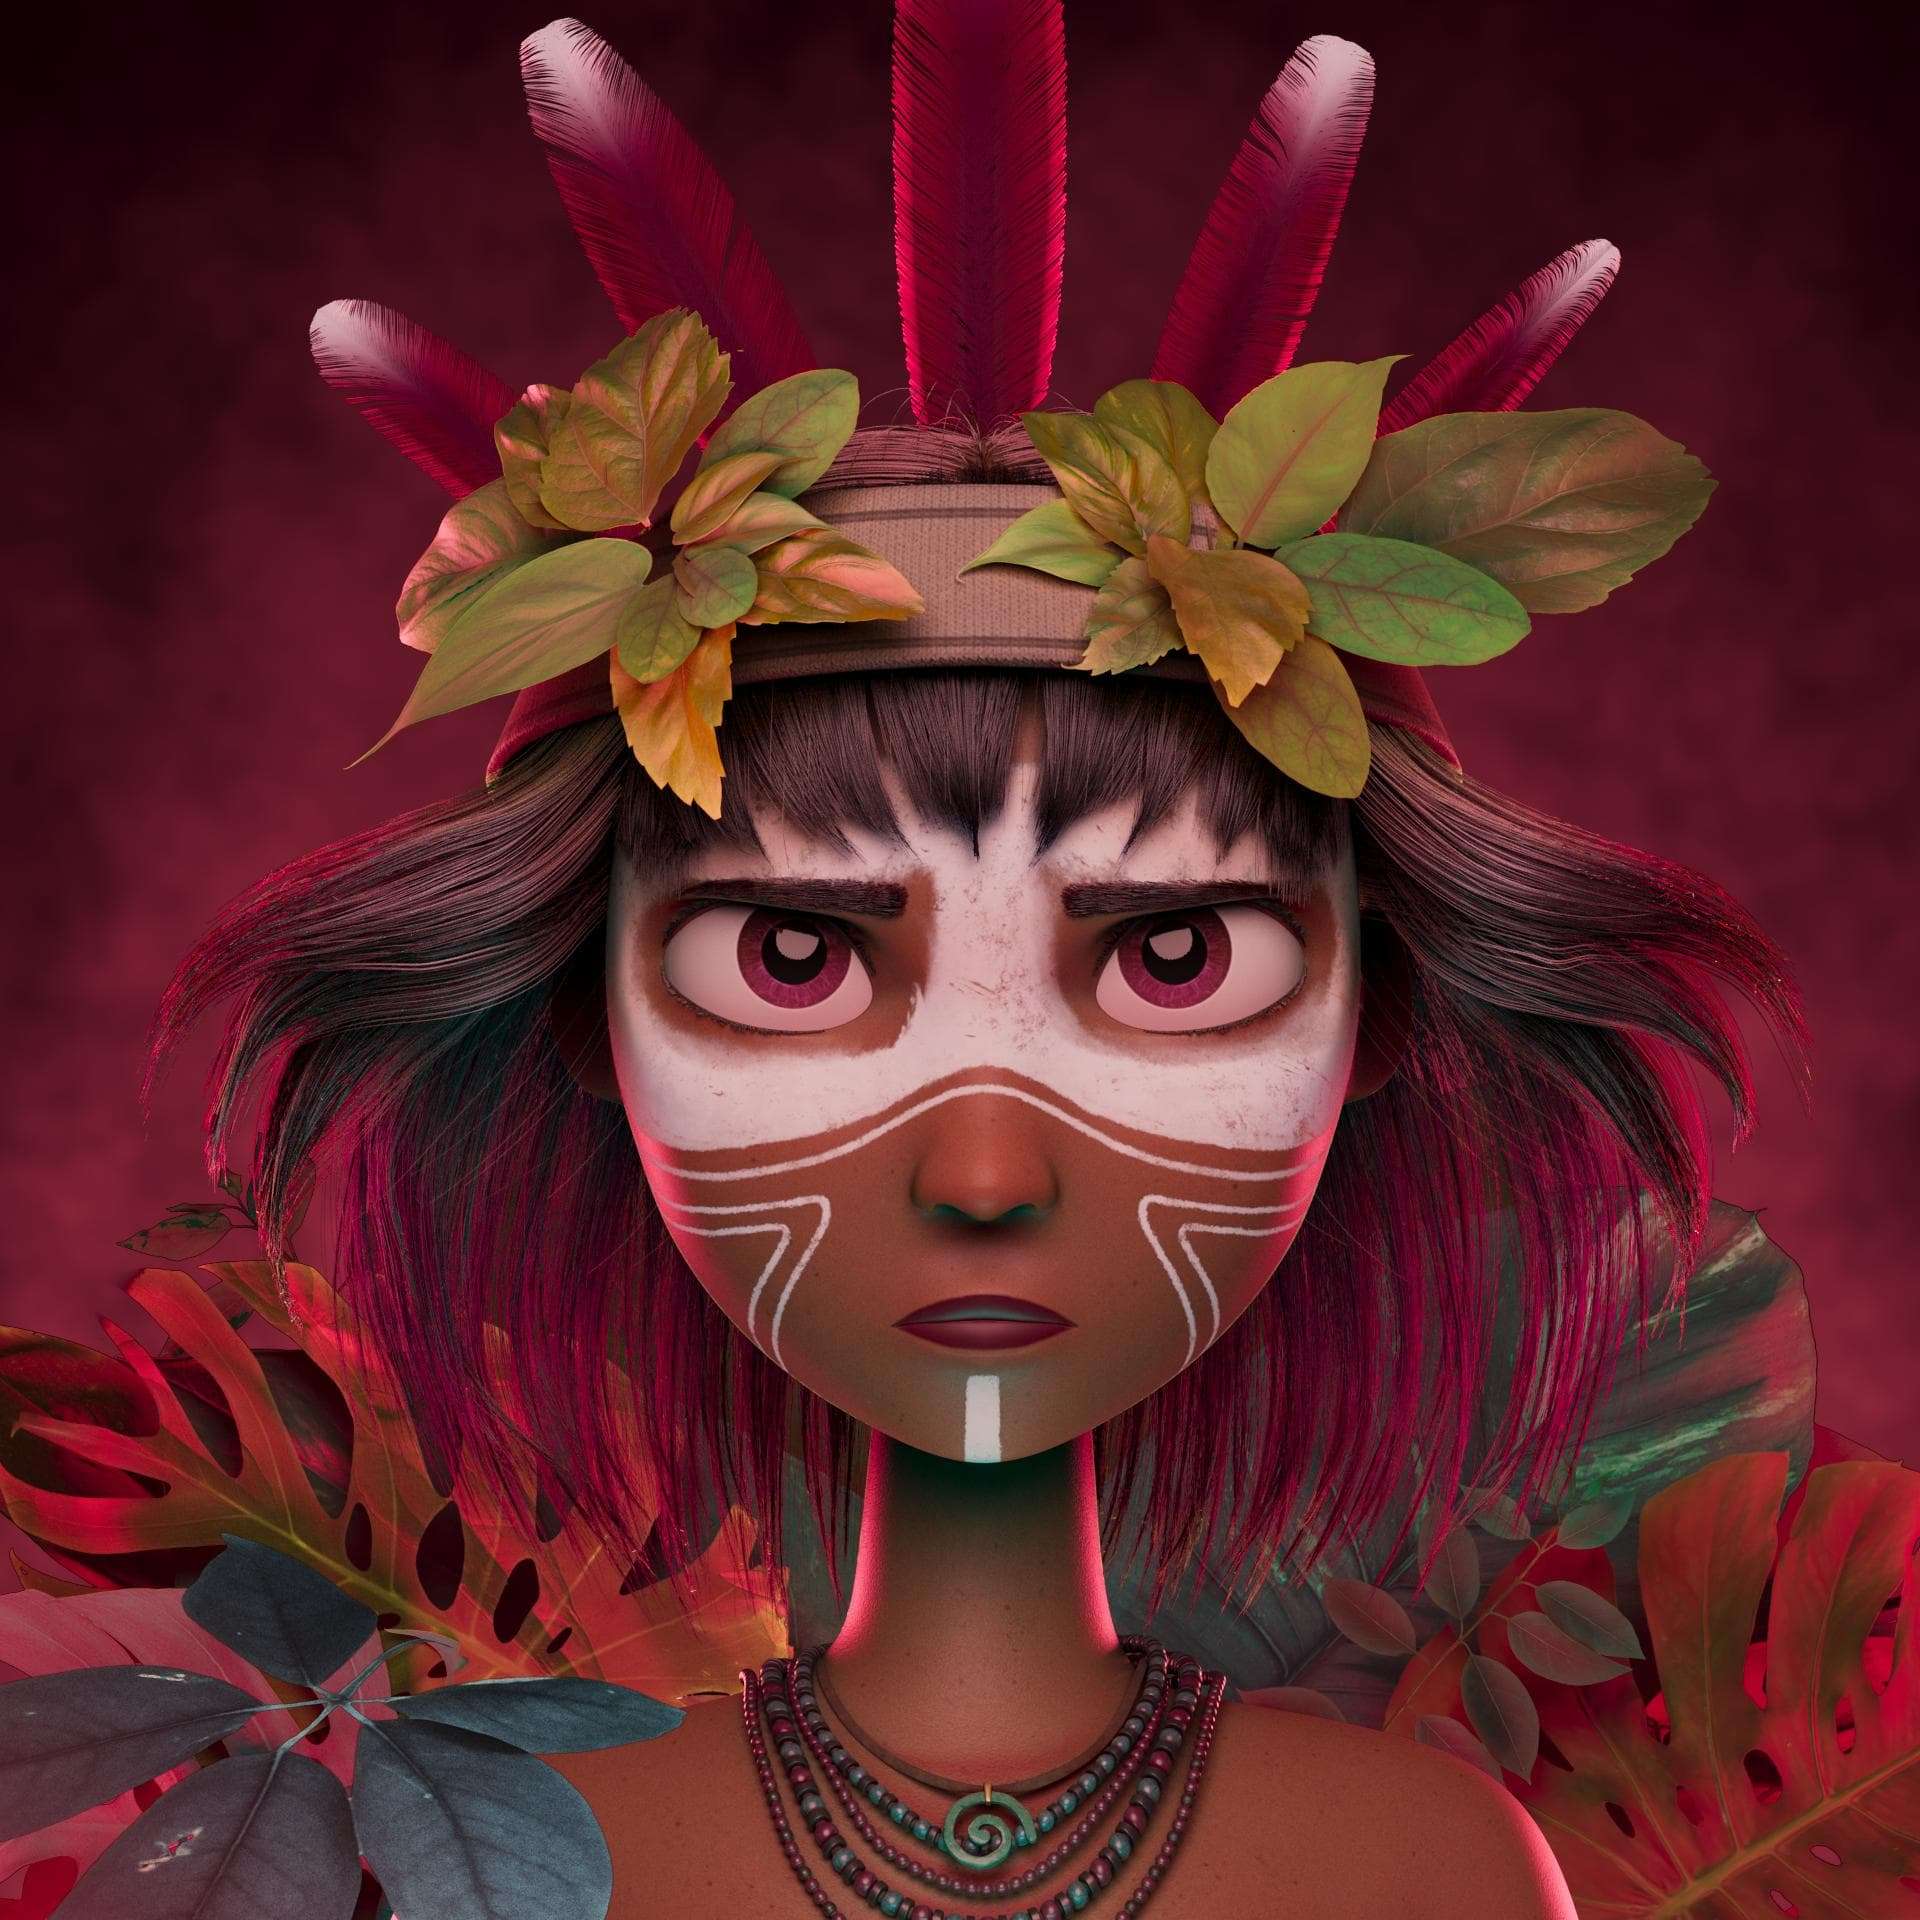
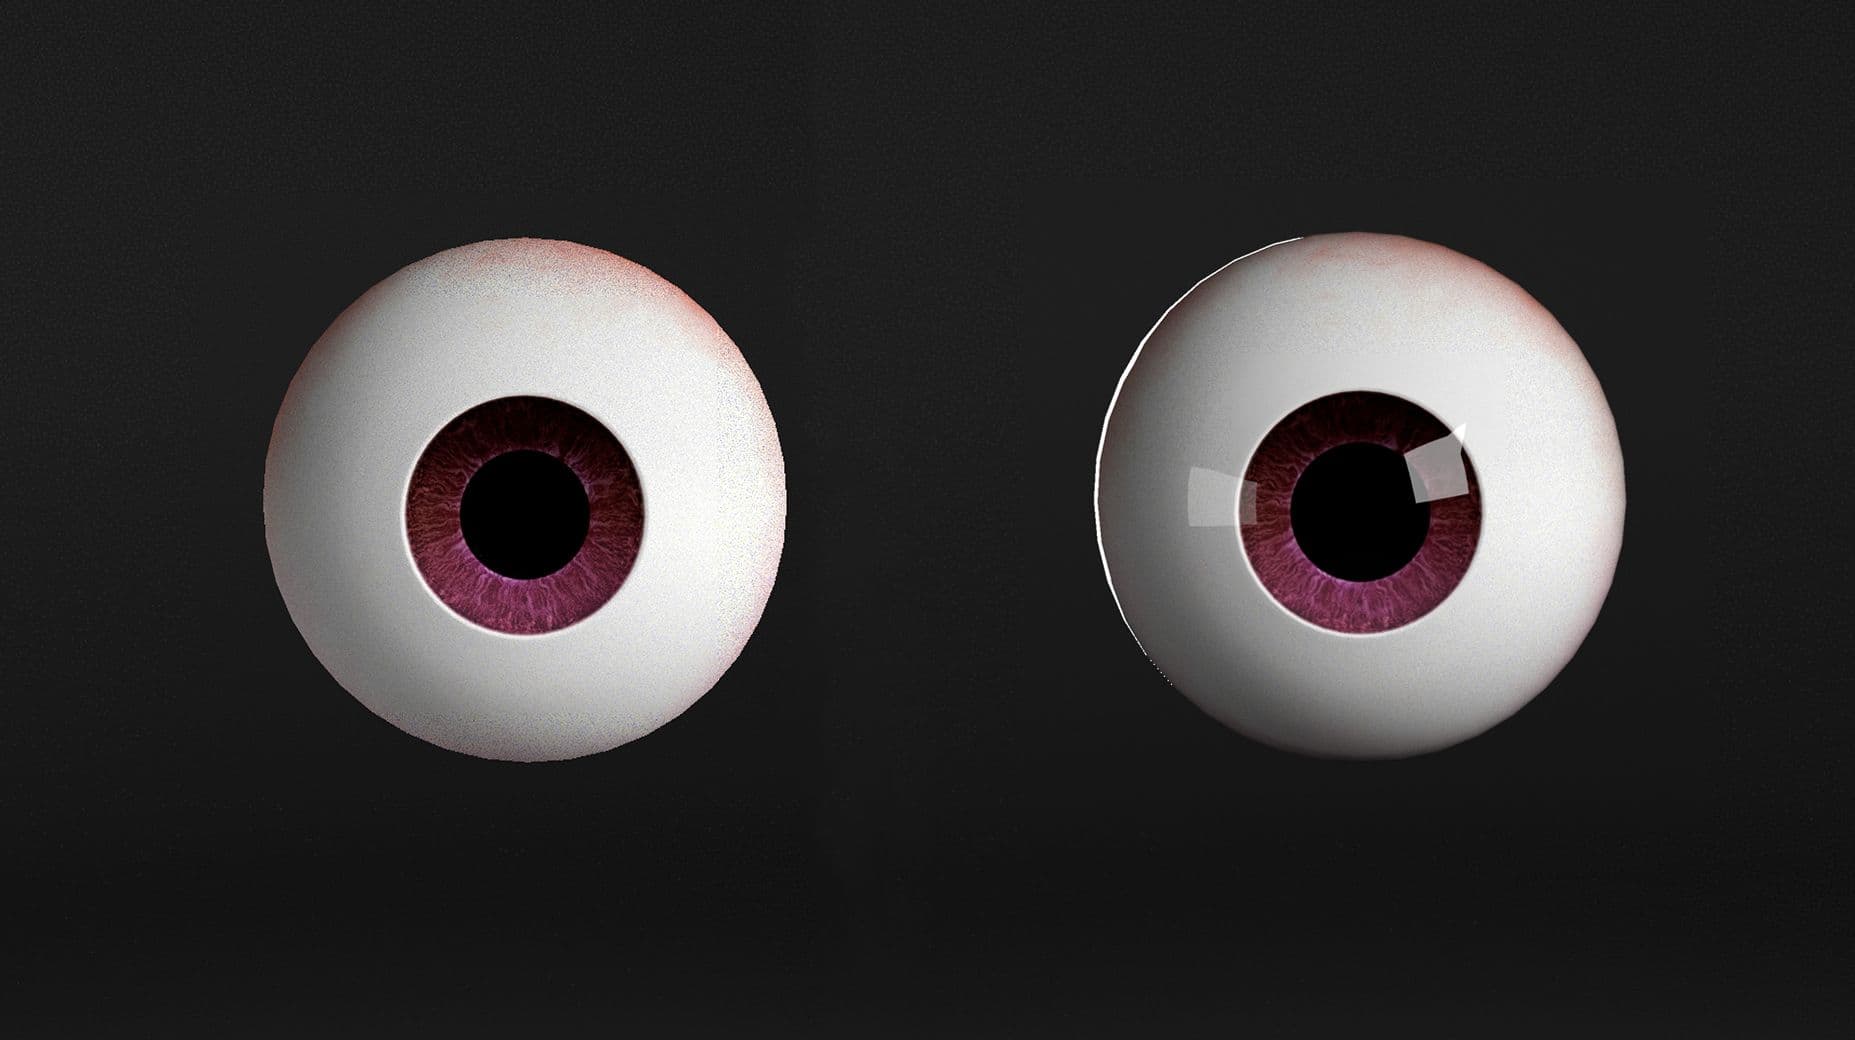
For me, the eyes are a very important part of every project so a few months ago I got the Ultimate Eye Generator. It has proven to be a great tool to work with. With a few clicks I was able to get the eyes I needed and all the variations I wanted.
More often than not, the textures are going to change. Keeping a friendly and manageable environment will make your life a lot easier.
Look Dev
This is my favorite part of the pipeline. My process is to connect the different maps exported from substance. Then make changes little by little get the desired results.
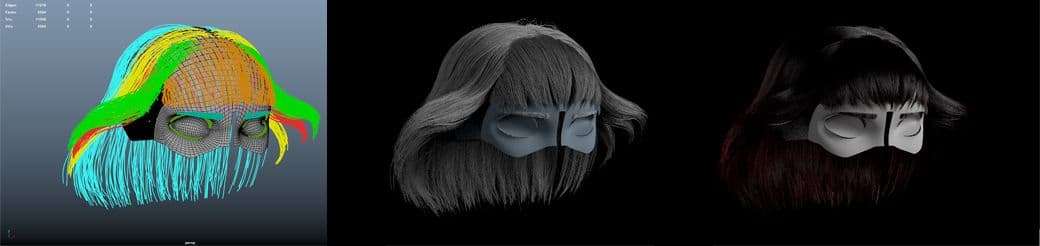
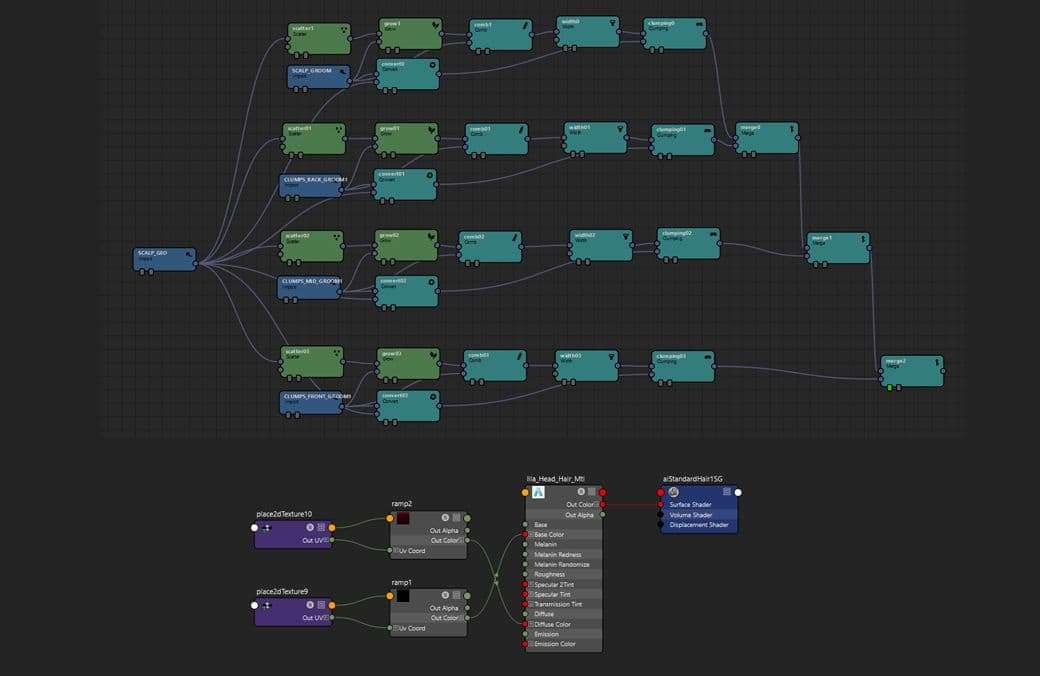
I made the hair in Yeti. It is a great method of creating hair. The node based system is very flexible and user friendly. It also has several tools and features that are super helpful to make the pipeline easier.
In this particular project, look dev was a real pain because the textures changed a lot when applying the red lights. So I decided to make a red look dev environment in which the light conditions were similar to what the final result would look like. I also had to make the leaves and FX and make sure everything was working well together.
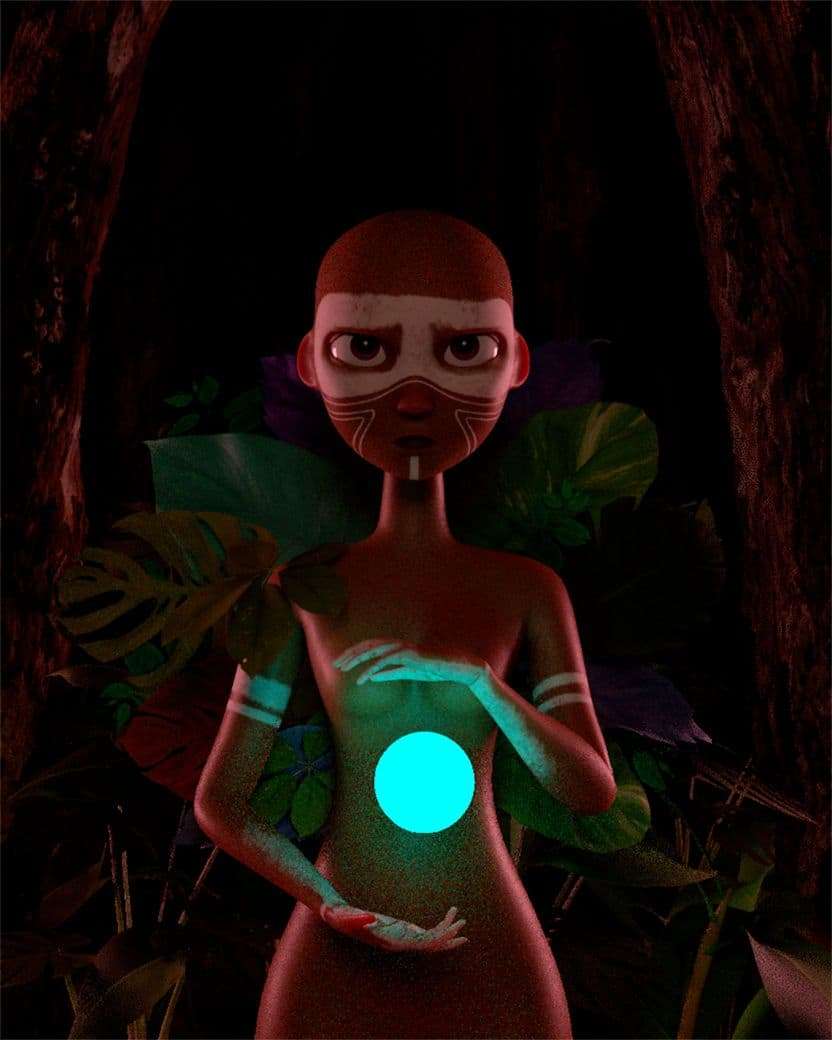
I made a version with trees in the background to frame her and give more depth to the scene. But with some feedback, I dropped the idea and returned to the original concept.
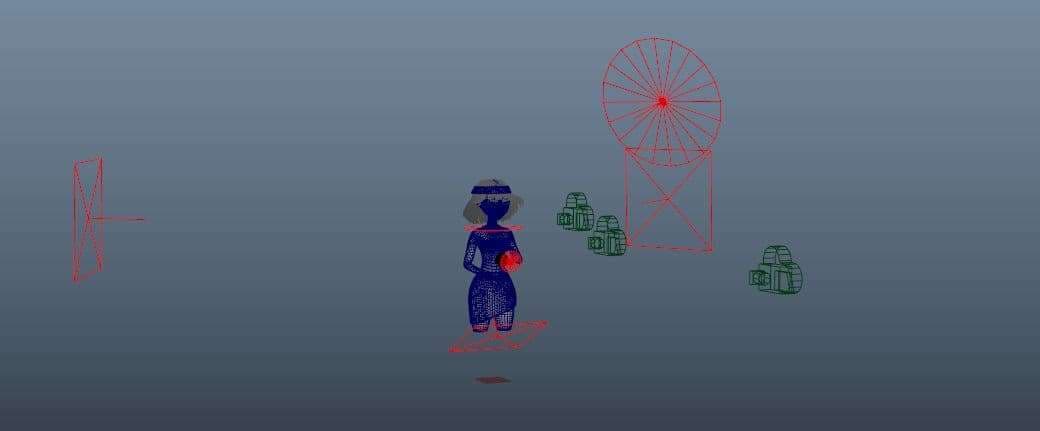
Lighting
In this project the lights were one of the most important things. I took special care of them and made several setups to test for the best result. I was testing the lights with preliminar models before even texturing to make necessary adjustments to the character.
Even with all the tests and changes in other departments, the lighting was getting a bit tricky so I decided to fake most of the lights. I started using light linking to brighten or darken some areas to get more light in her face while having the leaves behind her in shadow. Although this worked out well, I should have made more tests. Because I ended up having to render different versions of the lights to composite the specular AOV.
While making this project, I happened to be reading a lighting article by Chris Brejon and it was a very useful resource.
Rendering and Compositing
I rendered in Arnold. I find it to be one of the best renderers out there because it’s fast, it looks good and it’s very user friendly. I used different AOVs and layers to be as flexible as possible while compositing.
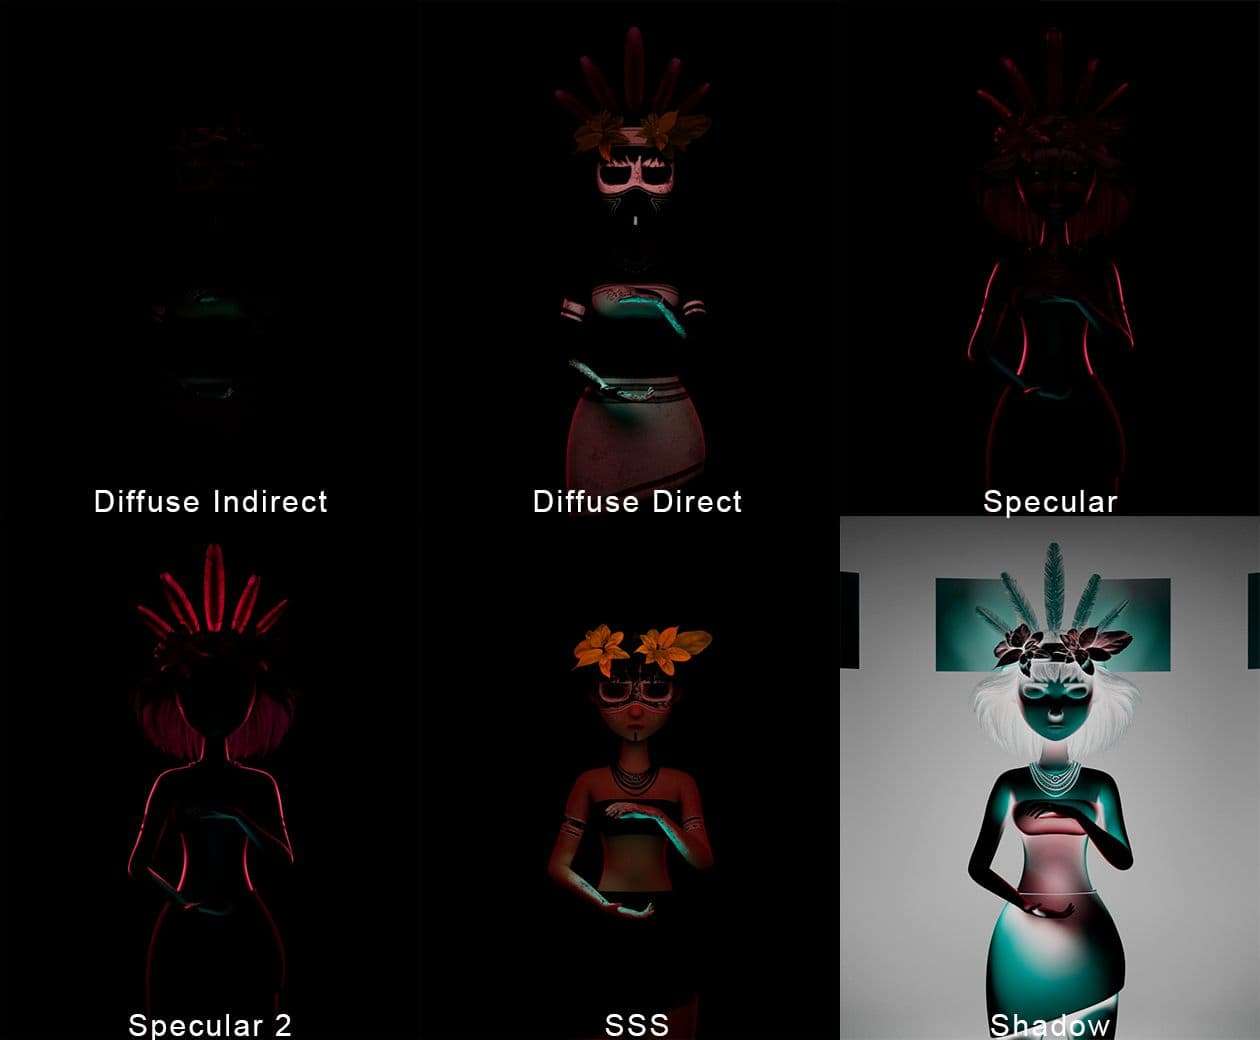
I did the compositing in Nuke and it was somewhat straight forward. I composed the AOVs of the different layers and then started adding more nodes to match the concept. This is when the Cryptomatte AOV came to be super useful. I was able to color correct stuff without masking anything. If you haven’t used it, I recommend it a lot.

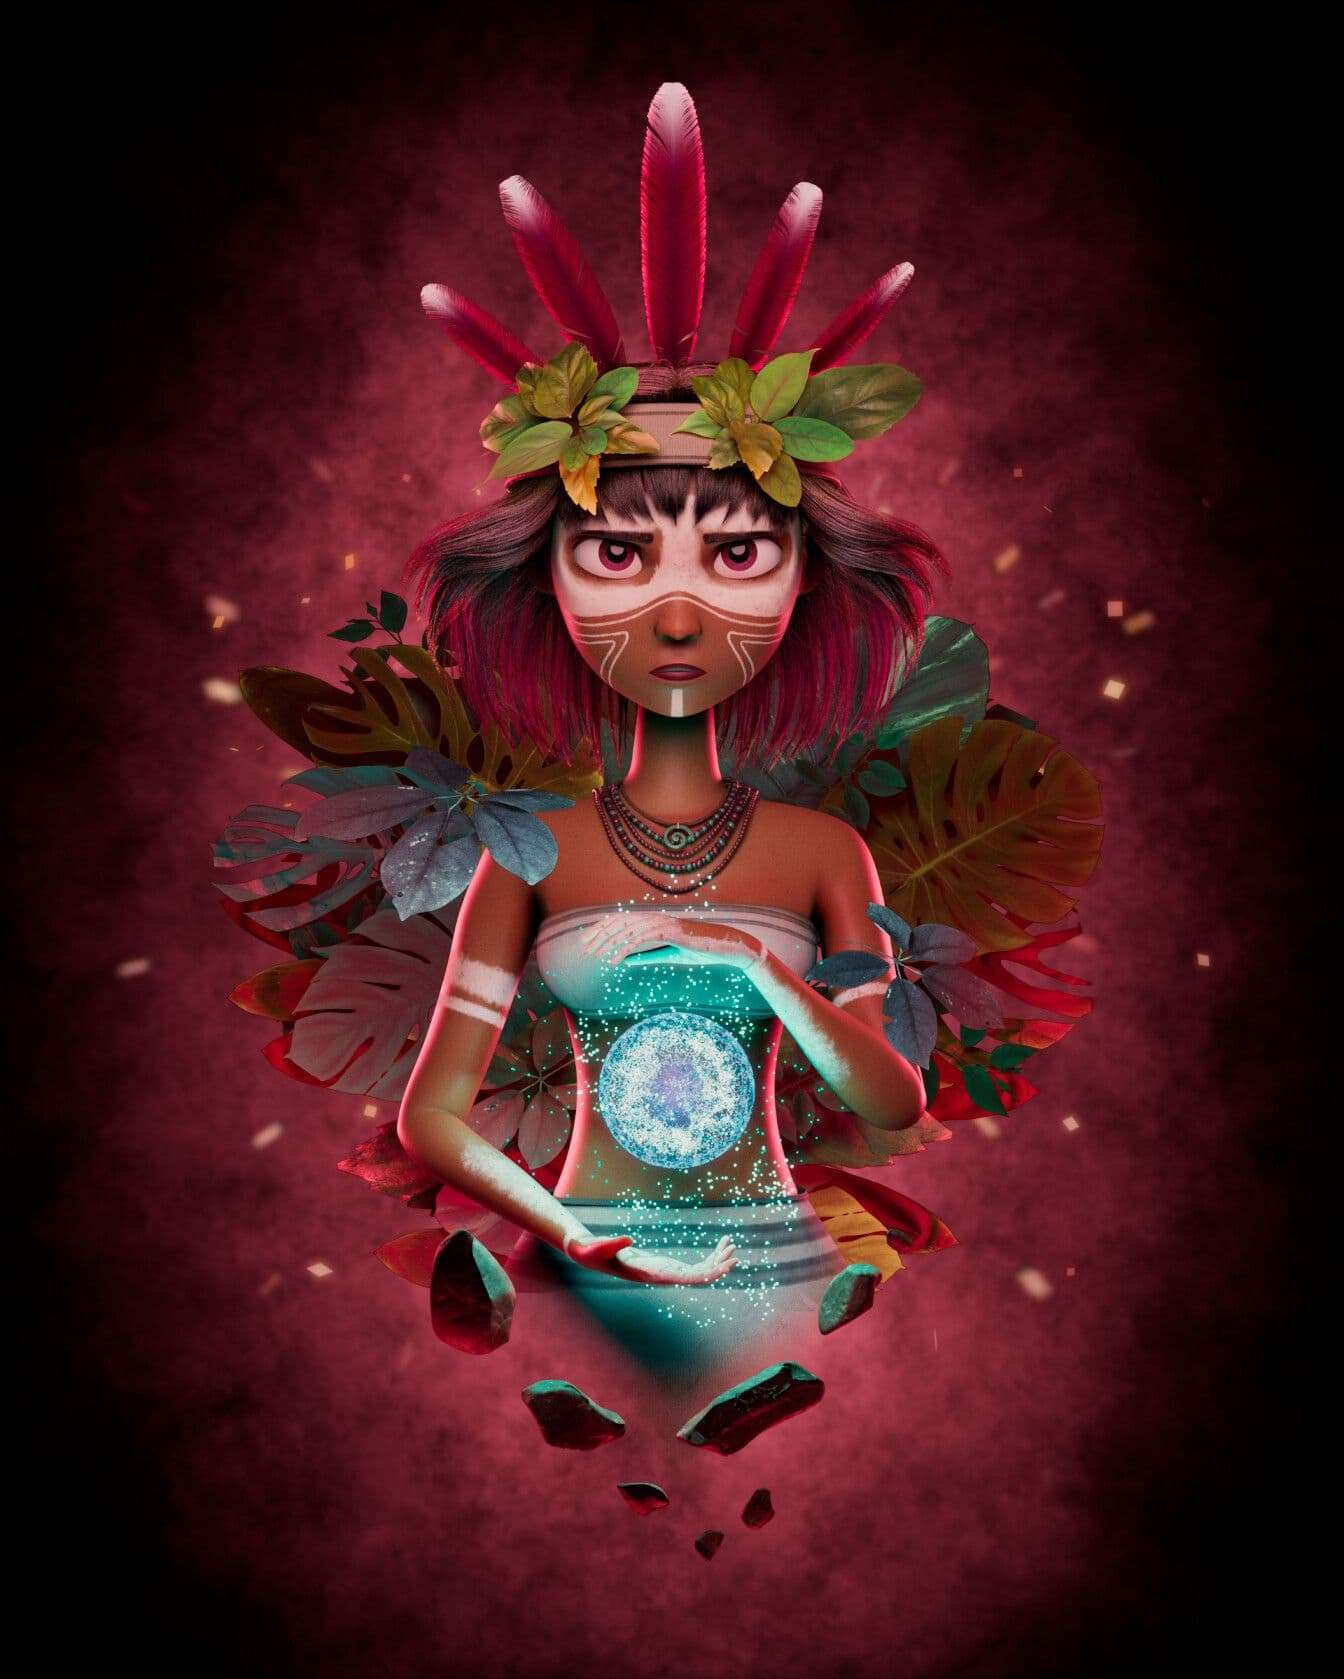
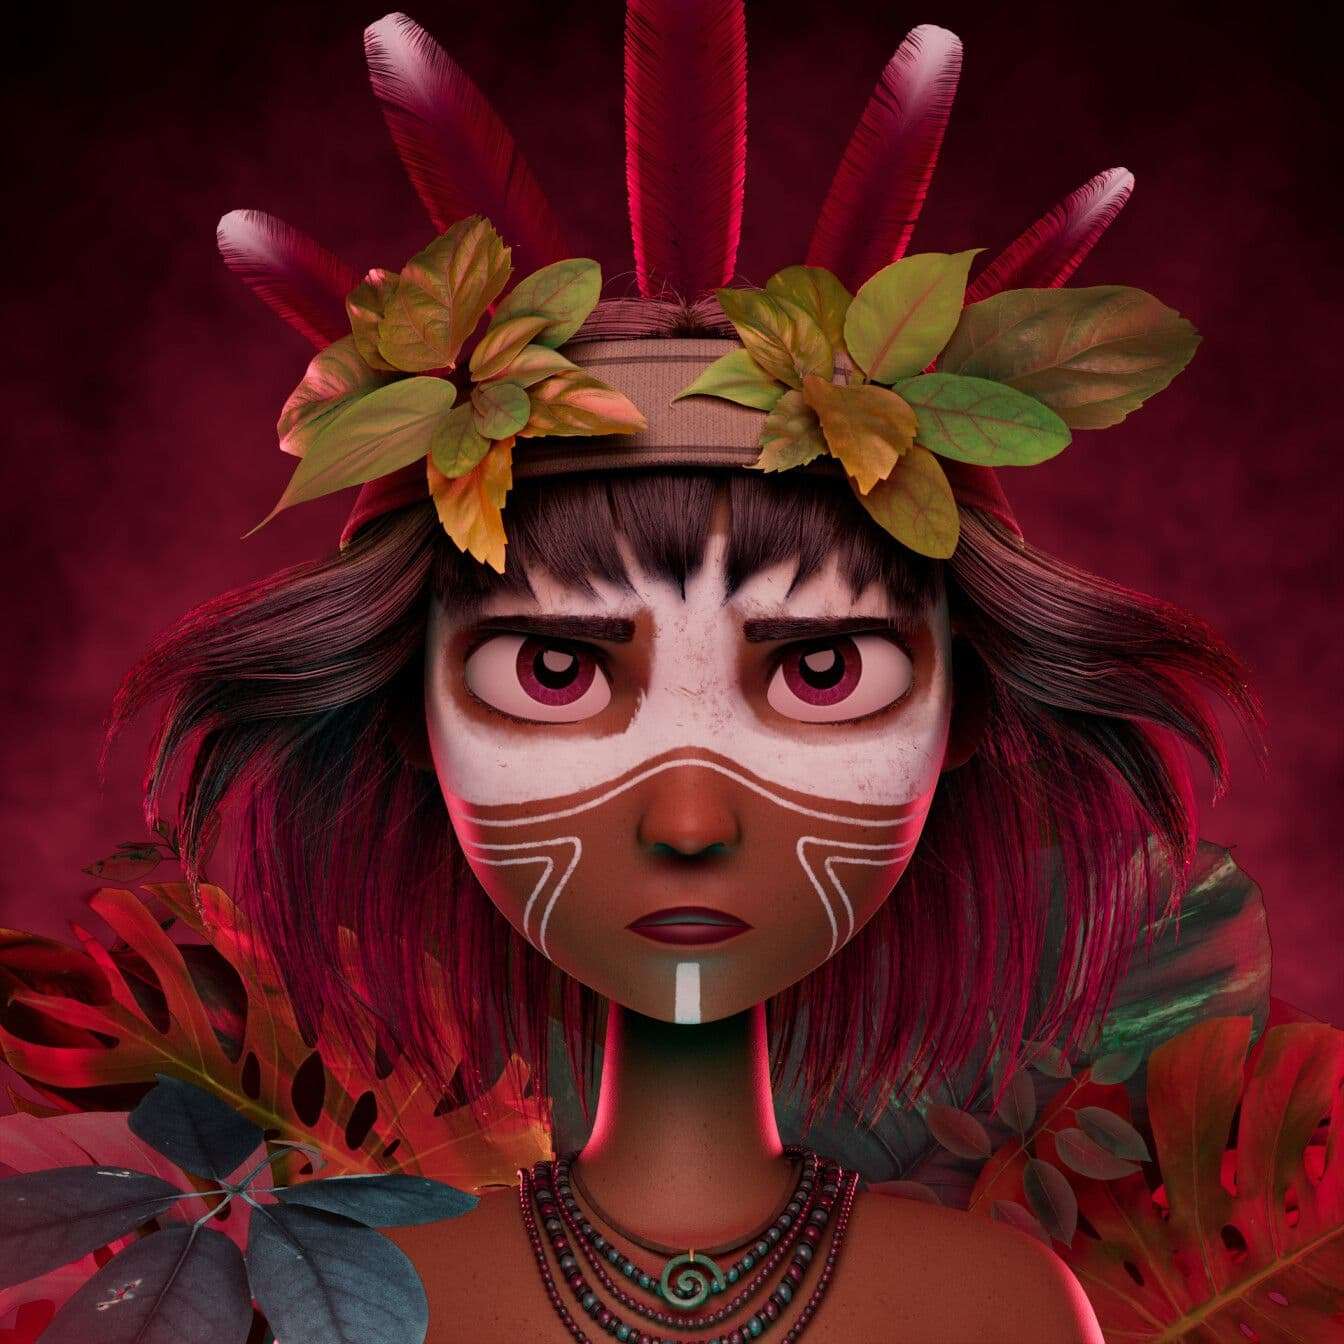
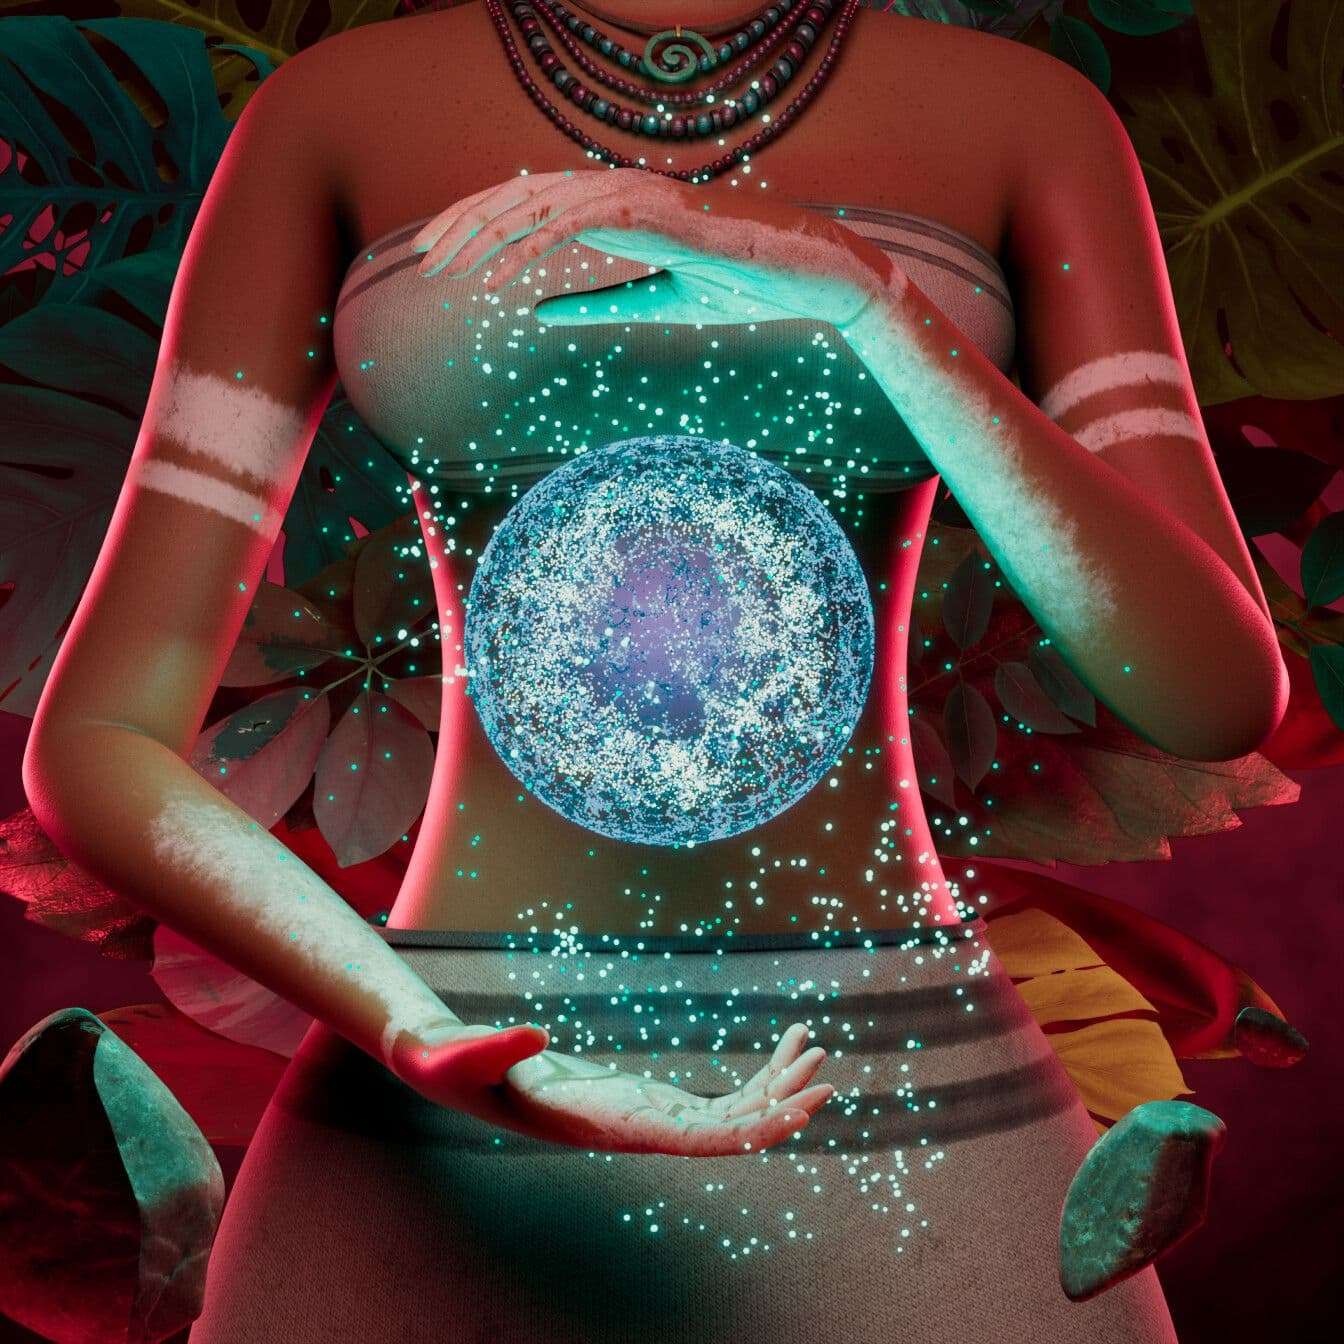
Finished Renders
Conclusion
So, to summarize, the most important things that I learned in this project were:
- Work in a professional way. Don’t wait to be working in a big studio to start making things the way they’re supposed to be.
- Take breaks to rest and clear your mind. Crunching is always a bad idea.
- Get feedback and actually listen to it.
- Always keep in mind where you want to take the project. Constant growth is the only way to keep up in the world of animation.
- Add your personal touch to the project and try to evoke something with it. At the end of the day, that is why we do what we do.
And that’s it!
I hope you found this article useful and interesting. And if you have any questions or want to get in touch, don’t be afraid to reach out to me on Instagram, Artstation or The Rookies.