10 Tips to Take Your Lighting and Compositing Demo Reel to the Next Level
Eva Mateo-Fabregas is Lighting & Compositing artist at Blue-Zoo Animation Studio who is motivated to inspire the next generation of artists embarking on their careers. In this article she offers some invaluable tips on creating a lighting and compositing reel that will stand out from the crowd.
Eva Mateo-Fabregas is Lighting & Compositing artist at Blue-Zoo Animation Studios, remotely working from Catalonya, Spain. Eva recently graduated with a Bachelor’s Degree in animation and visual effects from La Salle Ramon Llull University in Barcelona, but her learning hasn't stopped there - her profession fascinates her and motivates her to improve her techniques and acquire more skills.
Eva is also motivated to inspire the next generation of artists embarking on their careers, and offers some invaluable tips on creating a lighting and compositing reel to the next level.
Introduction
Last month I received several messages from graduate students, asking me for advice about how to enter the industry and how to make a demo reel. I hope to help some artists with this article.
I have some bad news for you however, because I won’t explain how to actually create a demo reel because this is up to you. I mean, from my point of view, I think that you need to follow your own instinct. I think that it is very important to find your unique way of presenting your own work because that way you will stand out and be remembered.
I am here today to share with you some tips that helped me to create my own demo reel and if it can give you a different perspective on how to approach your own, then I have accomplished what I've set out to do.
1. Selecting pieces for your demo reel
No doubt when you finish your studies you will have a lot of artwork completed. Do not rush and do not select all! Only the best best pieces that showcase your skill should be included in your reel.
There are some downsides about adding too many pieces of academic artwork: The artwork may have been heavily supervised and corrected by mentors.
'Gas Station'. Personal project that I started at the University and I finished a few weeks.
You want to show prospective employees that the work you create is consistent whether supervised or not.
2. Make collaboration projects with other artists
Two months before I finished my studies, I went through the exercise of evaluating my artwork. I was happy with some projects but I felt that I missed examples of lighting in acting/animation shots. In reality, you will have to light for live action or animation, so showcasing static shots will just not cut it.
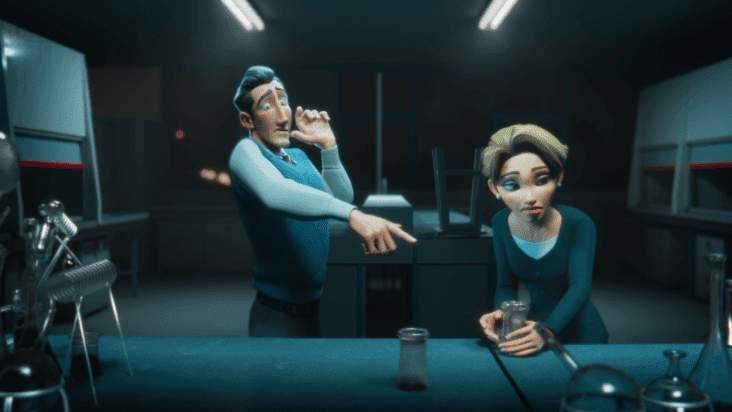
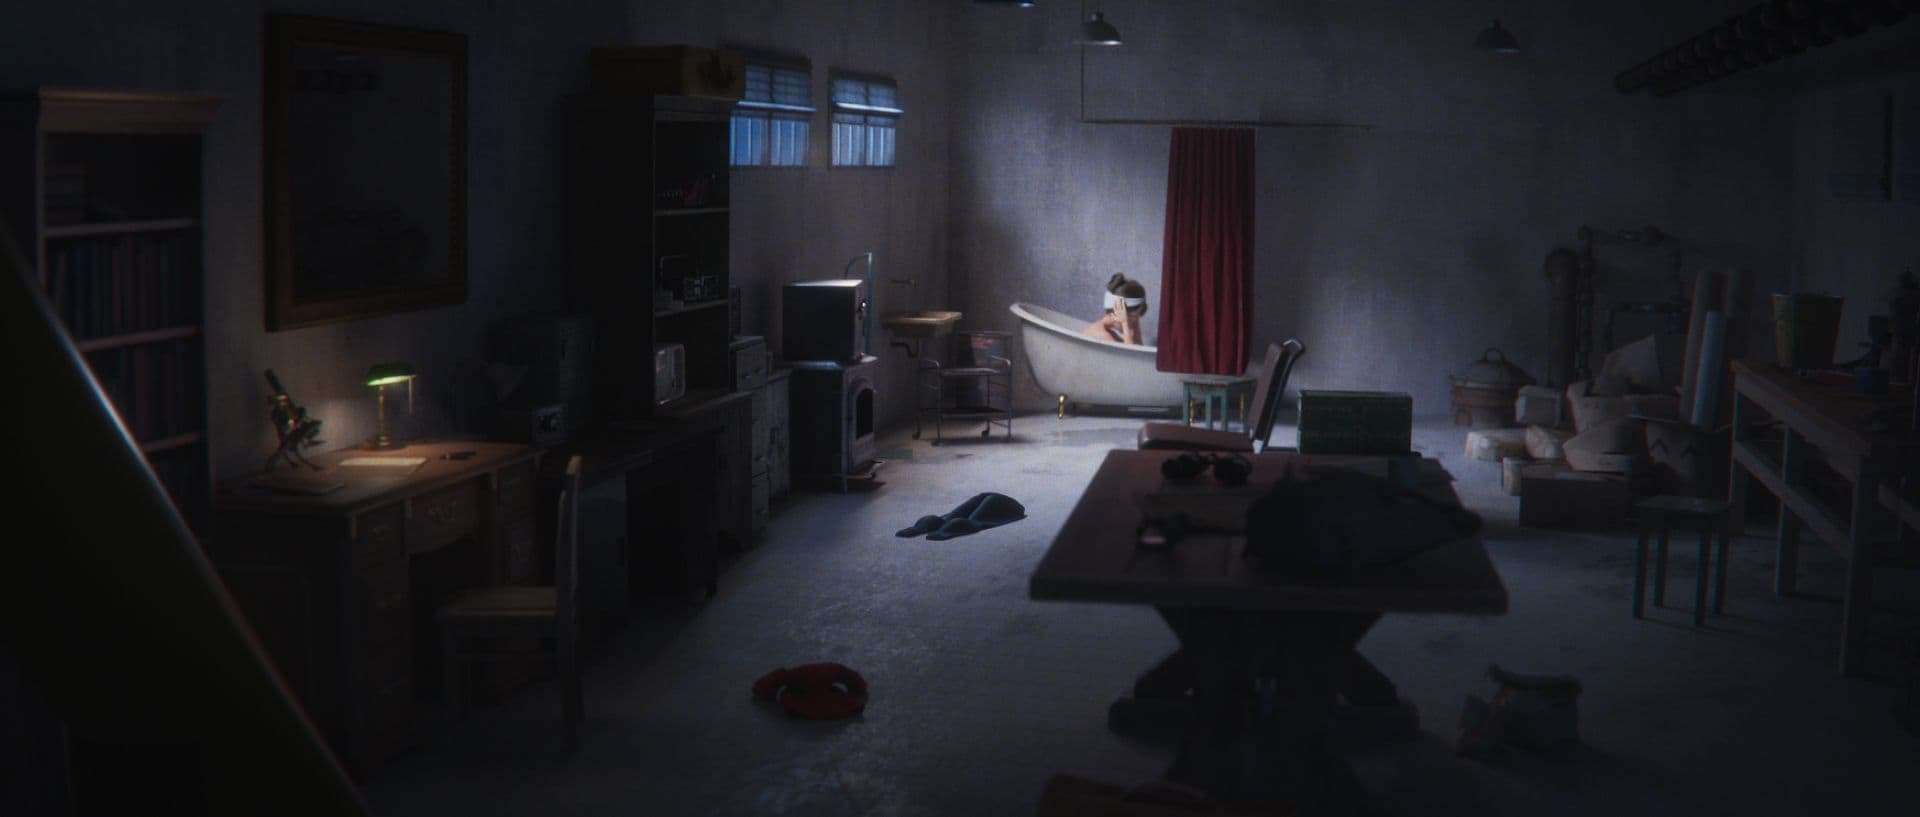
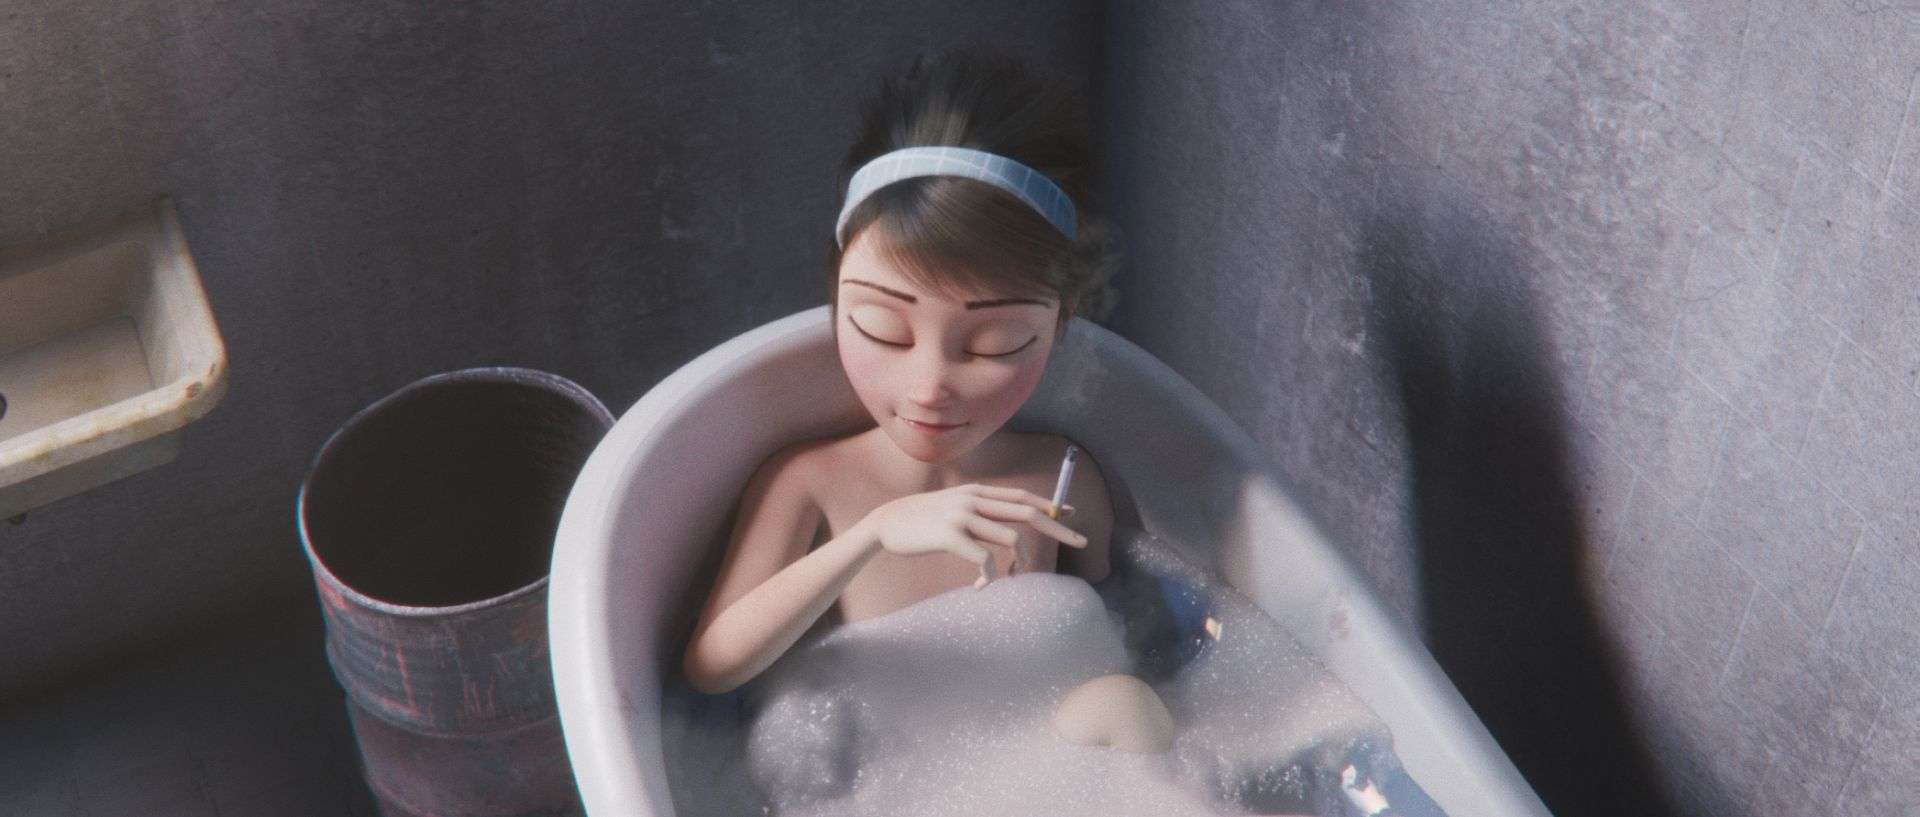
'The Laboratory' animated by Raquel Camarillo. My first collaboration. This project brought attention to my work and in turn, new collaborators reached out. To this day I see many errors but I am happy that it attracted attention.
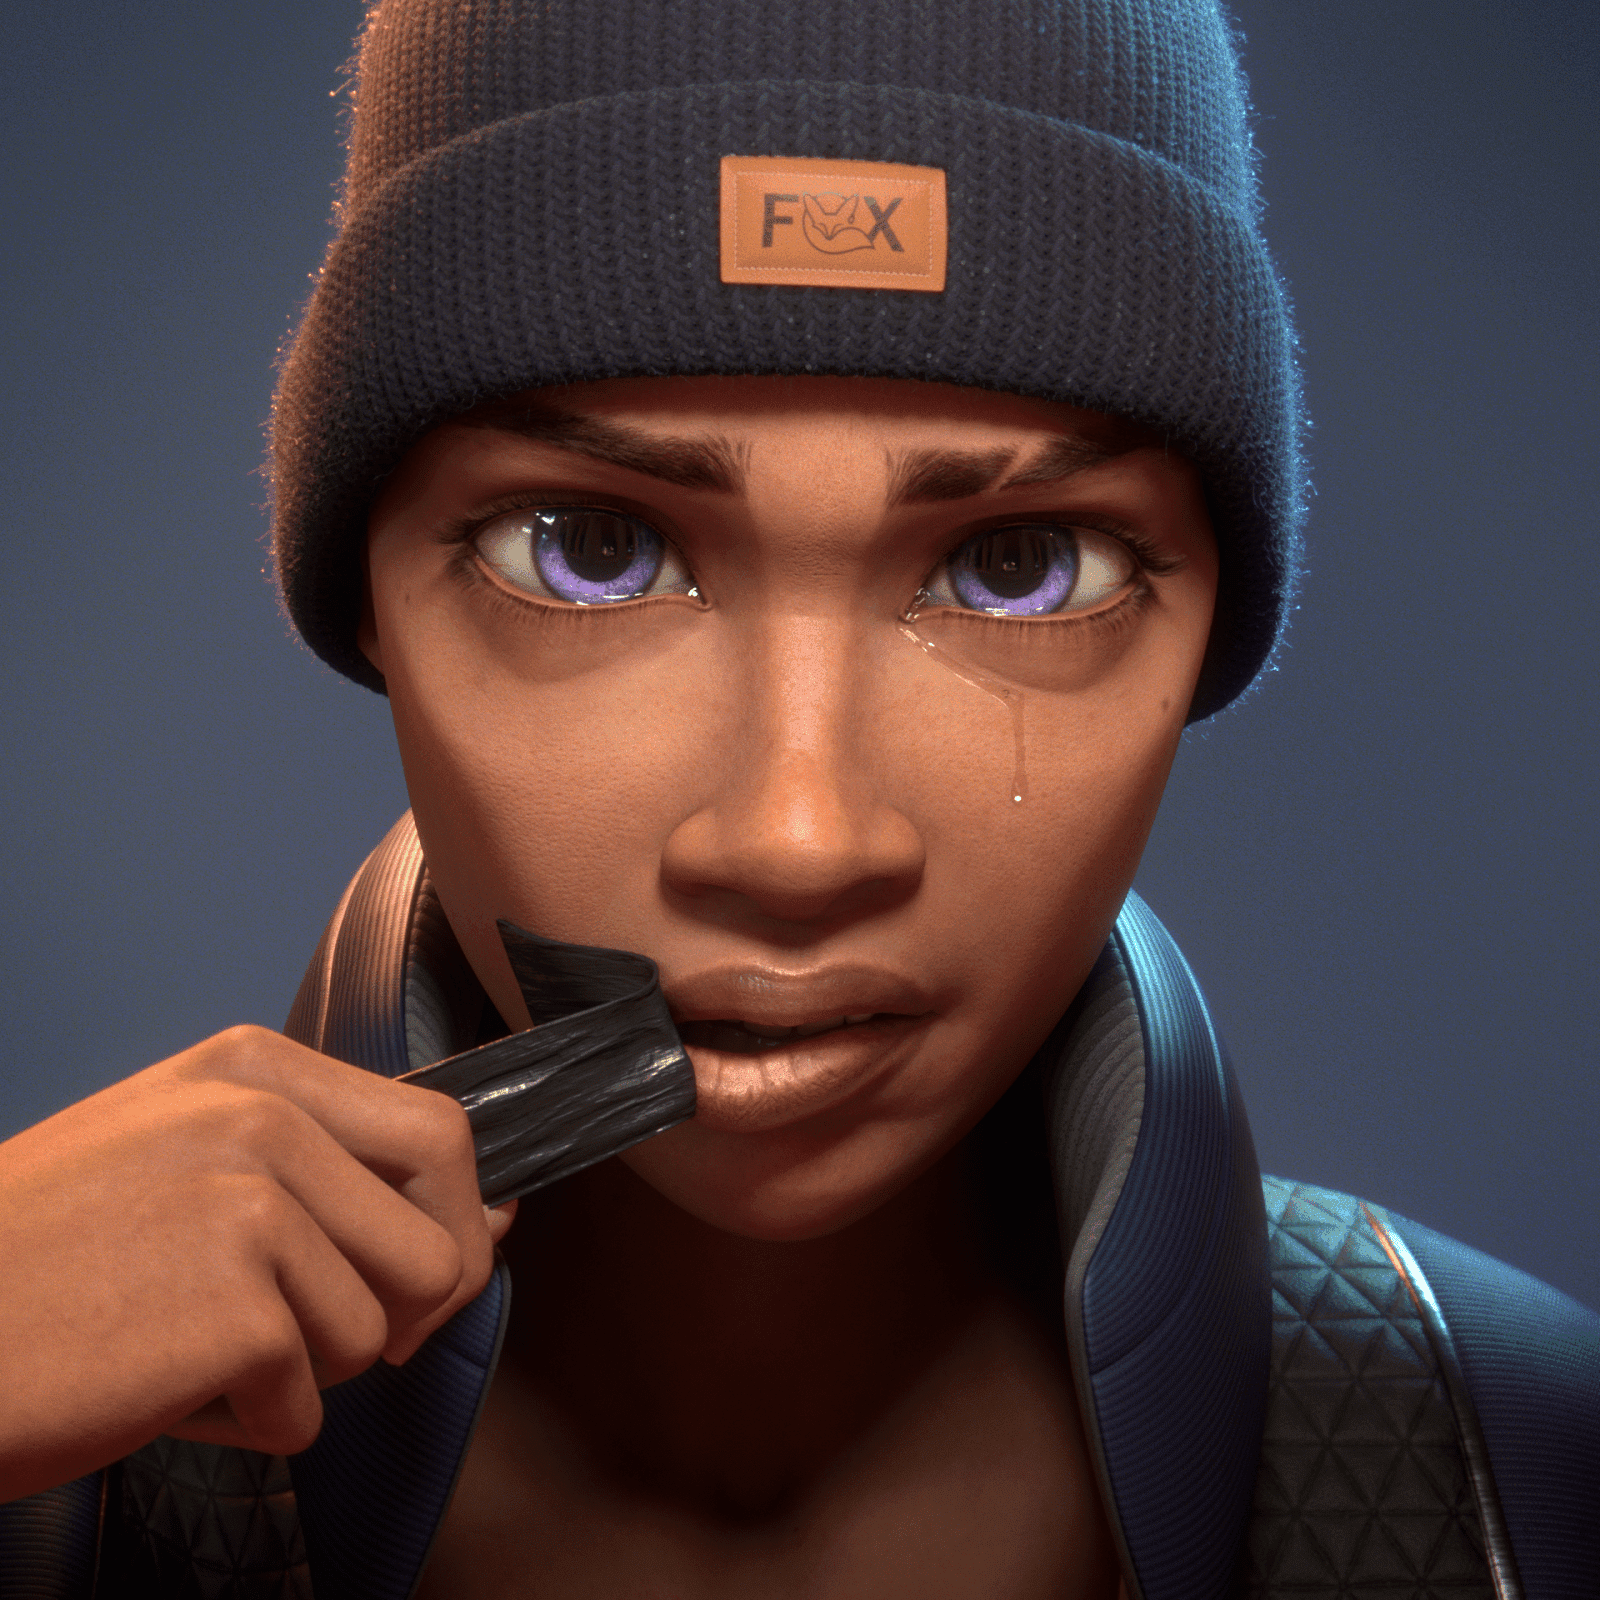
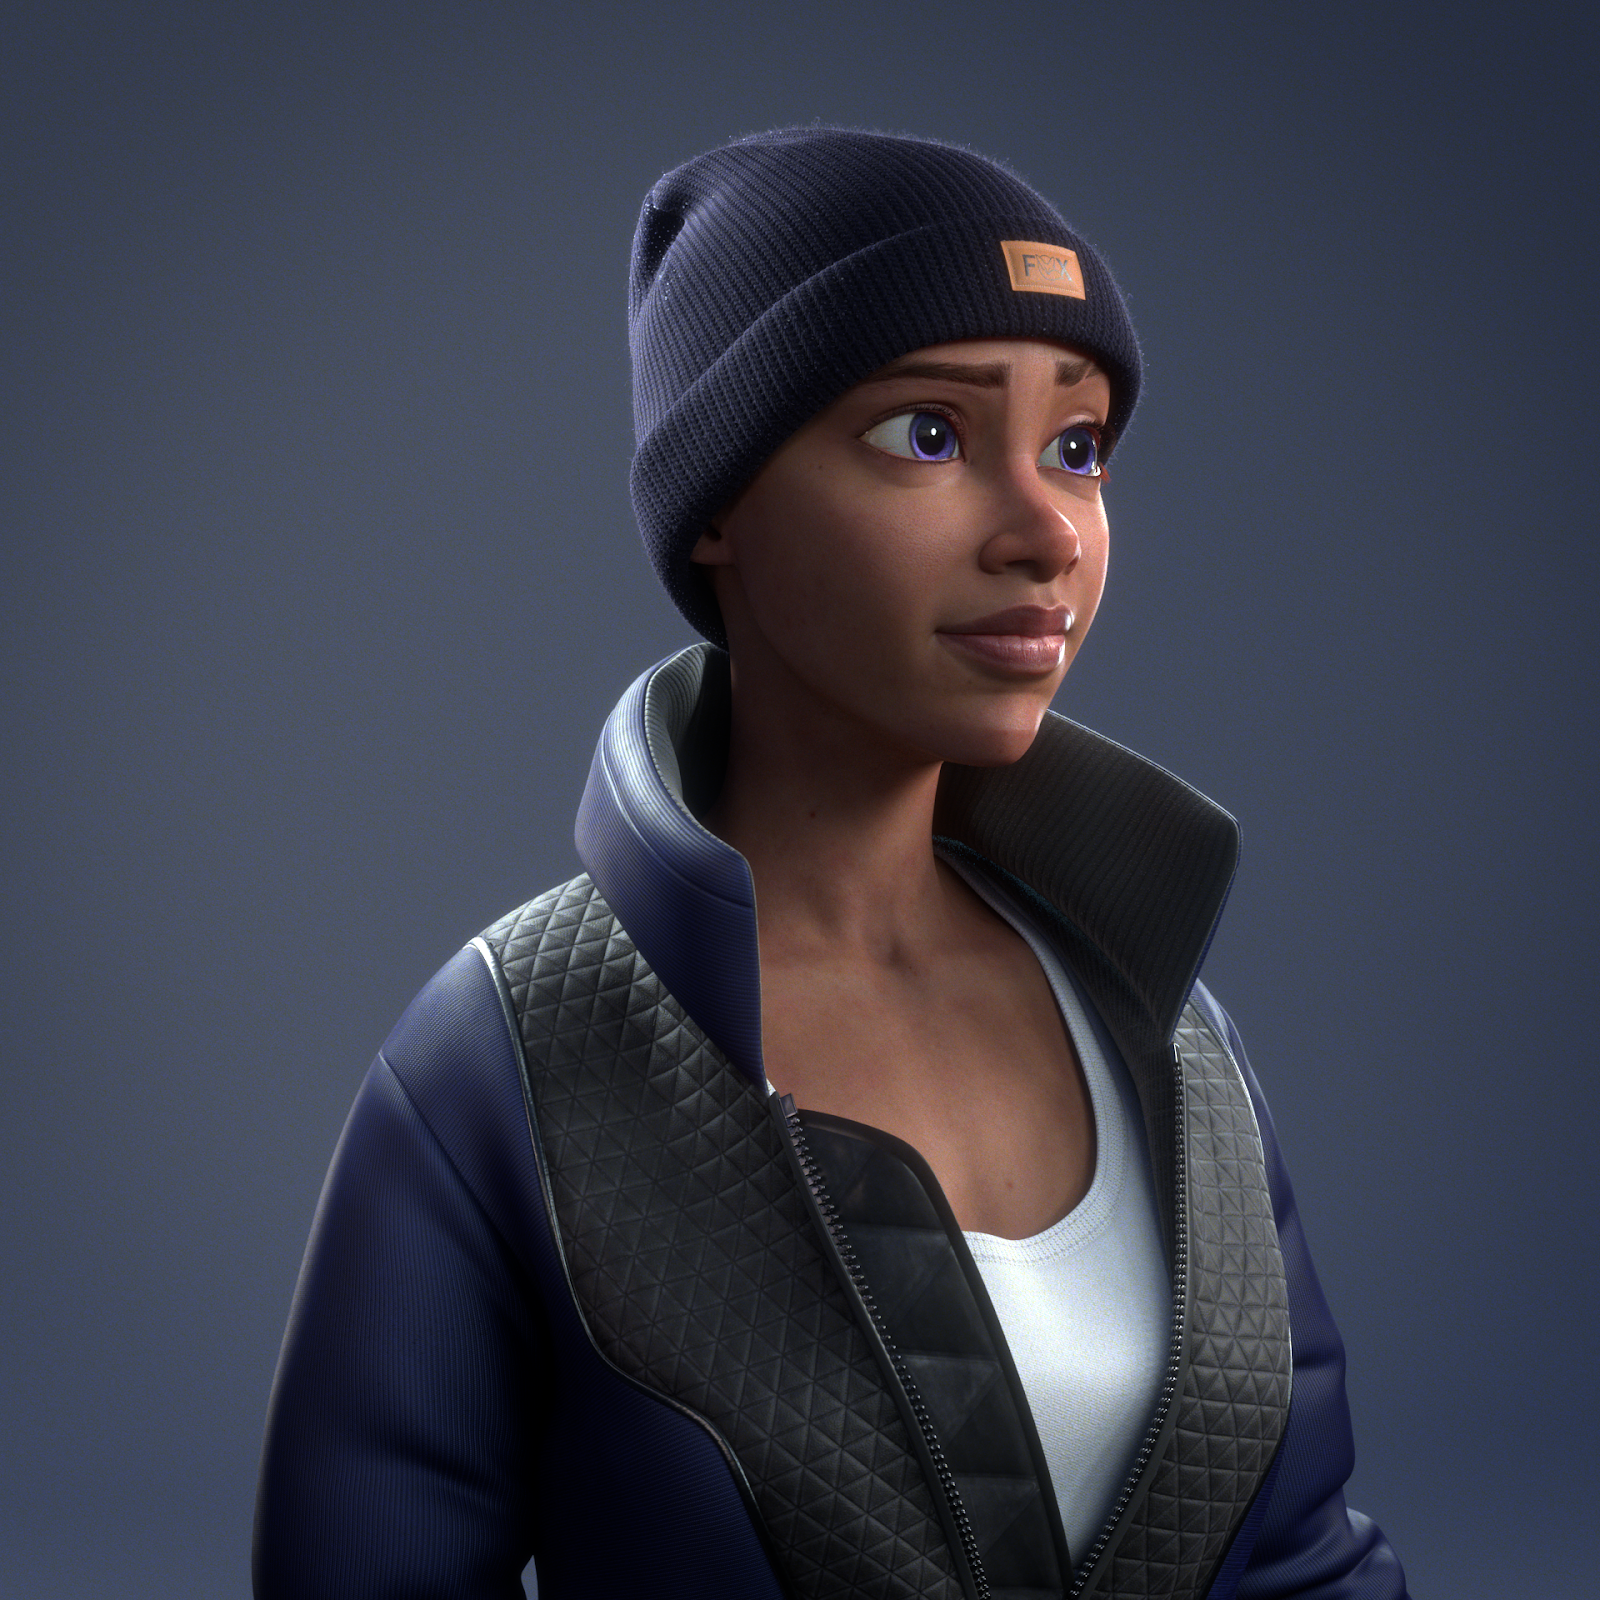
The more collaborations I did, the more my work was being noticed and the more work I got to do. For example, I joined forces with a group of artists to create the character 'Avyanna', picture below. This piece was created to support the 'Black Lives Matter' movement.
Black Lives Matter artwork made for Avyanna team: Karma Juliana and Laia Preixens (character design), Marc Martin (character modeler: modeling, shading, texturing, and groom), Jesús Coscolla (rigging), Yensen Quintero (animation) and Eva (lighting and compositing).
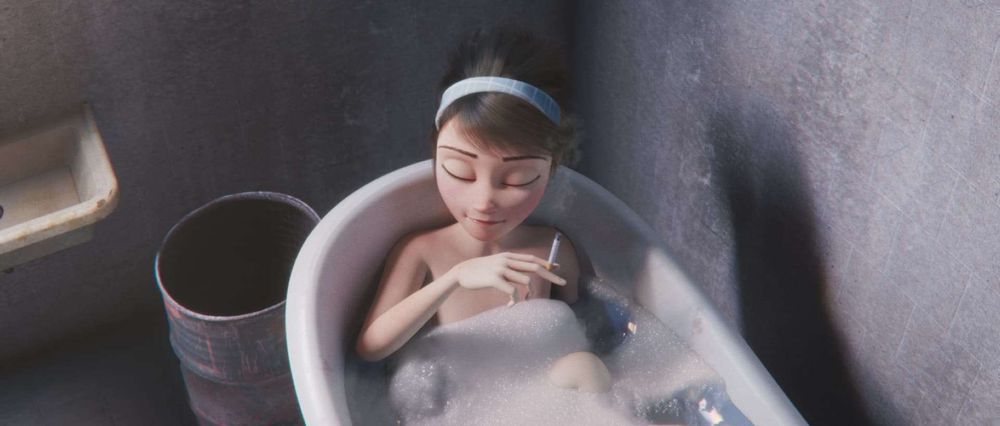
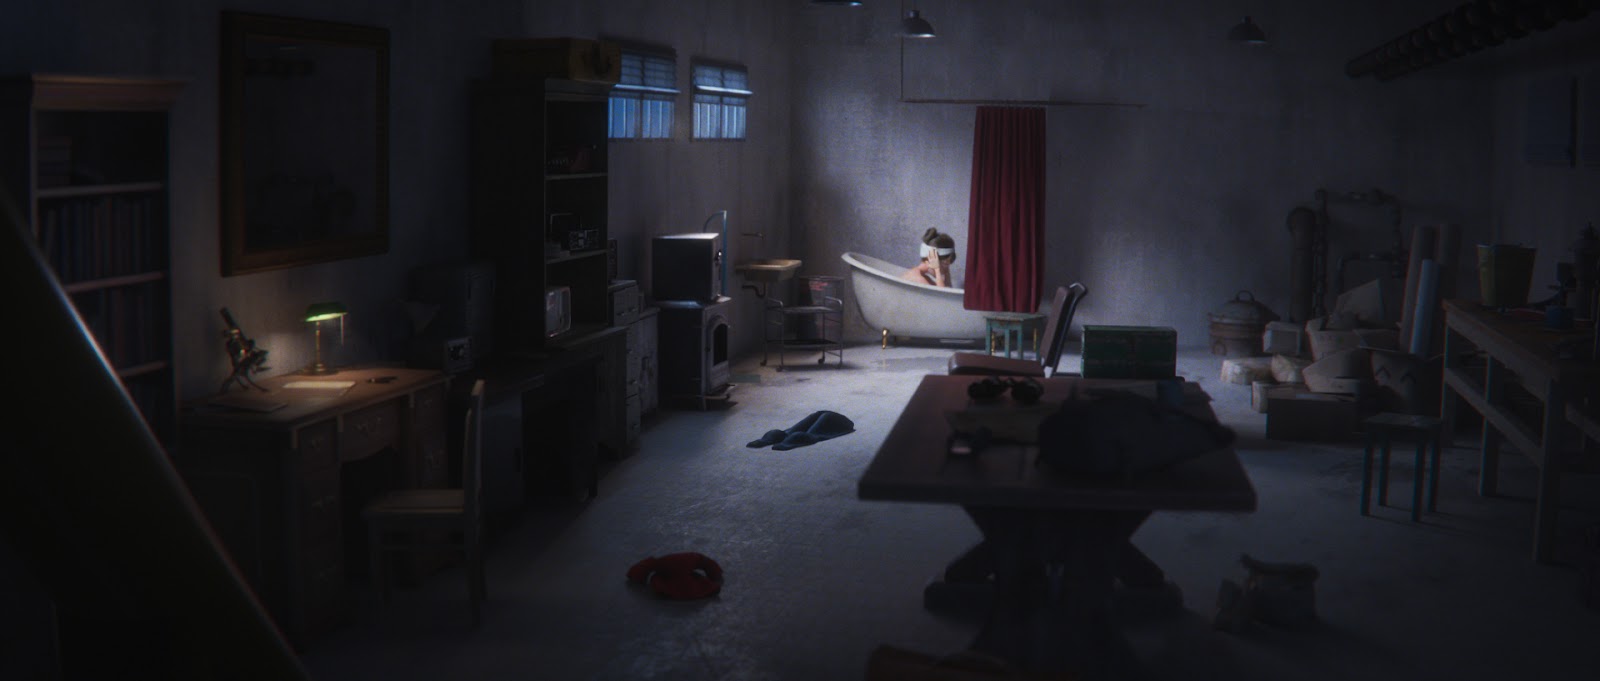
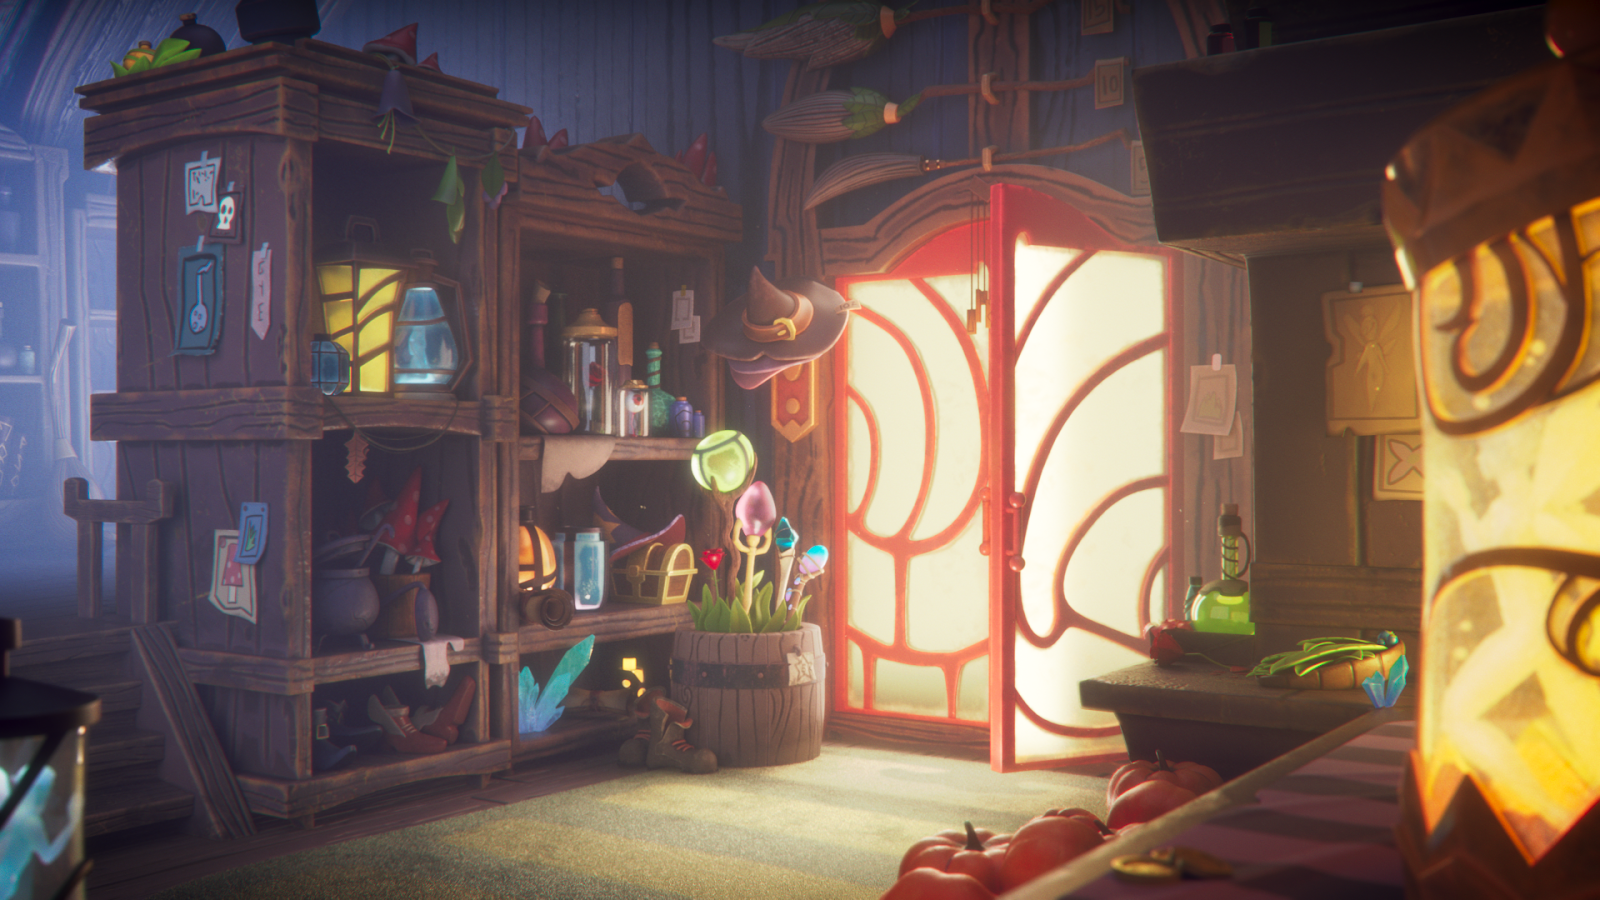
Another great collaboration below called "Magic Room". The assets were created by Marc Castells and Lighting and Compositing done by me.
'Magic Room' concept created by Veronika Firsova
3. Try not to use the same light-rig in all your work
It is very important that showcase different lighting setups throughout your work. Sometimes this may not be an issue - I had a coworker at Jellyfish that filled his demo reel with night time lighting. He had a strong artistic eye, so there was range within those night time settings.
You will find however, that many lighting supervisors and leads from different studios will want to see how you can express different lighting moods: happy, sad, angry, etc.
3. Add character lighting to your reel
It is a great idea to also showcase range in lighting for environments as well as characters. As a junior artist, you want to show your future employers that you are versatile in what objects you can light.
Avyanna Blend Shapes test made by Avyanna team
4. Ask for feedback
It is very important for me that you develop the confidence to make your own decisions about the work you want to create and how you want to express your skill. However! Asking for feedback is crucial. Especially when you are learning, having a mentor to guide you is invaluable, until you are confident about your own artistic direction.
It is also a good idea to reach out to professionals in the industry. There are studios that you can send your reel into for feedback. There are also initiatives from companies like Autodesk and The Rookies who collaborate to hold digital review sessions.
And when you do get the feedback you've asked for, write it down! Having notes to look back on will help you solve problems that you will inevitably face.
5. Make sure the quality of your work is consistent
It is very important that the quality of your work is consistent across the board.
Evaluate your pieces - if you have included a shot which doesn't hold up as good as the others, drop it from your reel. Or, make it better.
6. Keep updating your demo reel
When I created my first demo reel I had 14 versions of it before I settled on the final version. I always looked at what I could modify and do better. Same goes for your curriculum vitae (CV). If you can improve on them, do so.
7. Adding breakdowns to your reel
Remember that your demo reel should be a reflection of your skills and potential - recruiters are looking to evaluate your work in the context of the whole experience, not just the specific shots. So, yes, add a breakdown to your reel so prospective employers can assess that you have the technical skill to get the job done. However, maybe present less and more impressive breakdowns, as opposed to saturating your reel with too many - you don't necessarily need to have a breakdown for every portfolio piece on your reel. Less is more!
8. Simplify descriptions
Use simple descriptions about what you did on a portfolio piece. No one has time to stop, scrub and read what software you used and how you used it, when watching a demo reel.
A good idea is to add a frame at the end of your reel with your bio and the list of software you are proficient in.
9. Avoid directly copying other artists work
We take inspiration from other artist's all the time. Study the reference, and put your own spin on it. I like to follow a colour key from a reference shot or concept for example, and then create a version unique to my style and point of view.
10. Include multiple shots from a given project
It is a great idea to include several shots from the same lighting. You will be demonstrating that you can create a master or key shot and are able to replicate the lighting to keep the connection within a sequence. This is important when you are a junior artist - connection and consistency in lighting is a skill which recruiters will be looking for.
'Gas Station': Concept lighting that had 4 shots, of which I included the Master shot and Key shot to my reel.
Lastly, whilst not a tip, it's something to note: Professionals want to see that you have potential. They know you have little to no professional experience. The best way to get their attention is to demonstrate that you have potential.
In that case, I recommend you also hone your artistic eye. The best way to do this is to constantly seek out what other artists are creating, keeping tabs on what professionals are doing, learn about art history, watch films, etc. Another way to work your artistic eye is to visit art museums. Many times the references from films are paintings.
All the while, pay close attention to the details. The details will set you apart.
Collaborating on portfolio pieces
I wanted to take an opportunity to share with you how I would approach working on a piece for a demo reel alongside a team.
The first thing that I do in my collaboration projects is to check everything from the scene: texture path, xgen path, missing files, project directory, etc.
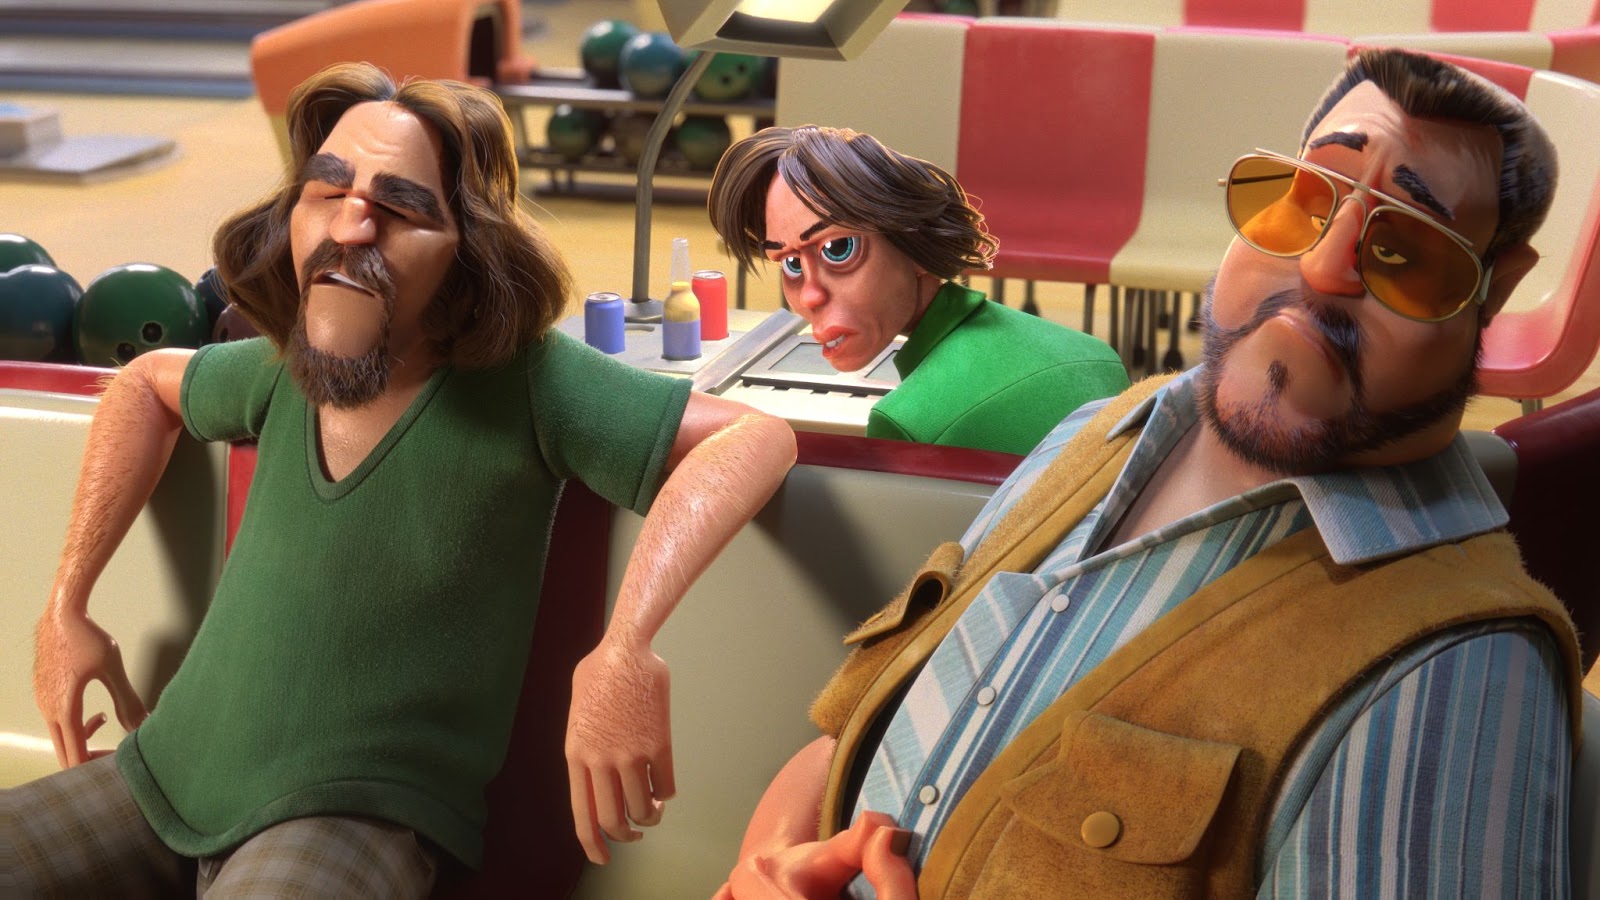
'Nobody f**** with Jesus'. Assets created by Jaime López.
In the case that there is something that is missing, I flag it to the artist. Or in the case he did something wrong, I give feedback. As for the scene I am writing about, the 3D Artist did his work very well and only had to adjust the scale of assets within the scene.
2. The next step is to work with the team or your 'client' about the intended mood of a shot. In this case, Jaime wanted a specific lighting for which I had other ideas. Your role as a collaborator is to trust your instincts and skill and be able to advise why a different artistic path may work better.
3. I did the lighting first and then I did the compositing. If I have adjusted the lighting in compositing, I like to go back to the lighting and make the fix from there.
4. Although it is important to iterate your work, it's also important not to get obsessive with changes and creating a tonne of versions. Learn to trust yourself and be decisive.
Lighting
The first thing that I like to do when I approach the lighting of a scene is to chose the HDRI light (the fill/ambient).
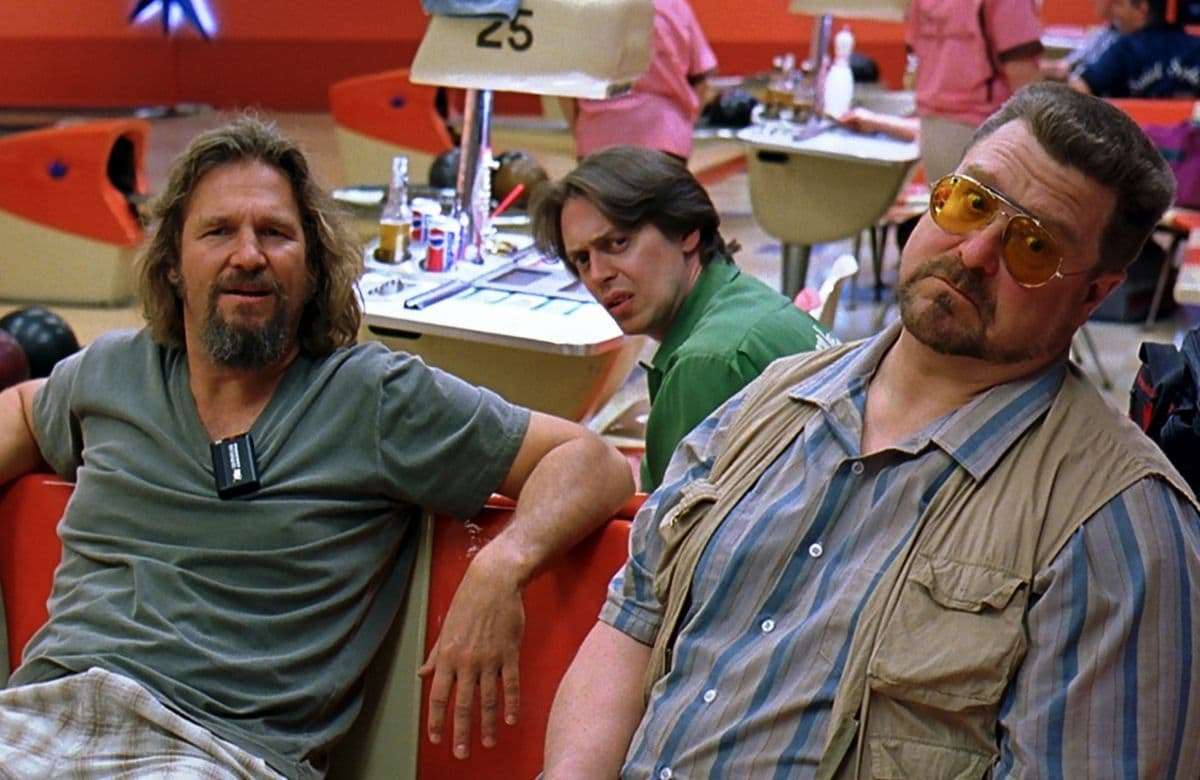
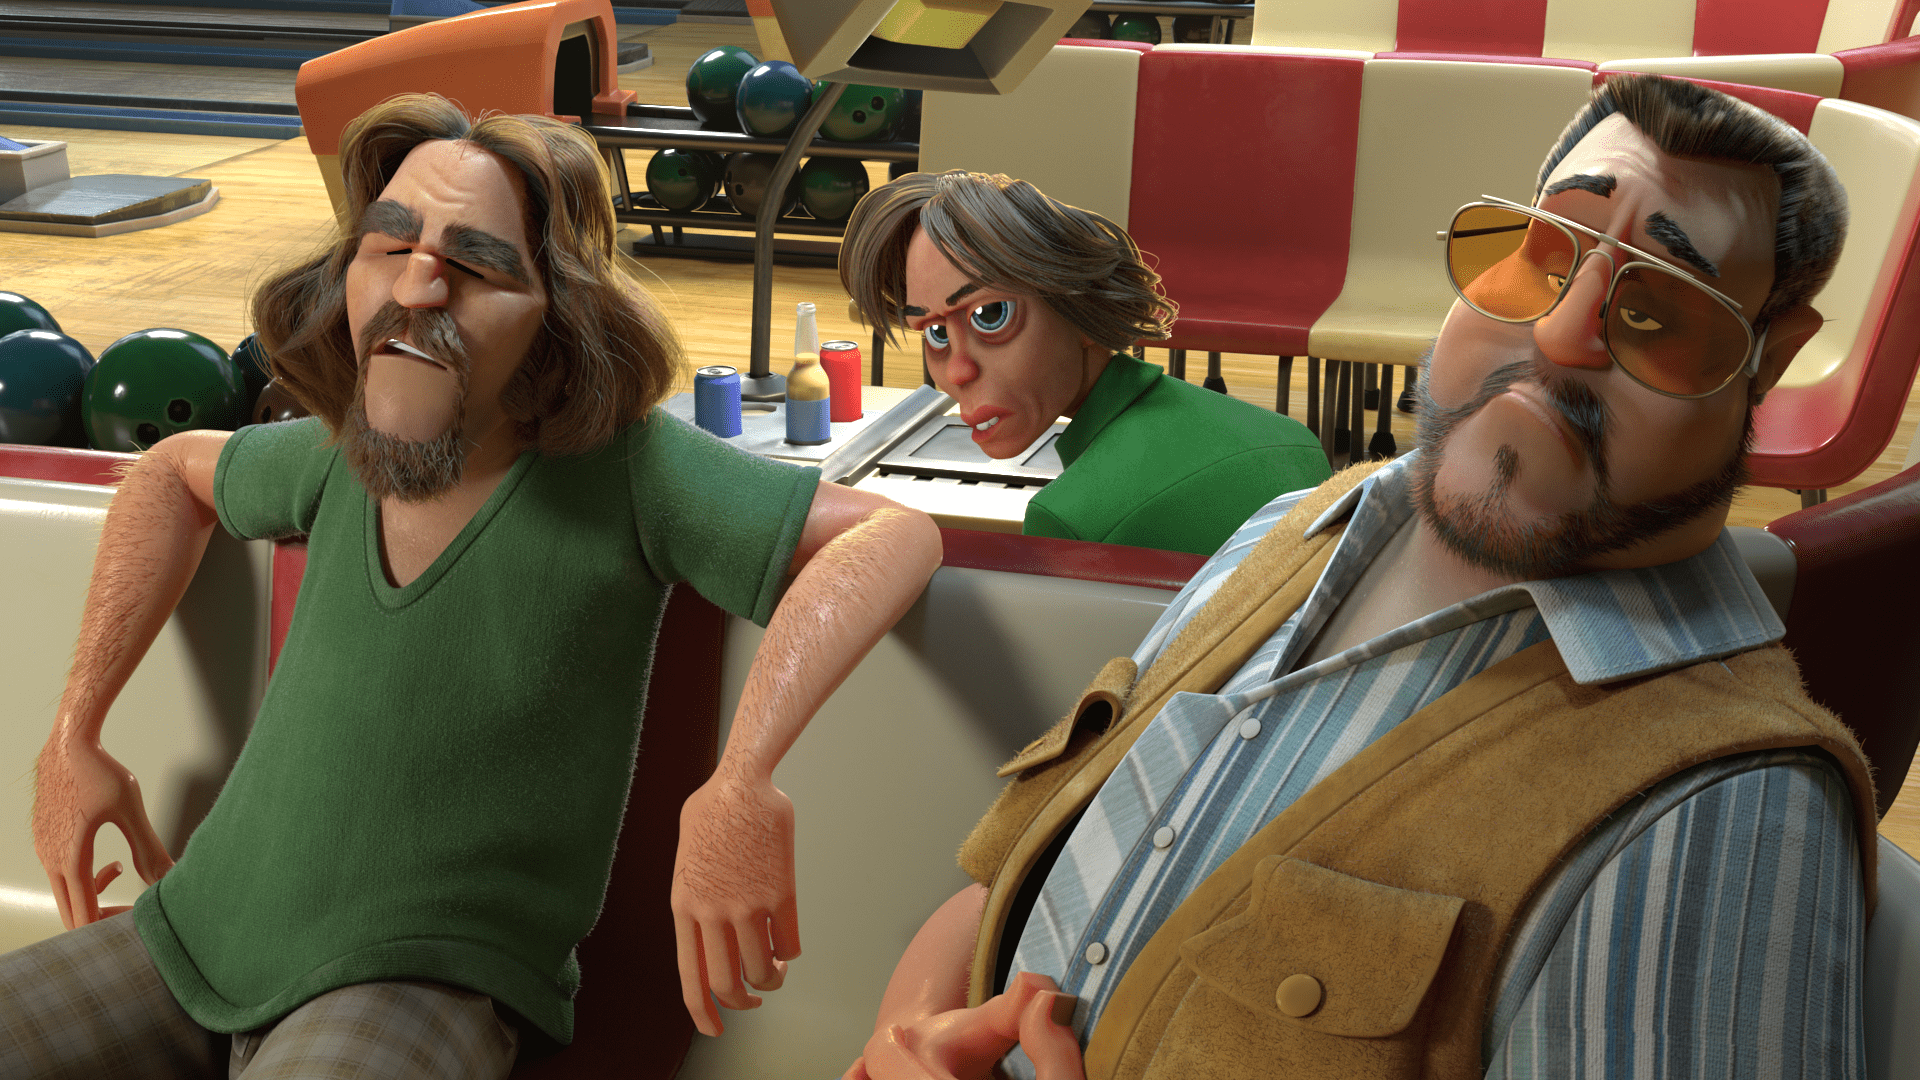
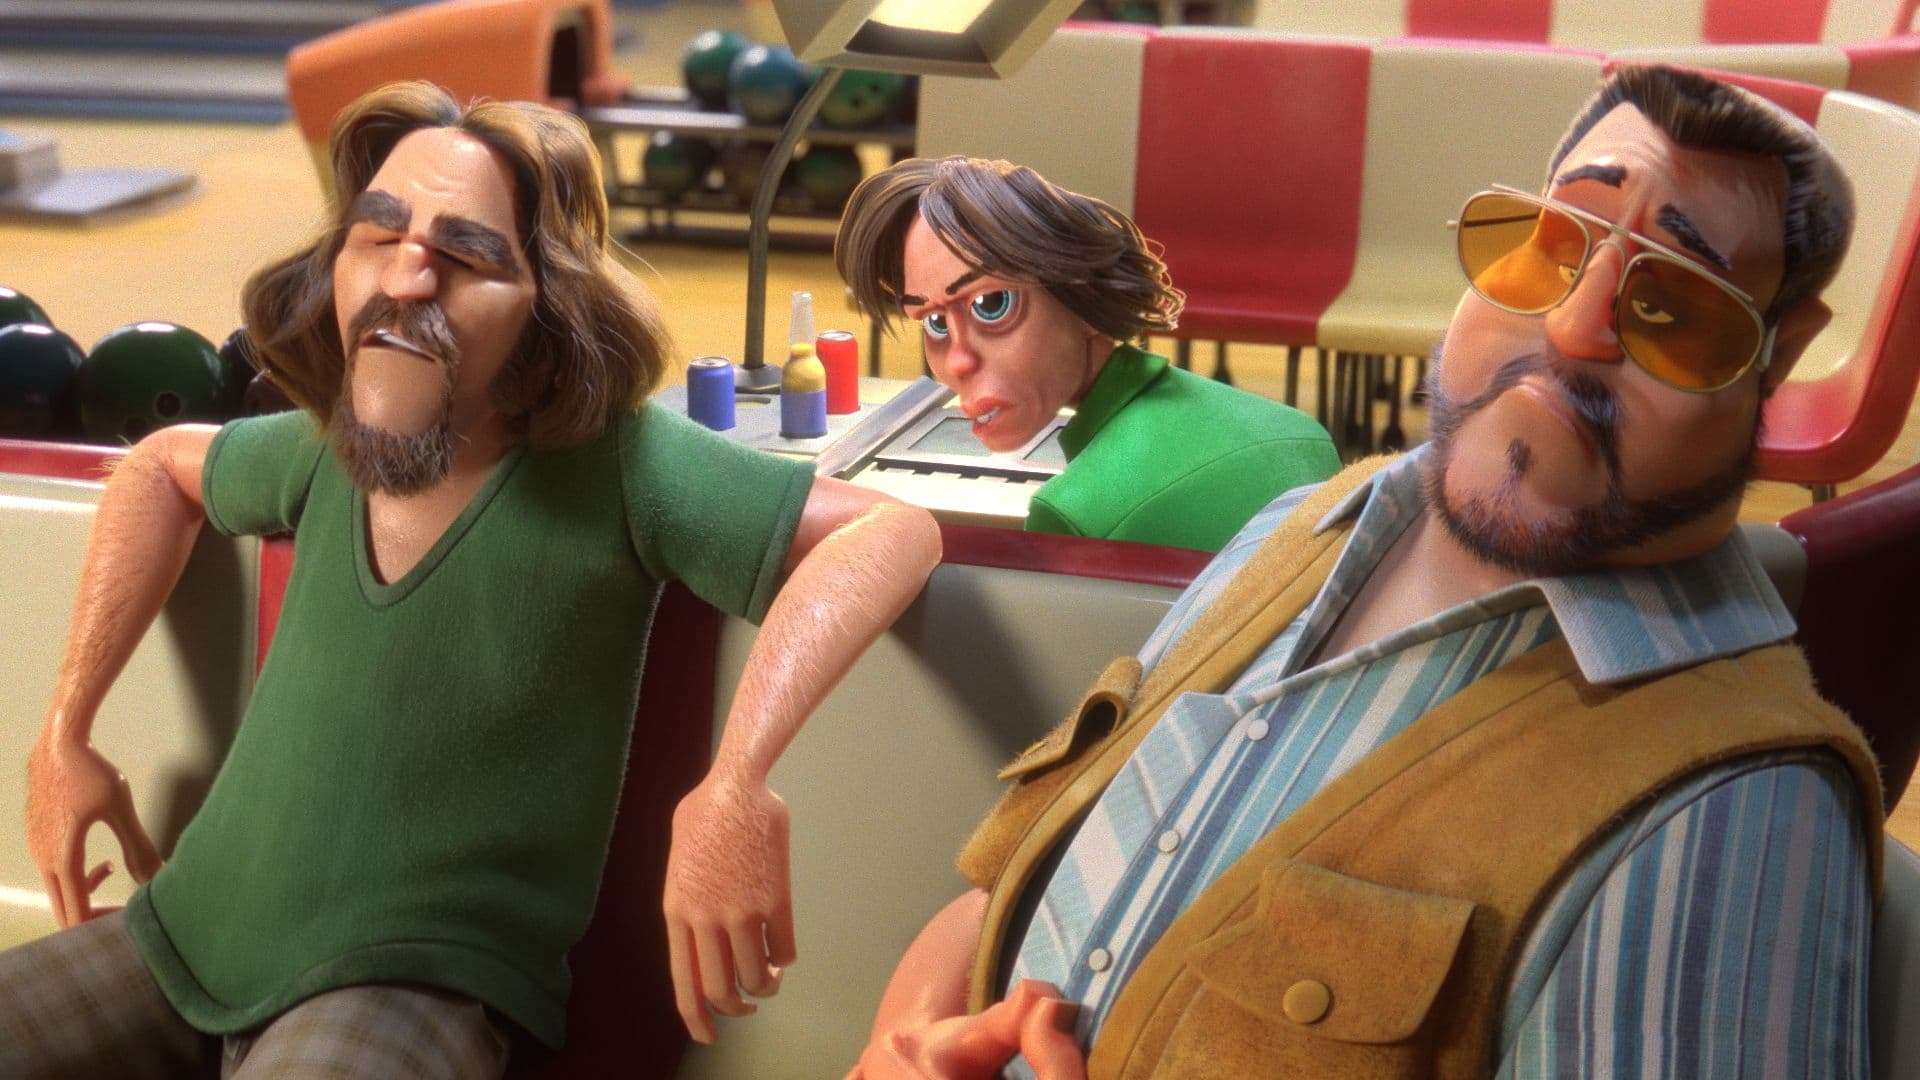
A screengrab of the bowling sequence in 'The Big Lebowski'. This was the main reference I used to creating the lighting in my scene.
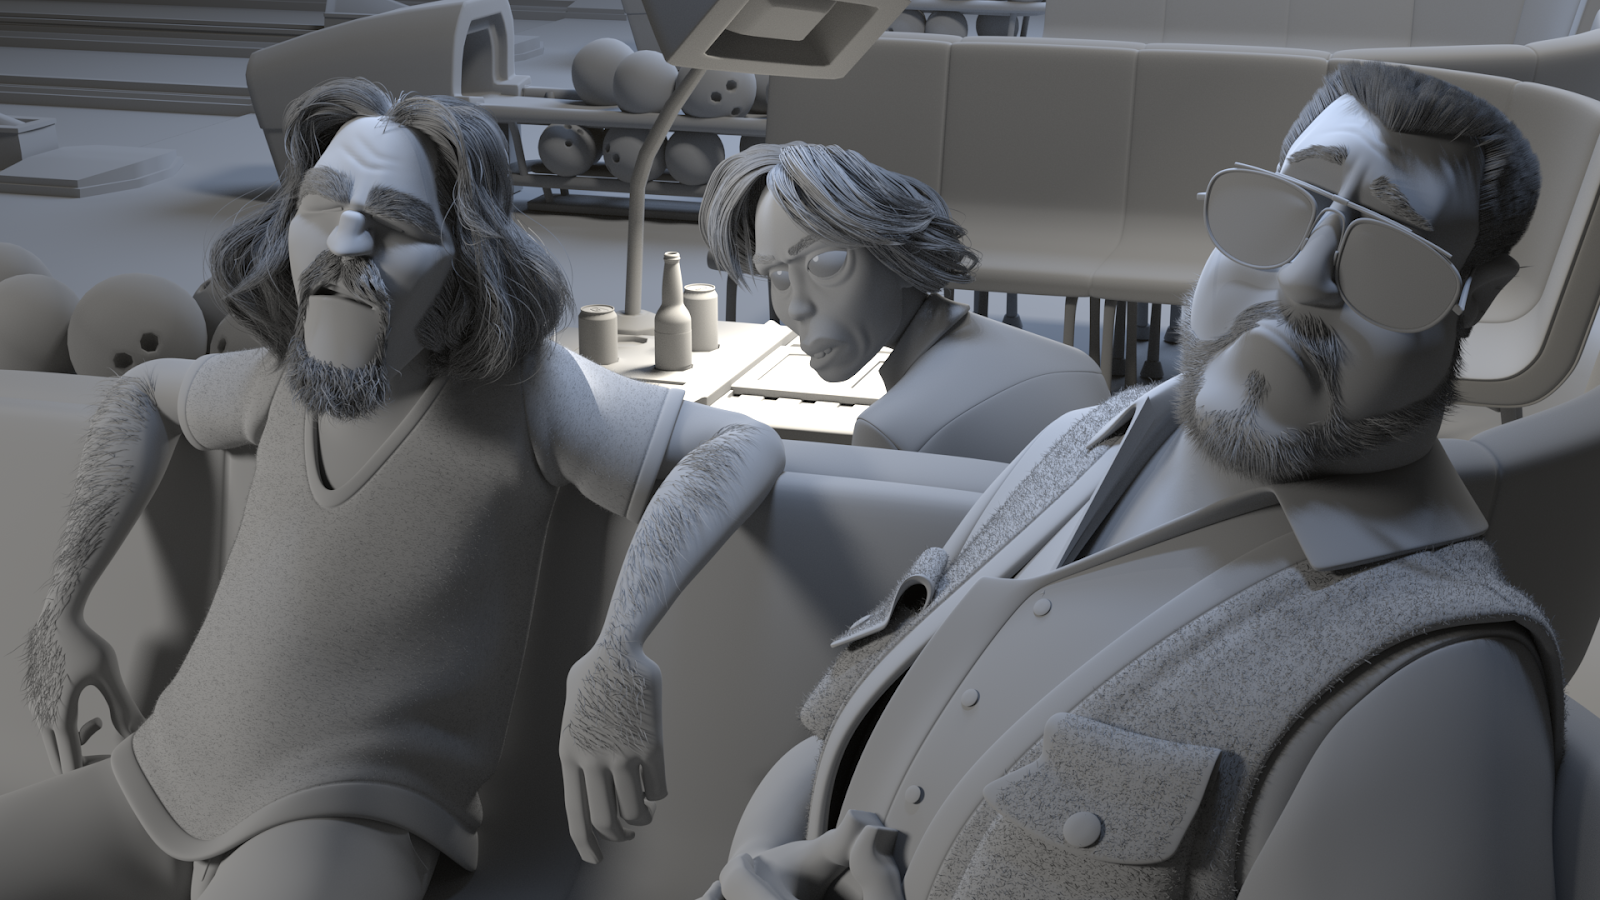
I start with a clay render, and begin to work on lighting the environment, and lastly, I work on the characters.
'Nobody fuck with the Jesus' clay render. Light groups from artwork.
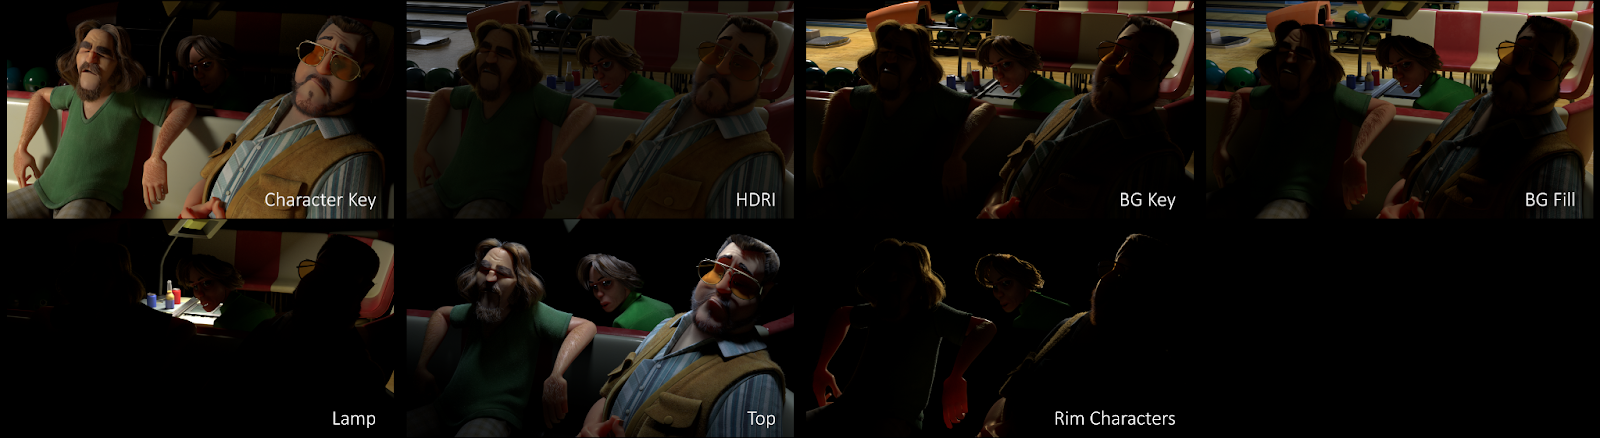
I used the typical 3 point setup (key, fill/ambient (hdri) and rim light), but I added extra light from the top, like the reference.
Raw Render
When I was happy with the lighting, I moved on to compositing.
Artwork with compositing
Compositing
The render needed some grading work. I did specific corrections on the skin and in general on the scene. Be careful with grading, changes should be subtle, avoiding drastic manipulations that veer from the original reference.
As I wanted to give this shot a cinematic treatment, I added glow, defocus, lens distortion, chromatic aberration, vignette and colour grading. I was careful not to overdo it with these treatments.
Another thing that I like to add in my artworks is a glow in warm light. I also like to adjust the lighting in comp a little - pushing a 0.1-0.5 gain. If I push more, I try to make those changes back in lighting.
Another extra tip that I like to do is play with exposure. I add the ‘exposure’ node and I increase 0.5 or 1. I prefer to use the exposure because it is similar to camera exposure and the values increase exponentially.
Conclusion
I would like to close this article with a little reflection and will leave you with the following ideas and some advice:
Please, trust yourself, but also be receptive to constructive feedback from professional artists. It is pretty important that you believe in your own artistic point of view, but to also keep listening to feedback from others and professionals.
Please, identify how to present your demo reel in your own way. I have noticed that groups of students from the same school will showcase their work in the exact same way. Stand out from the crowd, and think of ways to present your work in a unique way.
When you do your work well, you will attract professionals and people who want to work with you.
Drop the ego: be honest, be humble, be yourself.
Keep learning and enjoying the process. When you are enjoying the process, you will become faster and better. And also it is important to surround yourself with people who support you and make you grow.
Working in the CG industry is not the only thing that you should do in your life. In my opinion, you can still work hard without working long hours. The quality of work you accomplish is more important than how many hours you work. I love having free time to create personal projects with other artists, but also spending it going to the cinema, meeting with friends and exercising.
Feel free to write to me if you have any questions or ask for advice. If you are a junior or a graduate student, I can help you as well. Best!