The Art of Creating a Photorealistic Interior Scene in 3D
Federico Cusinato started his career in graphic design and photography, but then discovered the world of CG. He now creates compelling 3D Art and in particular, photorealistic interior scenes.
Federico Cusinato is a 3D artist with a focus on texturing and look-dev and a recent student at BigRock School in Italy. Federico started his career in graphic design and photography, but then discovered the world of CG and the rest is history. Federico now creates compelling 3D Art and in particular, photorealistic interior scenes.
If you are looking to create your first interior renders, this article is for you.
Introduction
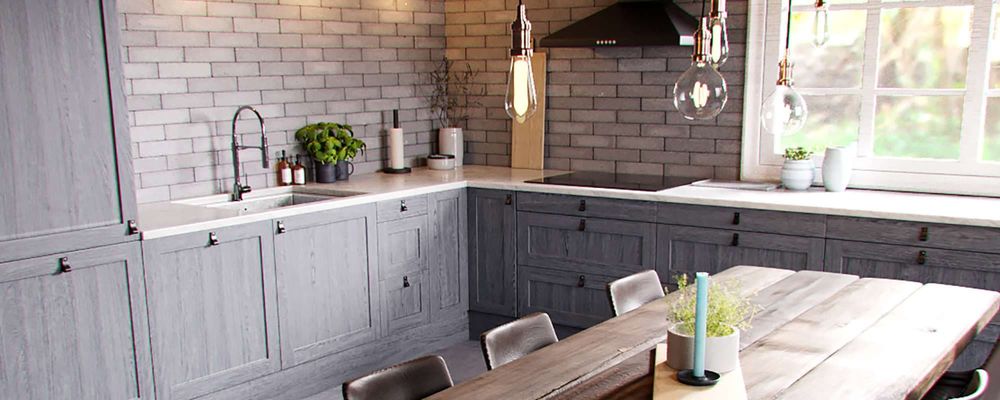
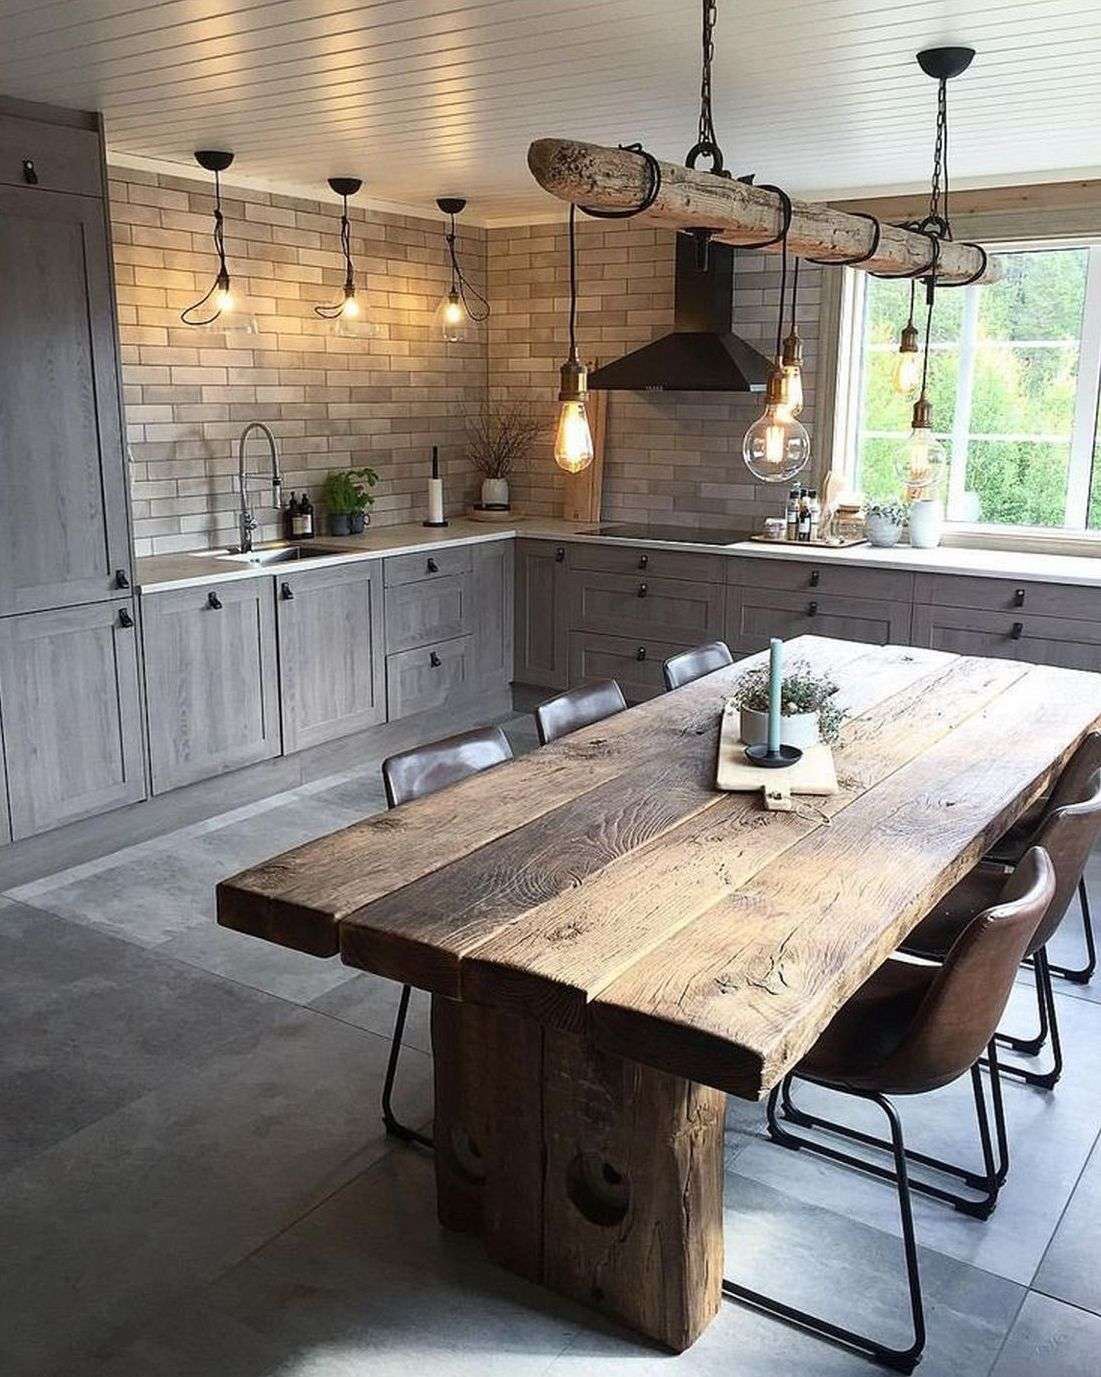
As a recent graduate student I wanted to create something for my showreel where I could show my texturing and lookdev skills, while also buildign on my modeling skills. An interior environment seemed the best option, so I started looking for one on Pinterest and found one I really liked, that I felt I could tackle and, at the same time, could challenge myself to learn more.
In this article I hope to give you useful tips that you can use in your own workflow.
First things first, here is a list of software I used for this project:
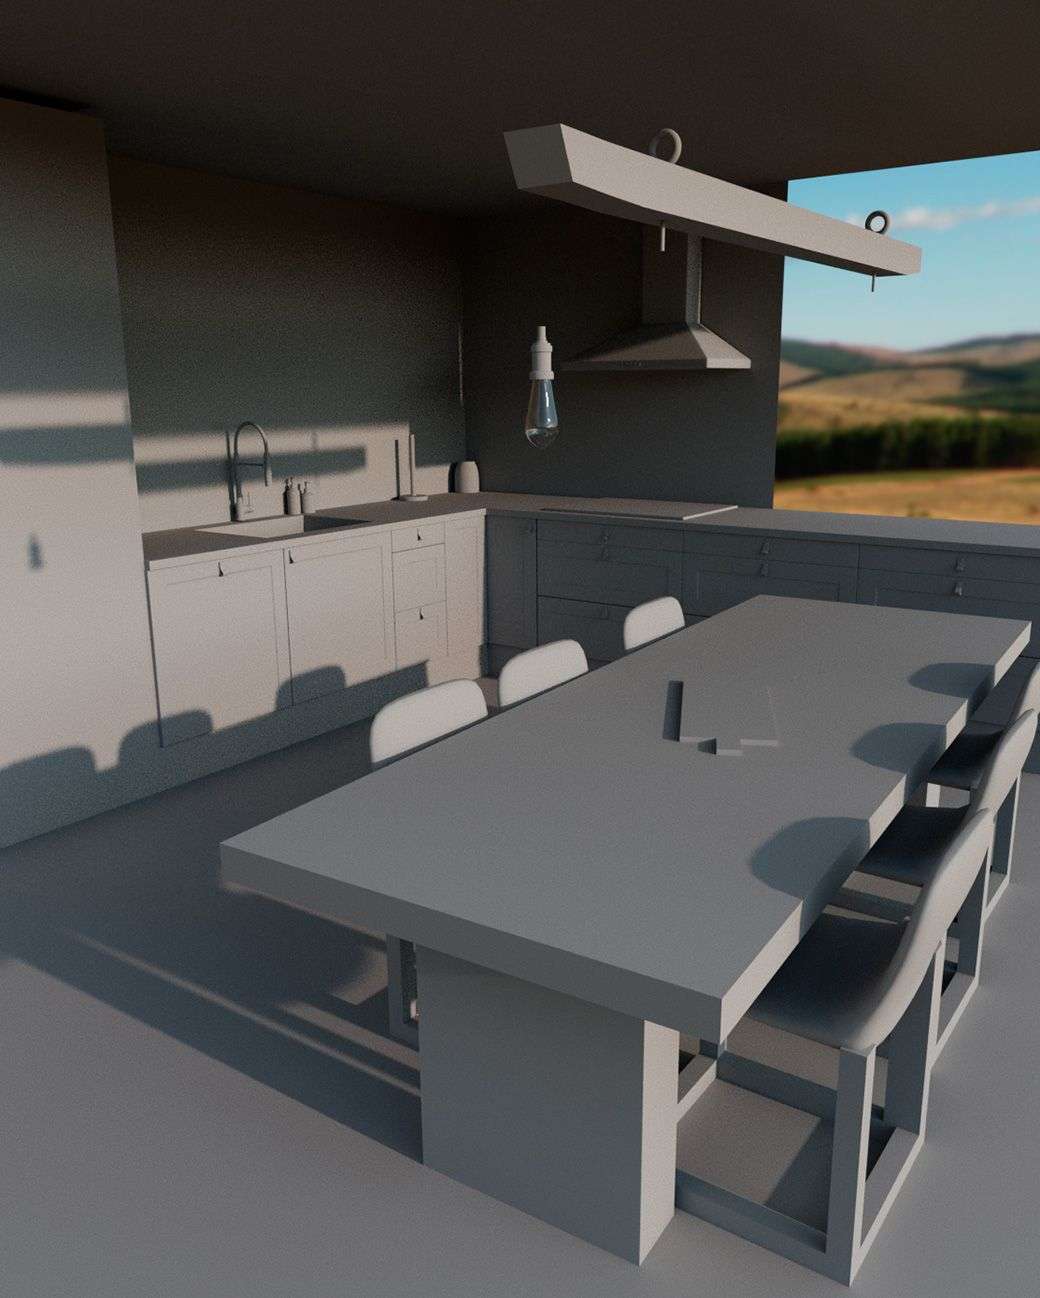
The first thing I did was to set my unit system in Maya. In this case, meters worked well. The second thing was to find the correct camera angle that matched the reference. Unfortunately Maya doesn’t have any built-in tool that does it automatically like other softwares do. What I needed to do then, was to to load the reference as an image into the camera frame, set my render resolution to match the reference one, and start changing the camera angle and focal length trying different combination of the two. In this case the job was quite easy, because most of the time the focal length is detailed in the photo’s metadata.
I proceeded to block out the main shapes. I usually try to keep things very simple and go into detail only as I go to model objects one at a time.
Modeling and UVs
When modeling objects I always keep scale in mind. If you’re camera matching it’s quite simple: just regularly look through the render camera to check if everything is correct. If you’re following a concept, achieving the right scale may be harder to achieve. I suggest looking at dimensions.com, it can really help you with everyday object’s dimensions.
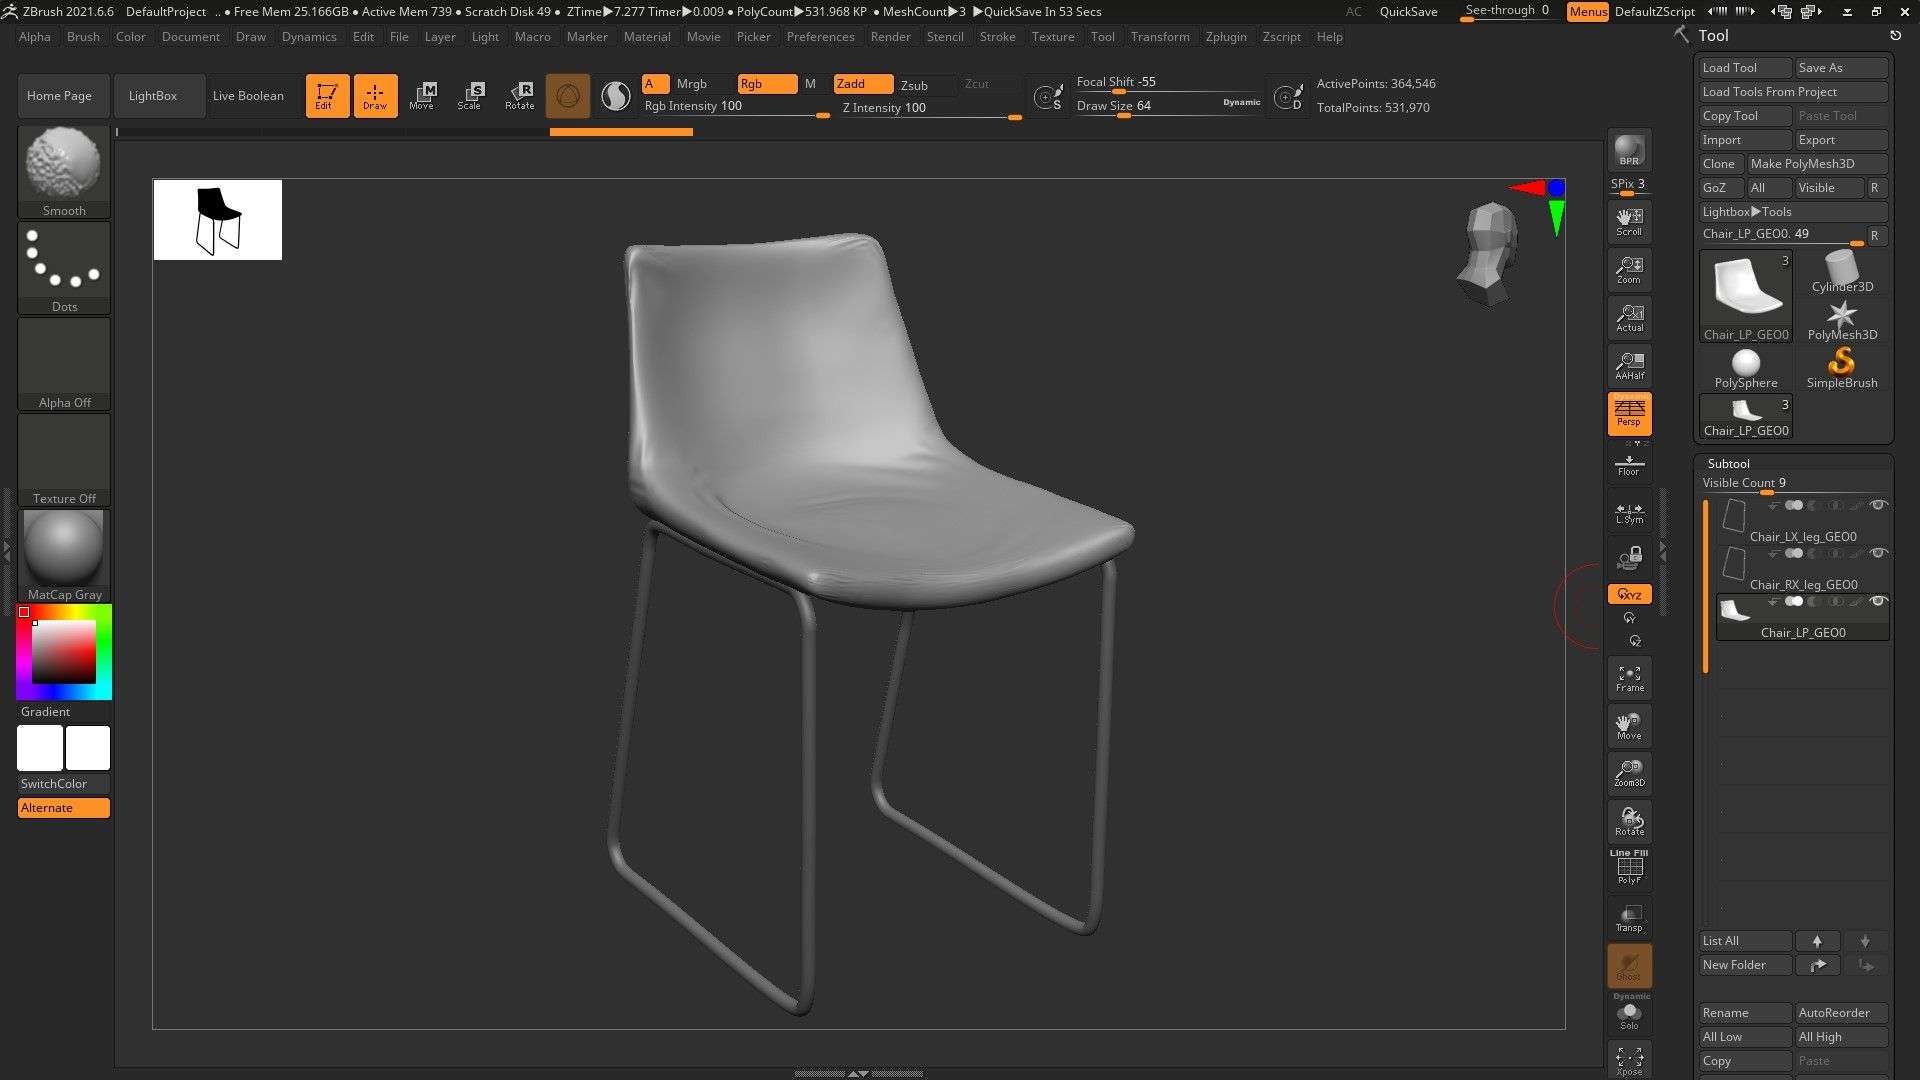
I modeled most of my project's items in Maya, but for some of them I made a high poly version in Zbrush, where I sculpted details that I could later bake onto the low poly version in Substance 3D Painter.
I tried to keep the UVs in my scene quite simple. I decided early on in the process what my texel density should be by analysing what objects were the biggest and more relevant in the scene.
I then started cutting, unfolding and optimising the UVs, and spreading them over multiple UDIMs by grouping them by objects and materials.
I highly recommend that you create the UVs for all the items in your scene before sculpting further details in Zbrush. This will help you easily select parts of your meshes, and later in the texturing process if you want to make little changes to the model you won't need to create the UVs all over again.
Texturing and shading
For the texturing stage I decided to divide the items in my scene into the following groups to better manage them in Substance 3D Painter:
Table
Chair
Kitchen furniture and window
Remaining objects (Light bulbs, the candle, etc…)
As I wanted to achieve as photorealistic a render as I could, I followed a PBR workflow.
Whether you’re making an architectural rendering, or a 3D environment for a game or movie, to achieve the best result possible I think you should know the basics of a PBR workflow, for this I highly suggest you check the Substance PBR guide, it really helped me understand the basics of photorealistic material creation.
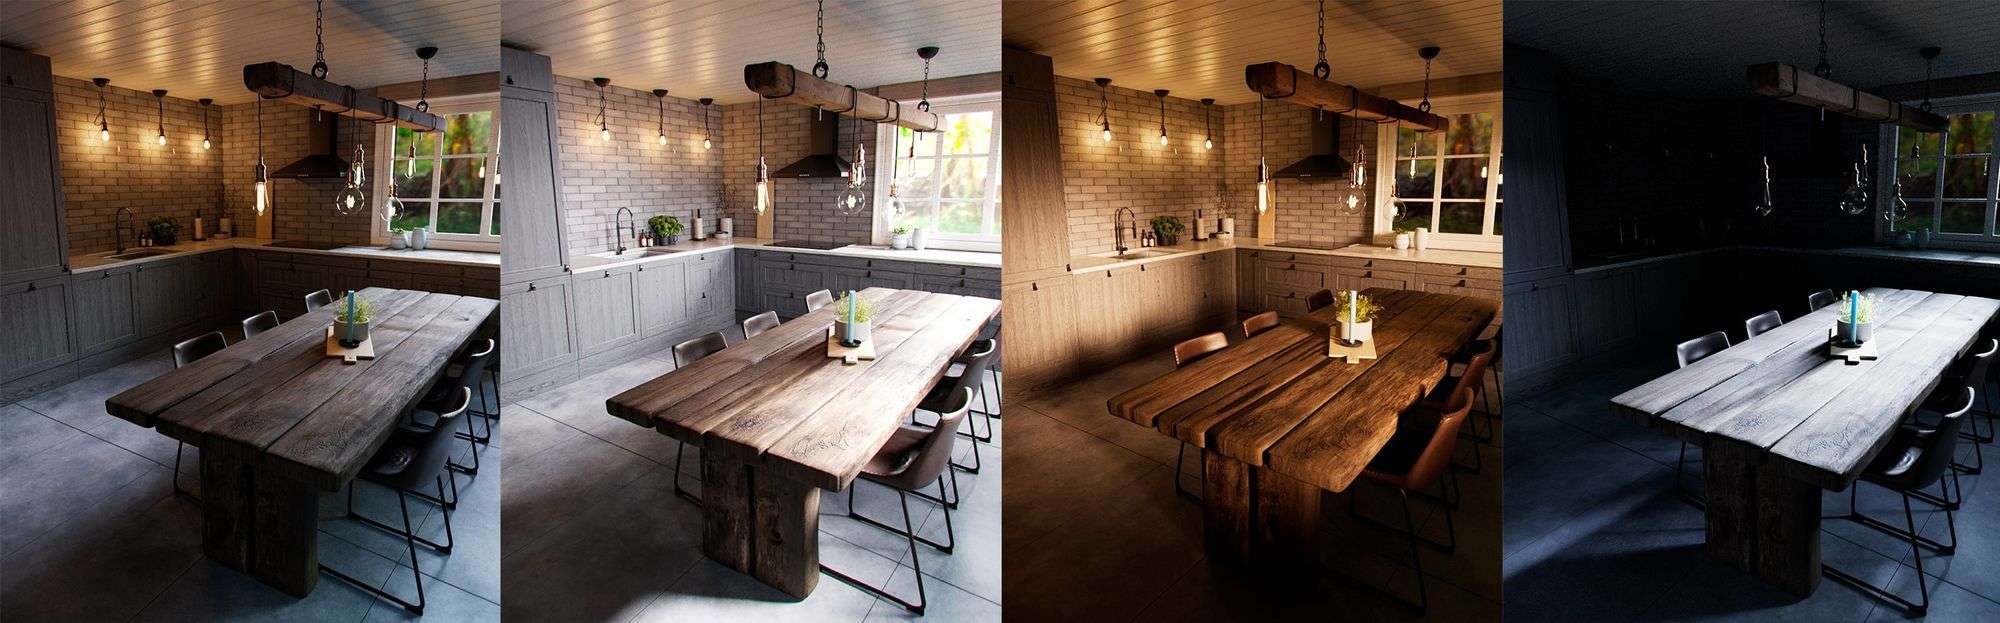
The reference I decided to follow has a beautiful, bright, and relaxed feeling to it, so I decided to texture the items with only basic colour variation and some specular breakup, and not exaggerate things with too much rust, dirt and grime as one may be tempted. The most important part is done with the shading in Arnold, by setting the correct values for each material.
At the LookDev stage I suggest creating a dedicated scene to set the look of every item in a neutral environment, it’ll really pay off in the end result, as it lets you dial in the desired look while focusing on one object at a time.
Lighting and rendering
This stage was a fun one, because it allowed me to experiment a bit and try a few lighting setups.
One thing I always do when I’m lighting is ask myself a few questions:
Which emotions do I want the scene to express?
What story is being told?
Who am I selling the render to?
Does the scene need more depth?
Where does the light naturally come from in this environment?
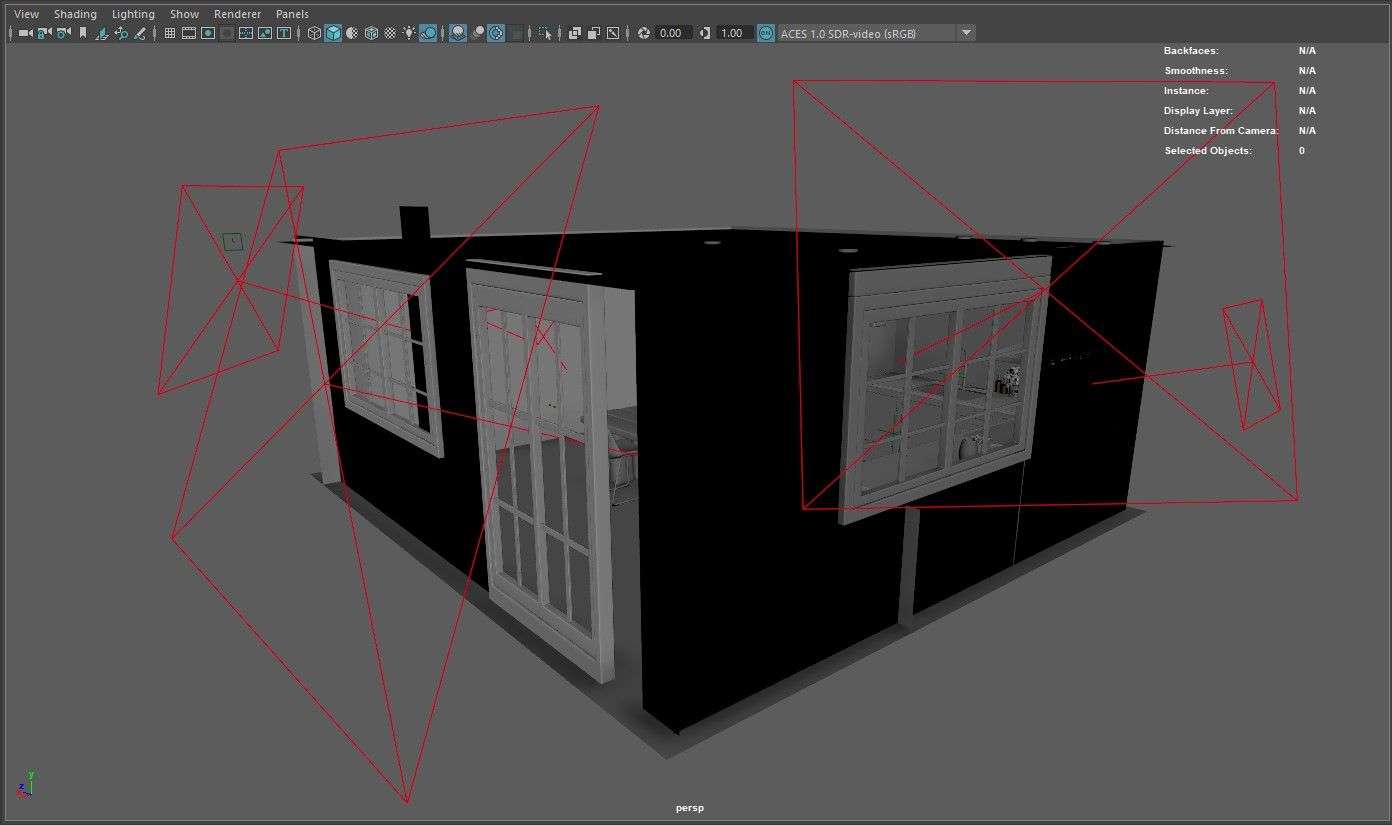
In the end I decided to follow the reference and study closely where the light comes from. By looking at the directions of the shadows, I concluded that in this scene there are two windows (one visible in the final render) and one door with glass panels, so I positioned the lights as shown in the image below (and if you’re asking, yes I completely forgot to add light portals...)
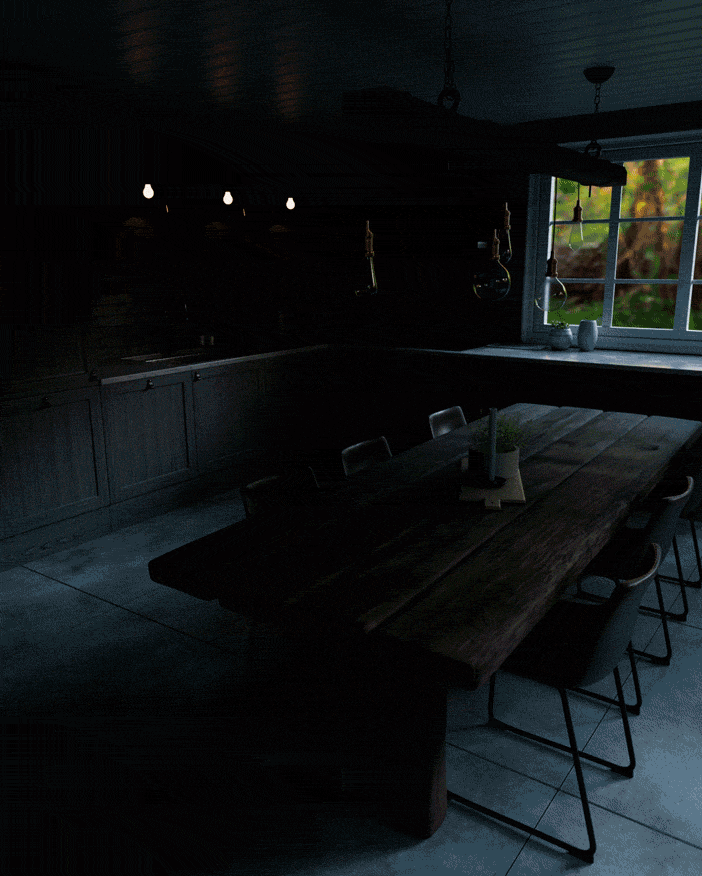
To make compositing easier, I usually set up light groups and use different AOVs to identify where the noise comes from, and to make masking and adjusting the image later much simpler.
Before rendering, to make compositing easier, I usually set up light groups and use different AOVs to identify where the noise comes from, and to make masking and adjusting the image later much simpler.
Conclusion
I want to leave you with one last thing I found out: and that is the importance of taking a break. It may sound silly, but it really isn’t. Every now and then take just five minutes, go and get some coffee, and you’ll come back with fresh and new eyes. I assure you, you'll quickly find mistakes and things to adjust in your work.
Thank you for reading this article, I hope I could give you some useful information that will help you. I would also like to thank The Rookies for this great opportunity, and my friends that gave me constant feedback in the creation of this project.