
How to Create a 3D Guitar for Games using Marmoset Toolbag
If you are looking for inspiration for your next prop, in this article, 3D Artist Giovanni Ferrari shares a breakdown of his intricate game ready guitar.
If you are looking for inspiration for your next prop, in this article, 3D Artist Giovanni Ferrari shares a breakdown of his intricate game ready guitar.

Giovanni Ferrari, from São Paulo, Brazil, is a 3D artist with 4 years experience making 3D art for Augmented Reality, with real passion for the Game Dev world. If you are looking for inspiration for your next prop, in this article Giovanni shares a breakdown of his game ready guitar.
Since I was little I’ve always had an admiration and curiosity for the Game Dev world, and it's where I found my true passion - 3D. As an aspiring Prop/Environment Artist, my main focus is to improve my 3D skills and keep pushing my limits.
Besides games, I’m also a big fan of Rock music, and a guitarist in particular, Mr. Steve Vai. He's the main inspiration for this personal project. I’ve always listened to Steve’s music while modeling, so why not make a tribute to him? And still learn and train my 3D skills.
“Without music, life would be a mistake.” - Friedrich Nietzsche
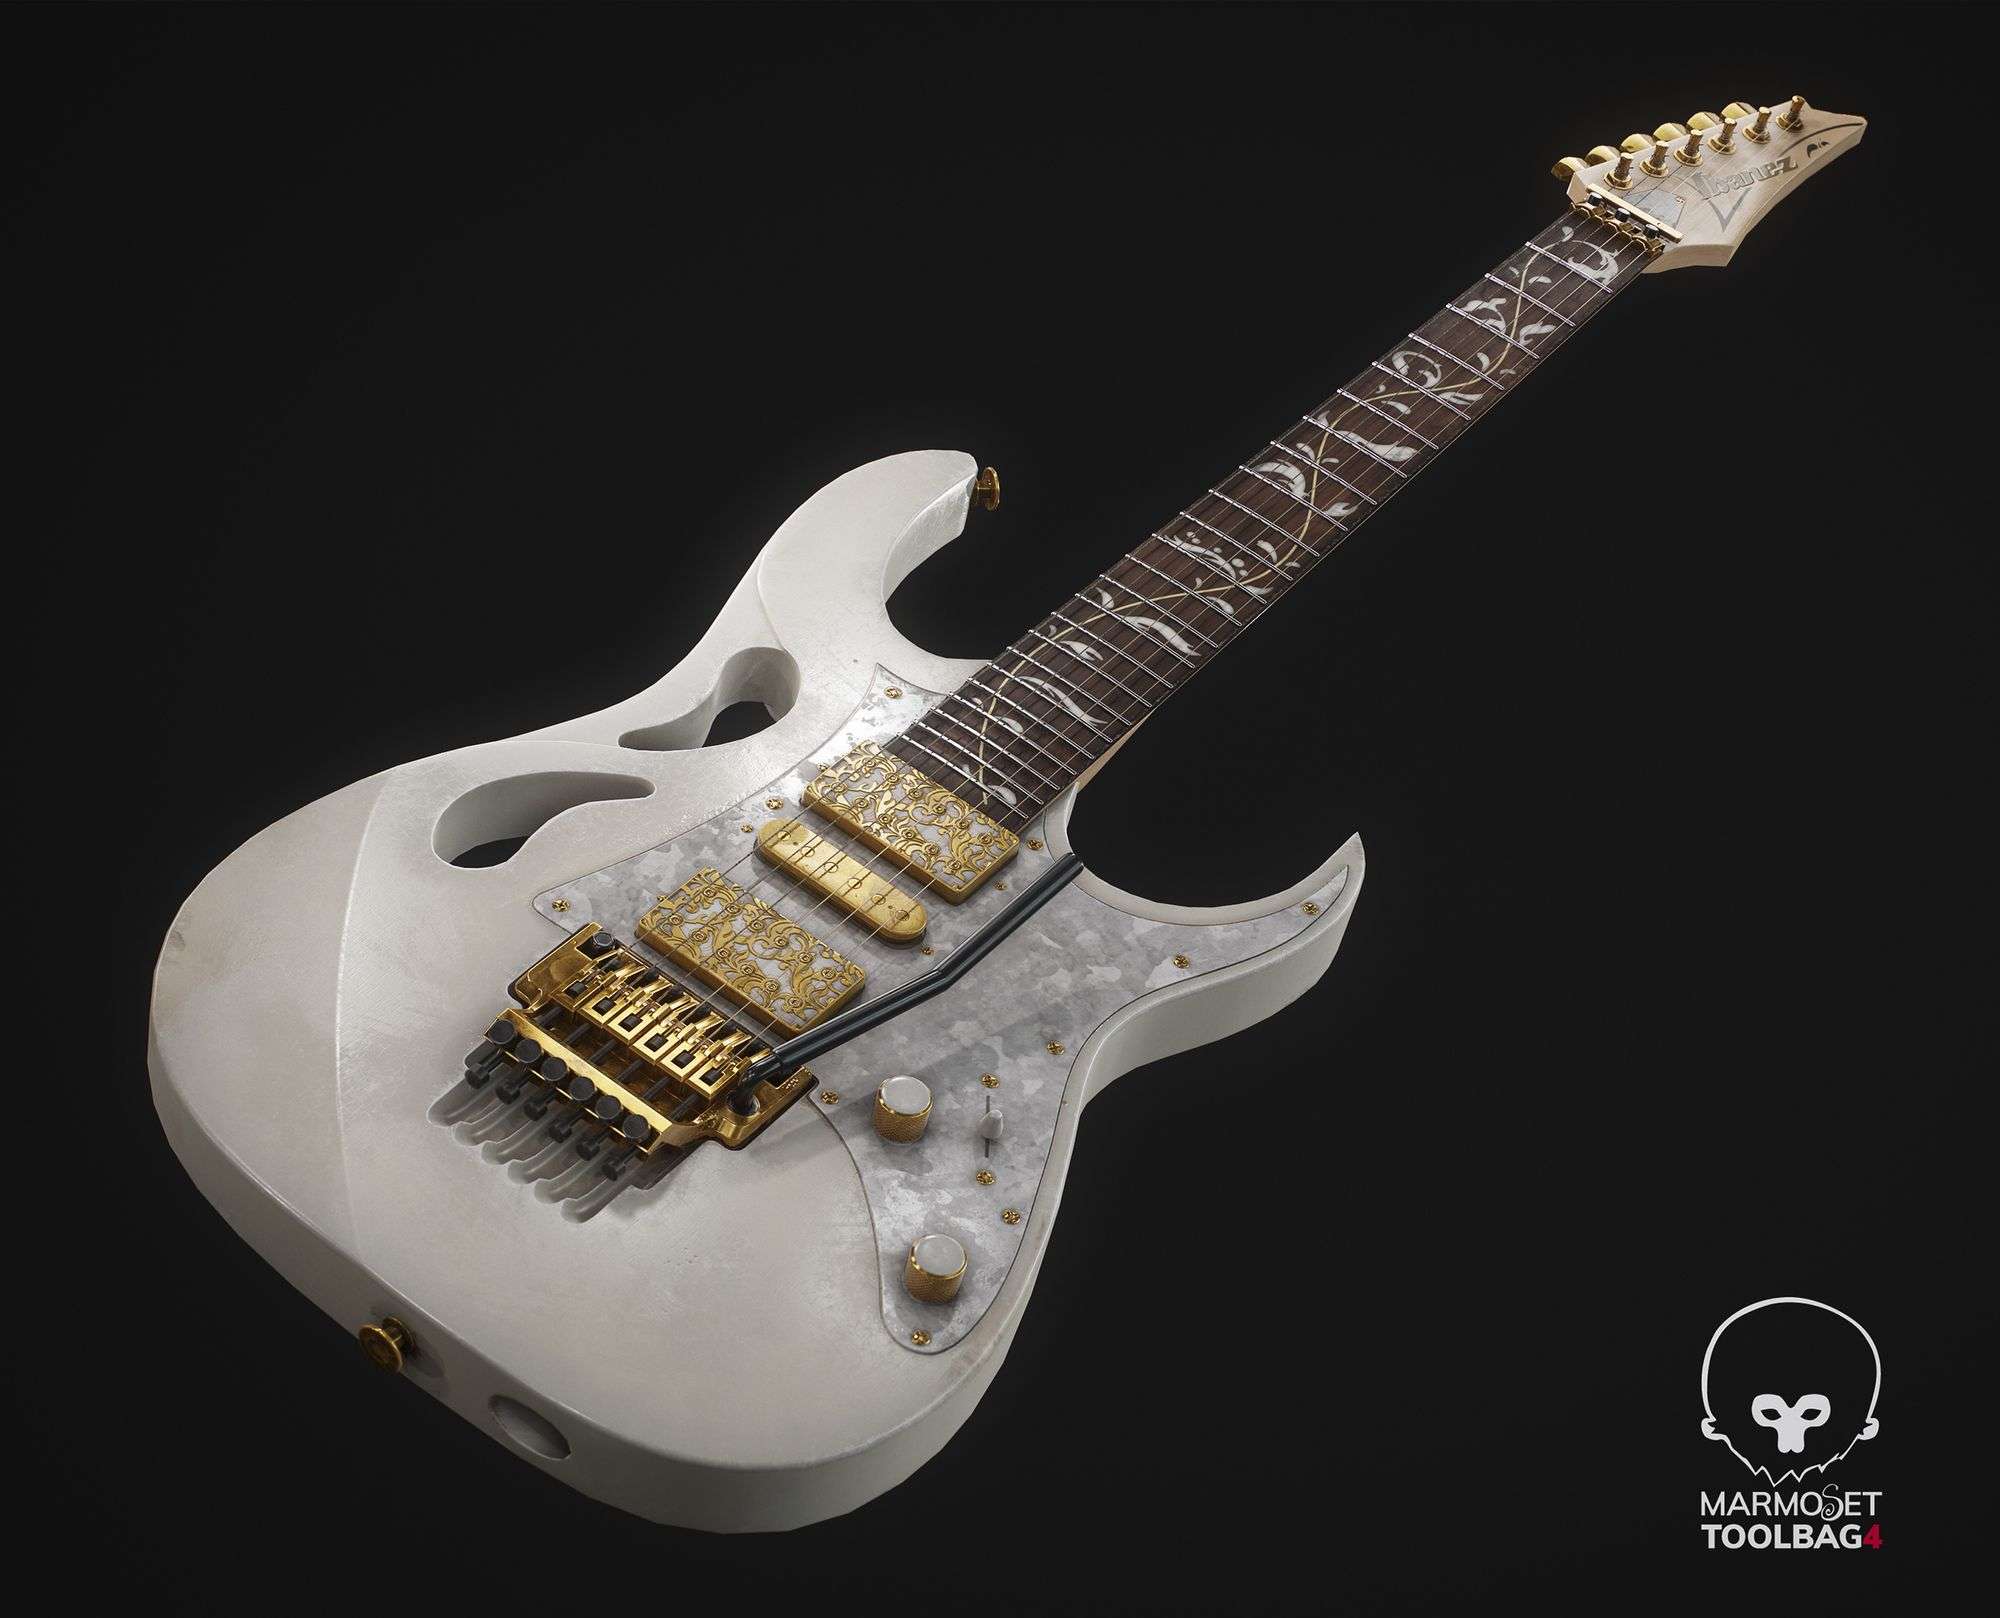
The main goal of this project was to improve my texturing and optimisation skills. To achieve that, I decided to make a hero asset with as few polygons and materials as possible.
I’ve learned a lot from this personal project and I’m thrilled to share a little bit of my process with you all.
When you're starting a new and complex project, planning is a crucial part that dictates if you're going to be successful or not. First, I established exactly what I wanted to do and how I would do it.
So let's get started!
Steve’s music is very inspiring. Every time I listened to “For The Love of God,” it gave me a boost of inspiration to keep making the project.
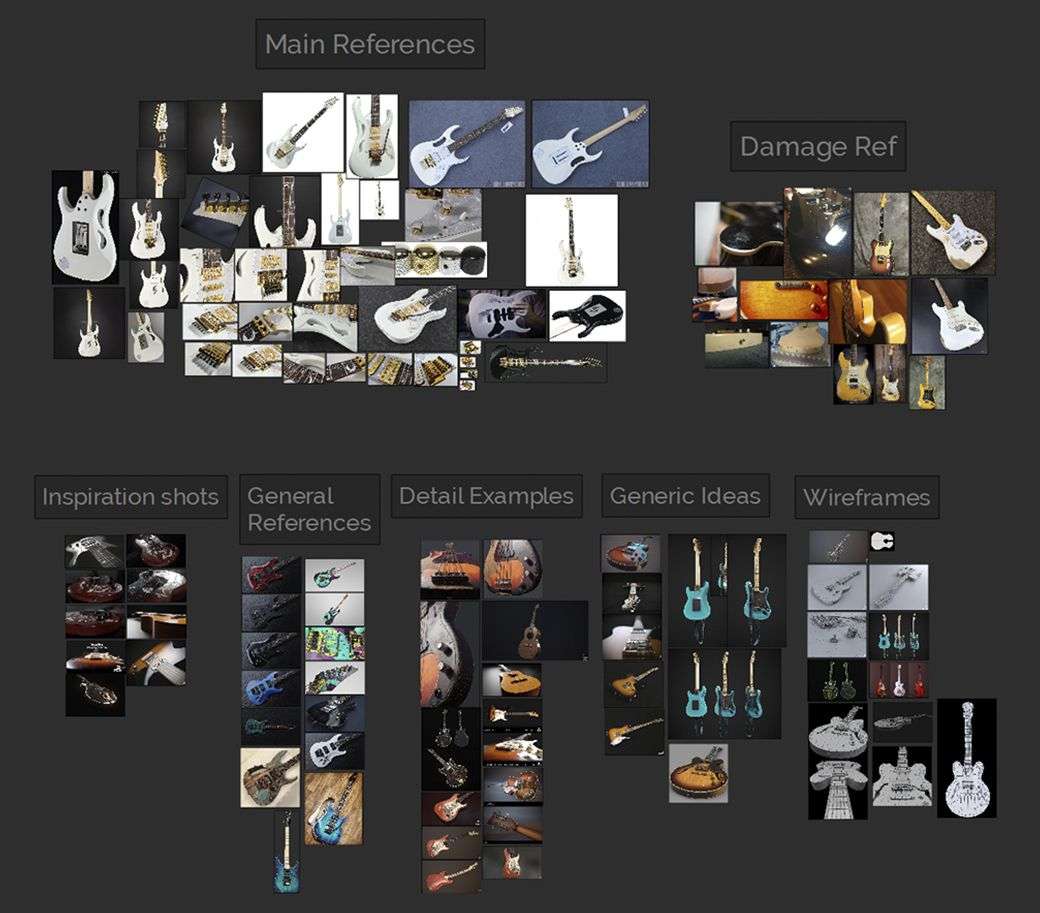
As for the references, I gathered as many photos as I could from real and 3D instruments (factory new and well worn).
All my references are in PureRef separated by topic.
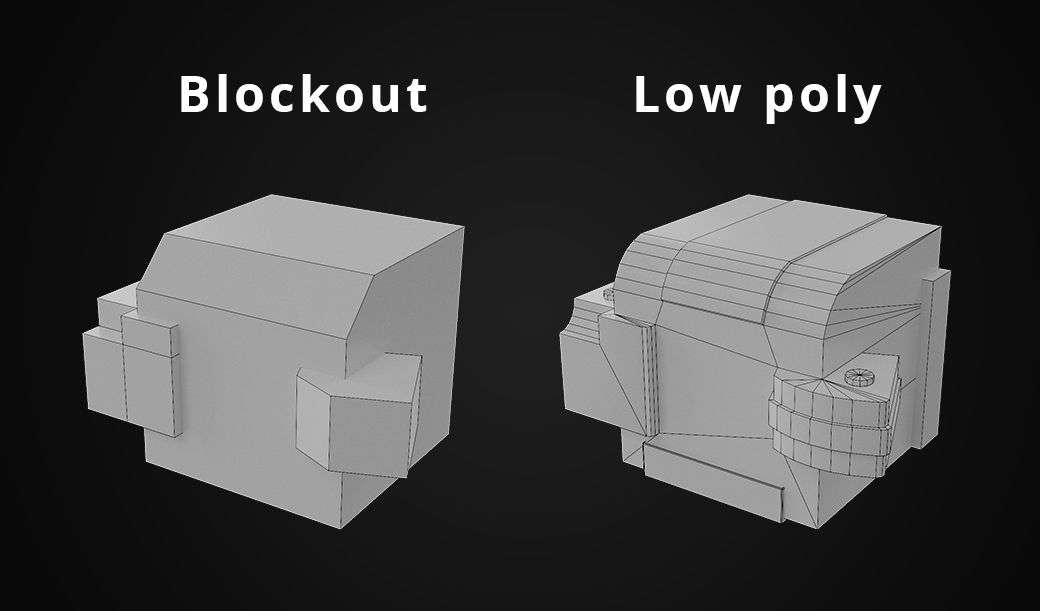
At this stage I work with very simple and primitive shapes, just to get the proportions right.
Don't rush it, take your time, because if you mess the proportions of your object at the blockout phase, it'll be harder for you to fix it later when you've already added details.
It's easy to mistake the blockout with the low poly, so here's a quick comparison I made:
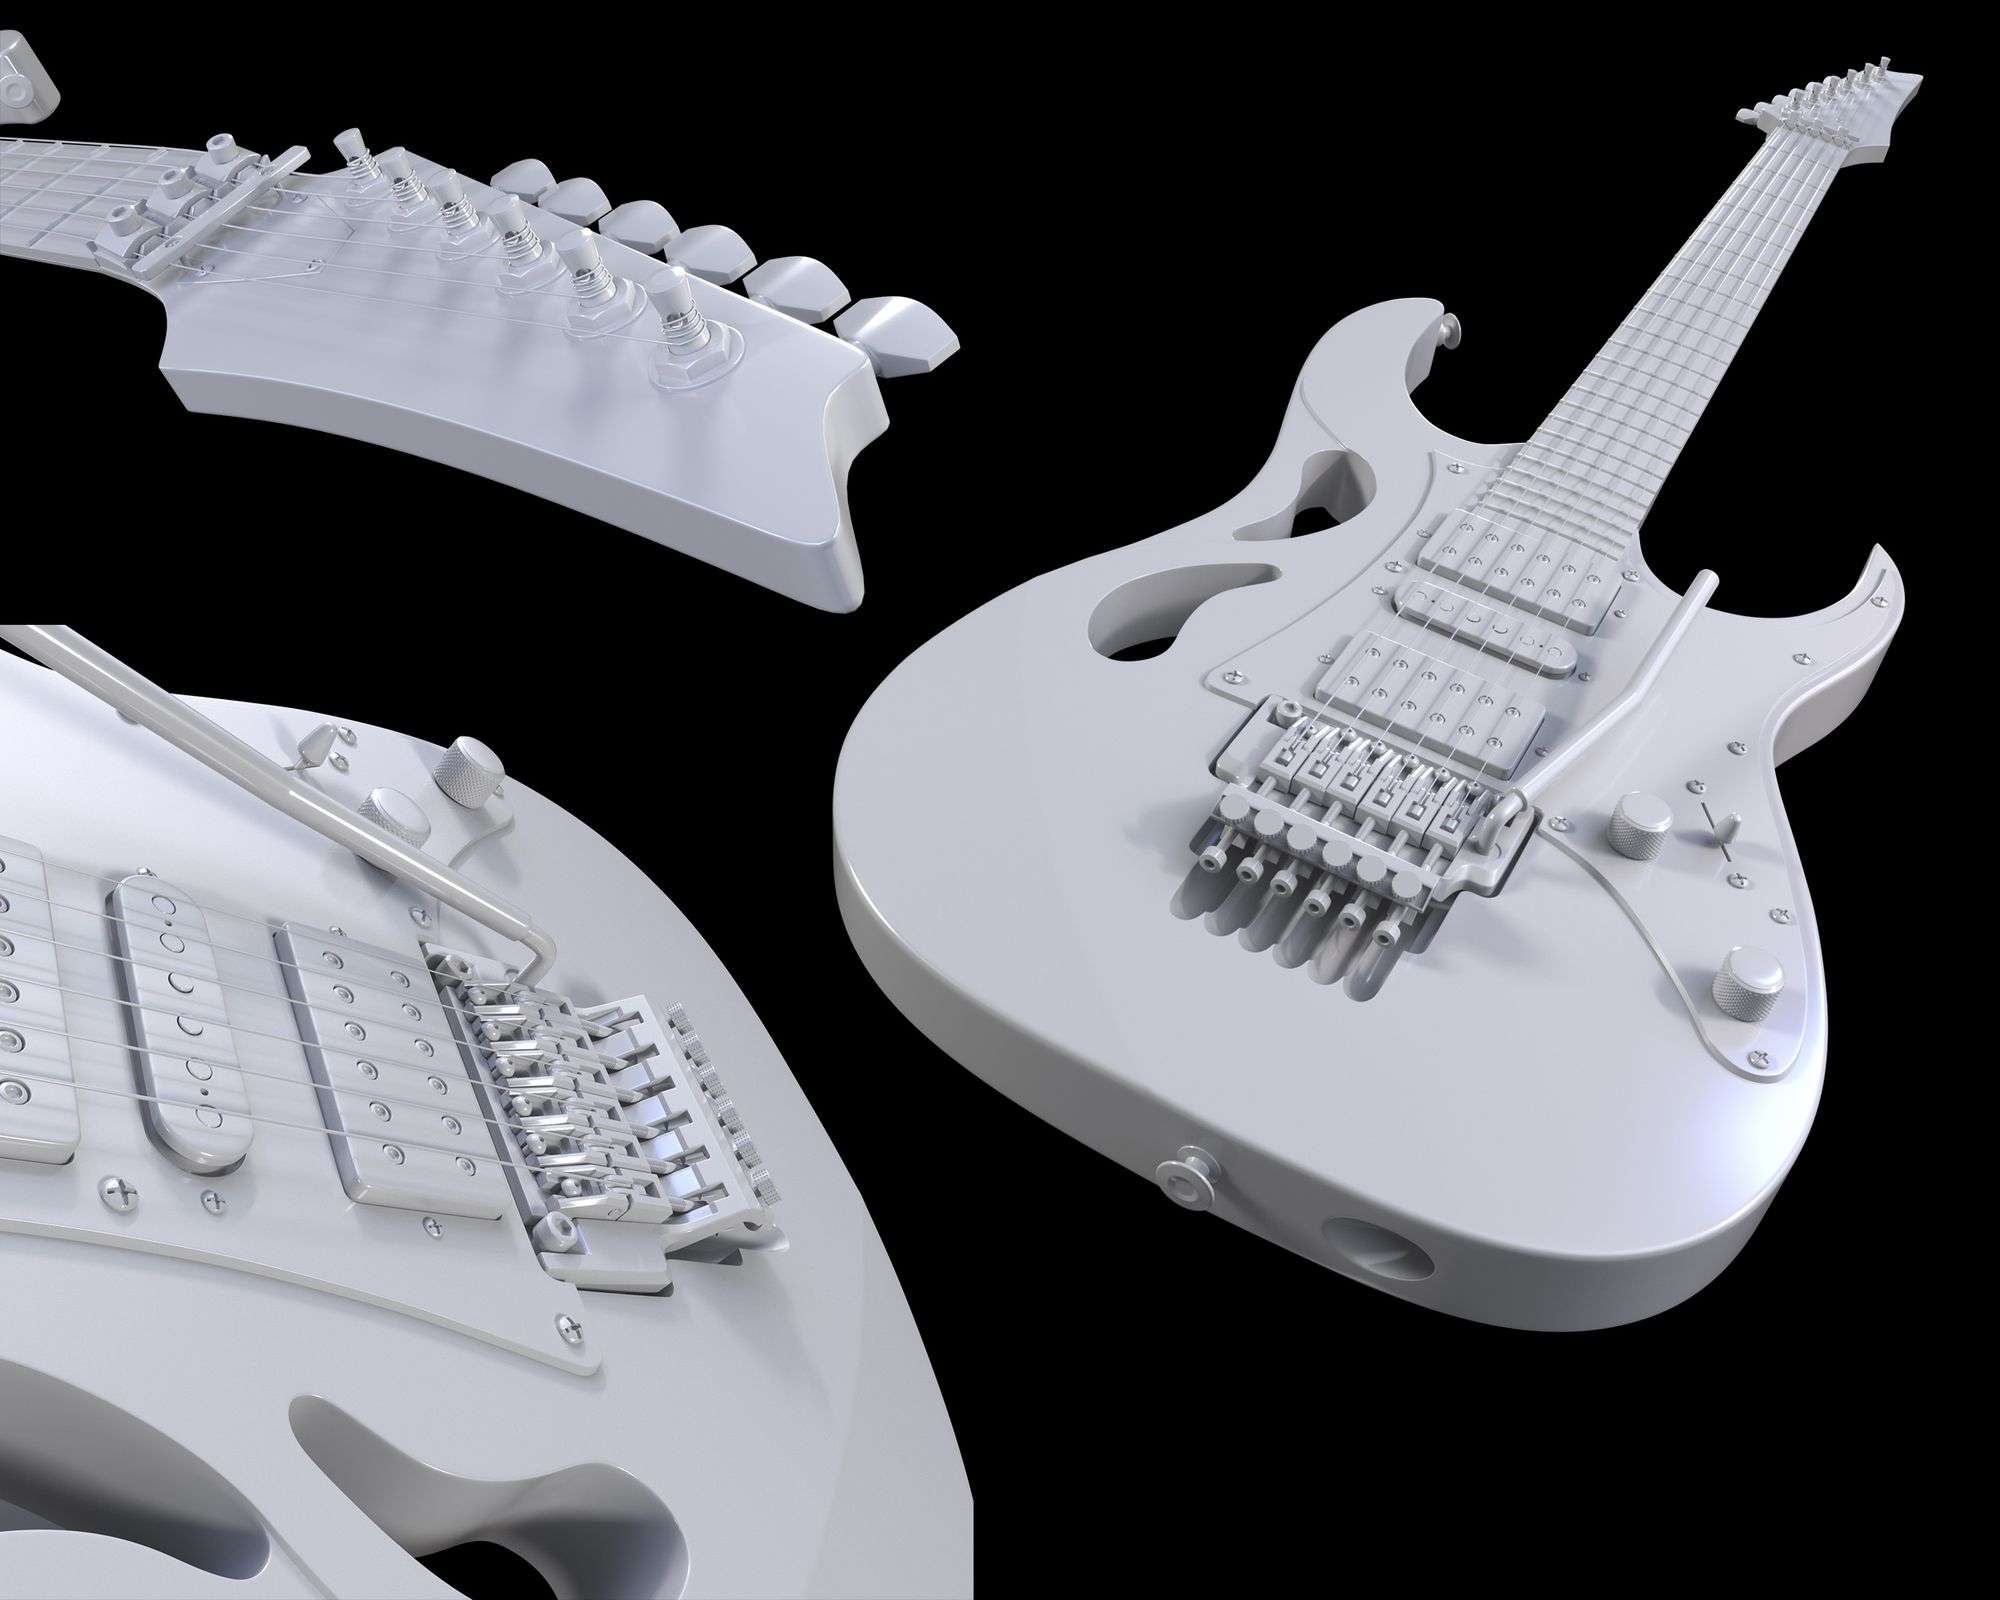
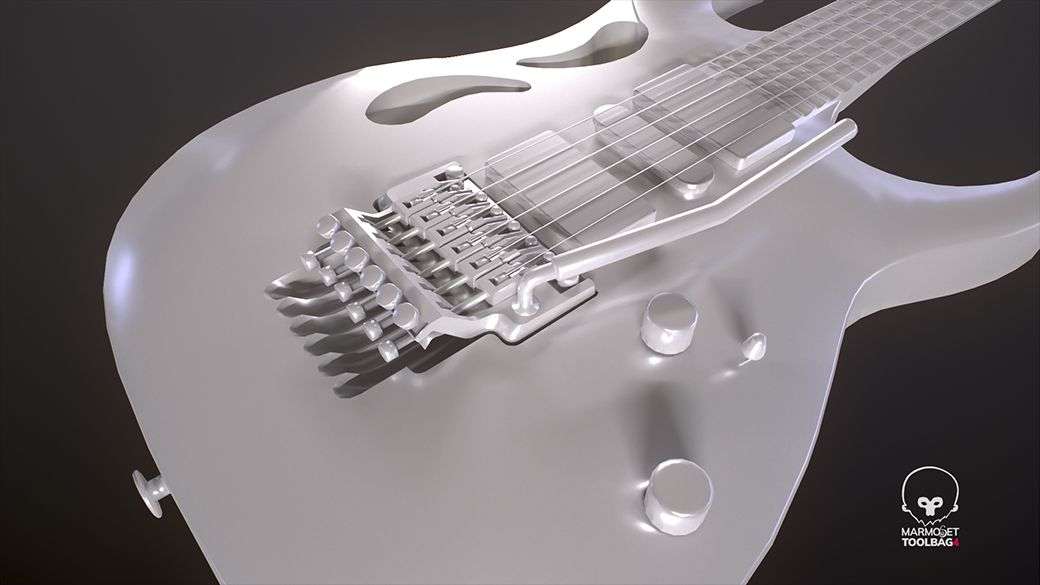
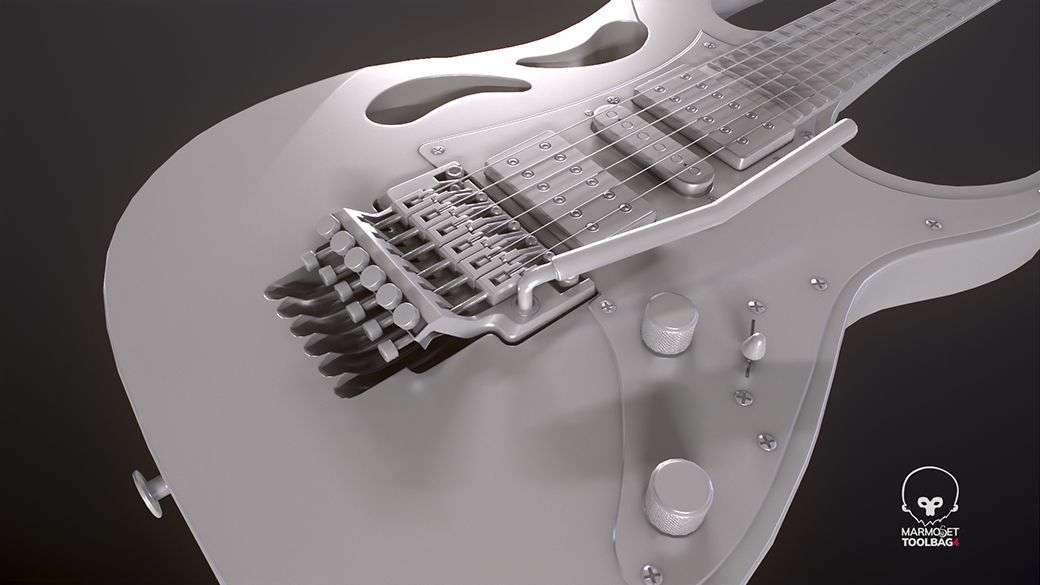
The high poly part is one of the most important if you want a high quality asset. I don’t worry about polycount and topology at this stage, the main goal is to nail the shape and details of the object.
To work smarter, we'll reuse the blockout mesh later on the low poly to save time. I use a non-destructive workflow with support loops and subdivision.
Having a high quality model will make a huge difference later on when we do the baking, so now is the time to nail it!
Now it’s time to start worrying about the polycount, materials, UVs and texel density.
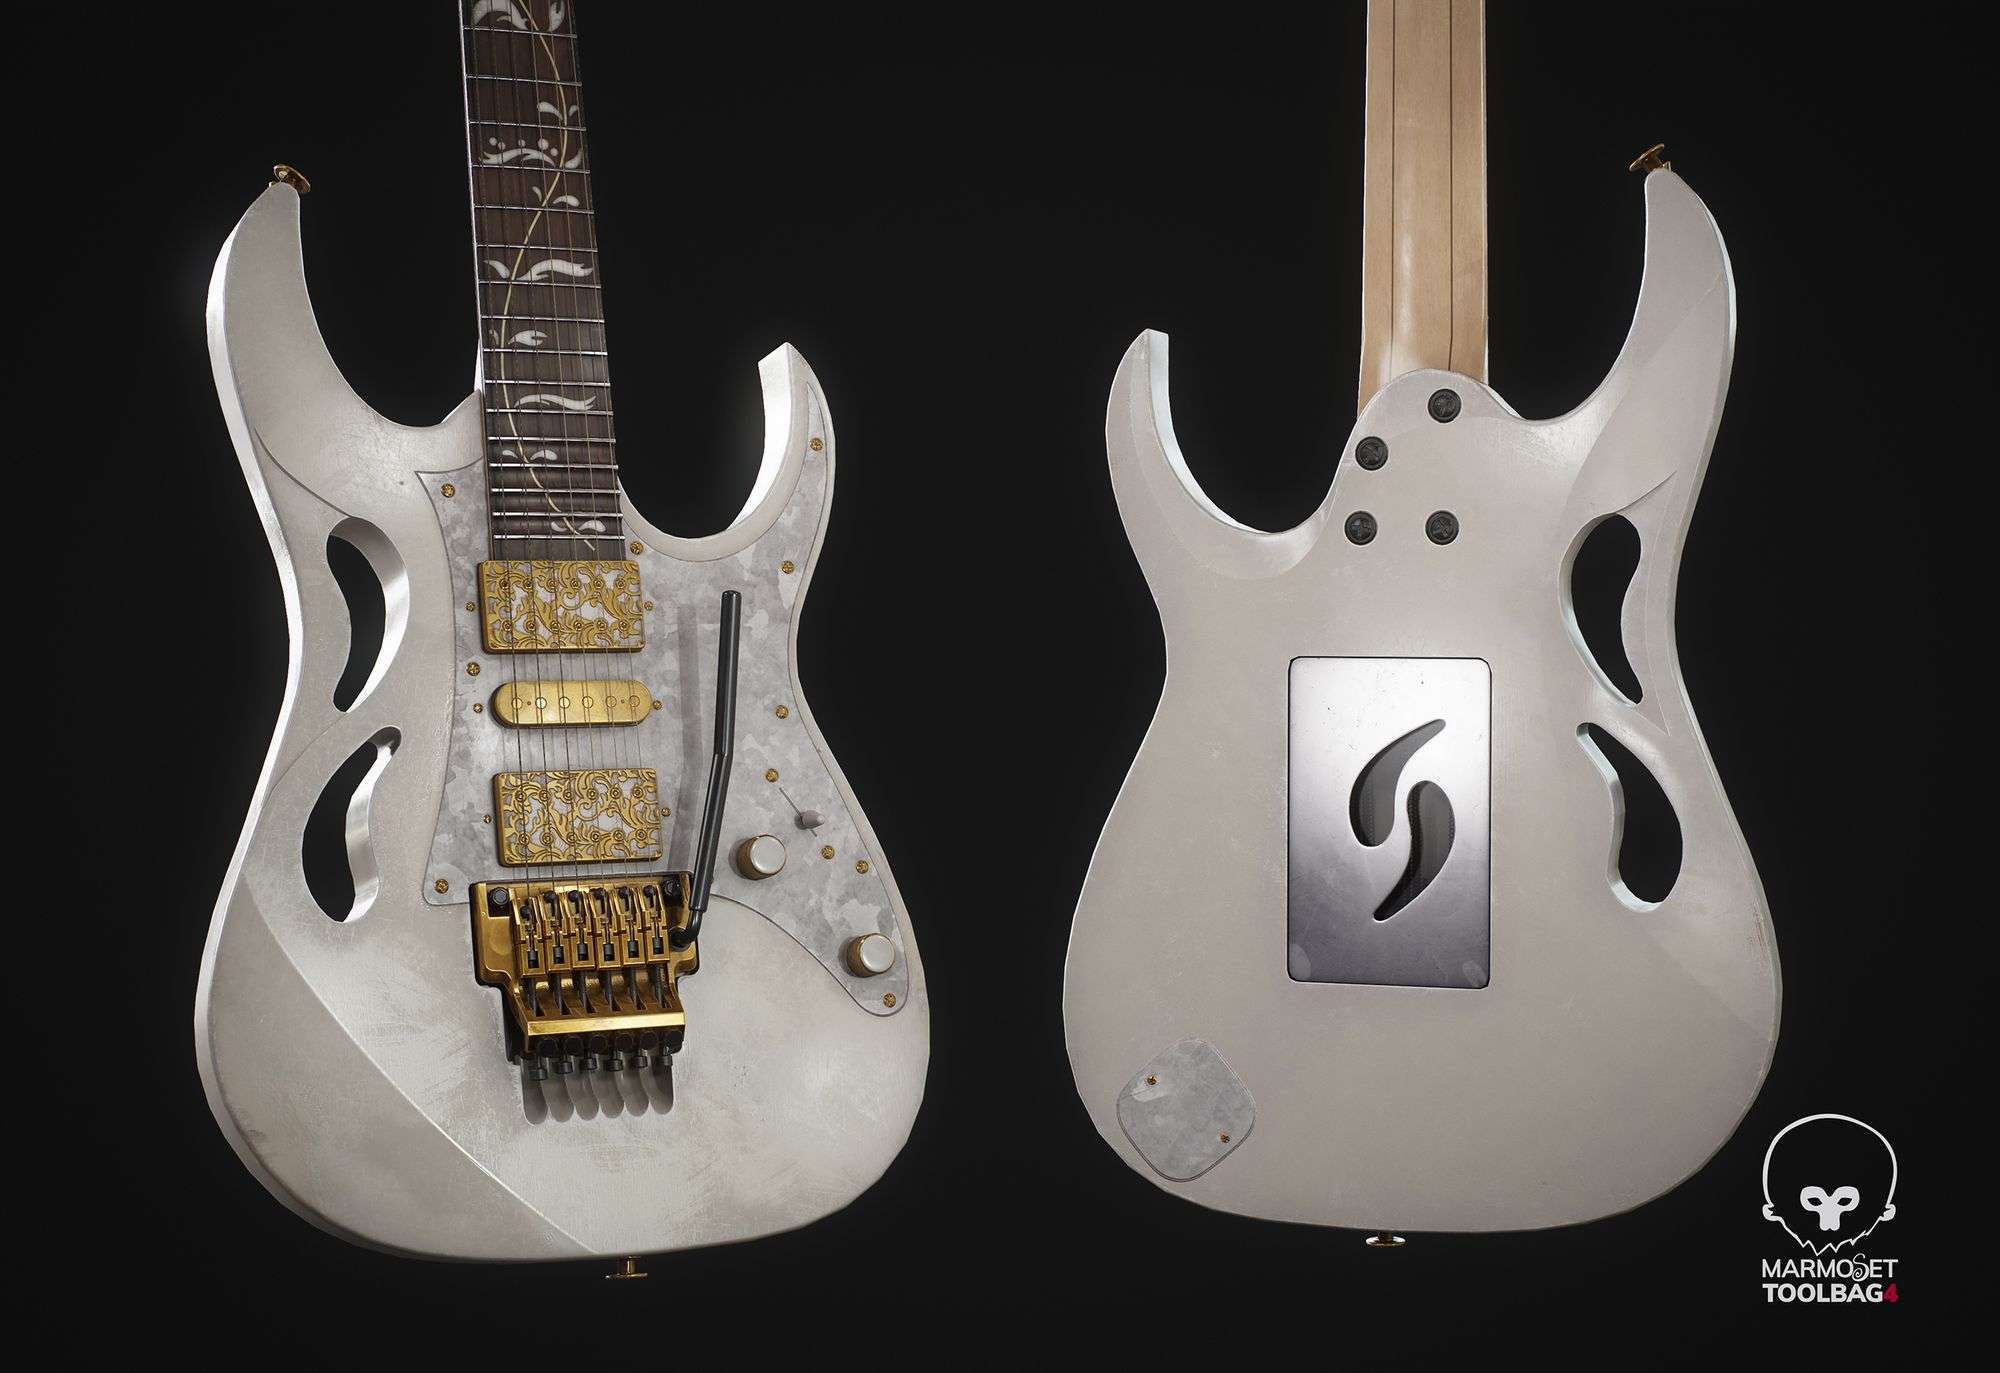
This is a hero asset, so it’ll stand out in our scene and the camera will be very close. So we need a lot of details on our textures, and the prop’s silhouette will require more polygons than a normal object.
With all that in mind, I reached a triangle count of 23.000 for this prop.
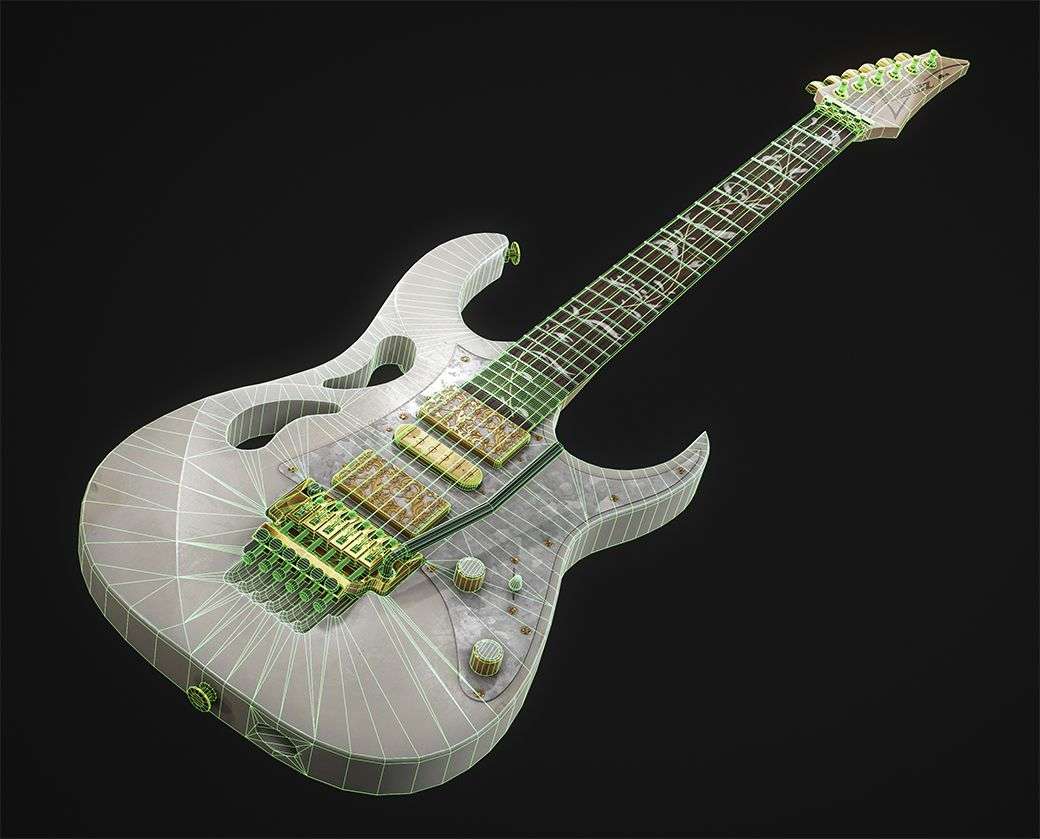
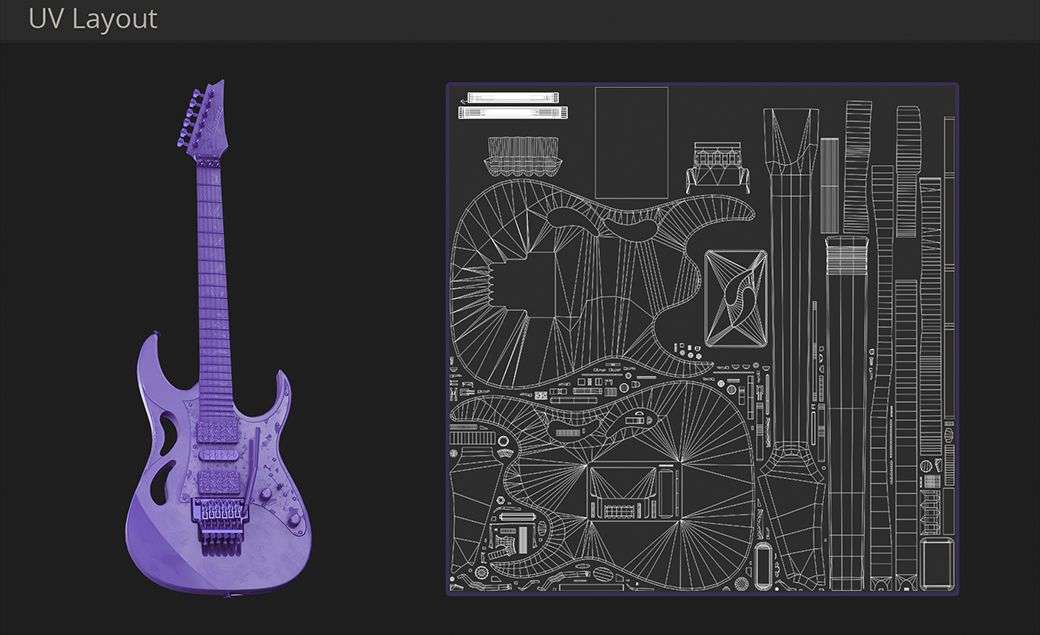
I used only one material for the guitar, which was more than enough for 4K textures. Some guitar parts had their UVs stacked up to save some space.
The texel density is evenly distributed throughout the model; this is very important when making a game asset.
I ran some tests and decided to do the Normal Map and Ambient Occlusion baking in Marmoset Toolbag. In this particular case, it gave me better results because of the screws, in Substance Painter some of them deformed in weird ways.
As you can see, these two maps make a huge difference, and here’s where all your hard work with the high poly shines.
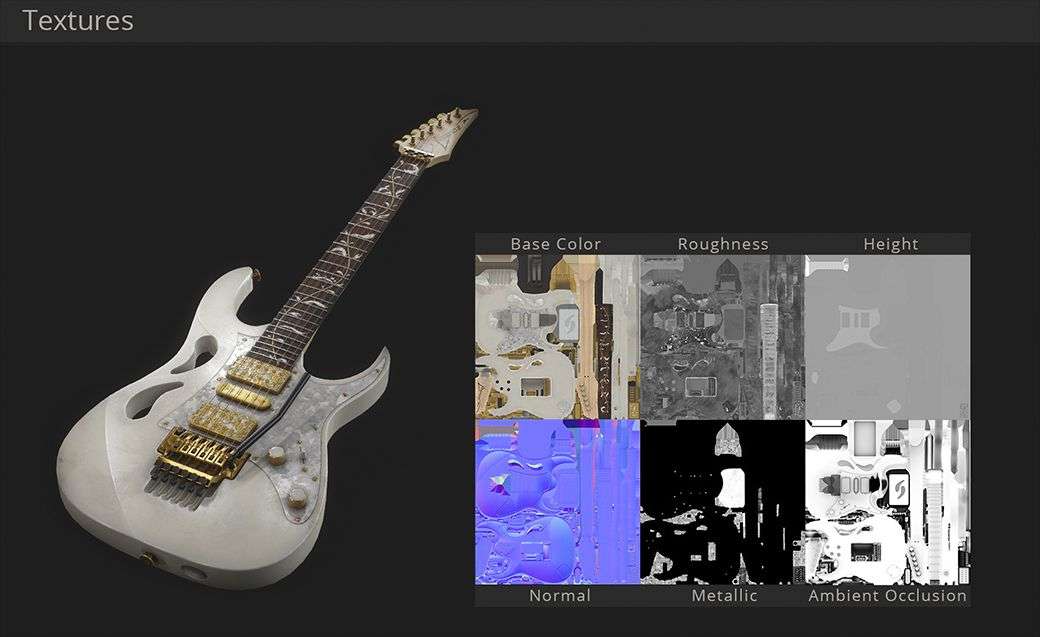
The texturing part is my favourite, it’s where I had most of the fun throughout the whole project. This is a part where good references make a huge difference, make sure to search for specific details.
Inside Substance Painter I baked the ID, Thickness, Curvature maps, and added the AO and Normal maps baked in Marmoset.
To start texturing, I like to add a very generic HDRI that illuminates the object in a uniform way - my favourite is Studio 02.
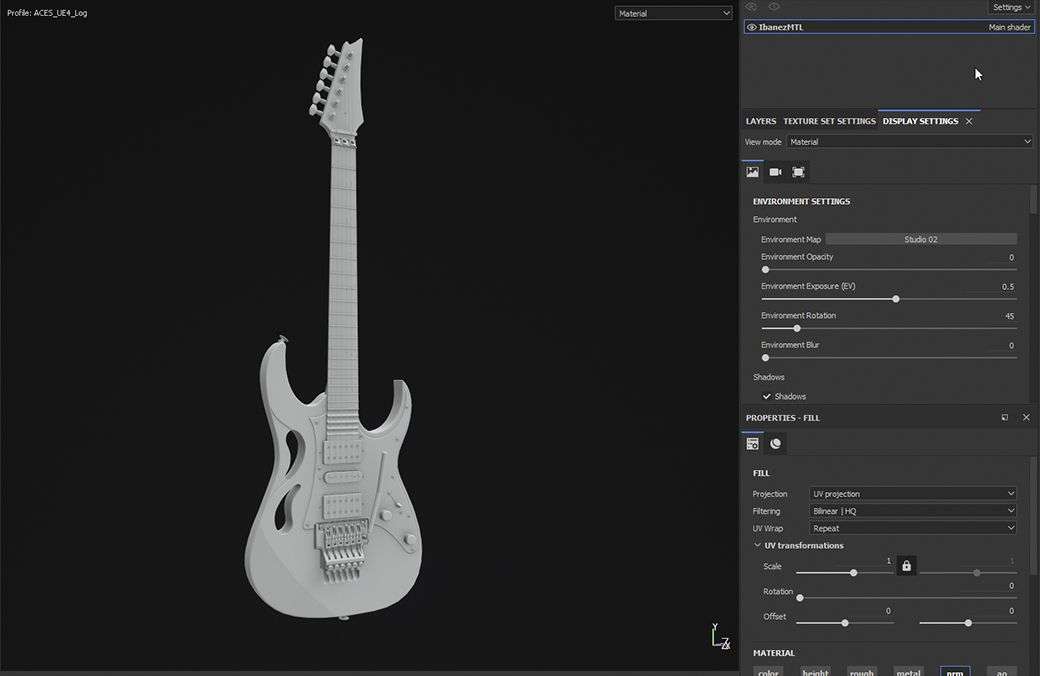
Now that everything is set, we can finally start texturing! I start separating all parts of the guitar that have different materials in groups with different colours.
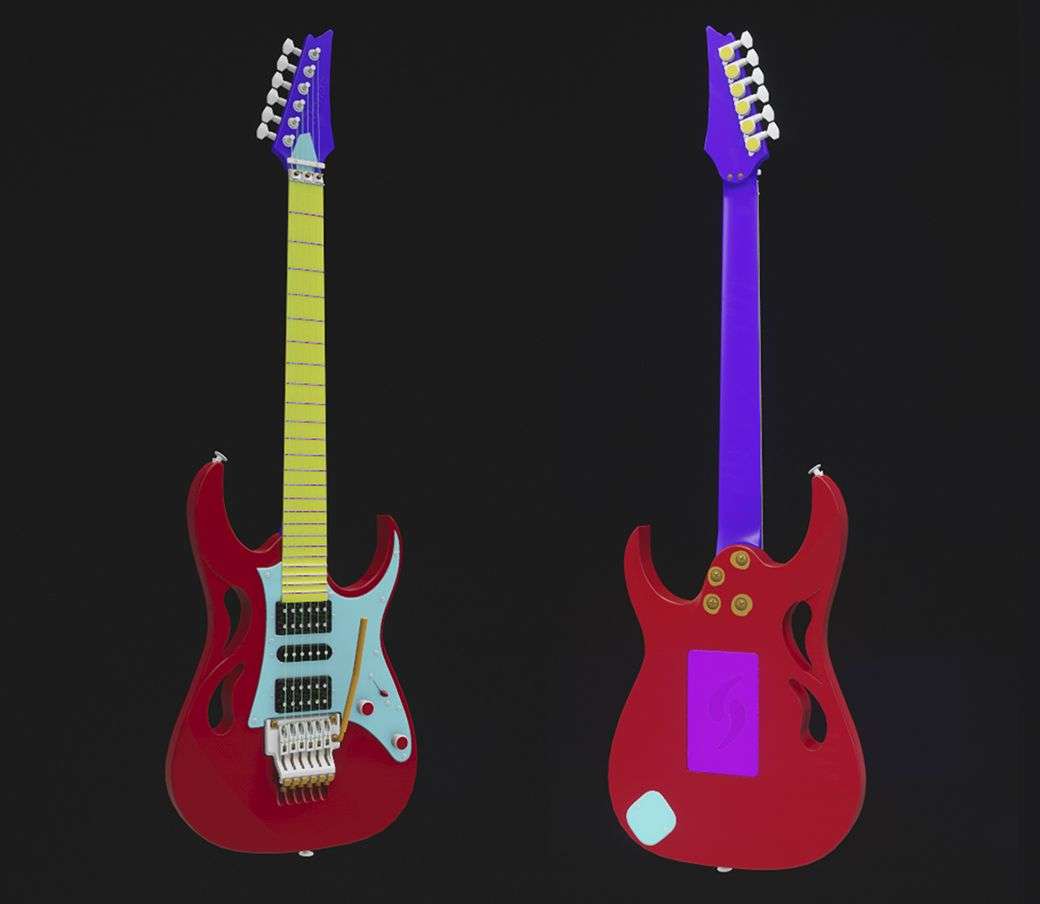
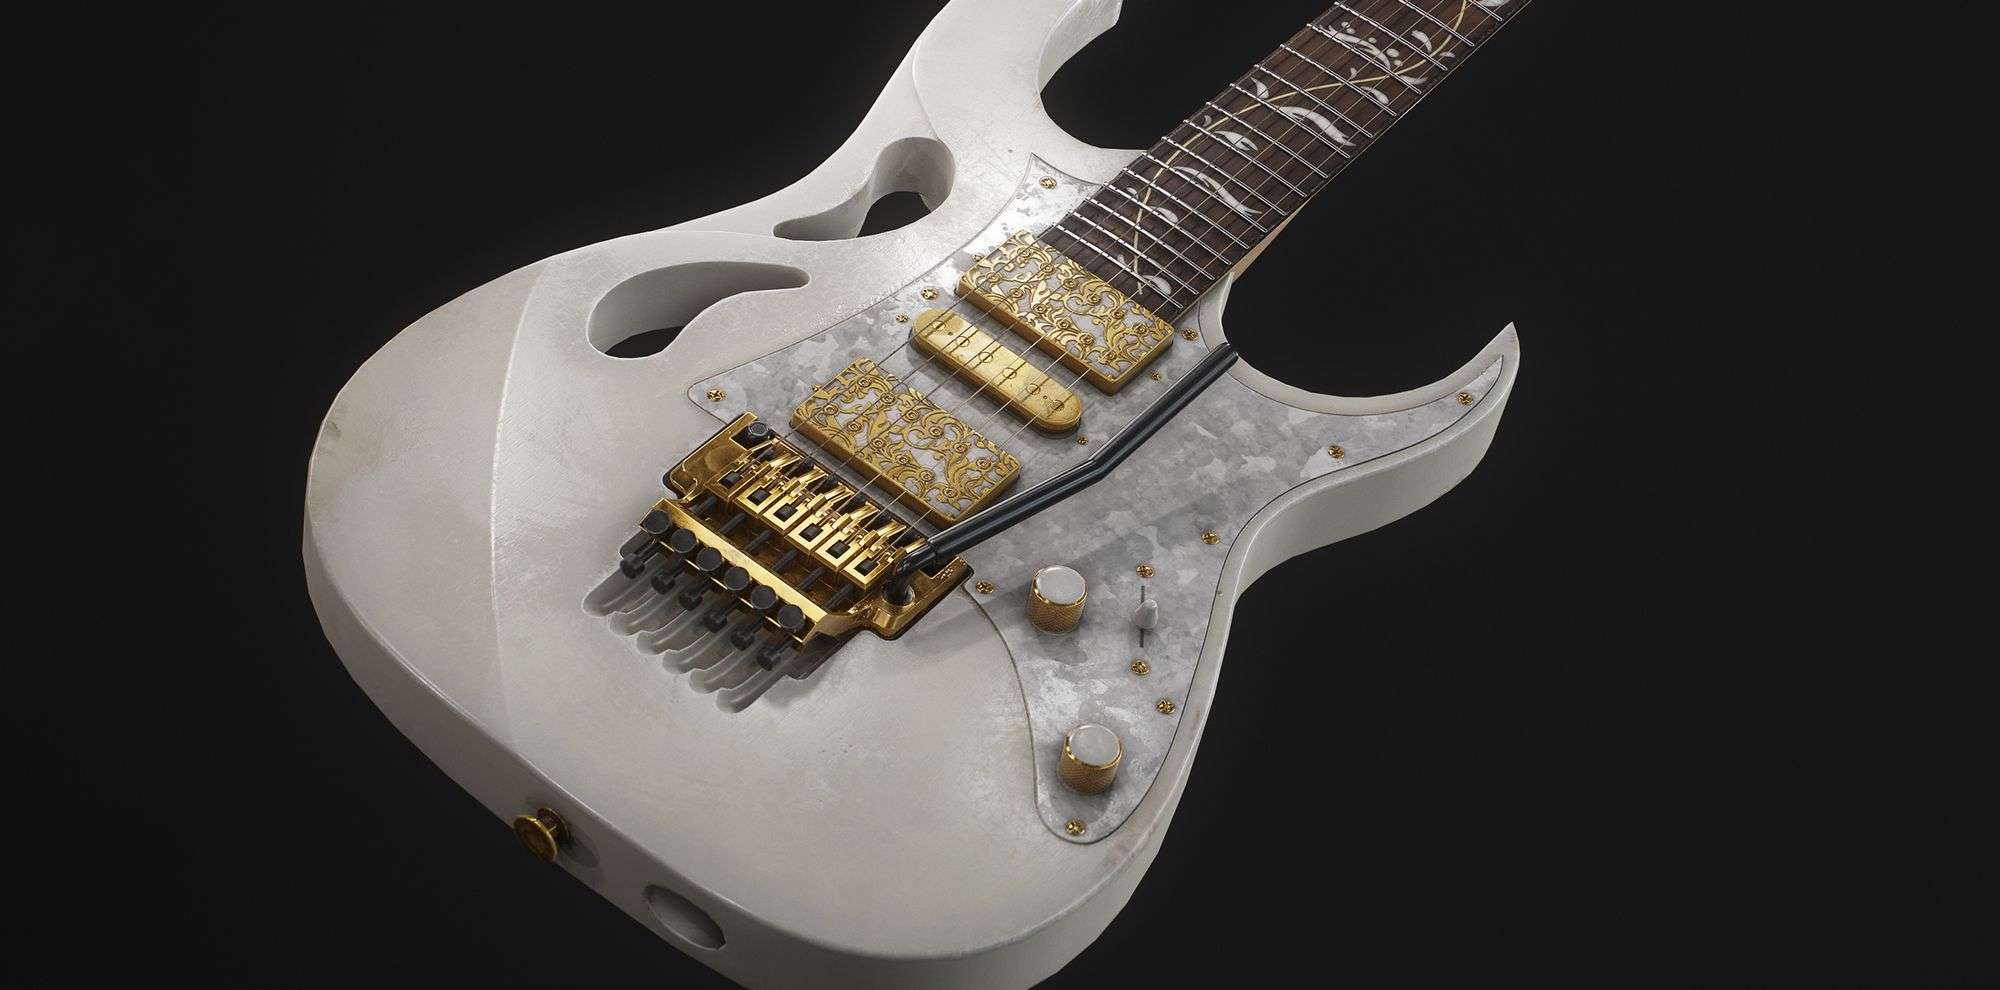
Here’s a gif with a progression of the texturing process:
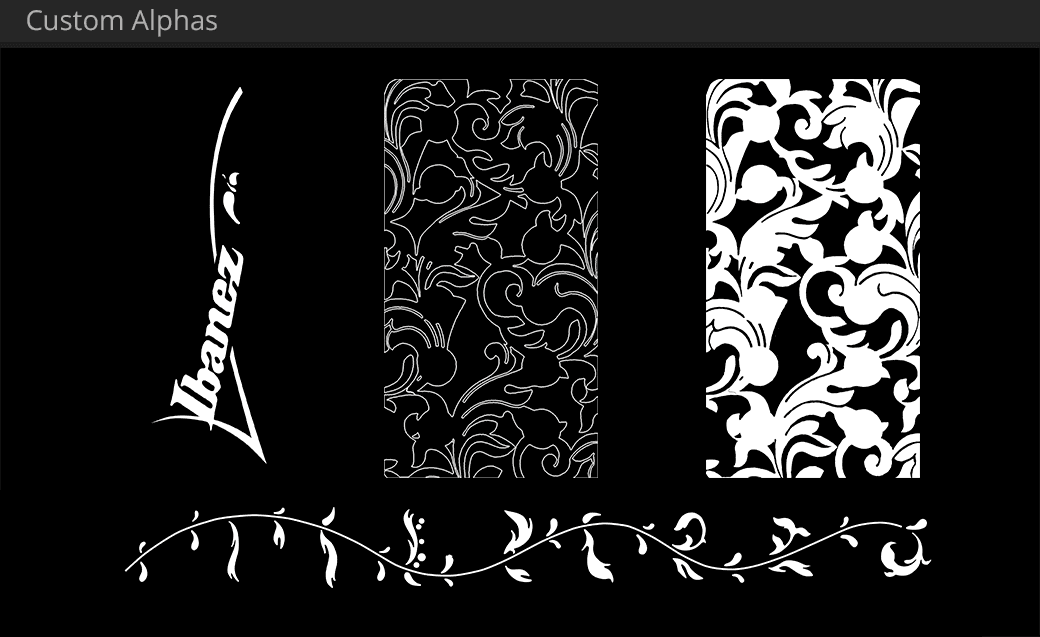
Some of the texture work on this guitar is very specific, so you won't find an alpha or a Smart Material for it on the internet. I made some custom alphas in Photoshop and used it as a mask inside Painter.
At this stage it’s essential to get a lot of feedback from other artists, don’t be shy about asking for help.
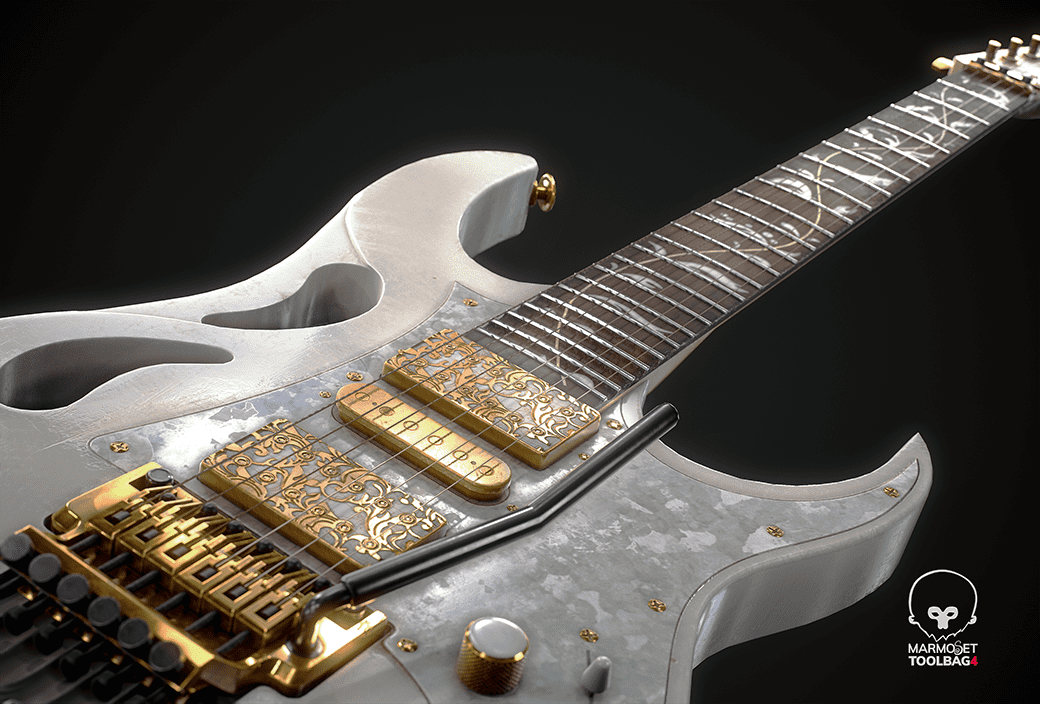
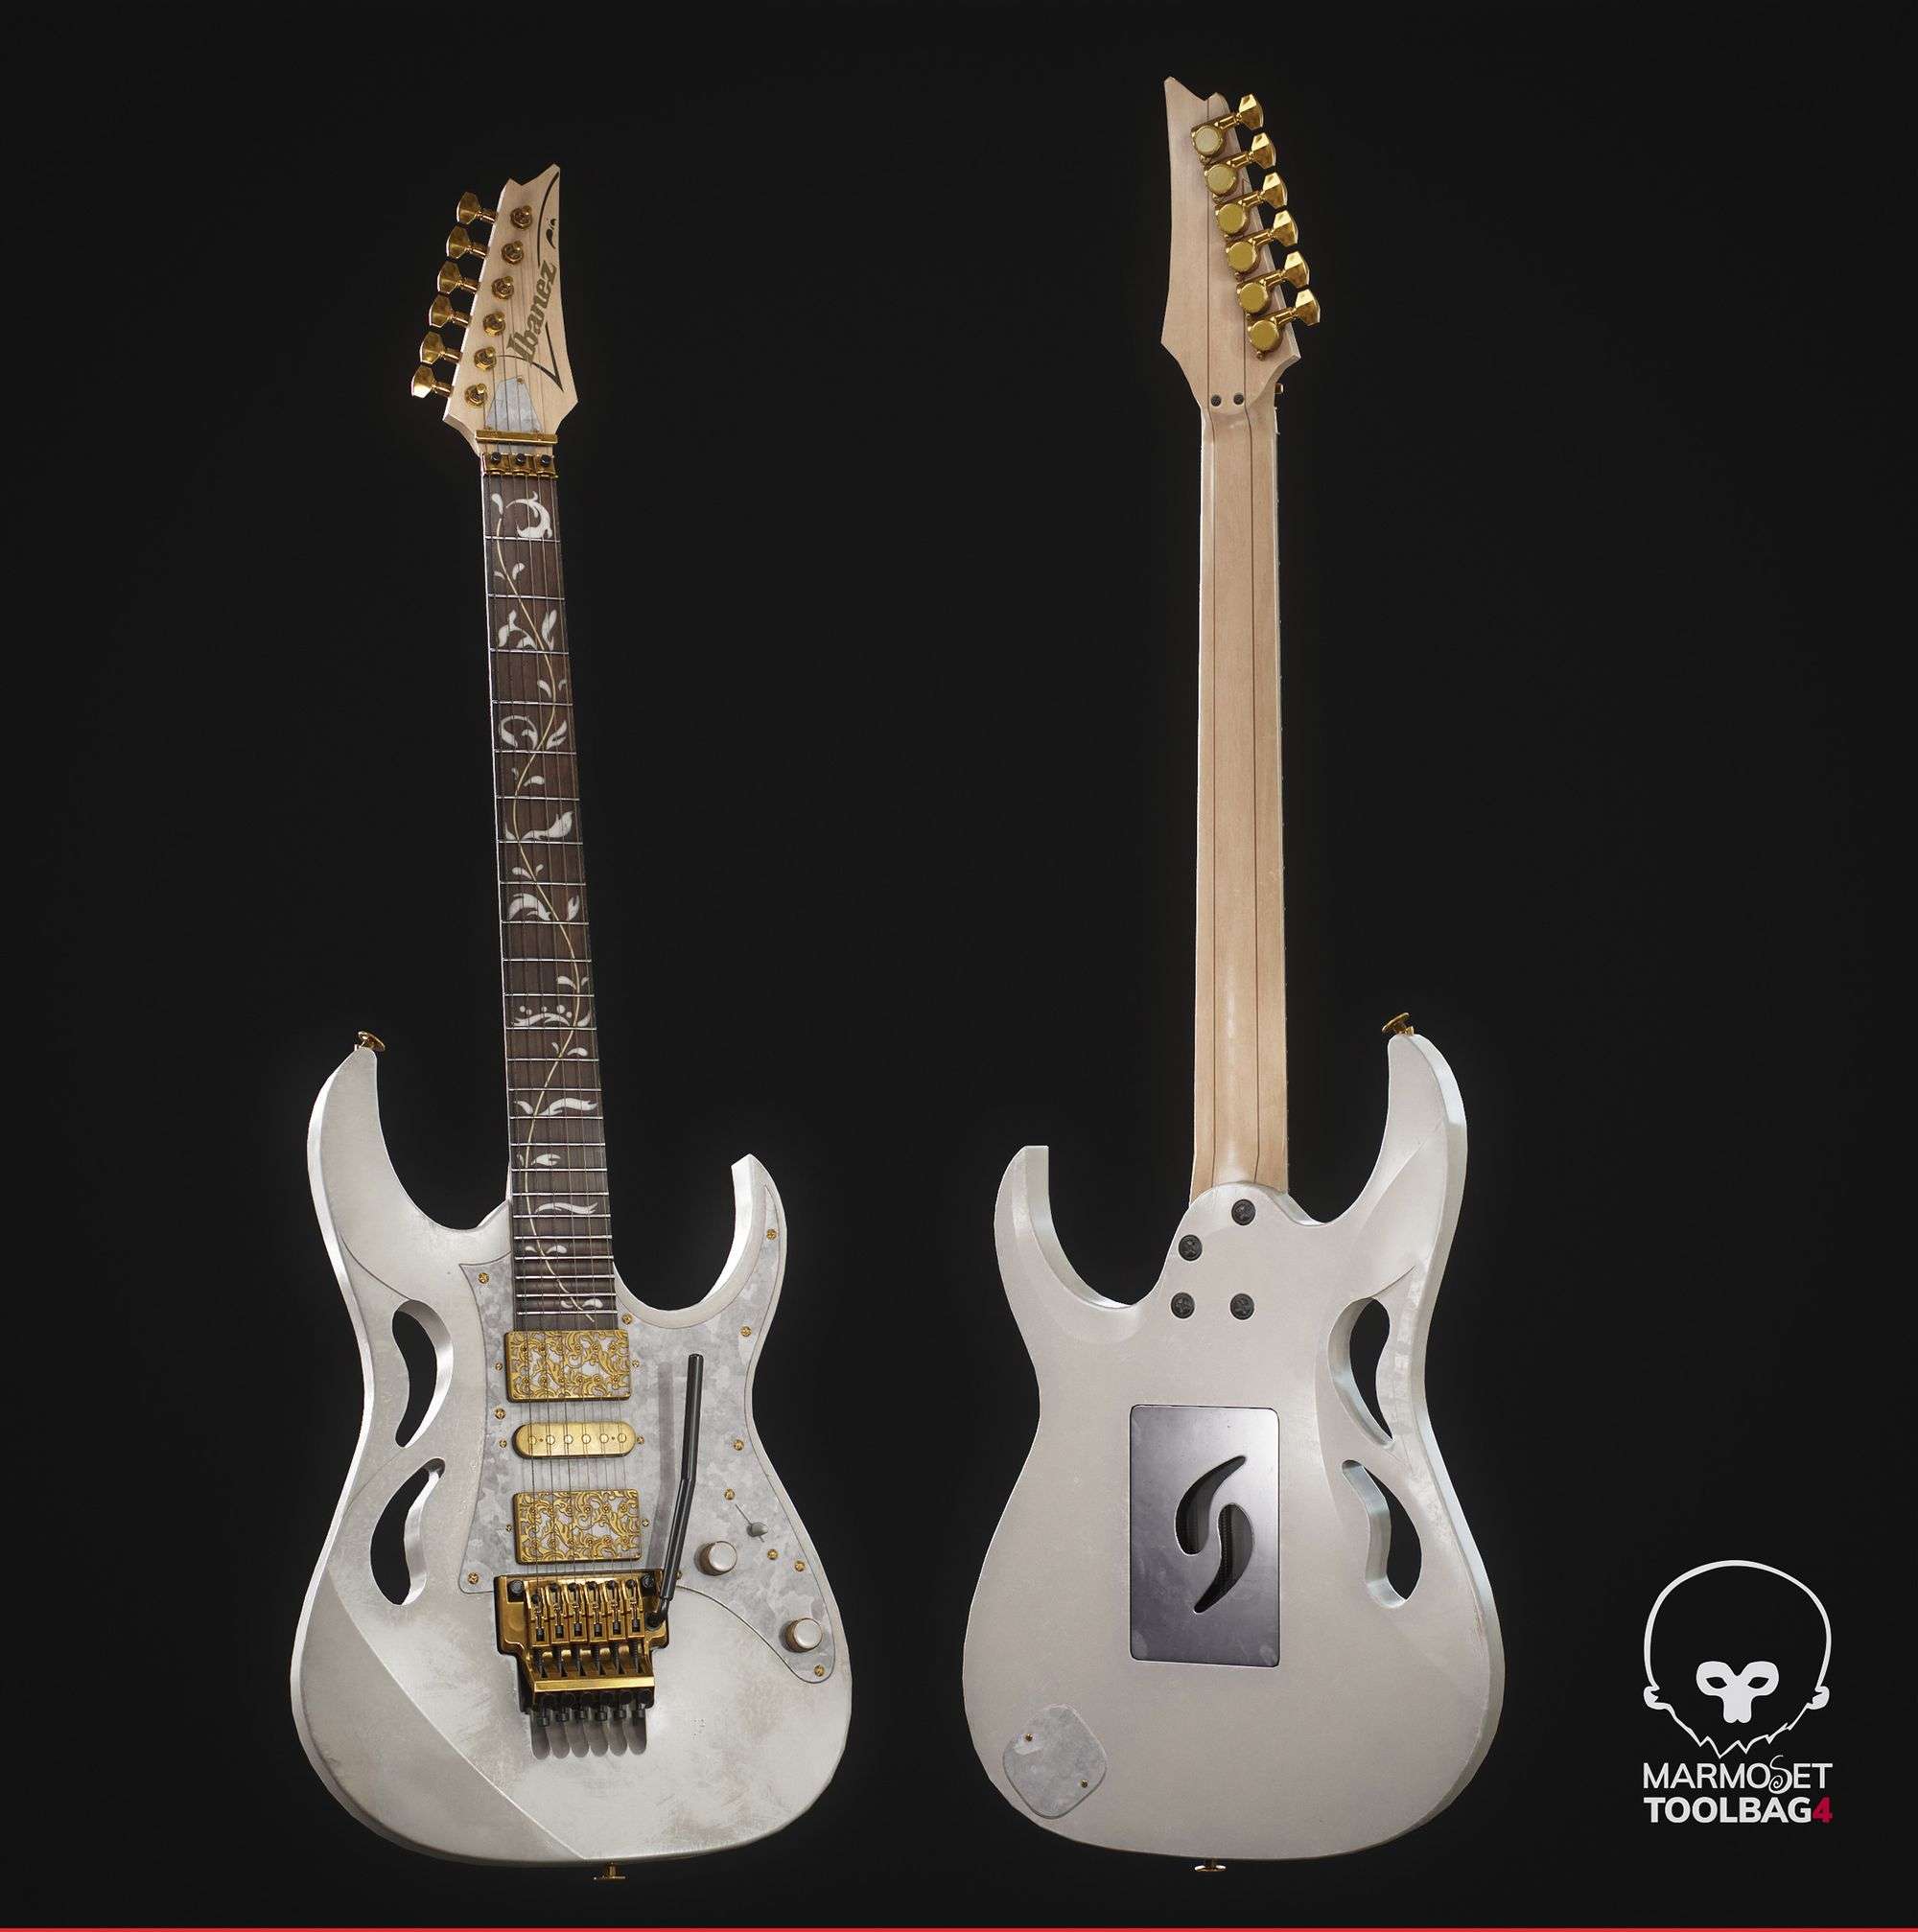
For the presentation I wanted a clean scene with only the guitar and a generic black background for contrast.
Now for the lights, you should use them to create points of interest in your composition. It's you chance to show all the details you spent hours working on the textures.
I used an HDRI downloaded from Poly Haven, it’s an incredible place to look for high quality environments.
I’ve learned a lot from this project and I’m seeking new challenges to keep pushing my limits as a 3D artist. I want to thank The Rookies for the opportunity and I hope you enjoyed the article! Feel free to contact me on The Rookies, ArtStation or Instagram.