Creating a Dynamic Cinematic Shot in 3D
Looking to create your own 3D cinematic shot for your portfolio? Henri Gatard, a 4th year 3D Animation student at ECV Nantes, shares his tips and tricks in this article.
Looking to create your own 3D cinematic shot for your portfolio? Henri Gatard, a 4th year 3D Animation student at ECV Nantes, shares his tips and tricks in this article.
Henri Gatard is a 4th year 3D Animation student at ECV Nantes in France. With two years of formal education already under his belt, Henri started to learn Pixar's Renderman on his own time, as he explored how to create a cinematic shots for his portfolio.
In this article, Henri shares his process along with tips for creating a dynamic 3D shot. Read on for more inspiration!
At the end of September, I discovered that RenderMan launched it's 8th Art Challenge: "The Iconoclast". At the beginning I did not feel at the level to participate in a Pixar competition but after reflecting a bit, I decided to challenge myself and try to do my best because I had nothing to lose by participating!

For the release of the updates of RenderMan 24, Pixar created the Iconoclast Challenge.
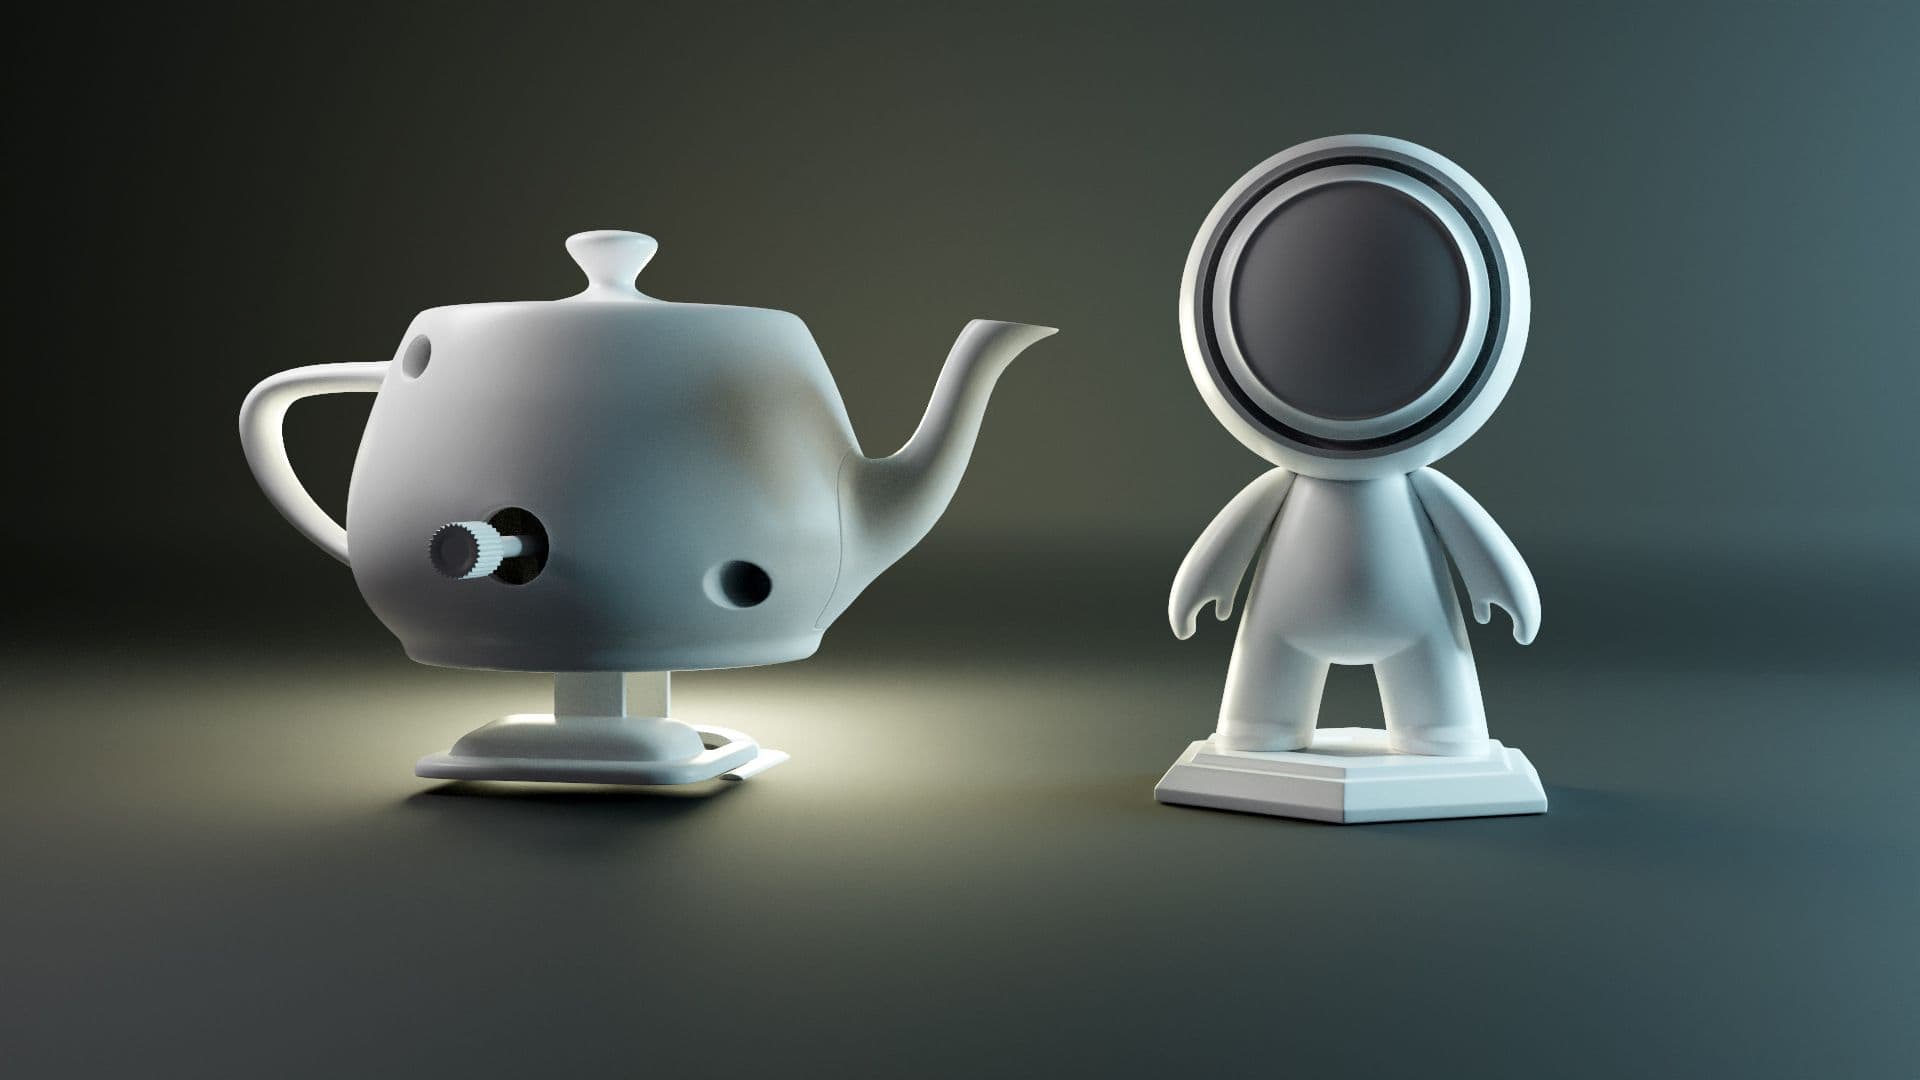
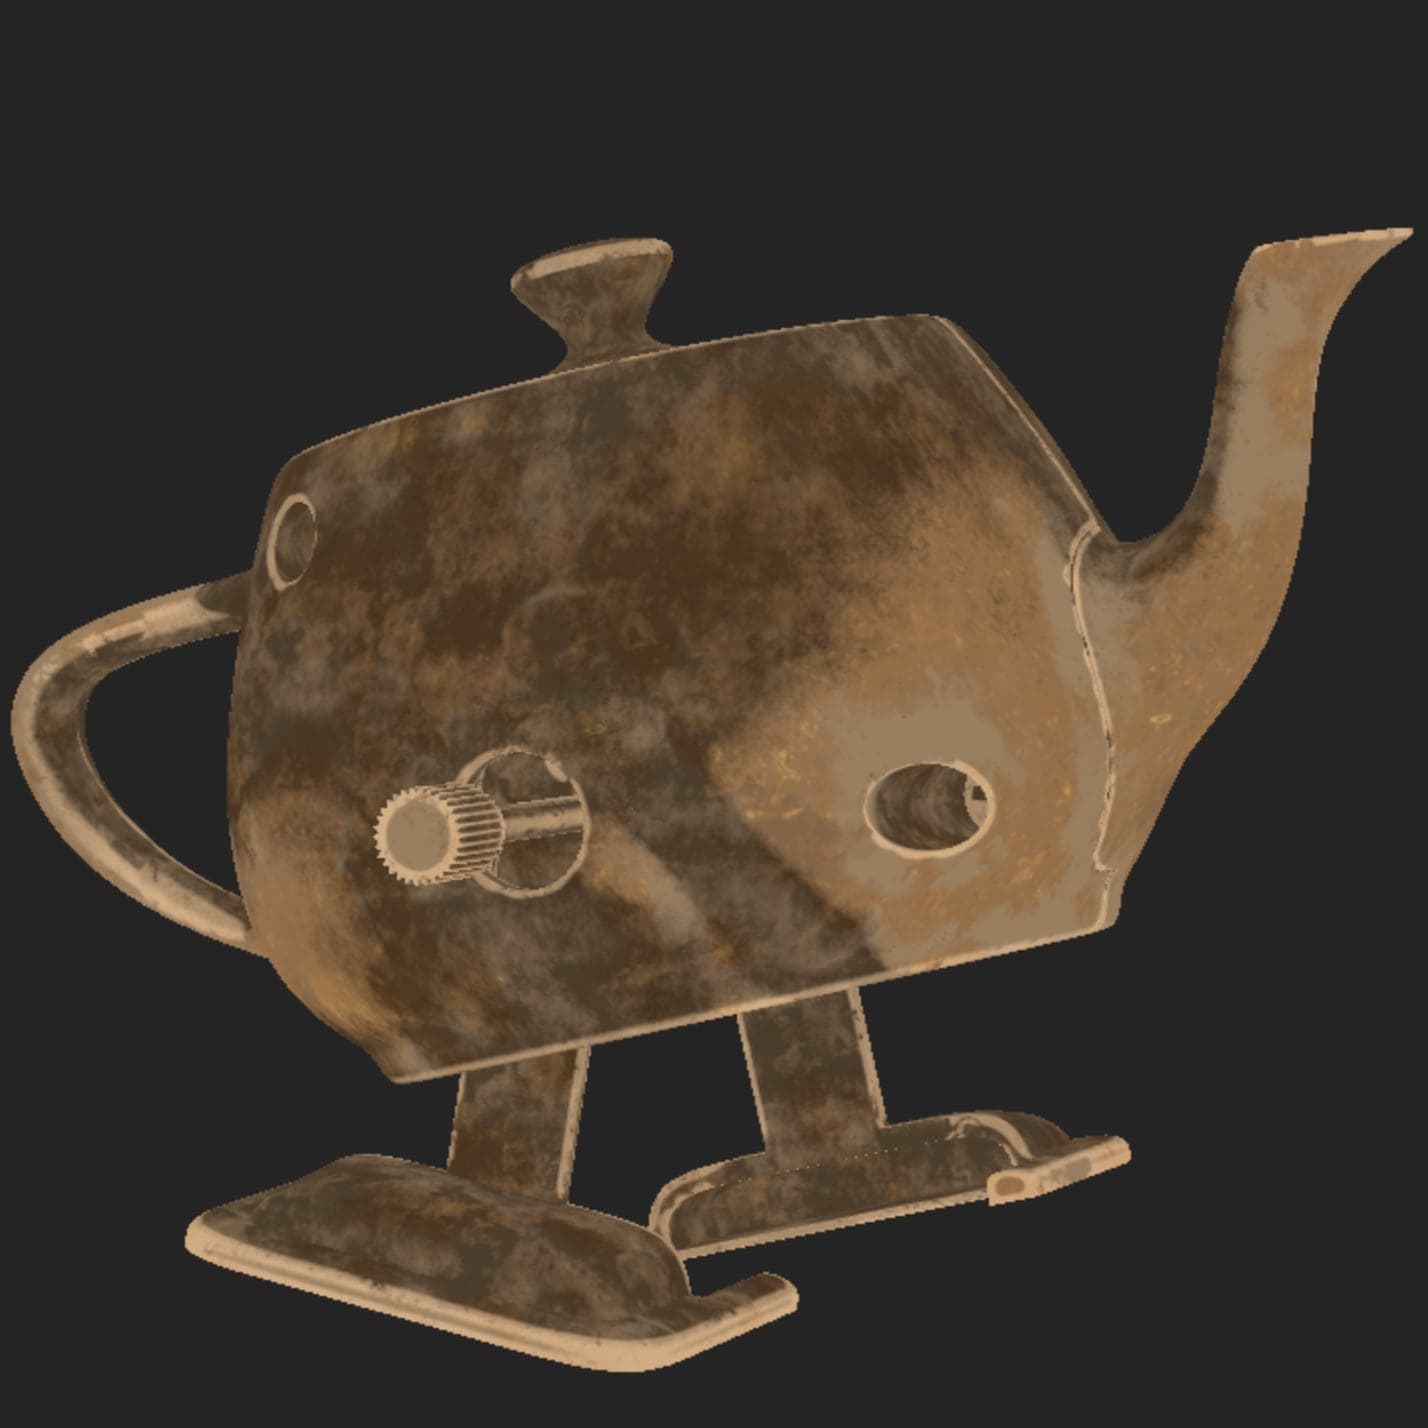
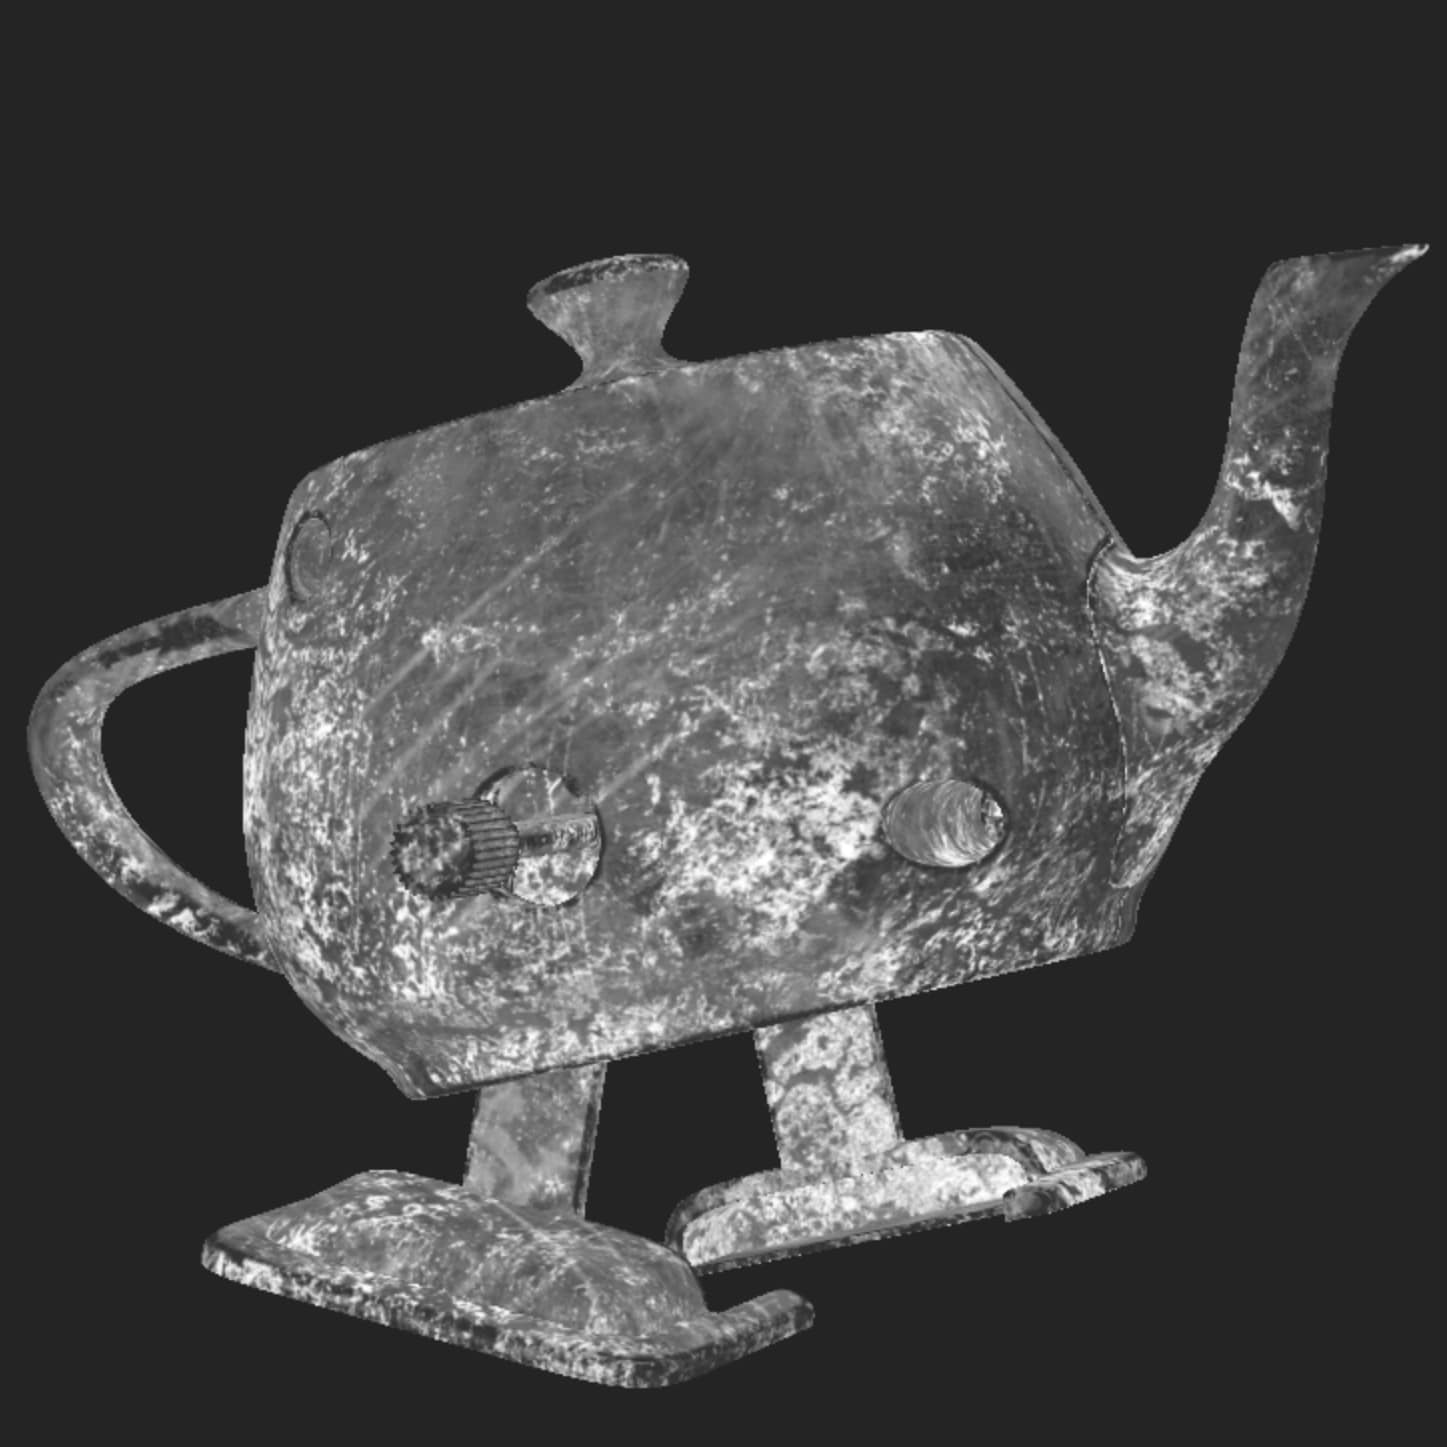
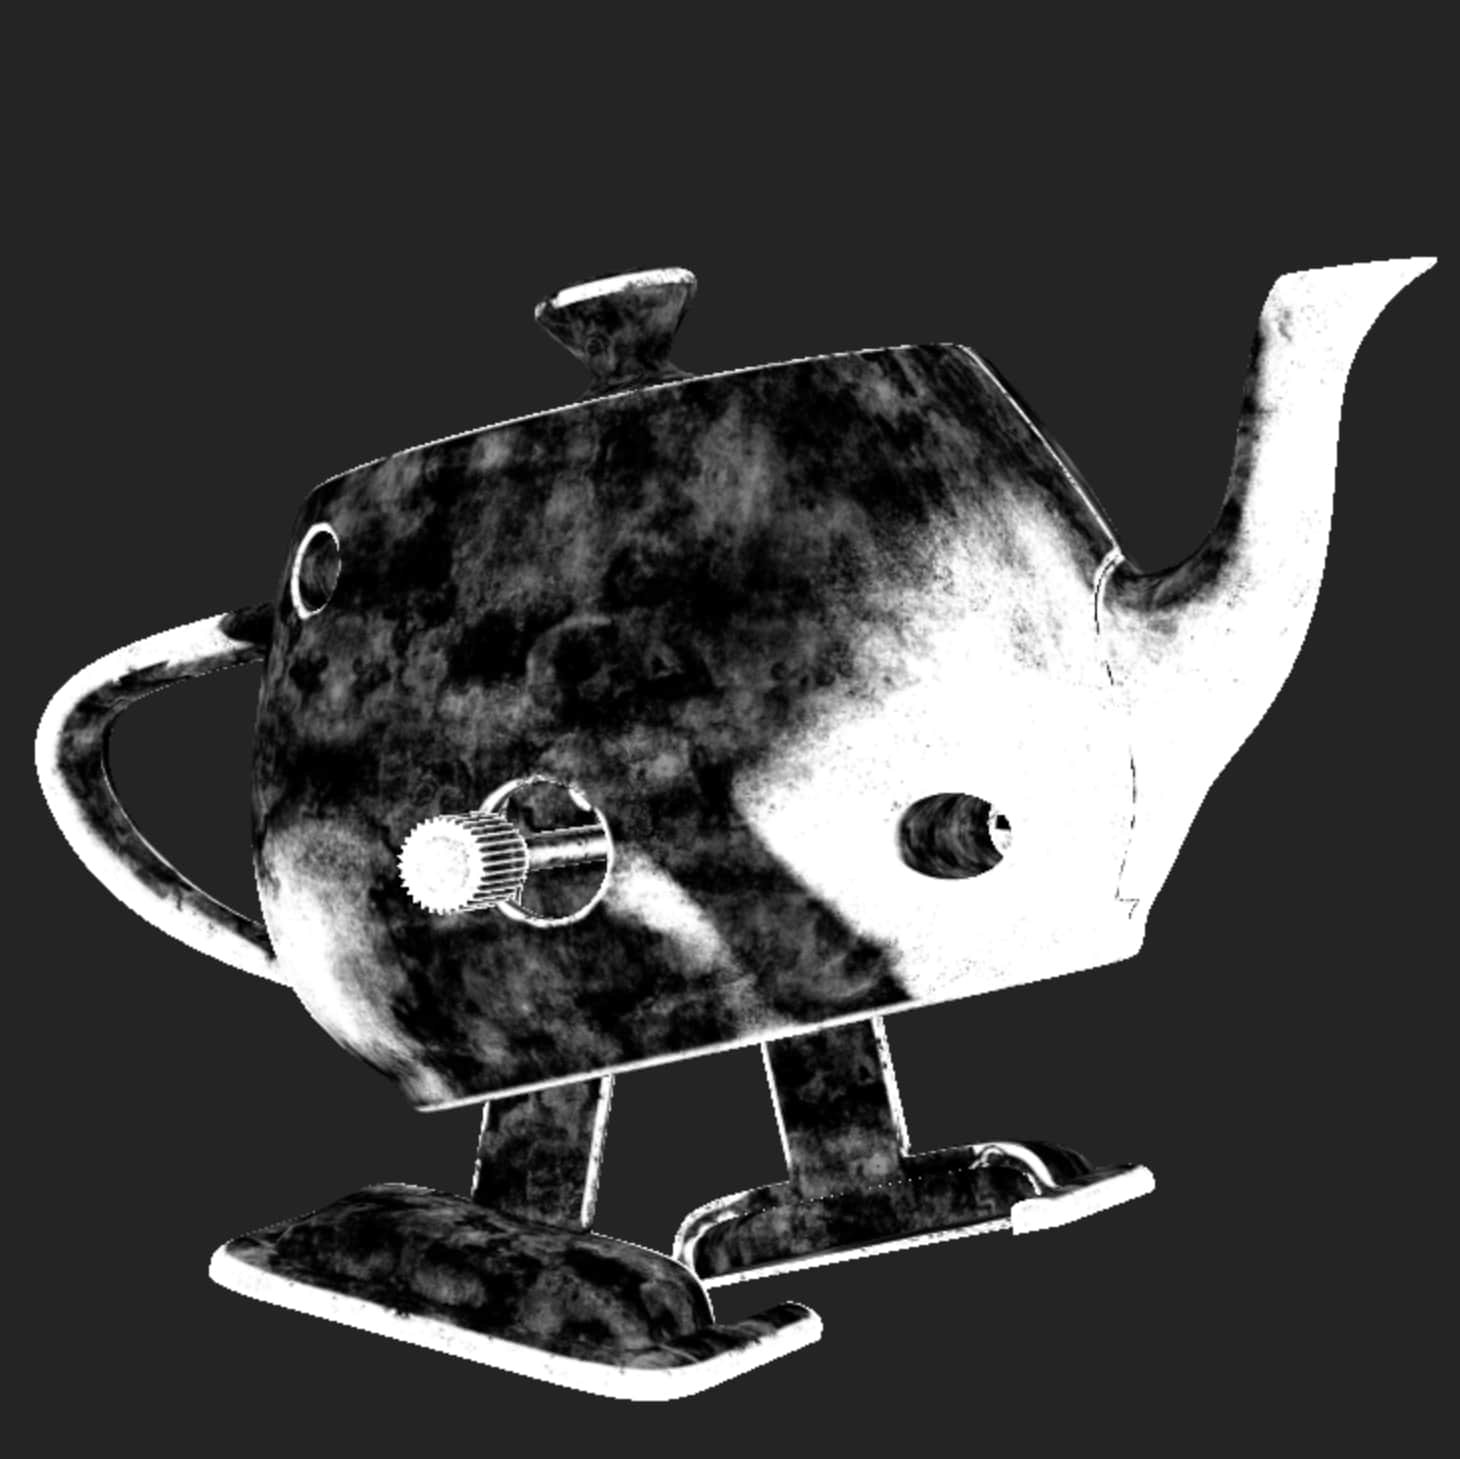
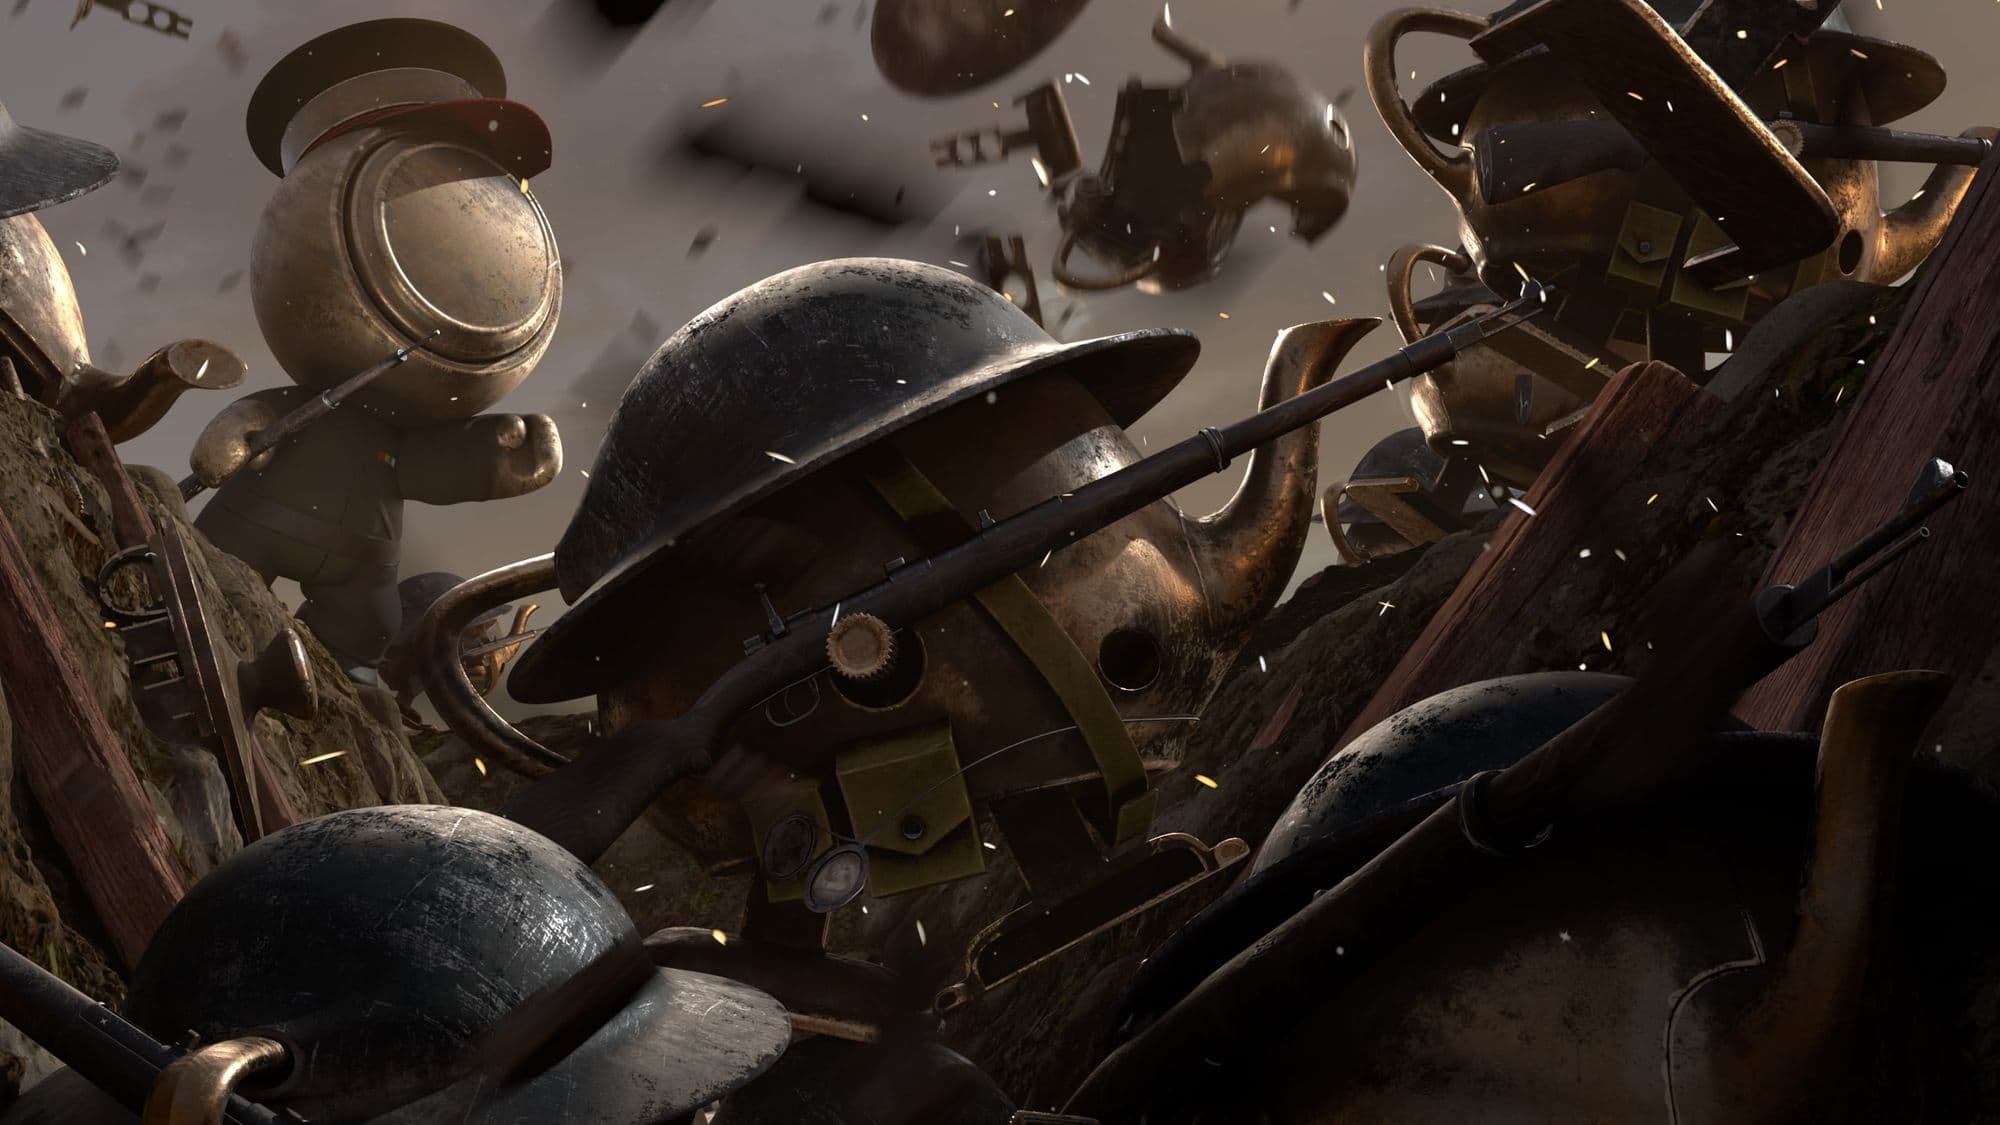
And for this 8th edition of the Art Challenge, we had to create a full 3D image with the use of the two icons of RenderMan and Substance 3D: “The Walking Teapot” and the “MeetMat”.
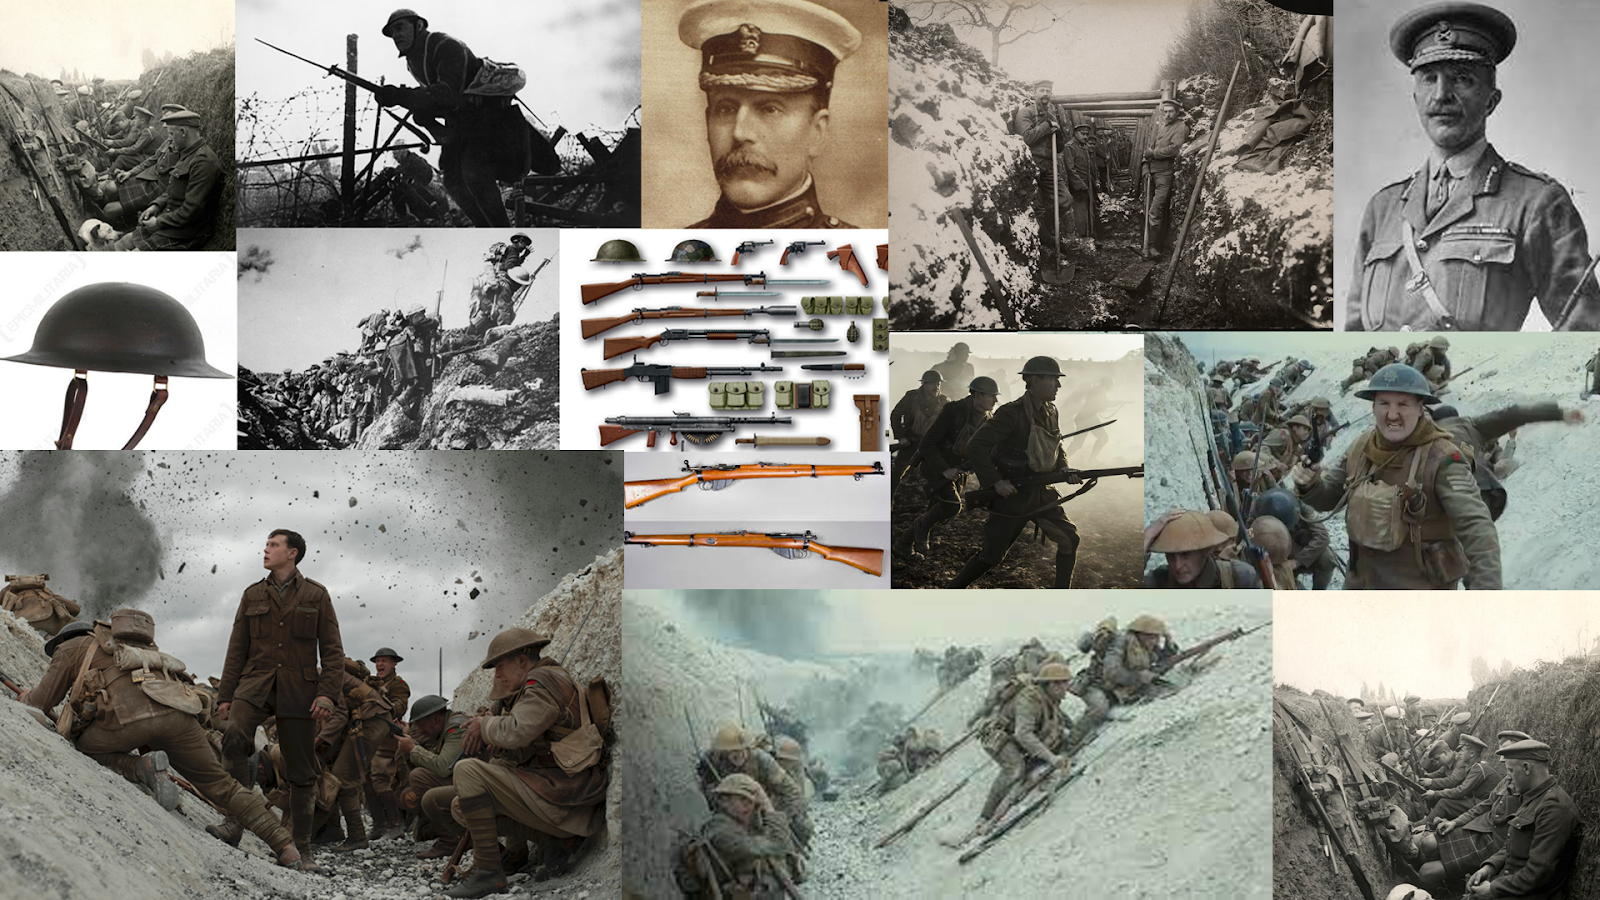
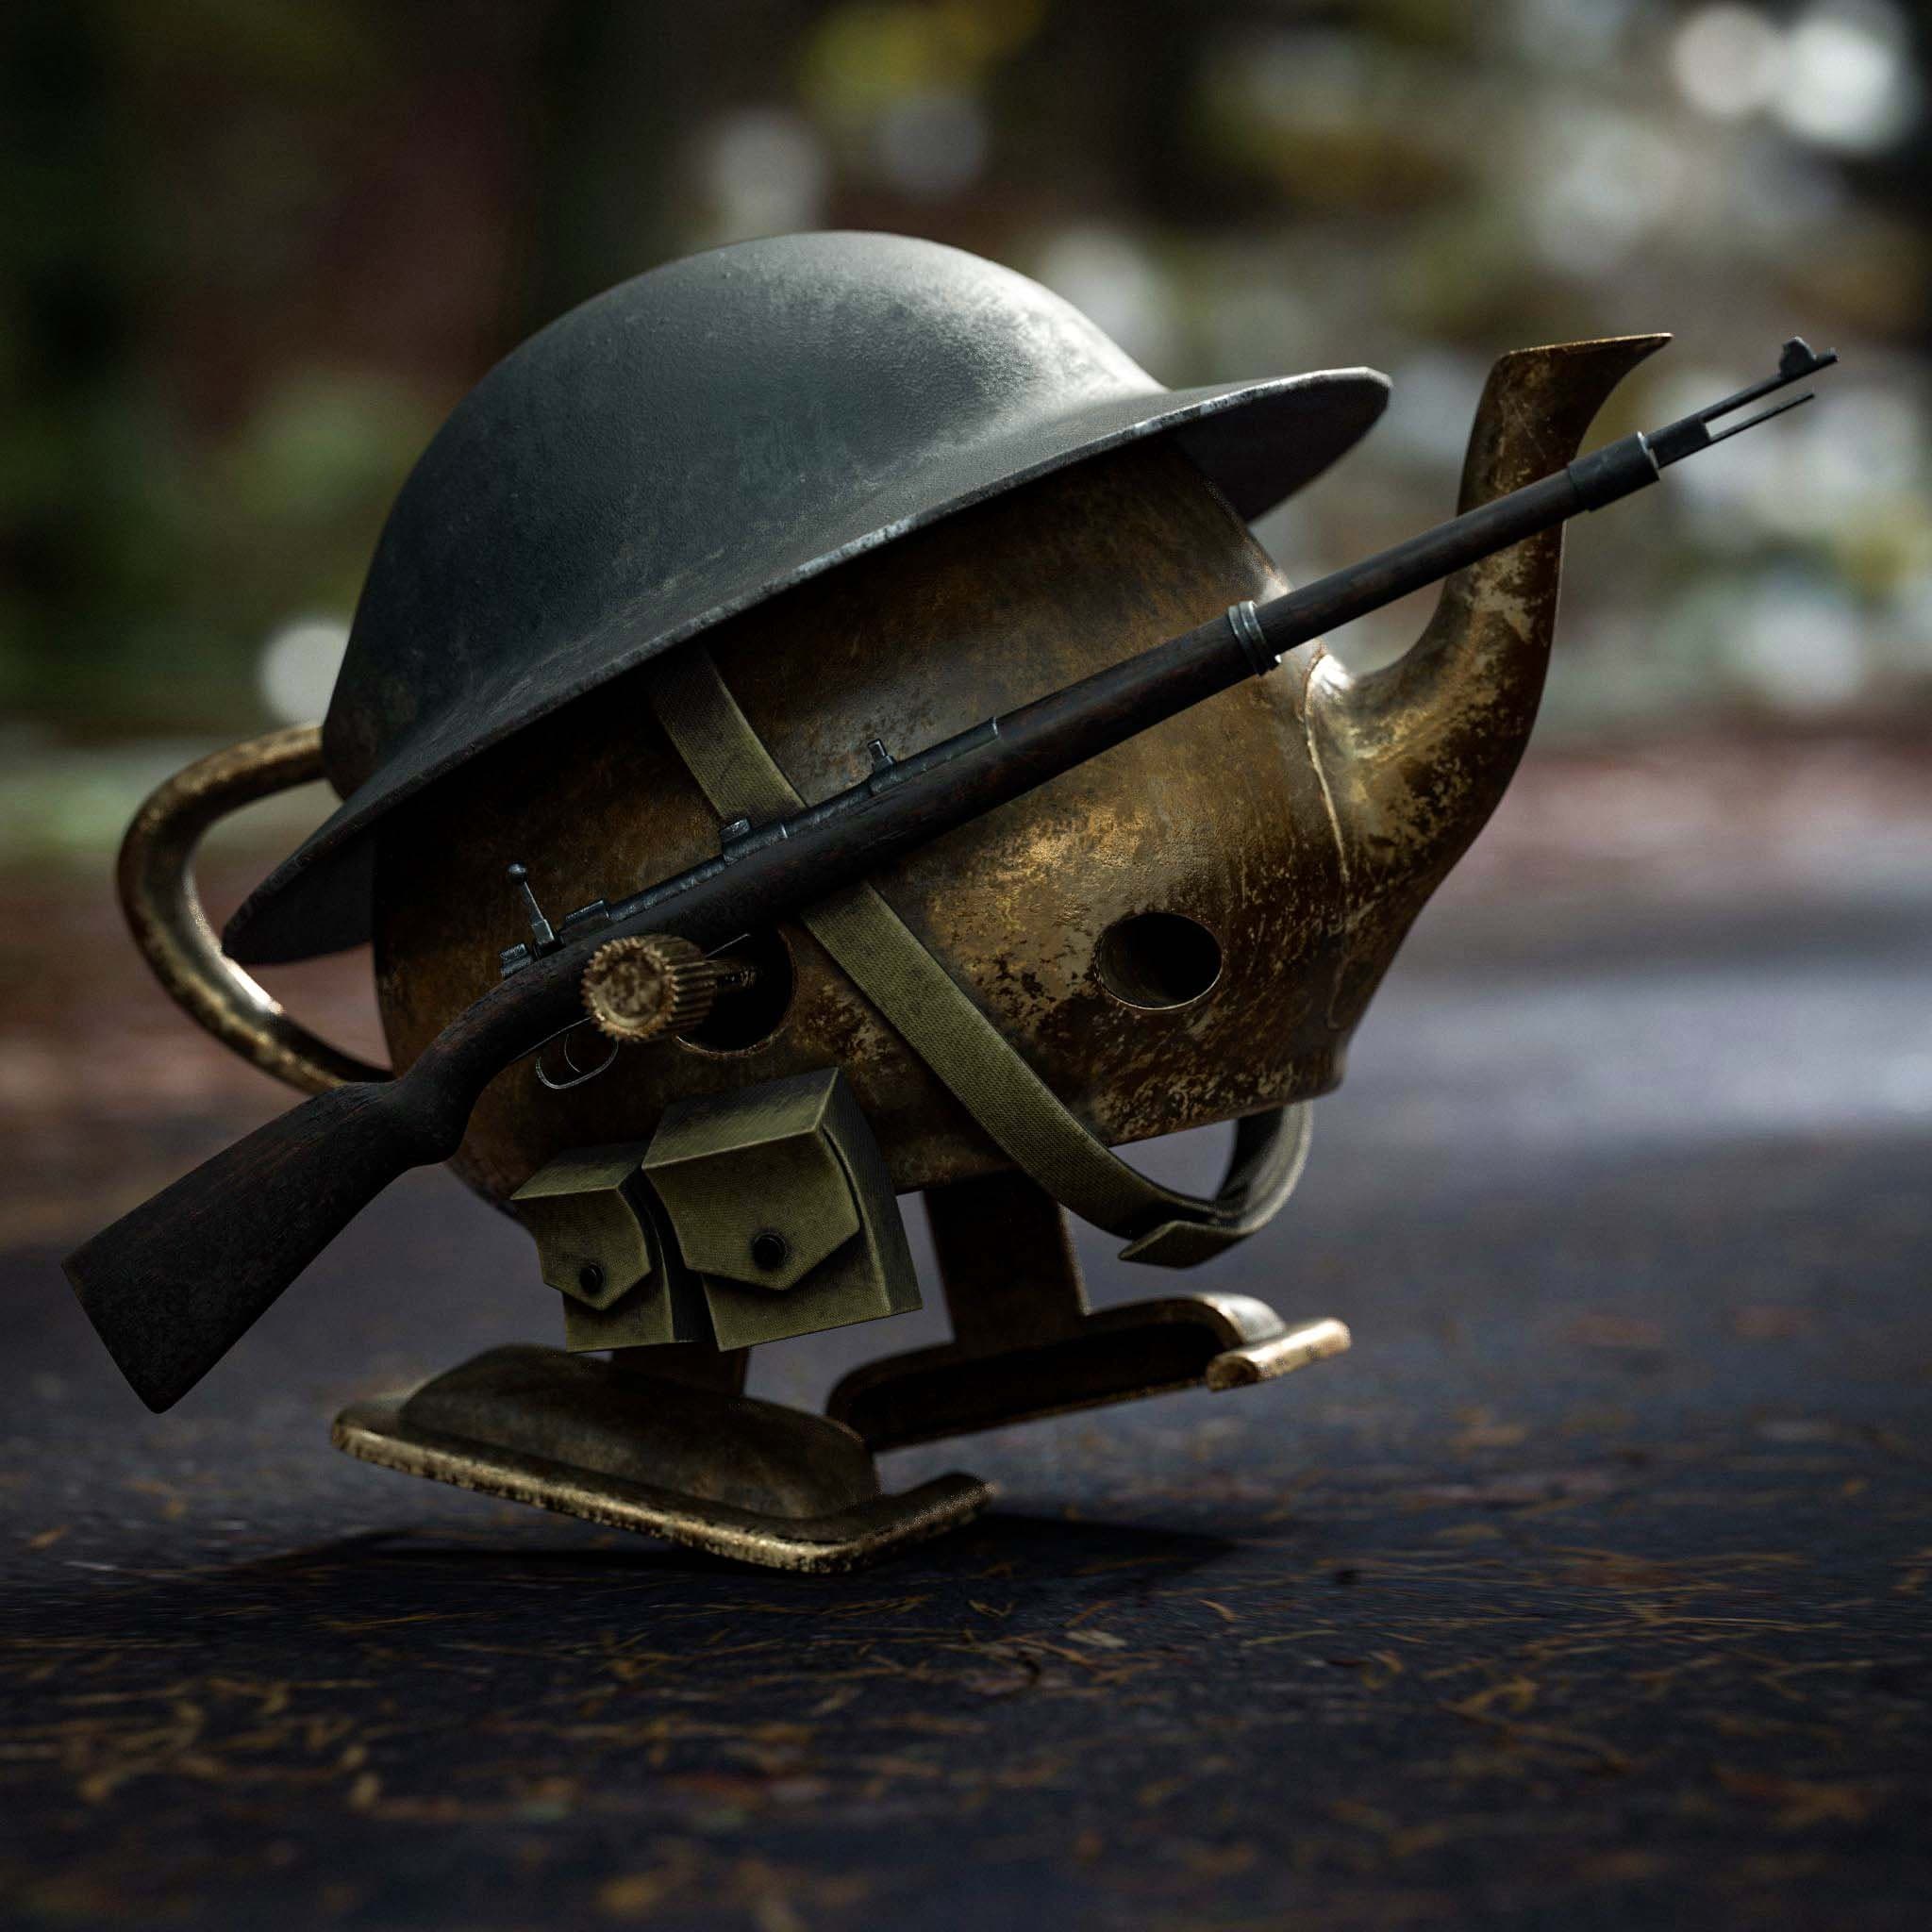
My Idea for the Challenge was to create a war scene because the Teapot made me think of a little soldier. The first idea was to create the interior of a WW2 plane with Teapot as a parachutist soldier but I finally dismissed the idea because it was difficult for me to see a really cool image composition and interesting lighting.
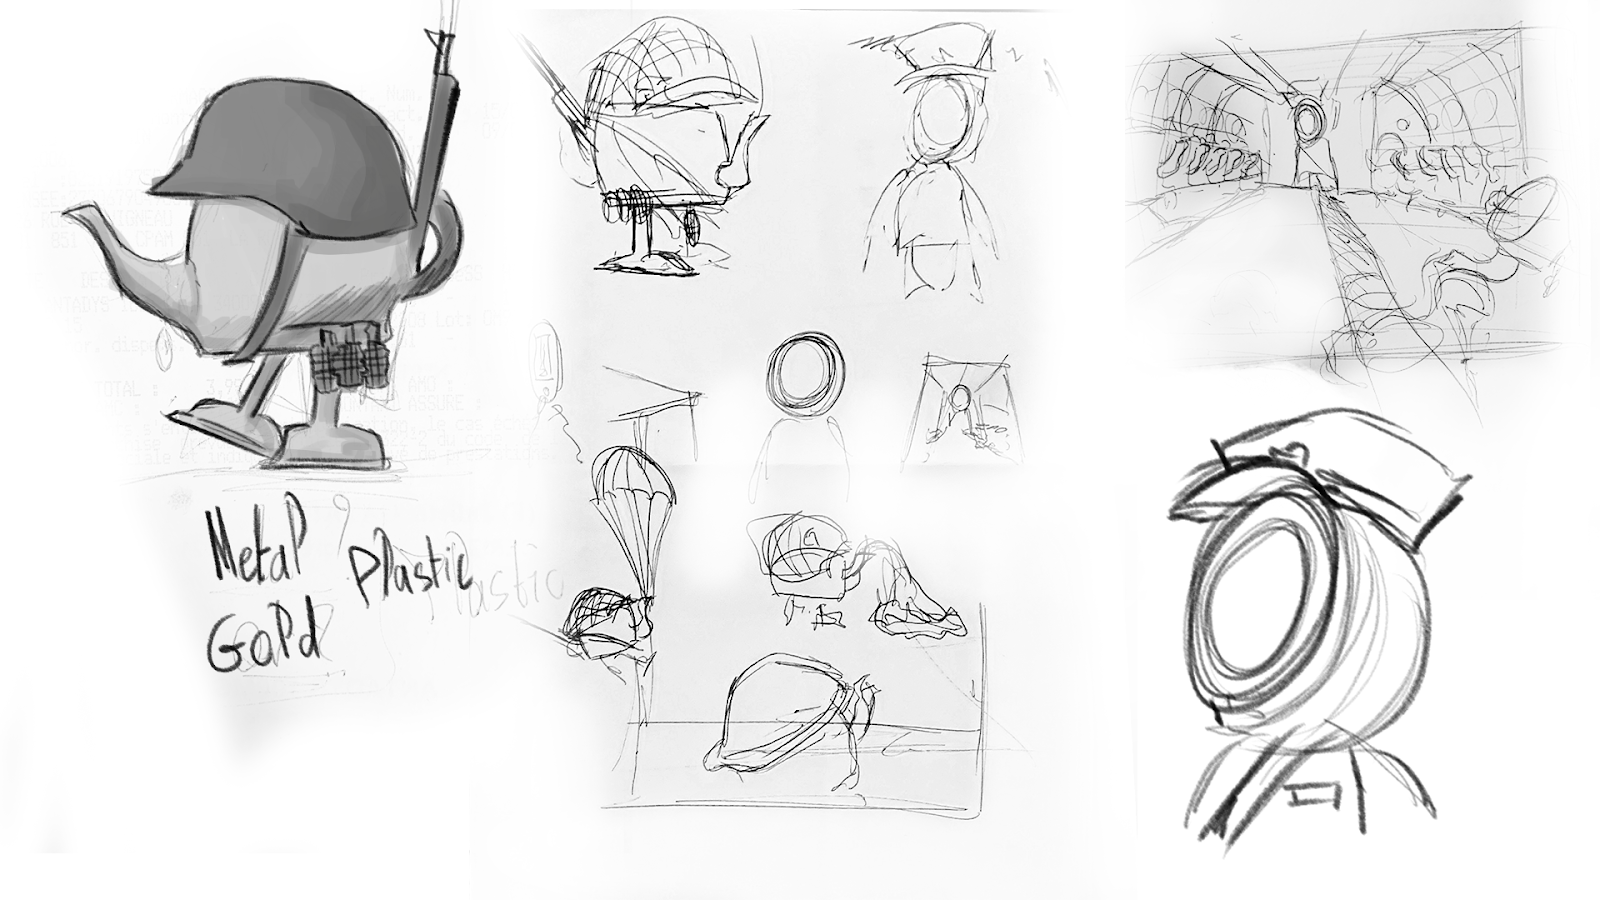
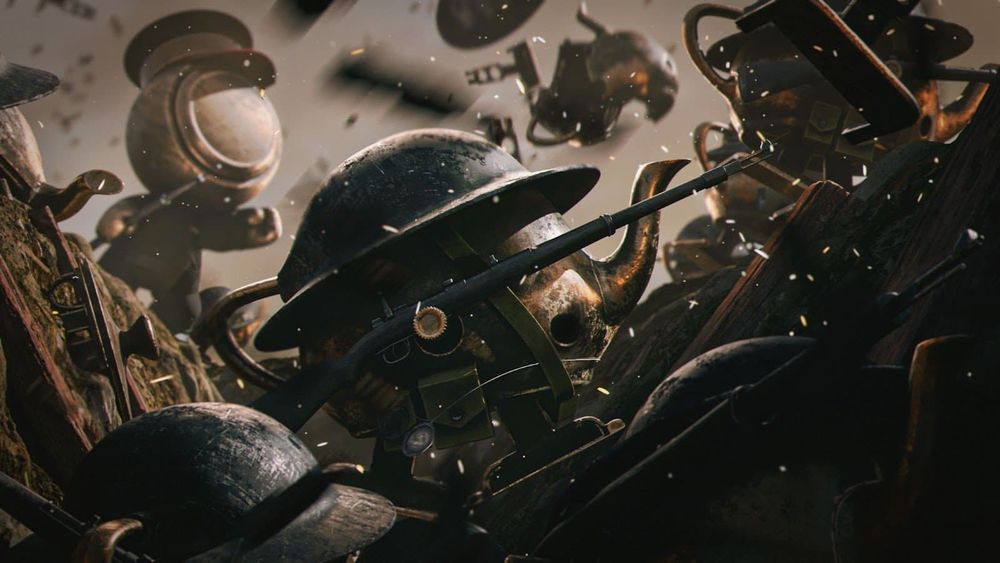
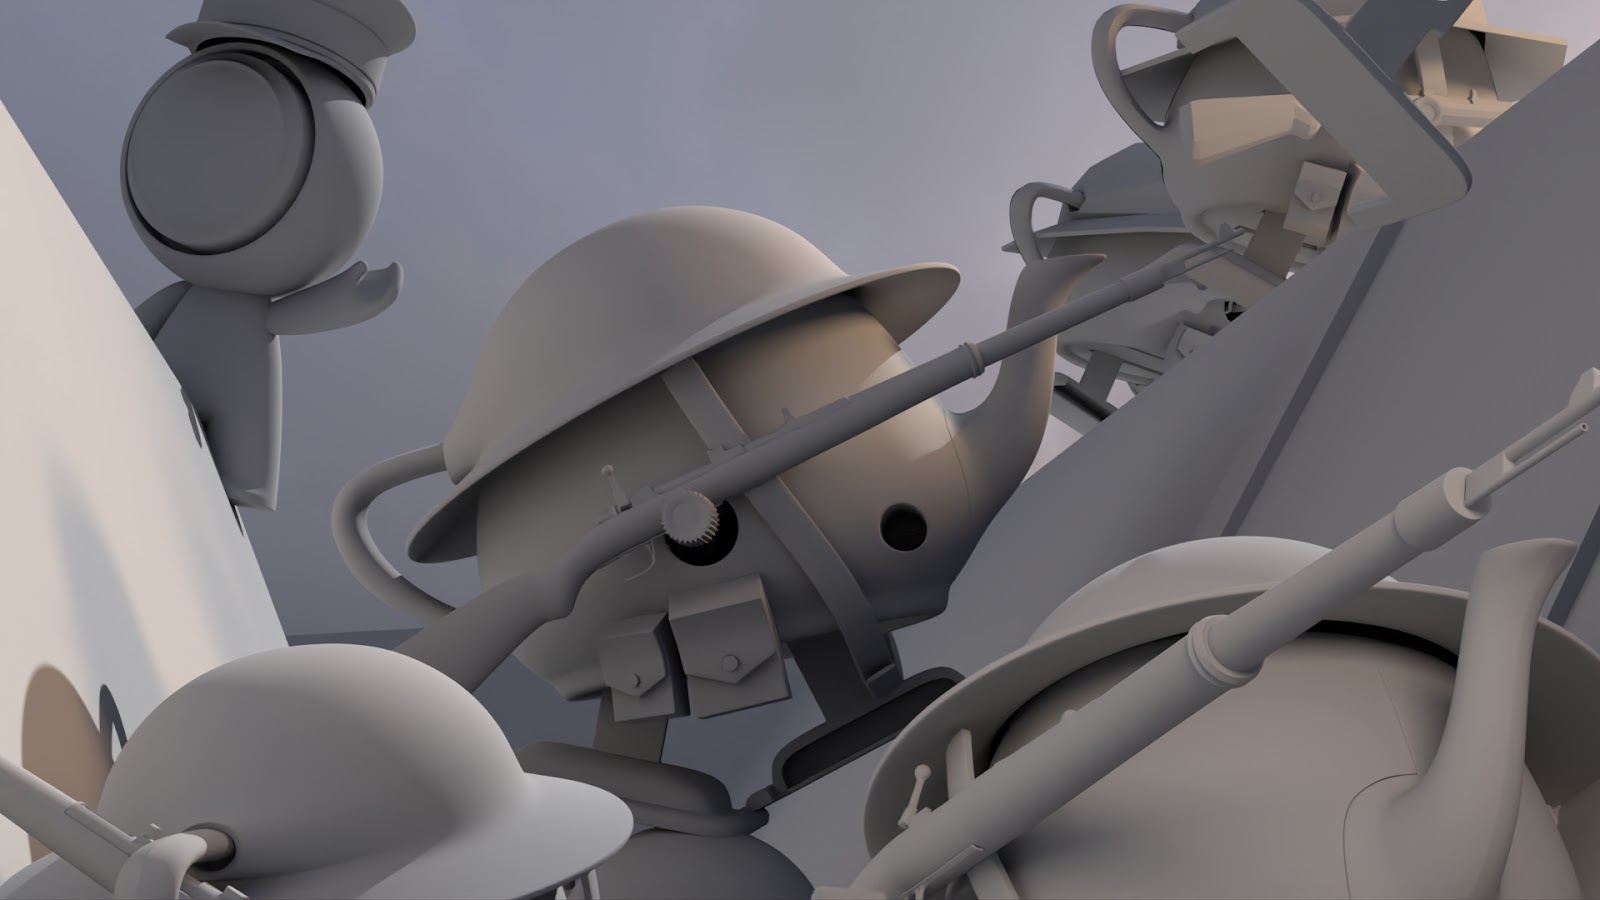
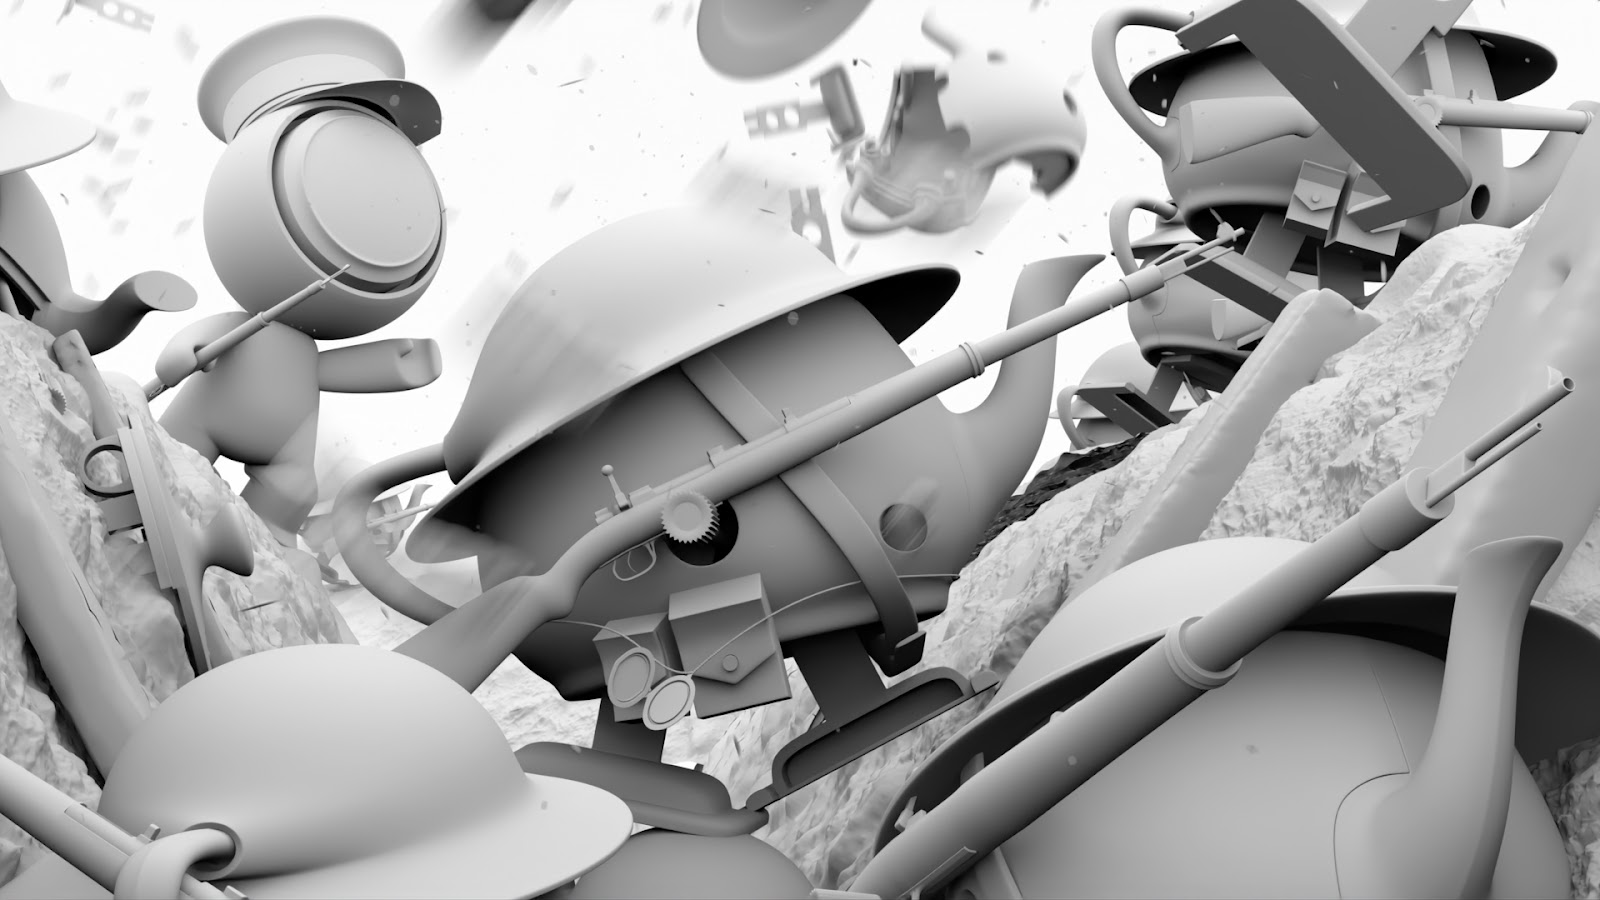
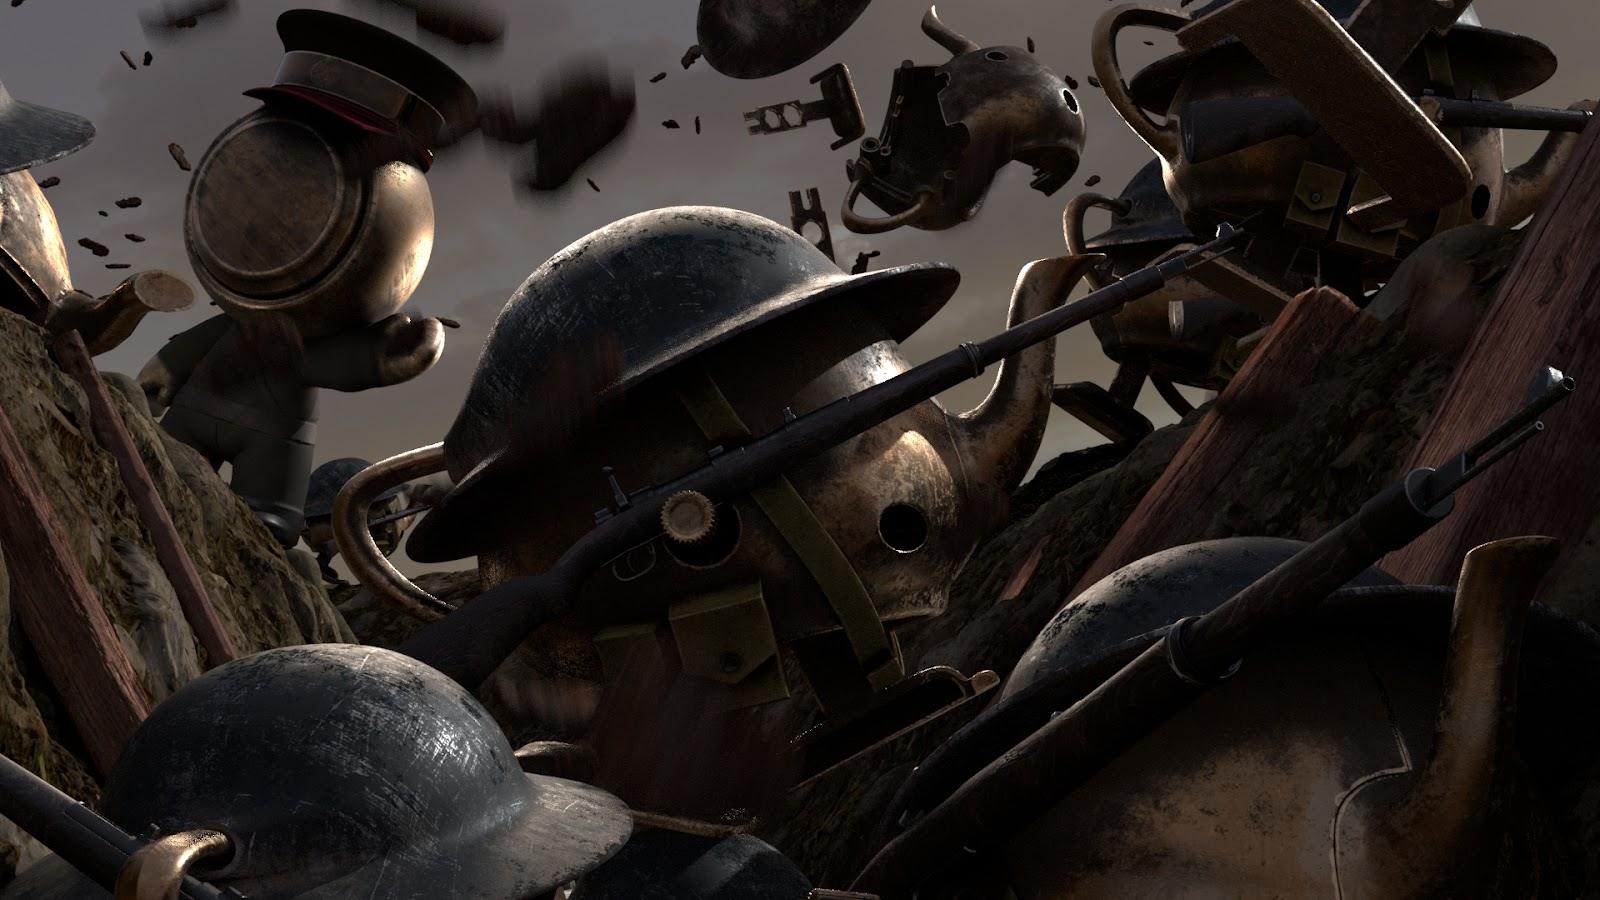
In the end, I decided to create a WW1 fight scene. With the Soldier Teapots in a trench and MeetMat as a Kaporal. I wanted to create a dynamic image - like a freeze frame from a movie.
I started to search reference and I pulled alot from the movie 1917.
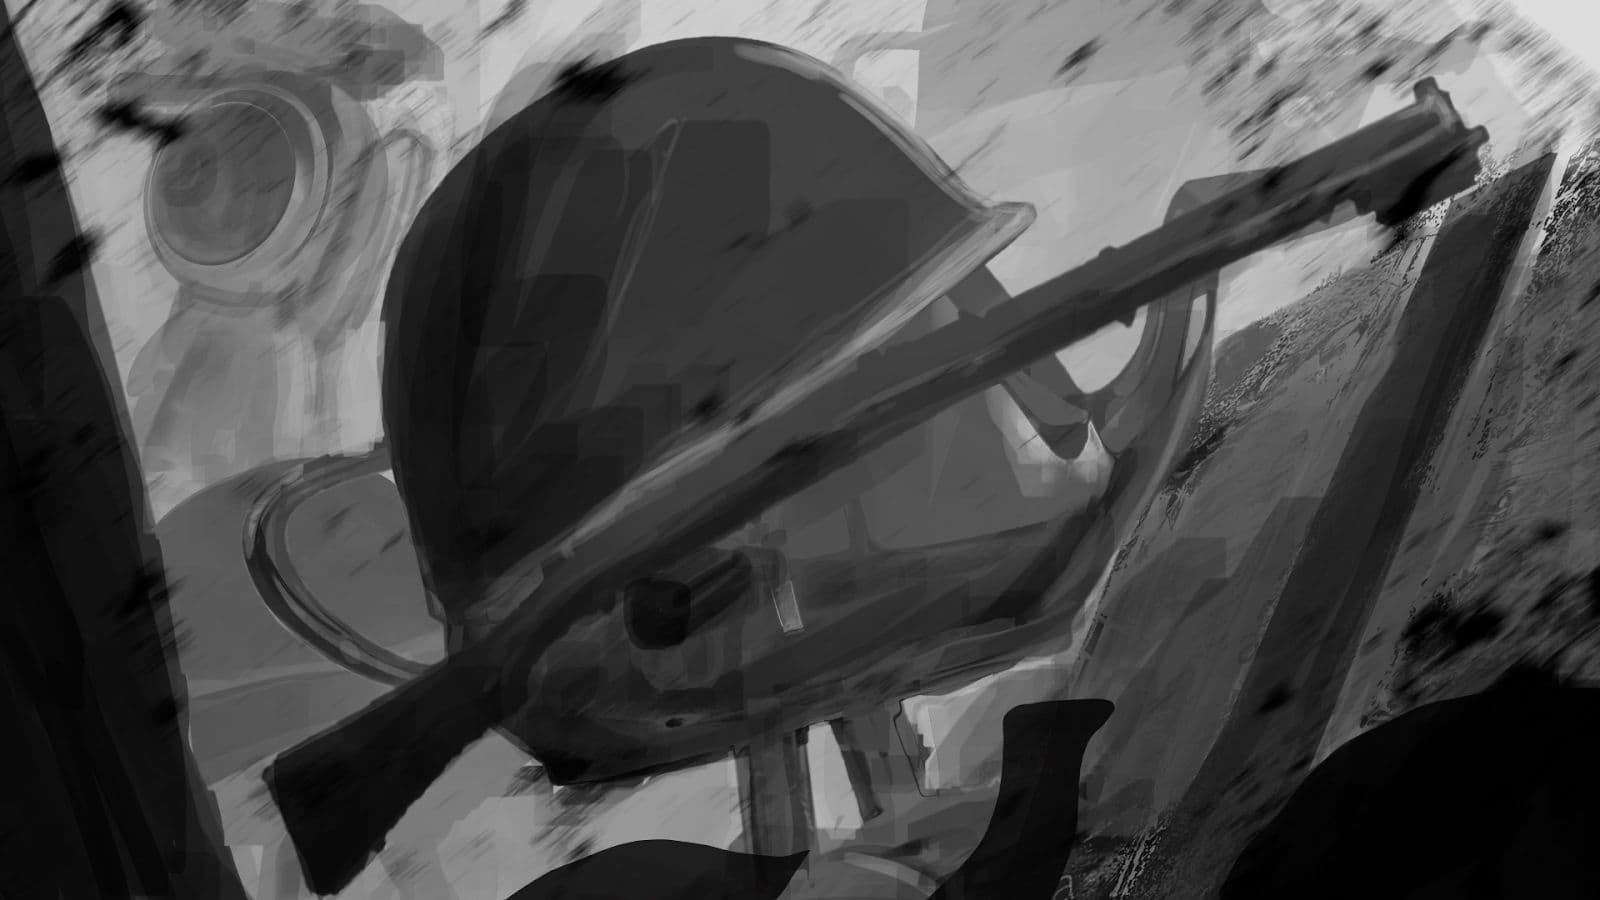
Before I jumped into the 3D World, I did a rough concept so I could envision my final image.
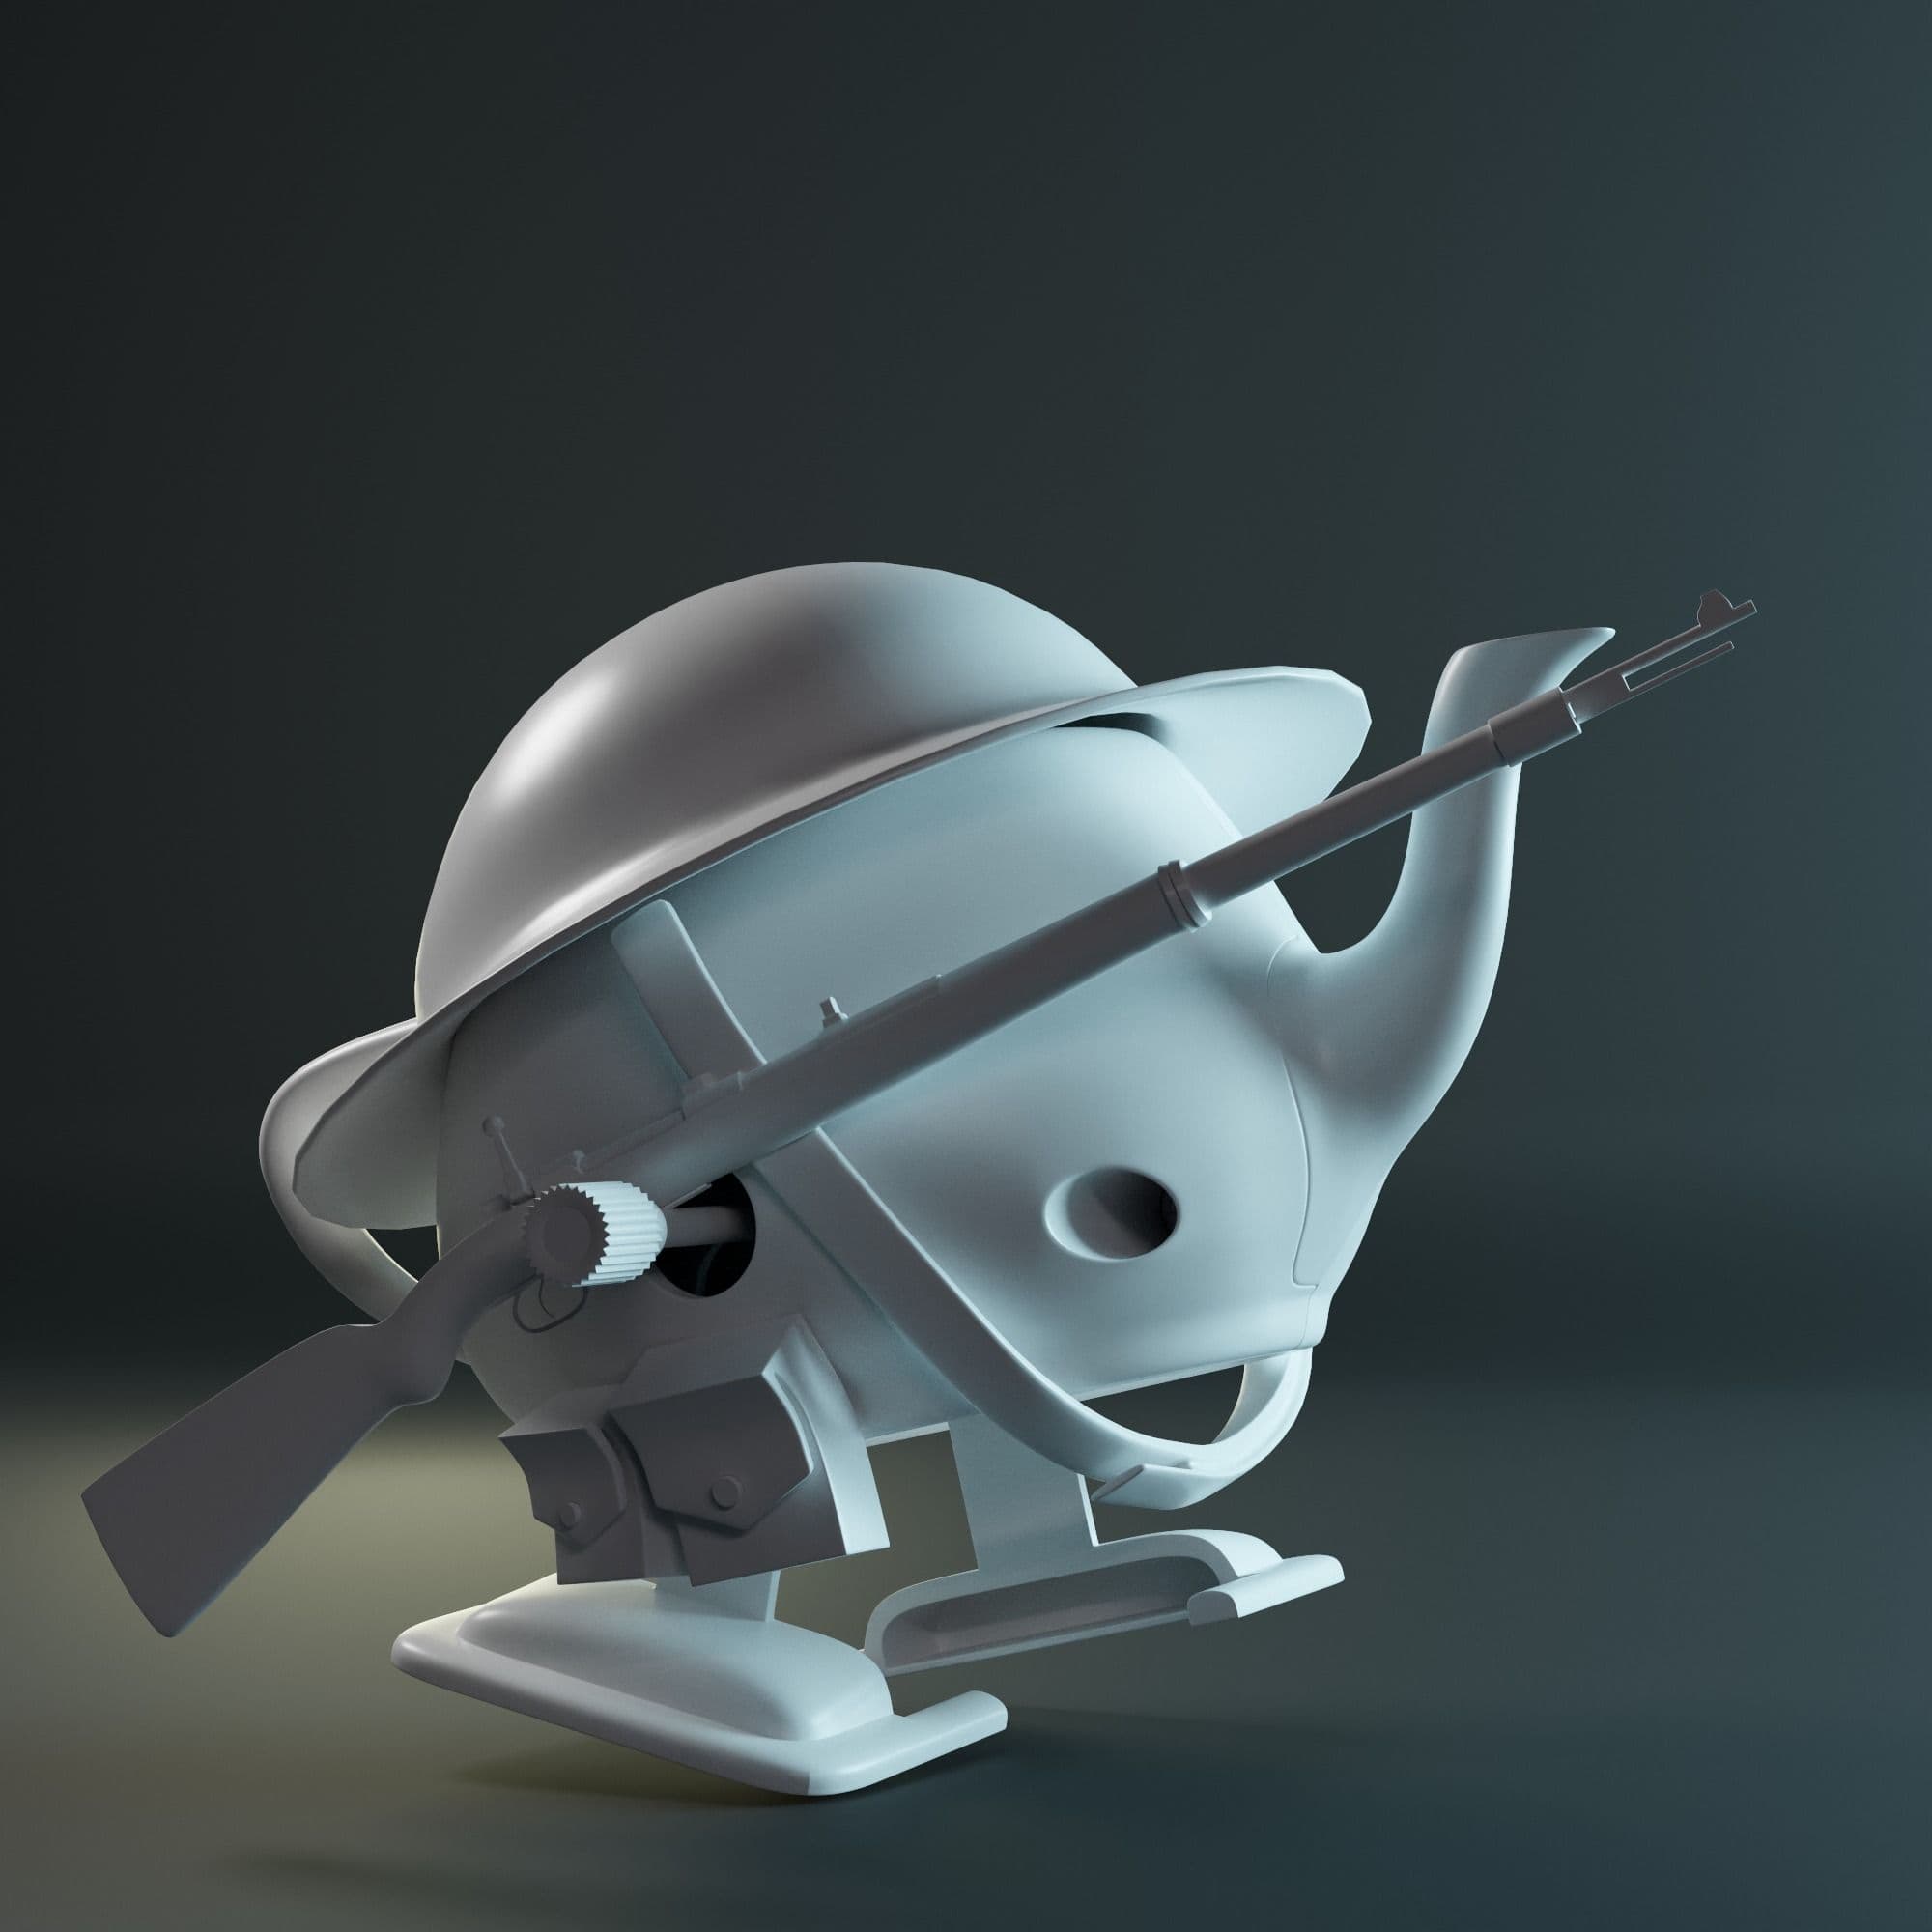
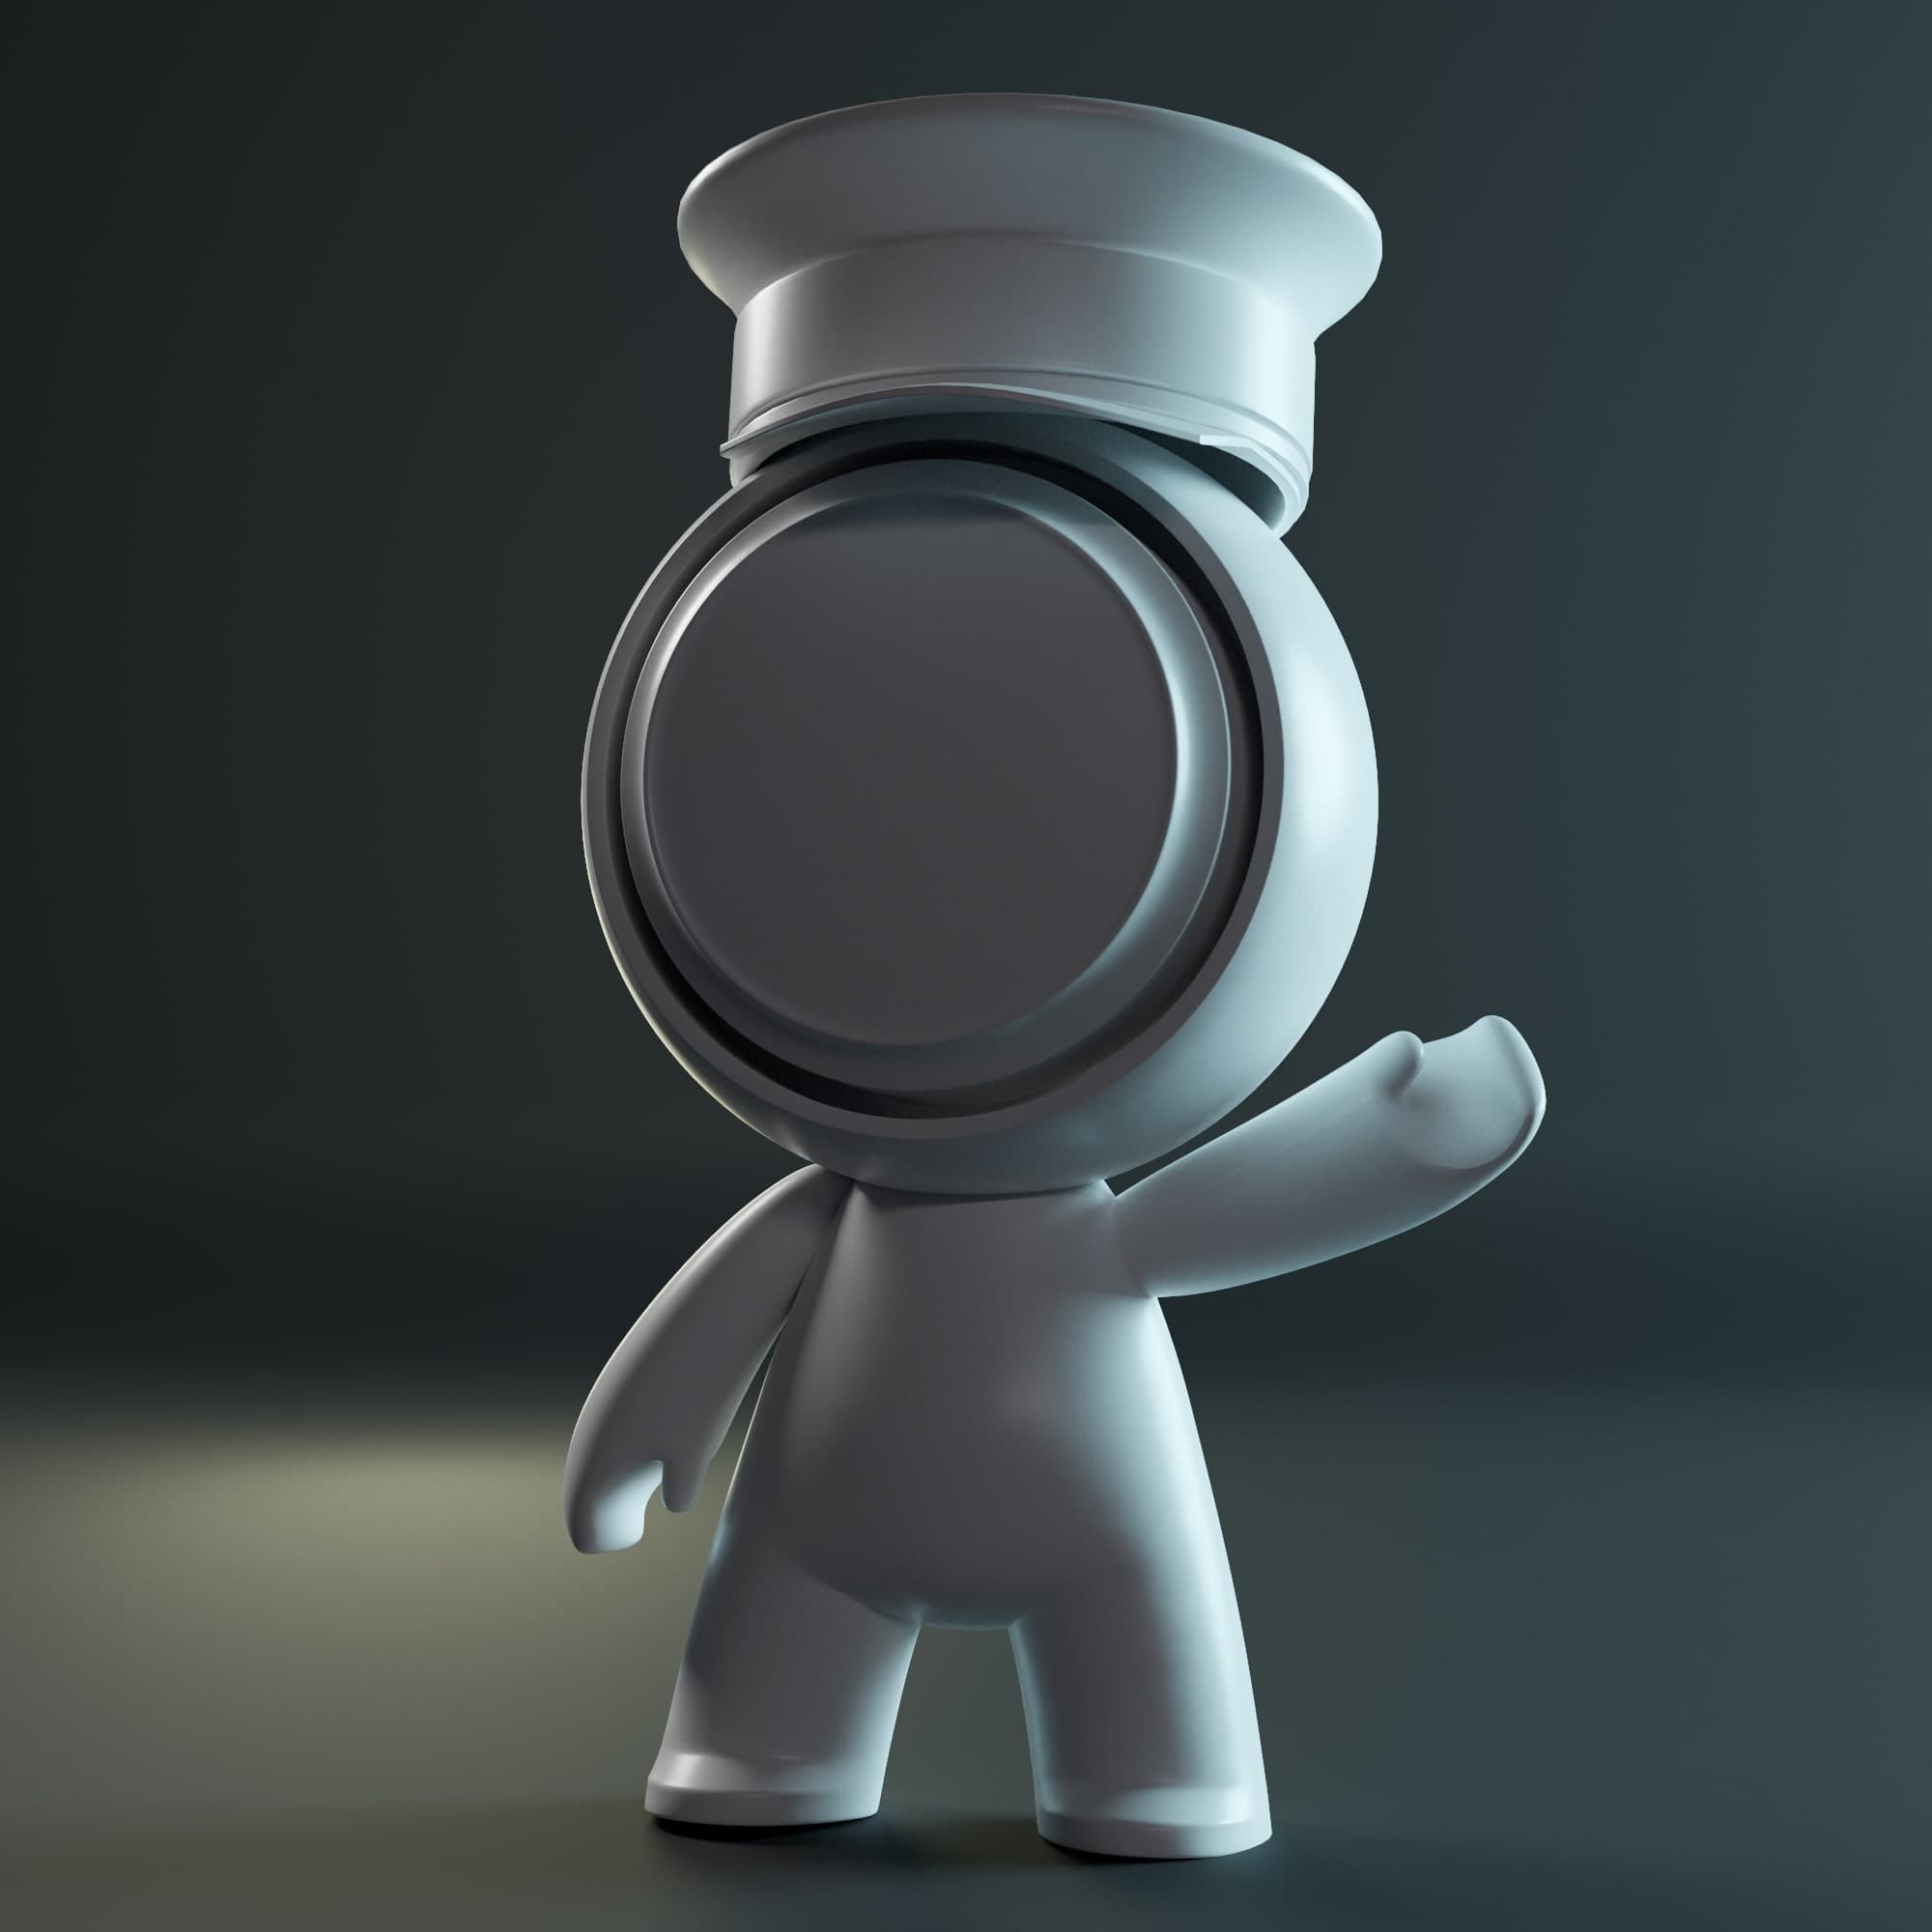
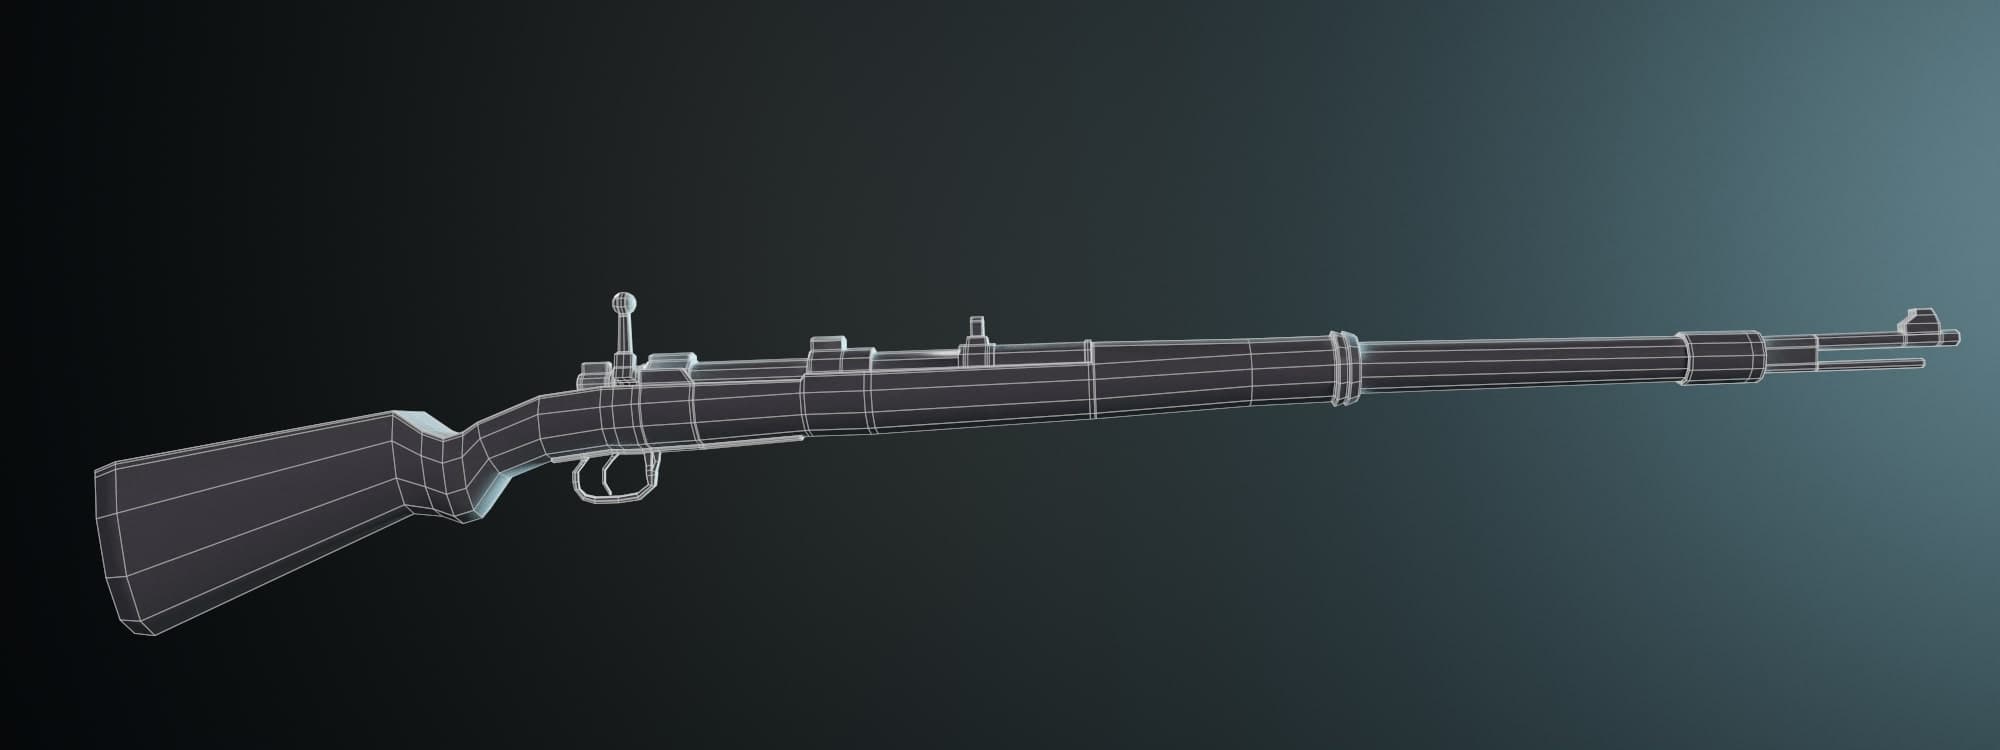
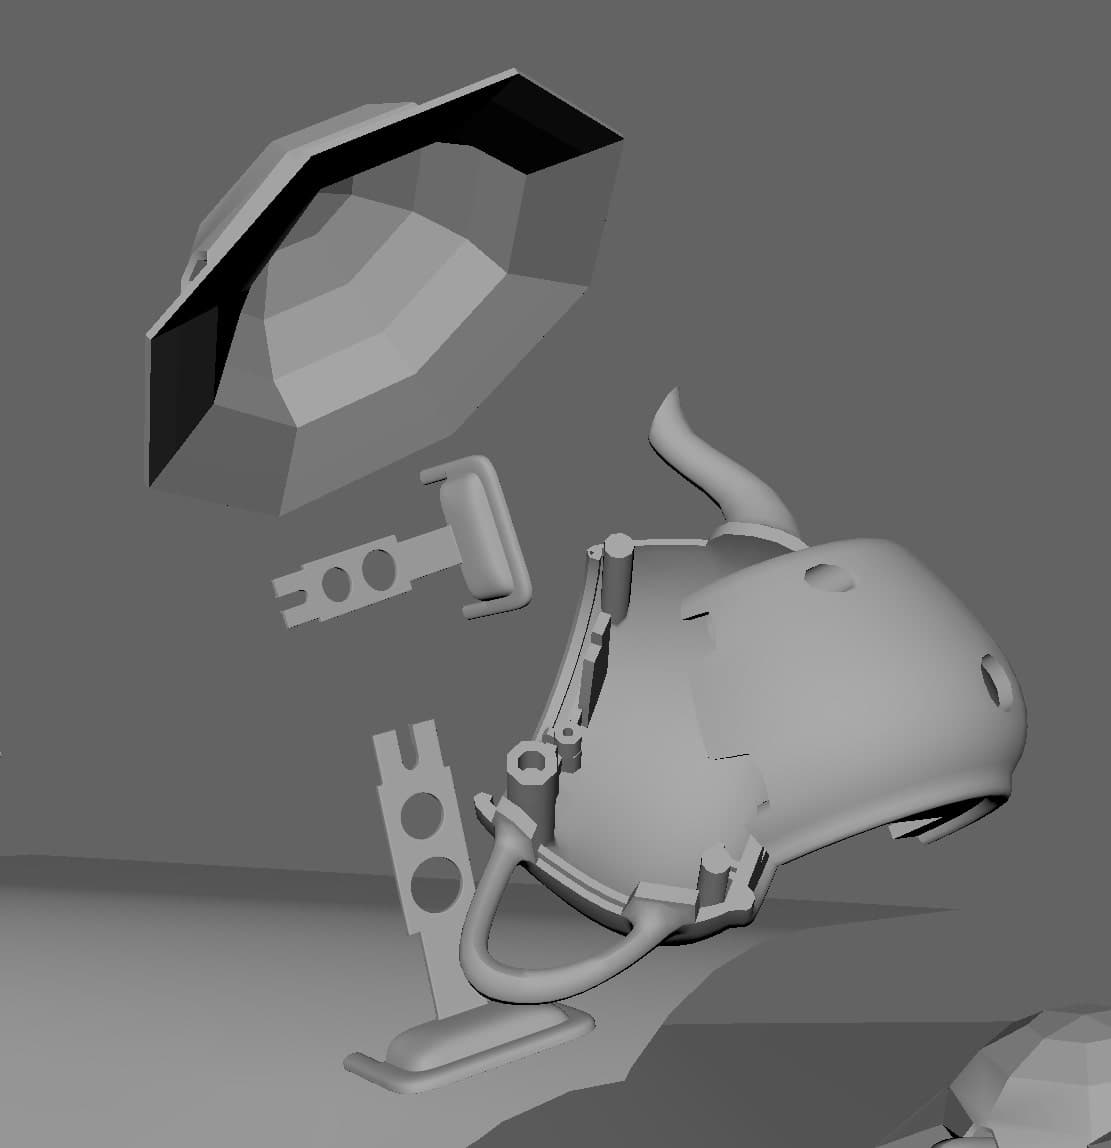
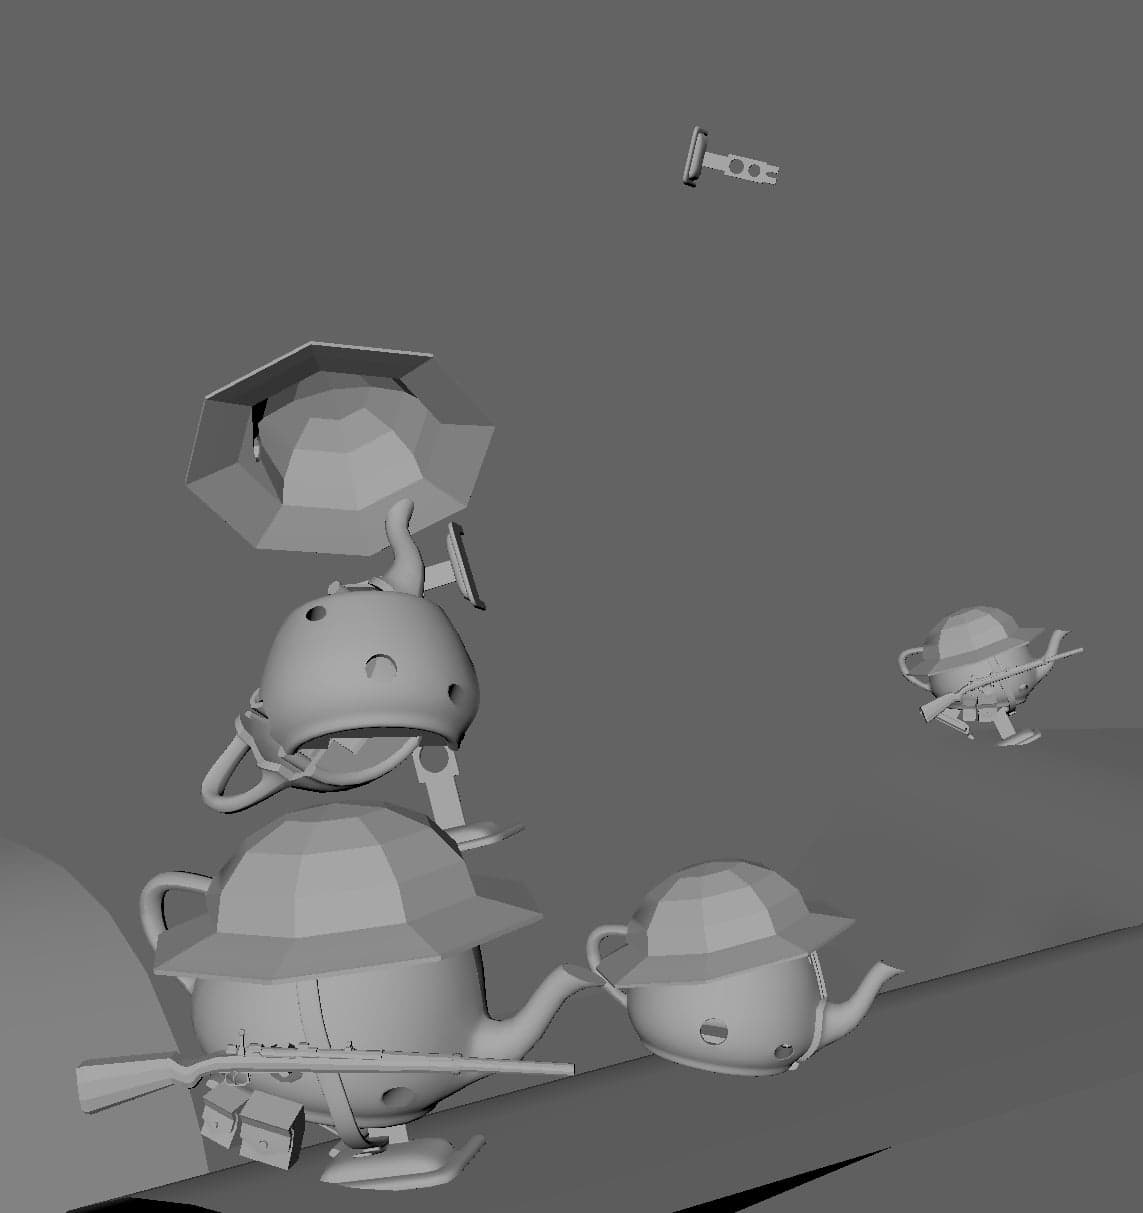
The two main characters, Teapot and the MeetMat, were provided by Renderman. I kept the character really simple with recognisable assets, so as not to overdo it with superfluous detail.

For the environment modeling, I made the choice to use Quixel Megascan to have a really realistic environment which contrasts the two characters. I used assets like rock textures, wooden beams and pebbles.

With all my modeling assets, I started to put my elements in the scene to create a good composition. I did a first rough lighting in clay to give an idea of the mood I was after.
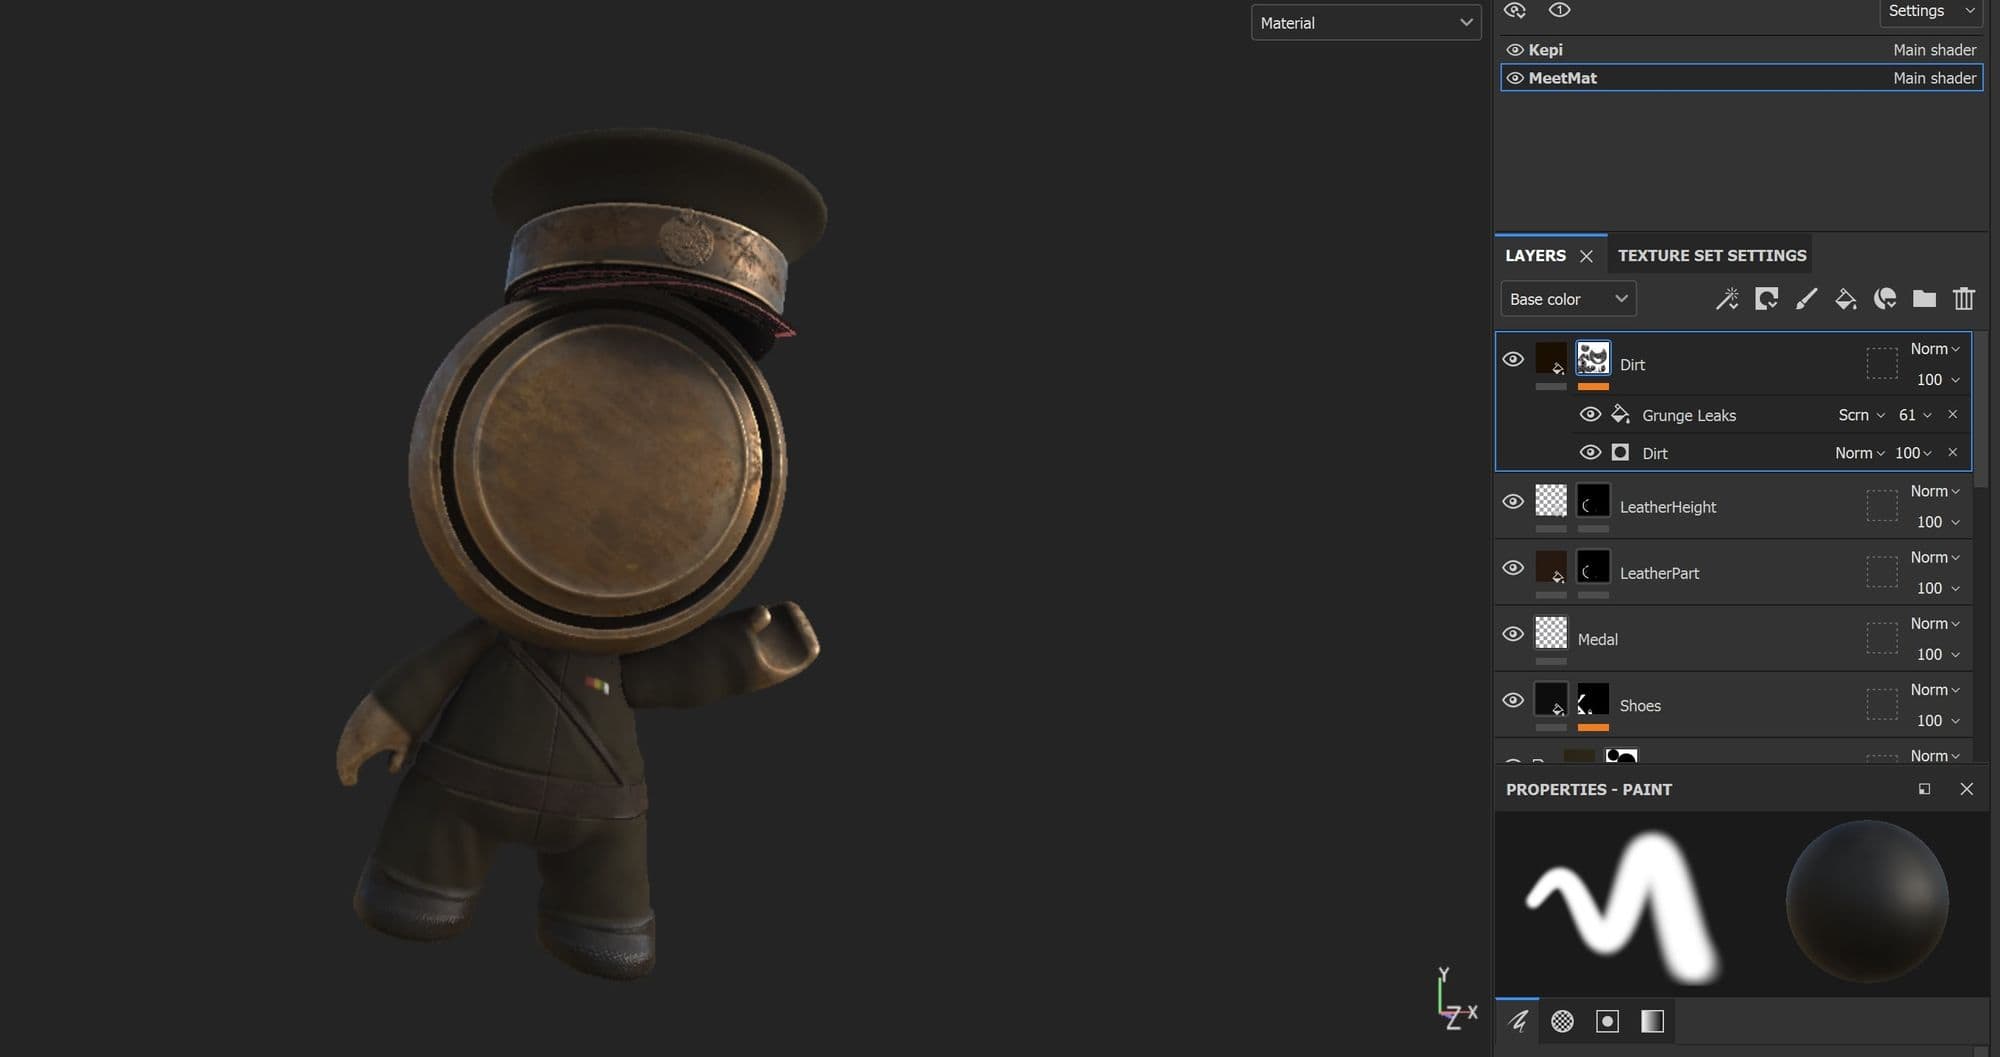
I used Substance 3D Painter for the texturing of the scene. I chose to have a realistic style of texture because I wanted to show the juxtaposition between a realistic scene and contrast between a realism and fantastical elements like the Teapots at war.
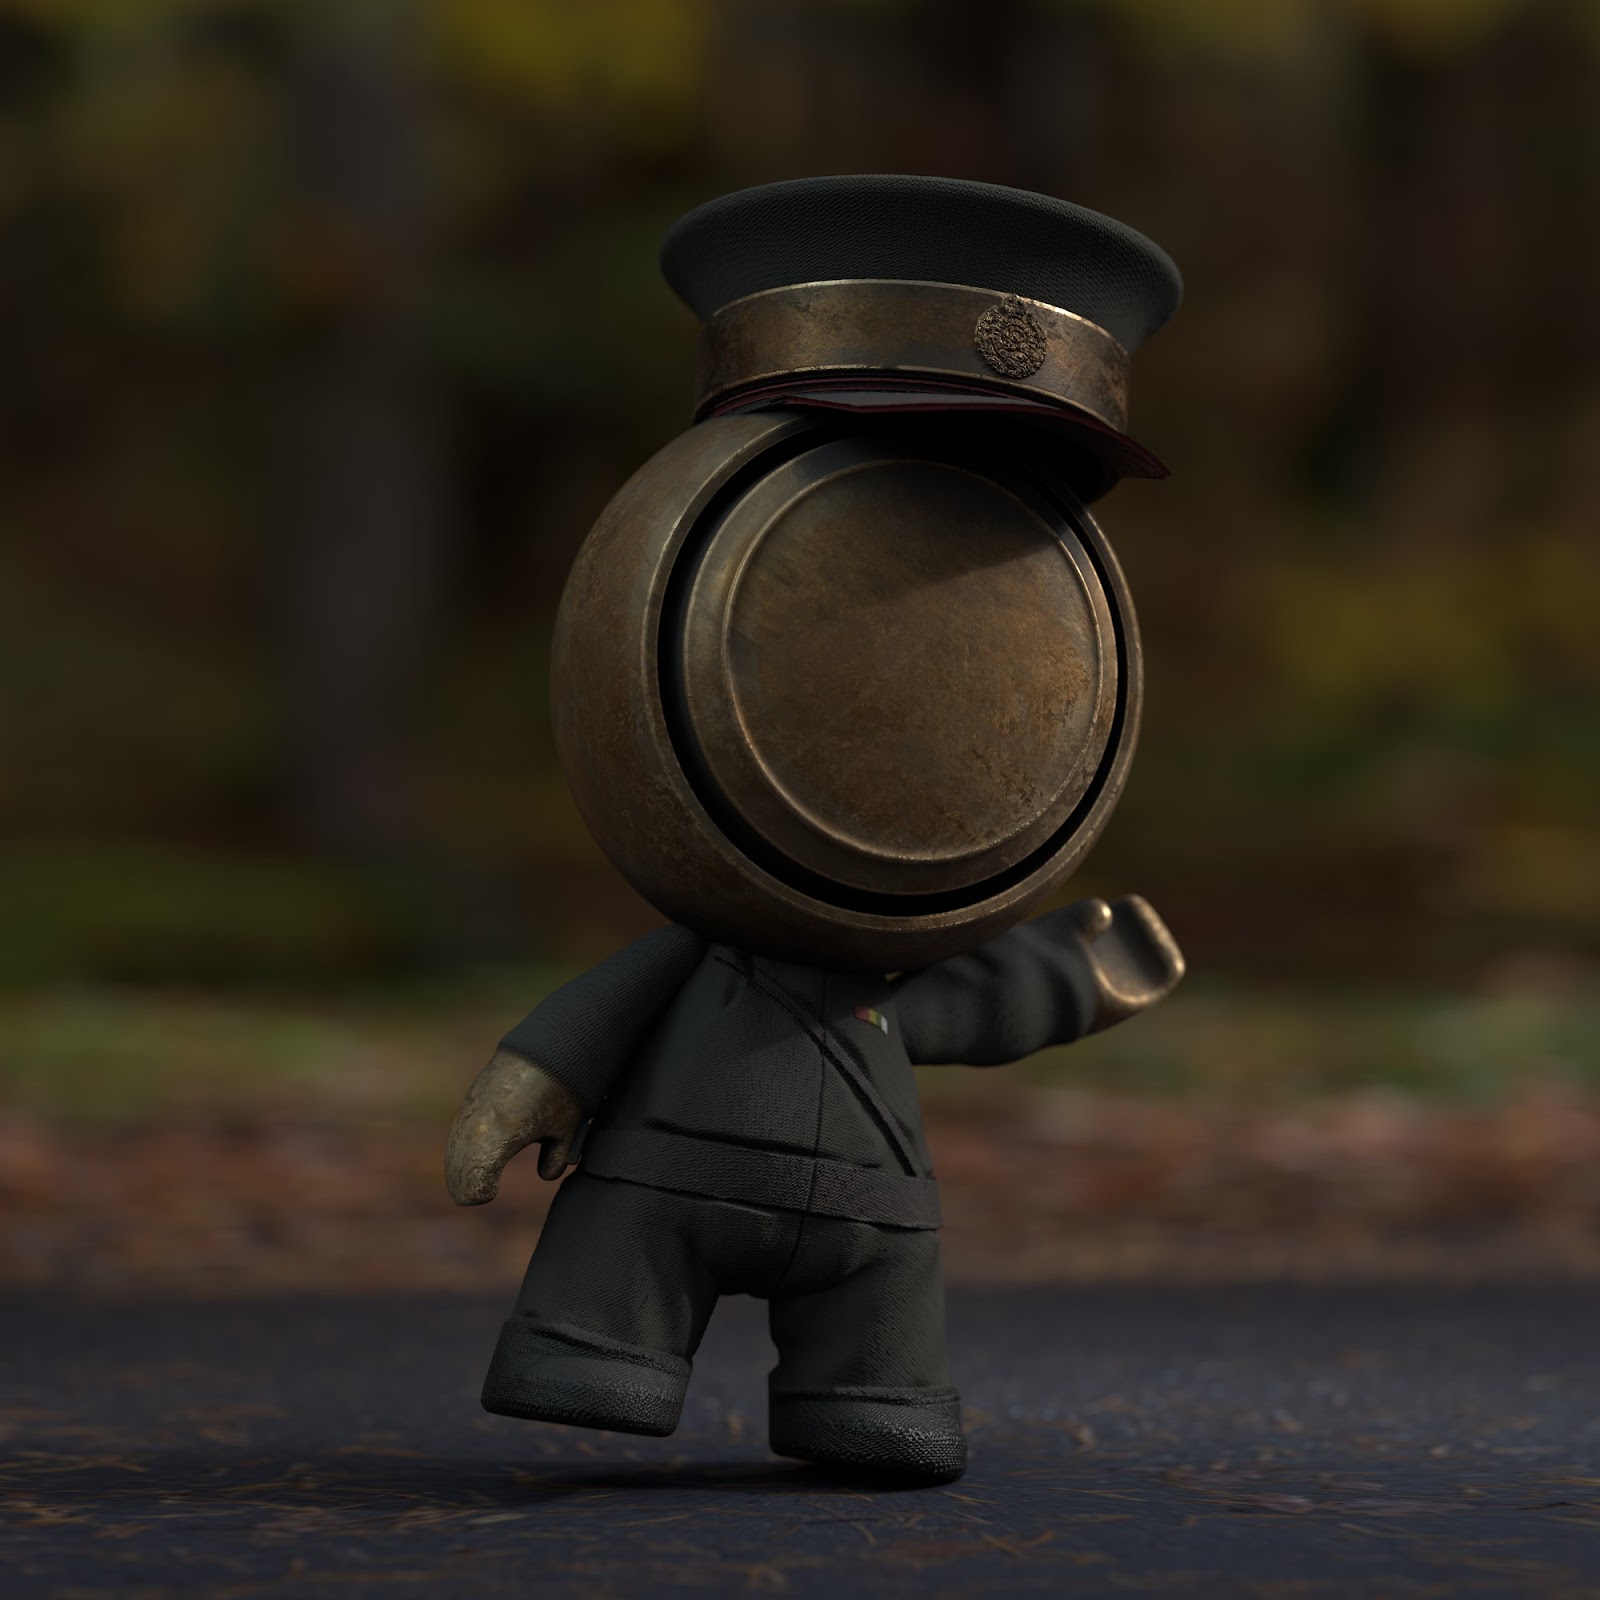
I really wanted to achieve a bronze material worn by battle: dirt, dust and burn marks.
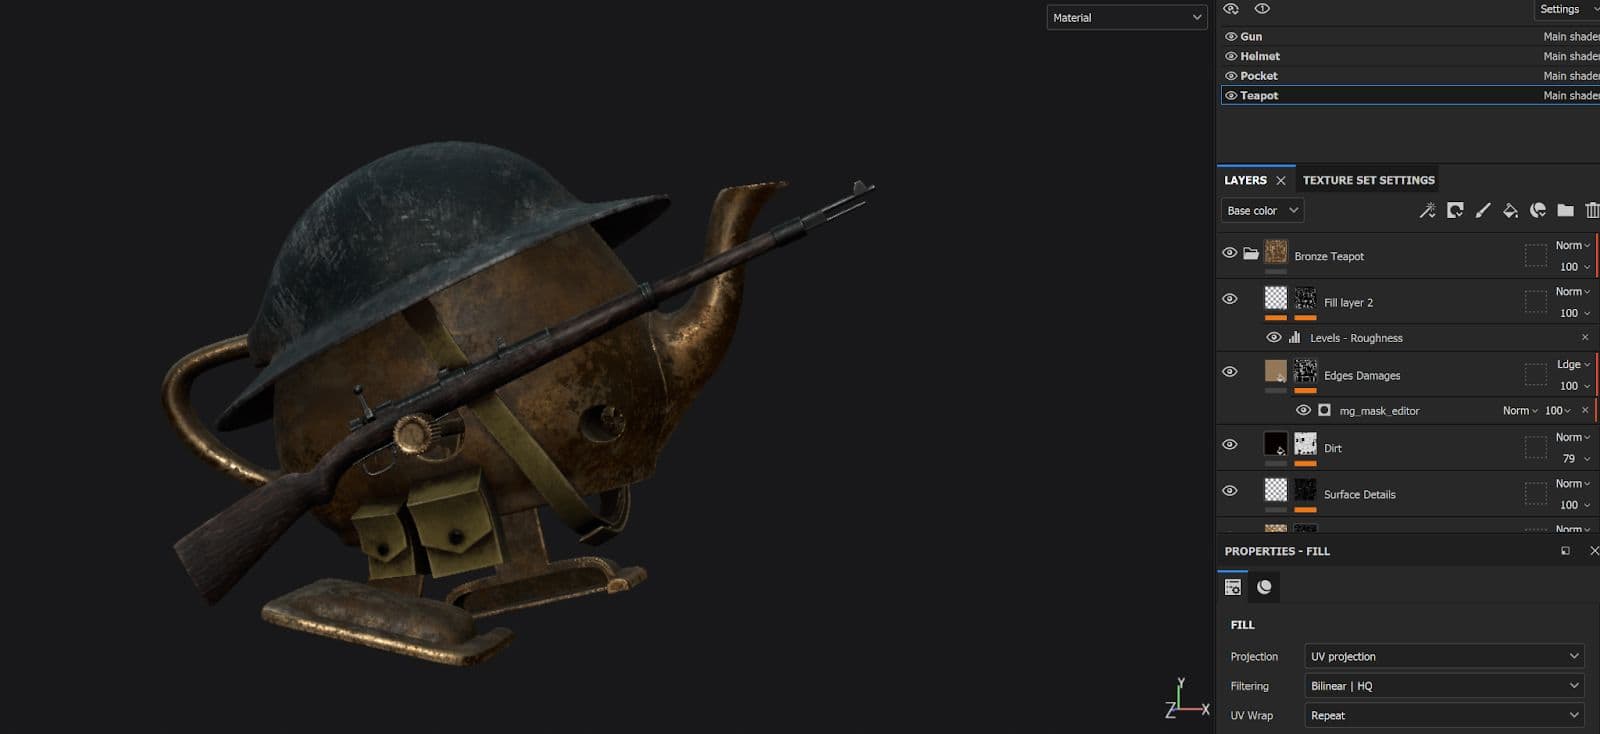
To achieve this result I worked a lot on the mix of different coloured noises stacked on each other, to give the metal a worn look. For the dirtiness of the teapot, I worked in parallel on the Roughness and Metalness channel to create a logical interaction between the reflection and the metallic part.
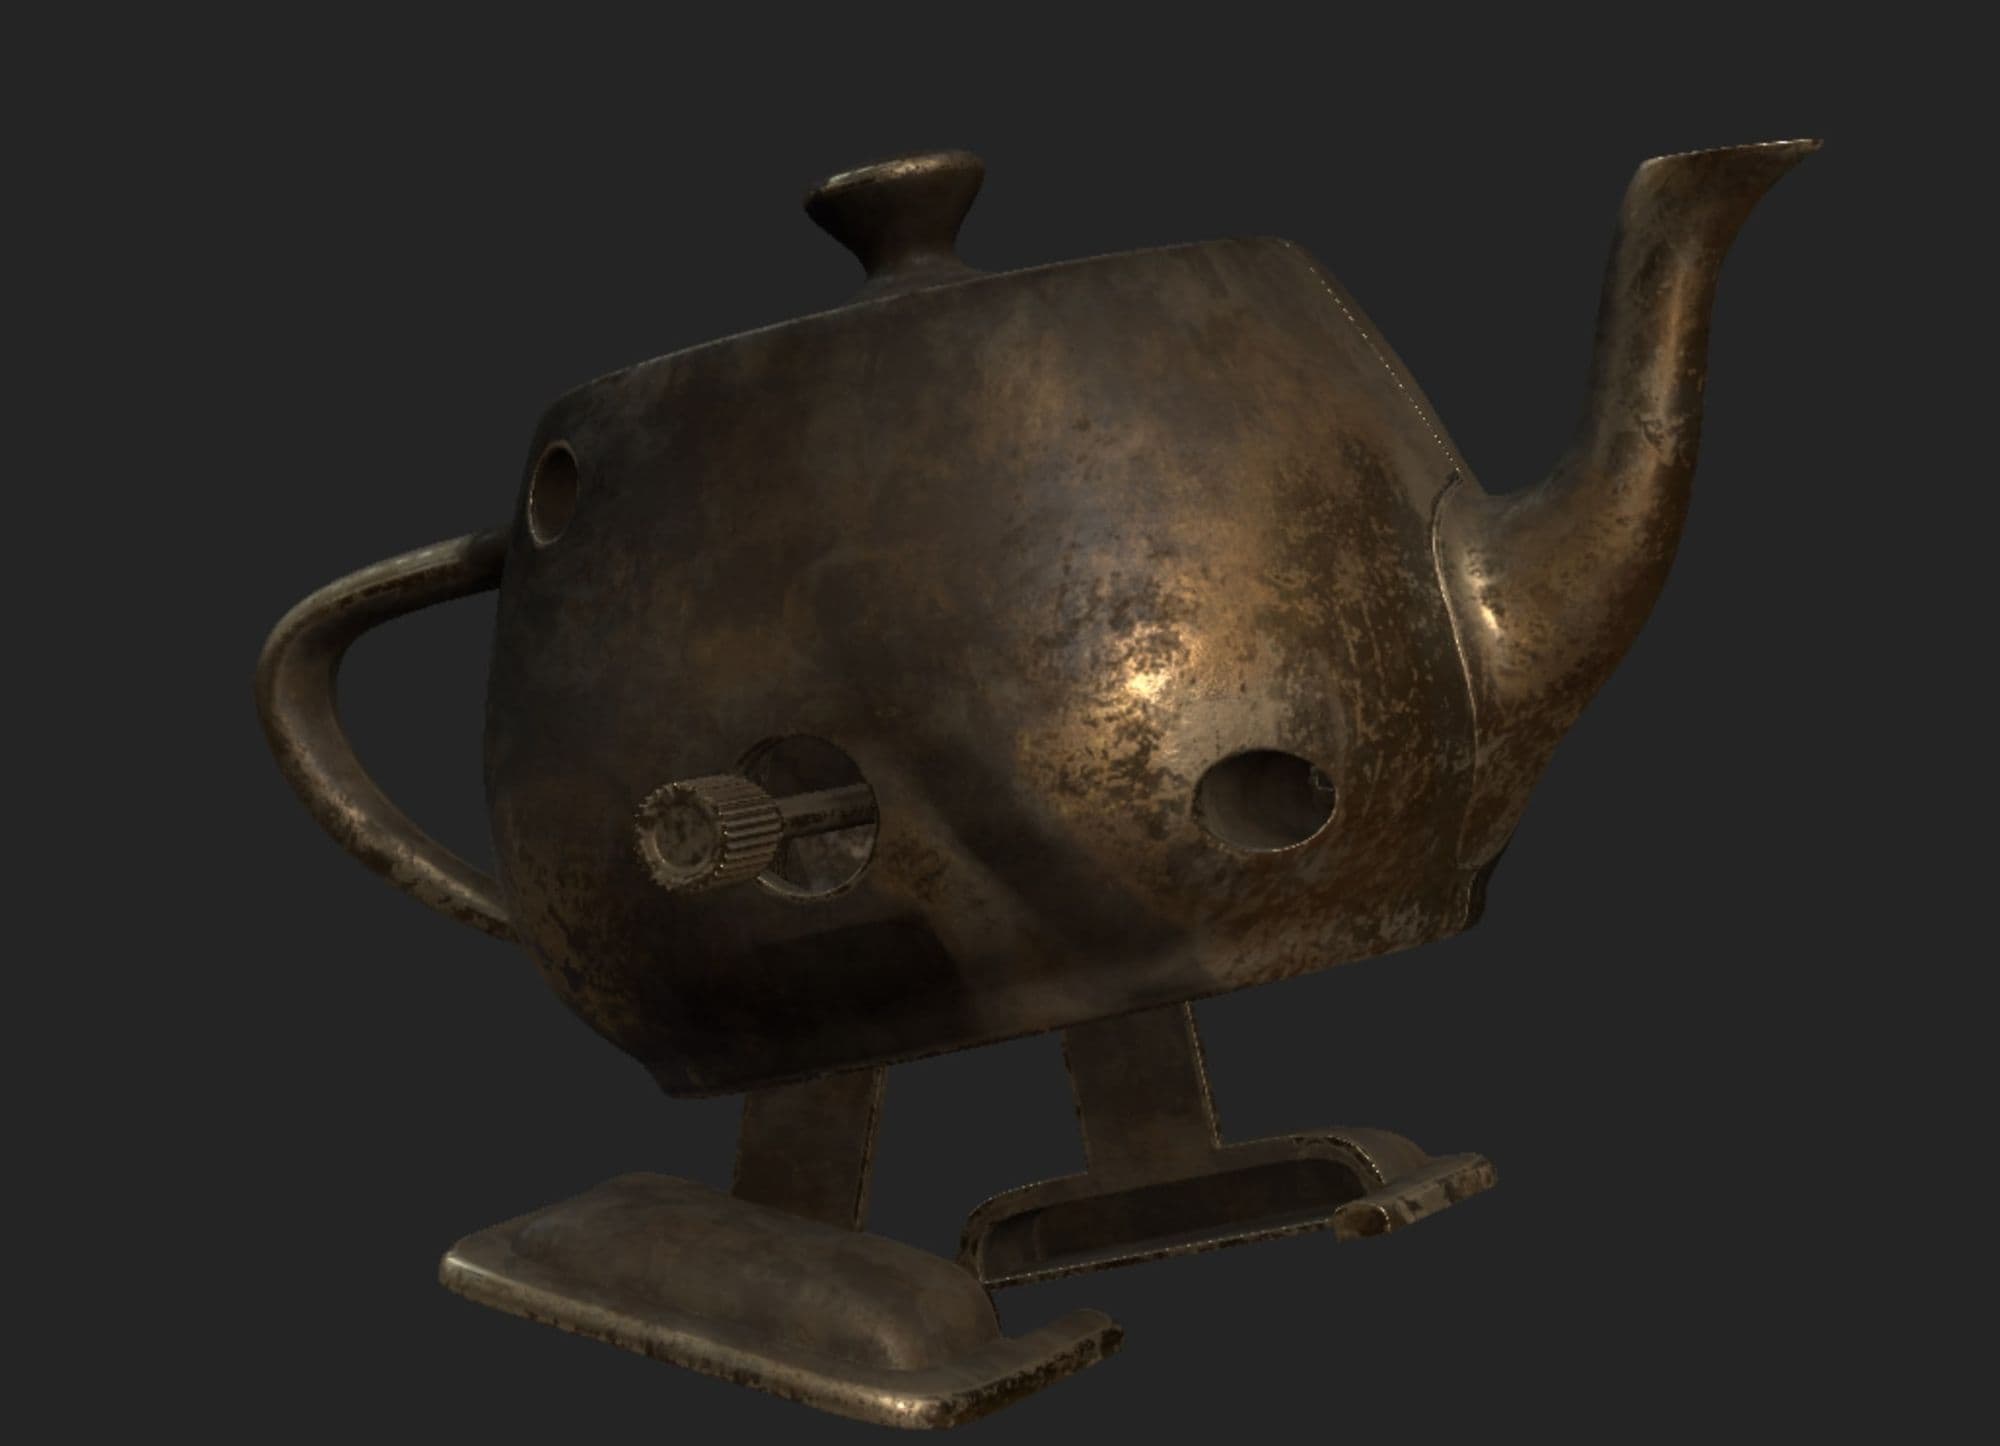
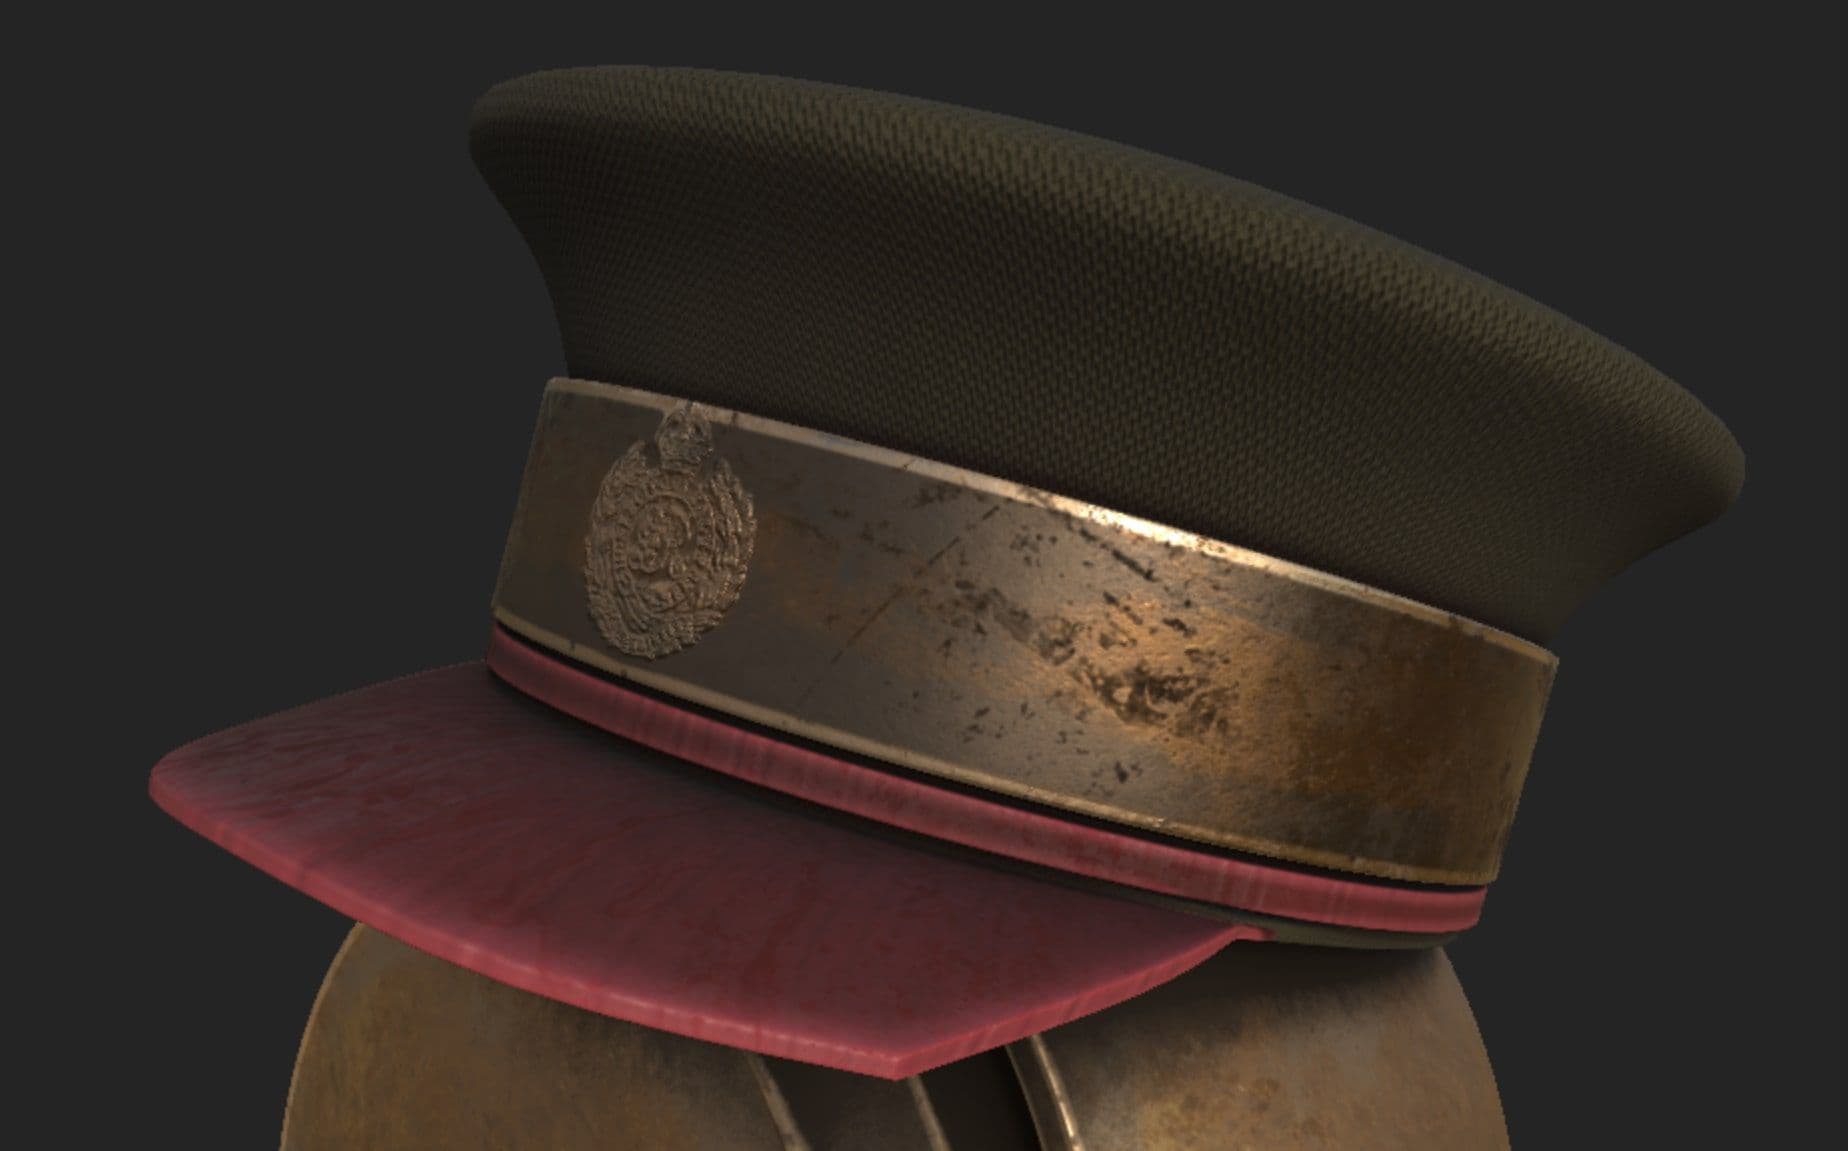
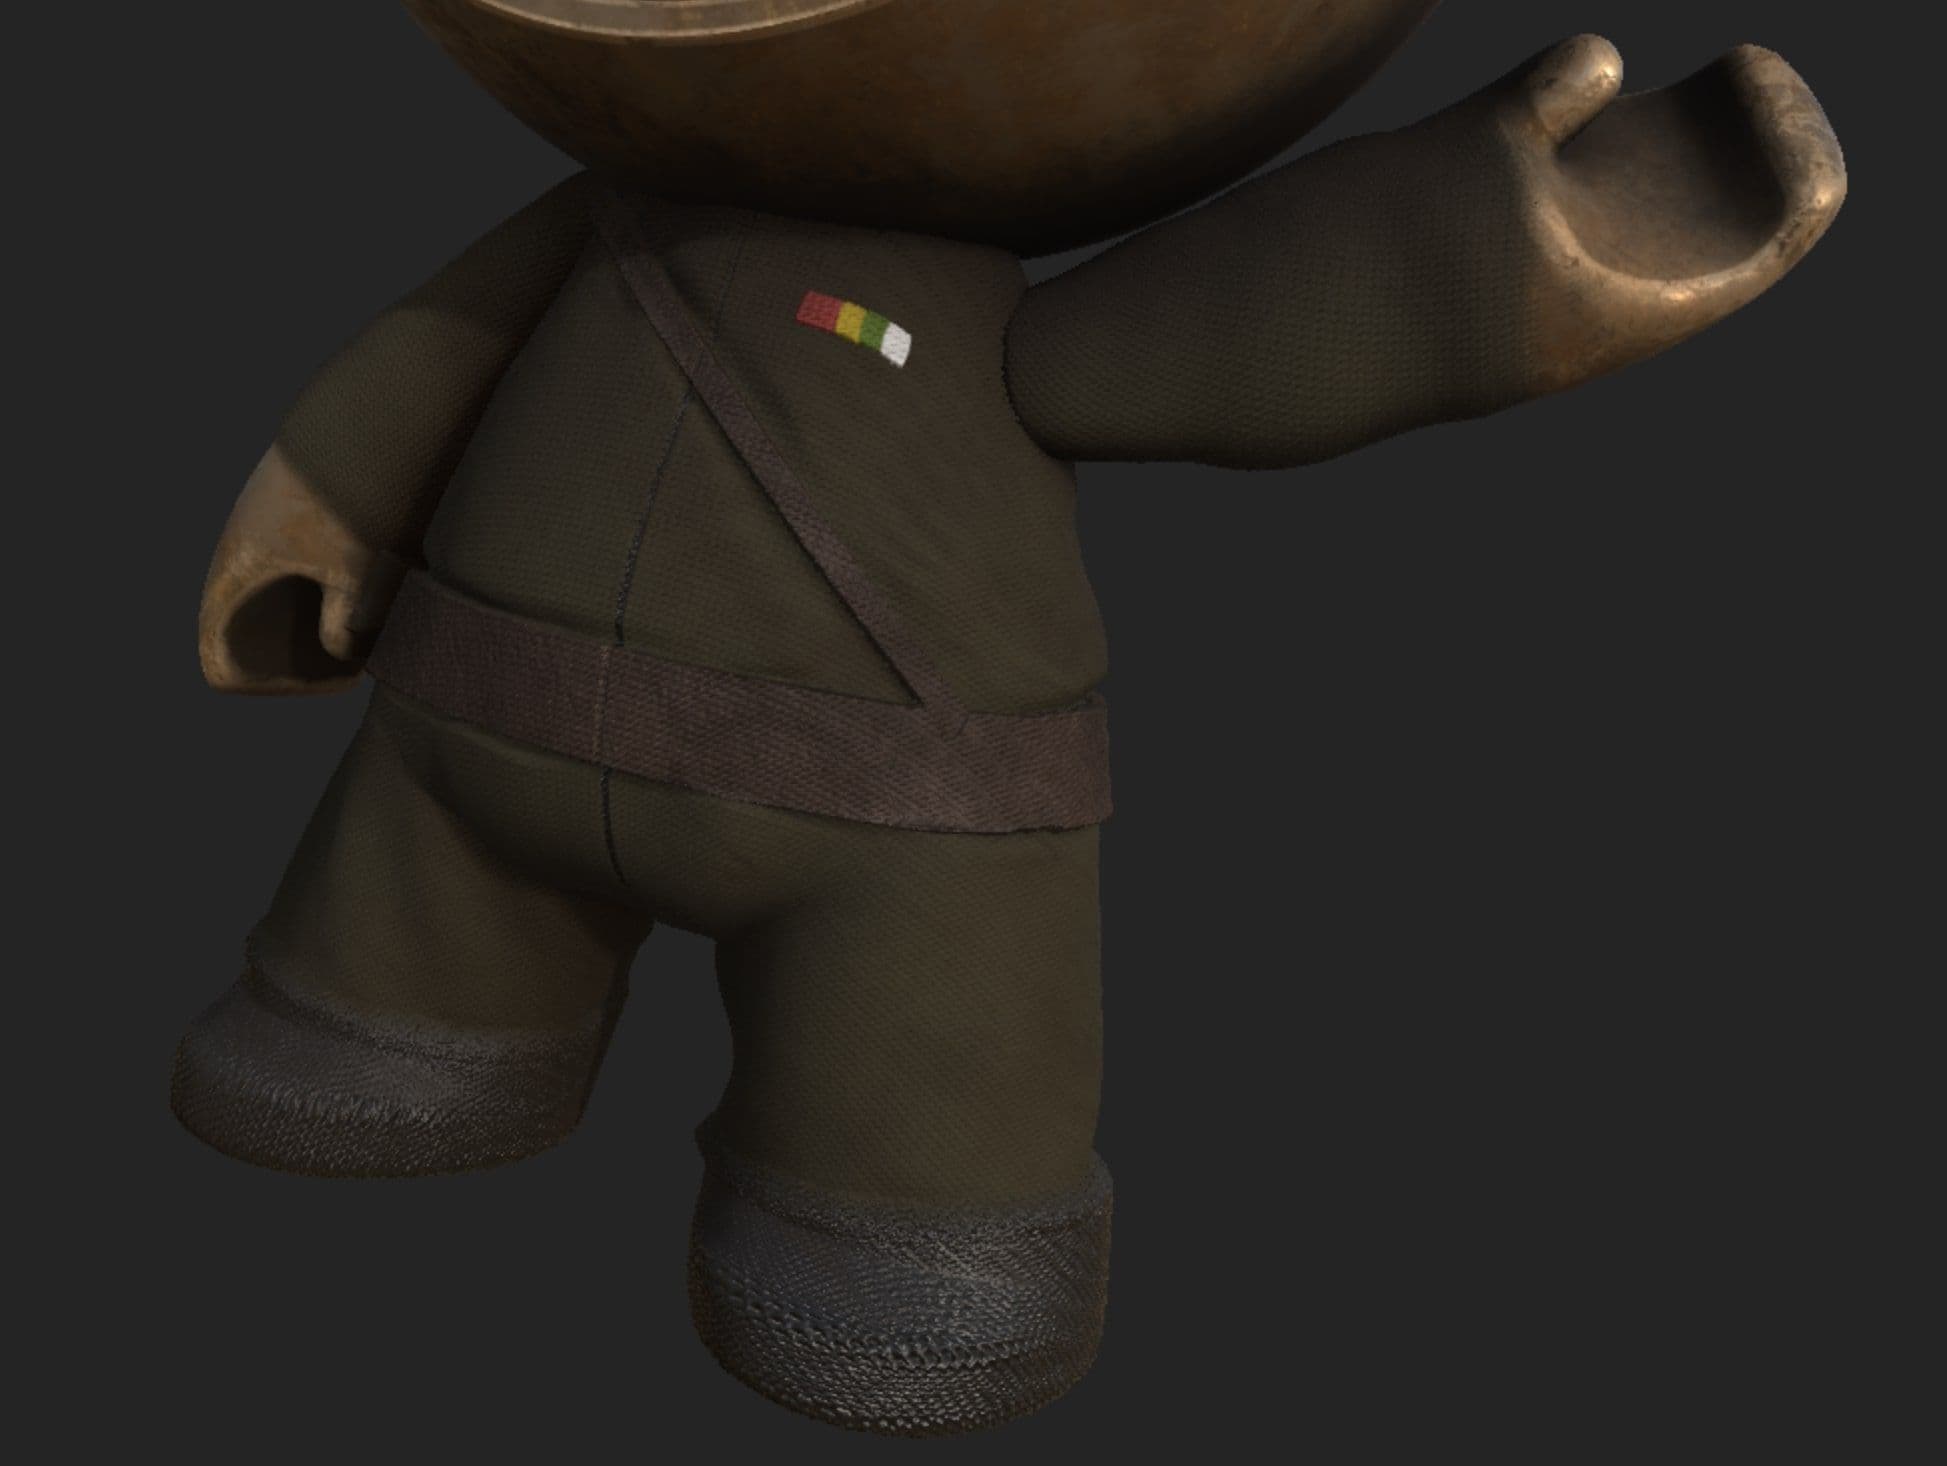
For MeetMat, it was a little more difficult because he is naked! I needed to recreate a uniform just with textures. I didn't push the details because MeetMat was a little far from the camera. I reused the bronze material of my Teapot, to keep consistency between the two characters.
For the cloth, I used the normal and the height channel and I handpainted the folds, the shoes and the leather parts.
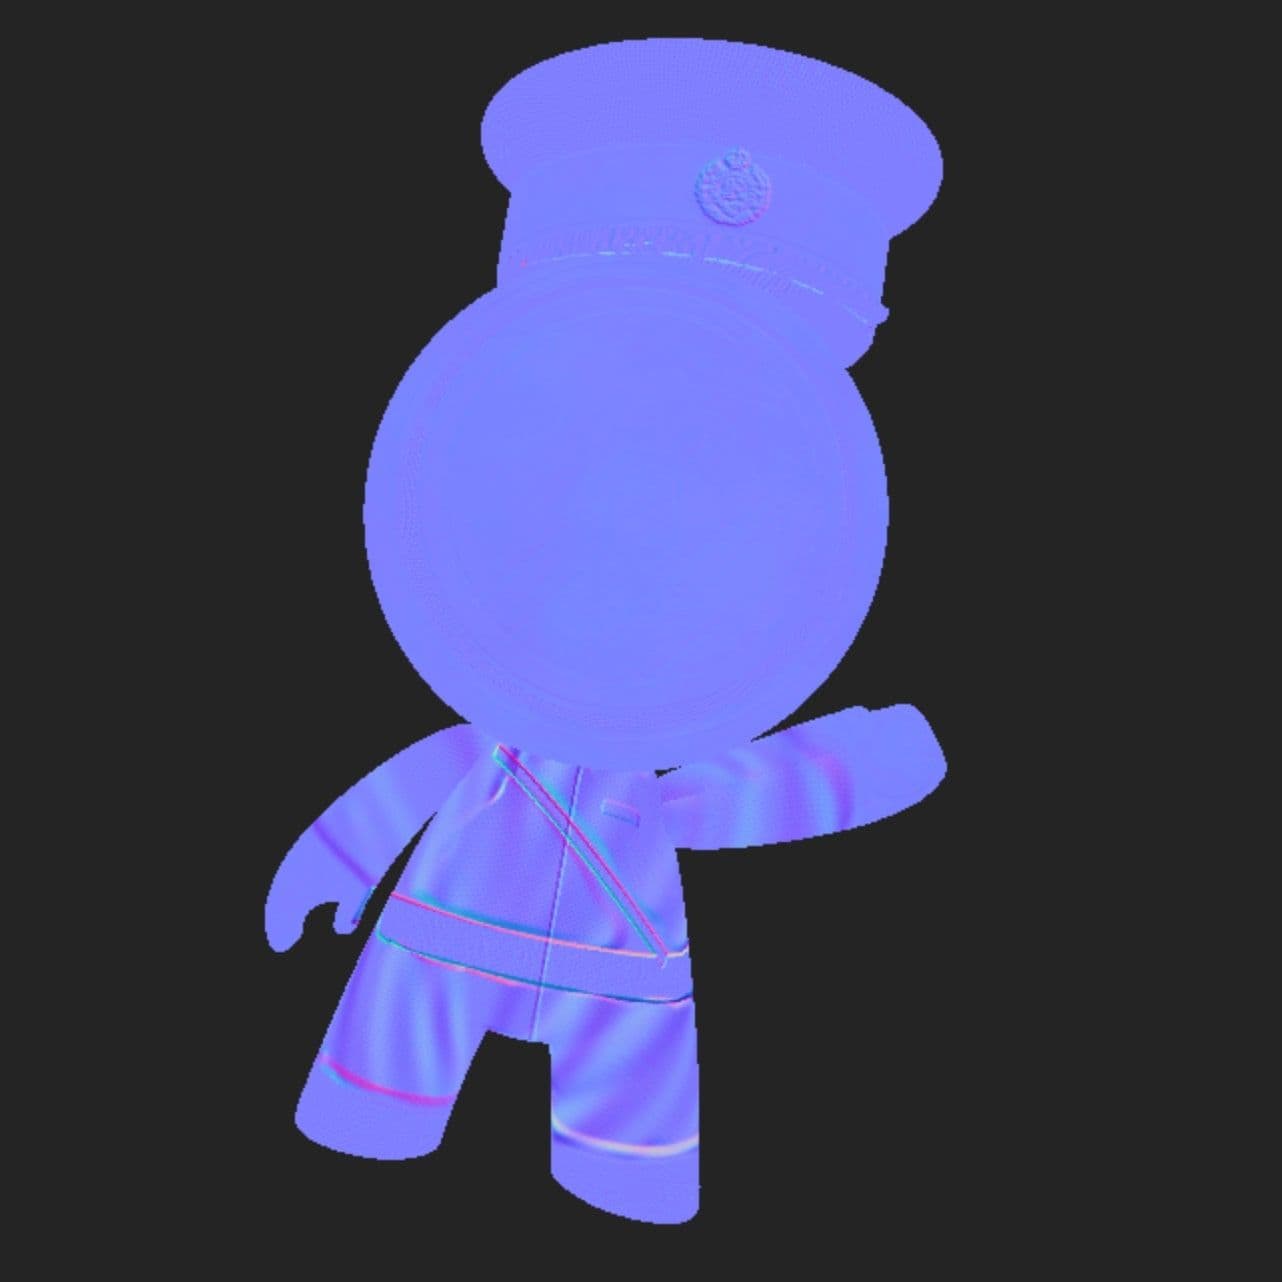
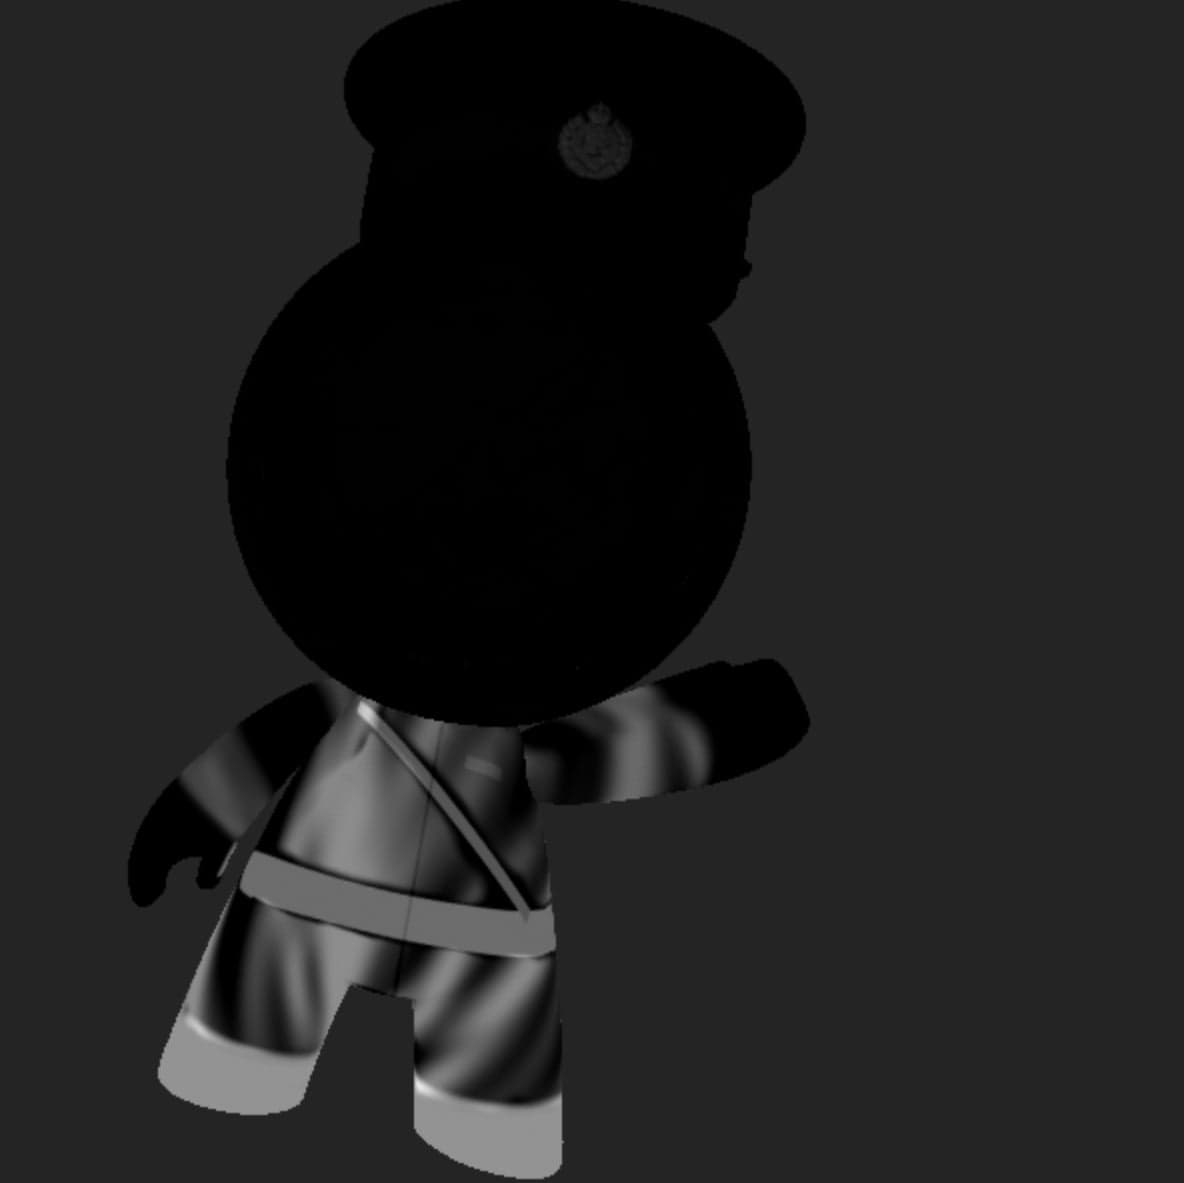
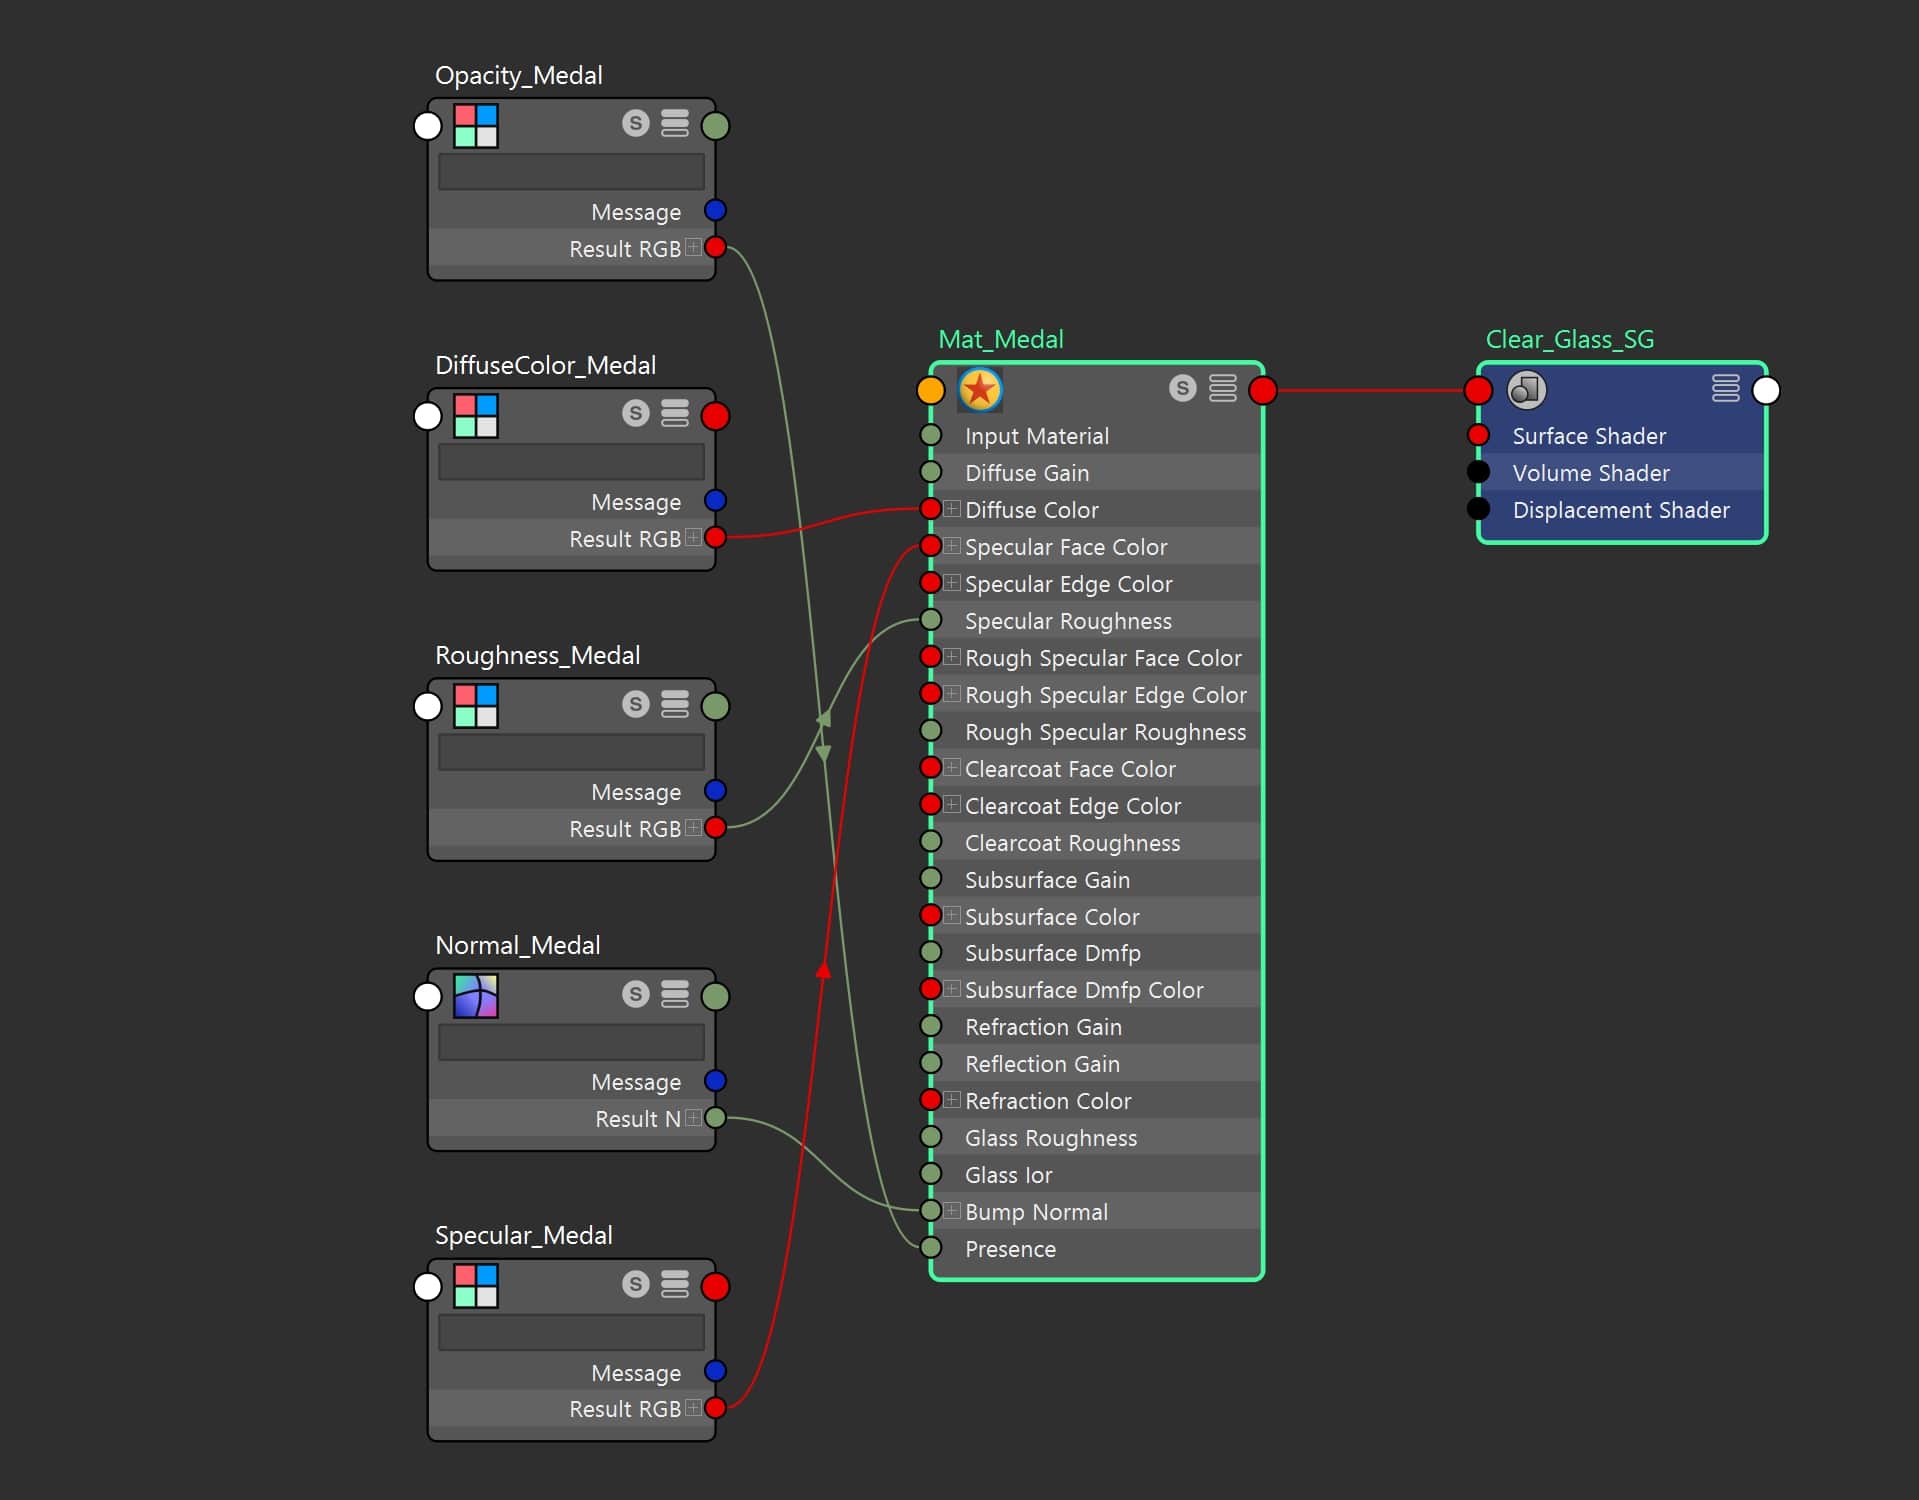
In the rules of the challenge, I had to use the new ILM Lama Material of RenderMan 24 for shading the Teapot and MeetMat. It’s really different than a classic shader because you need to mix similar shaders to create your final material. In my case, I mixed a Conductor (Metallic material) shader with a classic diffuse shader.
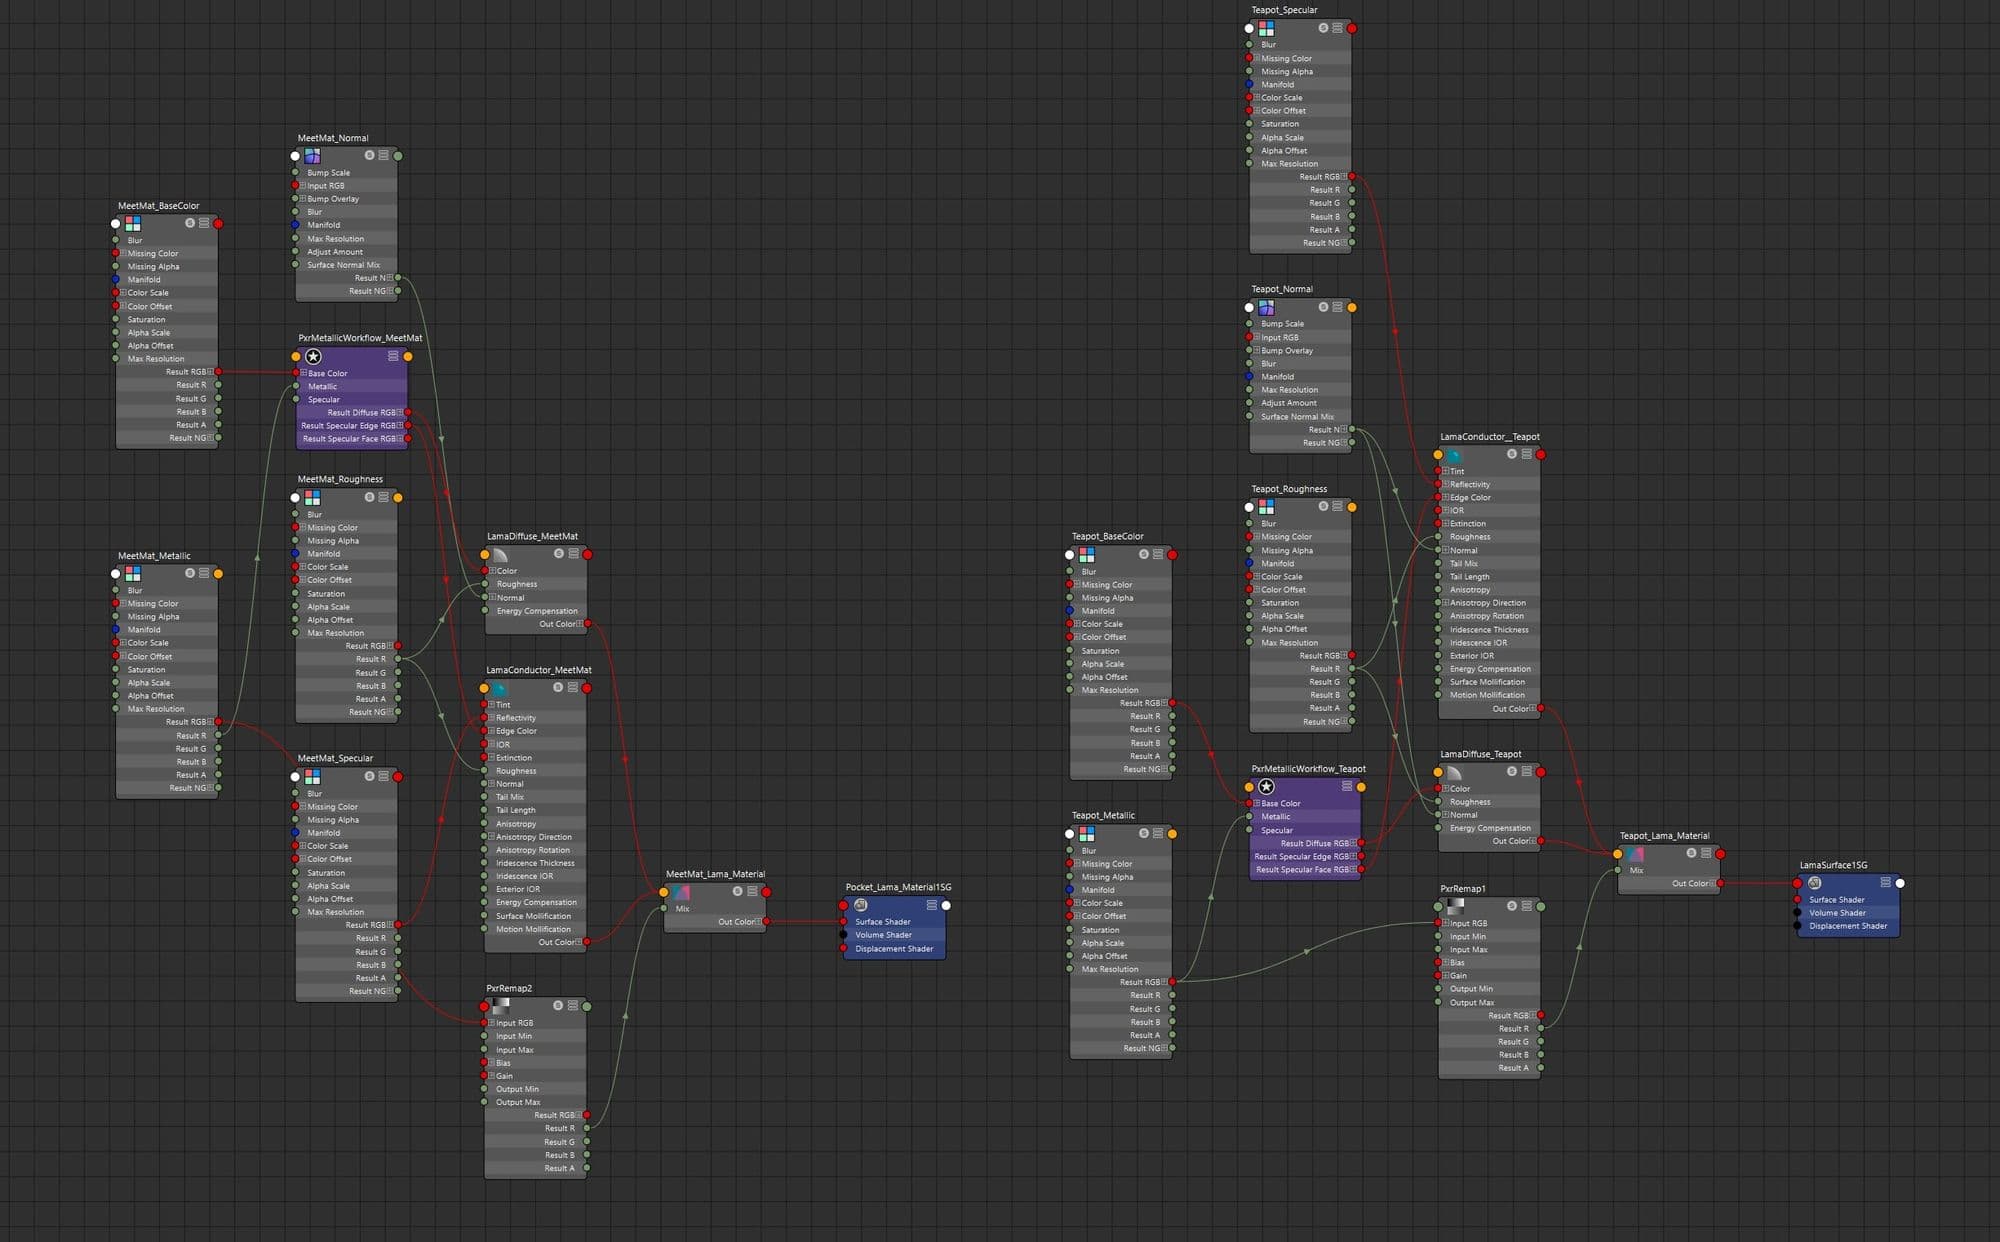
For the other objects, I used a classic shading method with PxrMaterial:
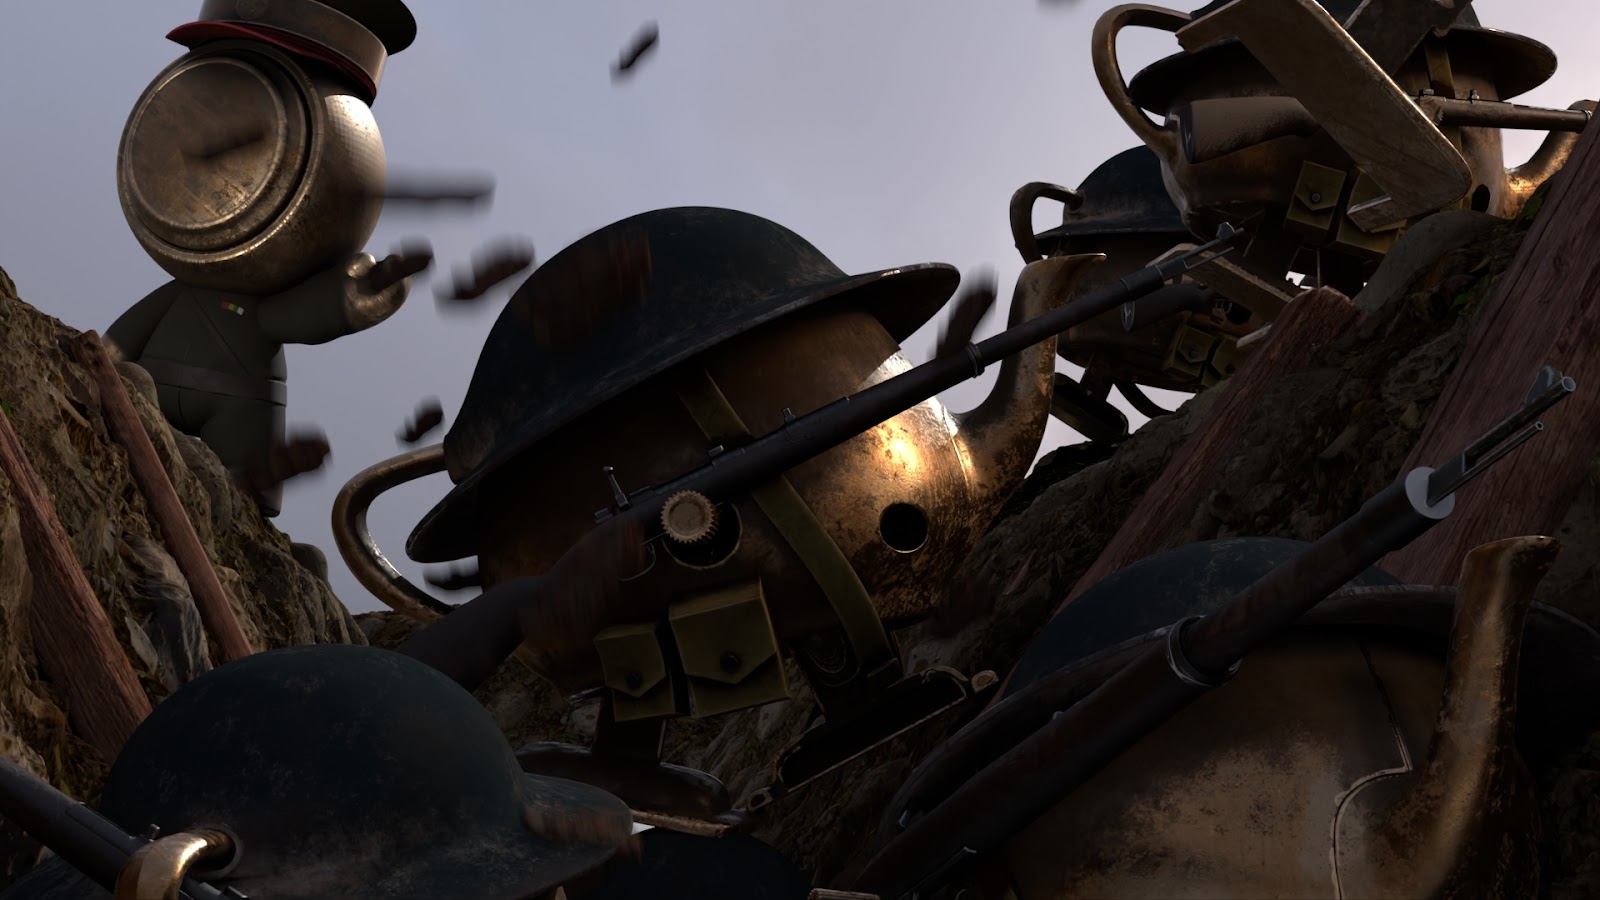
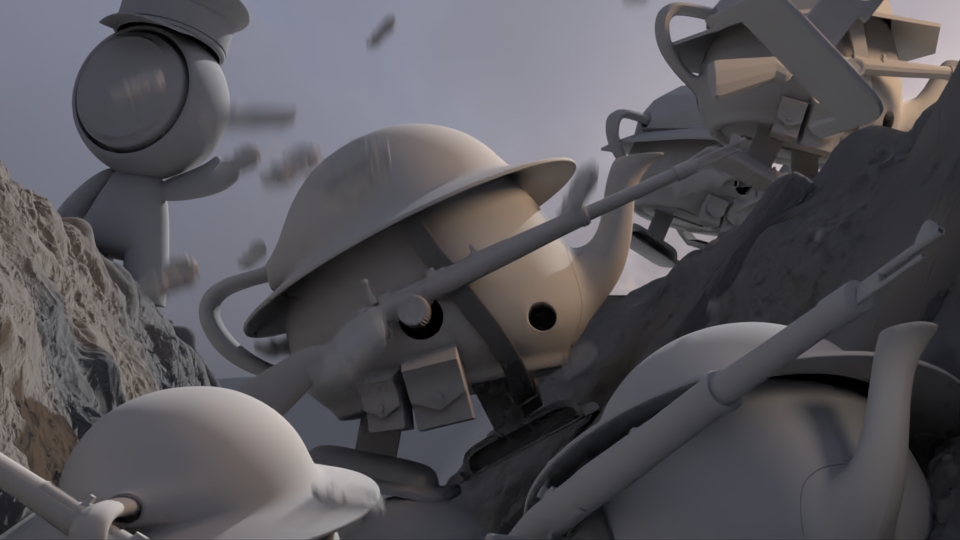
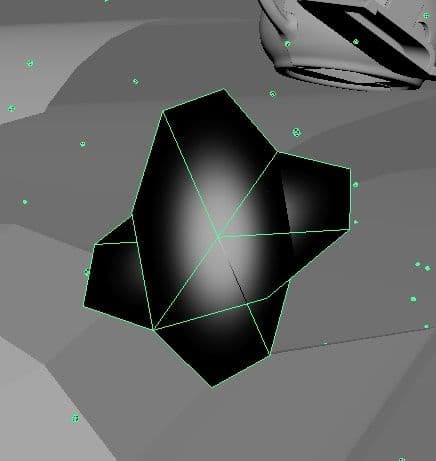
At this stage of production, I wanted to add more dynamism in my scene to make it really feel like a battle. I started to add falling rocks simulated with a MASH Dynamics in Maya. I exported it as an Alembic to keep the animation and activate the Motion Blur.
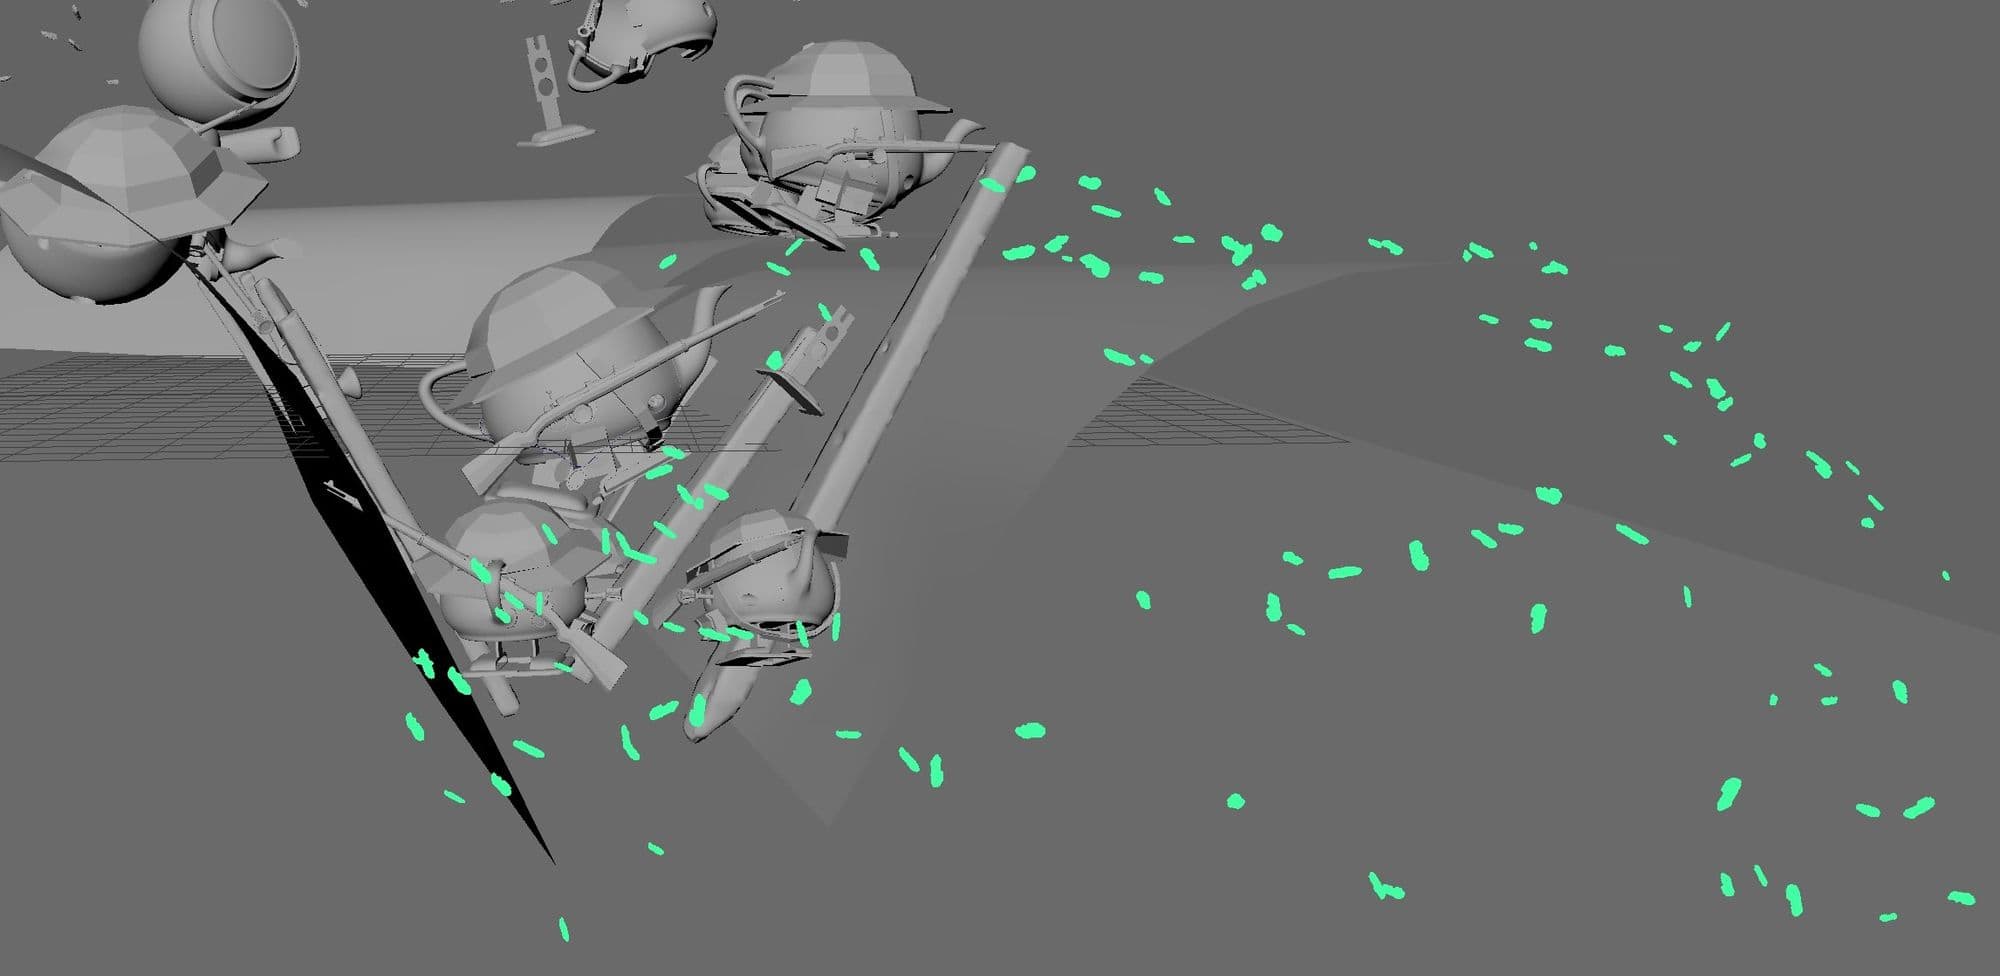
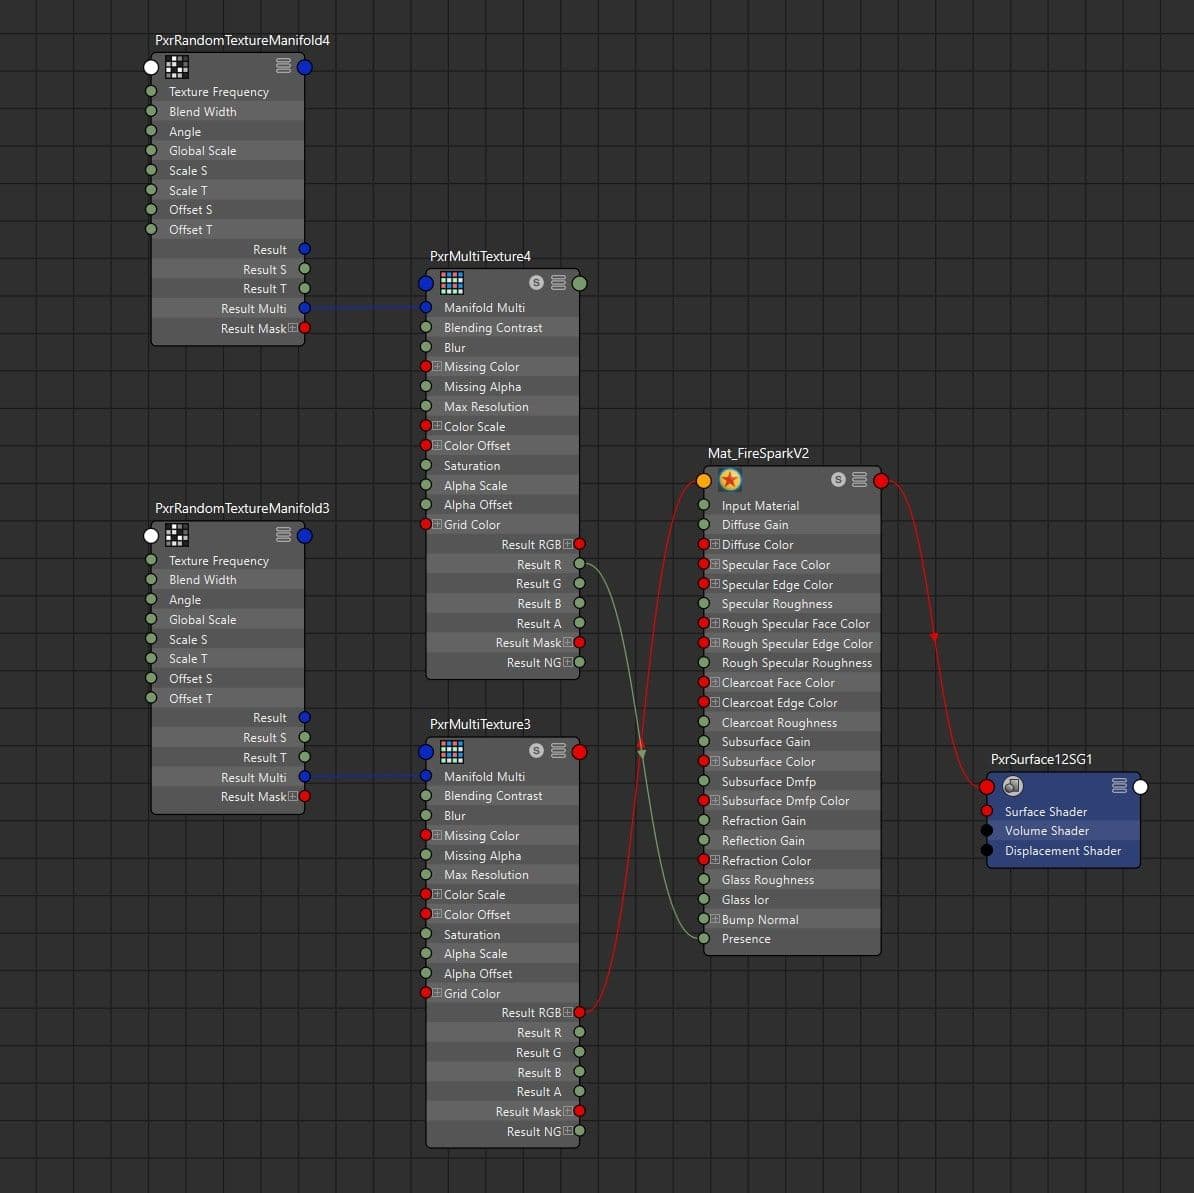
I added some Fire Sparks that I scattered with another MASH. I just created a cylinder and added an alpha for recreating the sparks shapes. I also created a HSV variation with a PxrRandomTexture to simulate the different fire intensity.
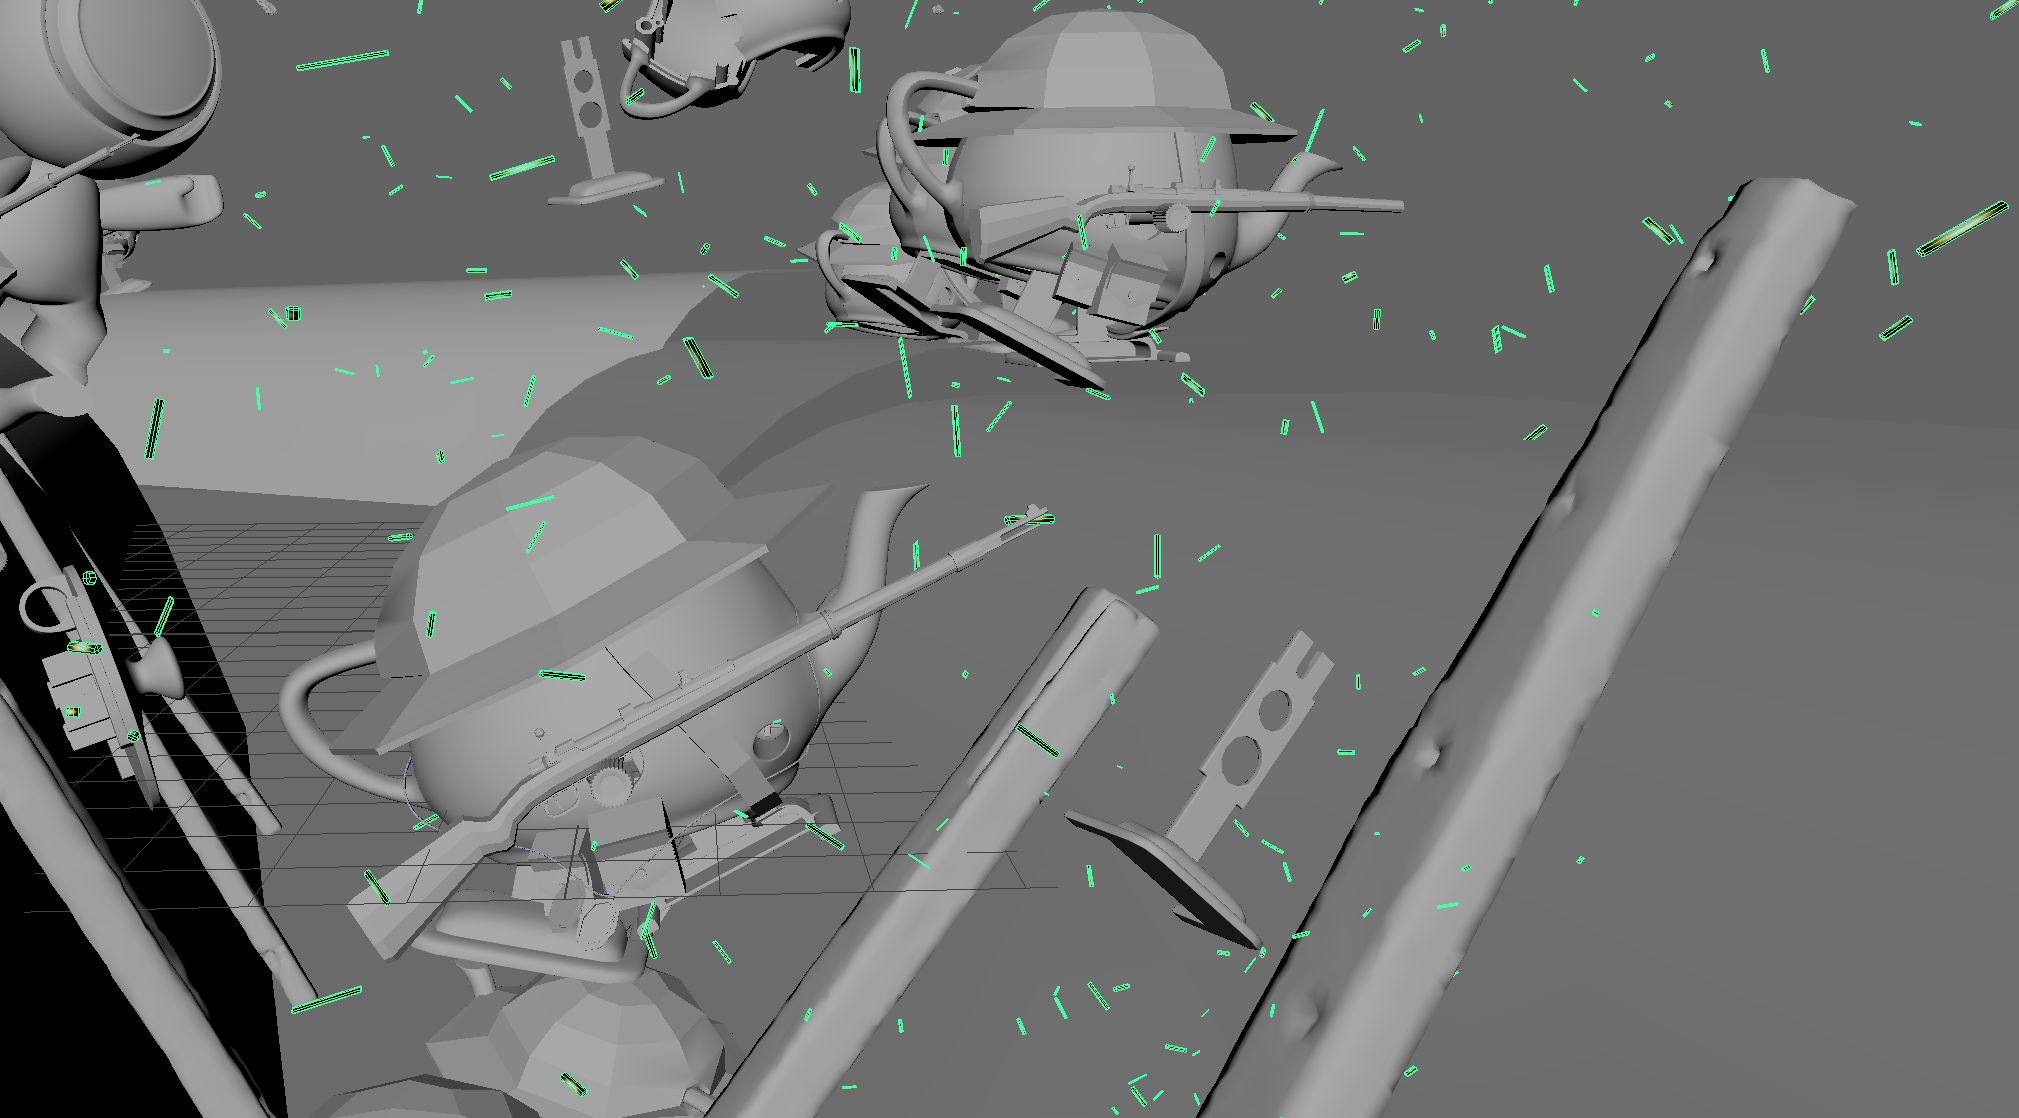
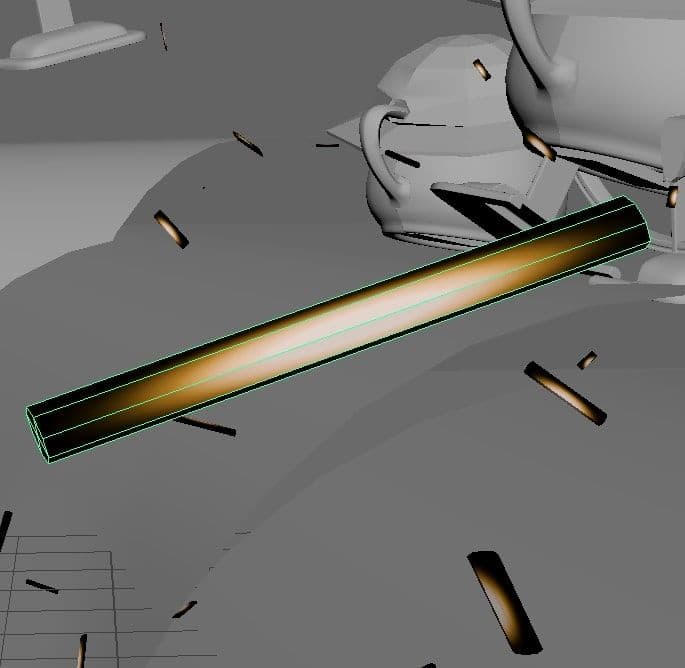
To finish, I added some dust particles with the same process as the fire sparks.
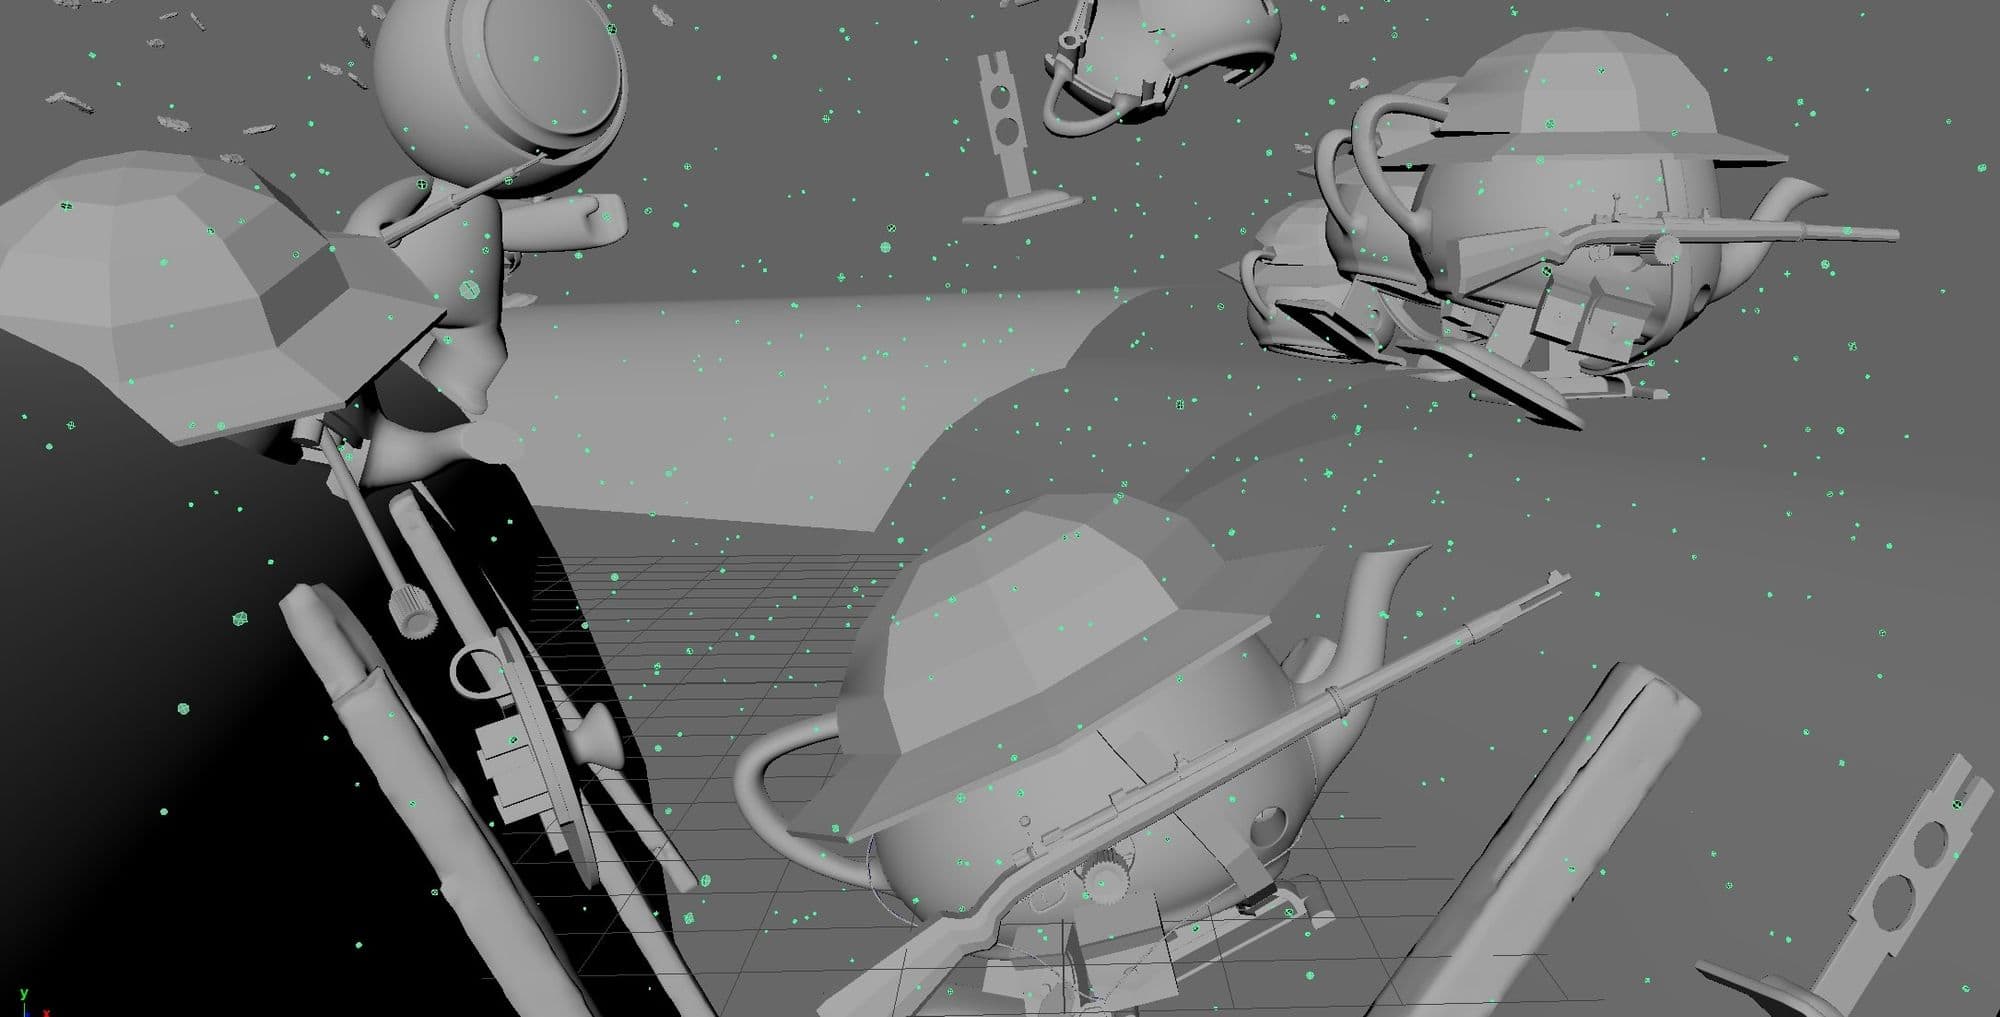
To give more life to the scene, I added some elements in the background like an exploding teapot and other running soldiers.
One of my favourite parts, it’s time to bring the scene into life.I started by adding a Sun and a dome light with an hdri to have the foundations of my exterior lighting. I did my lighting and I add more elements at the same time, so in some images some elements are missing but it’s normal.
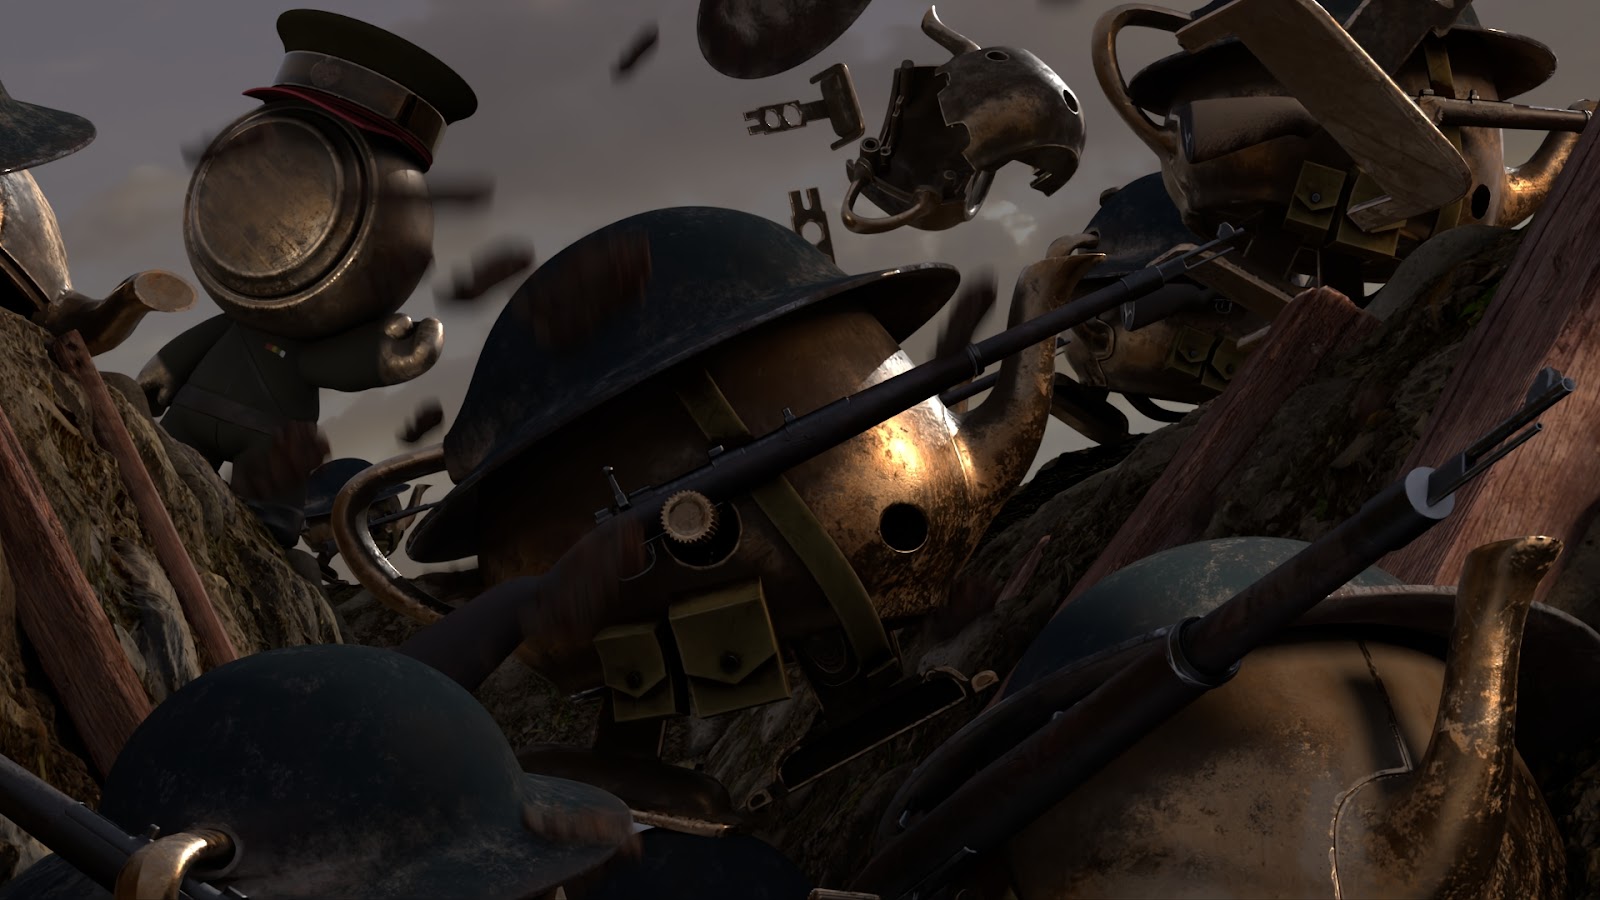
After that, I add Rim Light highlight my character, and Bounce Light to unblock my shadows.
I then added volumetrics to give the scene some depth and mood:
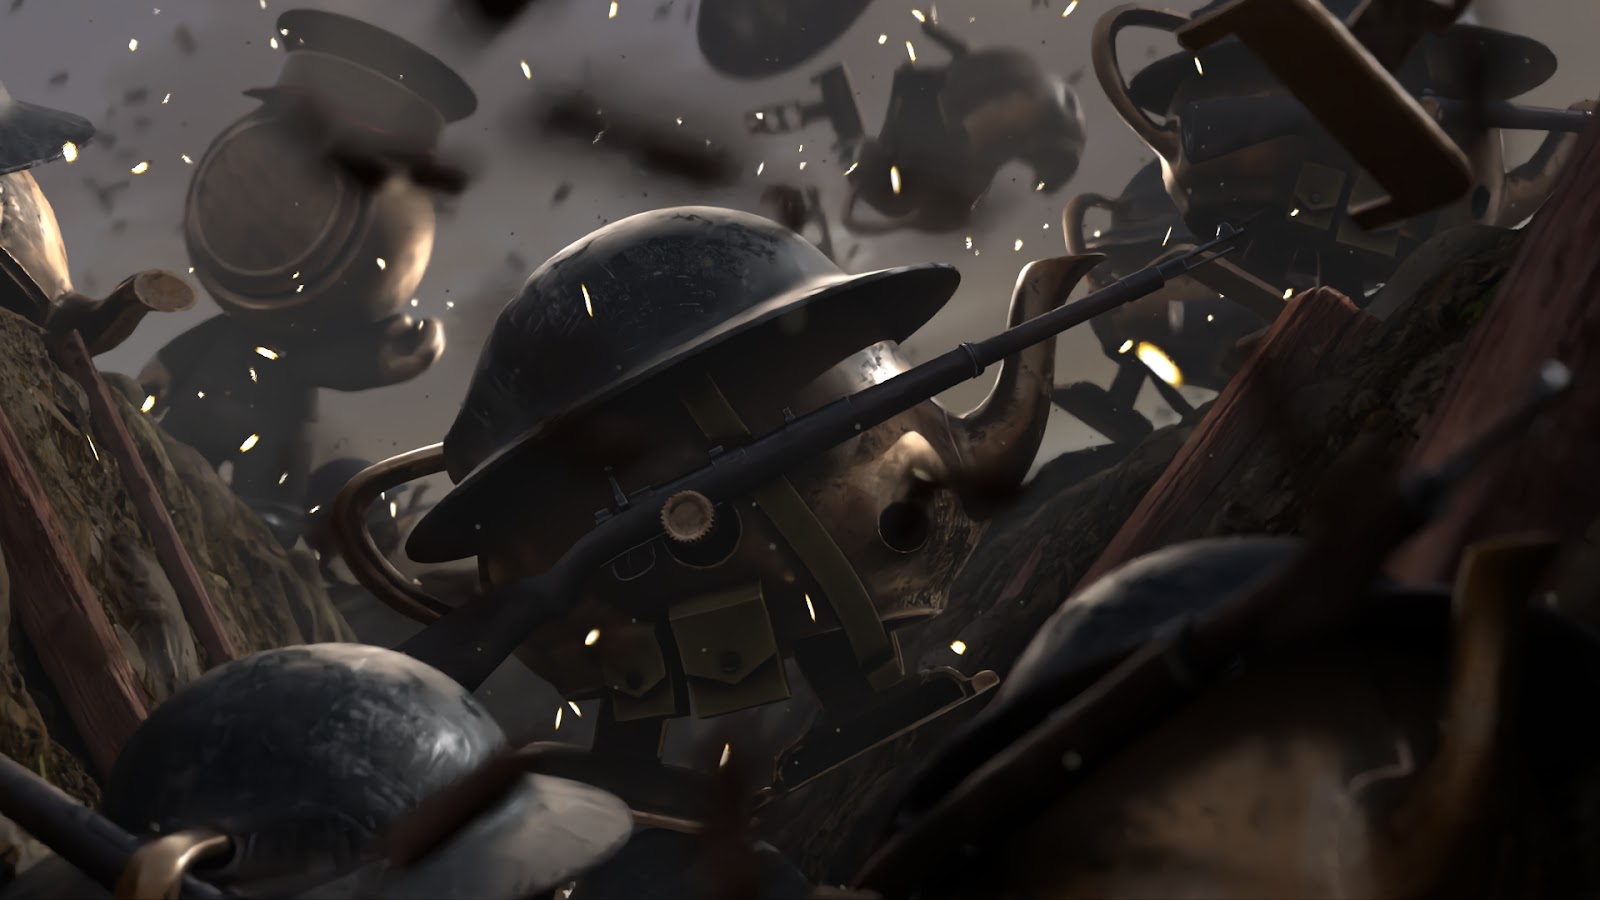
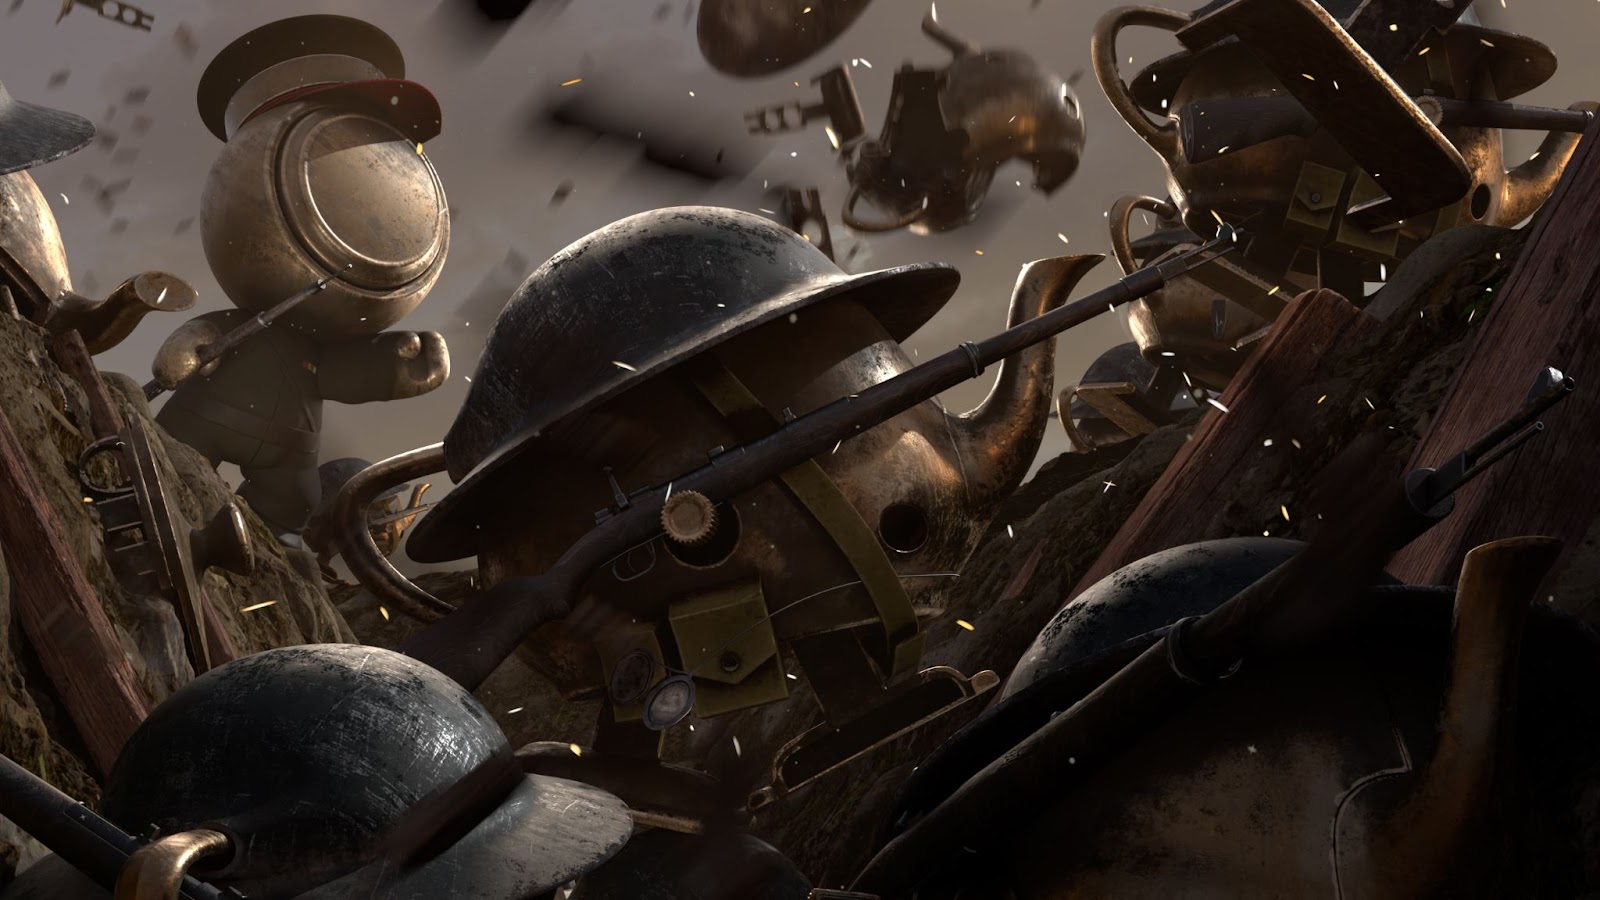
Now, it’s just some details and storytelling things that I start to change and modify like the colour and some explosion light to accentuate the offscreen action:
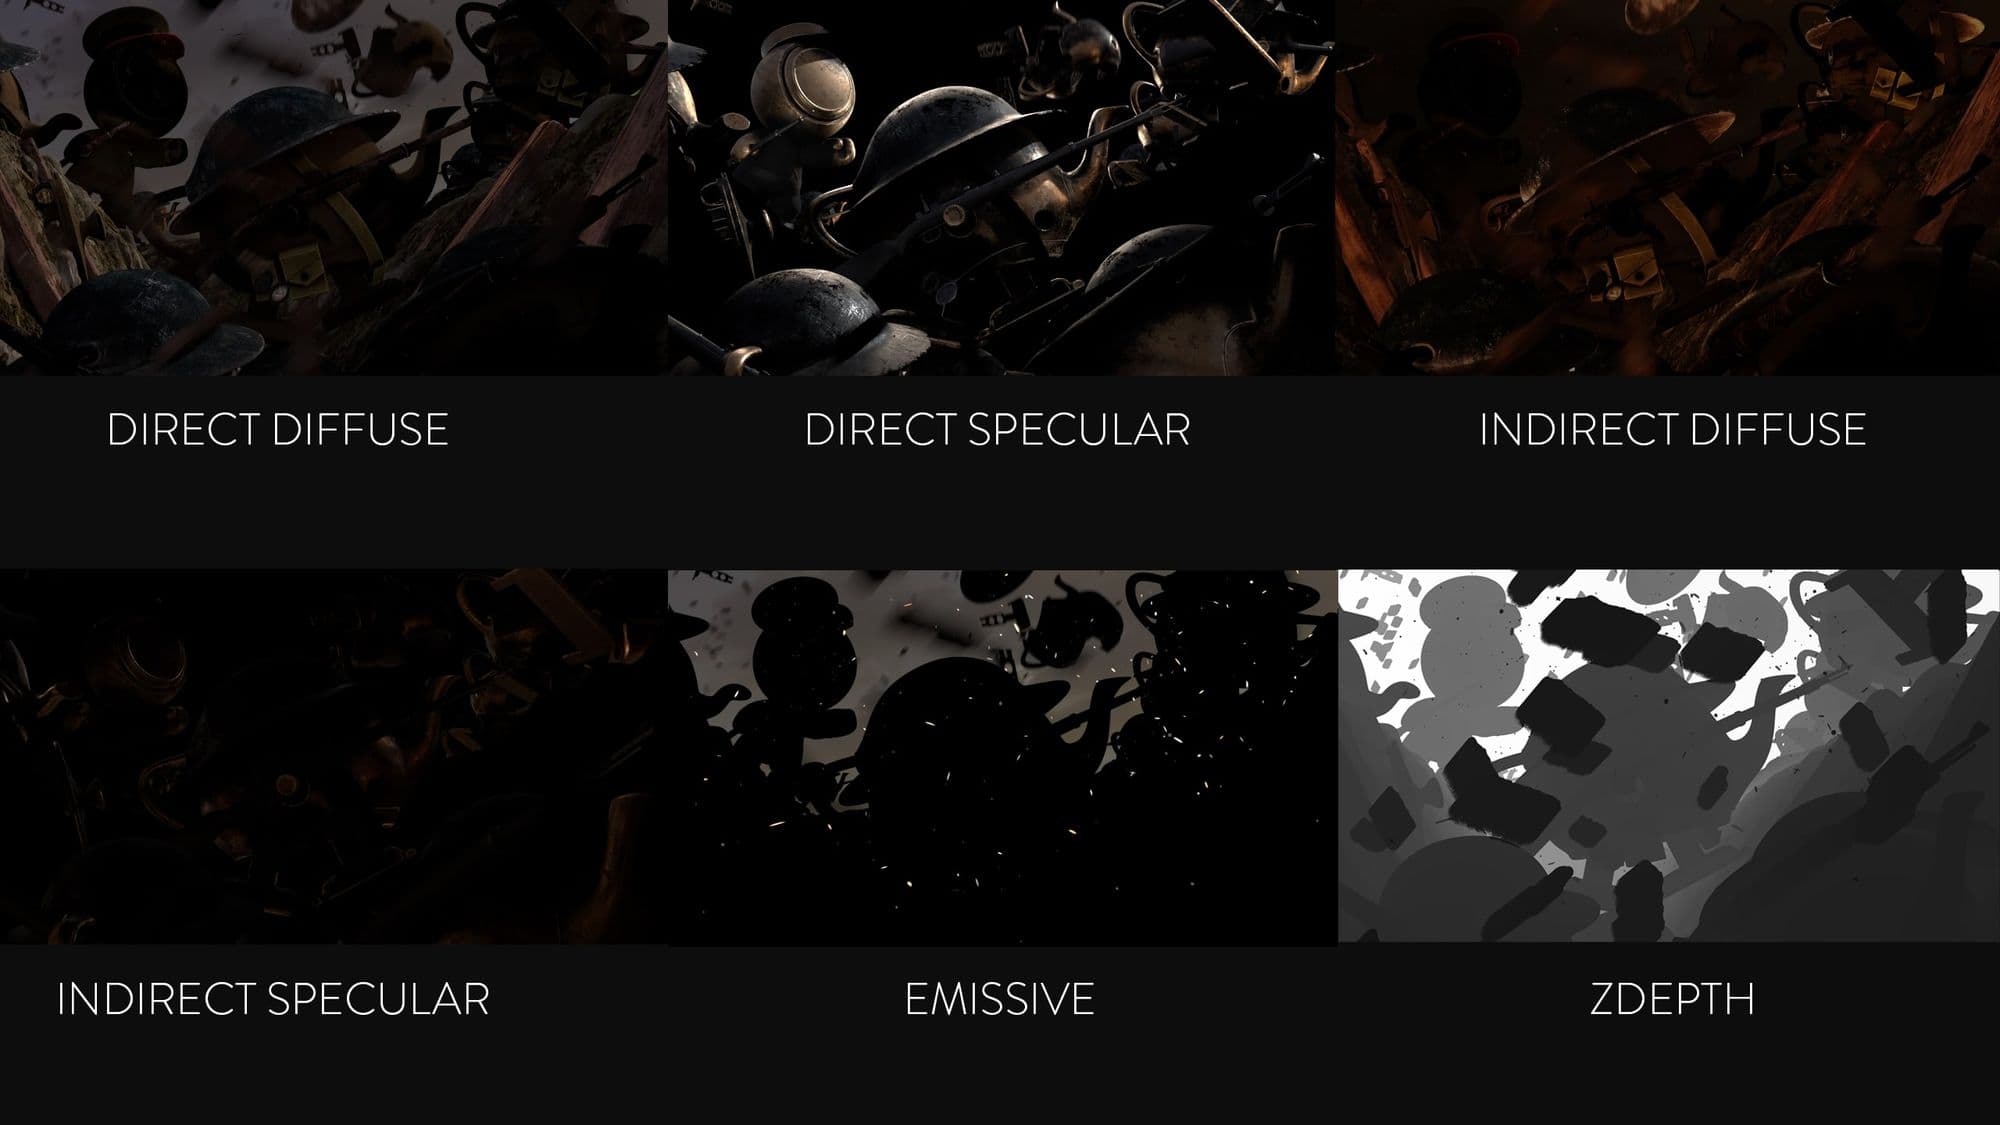
For more control in my compositing, I did a render with Light AOV, so I could have multiple images for my different lights. With one for sunlight, one for the Dome Light, one for Rim Light… etc. I also did a Volume pass with the Holdouts of RenderMan which allow you to hide your object but not effect the volume. It give me less rendering time and more flexibility in compositing.

I also exported the basic AOV because they are always useful. I used the Zdepth for adjust my depth of field as I want in compositing:
Final part of the journey, the compositing! I use Photoshop for this step. So I put all my AOV together to recreate my final render and I first started to do color grading, I added some glow to the sparks, and I added a camera look with grain, chromatic aberration and vignetting.
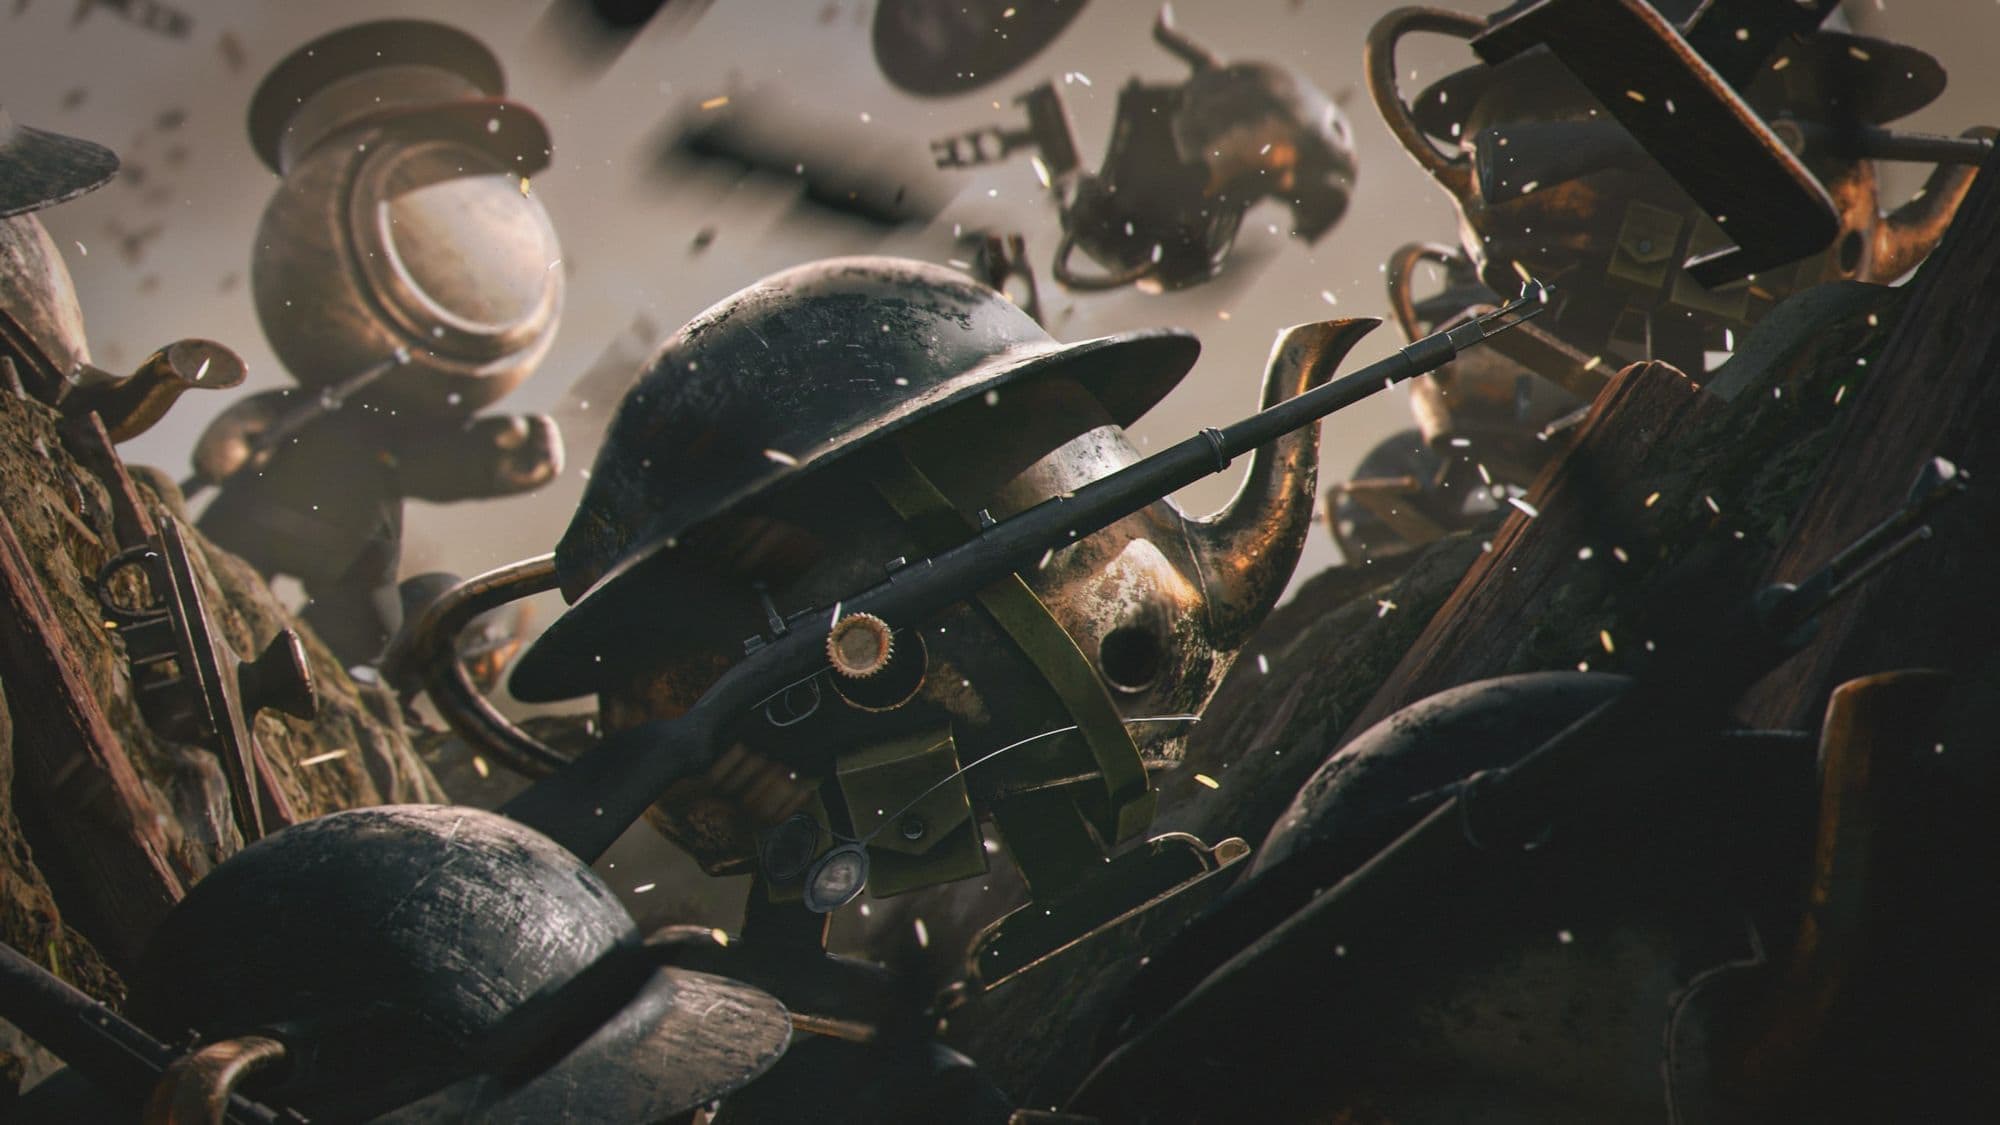

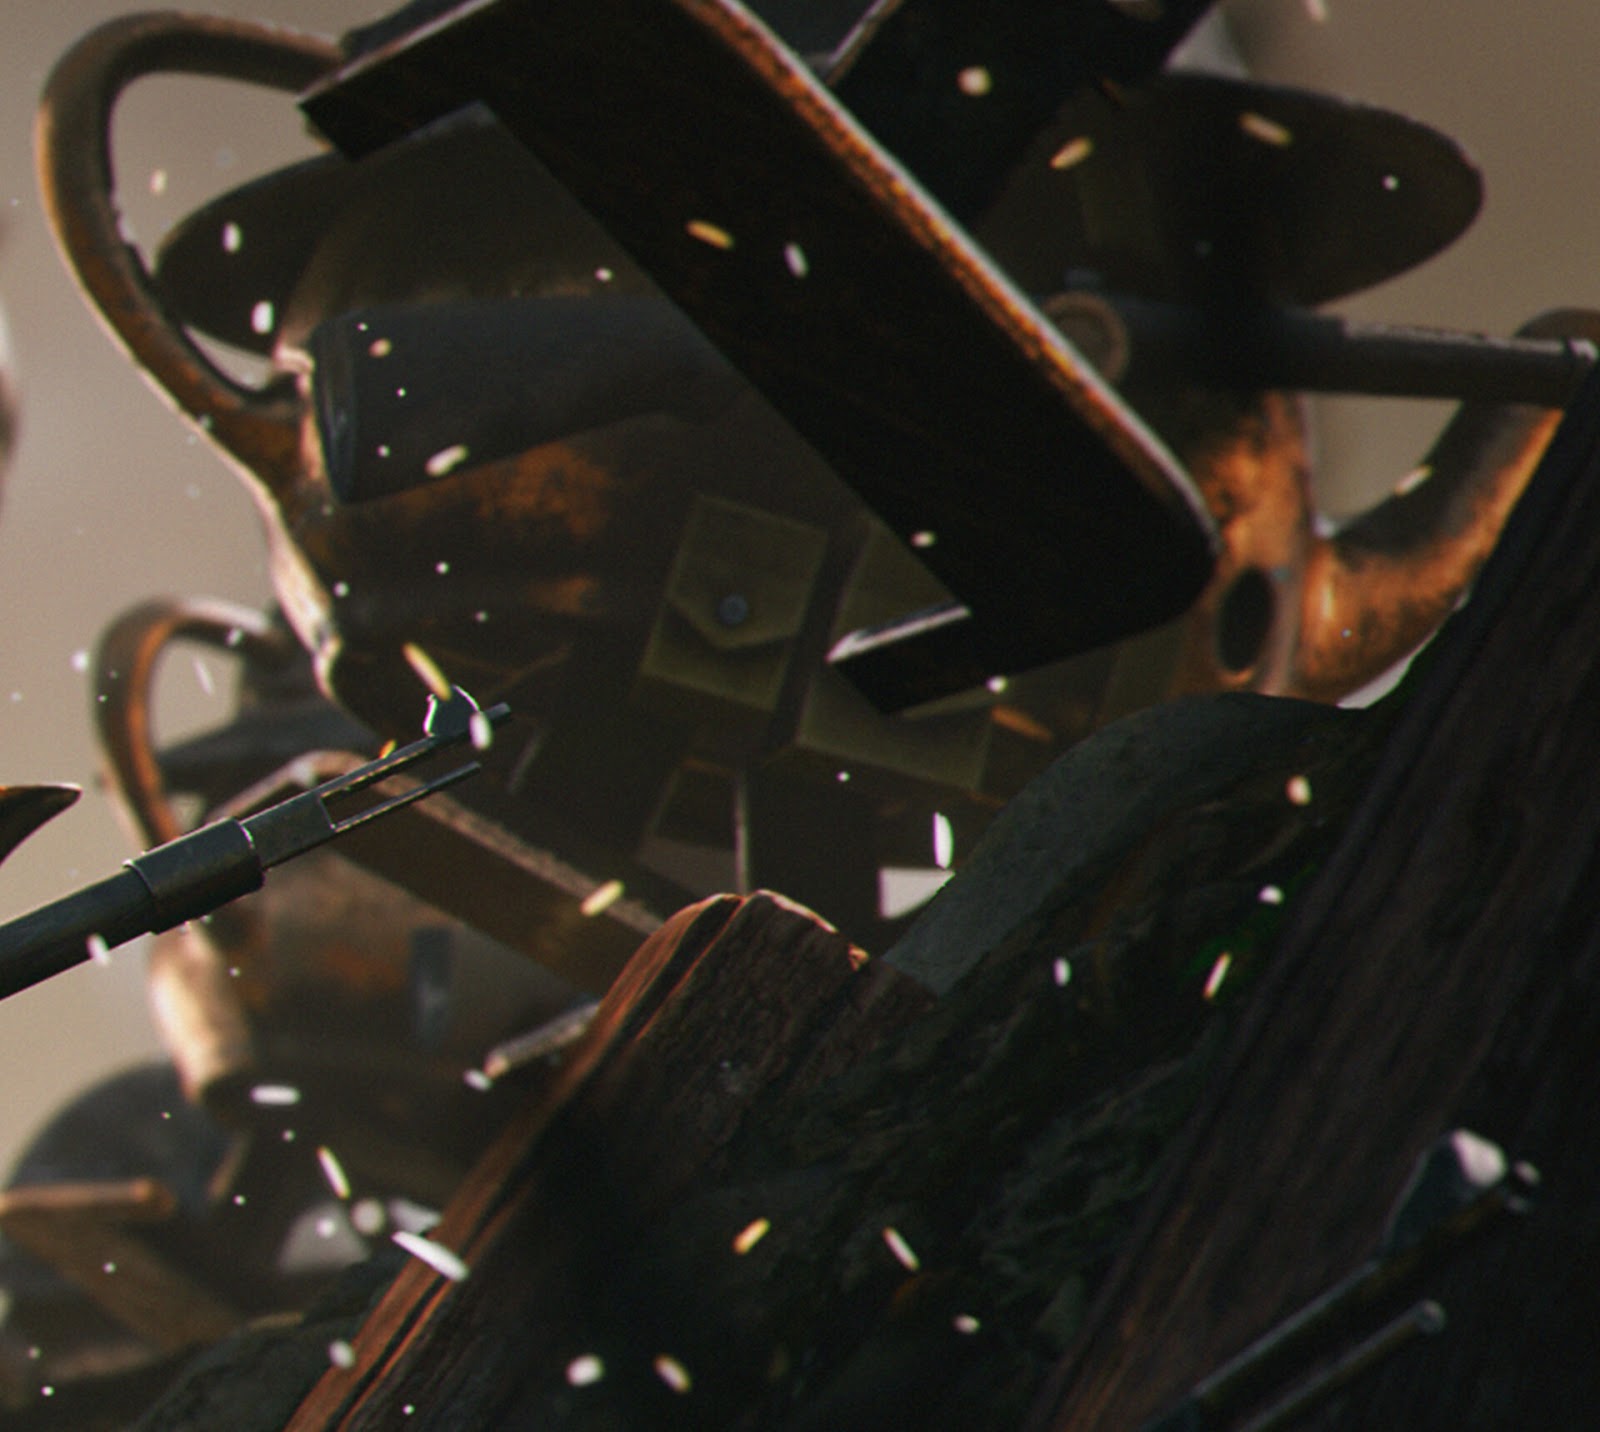
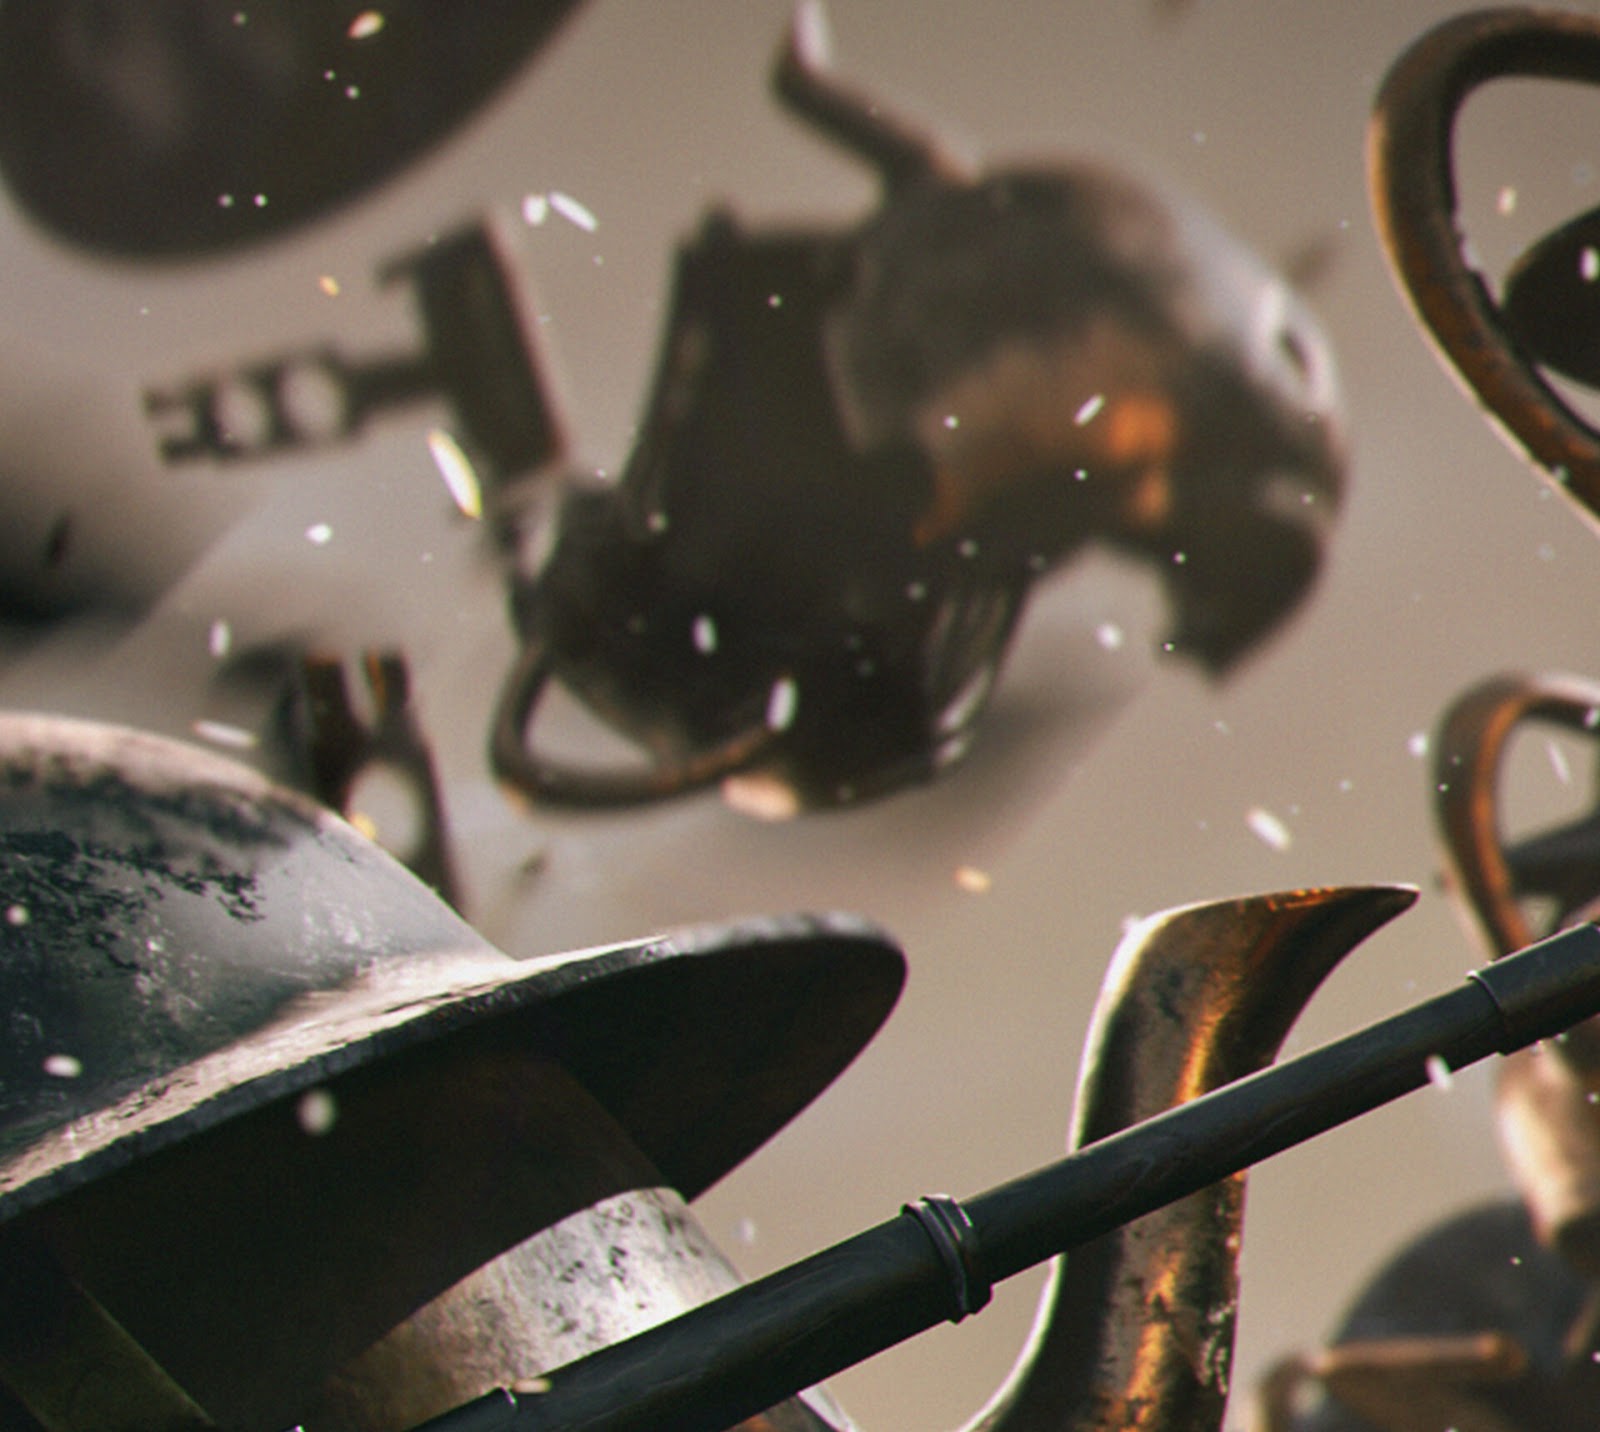
Here are some closeup's of interesting parts of the scene:


With this project, I learned a lot of things about Storytelling and Image Composition, it’s one of the projects where I spent the most of time. It was exciting and also a stressful adventure to participate in a Pixar challenge; great training to hone my skills.
I hope you liked the behind the scene of this image and thank you for the time you spend to read this article and thank you to The Rookies for giving me the opportunities to show my work!
You can find more of Henri's work on his website.