Create a Character Turntable for Your 3D Portfolio to Impress Recruiters
3D Artist and Animator Marten Zander is guiding us through the process of creating his graduation project called "Tricky Turntable". From the initial idea over animation to the final rendering with Google and Blender, he covers the most important steps to complete the project.
3D Artist and Animator Marten Zander is guiding us through the process of creating his graduation project called "Tricky Turntable". From the initial idea over animation to the final rendering with Google and Blender, he covers the most important steps to complete the project and to inspire you to create your own character turntable that will impress anyone looking at your portfolio.
For my graduation I wanted to work on a project that required all the skills I taught myself during my time at university. At the same time I wanted to challenge myself and learn something new.
Back then, I was very interested and keen about learning to simulate cloth. With that in mind, I was searching for inspiration and stumbled across a video by Asymmetric VFX Studio.
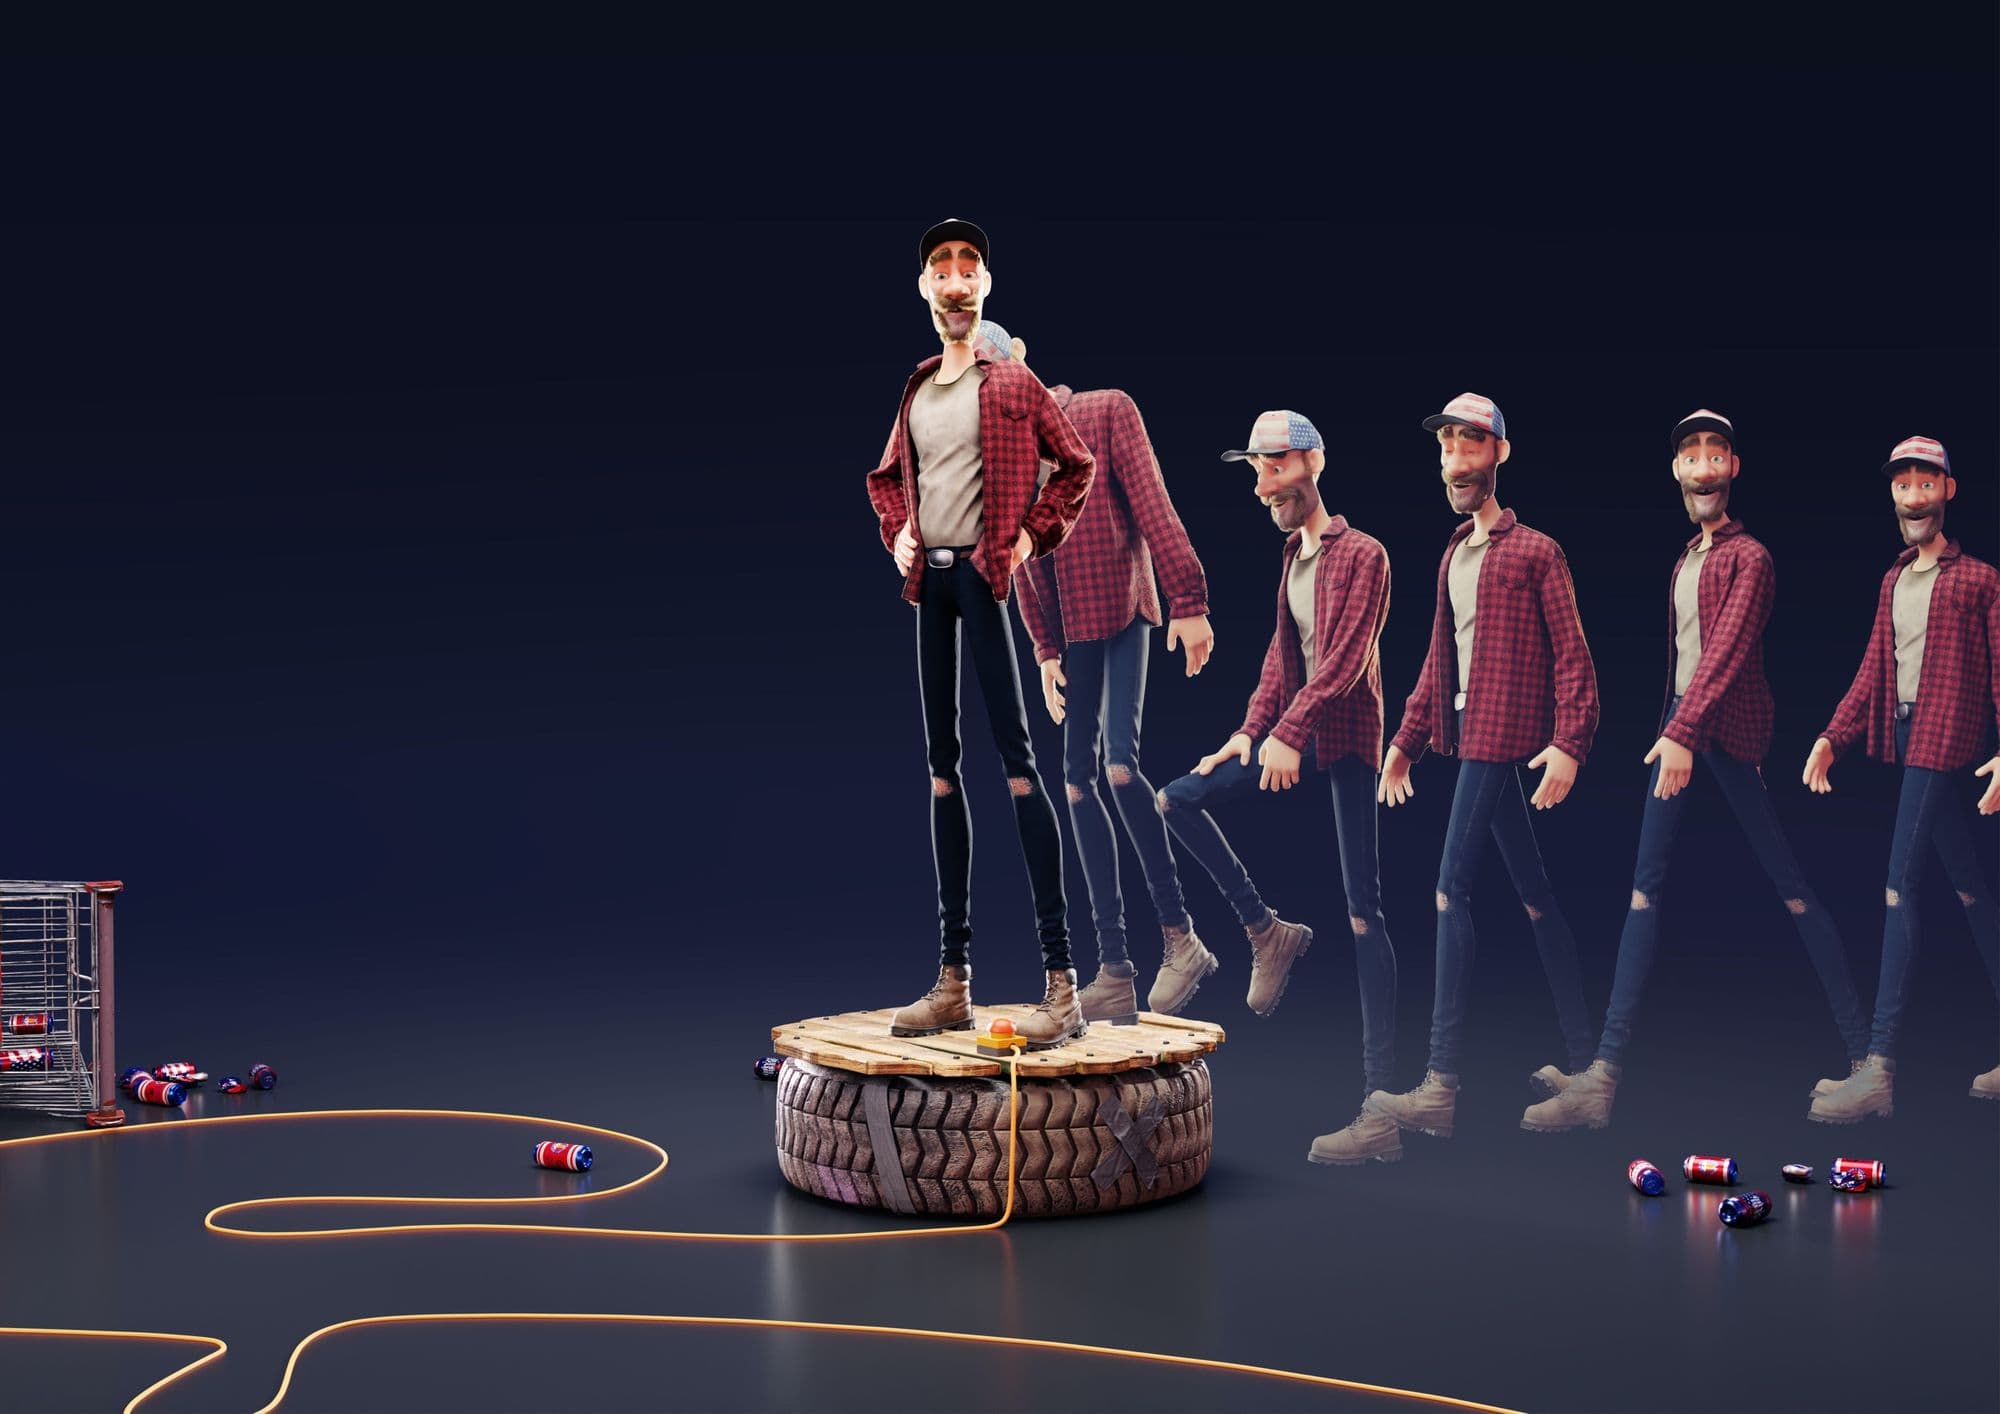
I found the idea of having a character presenting himself was very original and I started to think about a way to develop the idea even further. Making a character interact with a real turntable seemed to be a good approach. Inspired by the series Trailerpark Boys and the subreddit of Red Neck Engineering, I wanted to create a character that is struggling with his self-made turntable while trying to present himself. This is how the character named Rick was born.
References & Initial Sketches
When I search for references online, I usually use all accessible sources on the Internet. From Artstation to the classic Google Search. It is very important not to rush this step. One can never have enough references!
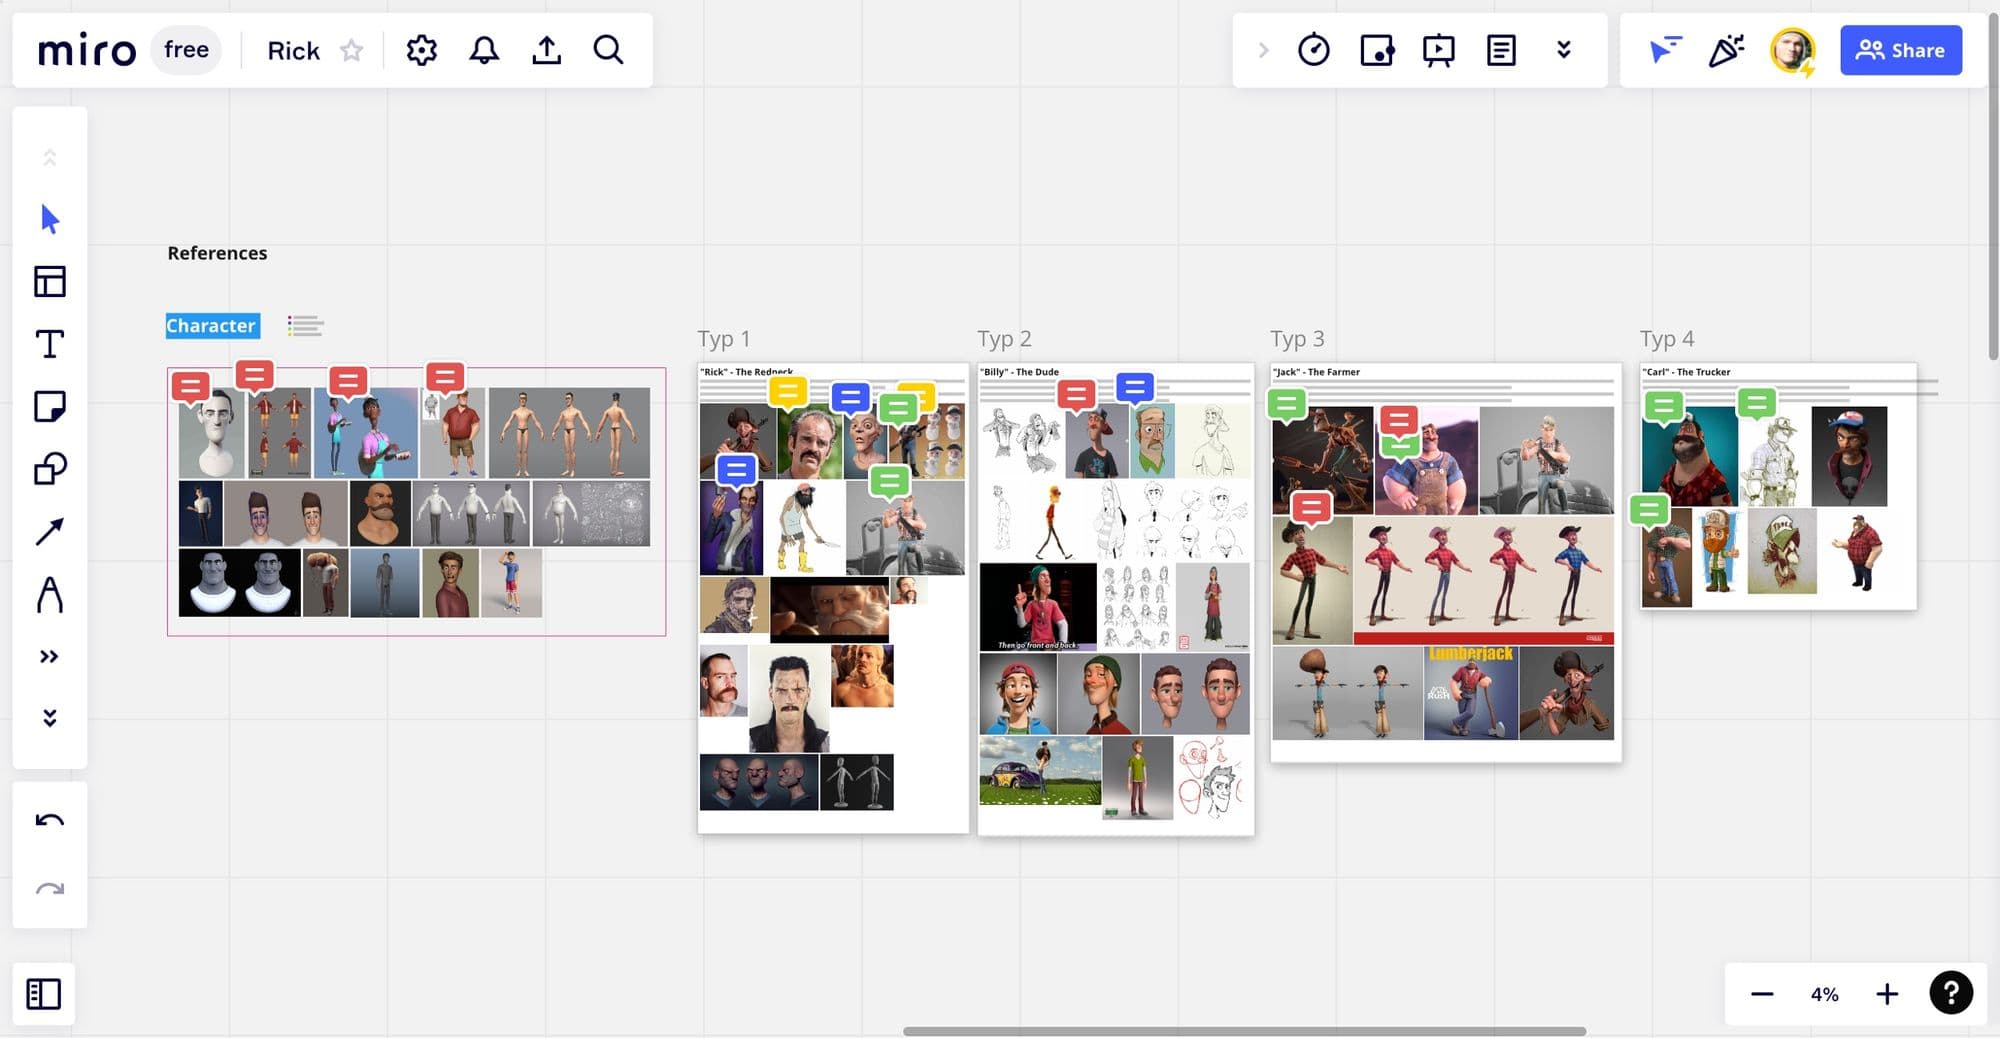
Miro Board Overview
To conserve the collected references for later use, I created a Miro board. The advantage of Miro over PureRef is that you can easily share your board with others. This was especially helpful when I asked my good friend and concept artist Konstantin Schick for help with the character design.
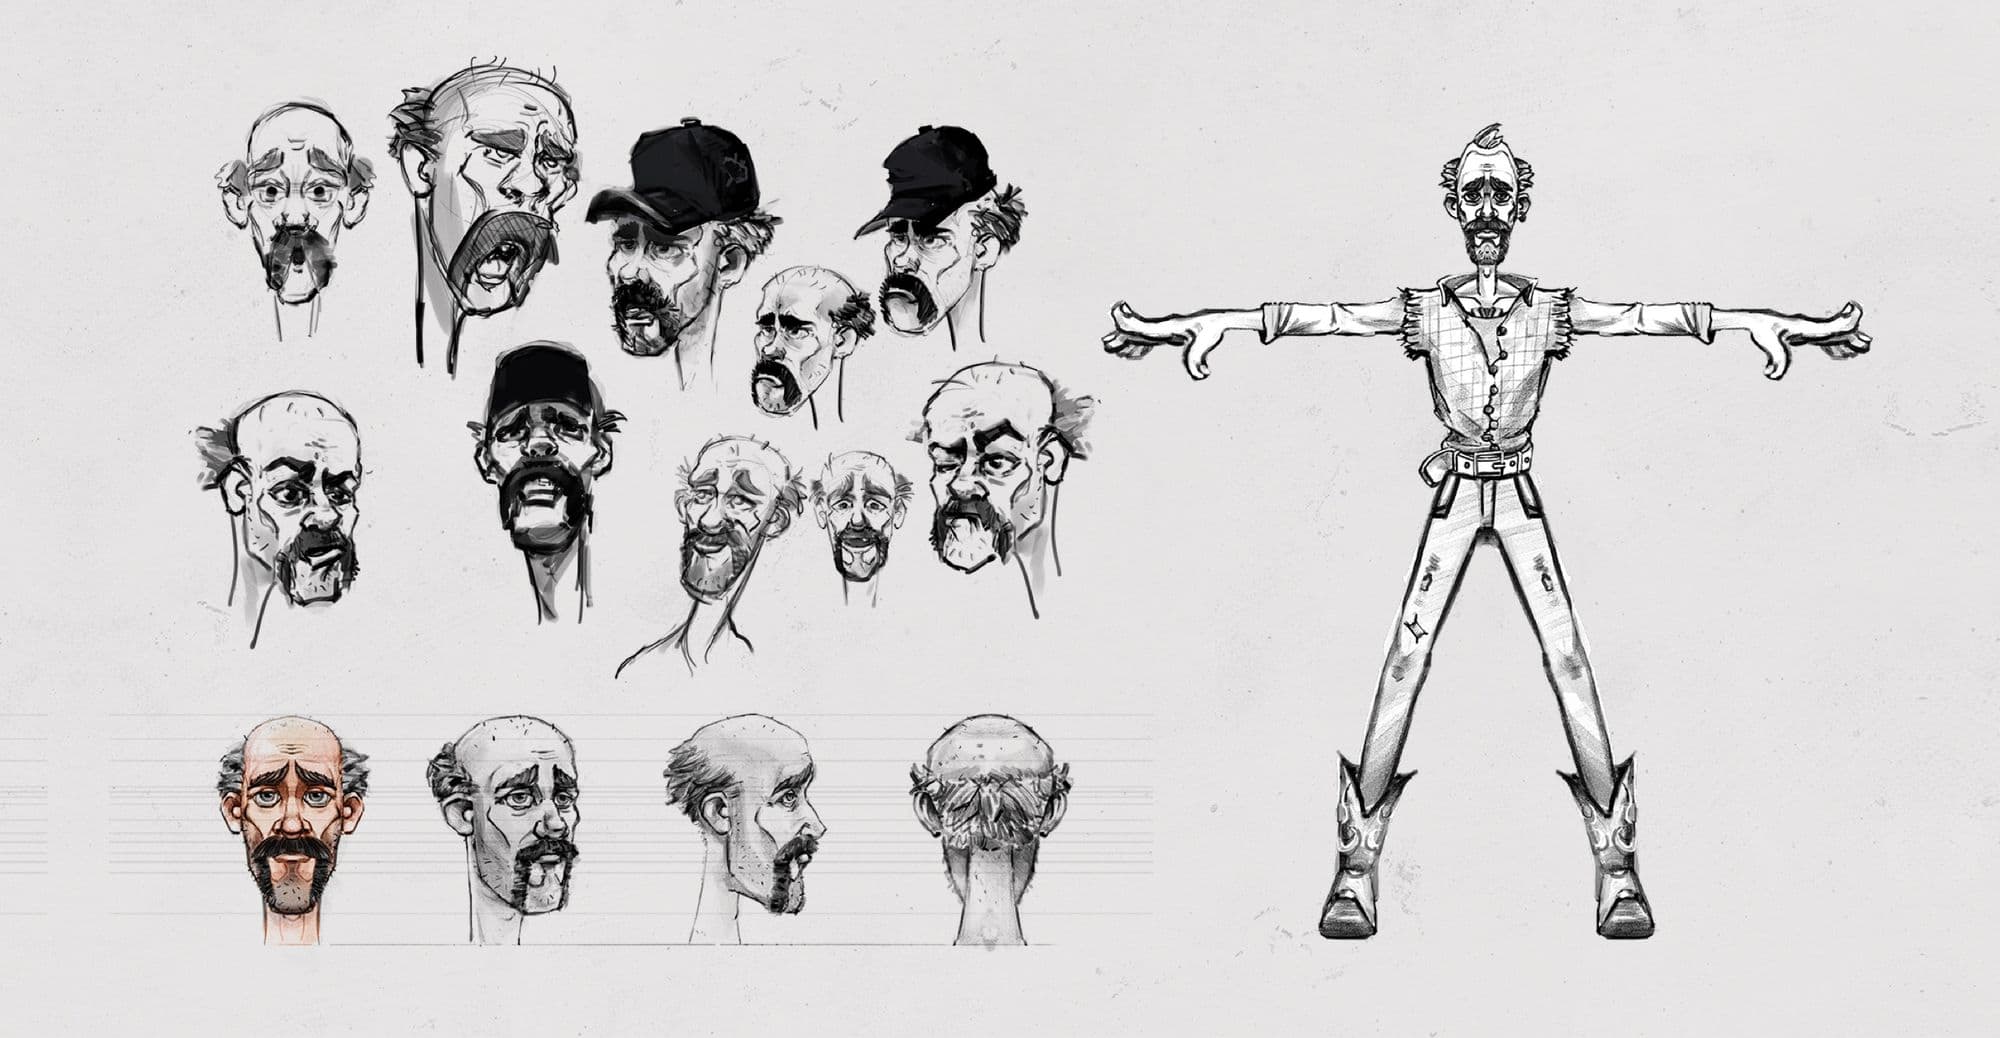
Concept Art by Konstantin Schick
Modeling
When modeling characters I always start to blockout the basic shapes and proportions in ZBrush using primitive shapes. Right after that I usually merge all the shapes together using Dynamesh. From here I can refine my character’s anatomy while still working with a fairly low resolution model.
As soon as I am happy with the overall shape of my character, I use ZRemesher to get a better topology. I always keep my Dynamesh version of the model so I can reproject the sculpted details back to my ZRemesh version. Adding a certain amount of subdivision levels (depending on the complexity of the model) allows me to add final details.
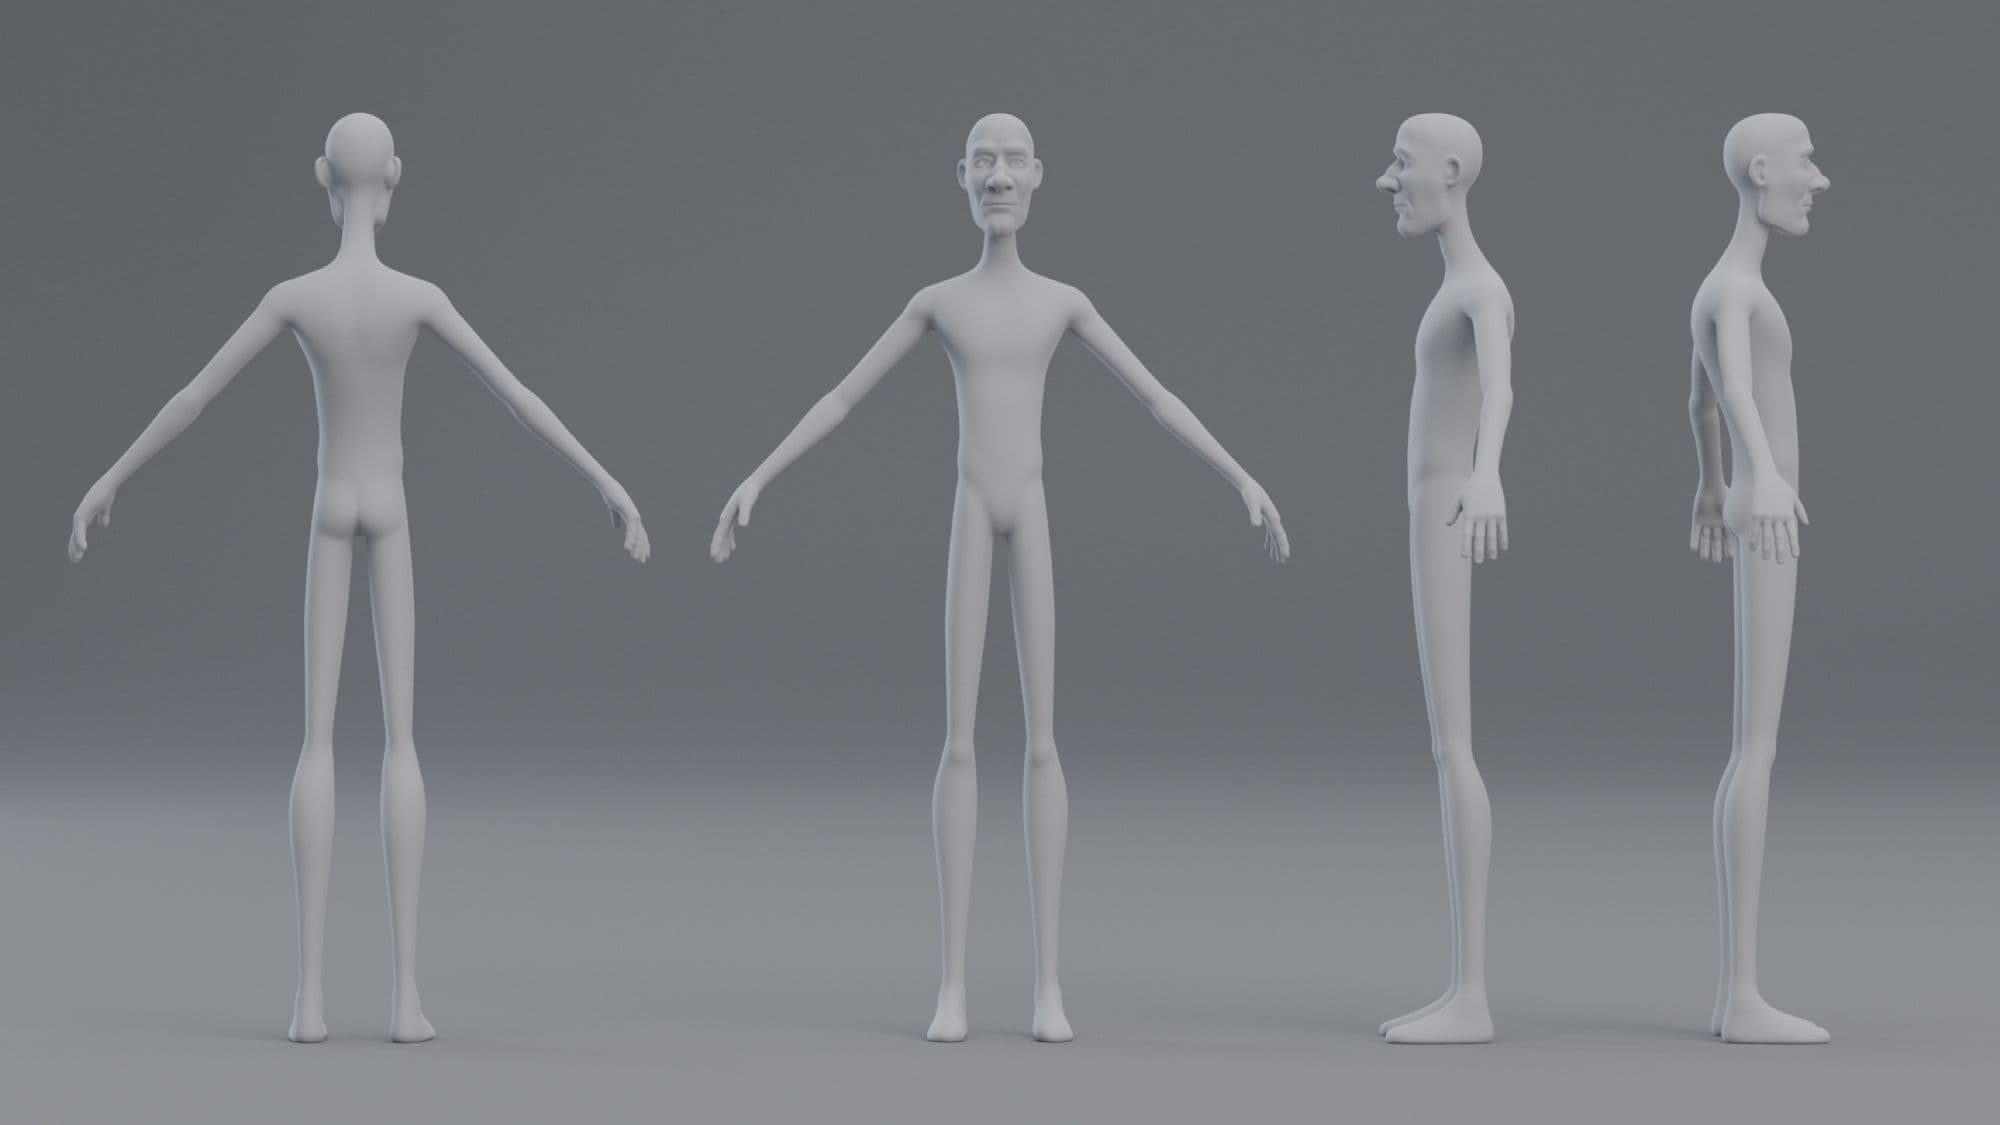
For the retopology part of the modeling I prefer using Blender, mostly relying on the Shrinkwrap-Modifier and basic poly modeling tools. Since most of my character’s skin was covered by cloth anyways, I didn’t pay too much attention to anatomical features or clever topology for his body.
body model
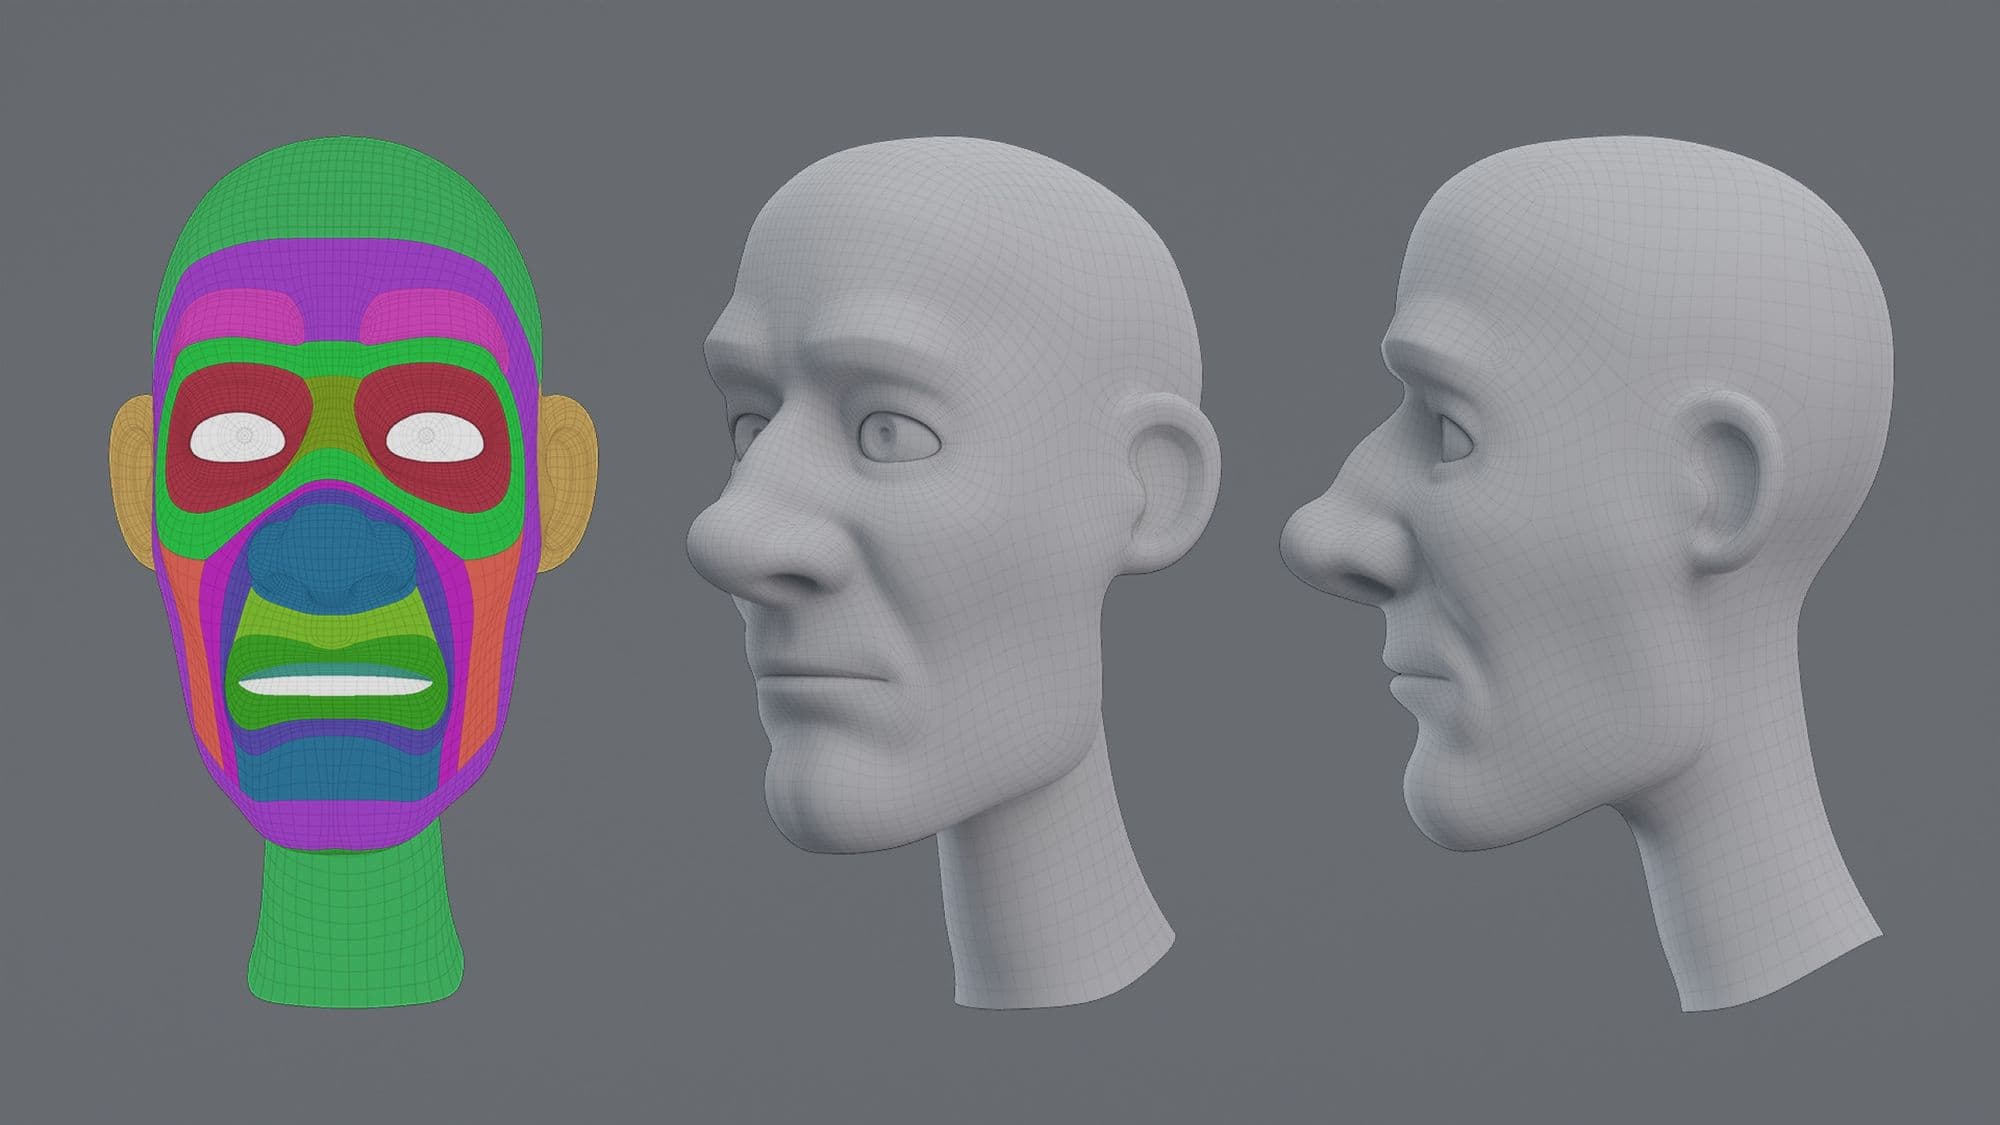
More important was his face. I wanted to make Rick capable of delivering a broad range of emotions and facial deformations. Therefore I had to pay close attention to the edge loops and the overall topology of his facial features.
face topology
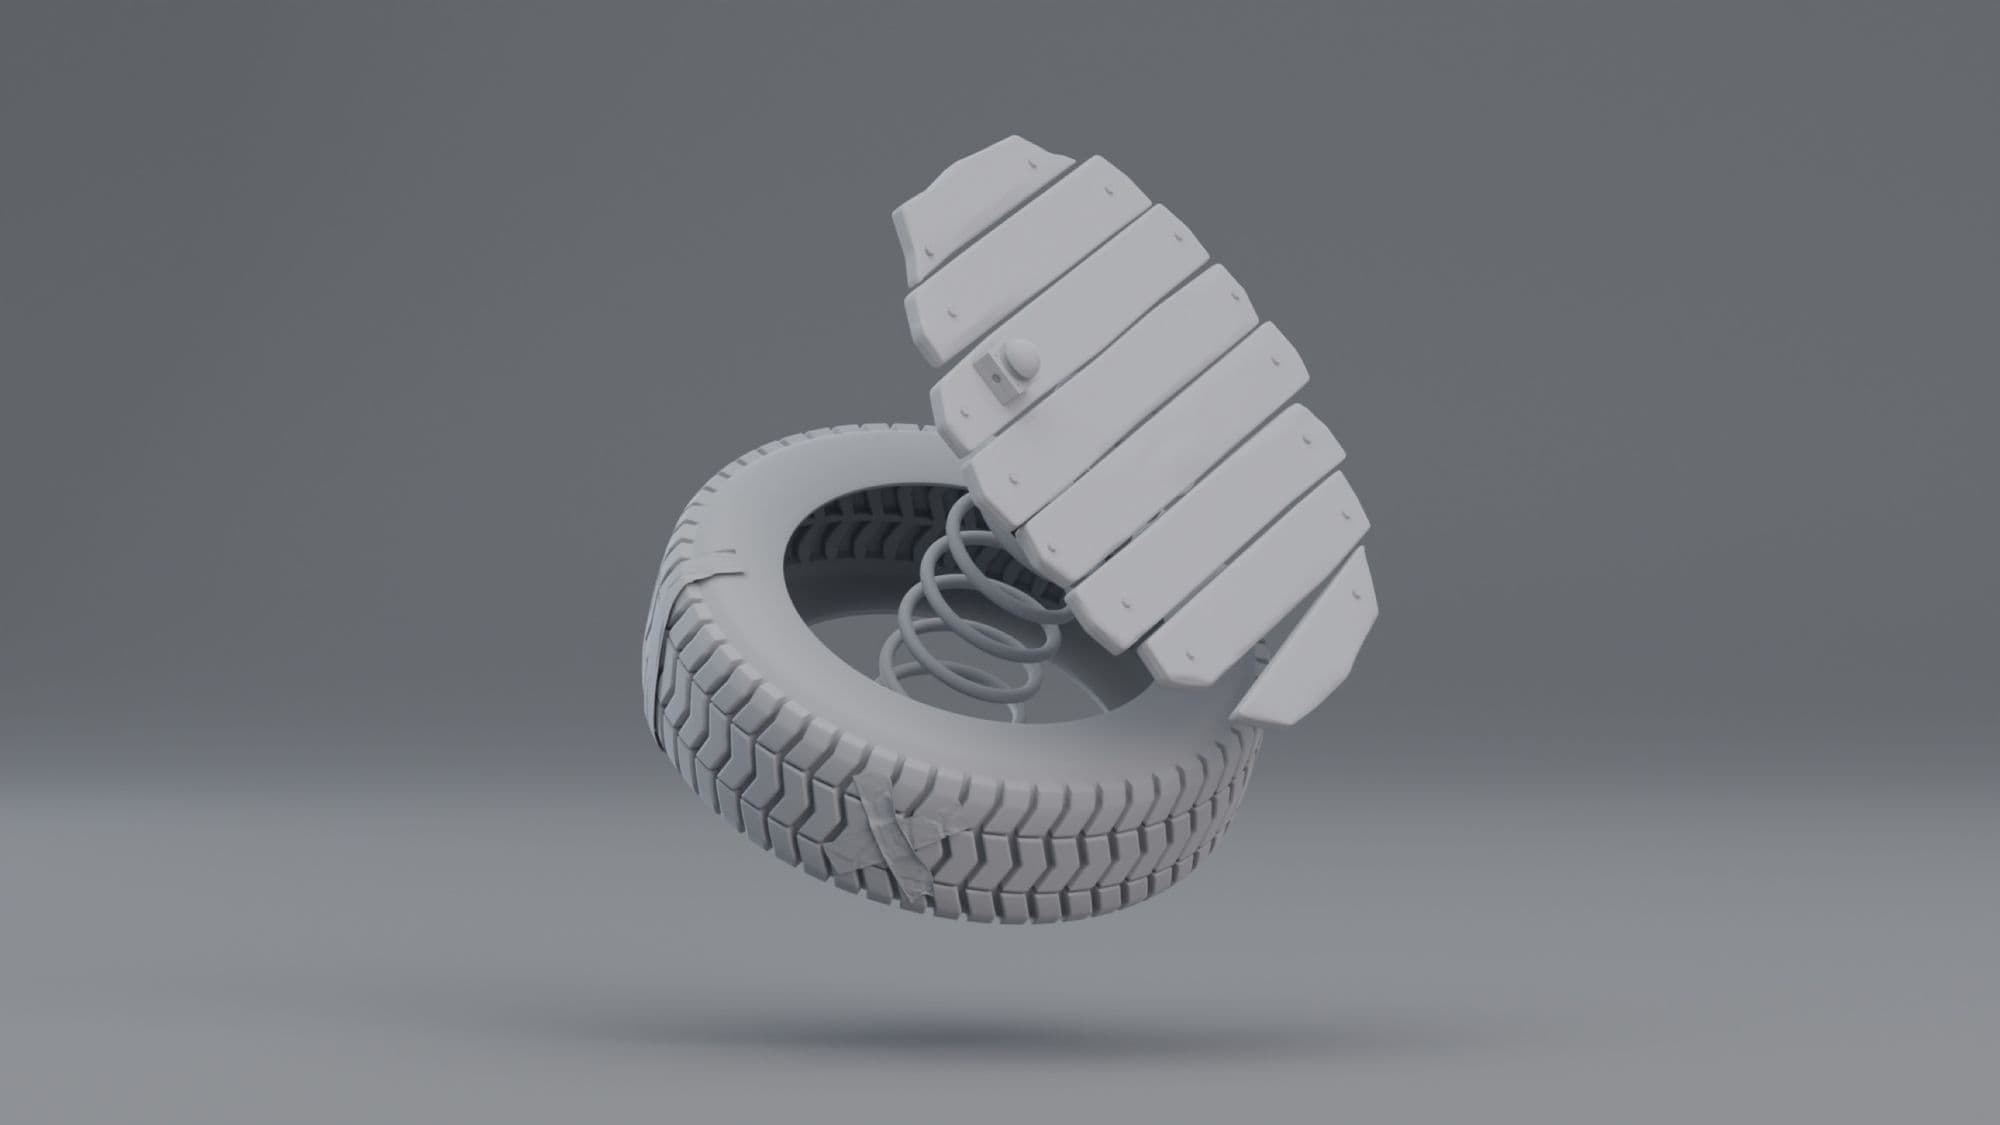
The rest of the required geometry, such as the tire, wood planks, duct tape, spring, screws, and the power button for the turntable was modeled in Blender.
turntable model
The model of the shopping cart is a free model from CGTrader.com. You can download the model here.
Cloth
With every personal project I try to teach myself something new. In this case, it was creating and simulating clothes using Marvelous Designer. In case you are just starting out with Marvelous Designer, I can highly recommend Daniel’s youtube channel. He is a Character TD at Walt Disney Animation Studios now and has a very in-depth tutorial series for beginners. Even though the videos are quite long, I learnt a lot and they are worth every minute.
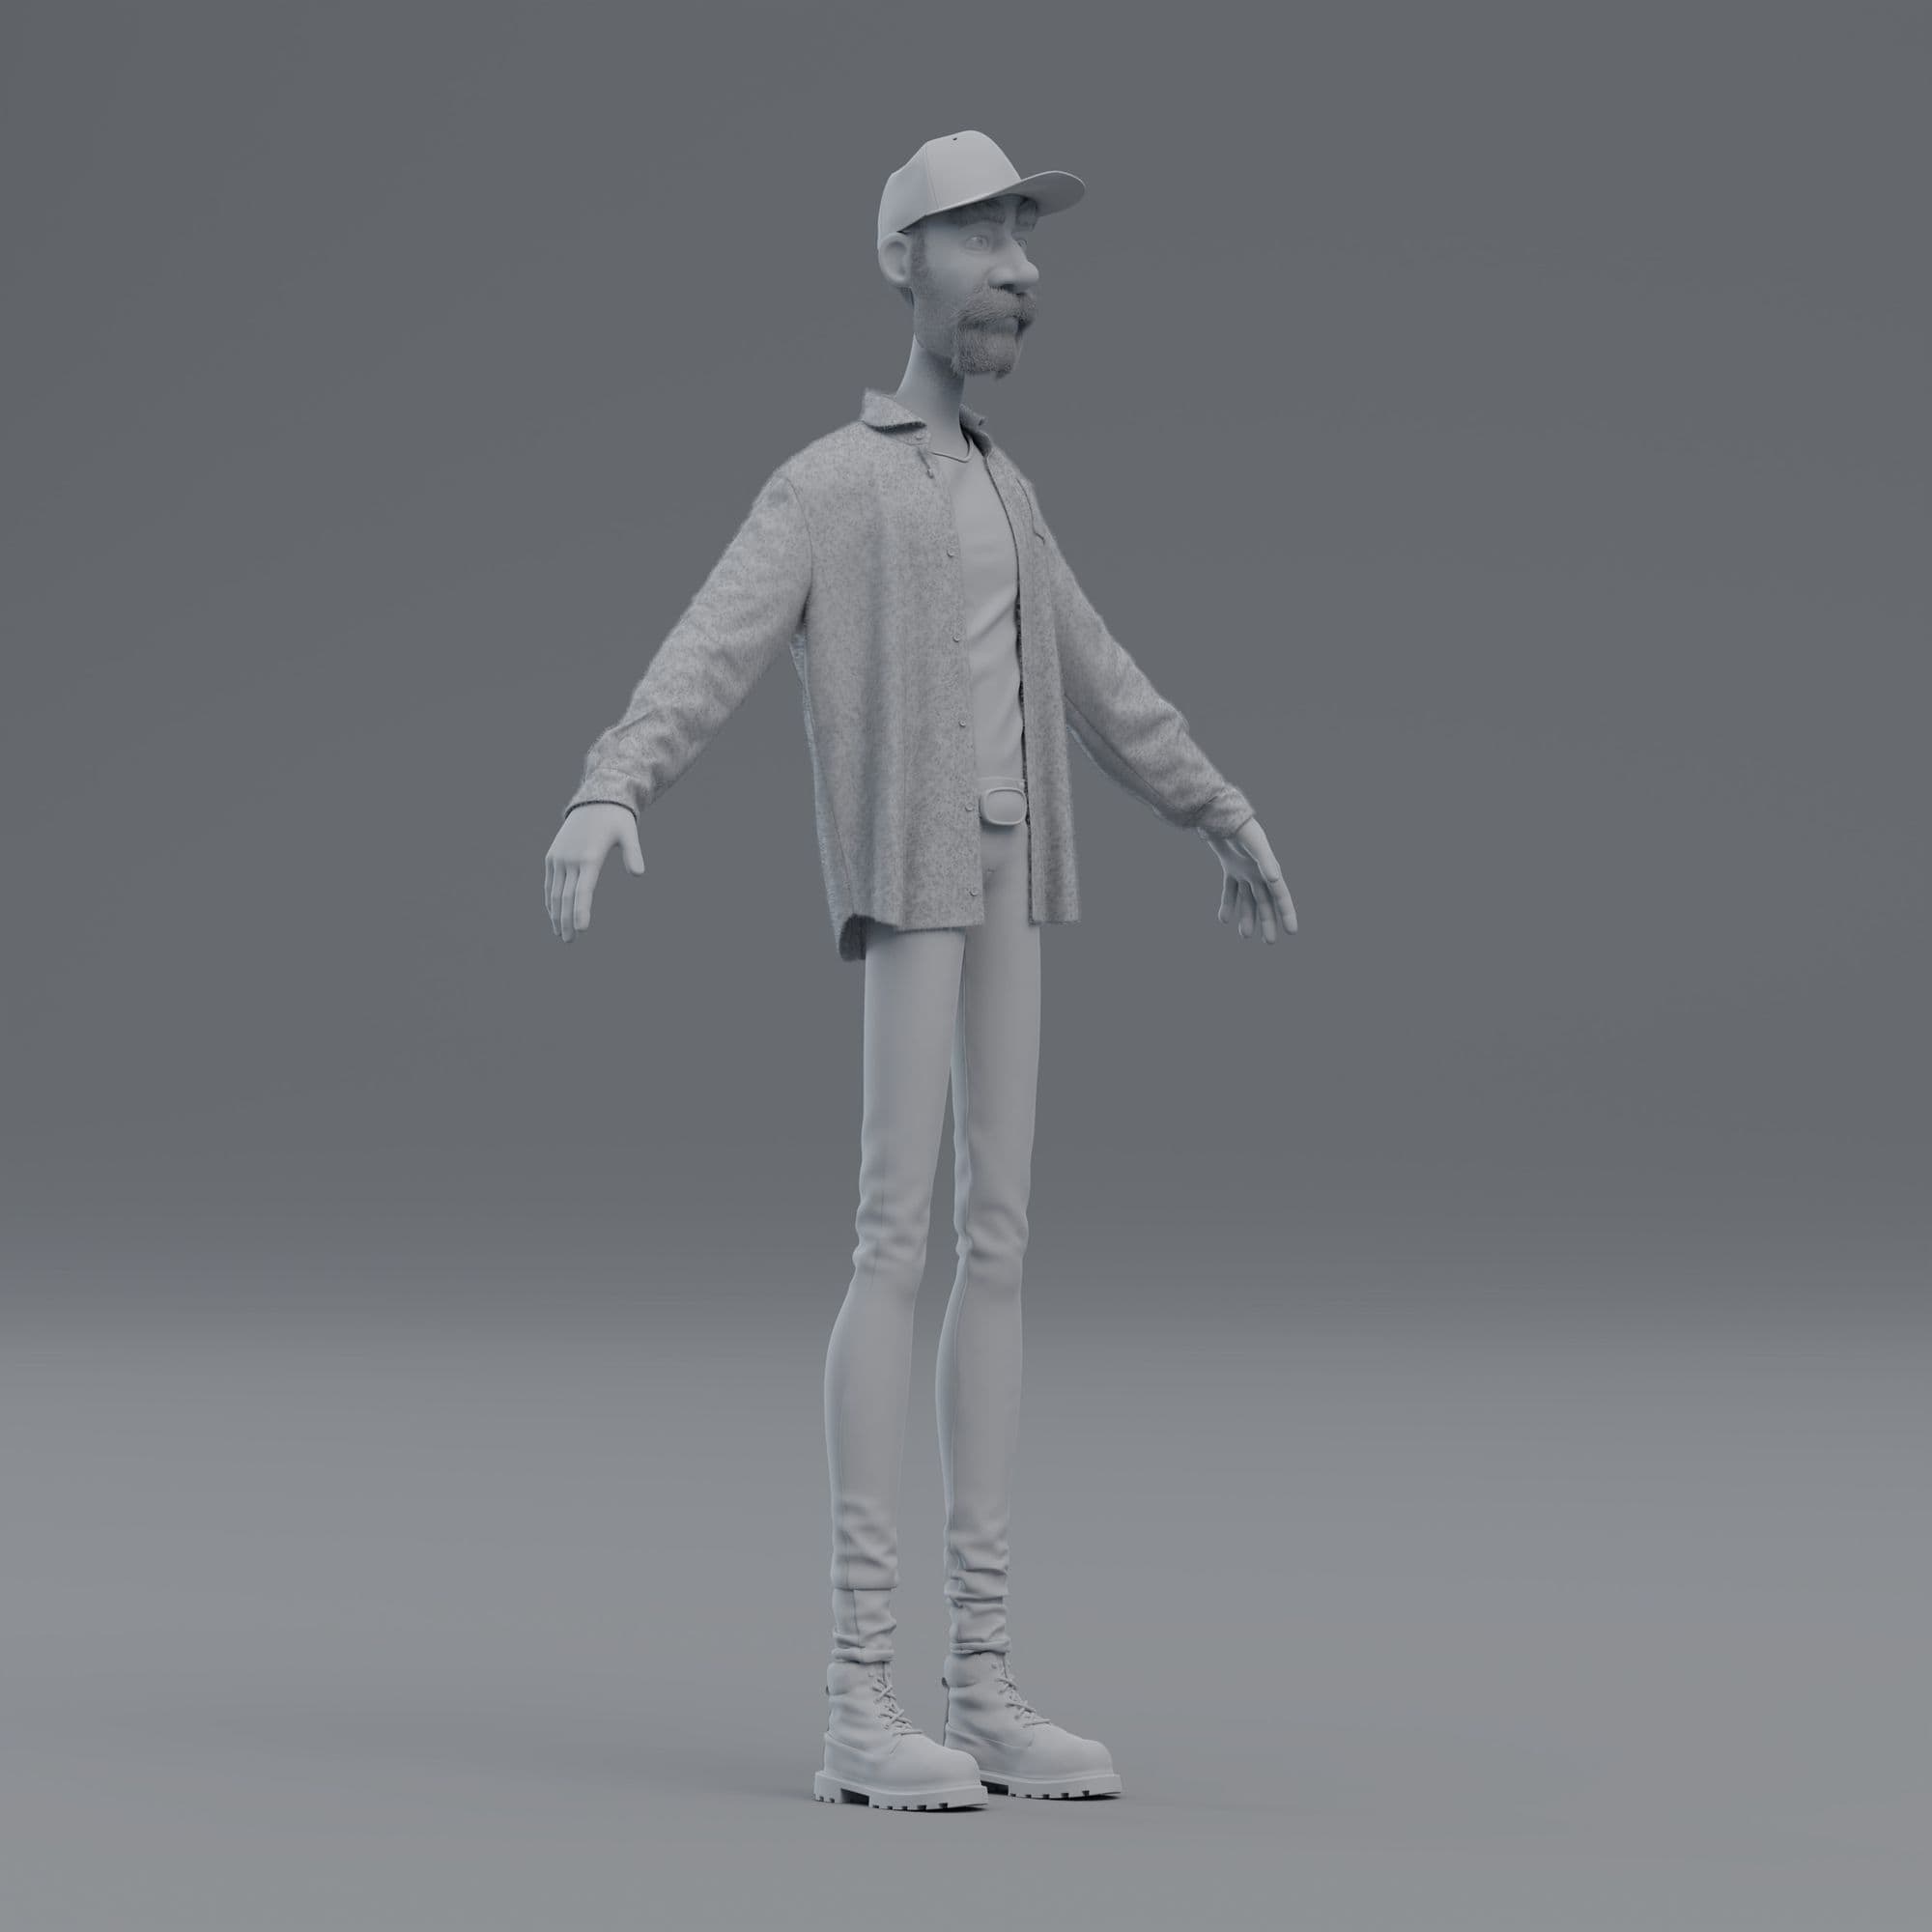
After finishing my garment patterns I exported each piece of clothing as unwelded and single sided geometry. Back in Blender, I added a Solidify-Modifier to give everything the required thickness.
complete model + clothing
To simulate Rick’s shirt, I exported a simplified version of my animated character geometry as an Alembic Cache file from Blender and imported it back into Marvelous.
It is important to have the character in the origin of the scene matching the clothing’s rest pose at the beginning of each animation shot. This is how you make sure the clothing moves properly with the character through world space. To enhance the fluttering of Rick's shirt in the opening sequence, I also added a wind controller.
cloth simulation in Marvelous Designer
Marvelous offers a wide range of fabric presets, so you hardly have to deal with the physical attributes yourself. To find a suitable preset for the garment, I created several caches. After comparing them, I was able to pick my personal favorite.
comparing different fabric presets
Particle Hair
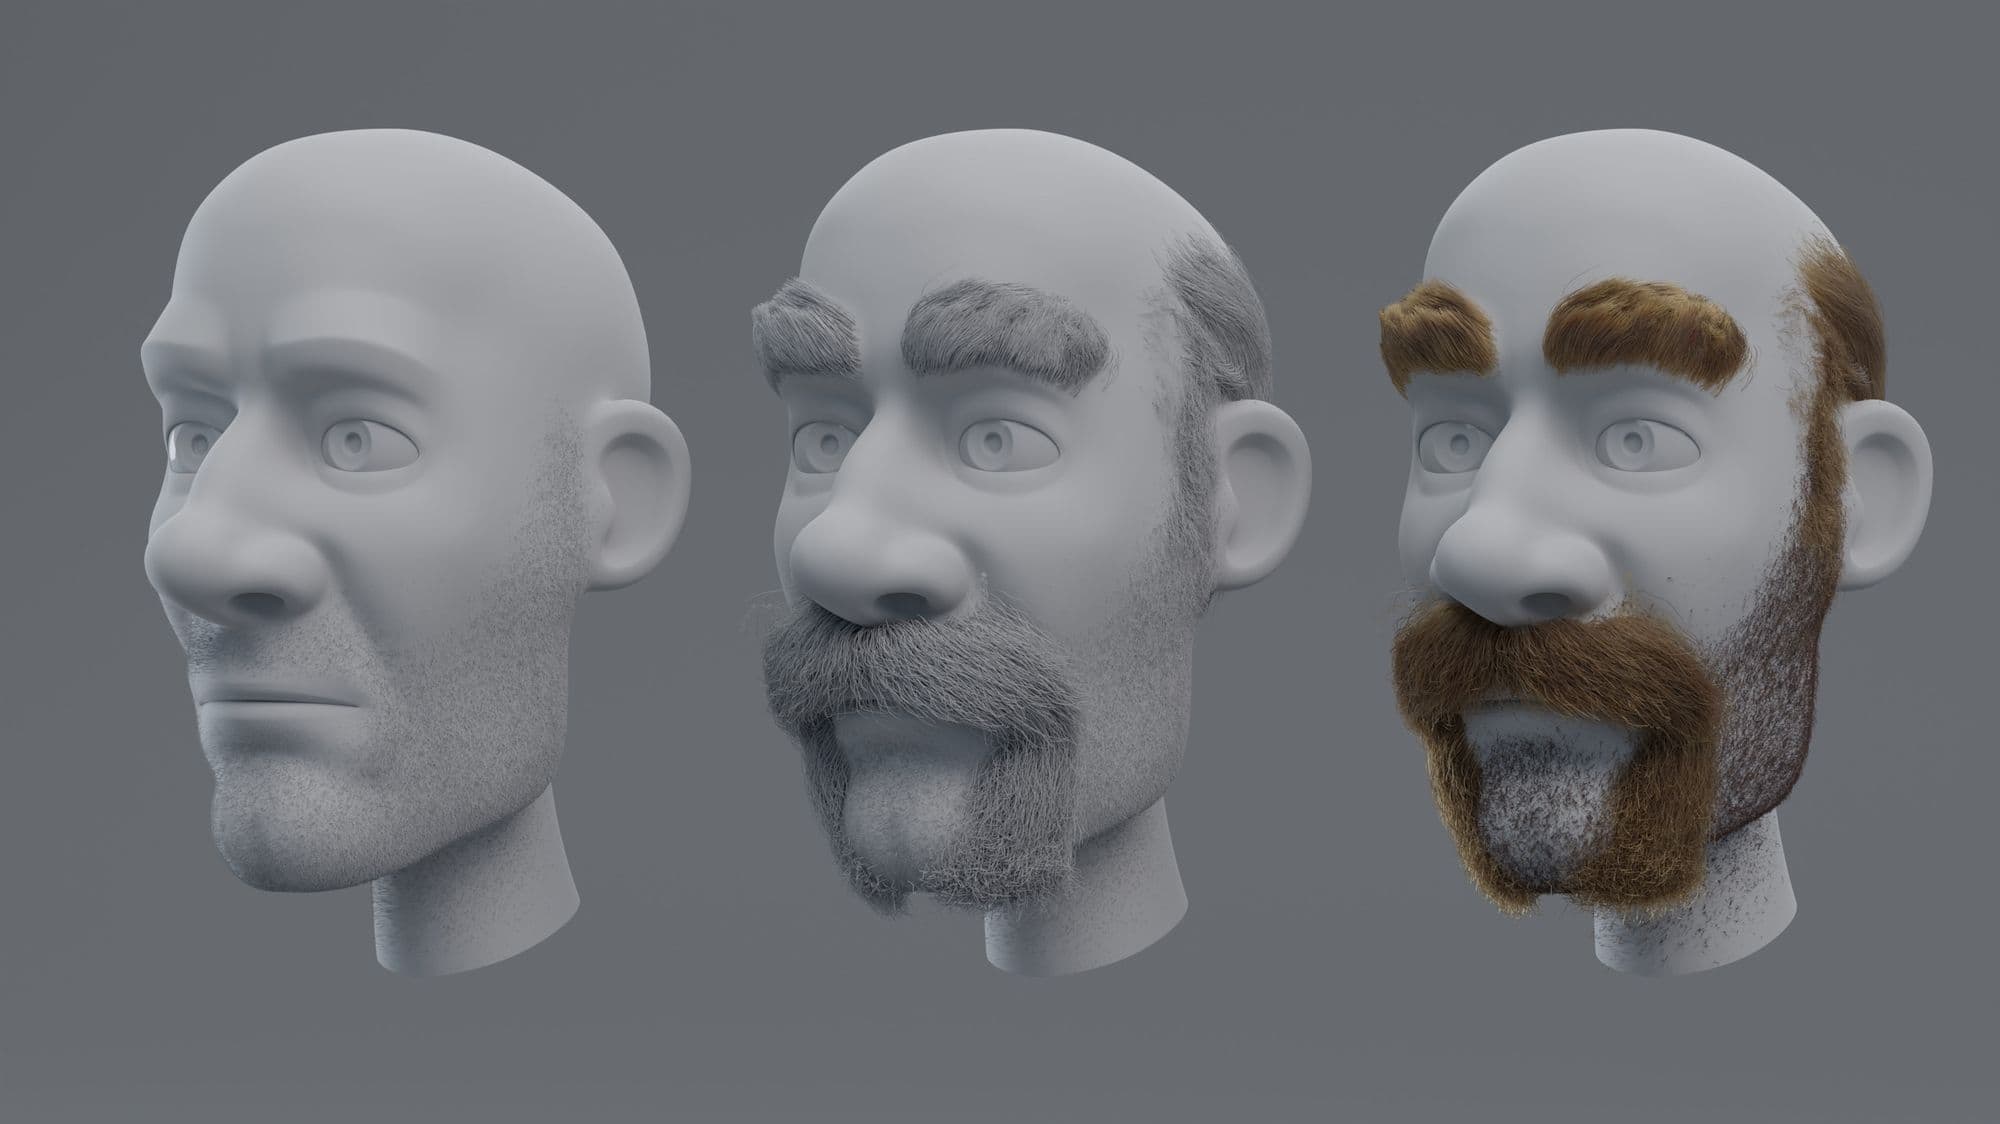
For my character I created a scruffy looking beard and big eyebrows. To create the beard I actually used three different particle systems. This allowed me to create different chunks of hair to add more detail and realism to this area.
facial hair
While creating particle-based hair in Blender is fairly simple and straightforward, I don’t want to talk about how to actually create hair but more about what problems I ran into and how I tackled them.
When creating bigger chunks of hair I usually start with the bare minimum of keys for my particles. This allows me to quickly change the overall shape of my hair volume. Once I am happy with the base, I add more keys and detail to the shape of the hair. Especially if you plan to simulate hair like me, I recommend adding more keys to your particles. Having more keys will help during simulation when it comes to collision, because there are more points that can actually detect it.
To add more keys to a particle strand, you select your particle, go to the “Particle” menu and choose “Rekey”. A modal should pop up where you can insert the desired amount of keys for your selected particles. And here is the downside. When rekeying your particles, Blender resets the default particle weight to 0 for every key. This is a very undesirable behavior and after doing some online research I found out, it is actually considered a bug. Here you can find a more detailed explanation of the issue.
Instead of manually repainting the weights for every single particle, I wrote myself a custom python operator, which allows me to recalculate particle weights based on a given easing function. A little demonstration of the issue and the operator can be seen in the video below.
fixing particle weights after rekeying
Rigging
When rigging characters or props in Blender, I mainly rely on Rigify. Rigify is a Blender Addon that simplifies and automates the tedious process of rigging.
turntable rig
Especially for artists who want to rig their own characters in a quick and easy way, the existing Meta-Rig templates are a great choice. The Basic Human Meta-Rig comes with common features like IK/FK and Space Switches as well as a solid Face Setup.
Even though the Face Rig allows a wide range of deformations, it can be beneficial to add extra controllers to create further deformations using Shape Keys. If the model is symmetrical, I recommend the Shape Key Manager Pro addon. This little tool allows you to mirror shape keys and their drivers. This is a real time saver.
face rig demonstration
Animation
To test a new character rig I always start with a simple walk cycle animation. A full body animation like that reveals problems and other flaws within a rig fairly well.
first walk cycle animation for Rick
Character animation is a very tedious process. With so many different controllers and attributes one can animate, it's easy to lose track. During the Blockout stage I try to key all controllers on the same frame. This is how you keep your timeline clear and still have the chance to make fast and easy changes in timing and spacing.
first blocking pass
Throughout the animation process, I frequently sought feedback from colleagues or online forums. The easiest way to do this is to upload your animation to the online platform SyncSketch. There you can share your animation with others via link. Everyone who visits the link can look at the animation and make frame related comments or draw overs.
SyncSketch.com
Rendering
Anyone who has ever tried to render a longer animation with high resolution and a low amount of noise knows how much time and memory this step can take. Of course, there are render farms that can render your animations in minutes, but often at a very high price.
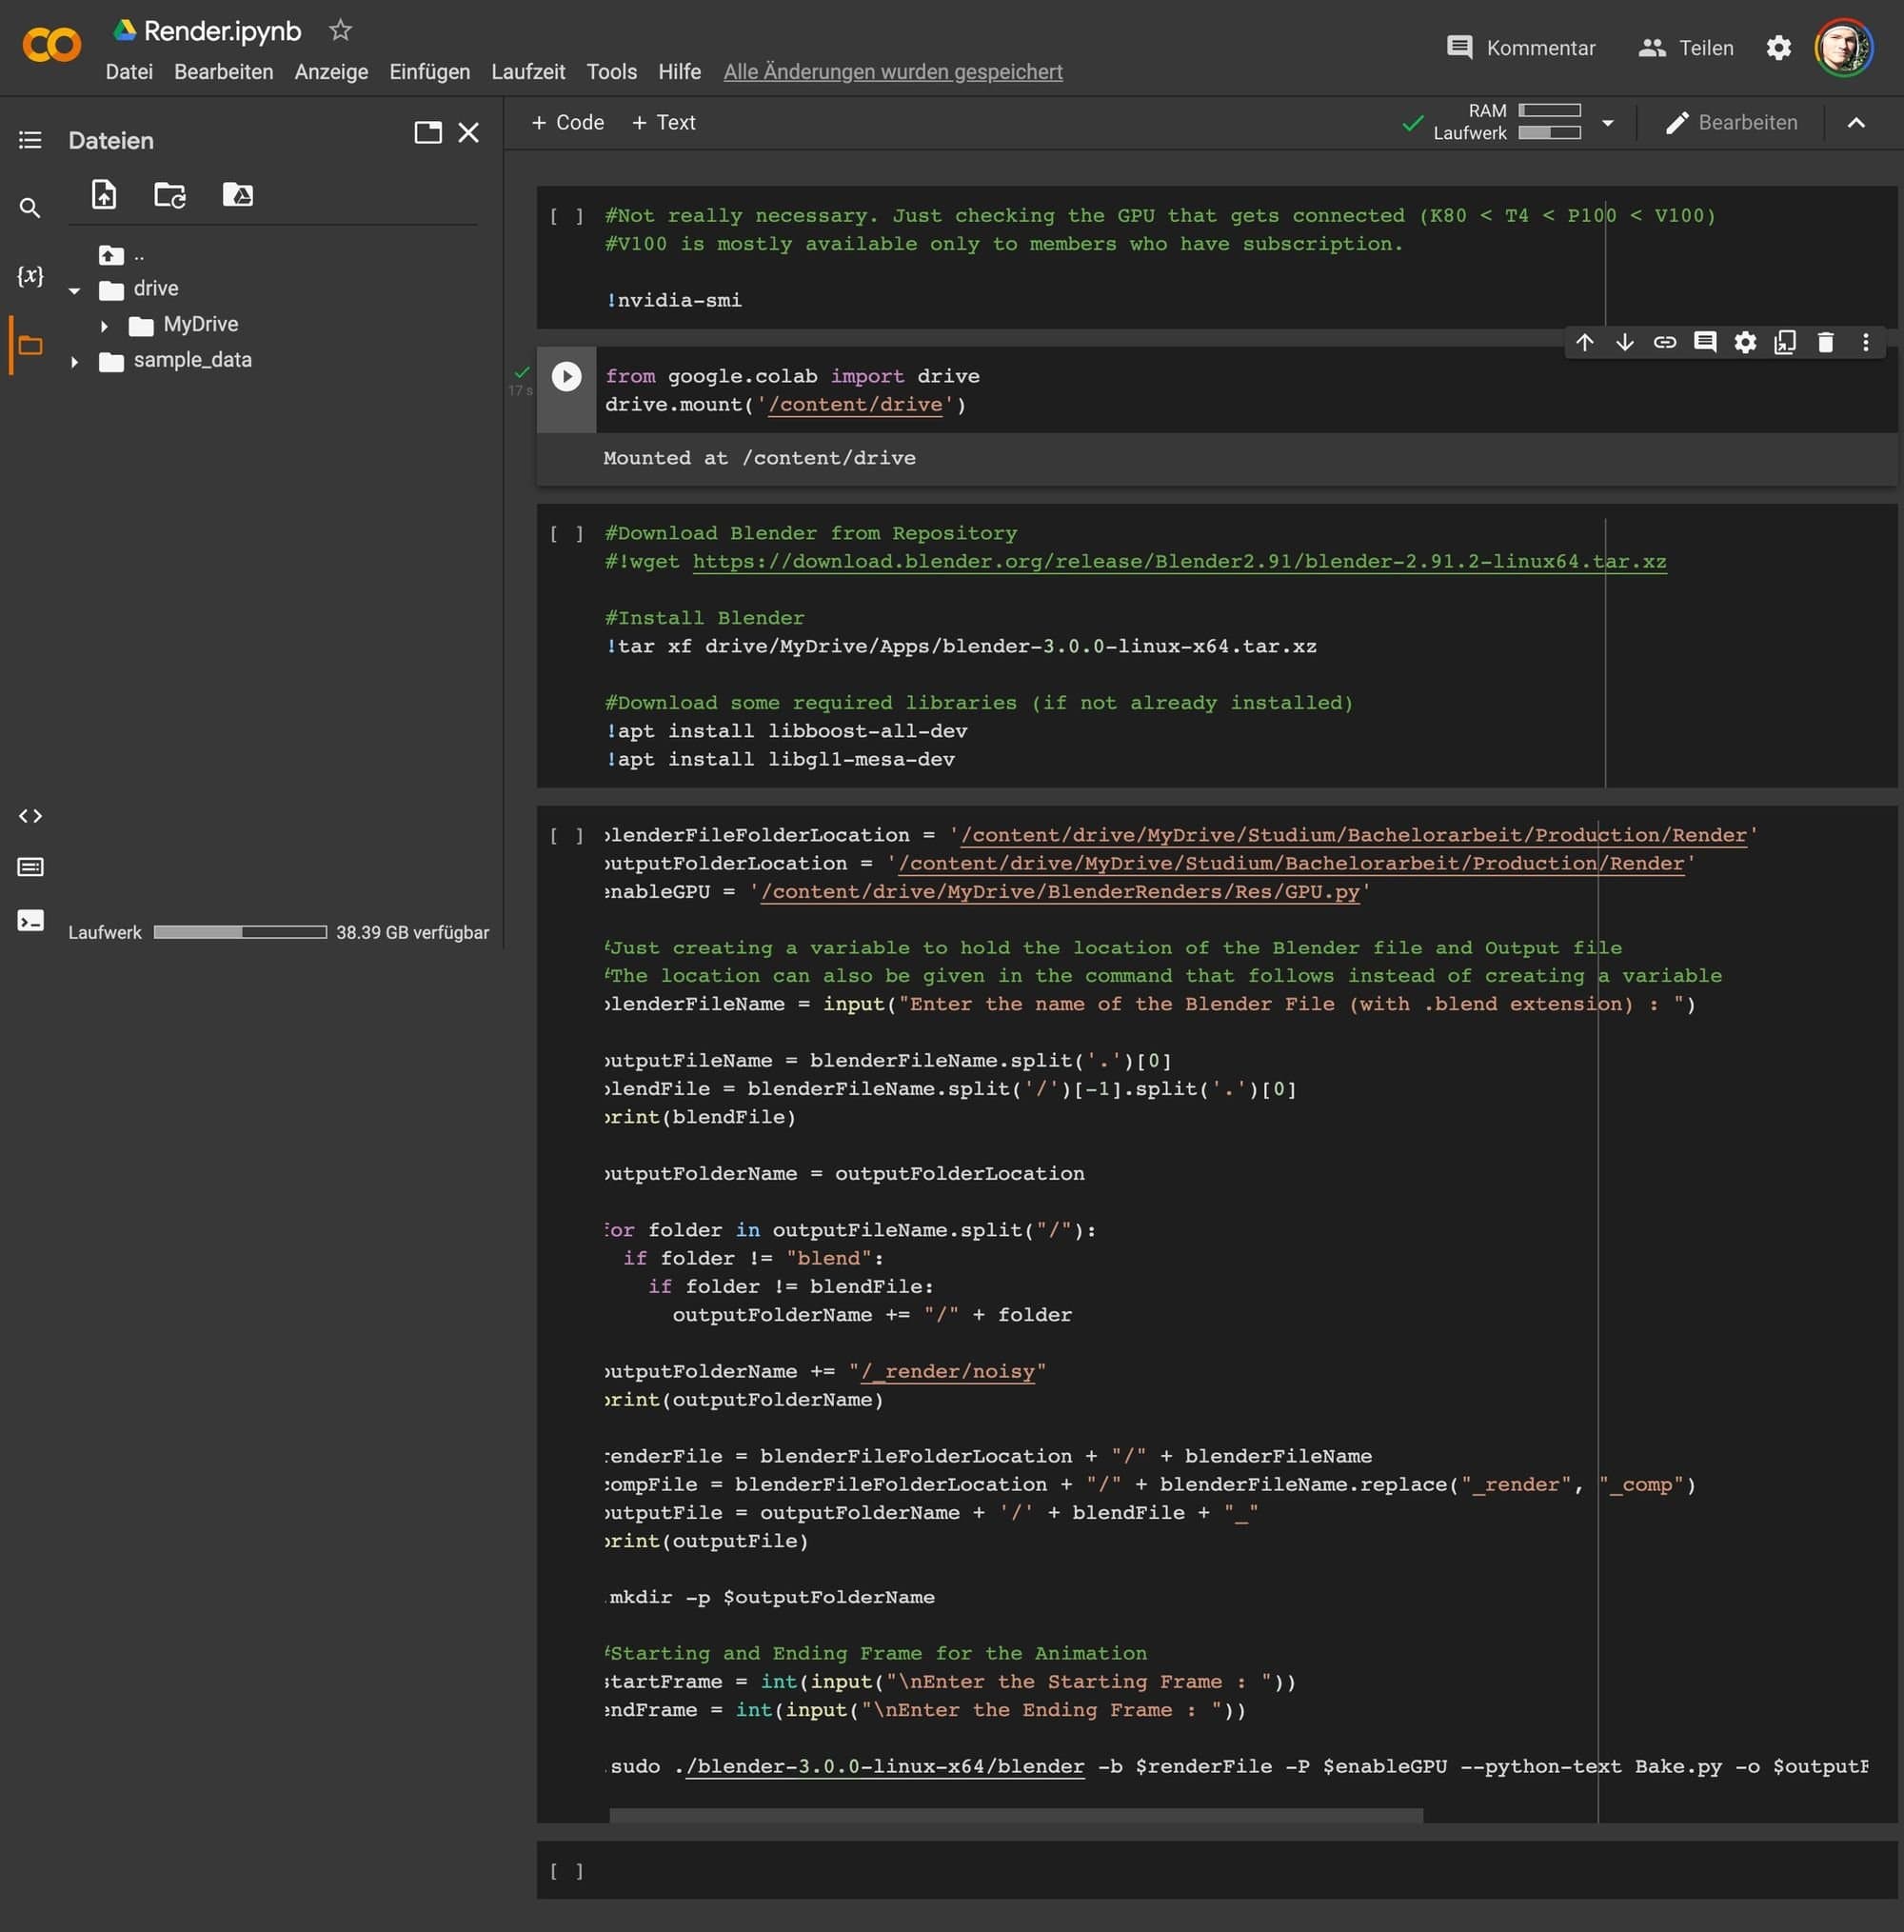
Command Line Rendering in combination with Google Colaboratory is a free alternative. Originally developed for data analysis, machine learning and educational purposes, Google Colaboratory allows you to execute python code through your browser.
With the interface for Google Drive and the access to GPUs hosted by Google, one can start rendering animations with external hardware for free. The only real downside to this workflow is the fact that you need some programming knowledge to set it up. But once you have a working template and you stick to your file naming conventions, it's easy as pie. In this tutorial you get more in depth information about how to set it up.
Google Colaboratory Dashboard
Editing
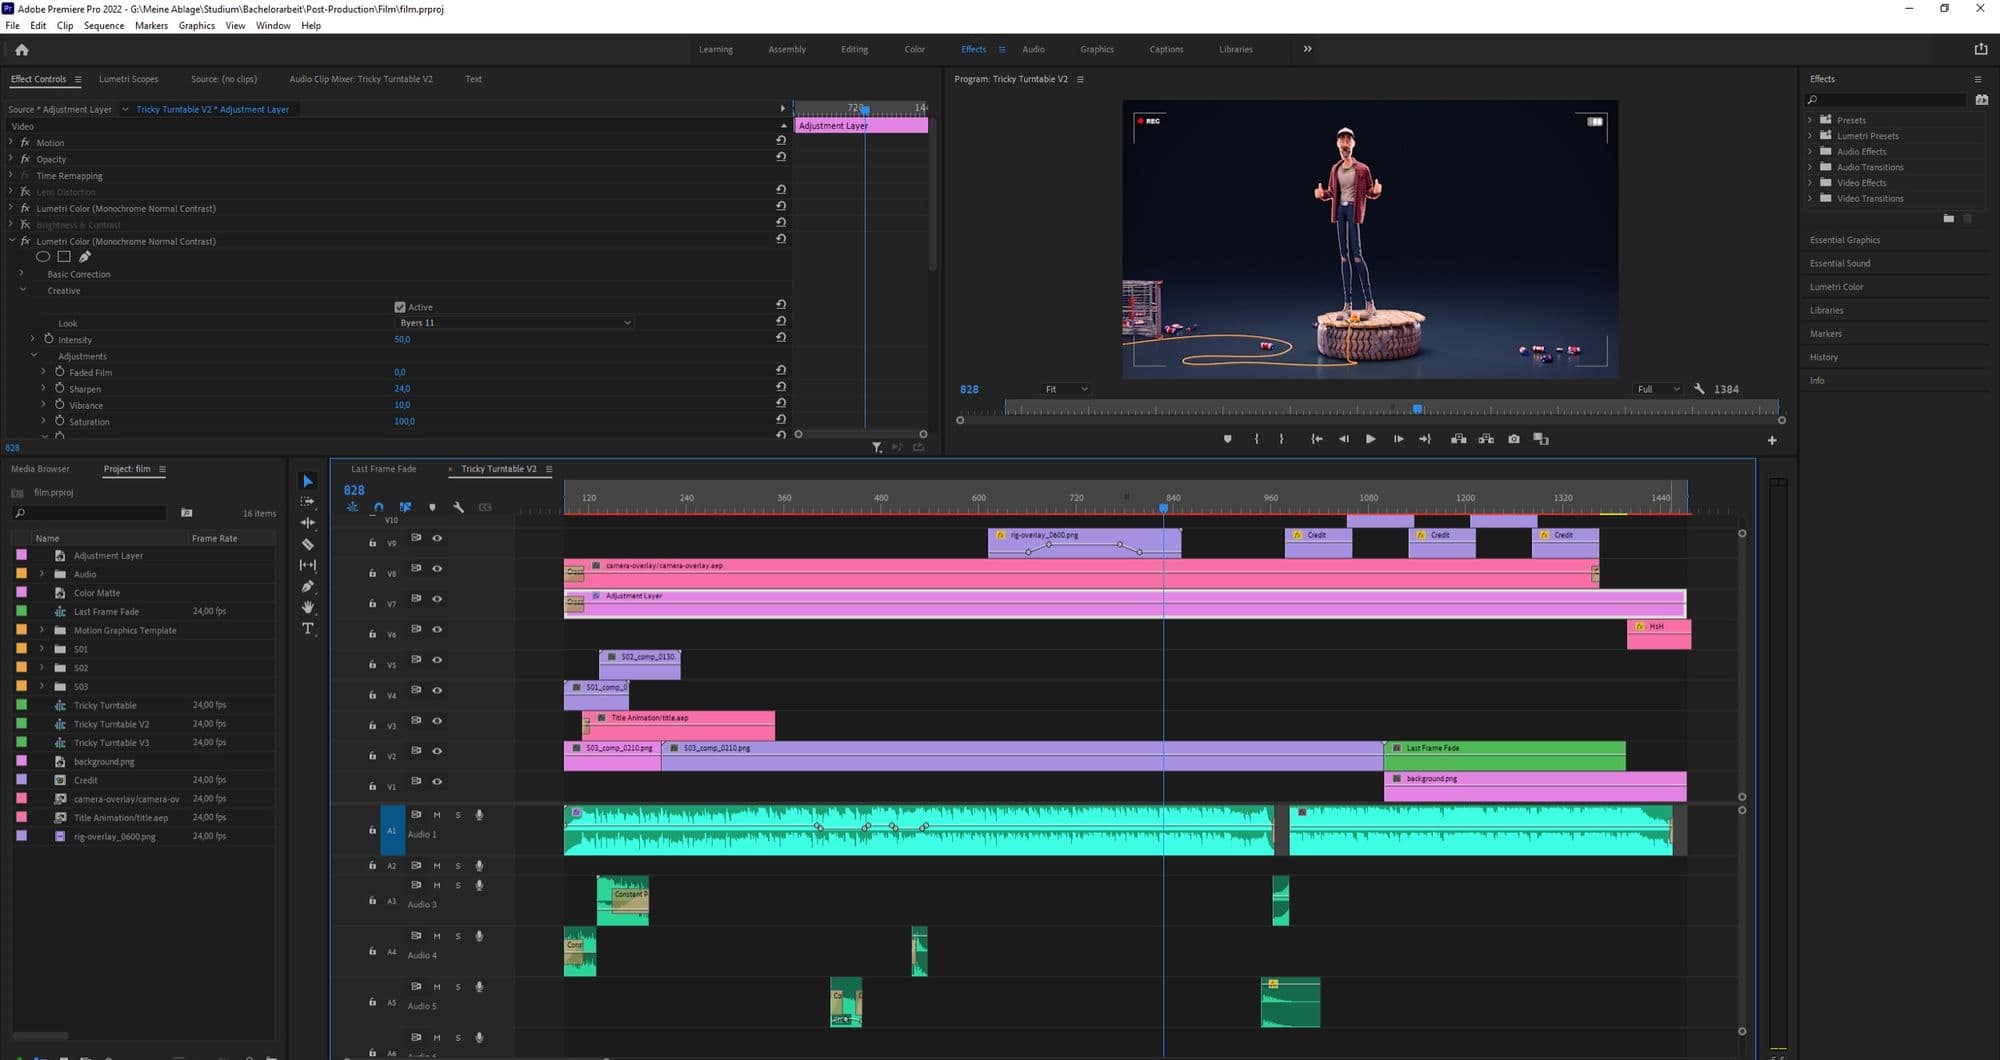
For the final edit of my animation, I imported all the shots into Premiere Pro and cut them together. The animation of the credits was done in After Effects. There, I created a motion graphics template that allowed me to change properties like text when it was imported and inserted into a sequence in Premiere Pro.
Premiere Pro Timeline
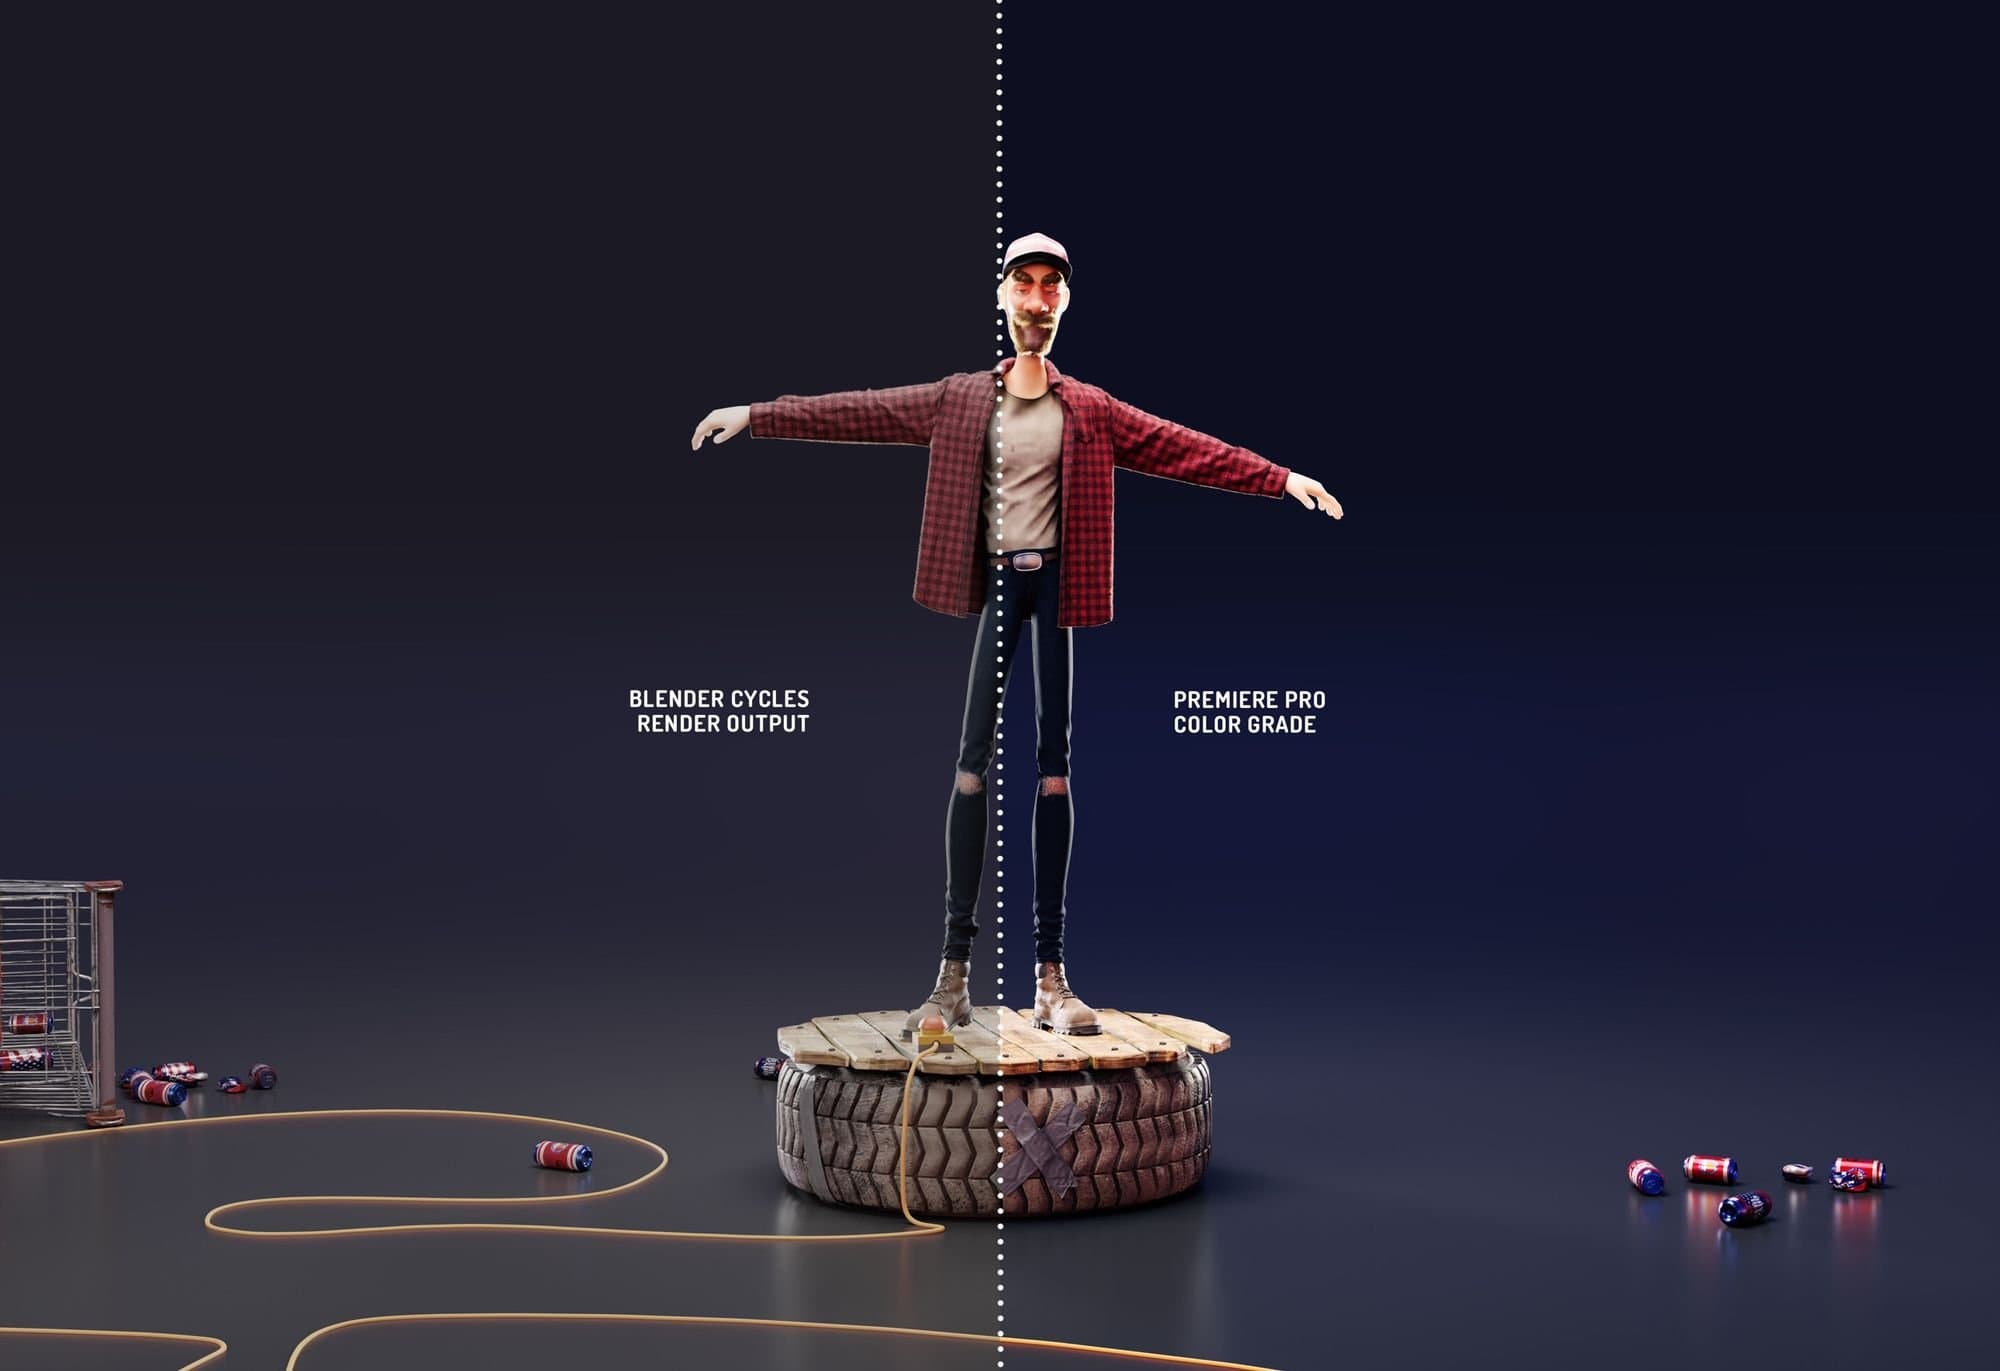
When I light my scenes in Blender, I try to keep them as neutral as possible. Even though that means the rendered image might look a little flat and washed out, that's usually exactly what I want. Just like filming raw footage with a real camera, the colors look flat and low-contrast. Yet with a flat output, you have more control over the colors at the grading stage. To grade my footage I mainly rely on applying LUTs using the Lumetri Color Effect in Premiere Pro.
Grading
Conclusion
I can say for sure that this project has set a new milestone for me and my work as a 3D artist. I learnt a lot of new things, unfortunately too many to mention them all in this article.
I hope you enjoyed your time reading and maybe even learnt something as well. In case you are curious and want to know even more about certain steps, don't hesitate to reach out and contact me. I am always willing to reply any questions and help out wherever I can.
Finally, I also want to take the chance and say »Thank you!« to the Rookies team for inviting me to write this article.