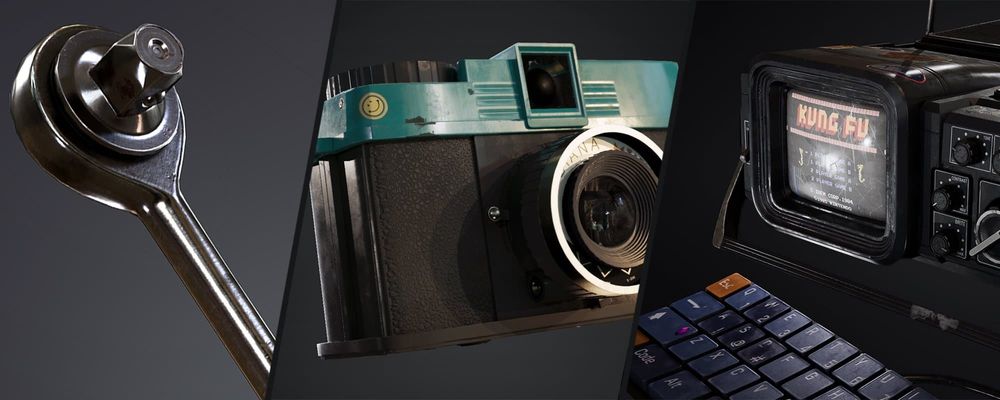
Hard Surface Props: A Collection of Game-Ready PBR models
Tatiana Devos, a second year game art student at Howest University of Applied Sciences - Digital Arts and Entertainment, shares how she textured and curated a collection of game-ready props for her 3D portfolio.
Currently preparing for an internship, Tatiana shares how she modeled and textured a collection of game-ready hard surface props for her portfolio.
For this collection, my main focus was on learning more about Substance 3D Painter, and understanding the complete pipeline of creating a PBR asset.
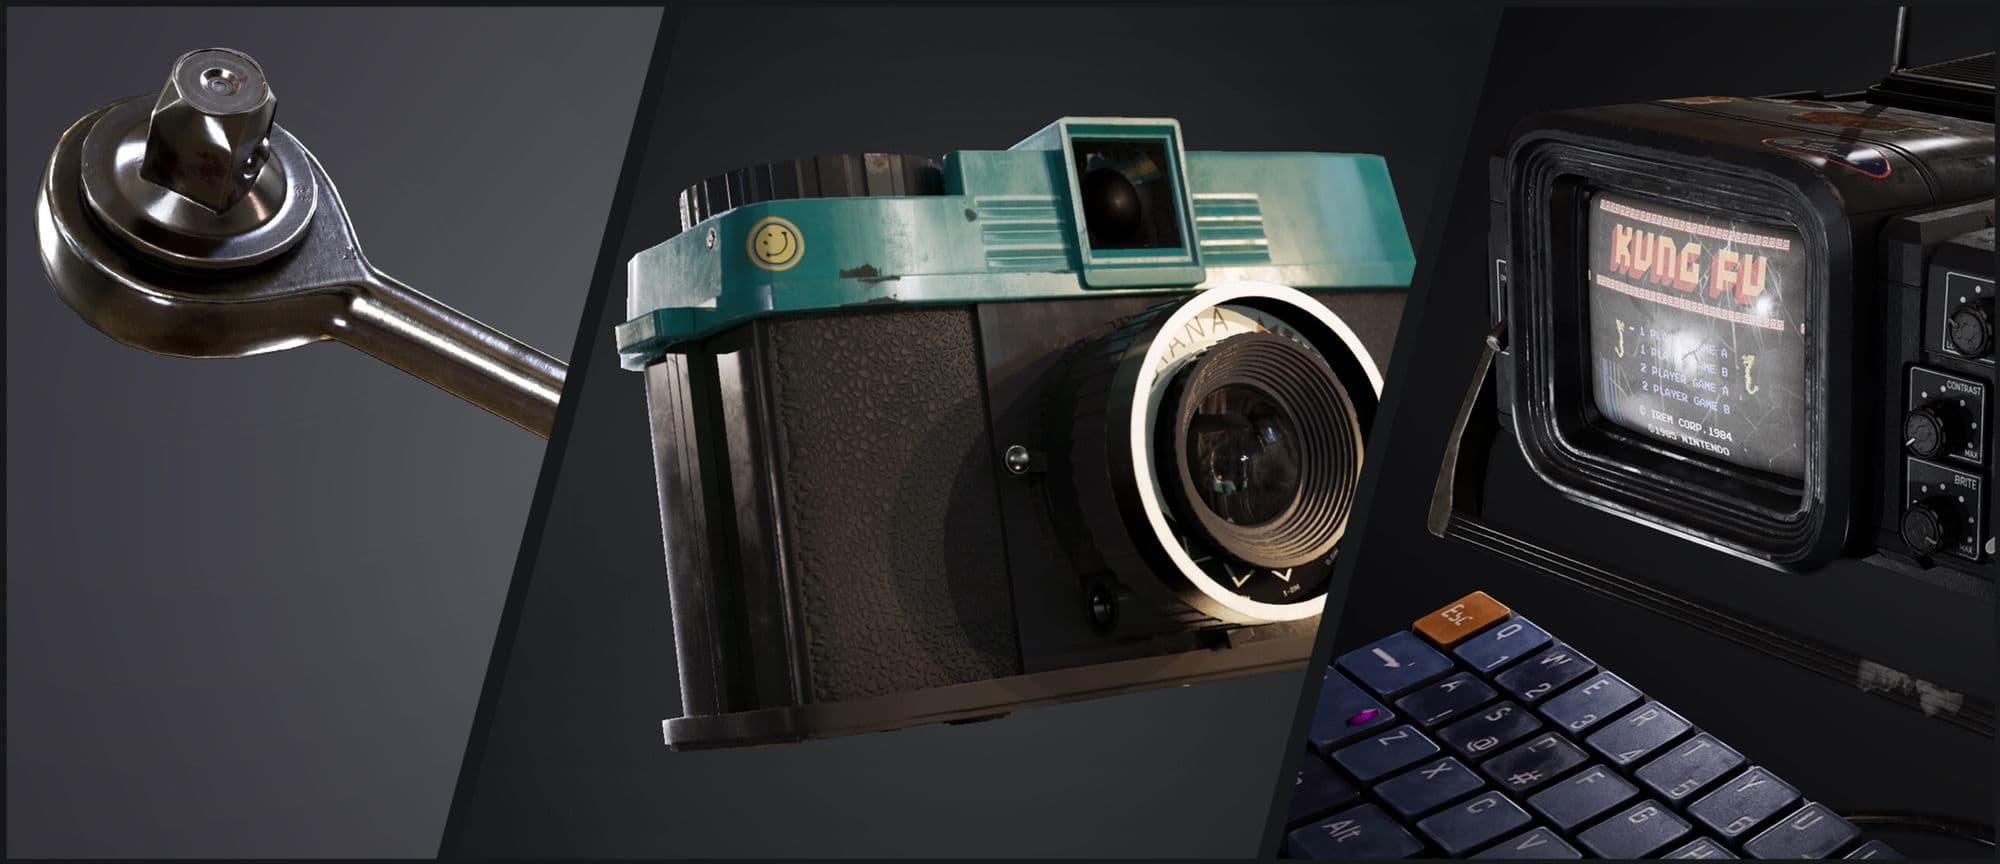
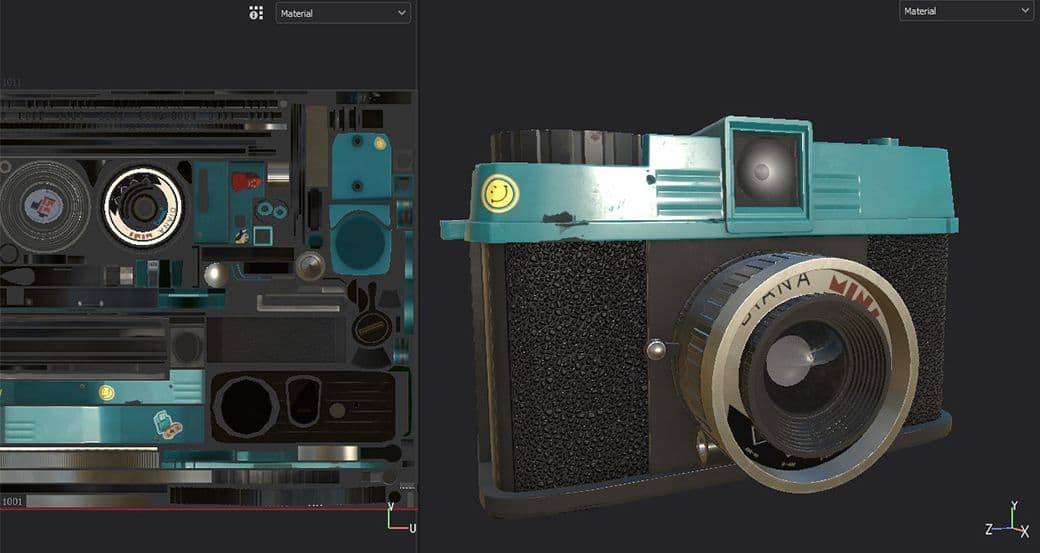
I started off with a smaller prop; a simple socket wrench that I got from a friend. This way I could focus more on the texturing, and keep the modelling rather simple. Once I understood the basics, I took it one step further with an analogue camera I had laying around in my room. The model was somewhat more complex than the previous asset, and the texturing part also came with new challenges. For my final project, I combined everything I knew to create the asset that would express my skills and knowledge.
To give you an insight into my process, I will visualise a step-by-step breakdown of the creation of these assets. Enjoy!
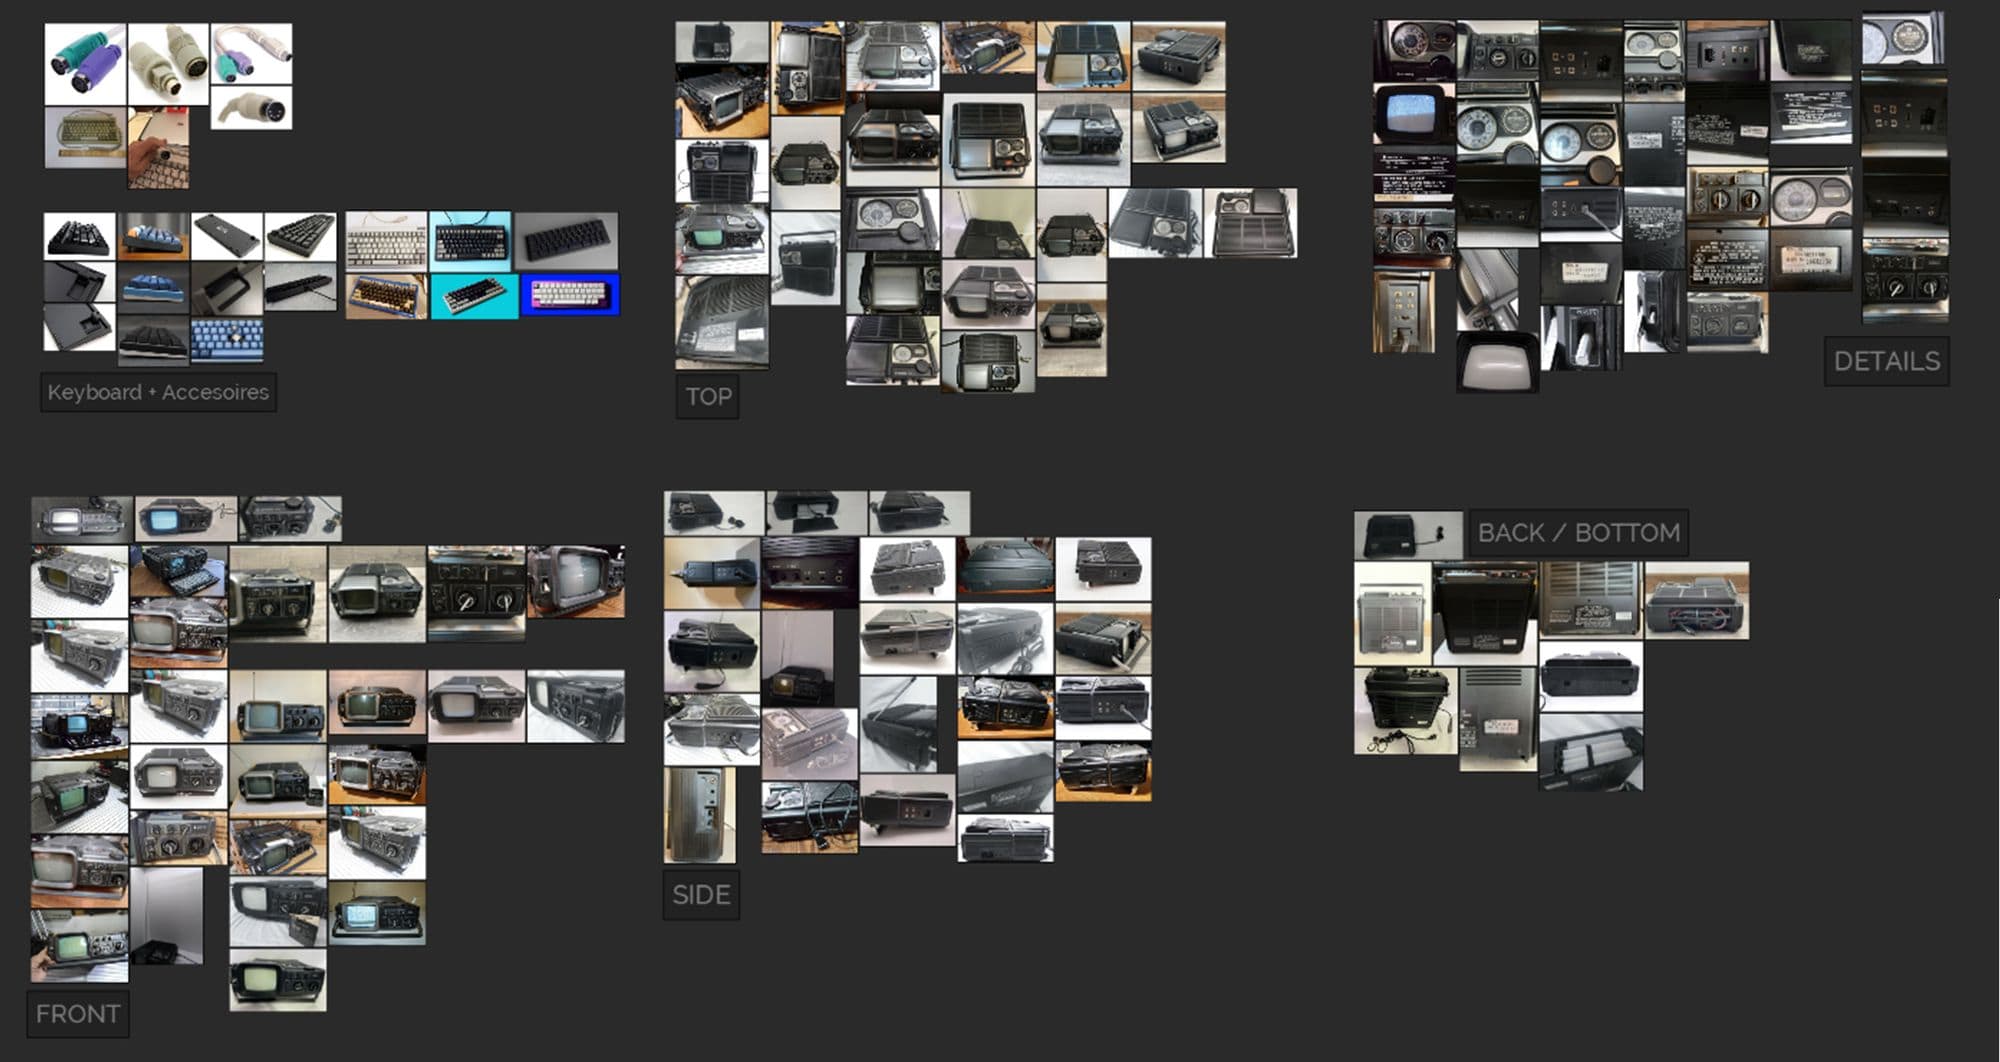
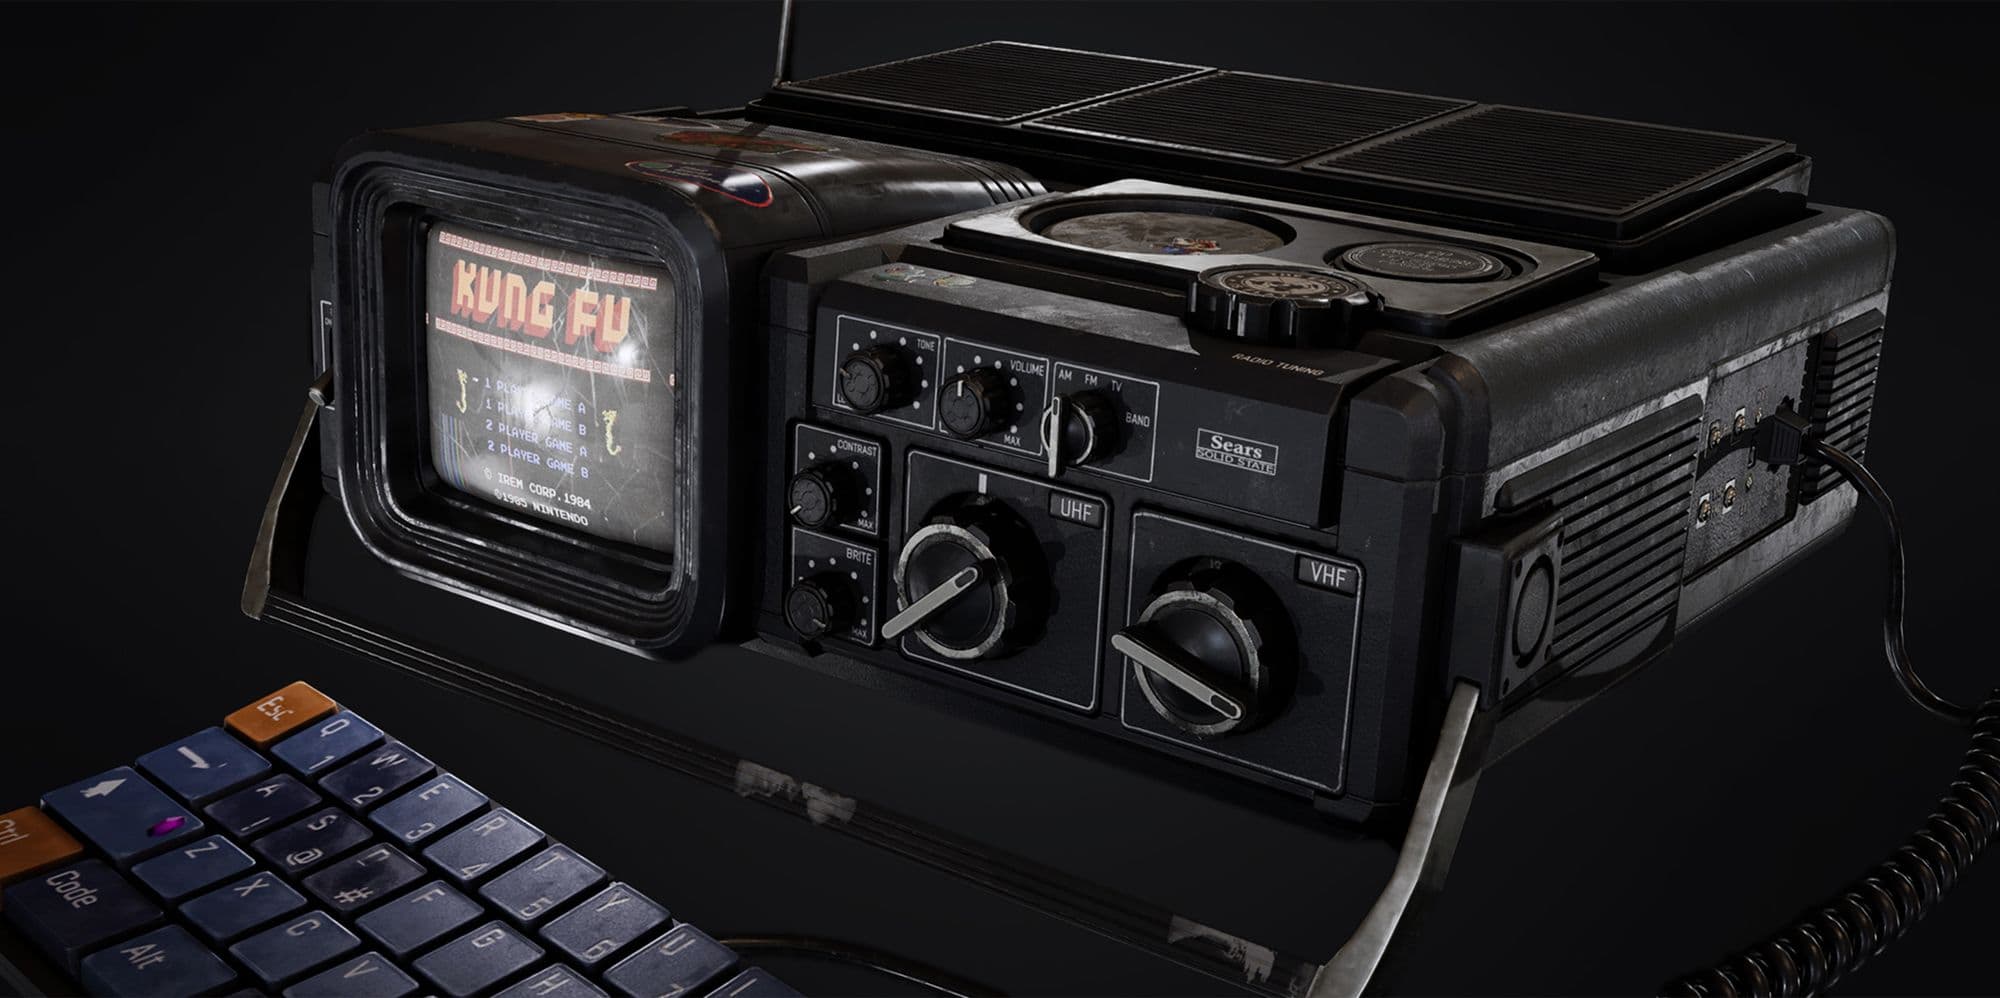
The first step of all projects is coming up with an idea, and finding a good amount of reference to support that idea. Each project had its own guideline, from being just a simple tool to a complex object with a “Mercenary’s Hideout” theme.
For all of these projects, I started off by googling items that fit the chosen guideline. Once I found an interesting item I wanted to recreate, the process of gathering references started.
Because all of these assets are close to realism, I needed a lot of references of real life objects. This varied from shape reference to material reference, without forgetting about the smaller detail that makes an object interesting.
The Modelling Process
The Midpoly
Once I gathered all the shape references I needed, I opened up 3ds Max and started blocking out the bigger shapes. Once the overall proportions seemed fine, I started modelling all the larger details, without taking it too far. The mid-poly model is purely used as a middle ground between your low-poly and high-poly, and shouldn't be too high in detail at this point.
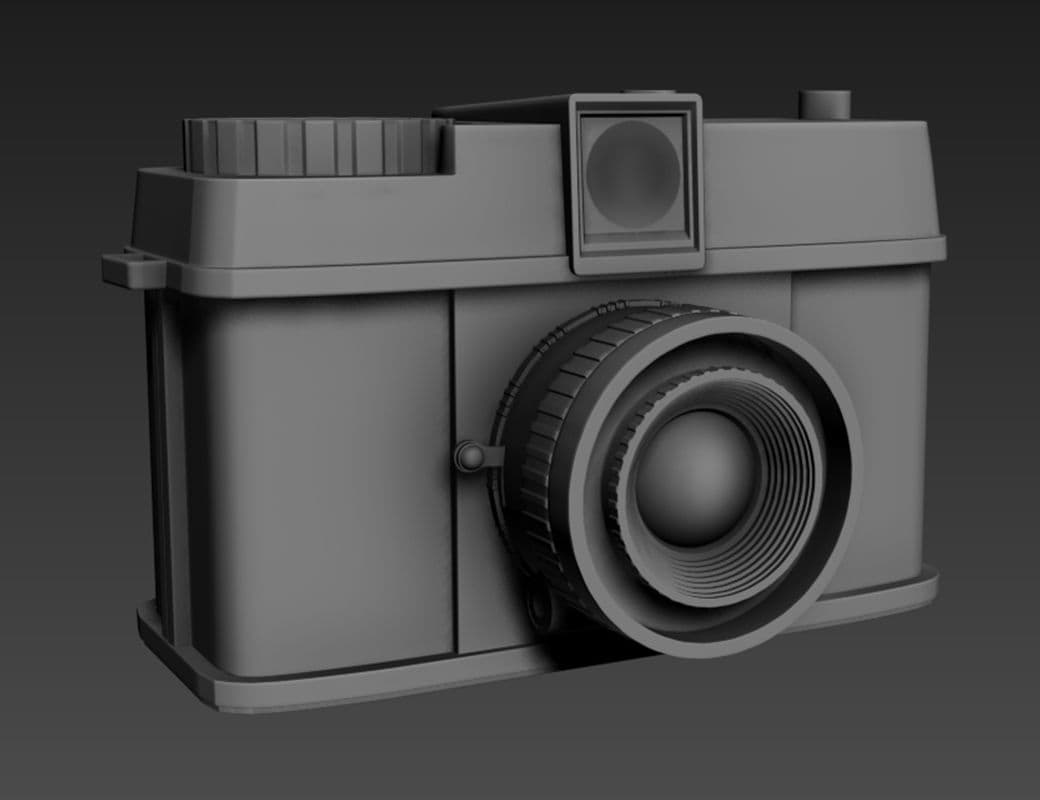
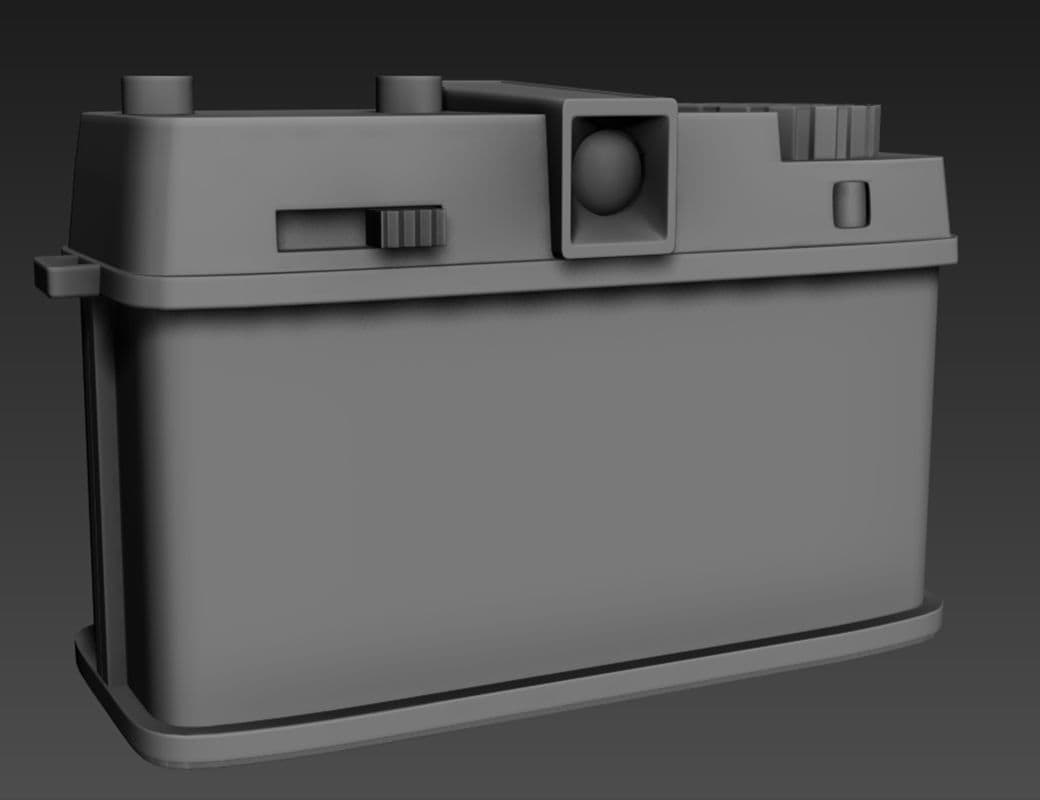
The Highpoly
With my mid-poly model being finished, I continued my work in ZBrush. This is where all the detailing and refining happens.
The first things I do after importing my model is creasing, dividing and polishing. The combination of these 3 things results in a nice and smooth high-poly model. It takes some time to tweak the sliders, but this method in ZBrush is way quicker in comparison to manually adding edgeloops in your 3d software.
This step is also extremely useful for sculpting extra details onto your mesh, without having to model them during your mid-poly phase.
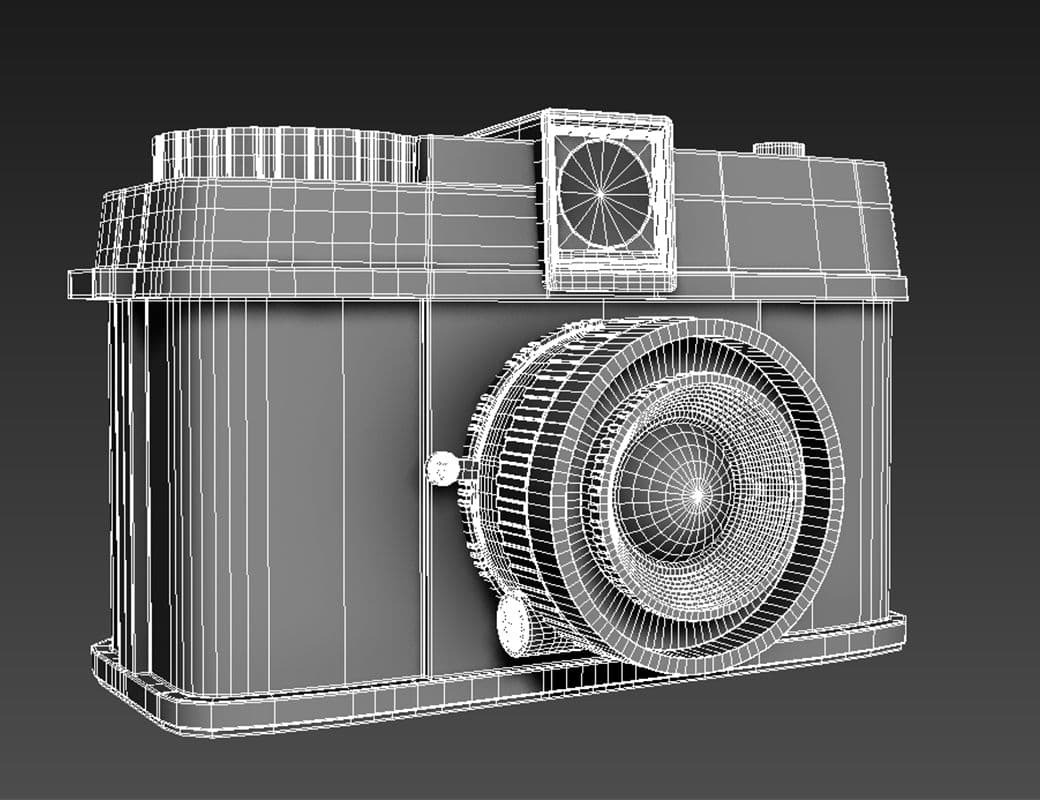
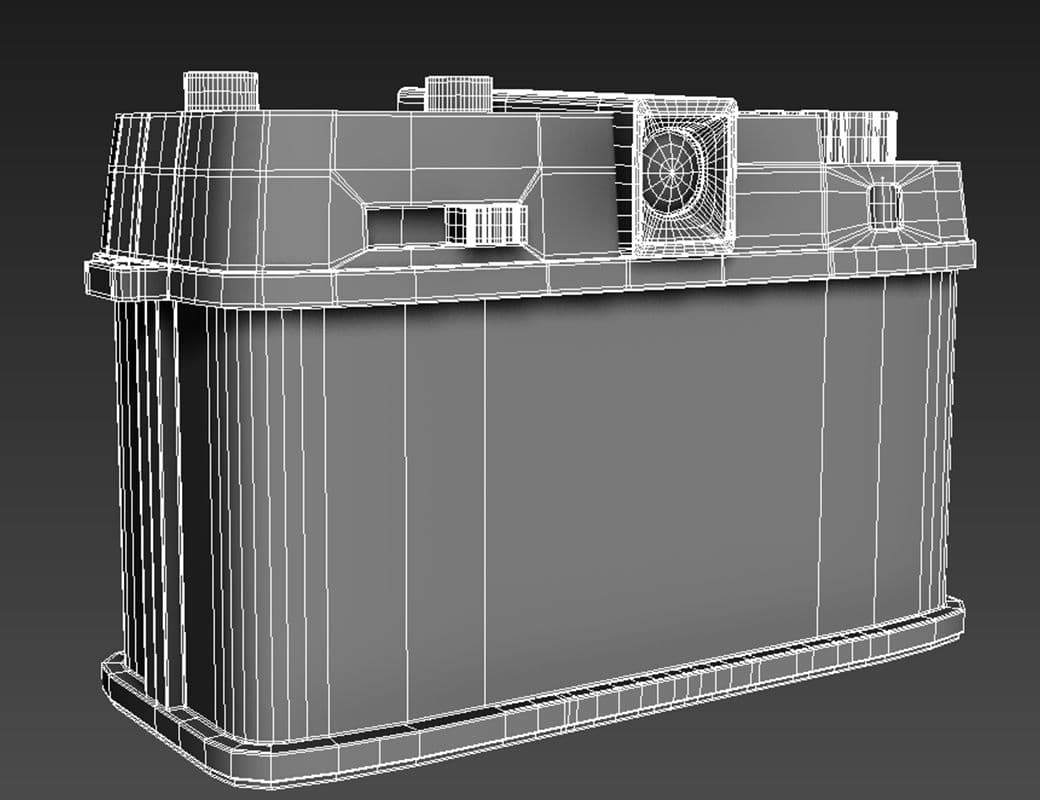
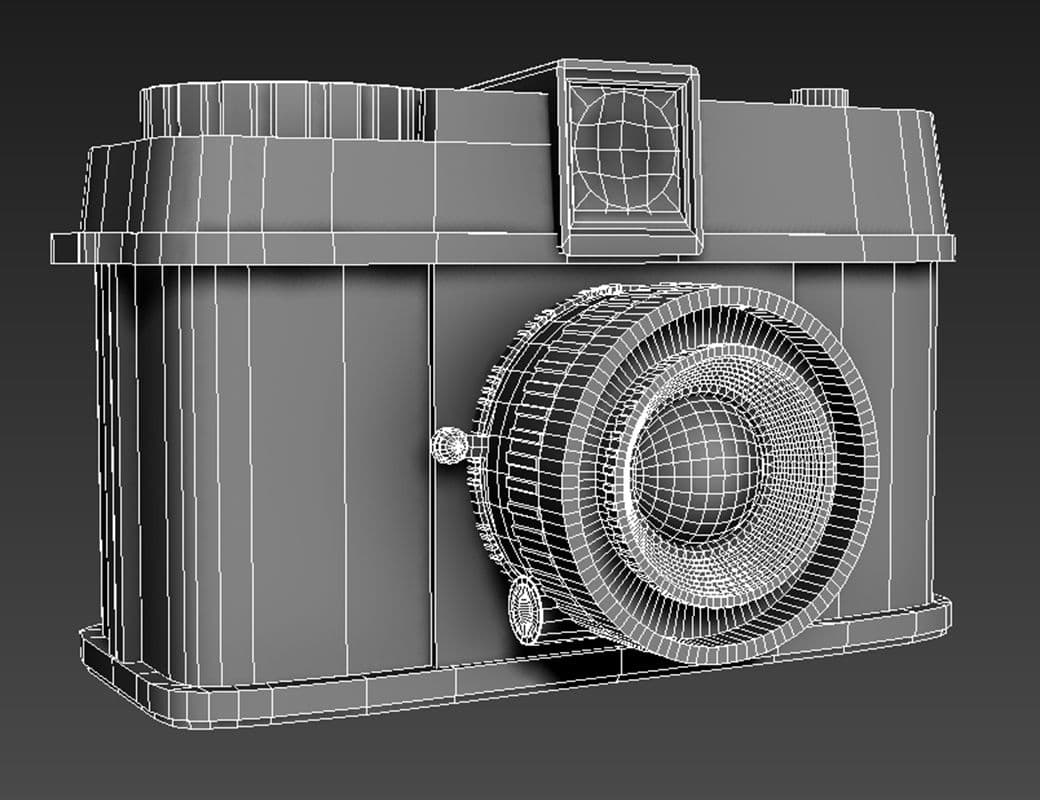
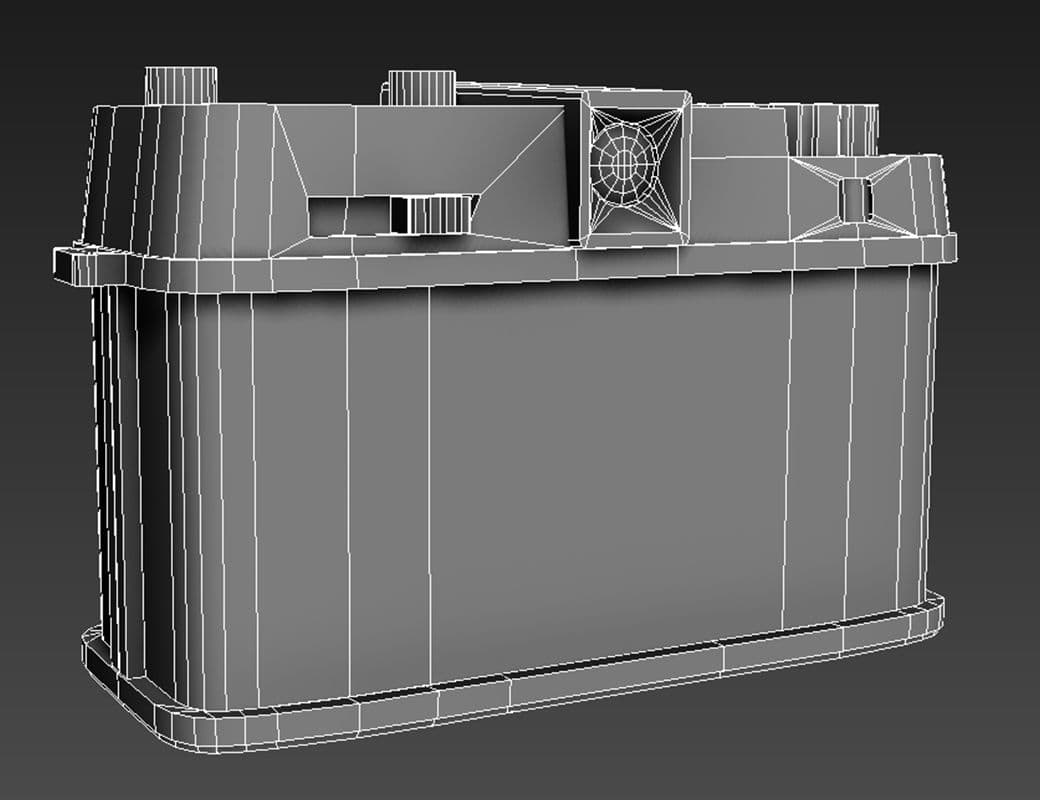
The Lowpoly
Lastly, I go back to my mid-poly model and optimise it as best as possible. The main focus is not having a pretty wireframe, which took me some time to get used to. The most important thing is reducing the polycount without changing the silhouette.
Once I finished the modelling part, it was time to unwrap my asset and put it in Substance Painter to continue.
Baking and Texturing
After bringing everything in Substance Painter, I start baking my high-poly onto my low-poly model. This step can become a bit tedious when you have baking issues (errors in your unwrap, alignment of your low-poly and high-poly …), but it's important to make this look as good as possible.
To start the texturing process, I roughly block out the different material parts of my mesh. I always organise this with a clean folder structure. Once everything is blocked out, I tend to focus on one part at a time, starting with the biggest shapes first.
The most important part of this step is making sure your materials are clear and well defined; people shouldn't wonder if one part is plastic or rubber. Once you have that out of the way, you can start layering imperfections onto your material. Scratches, dust or little pieces of paint really add up to the realistic feeling you want, because no object is free of damage.
To improve your overall texturing, it’s also a great idea to add a lot of subtle colour variation. At first glance, a socket wrench is just one big piece of metal and a black rubber handle, but by adding those little hints of colour, you can increase the quality of your material.
At last, you can add fun elements such as stickers, to make it a bit more personal.
Rendering and Presentation
Once the texturing part was complete, I took everything to Unreal Engine 4. I created Material Blueprints for all the correct textures, and put them on the imported models. Next, I set up a good angle and camera position for the perfect render.
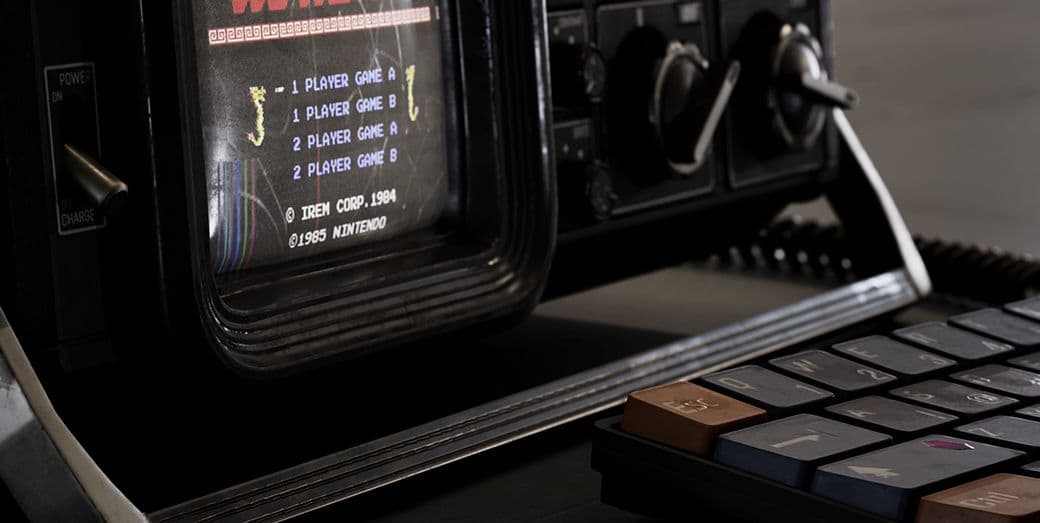
For my light setup, I mainly relied on directional lights, using spot lights or rect lights to create focus points and highlights. Creating the perfect light setup can be tricky at times, but it is extremely important for selling your piece. Another useful thing is adding an HDRI into your skylight; this allows for realistic reflections from a real environment. For this, I refer to Polyhaven; they have an endless library of useful maps.
When I was happy with my light setup, I added a post-process volume for the extra details, and added a LUT I made in photoshop to finish it off.
Final Thoughts
I feel like these projects really opened my eyes on so many levels. I cannot stress enough the importance of reference, as it will only benefit you along the way. Creating PBR assets really helped my texturing skills in Substance Painter, which will come in handy for many future projects, both realistic and stylised. Even on the modelling part I faced a lot of challenges and learnt new ways to optimise my workflow.