Cinematic Environments From 2D Concept to Final 3D Render
In this article, Naja Jelec dives deeper into her workflow of bringing cinematic environments from a 2D concept to final 3D render using Maya, ZBrush, Substance 3D, V-Ray and Nuke.
In this article, Naja Jelec dives deeper into her workflow of bringing cinematic environments from a 2D concept to final 3D render using Maya, ZBrush, Substance 3D, V-Ray and Nuke.

Naja Jelec is a 20 year old student at PIXL VISN | media arts academy in Köln, Germany. For as long as she can remember, Naja has been inspired by movies and videogames and loved watching behind the scenes to learn more about the workflows from her favourite studios.
The process of creating stunning and complex environments inspired Naja the most, and in this article, she dives deeper into her own workflow of bringing cinematic environments from a 2D concept to final 3D render.
Hello everyone! My name is Naja Jelec. I'm 20 years old and currently in the final month of my education at the Pixl visn media arts academy, working on my first demo reel. My entry for the Rookie Awards 2022 is a collection of my favourite projects after one year of focused learning. In this post I would love to give some insights about my current workflow, share some things I have learned along the way and maybe inspire some of you to try out new techniques for your own projects.
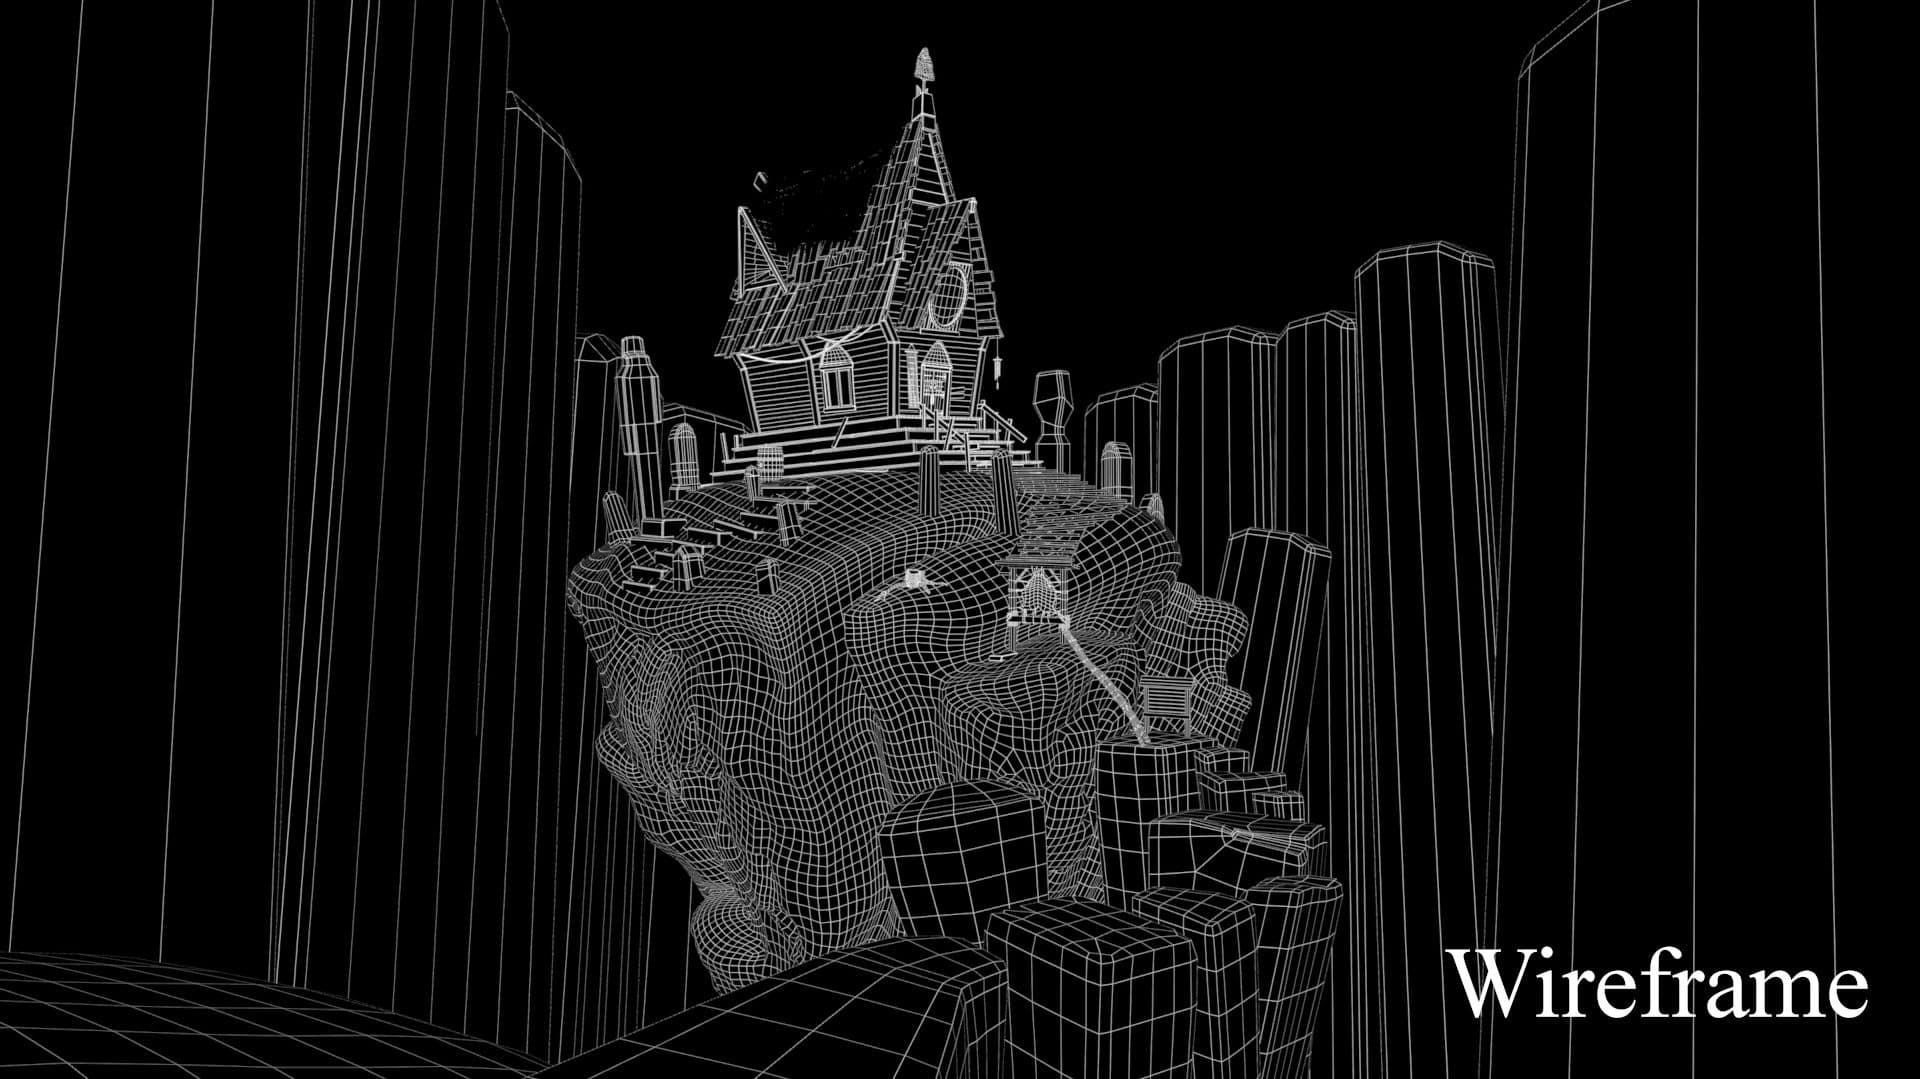
For all my projects I relied on Maya as my main software for modeling, scene assembly and rendering. Some useful plug ins I used where xGen and MASH. Additionally, I used ZBrush for more organic shapes, and Houdini for some terrain generation. For texturing I love to work with Substance 3D Painter, because of its layer-based approach. The final renders were done with V-Ray and later composited in Nuke.
Every single one of my projects starts with a spark of inspiration. I always stumble upon breath taking environment concepts from other artists that I would love to recreate in 3D and add my personal touch to. I keep them all organised in a folder, so that I can come back to them as soon as I have time to take on a new project. Since it's something that I'm going to invest a lot of time into, I only pick those that really spark joy in me and make me want to work on them.
Before I even touch my 3D software I like to prepare and plan for my future project, to help avoid problems down the road, starting with reference gathering.
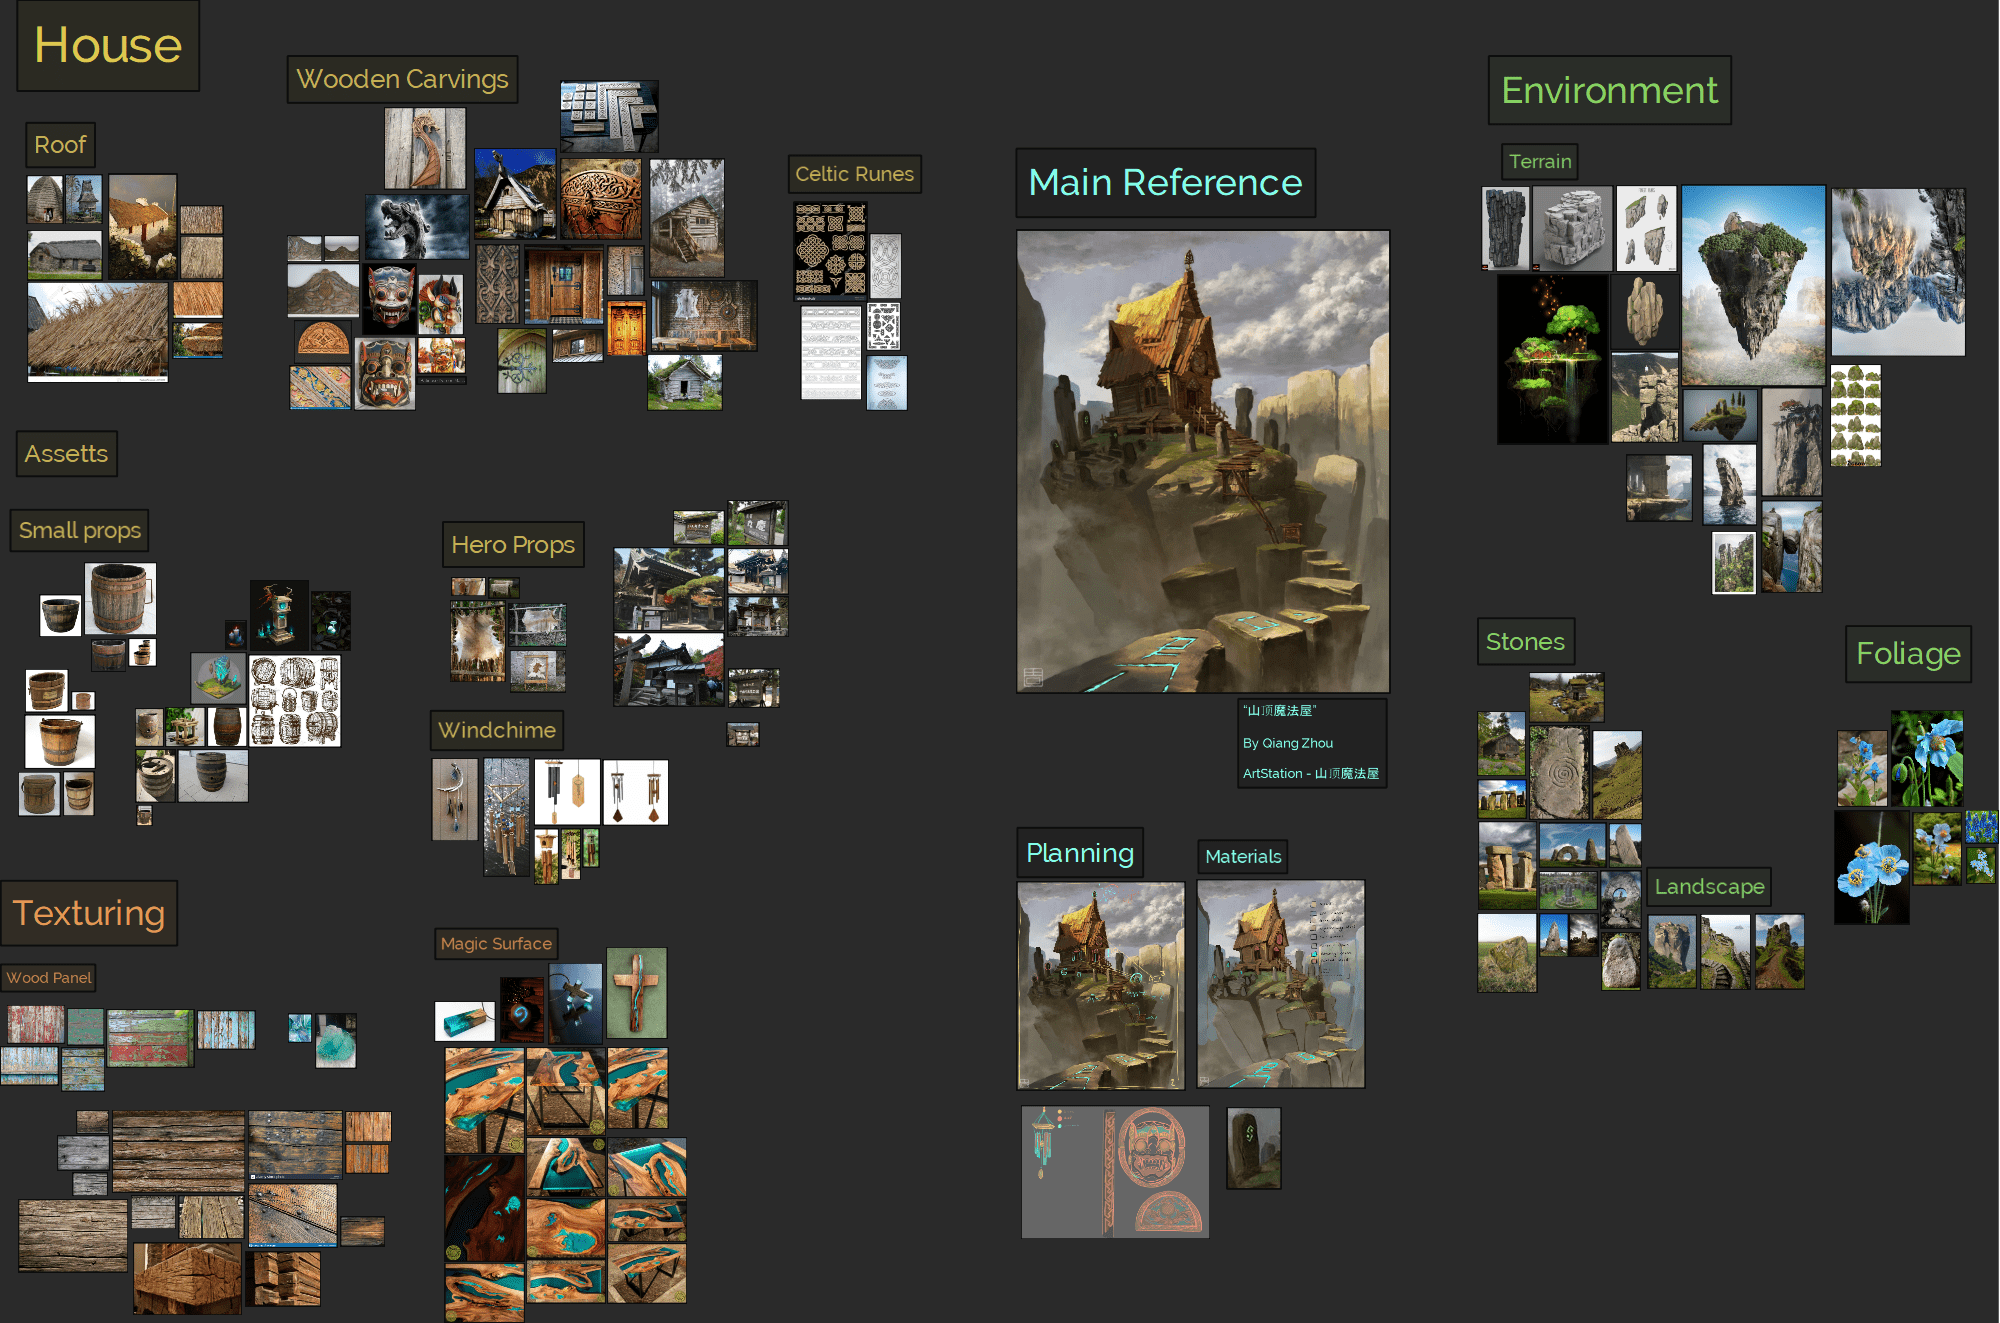
I break down the project as best as I can. Separating out the main tasks and grouping similar ones. I try to gather as much reference as I need. Especially since most of the concepts I work from are more on the painterly side, I need to back up the concept with some real-world reference, ranging from construction plans to close up images for the textures.
Sometimes I even like to do paint-overs and quick sketches to solidify my plan. I take notes and may research additional information for my scene like the correct location, vegetation and climate.
Even if it is a fantasy scene, relying on existing landscapes can help you to add detail and create a believable image.
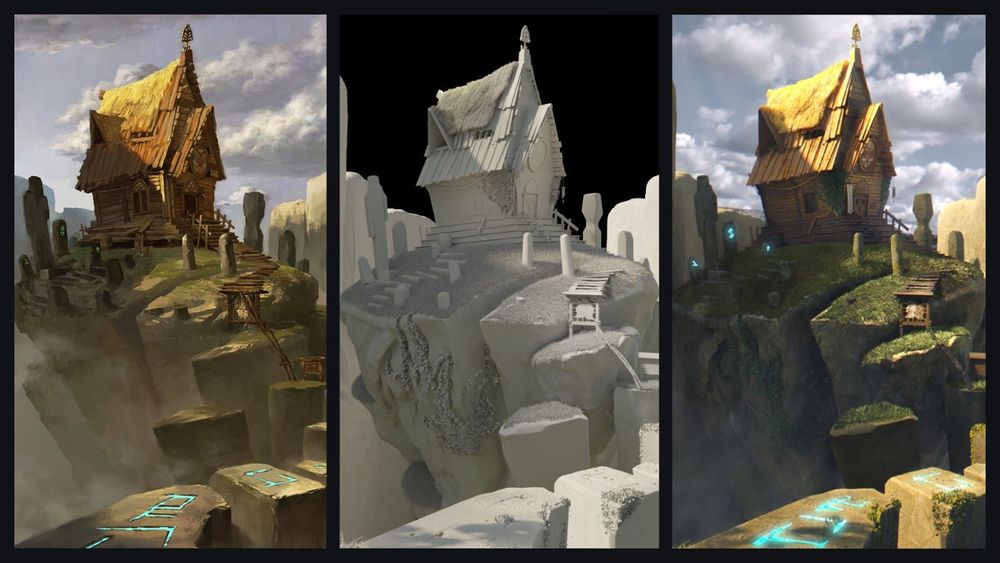
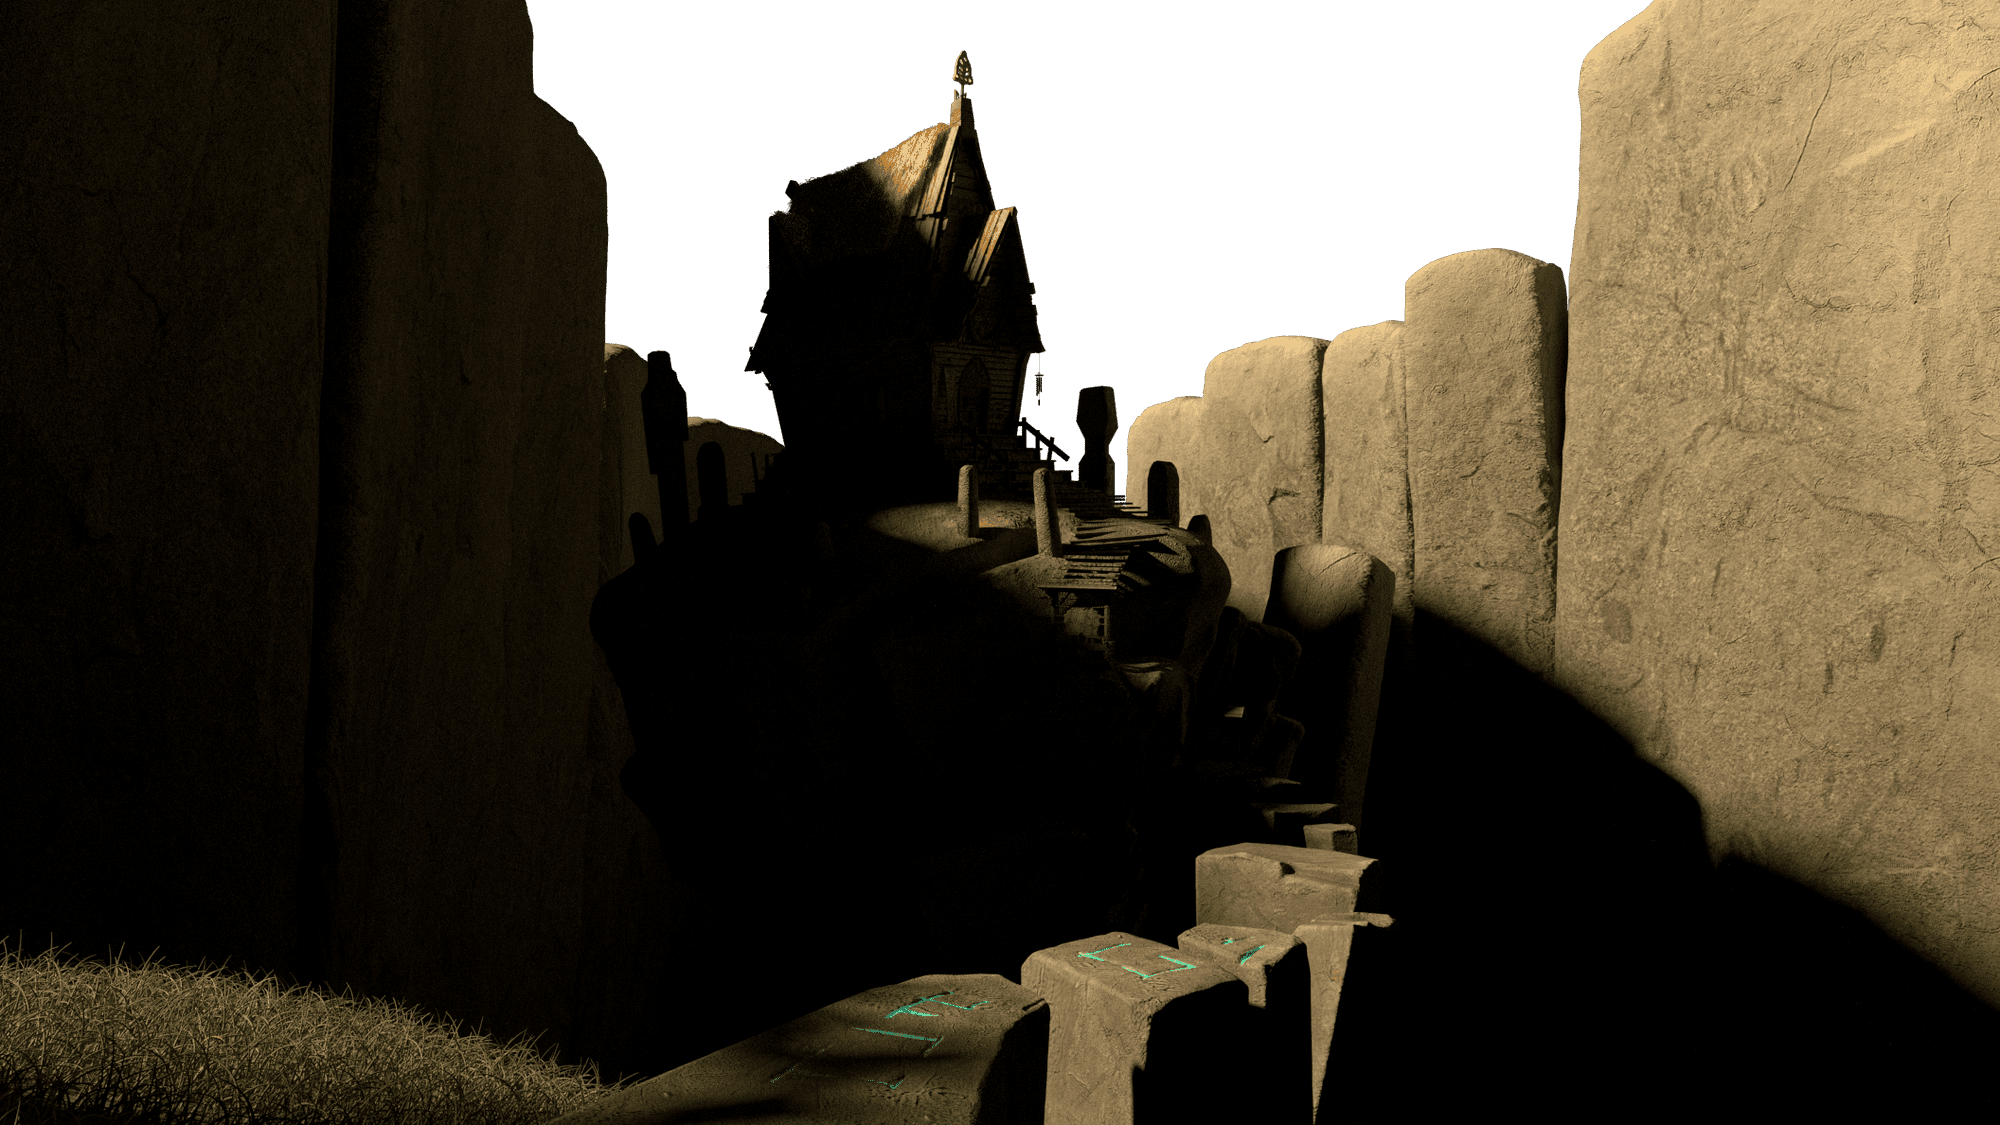
In my Fantasy house for example, I looked closely at Celtic villages and took inspiration from one of England's most popular prehistoric monuments: Stonehenge.
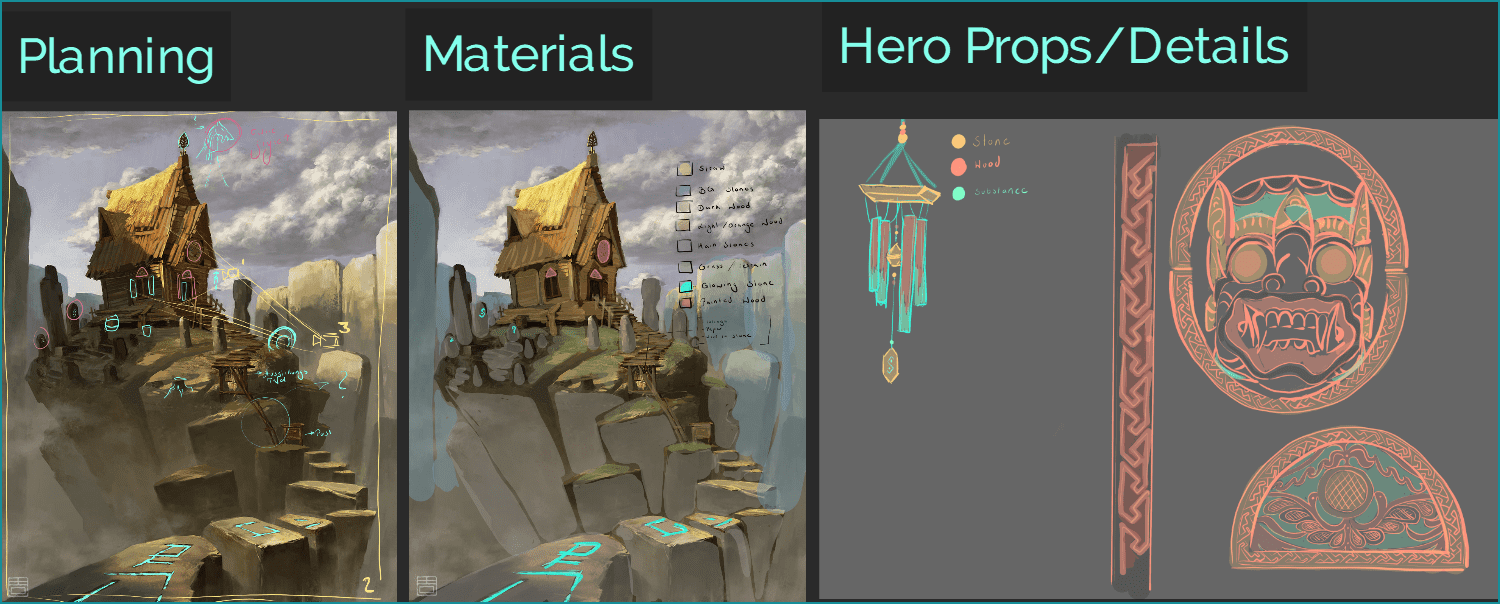
I also like to spend some time to think about my approach and workflow to clear all final questions and create a solid game-plan. I ask myself questions: Is there anything I need or want to learn for this specific project? Does it make sense to work with modular Sets? What will be done in modeling, what can be solved with texturing or even later on in compositing?
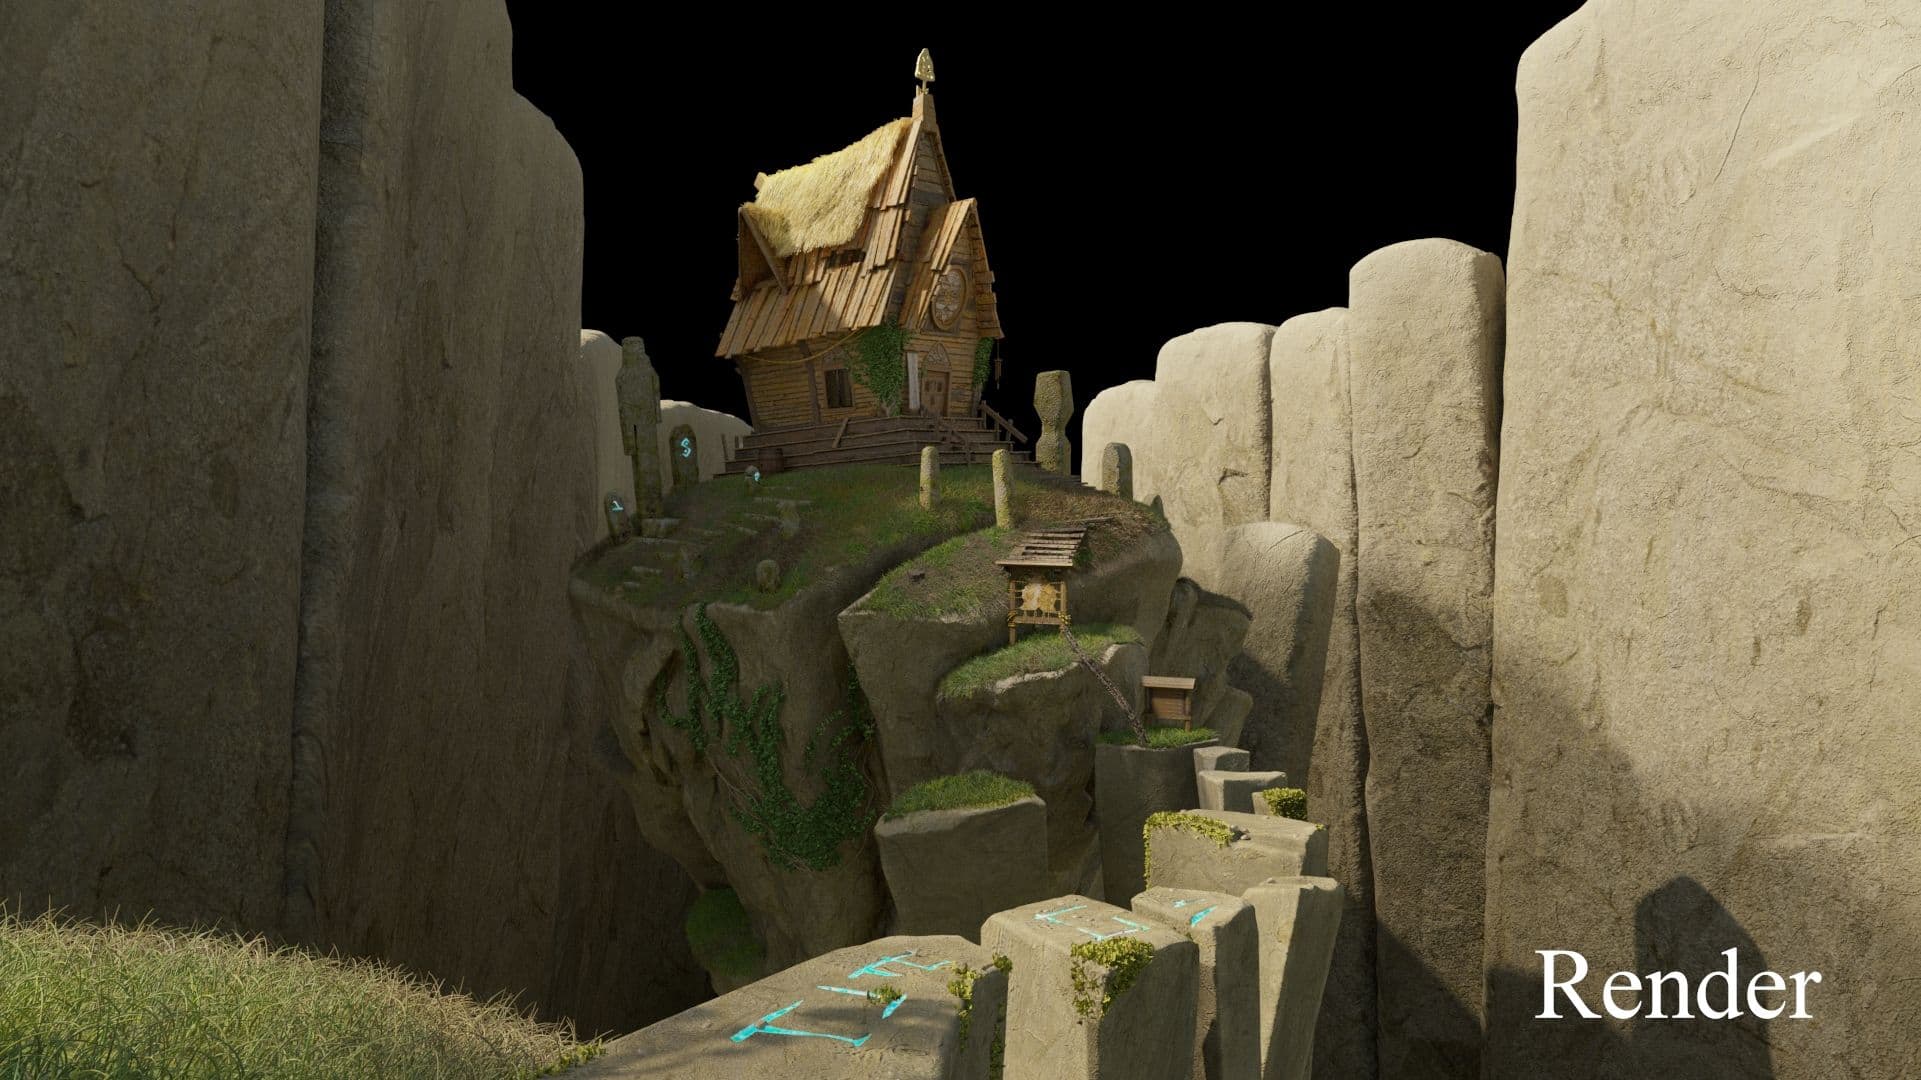
In this project I specifically wanted to focus on modeling and gave as much attention to detail as I could, only using geometry. I knew that the main challenges would be to properly match the floating island and the stones. Everything would need some final details in ZBrush and since every stone was unique, there was no way to take a modular approach. Finally, I felt confident and was ready to actually start working on my project.
Now, that I have finished the planning and reference gathering part of my project, I can confidently move on to the next stage: the block out.
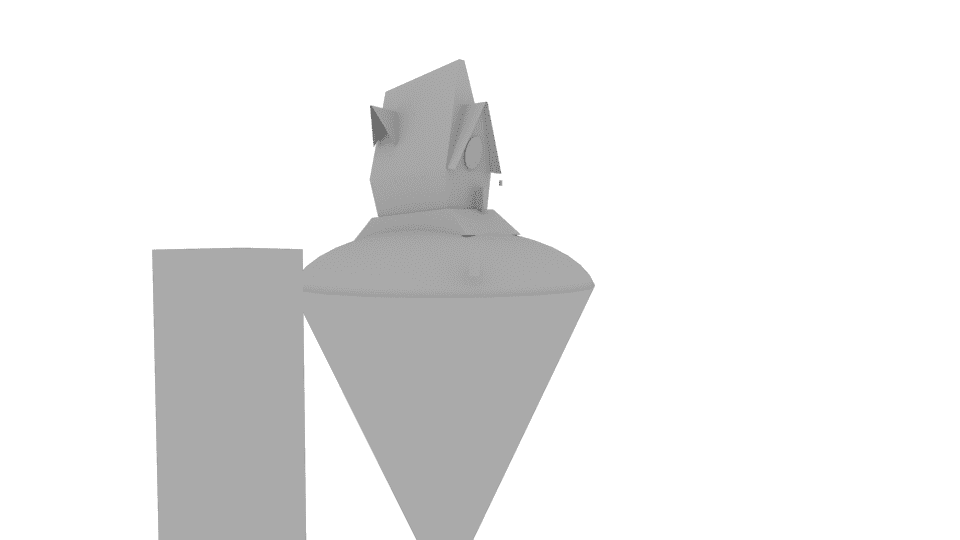
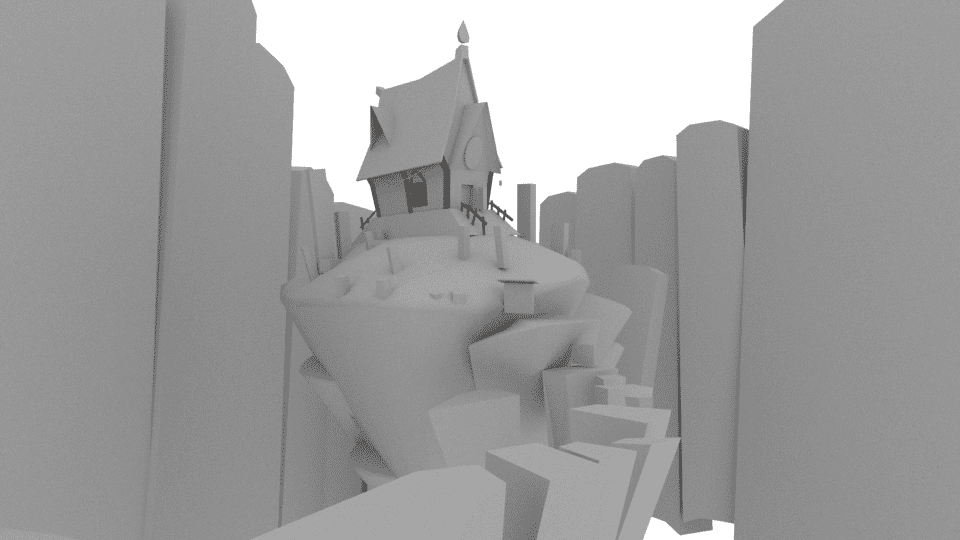
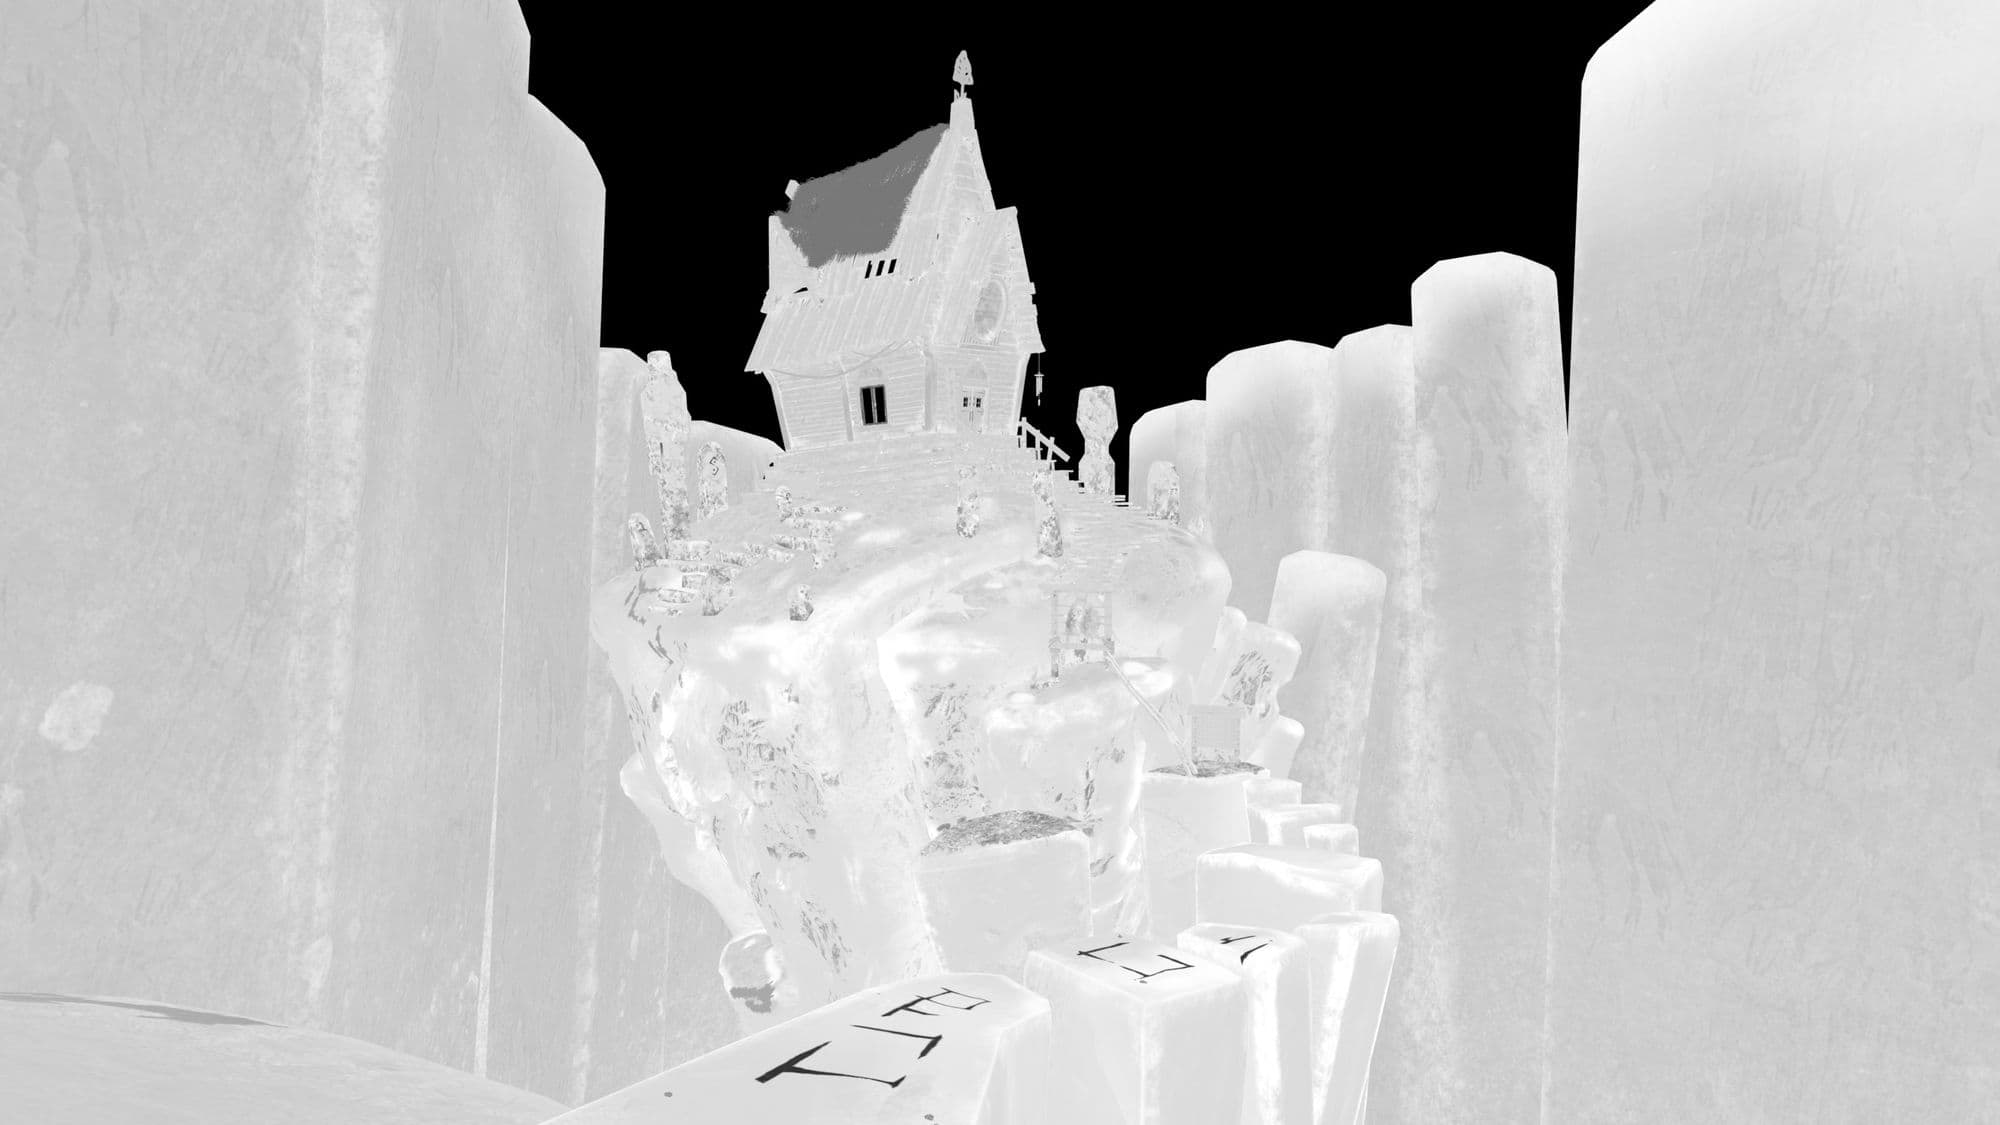
To perfectly match my reference, I like to take the concept and import it directly into my scene on an image plane. There I lower the opacity and start blocking all the main shapes with basic spheres and cubes. At this stage I mainly focus on the scale of the scene and the size relationships between different parts.
I always make sure to work in a real-world scale, even though the proportions of my concept are highly stylised. If this scene would be used in games there might be a character interacting with different assets. It may not be that important for personal projects, but I already try to keep in mind that later on all my work needs to function in the grand scheme of a final game or movie, where accuracy is key.
When I feel like my basic shapes make sense in the scene, I move on to refining my block out. Now I focus on getting the main shapes, while still leaving out any sort of detail.
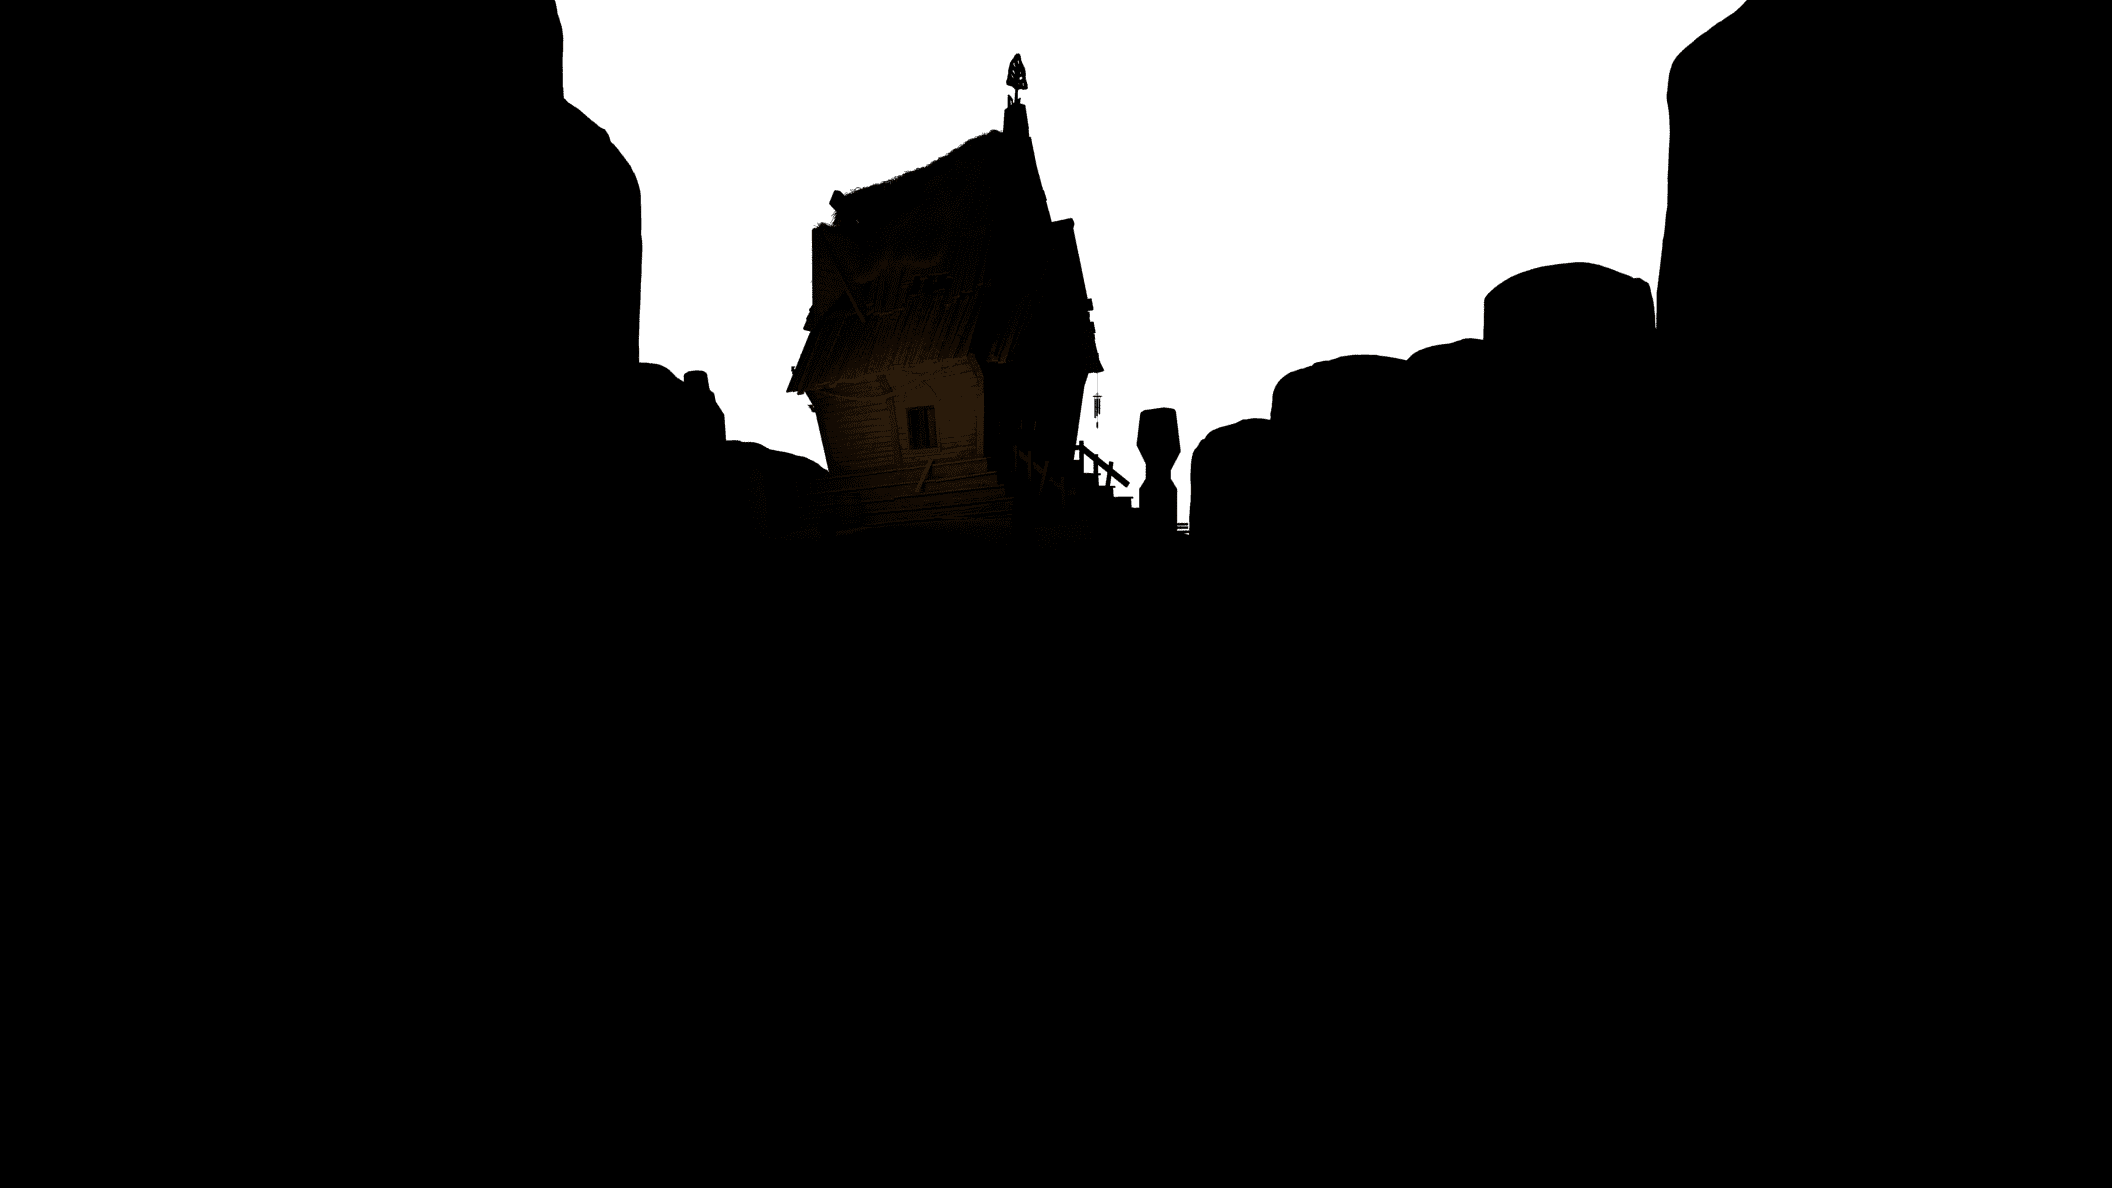
This was when I added all the stones, defined the shapes of the roof and blocked in all the main assets. Around this time, I also start to think about the cameras. I try to find a few angles to best present my project. Establishing the shots early on helps me to find out where my focal points are and where I have to add some extra details or where I can leave them out.
If the composition doesn’t work in the block out stage, there will be no detailed modeling, beautiful texturing or fancy effects that can save it later on. As long as you are working with a blockout, it is simple to make those impactful changes easily.
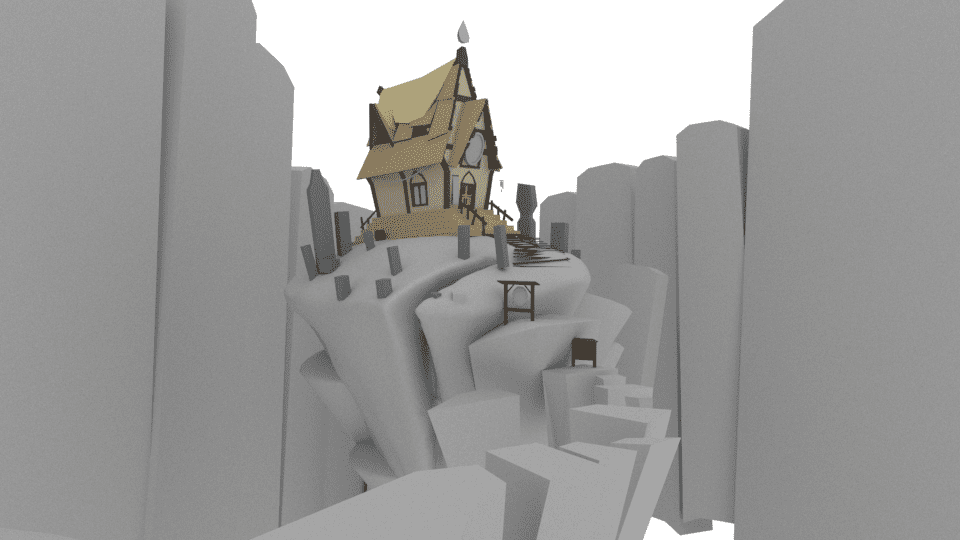

Once I am happy with my blockout and have all my cameras set I can finally move to the fun part: modeling. Always working from big to small, I also approach this in multiple passes.
Since it is so easy to lose yourself in details, I always try to keep the bigger picture in mind and go back to the concept to check my progress.
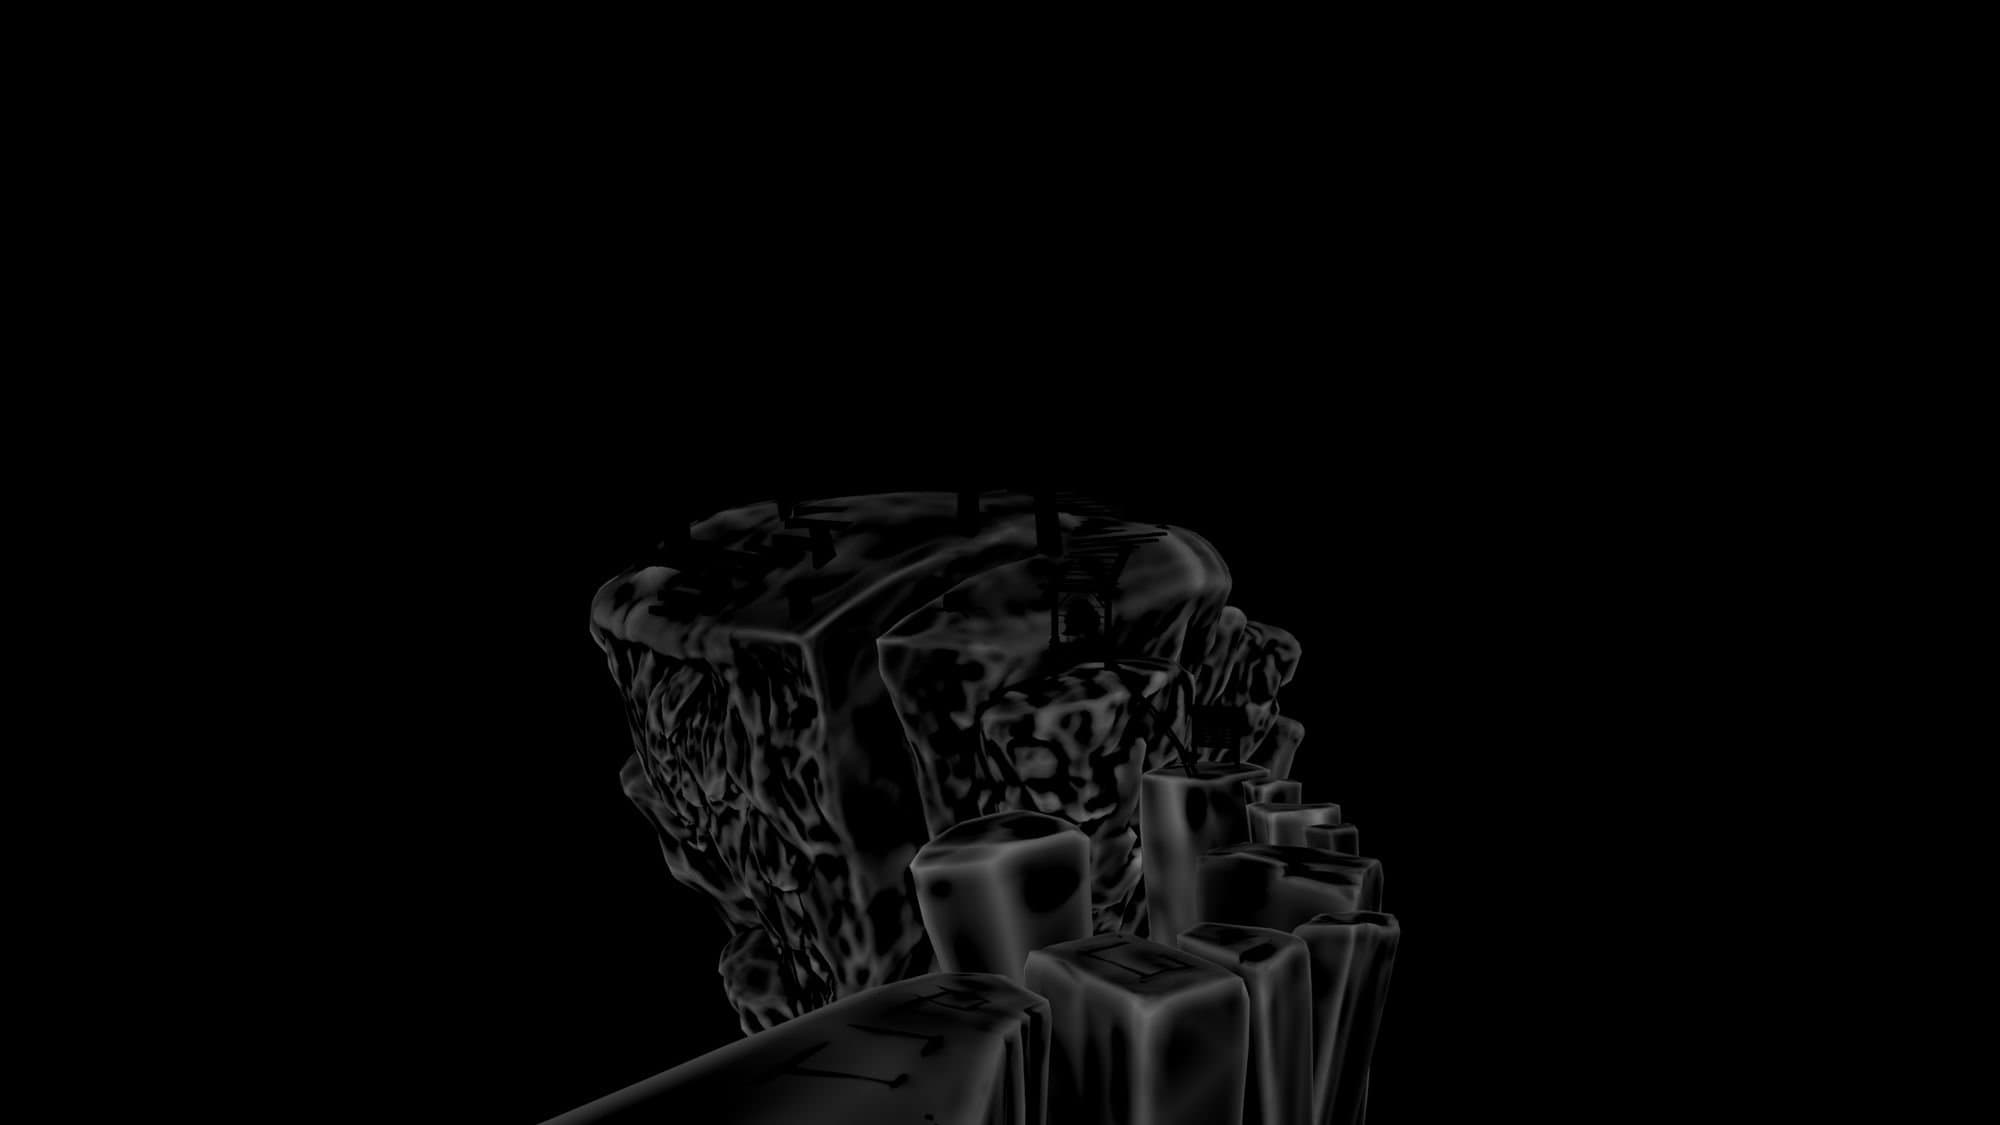
Sometimes when you work on big projects one can often get demotivated or feel like there is no progress being made. So, what I like to do, is to every now and then render a quick progress image from my concept camera. First of all, it helps to keep you motivated and show your progress later on and second of all it also shows you what is missing and what you have to work on. My favourite part of a finished project is always being able to see how the final piece came together from a few blocks and spheres.
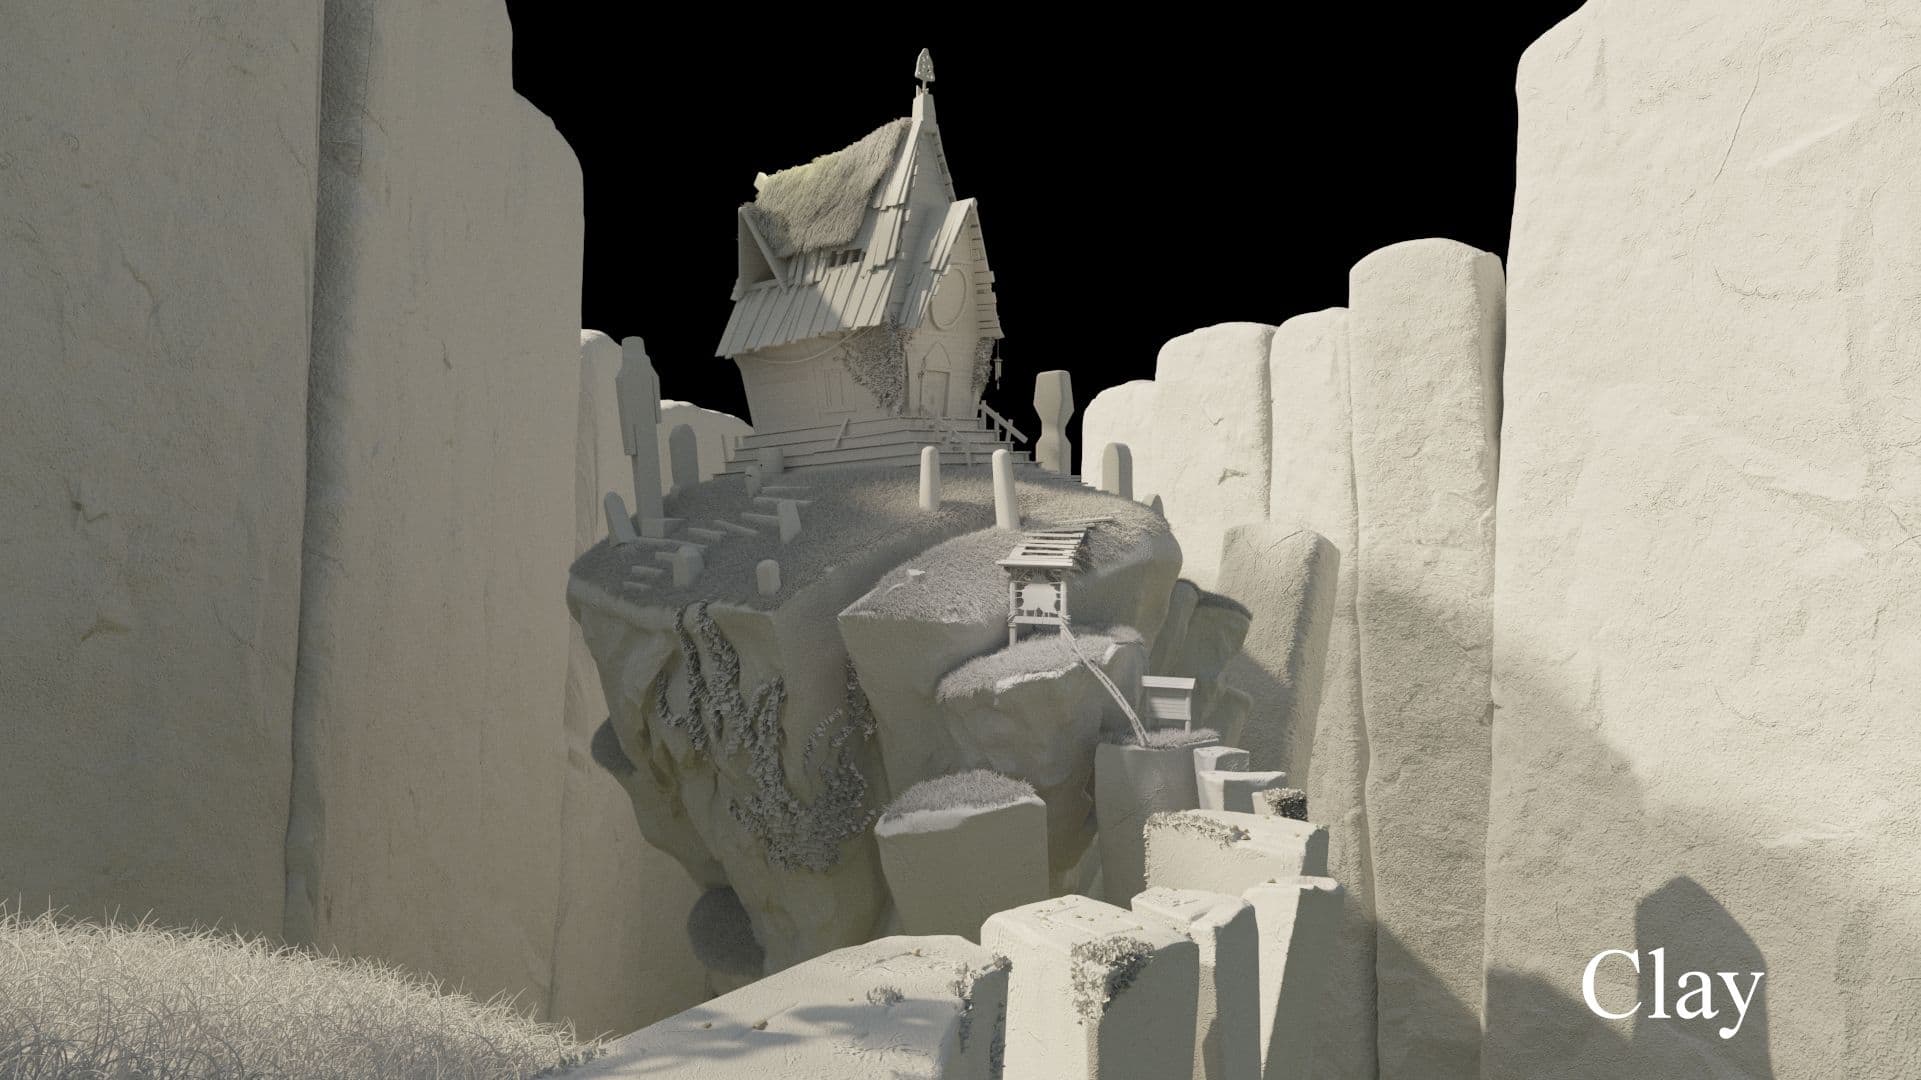
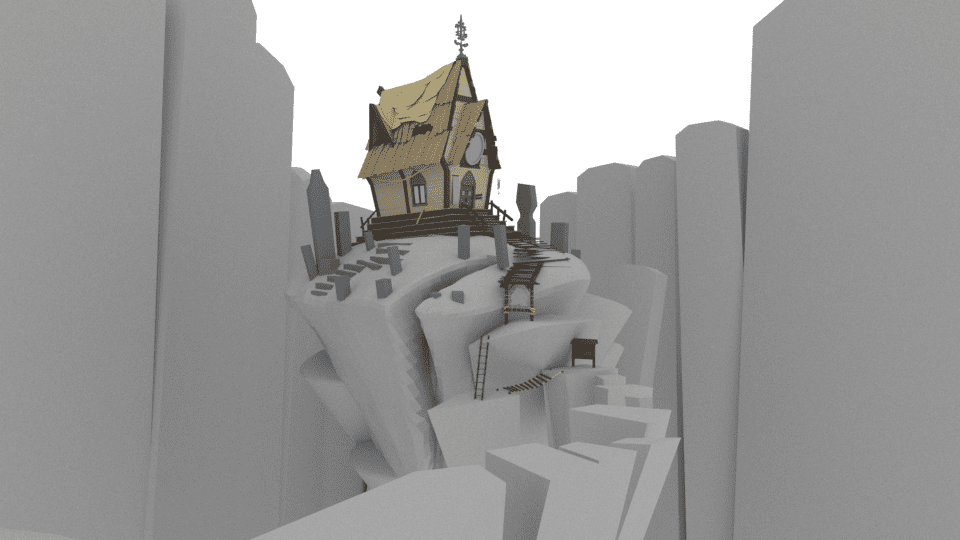
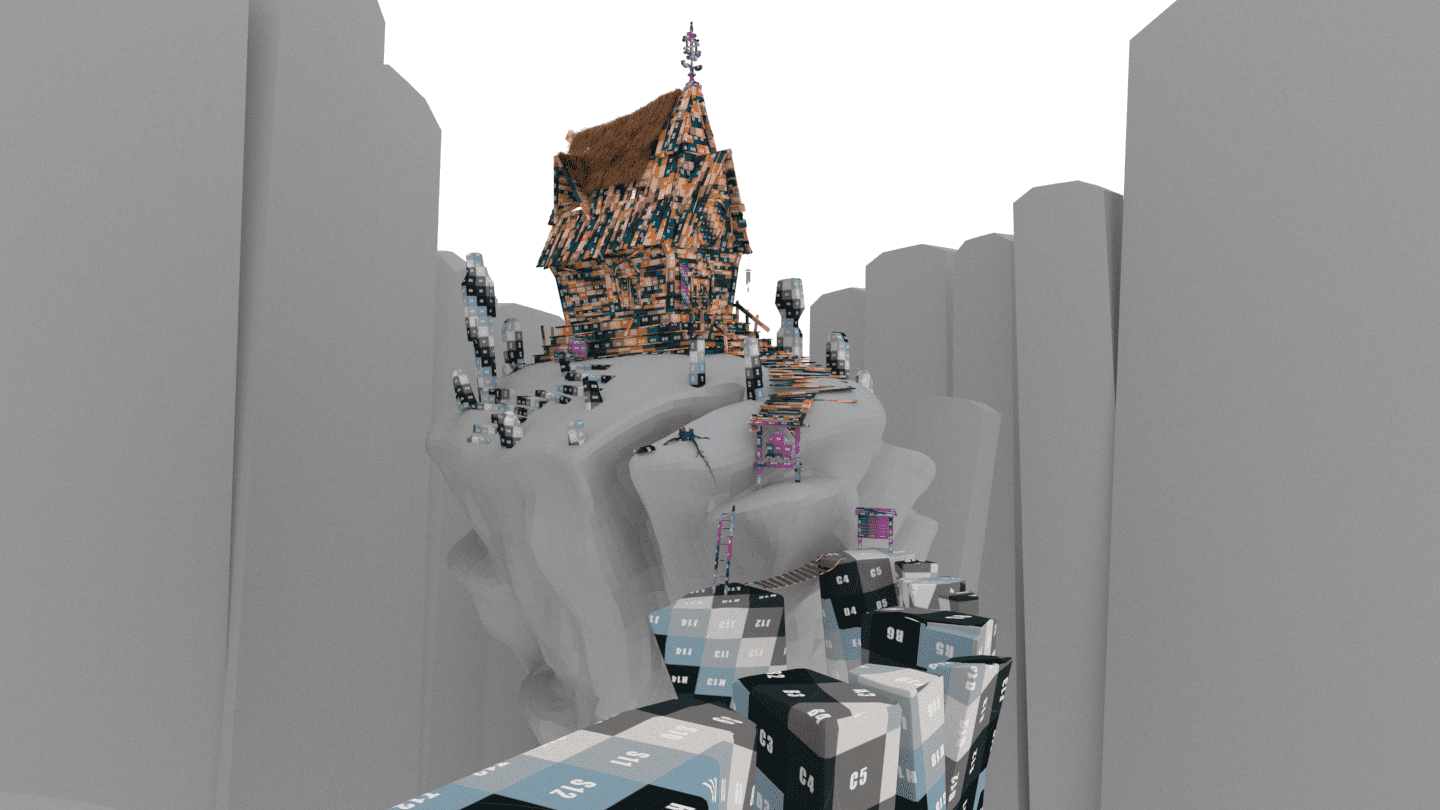
For me good texturing starts with good UVs. Spending some extra time on properly laying out the Uvs and figuring out a good texel density is key to avoiding problems further down the road. After all, you can make the most beautiful textures and spend months on them, but if the resolution turns out to be low in the final render there is no easy way to fix it. Therefore, I like to assign a UV texture checker to my entire scene to early on check my resolution and prevent any sort of texture stretching.
This was also the first project where I made use of multiple udims. Since I knew that I needed a lot of individual texture painting, I used this method to keep a high resolution while still being able to paint multiple objects at once that had similar kind of textures.
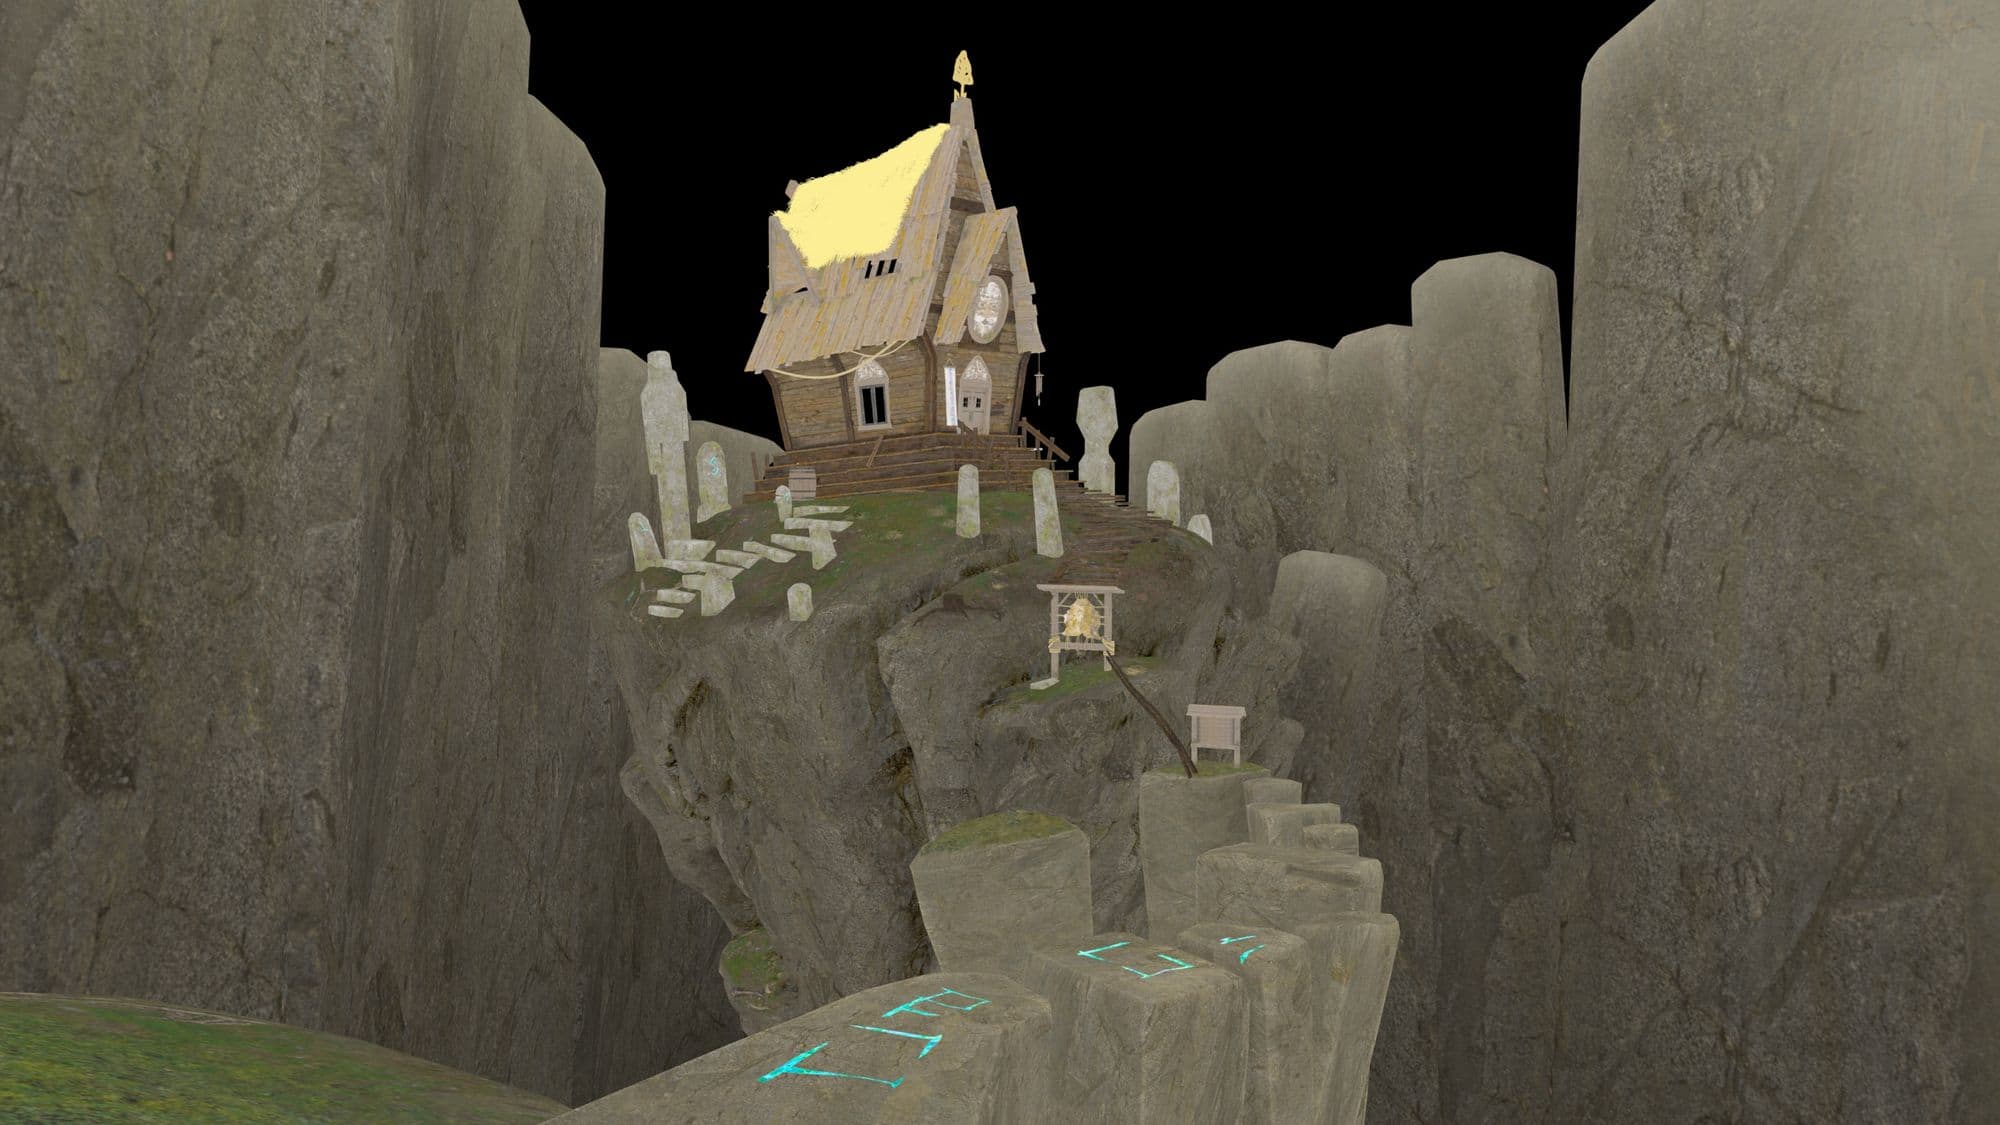
I love using texturing to bring across the story of an environment. Just like in the modeling phase, I prefer to work in passes, or more specifically in Layers. Starting out with the base material that is used to create the asset and then going on to different types of materials that get added or scratched away over time. On the house for example I started off with a basic wooden material that was matched as closely as I could to the main concept. From there I build up layers of materials that would be added over time like dirt, dust, moss, stains and scratches.
The main thing I have learned over time is that the key to believable textures is the roughness layer. Even though it is not directly visible, it still makes the biggest difference in the end. Small details like a used surface will barely be visible in the basecolor, but therefore highly represented in the roughness. Seeing small breakups on reflective surfaces and various amounts reflection really show your attention to detail.
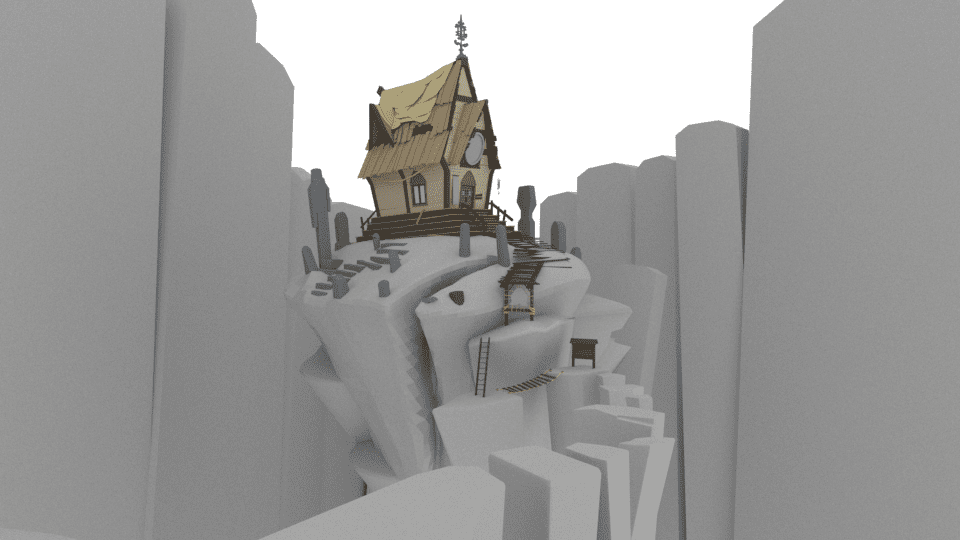
Finally, I learned that spending some extra time to properly set up all shaders and optimise them can make a big difference in your project. I never expected that the colorspace can make this much of a difference, but after failing several times and not seeing the results I expected I decided to take a step back and figure out how to properly set up my shaders in Maya. The displacement map turned out to be a real struggle, but luckily I stumbled upon Akin Bilgic's Blog, where he explained step by step how a displacement map works and how to correctly use it with your render engine.
After figuring these things out I was finally happy with the results and was able to move on to the final stages of the project.
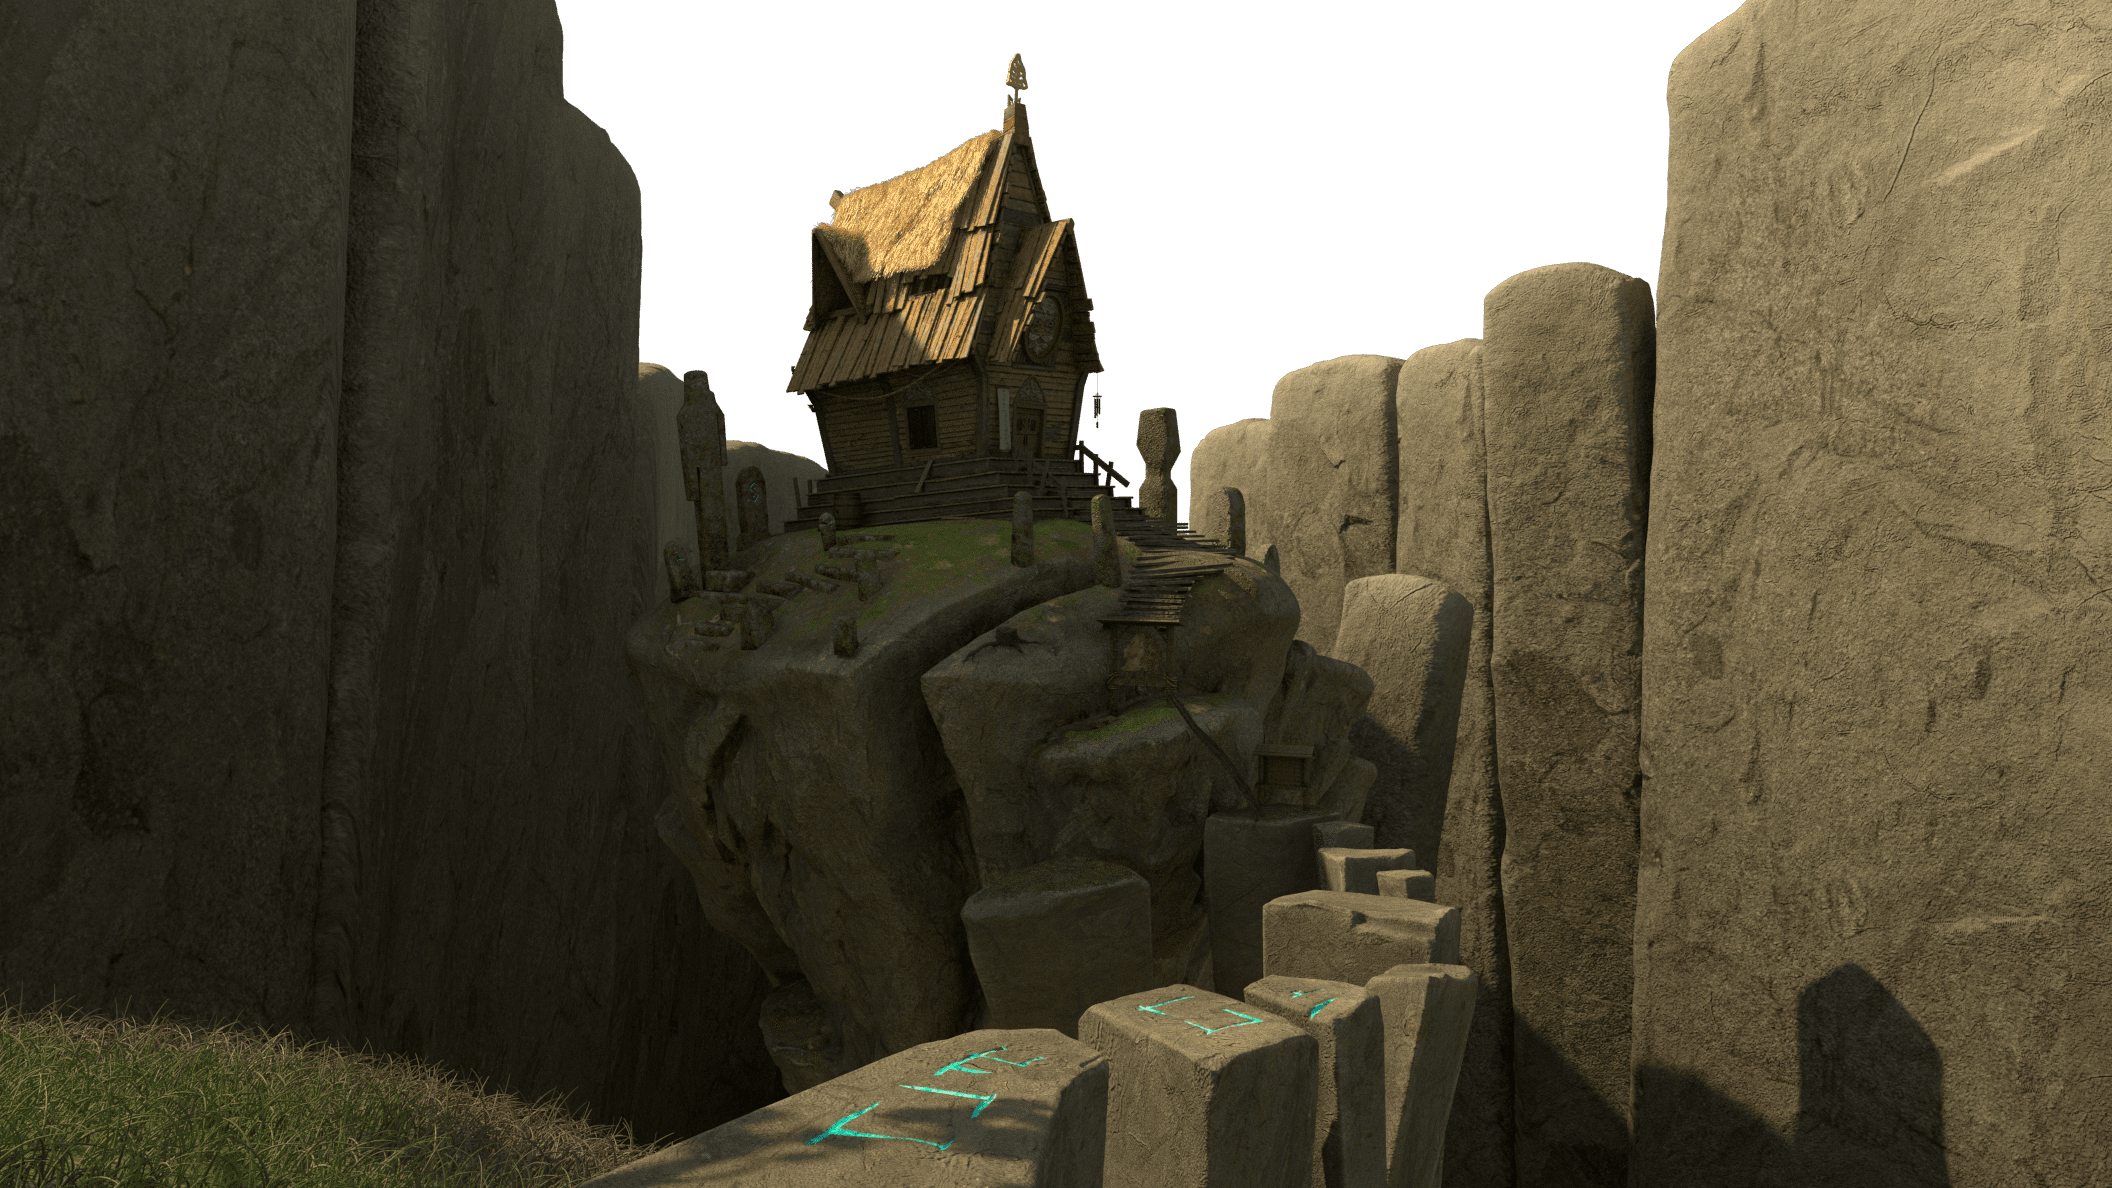
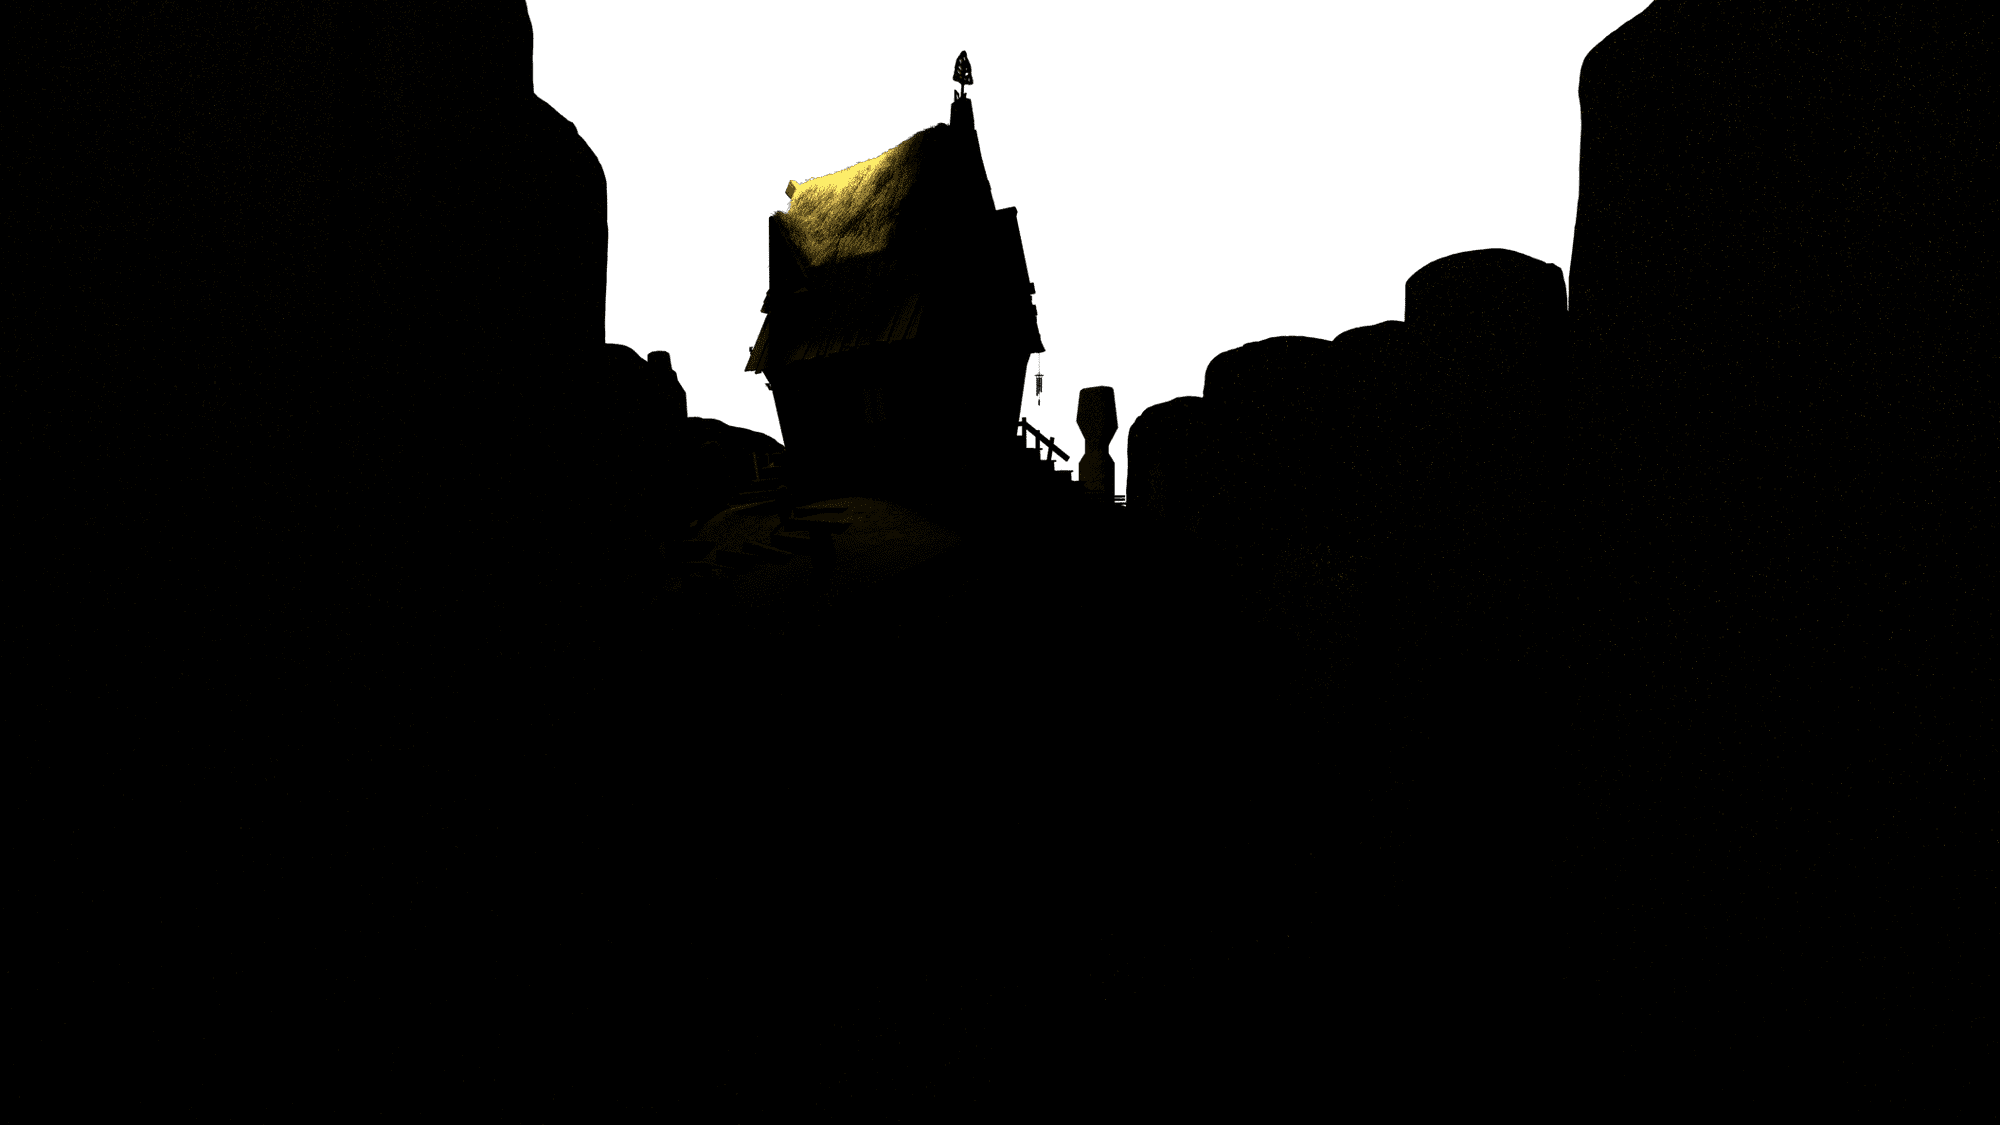
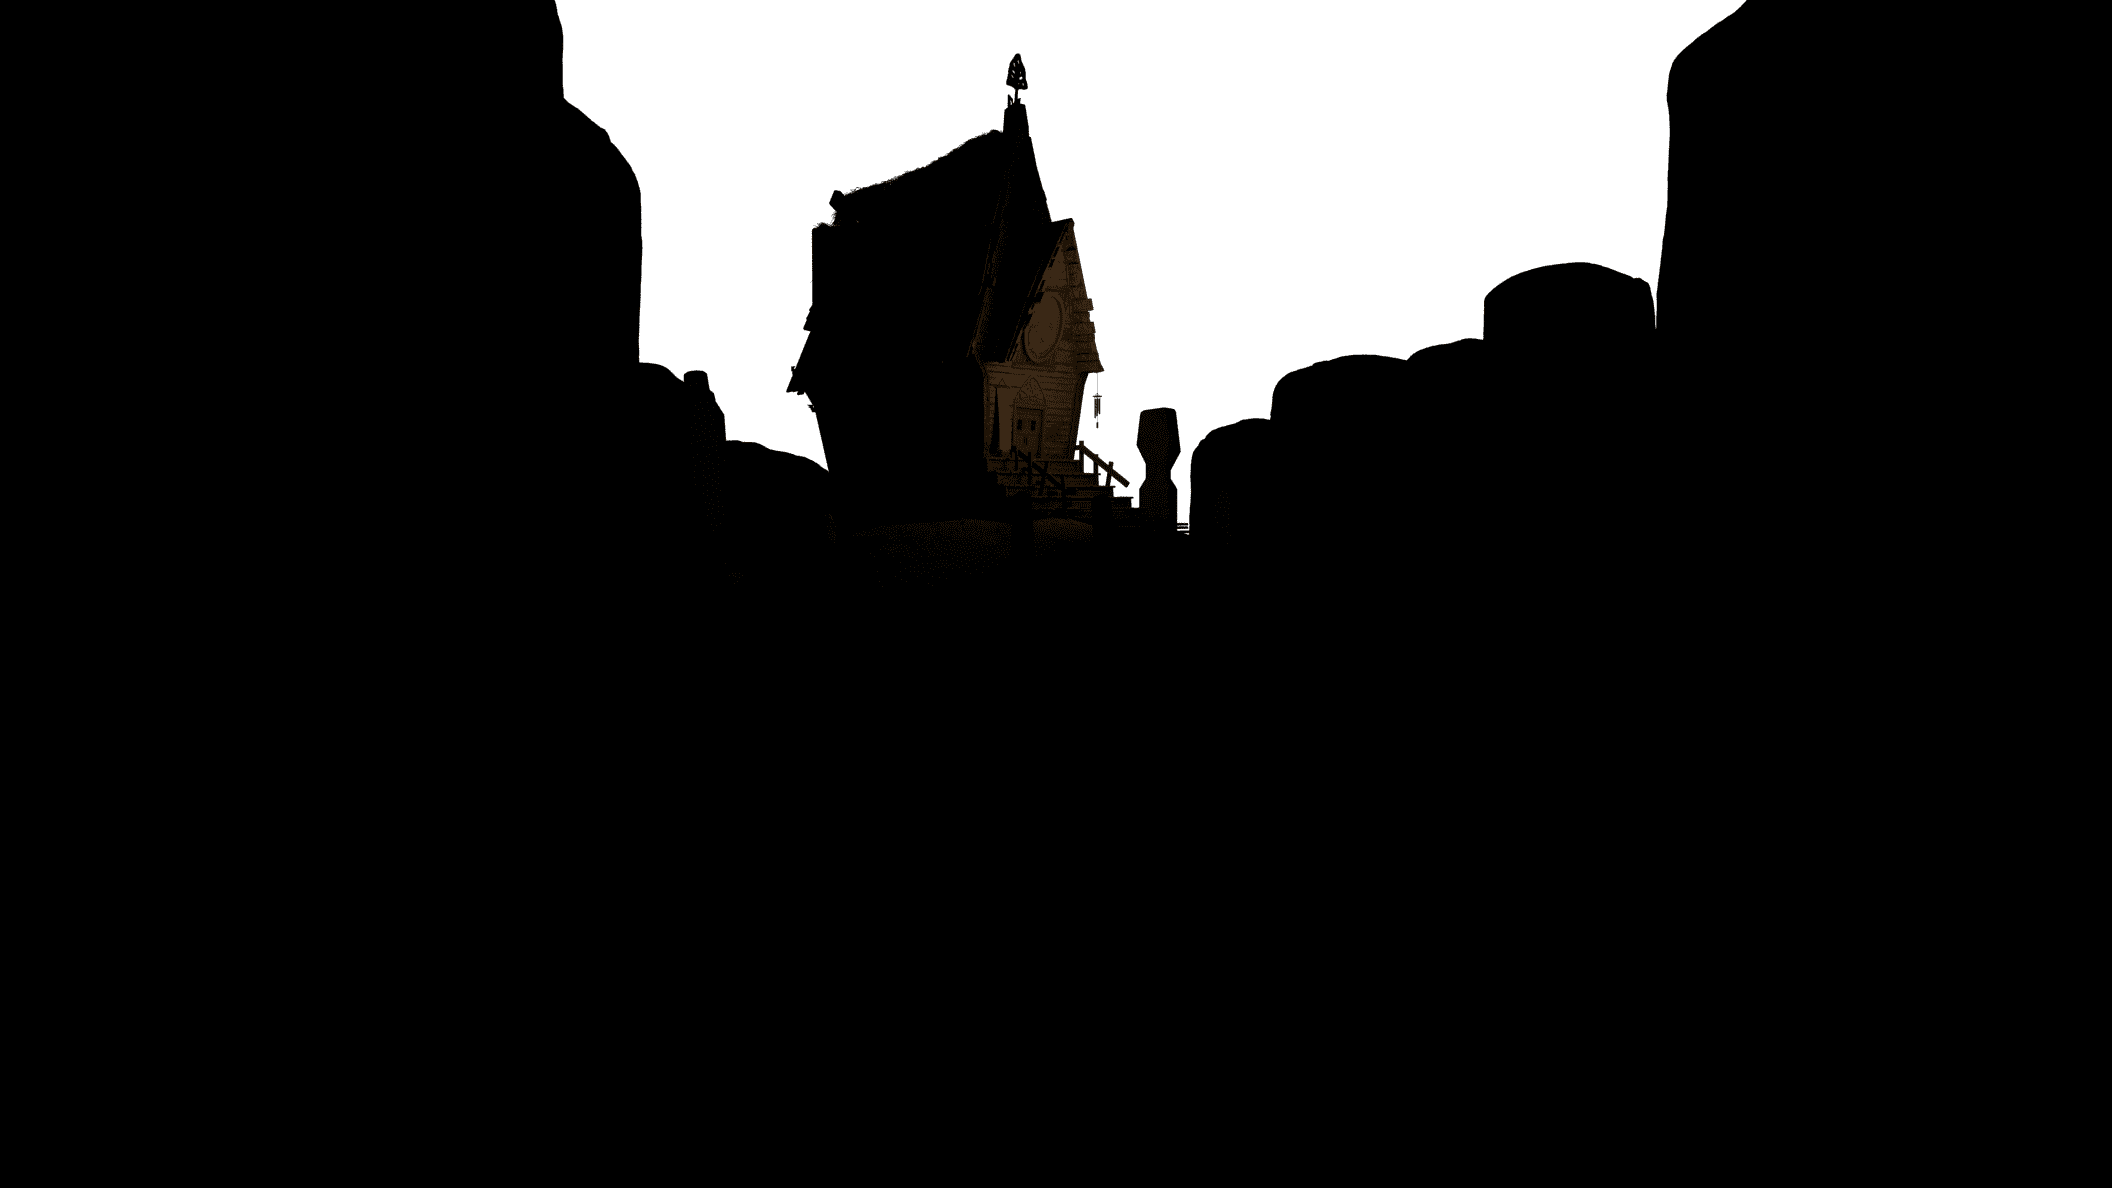
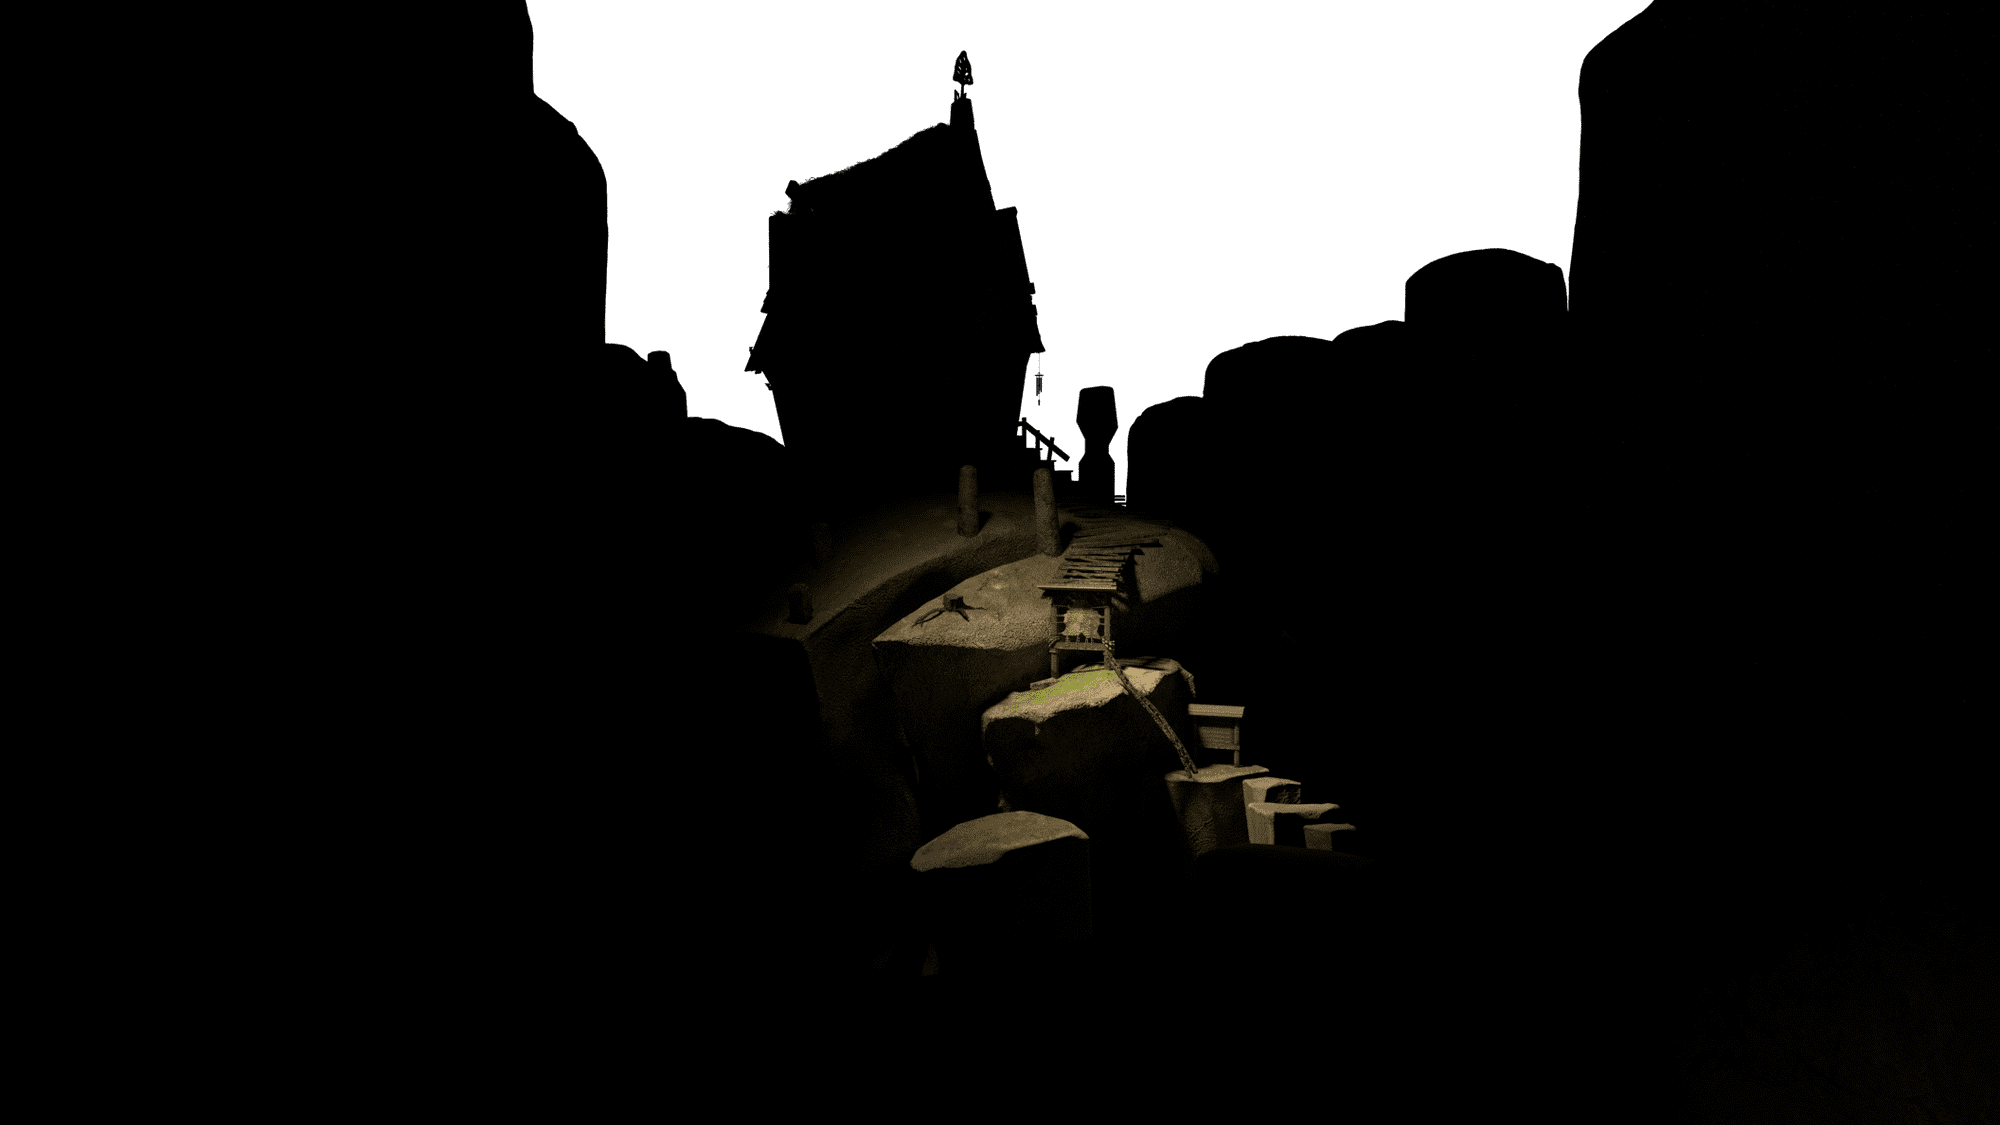
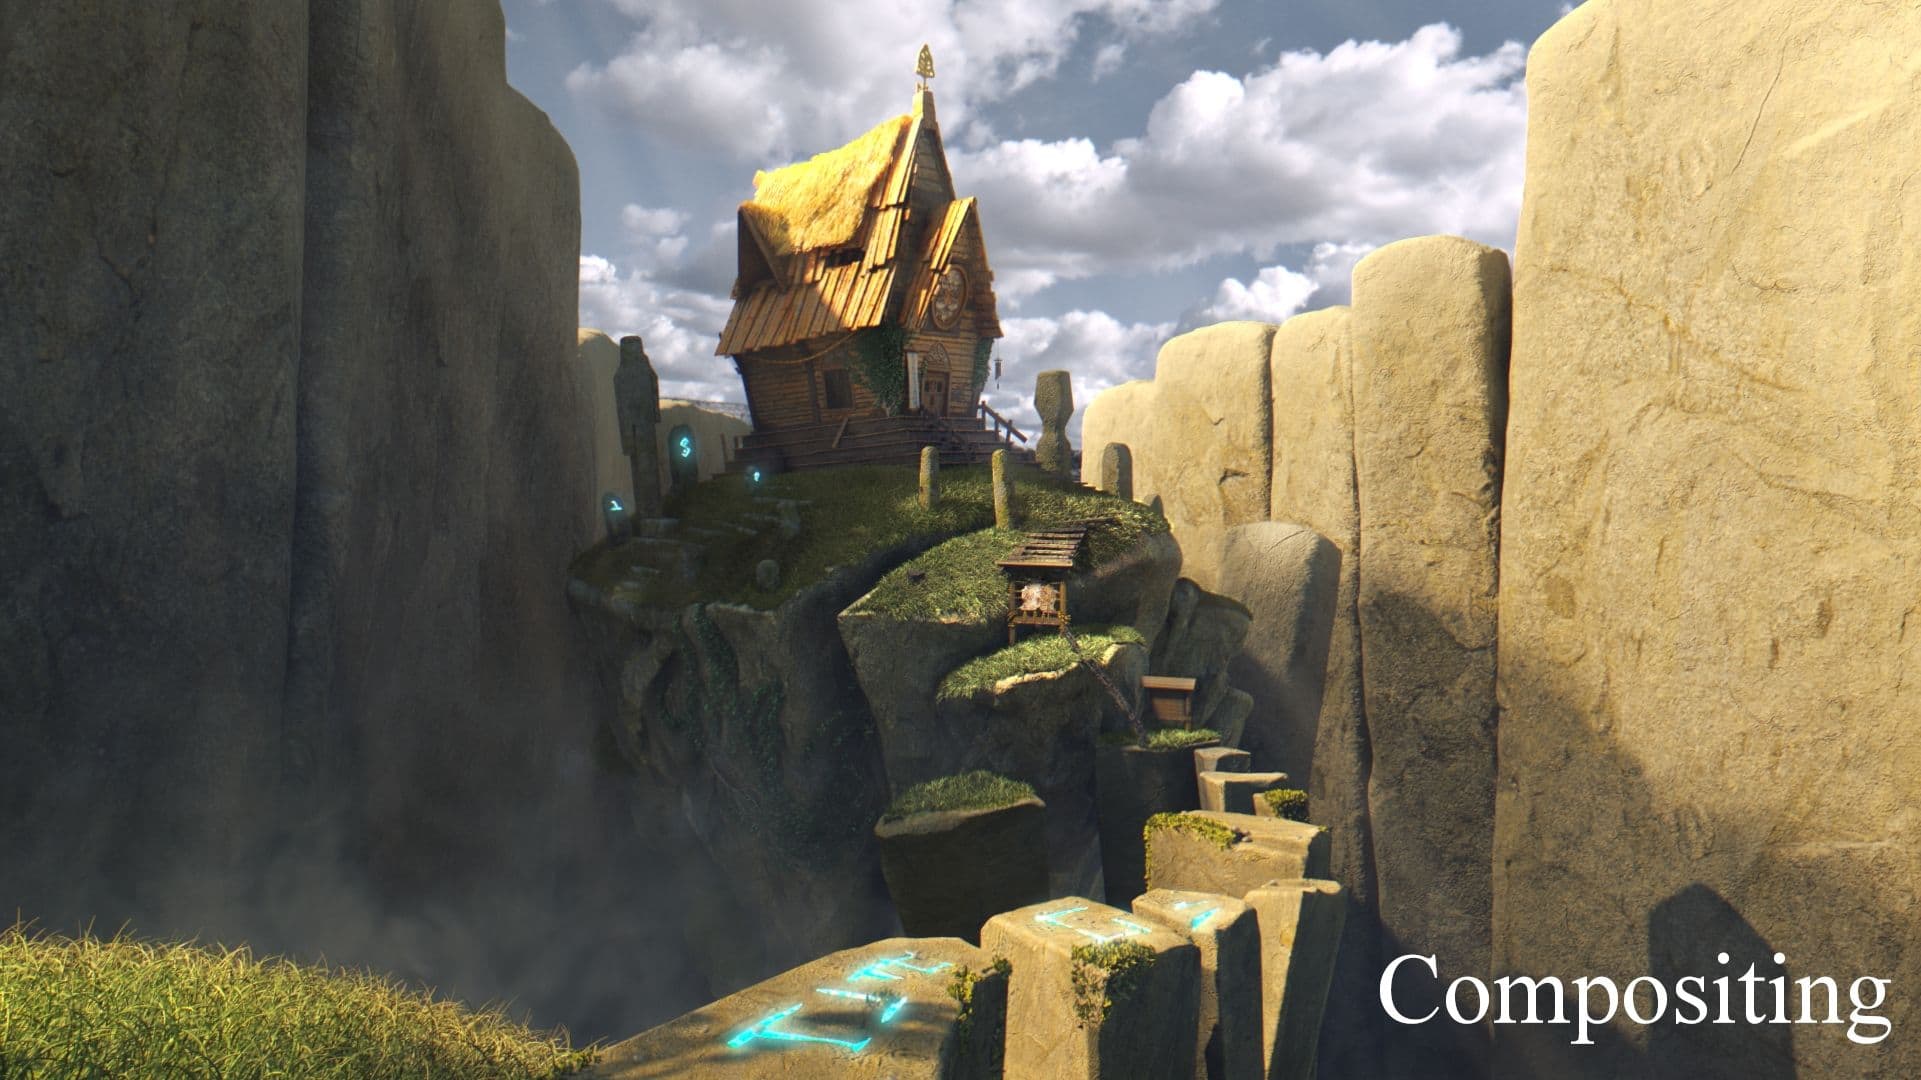
Now it is finally time to add the final touches and tie everything together with lighting. It is the most crucial step to match the mood of the scene to the concept.
I really like to approach this part like real life photographers would approach portraits. Using different types of lights to perfectly present my project, for example key-, rim-, and fill lights. Usually, I start out with the key light, the main light source, and try to match it as close as I can to the reference. The I add a fill light, usually by using a VRay Dome light with an Hdri Image to set the overall mood and fully illuminate my scene. Since paintings are rarely physically accurate there might be some parts where I need to add additional lights to match the look of the concept. Finally, I often use a rim light to separate out the main shapes and make them stand out while also adding an additional highlight.
One final detail I always love to add, is an environment fog that can be used to create light rays. It is a beautiful detail that really ties the scene together and adds depth to your final render. I really like to only make it visible for the main light source and add a gobo to break up the light into individual light rays.
Now, finally time has come for my favourite part of every project: compositing. I always feel like this part is somewhat magical, but still I feel like it is overlooked by many people. It is the best method to elevate your renders and perfectly match the concept.
At first, I was intimidated to use a complex software like Nuke, but I would recommend everyone to at least get familiar with it and learn some basic skills that can help you to show off your environments in the best way. Spending a few days to learn some basics really made a huge impact on my final results and was a good time investment.
I like to start out with adding a background to my scene. Normally I never model anything that lies behind the midground, to keep the render time as low as possible. I make sure to fully integrate it with colour matching and then move on to particles and additional volumes. This adds a certain real-world effect that you would usually get with small dirt particles on real world cameras.
But the main aspects I focus on are colour adjustments and final mood setting with lookup tables. Here, I like to work with crypto mattes that enable the specific adjustments of one object at a time. In the image below for example, I felt like the straw on the roof was to light and didn’t stand out enough. So, I used a crypto matte layer to create a mask and add some saturation and contrast to it without affecting the rest of the image.
Sometimes it also helps to add some depth of field or zDefocus to lead the viewer to the main attraction of the image. Finally, I like to add some lens distortion and chromatic aberration to really imitate the effects of a real camera. Even though these are only small changes; they always add up and make a big difference in the end.
Finally, the time has come to call this project finished. At first, I was really hesitant to show my work because I was afraid to receive negative feedback. But I have learned that sharing my results is the only way to get feedback, and grow as an artist. After all, no one is going to hire me if I don’t take the first step and show them what I can do.
So, I highly encourage everyone to get their work out there and use sites like The Rookies to share their results. It is an amazing opportunity to get in touch with new people and learn from one another.
With every project I finish I learn a lot of new things. Not only in terms of software or skill, but also about the workflow itself. The fantasy house has especially taught me about the importance of clean and organised workflow. I never would have expected that clear labelling and organisation of your work files and data can have such a huge impact on efficiency and productivity.
If there is one thing that I could recommend everyone it would be to always keep learning and trying new things. Try to challenge yourself with every new project. But most importantly have fun and remember why you started learning in the first place. Take inspiration from your favourite games and movies and try to inspire others with your work.
Thanks to everyone who took the time to read about my approach to environment creation. I really hope you liked it and maybe even learned something from it. Feel free to reach out to me via email or LinkedIn if you have any questions or feedback.
