Creating a 3D Cartoon Character with Maya and Substance 3D Painter
Rubén López Fernández took on the challenge of creating a cartoon character from concept to final 3D Render. This is how he achieved the final piece, and some tips he has for other artists looking to embark on a similar project.
As a new 3D Artist and in love with the creation of cartoon characters and the study of anatomy in general, Rubén López Fernández took on the challenge of creating a cartoon character from concept to final 3D Render. This is how he achieved the final piece, and some tips he has for other artists looking to embark on a similar project.
INTRODUCTION:
Since I had an accident at work in 2016 (I know it sounds cliché), I can really say that my life was changed completely. In the years that followed, I wanted to focus on doing what I really wanted and liked.
What was clear to me was that I wanted to train, so I started studying a degree in digital design. Wanting to know everything about creating amazing characters, I then applied, and was accepted to Animum Creativity Advanced School. I took a Masters Degree program that helped me learn how to create compelling 3D characters for cinema and video games.
It was an incredible year of learning and for this post, I want to show you my cartoon character with which I learned a lot during its creation.
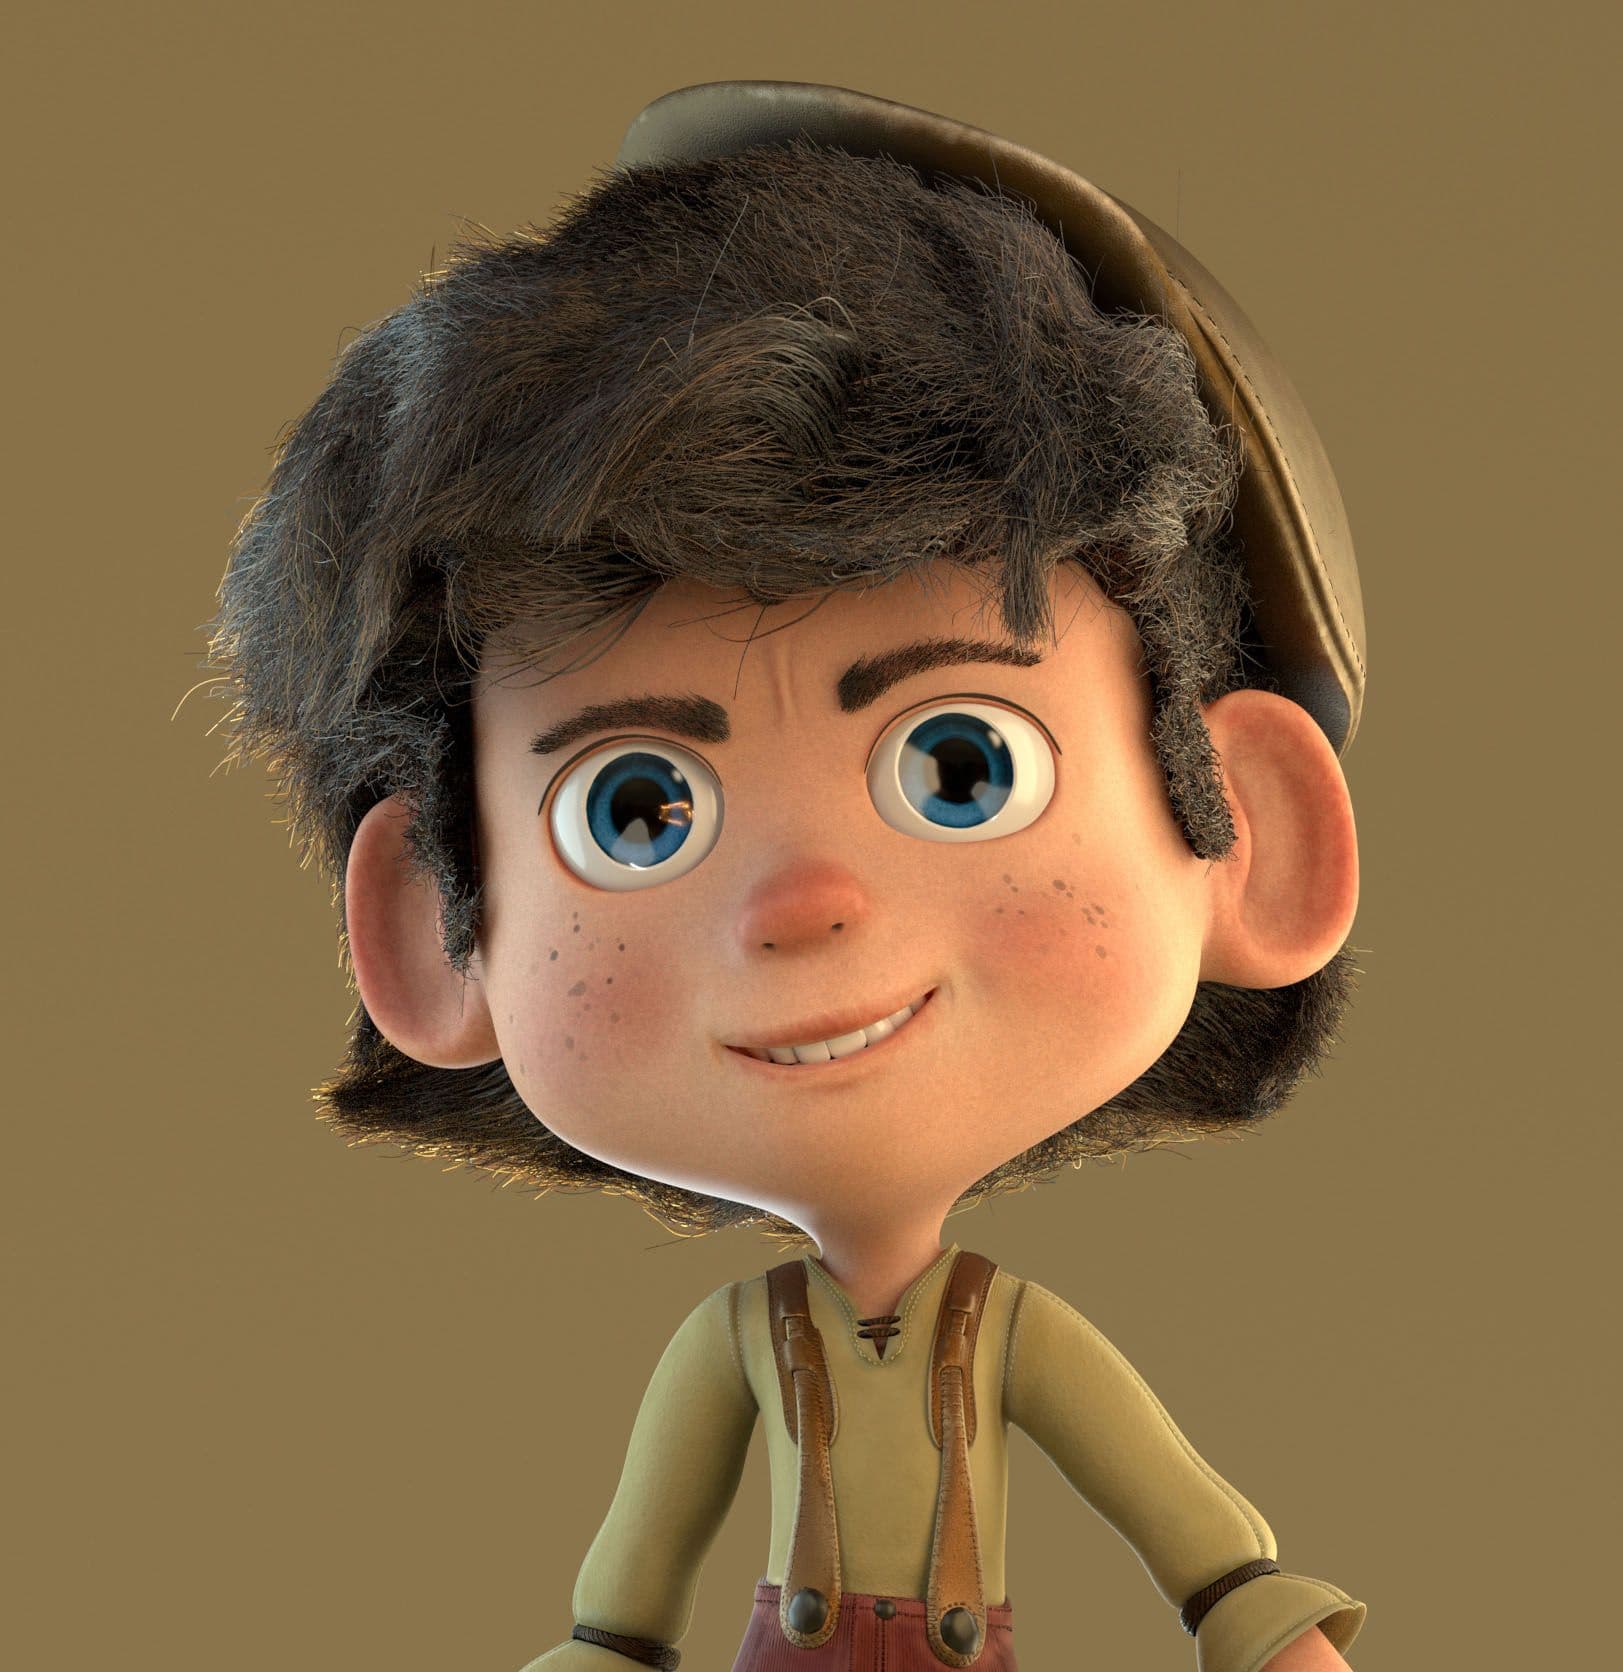
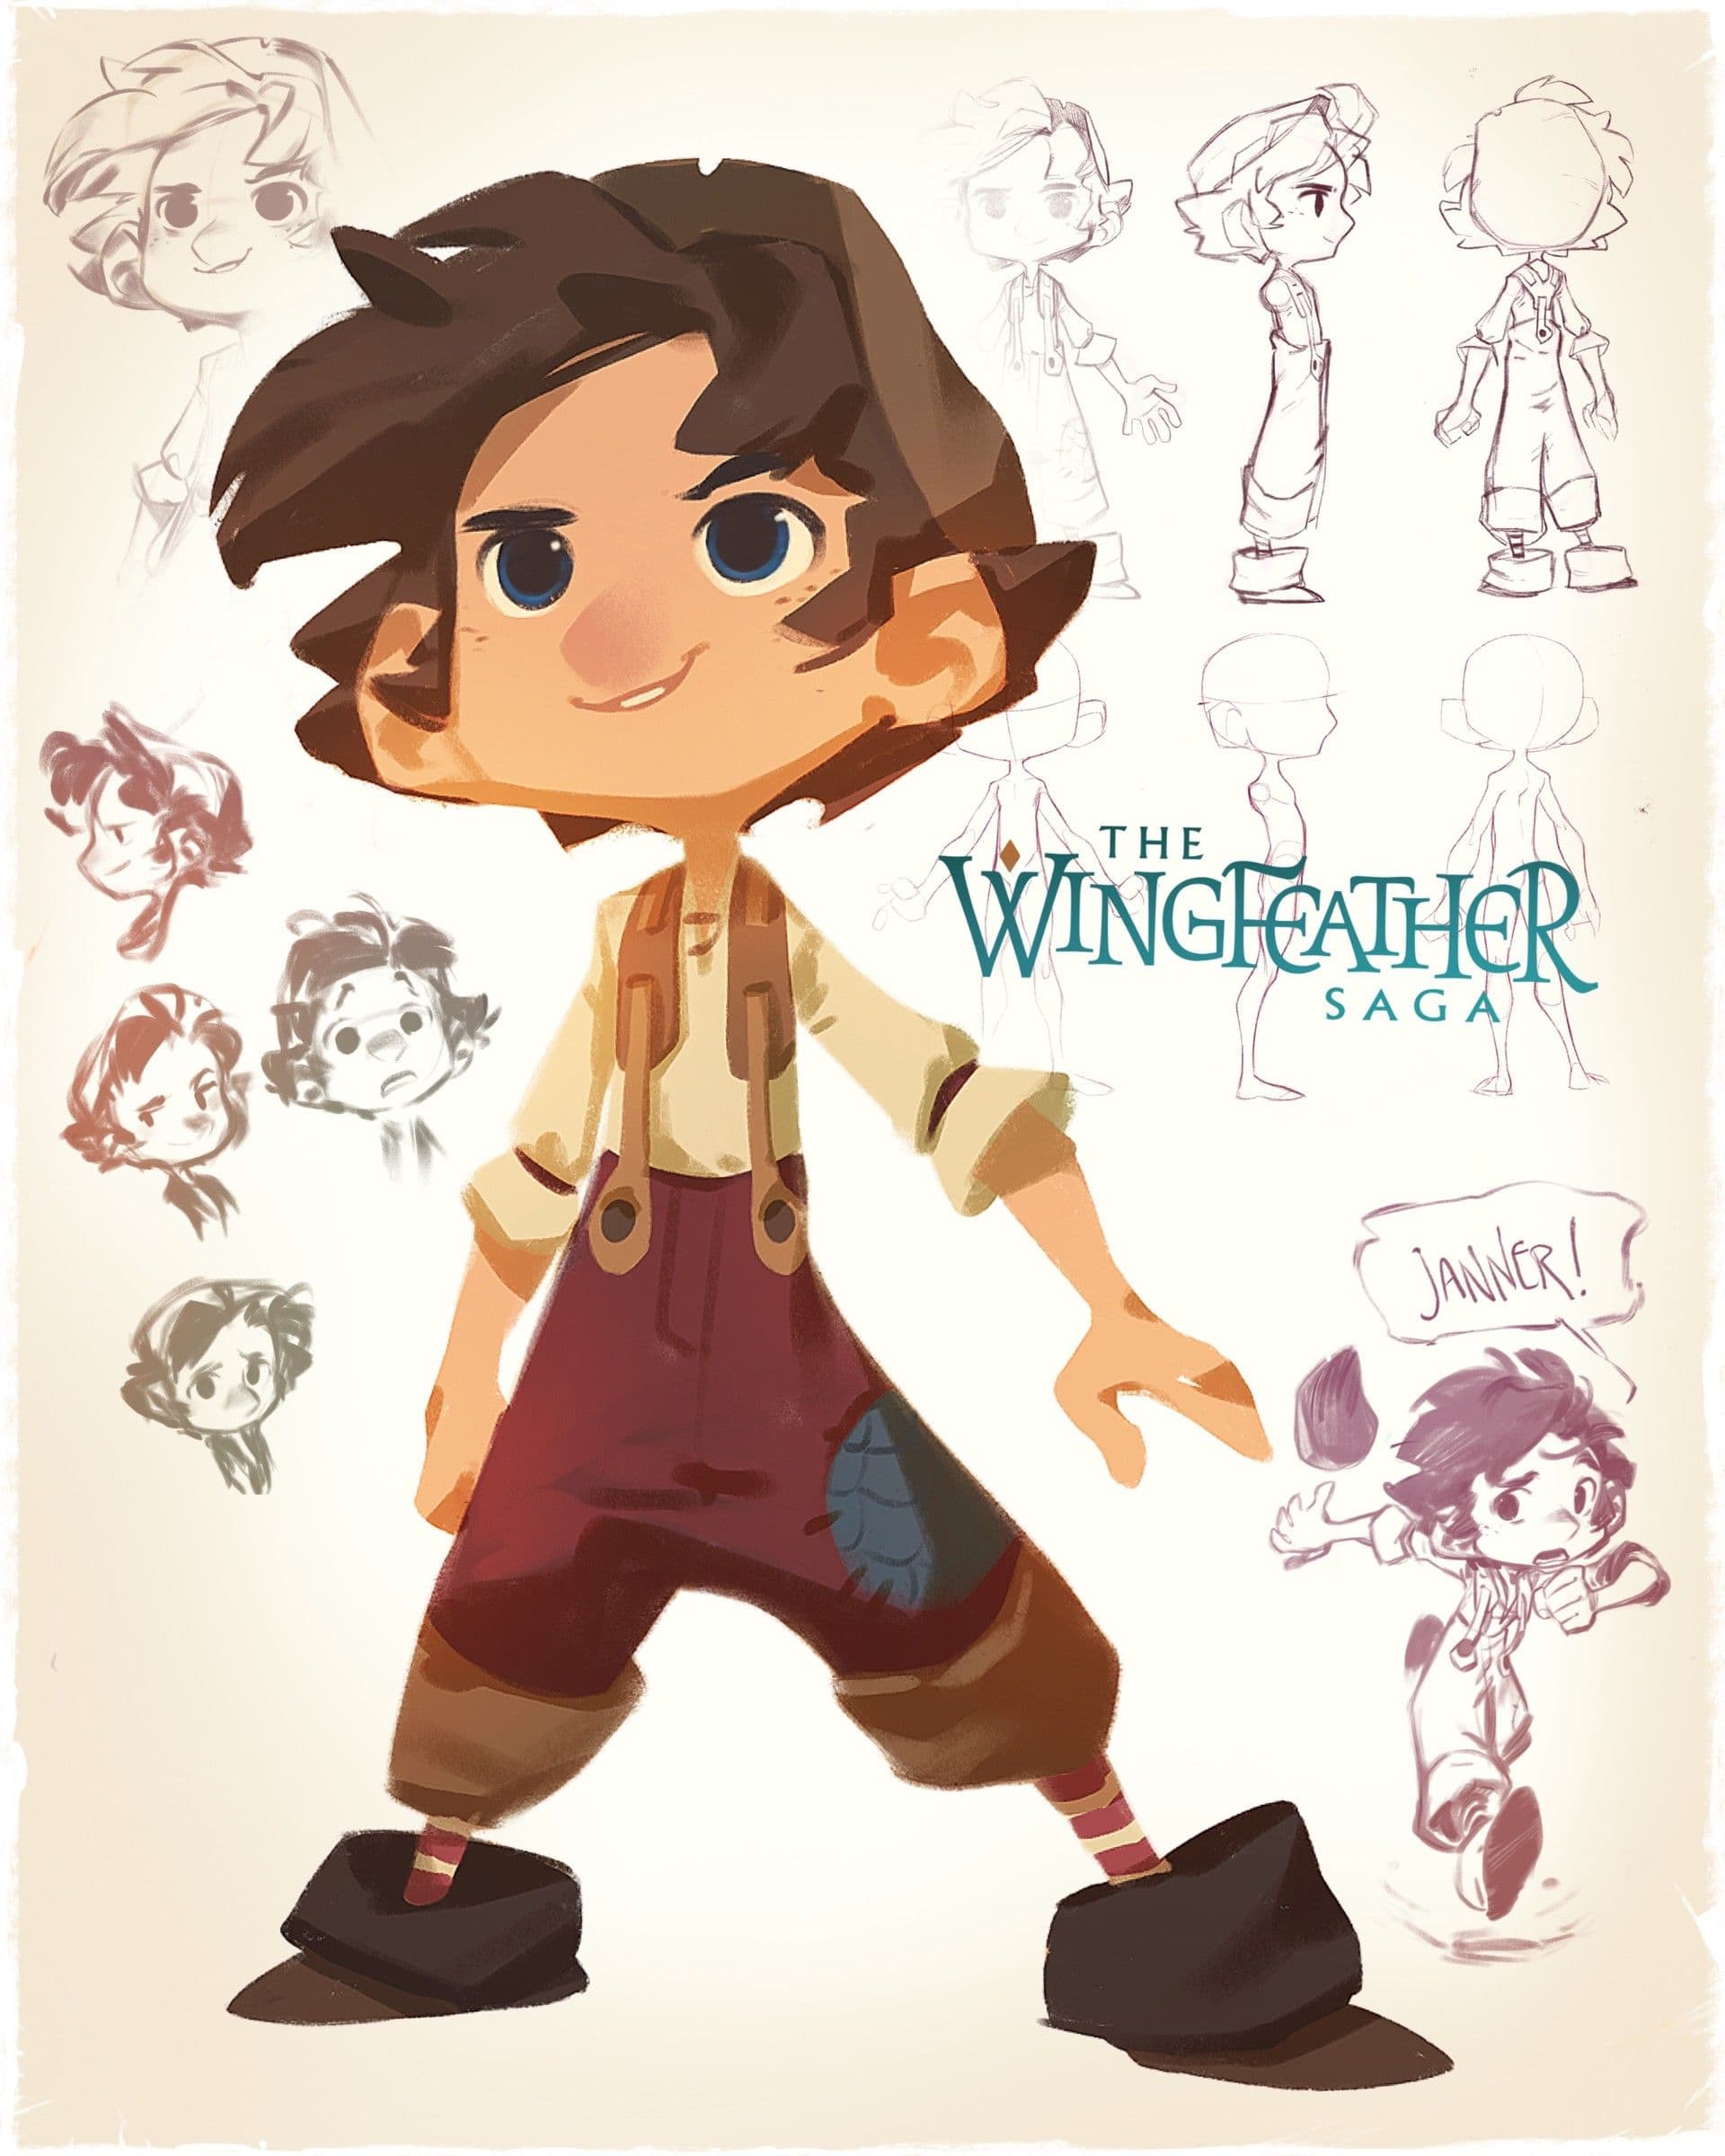
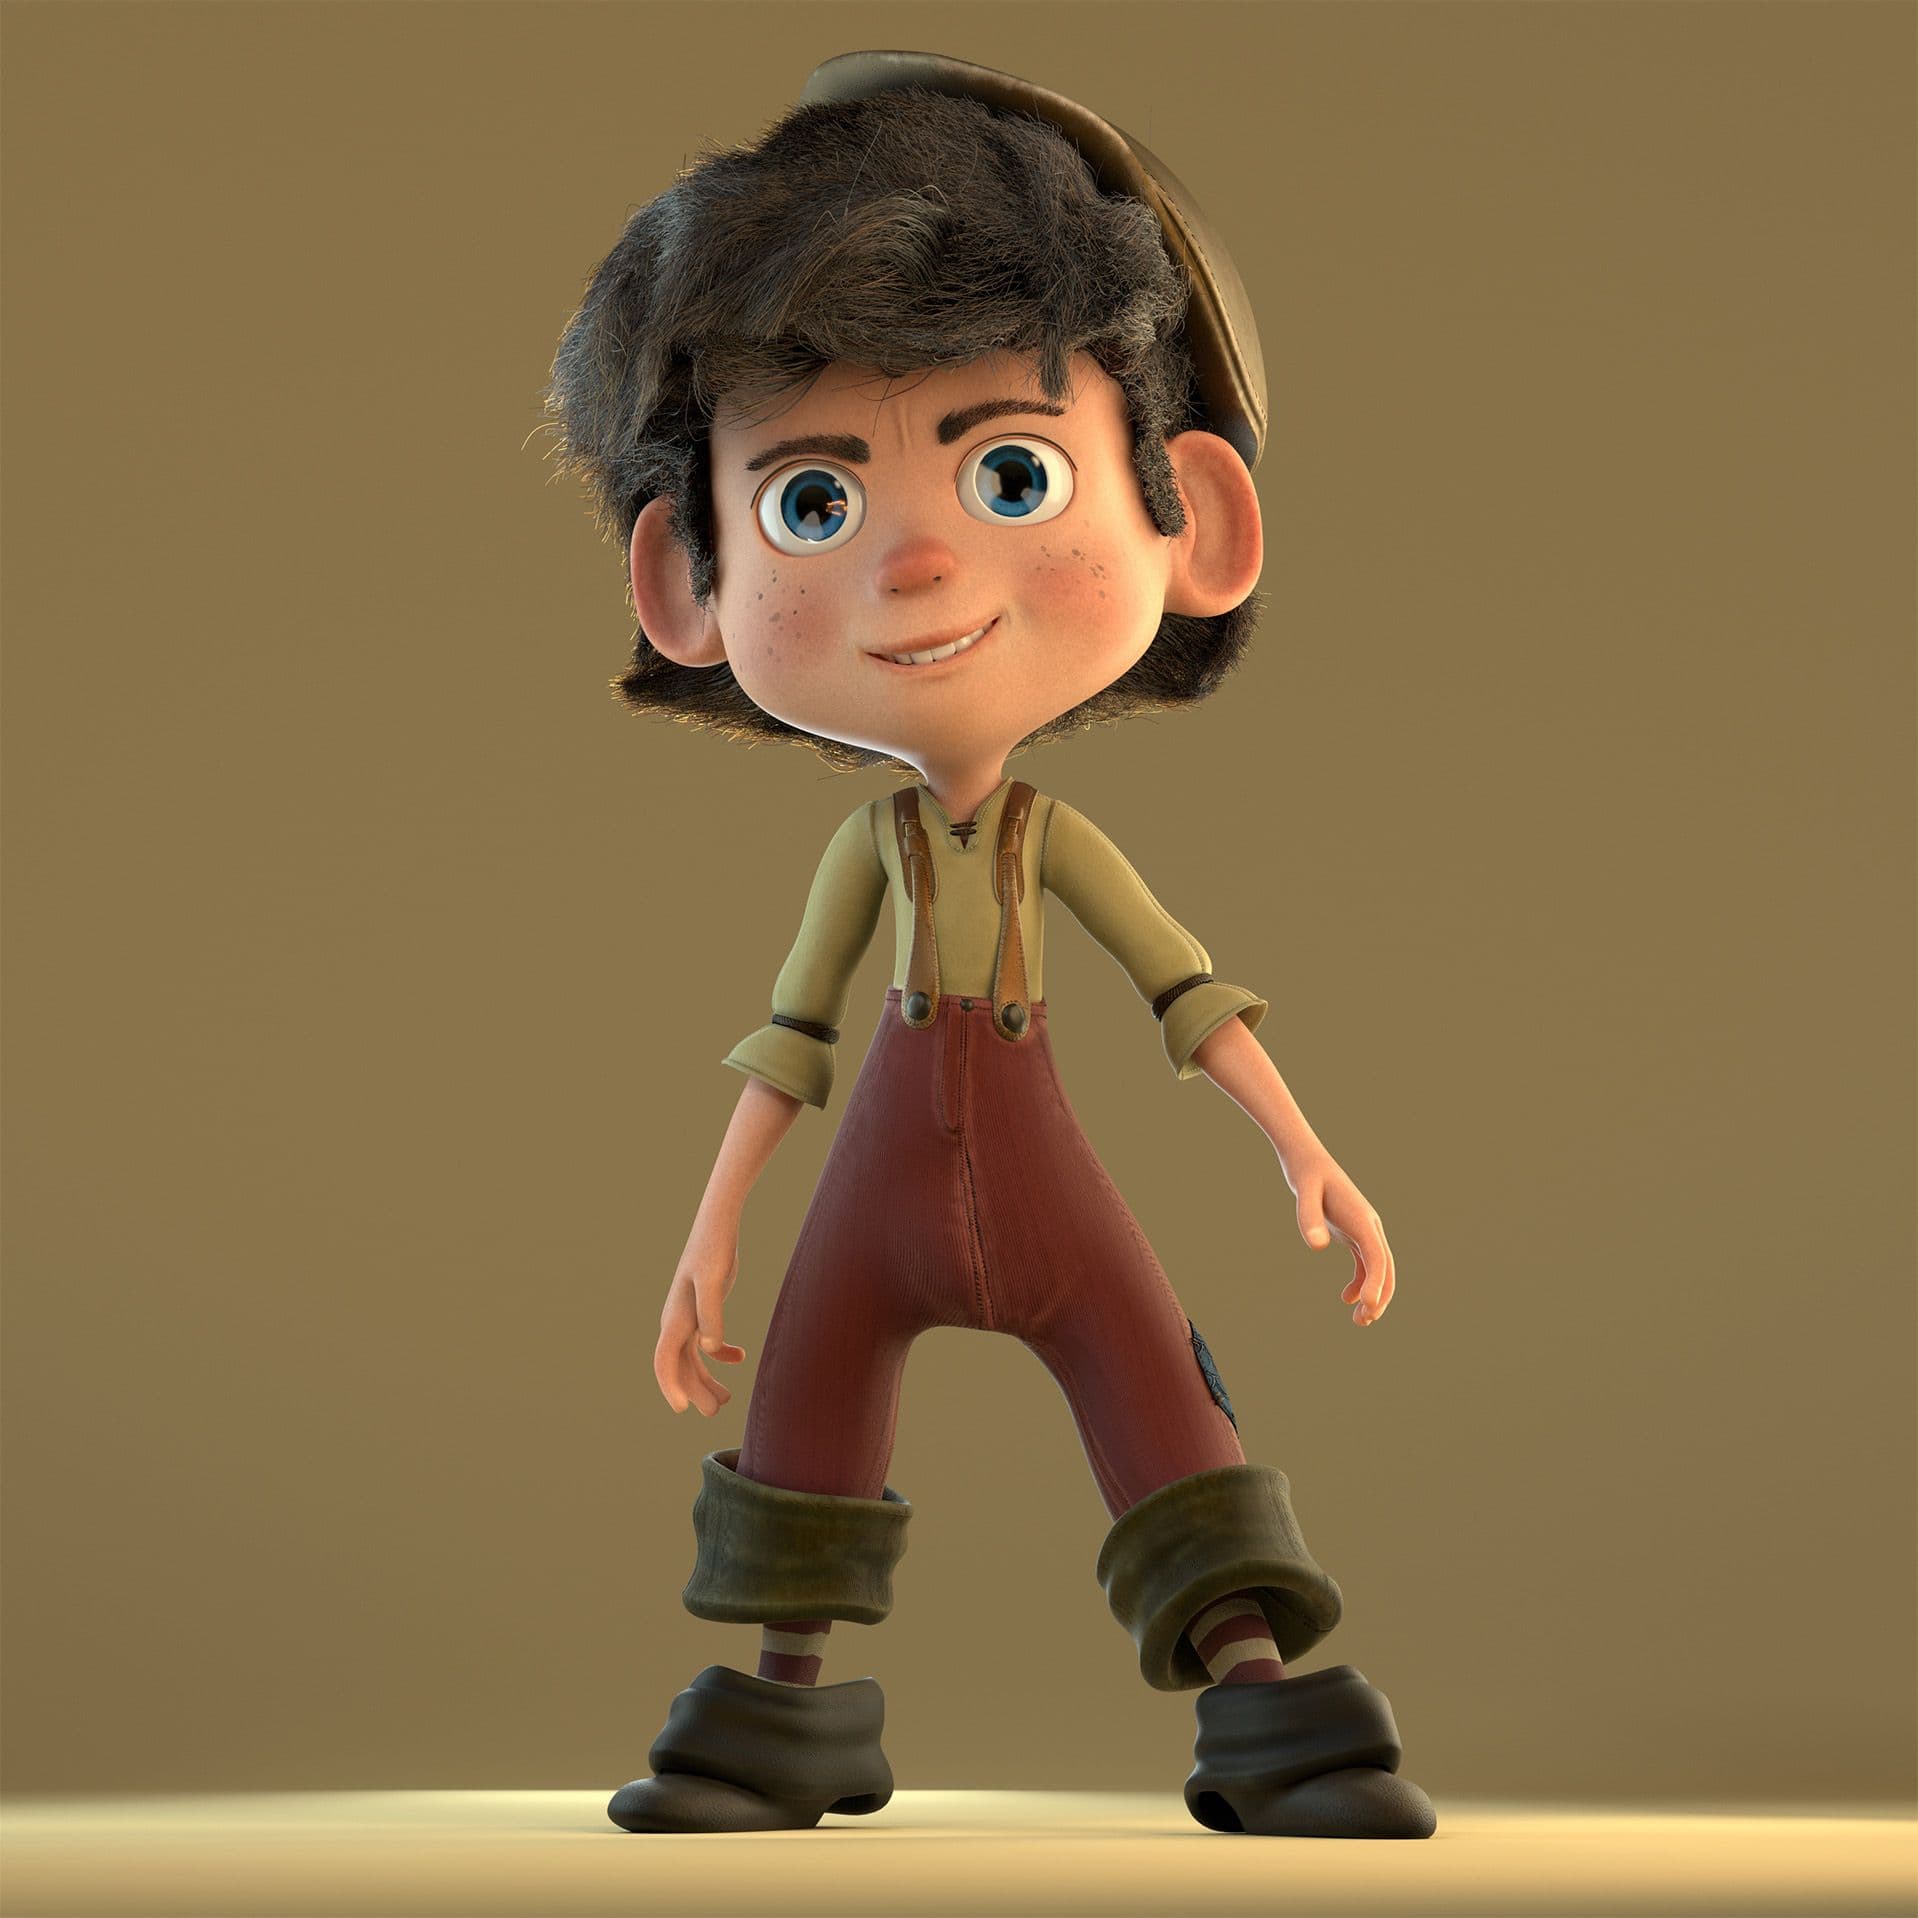
Niko, from The Wingfeather Saga, a character who I already thought attractive from the initial concept, was a welcome challenge to create from the very beginning to end.
The second step was to find out which style I was going for, and without a doubt, and just when I started with this character, the animated film “Luca" from Disney Studios, was released. I decided my character would have a very "Luca" vibe.
Luca for Disney Studios
MAYA
Base mesh and looking for shapes.
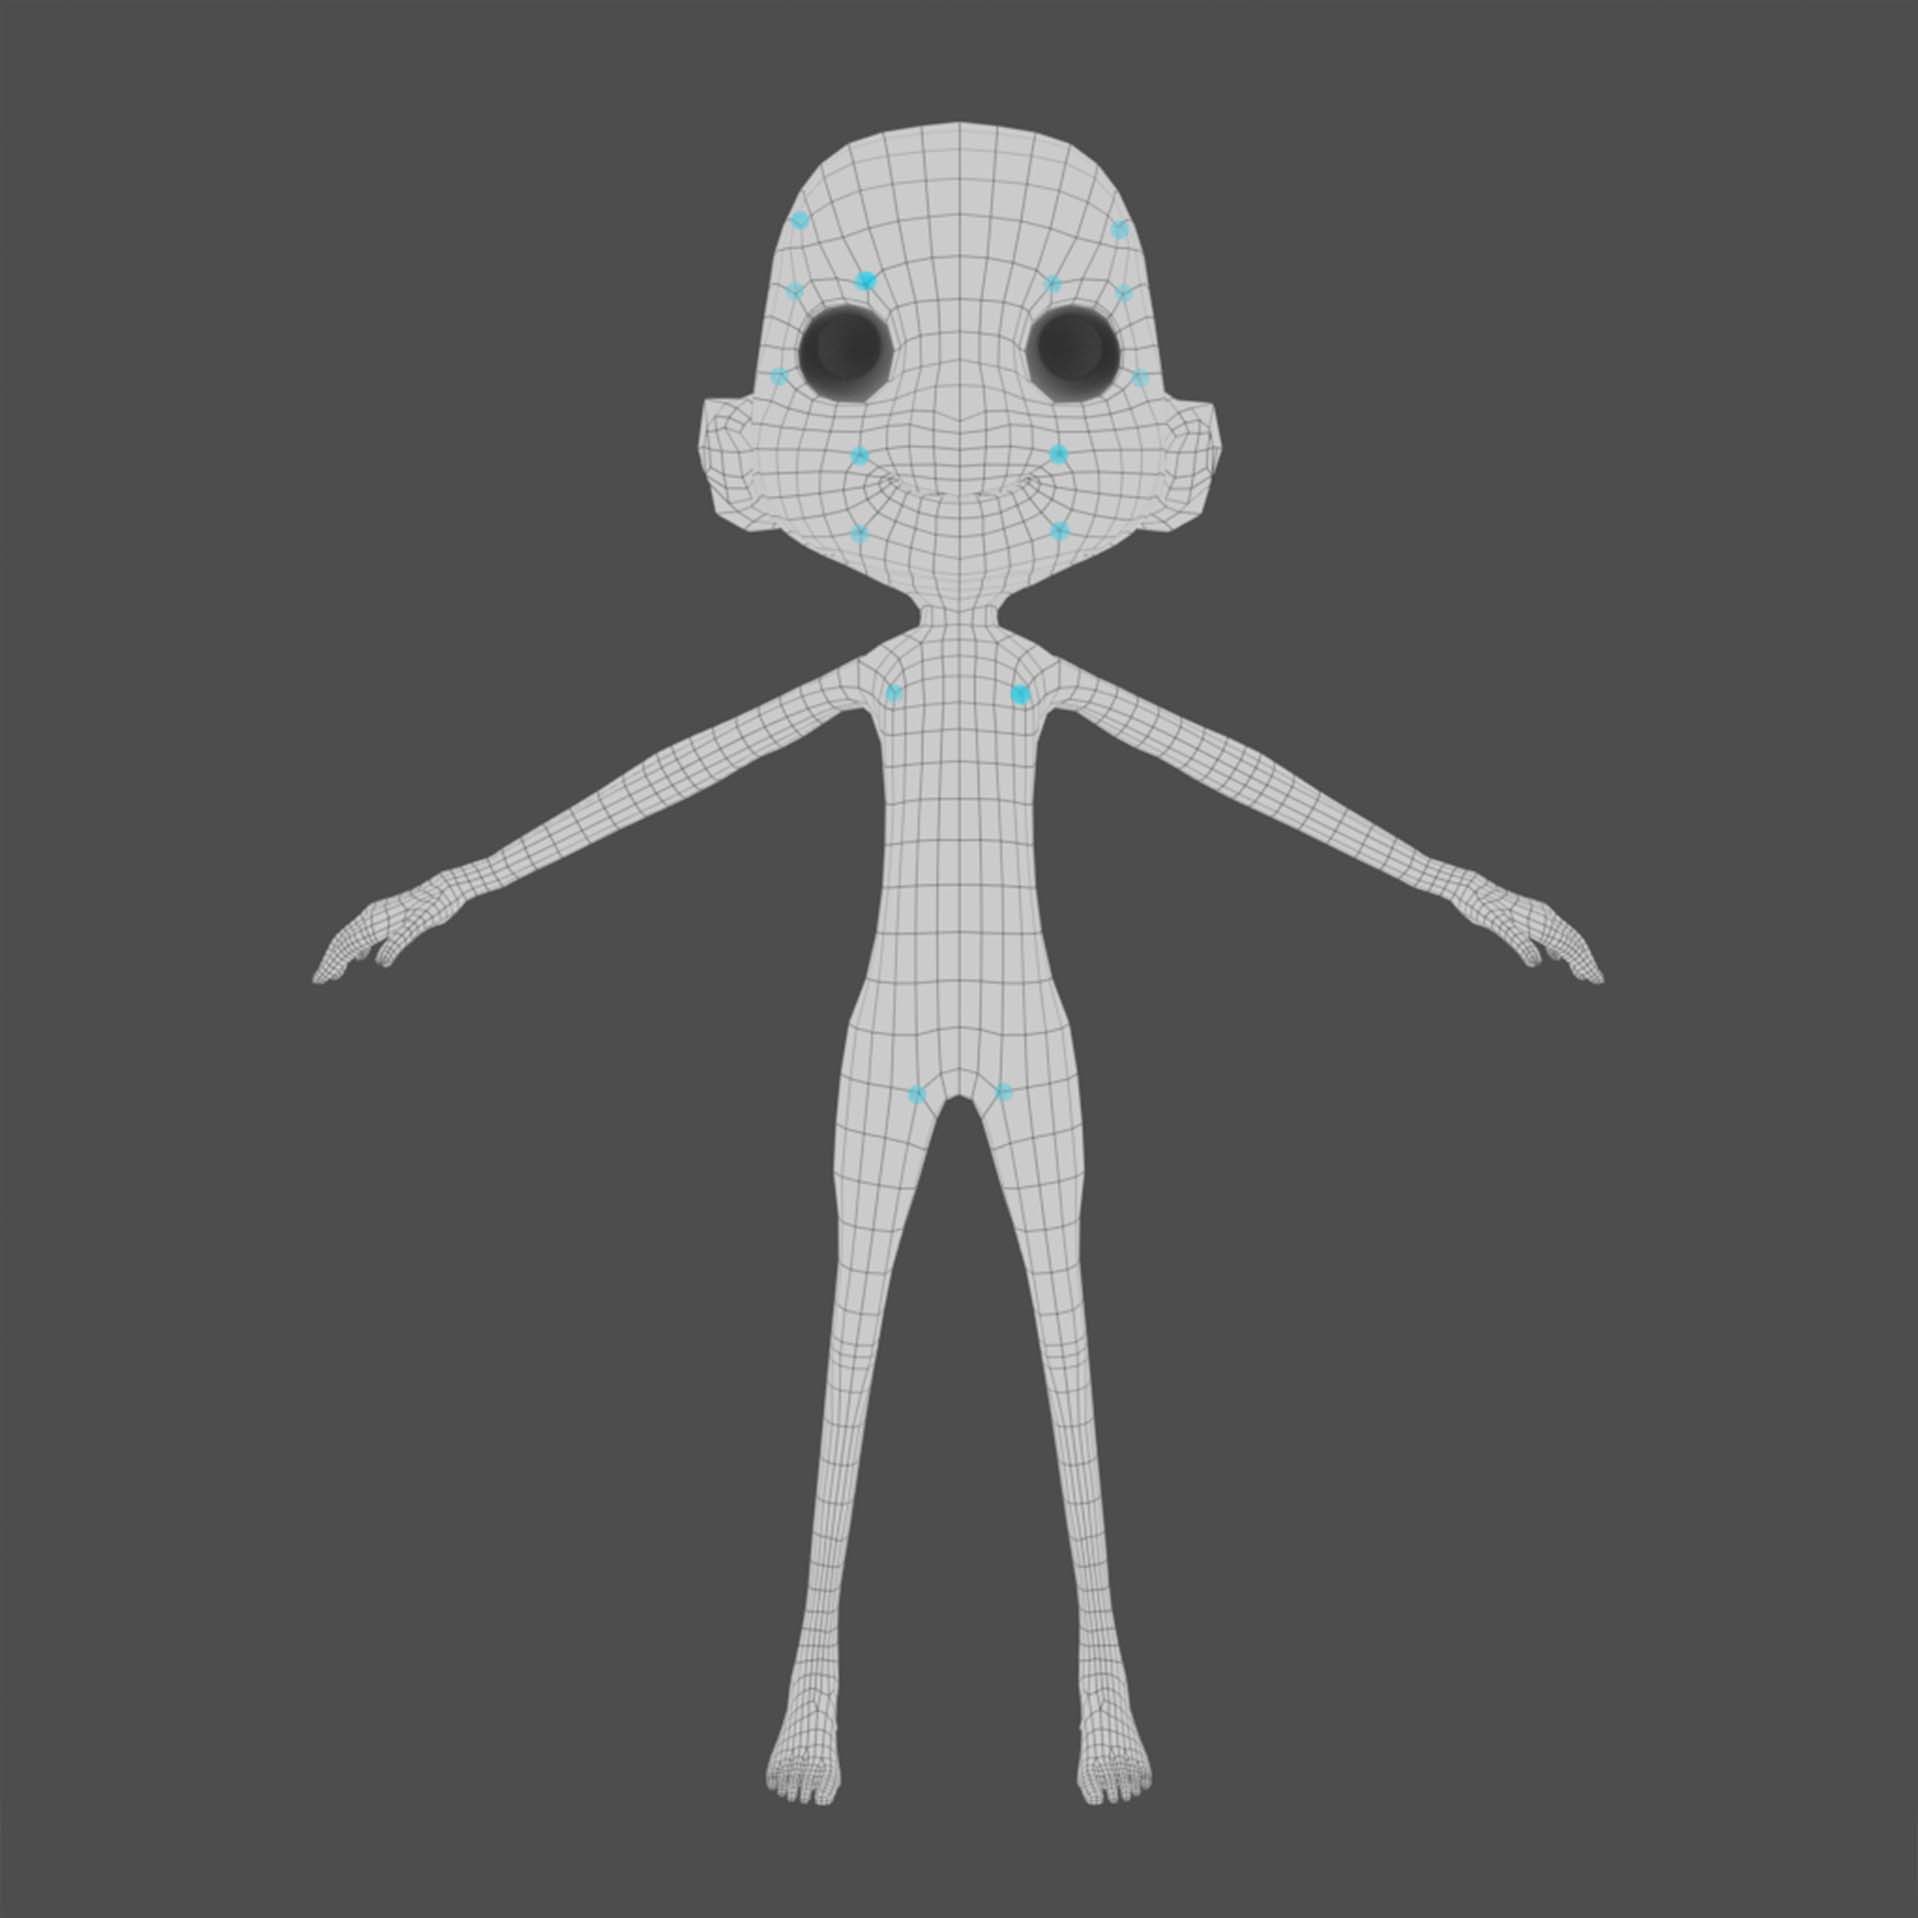
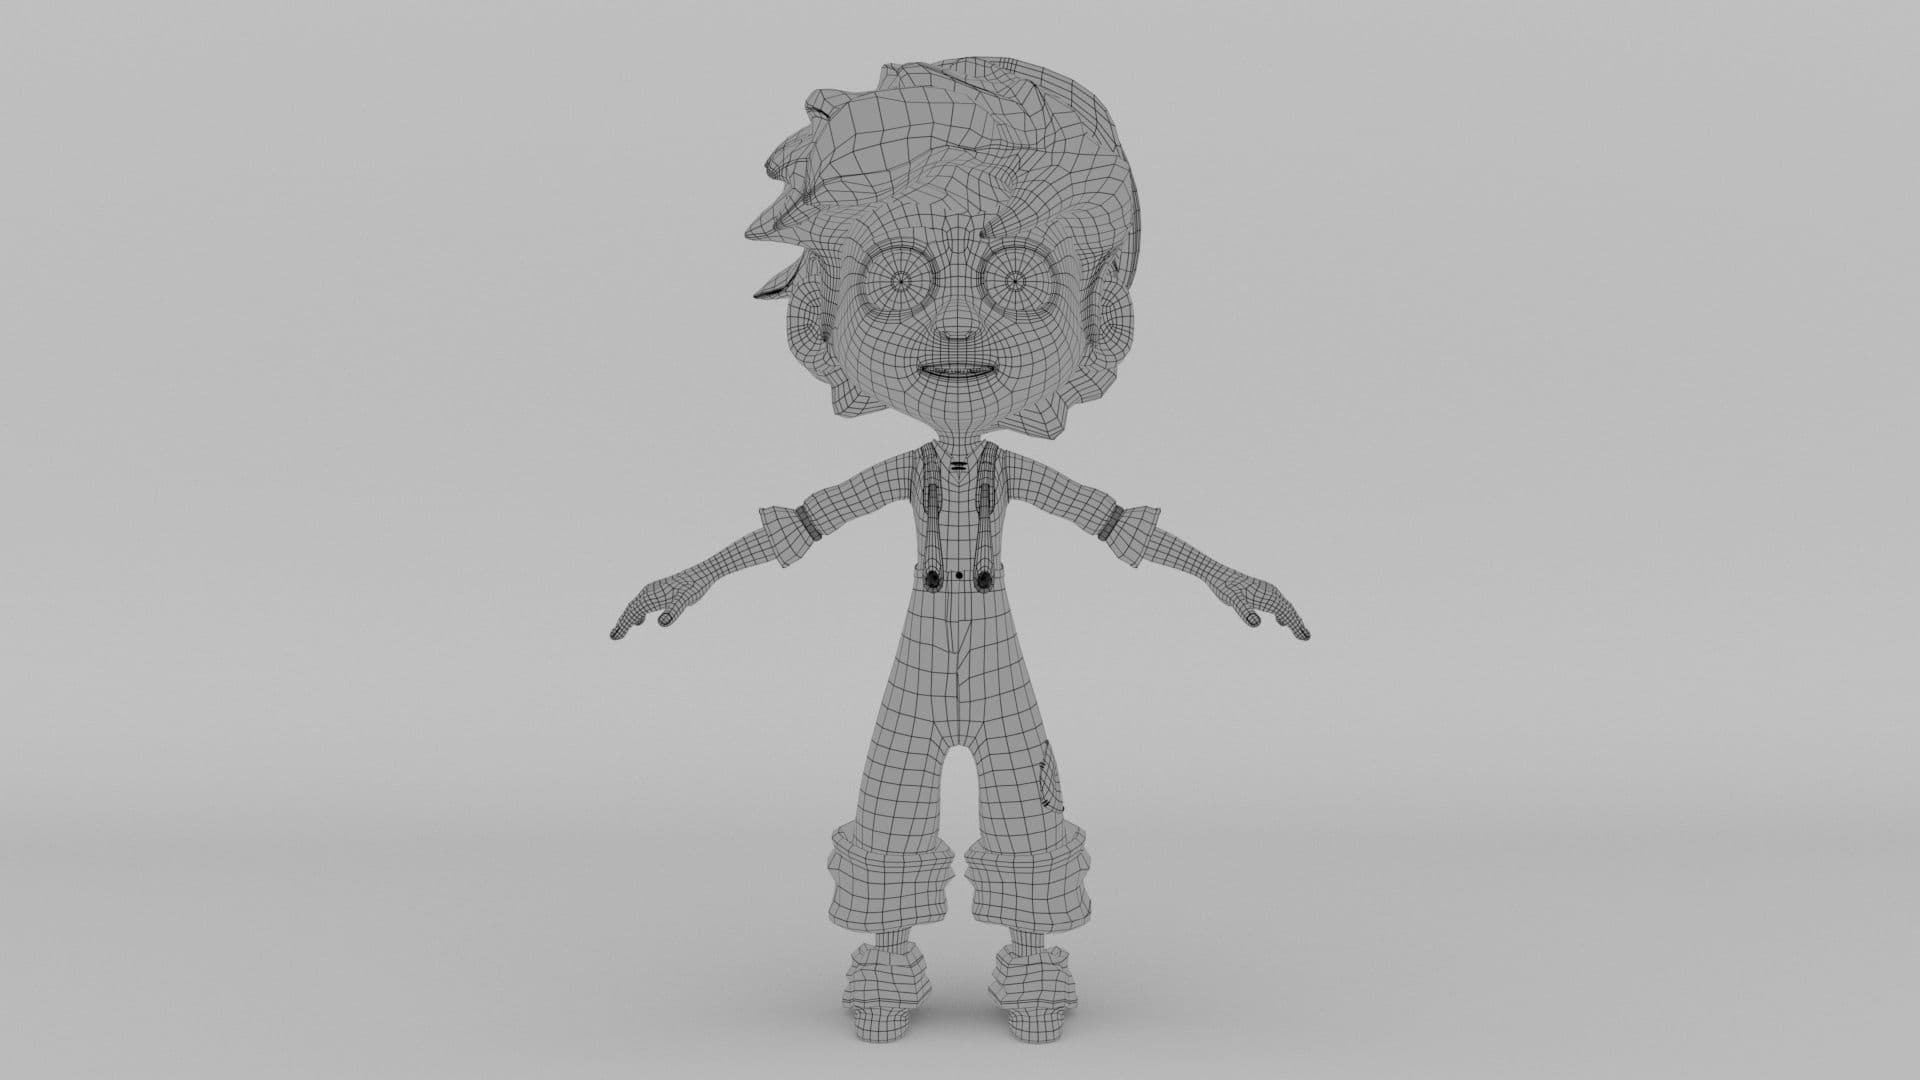
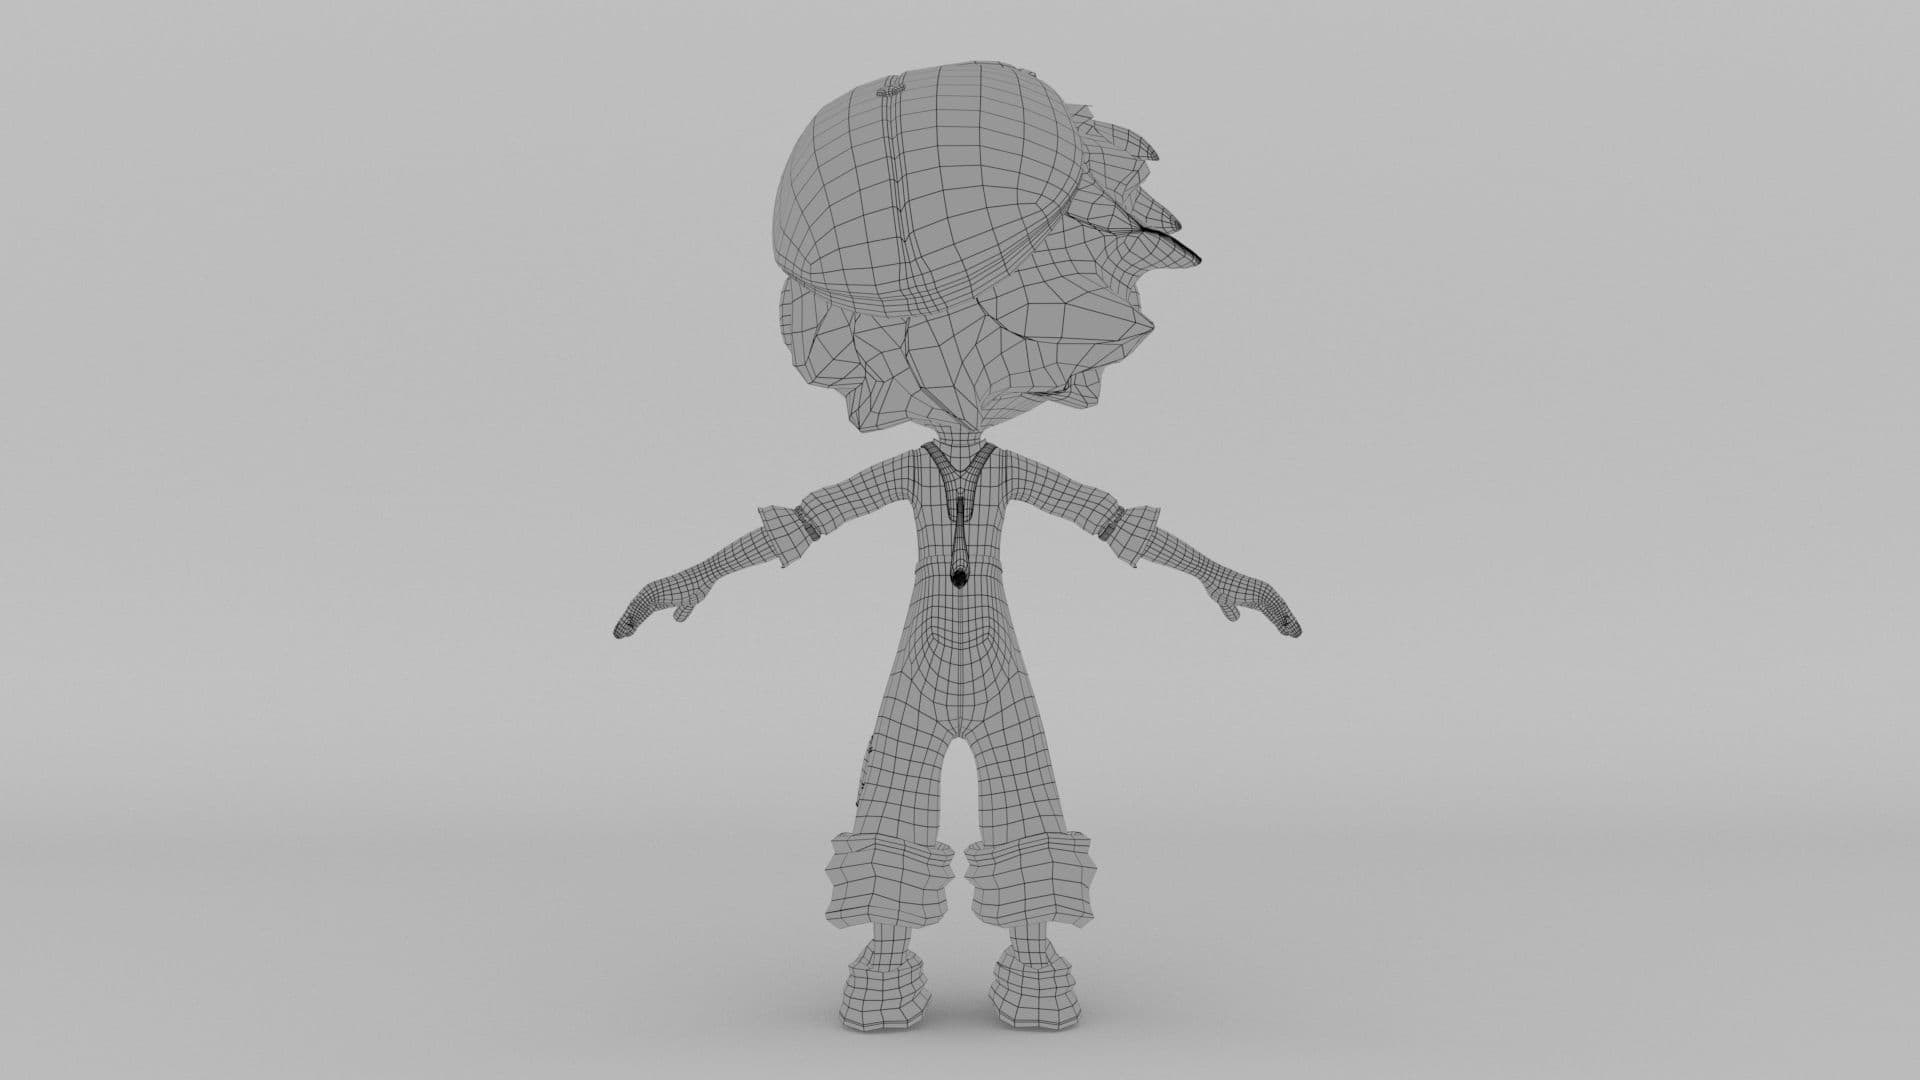
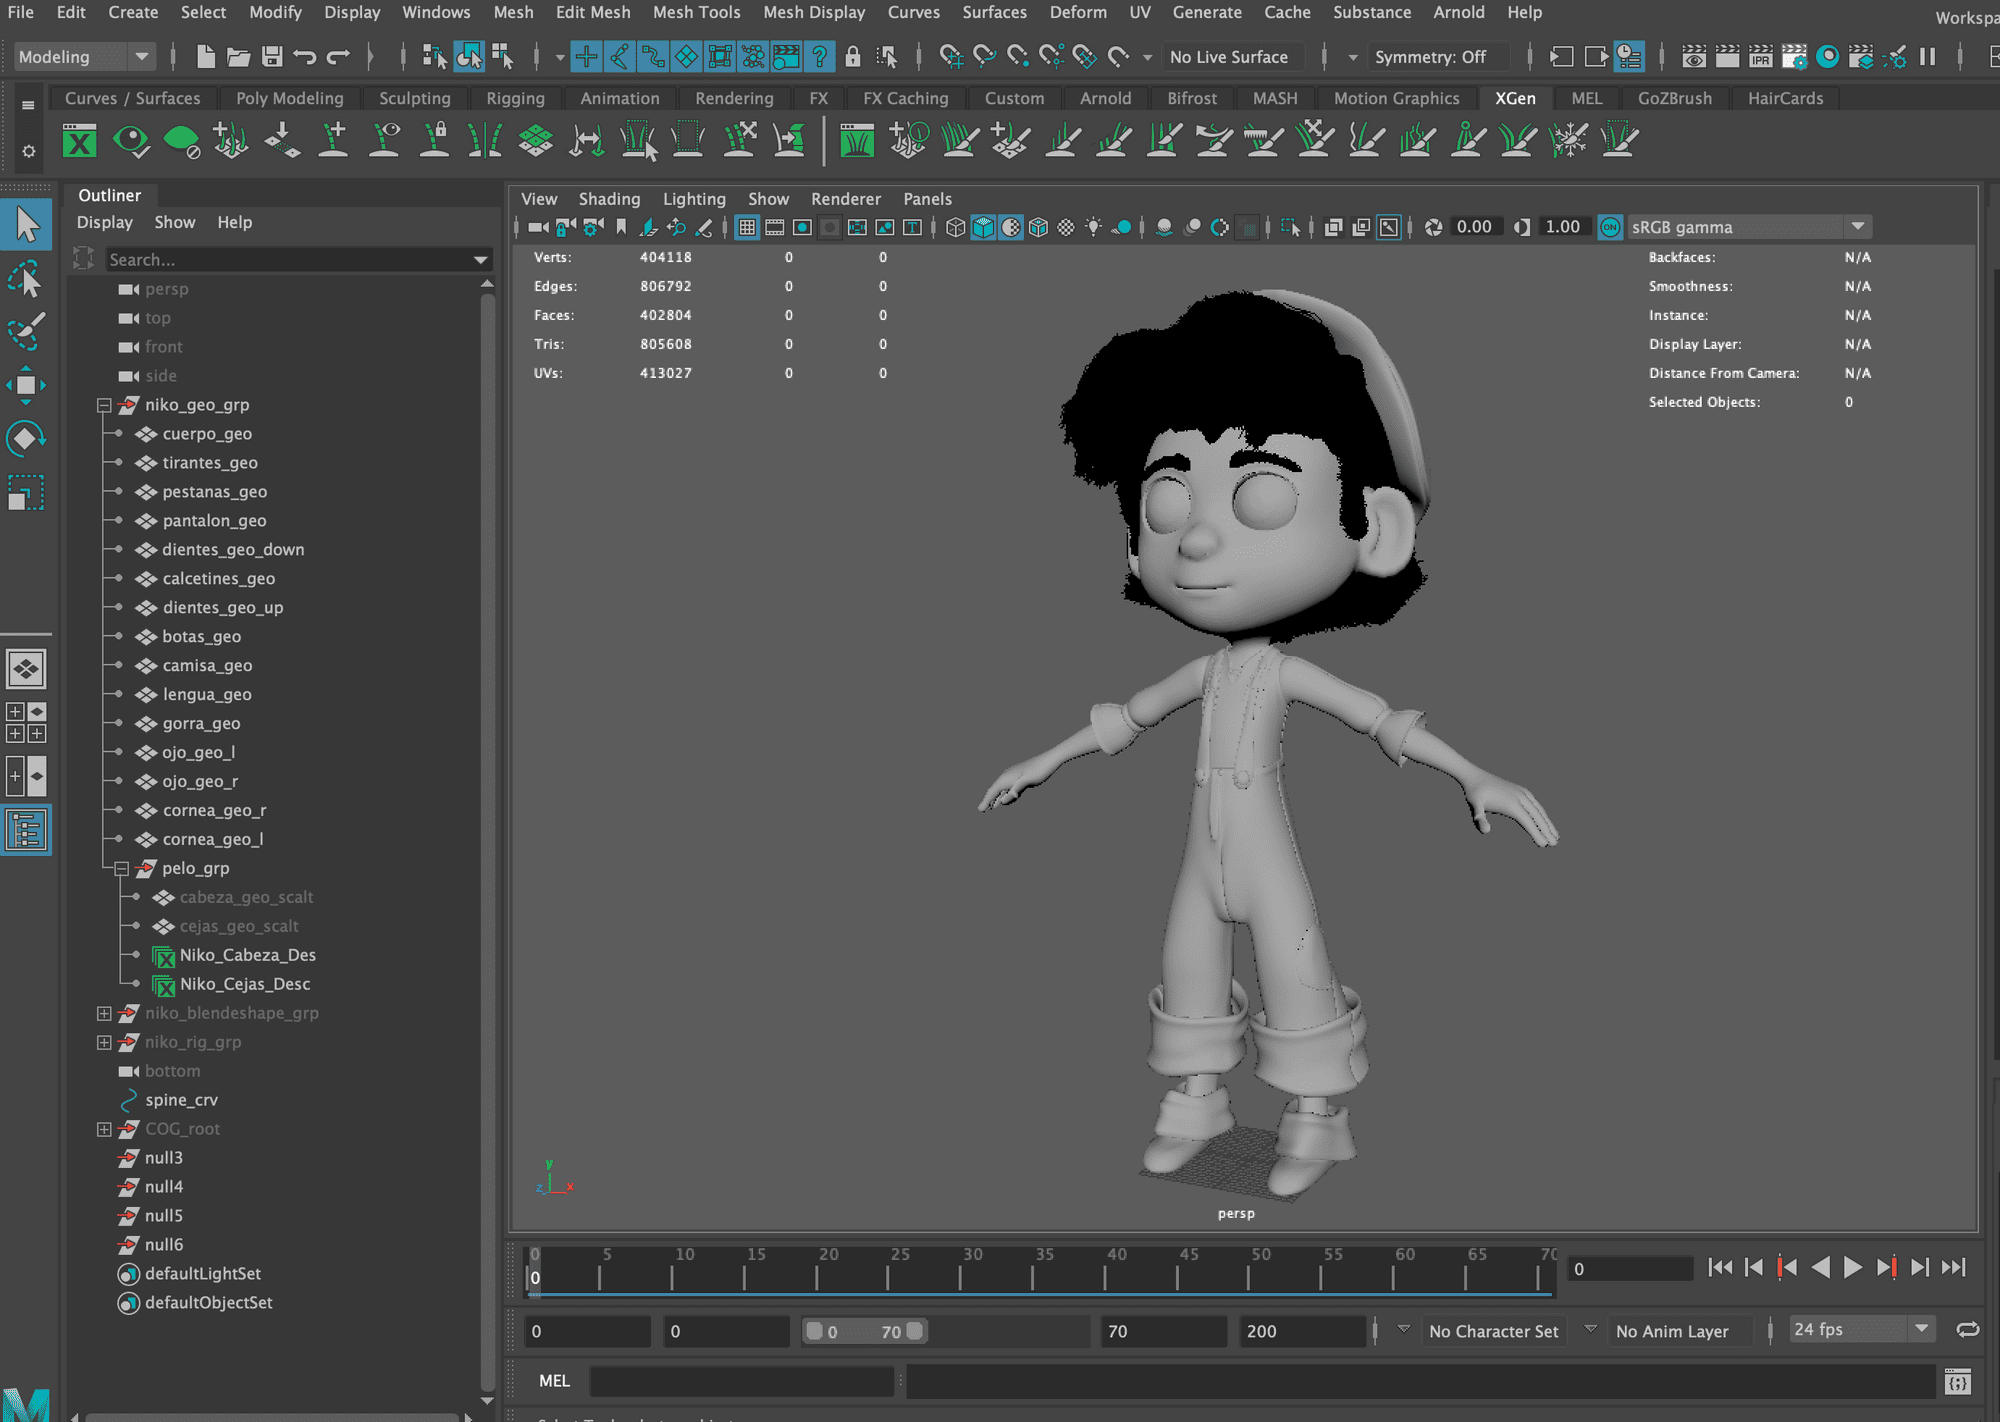
Once we have everything necessary to focus on the character, we start with a base mesh created from Maya. From the beginning, I knew I wanted this character to be animated, so I had to position the points in areas where the mesh would not suffer much deformation and too much twist when animated, and of course avoiding having neither trids nor ngons.
Base Malla
Taking advantage of the fact that the mesh works correctly and without the need to do a retopology in the future, the clothing is removed and in this way we have the same loops as the base mesh; very important when rigging and later animating.
This workshop is the one of a lifetime, and the one that many artists use. I was lucky that Juan Solís was my tutor when I was working on this project at Animum School.
With the beginnings of a model, it's time to shape it. Keeping in mind the silhouette that I wanted to give to this character, I started to move the vertices with Soft Selection, trying to find the cartoon-style anatomy I wanted.
FrontBack
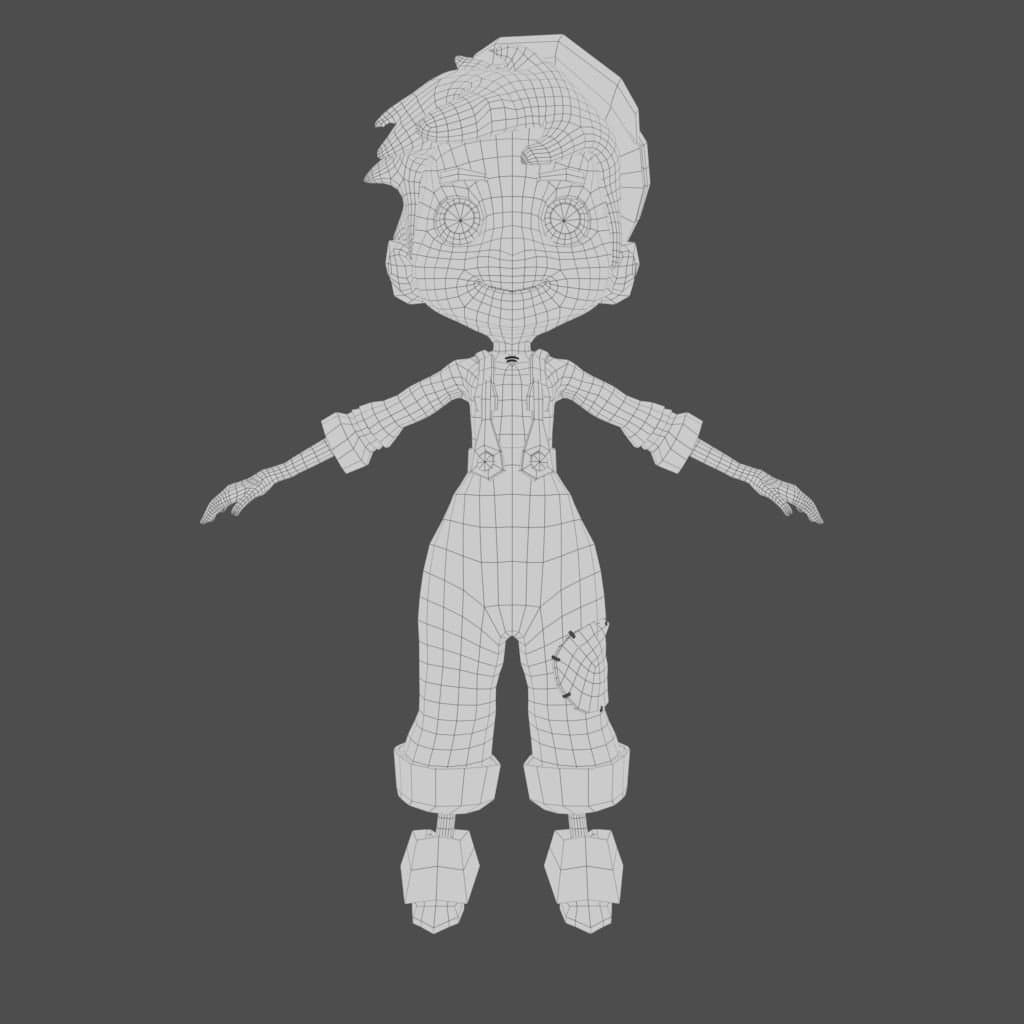
As can be seen in the images, I have maintained throughout the modeling,
the loops that I started from the base mesh and have been adding as I progressed the model. THis is so it follows a correct mesh, increasing more loops in the eye area, mouth, adding loops in the torsion zones of the character, and that all the created mesh follow the same pattern.
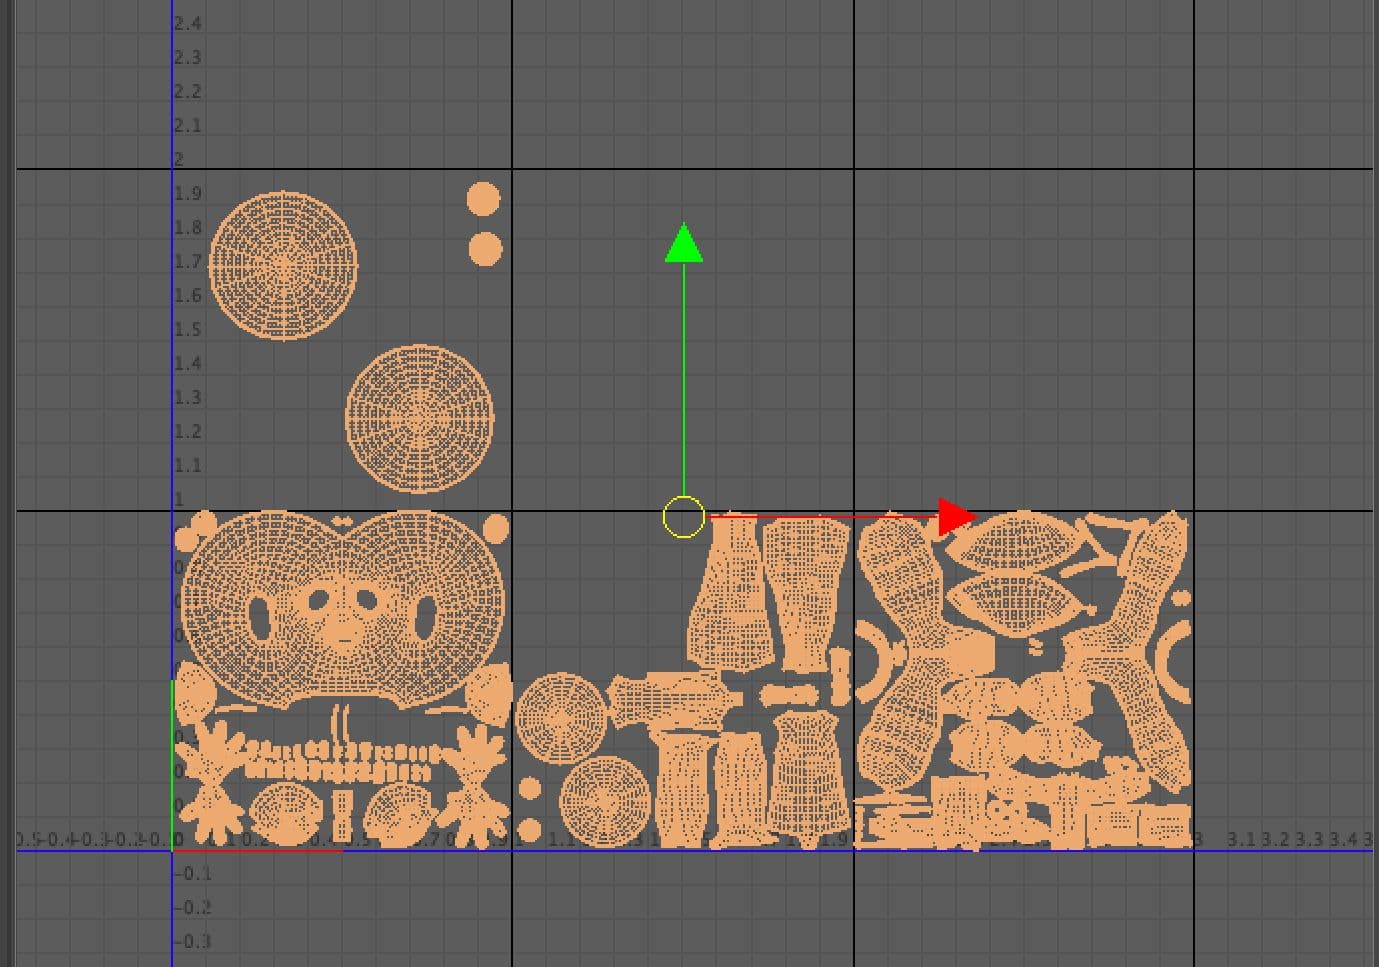
It's time to create the UVS.
Now that I am happy with the result of the mesh, I start working on the cuts to have the UVS in UDIMs. Since this is a character designed for an animated film, good UV placement will give us a better result when it comes time to texture.
UVS in Maya
I brought my model in pose A into Substance 3D, from Maya. Below are a few things to keep in mind before taking it to Substances 3D and to apply:
Turbosmooth.
Unlock rules.
Smootheges.
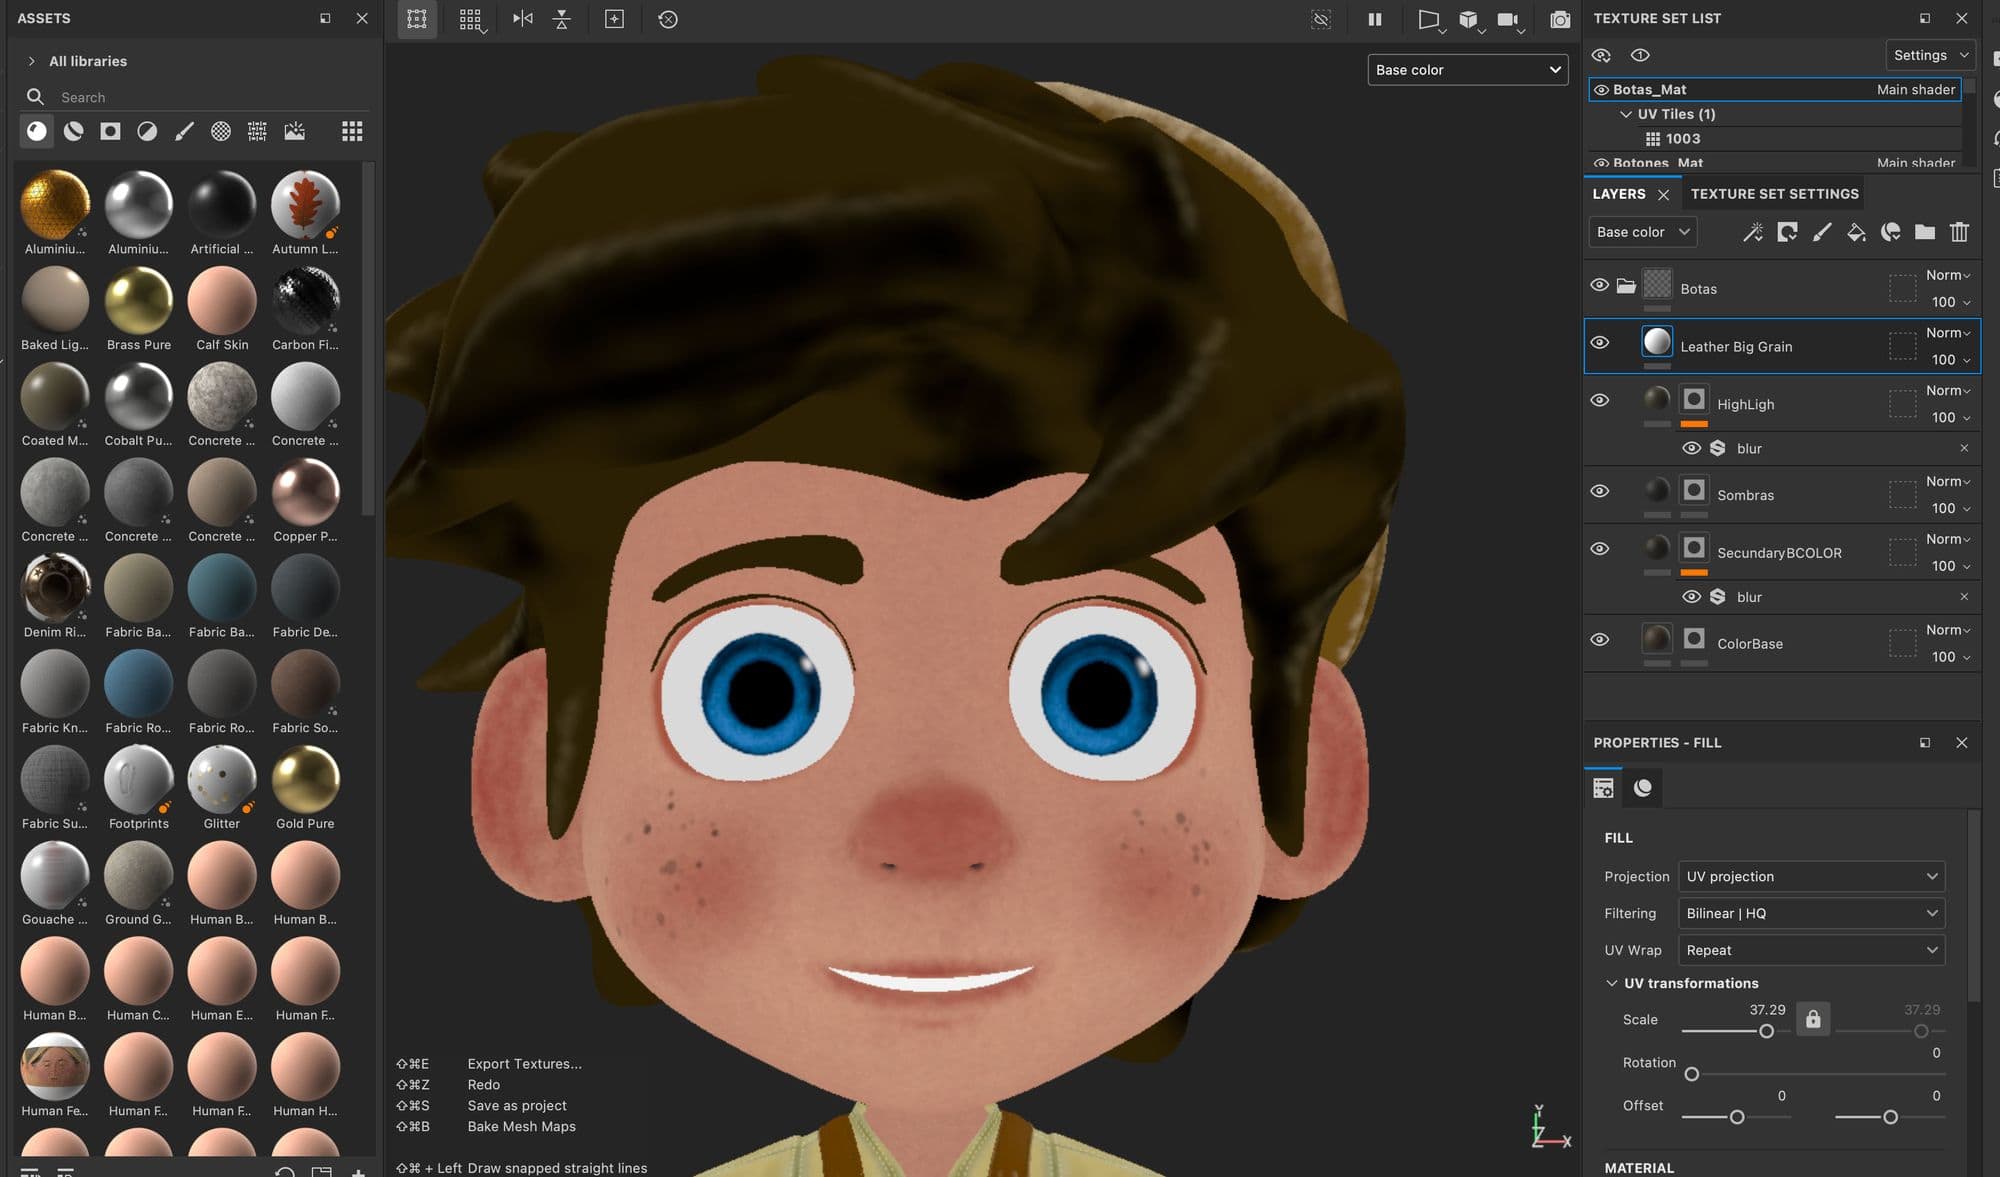
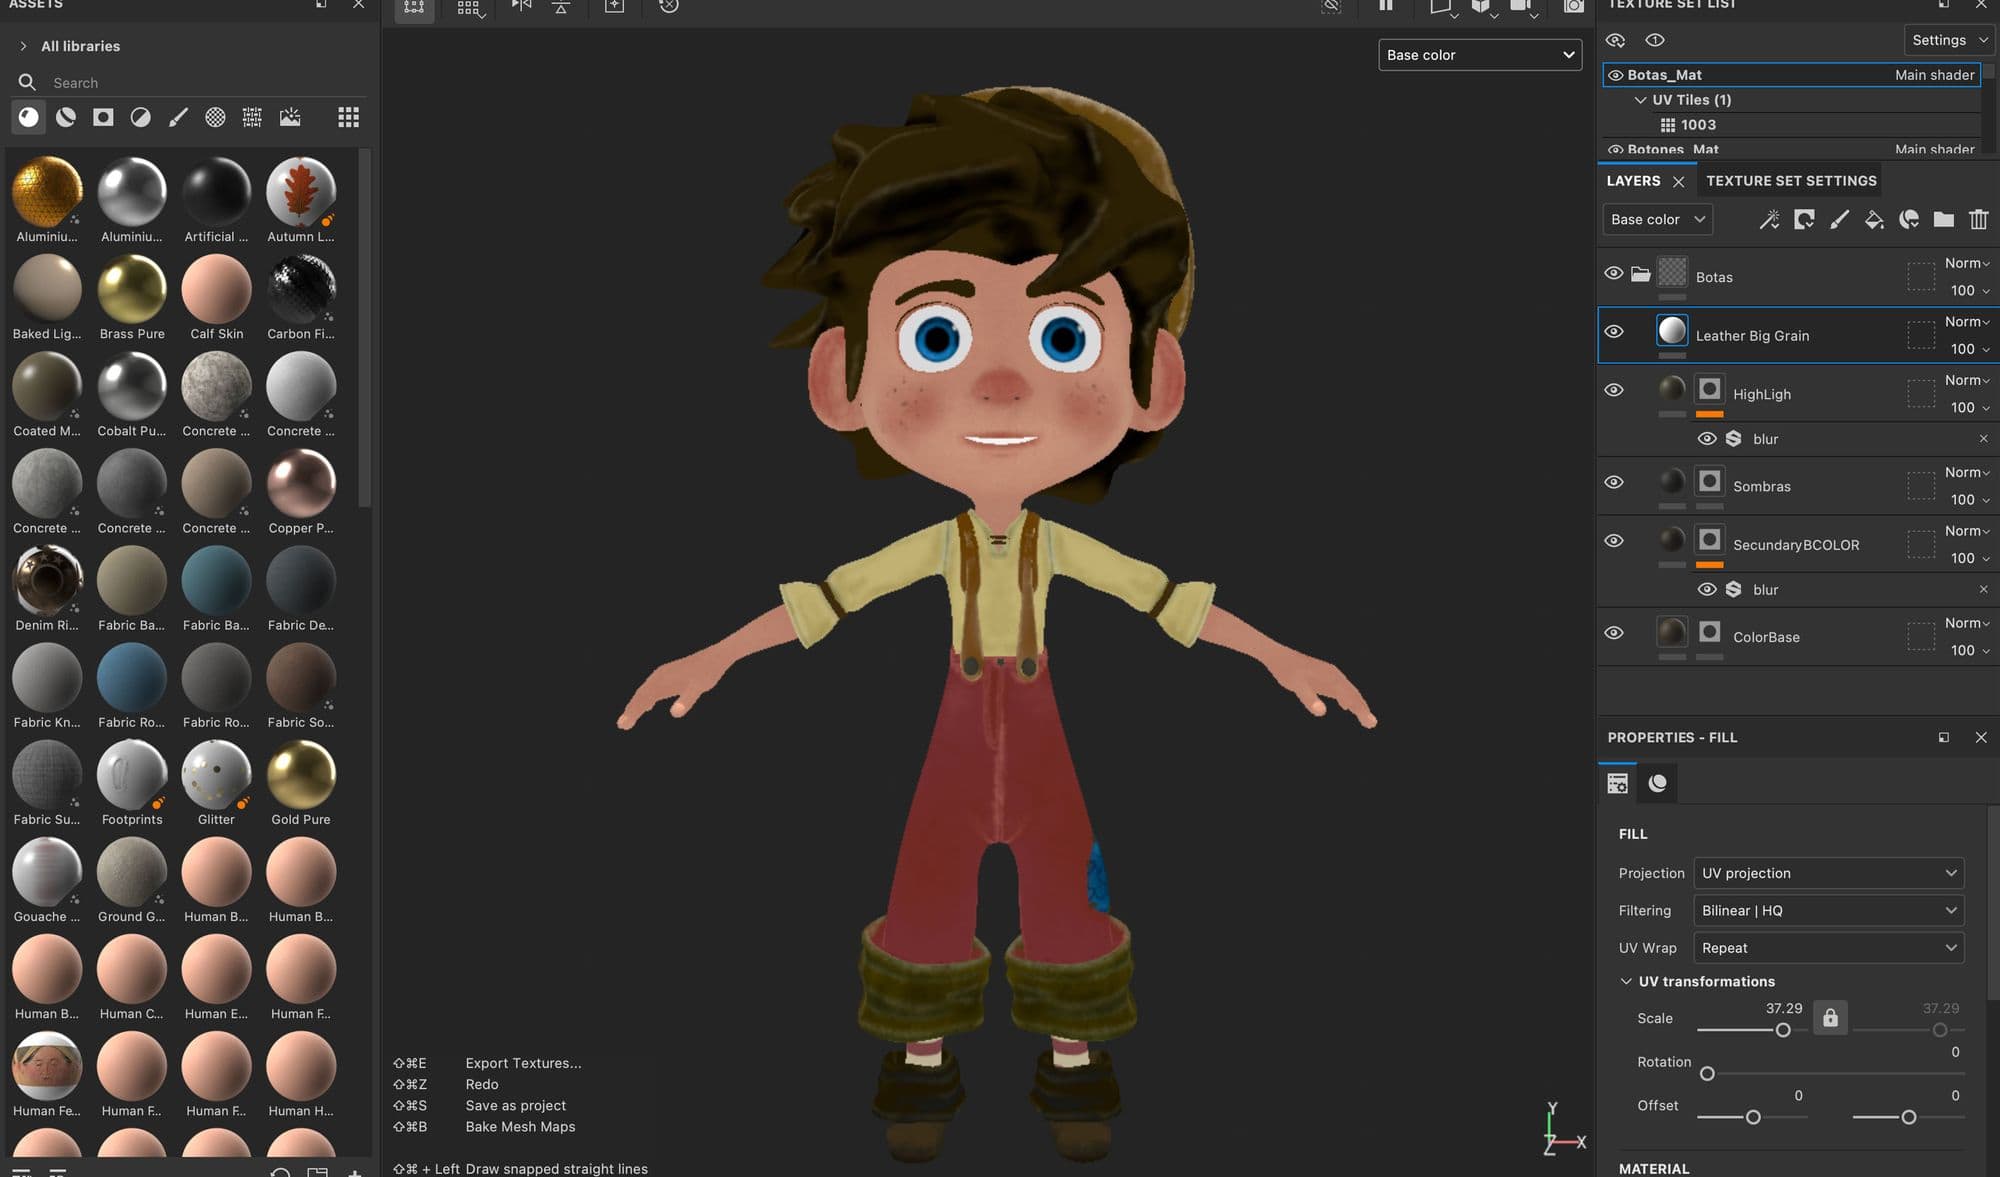
With the character in Substance 3D, what I did was apply a basic skin material and from that same material, add details of skin tones, then freckles and subtle SSS areas.
Substance 3D Painter
Textures in Substances - BaseColor
To complete the texturing, I do the same with the clothes and accessories, following the same way of working as with the skin.
Textures in Substances - BaseColor
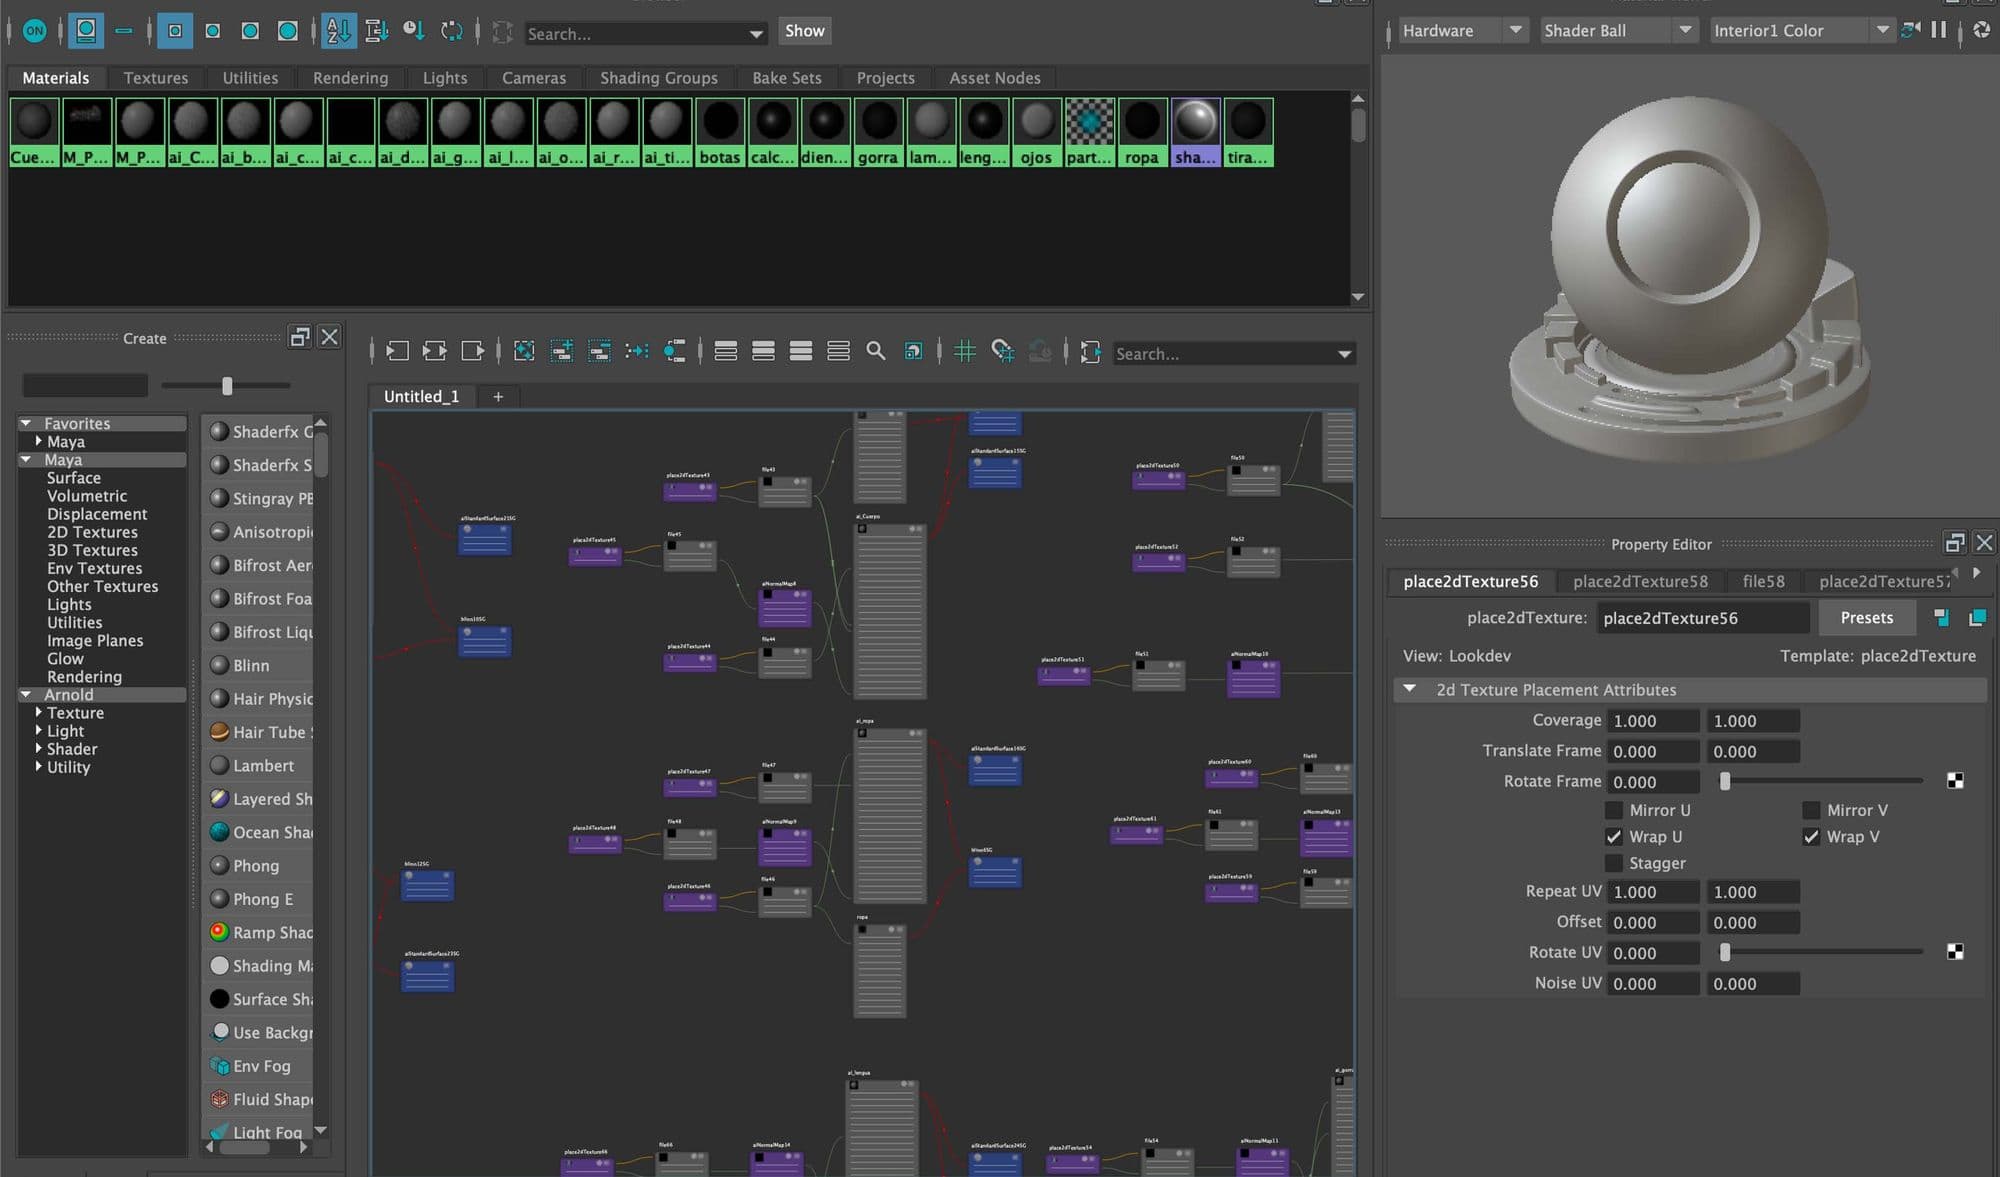
With the textures finished, I took my character back to Maya, on a stage. I exported textures from Substance 3D and configured them in Maya, adjusting values and tweaking everything to improve the image.
When it came to render in Arnold, I started with some renderings tests, looking at the changes I had applied, making sure I was on track.
HiperShade of Maya - Materials in Arnold
XGEN
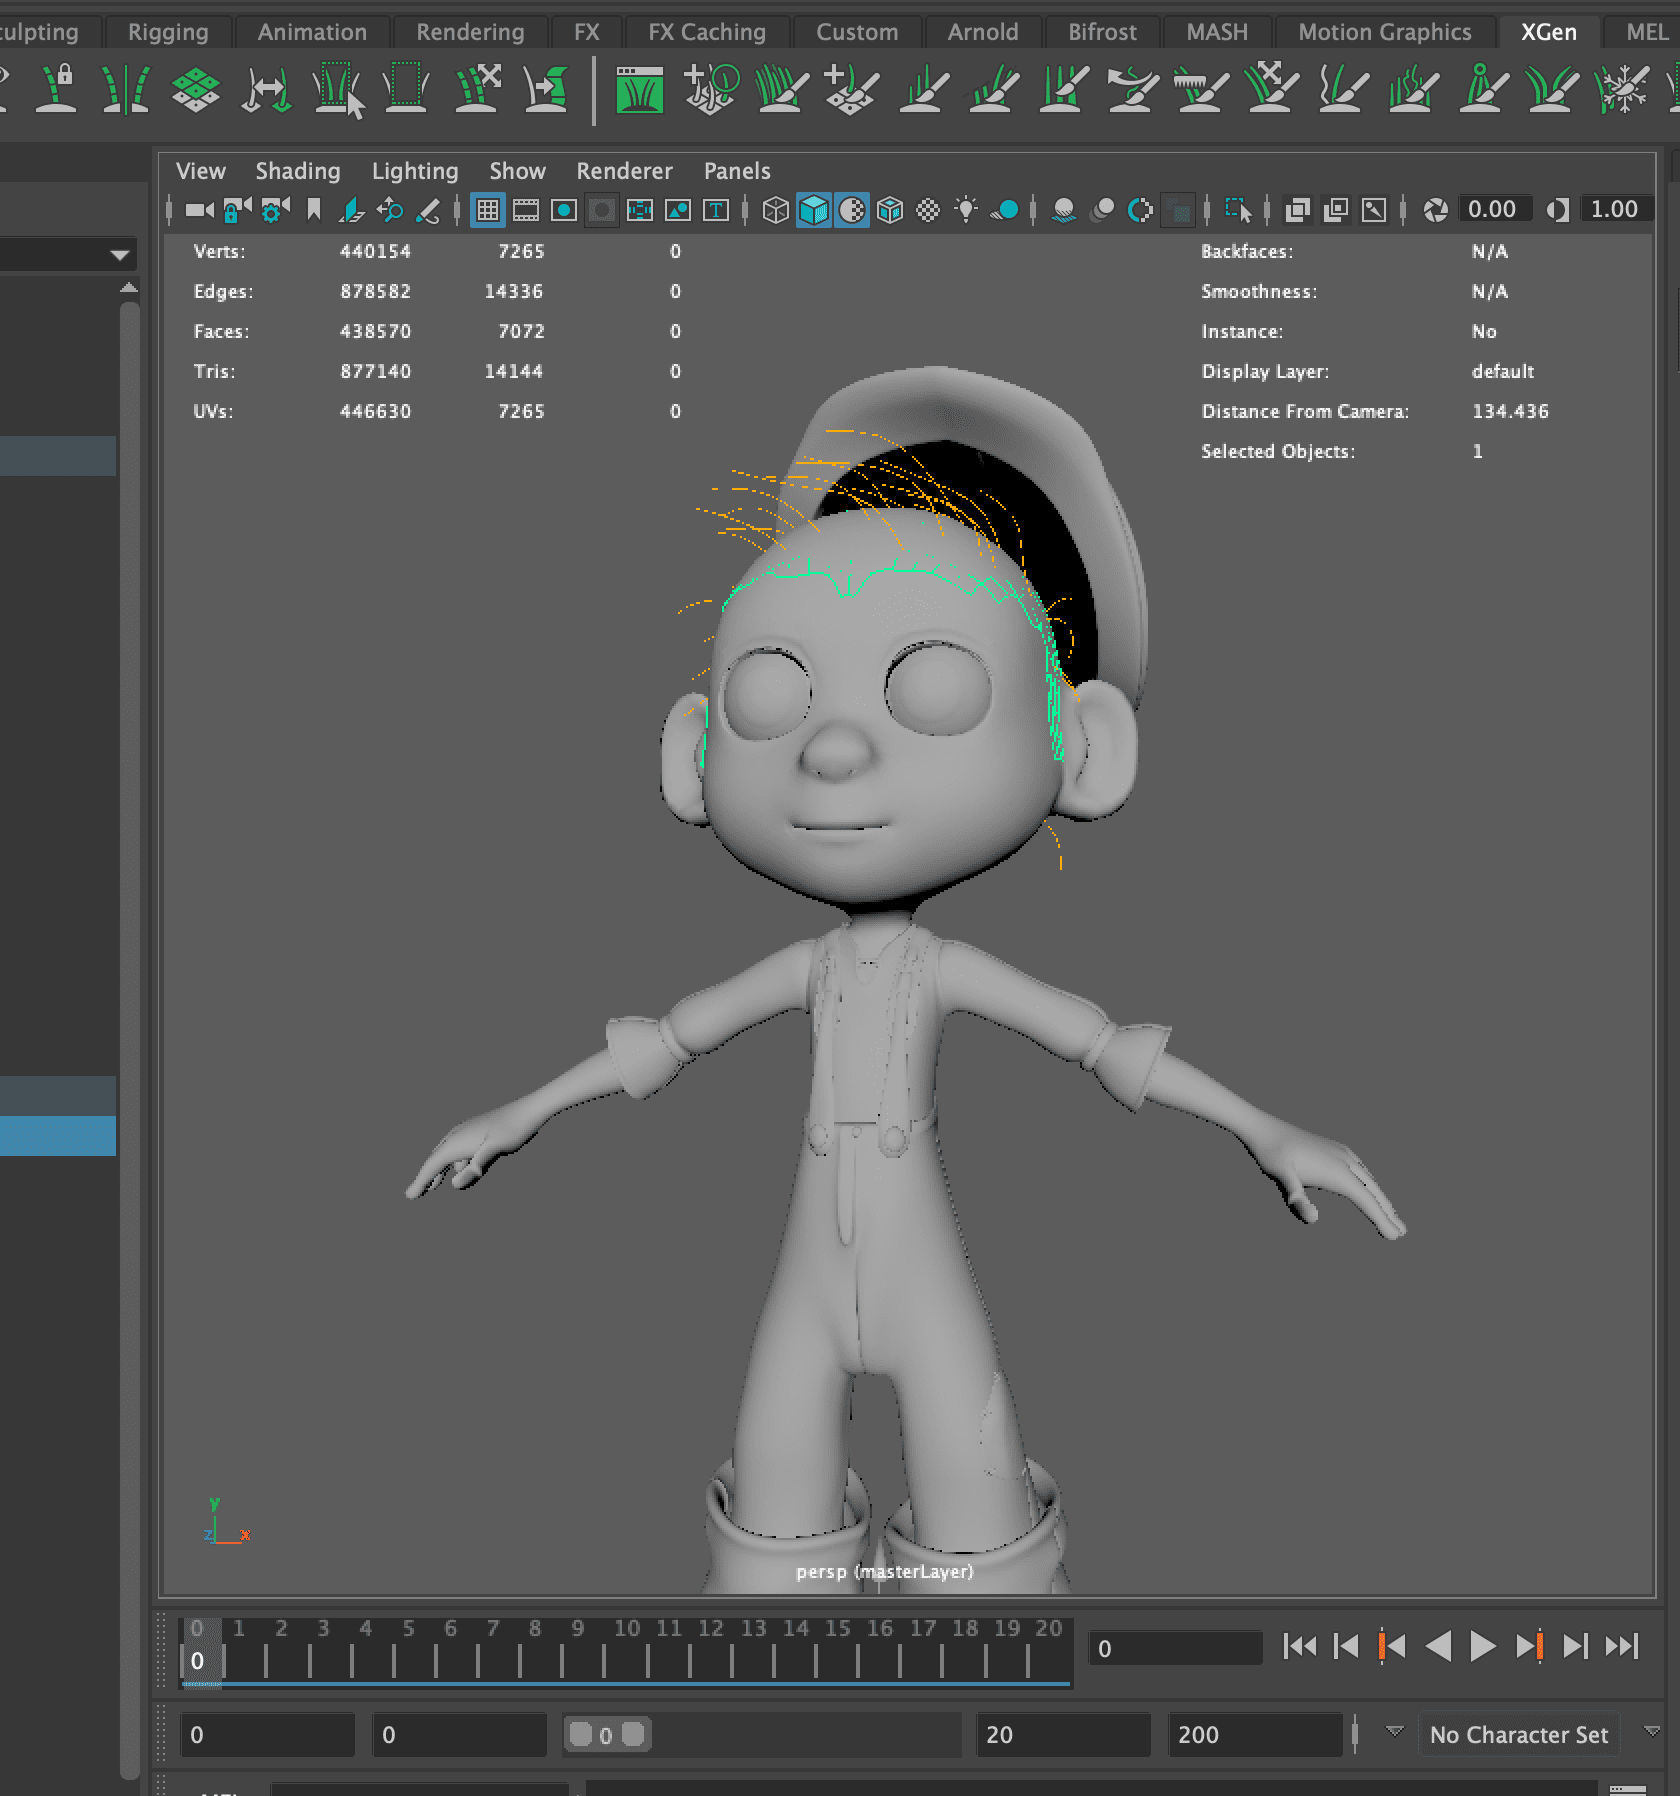
With the finished materials and a previously created blockout of the hair, I had a base to start adding the XGen guides.
For this step we must have Maya well configured, because if it is not, we will lose all the work we have done in relation to xgen.The first step is to make a set of the project and then a project window, that way we have everything reset and well configured. Now I can start to place the guides!
Guides and scalt
With a base of Scalt both in hair and eyebrows, (indispensable to create hair in XGen), I will place the guides and later configure the values that are needed to have the hair just as I intended. On this occasion, I wanted to make hair very full and with volume.
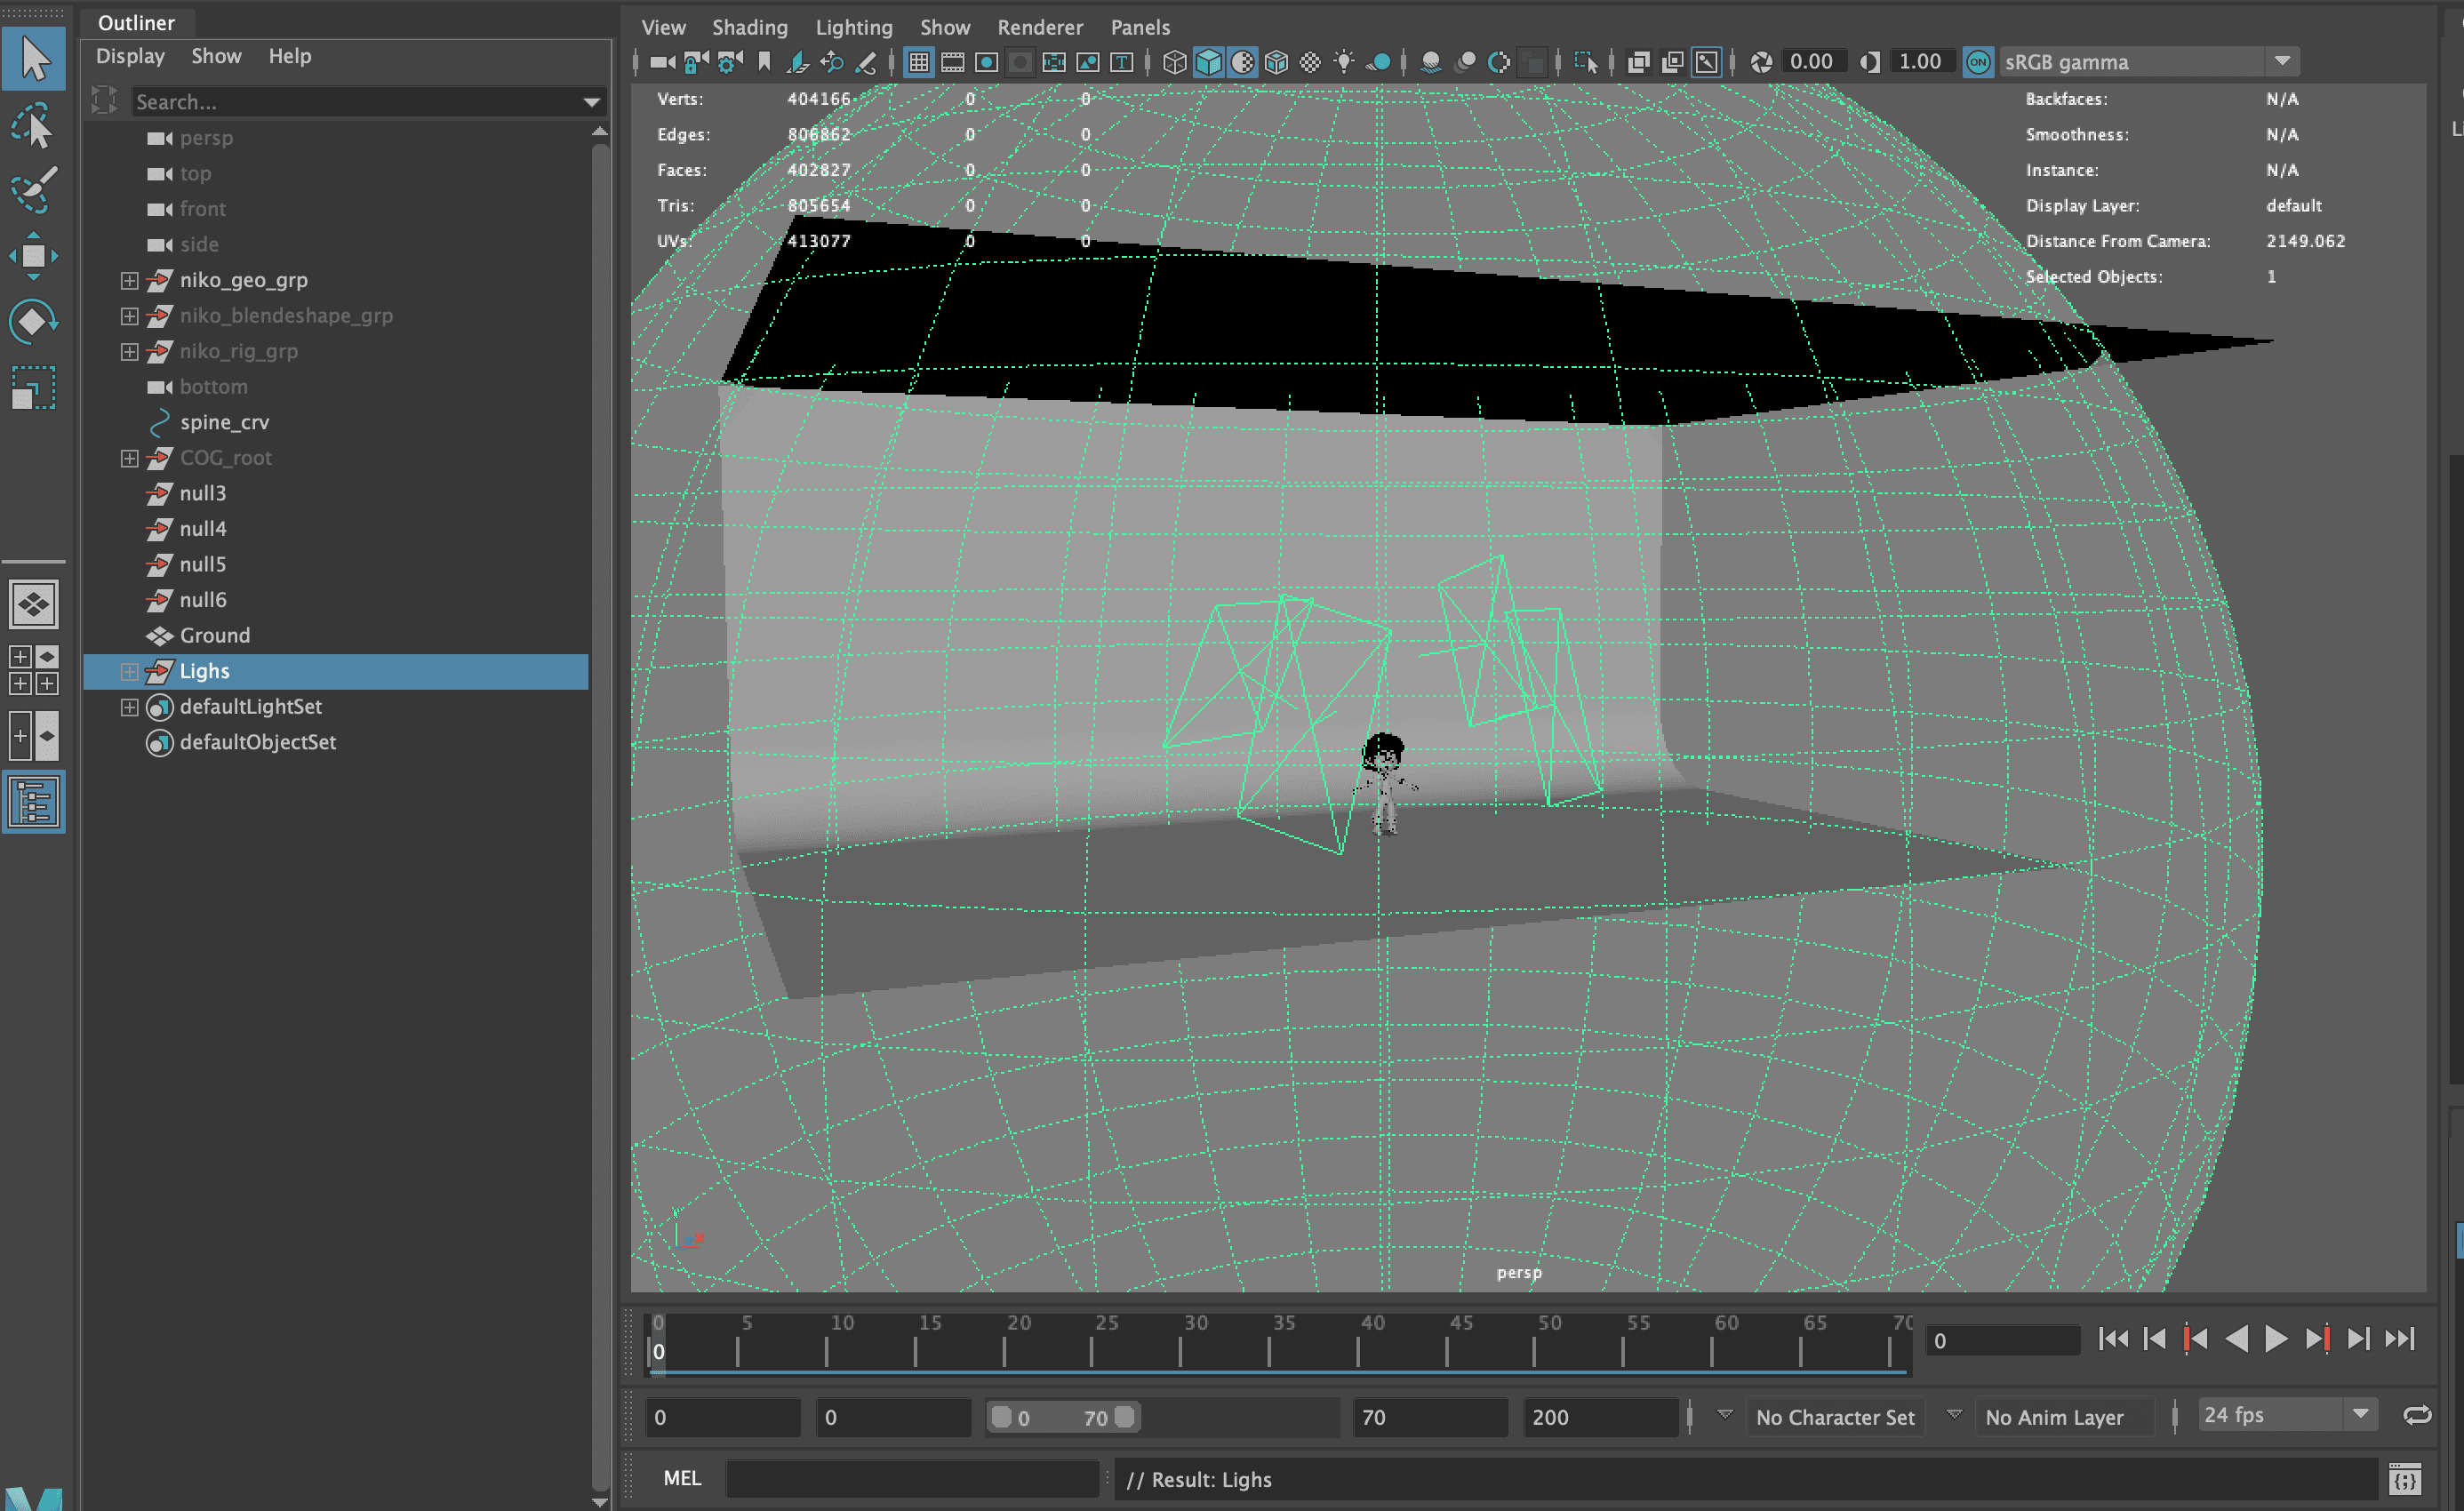
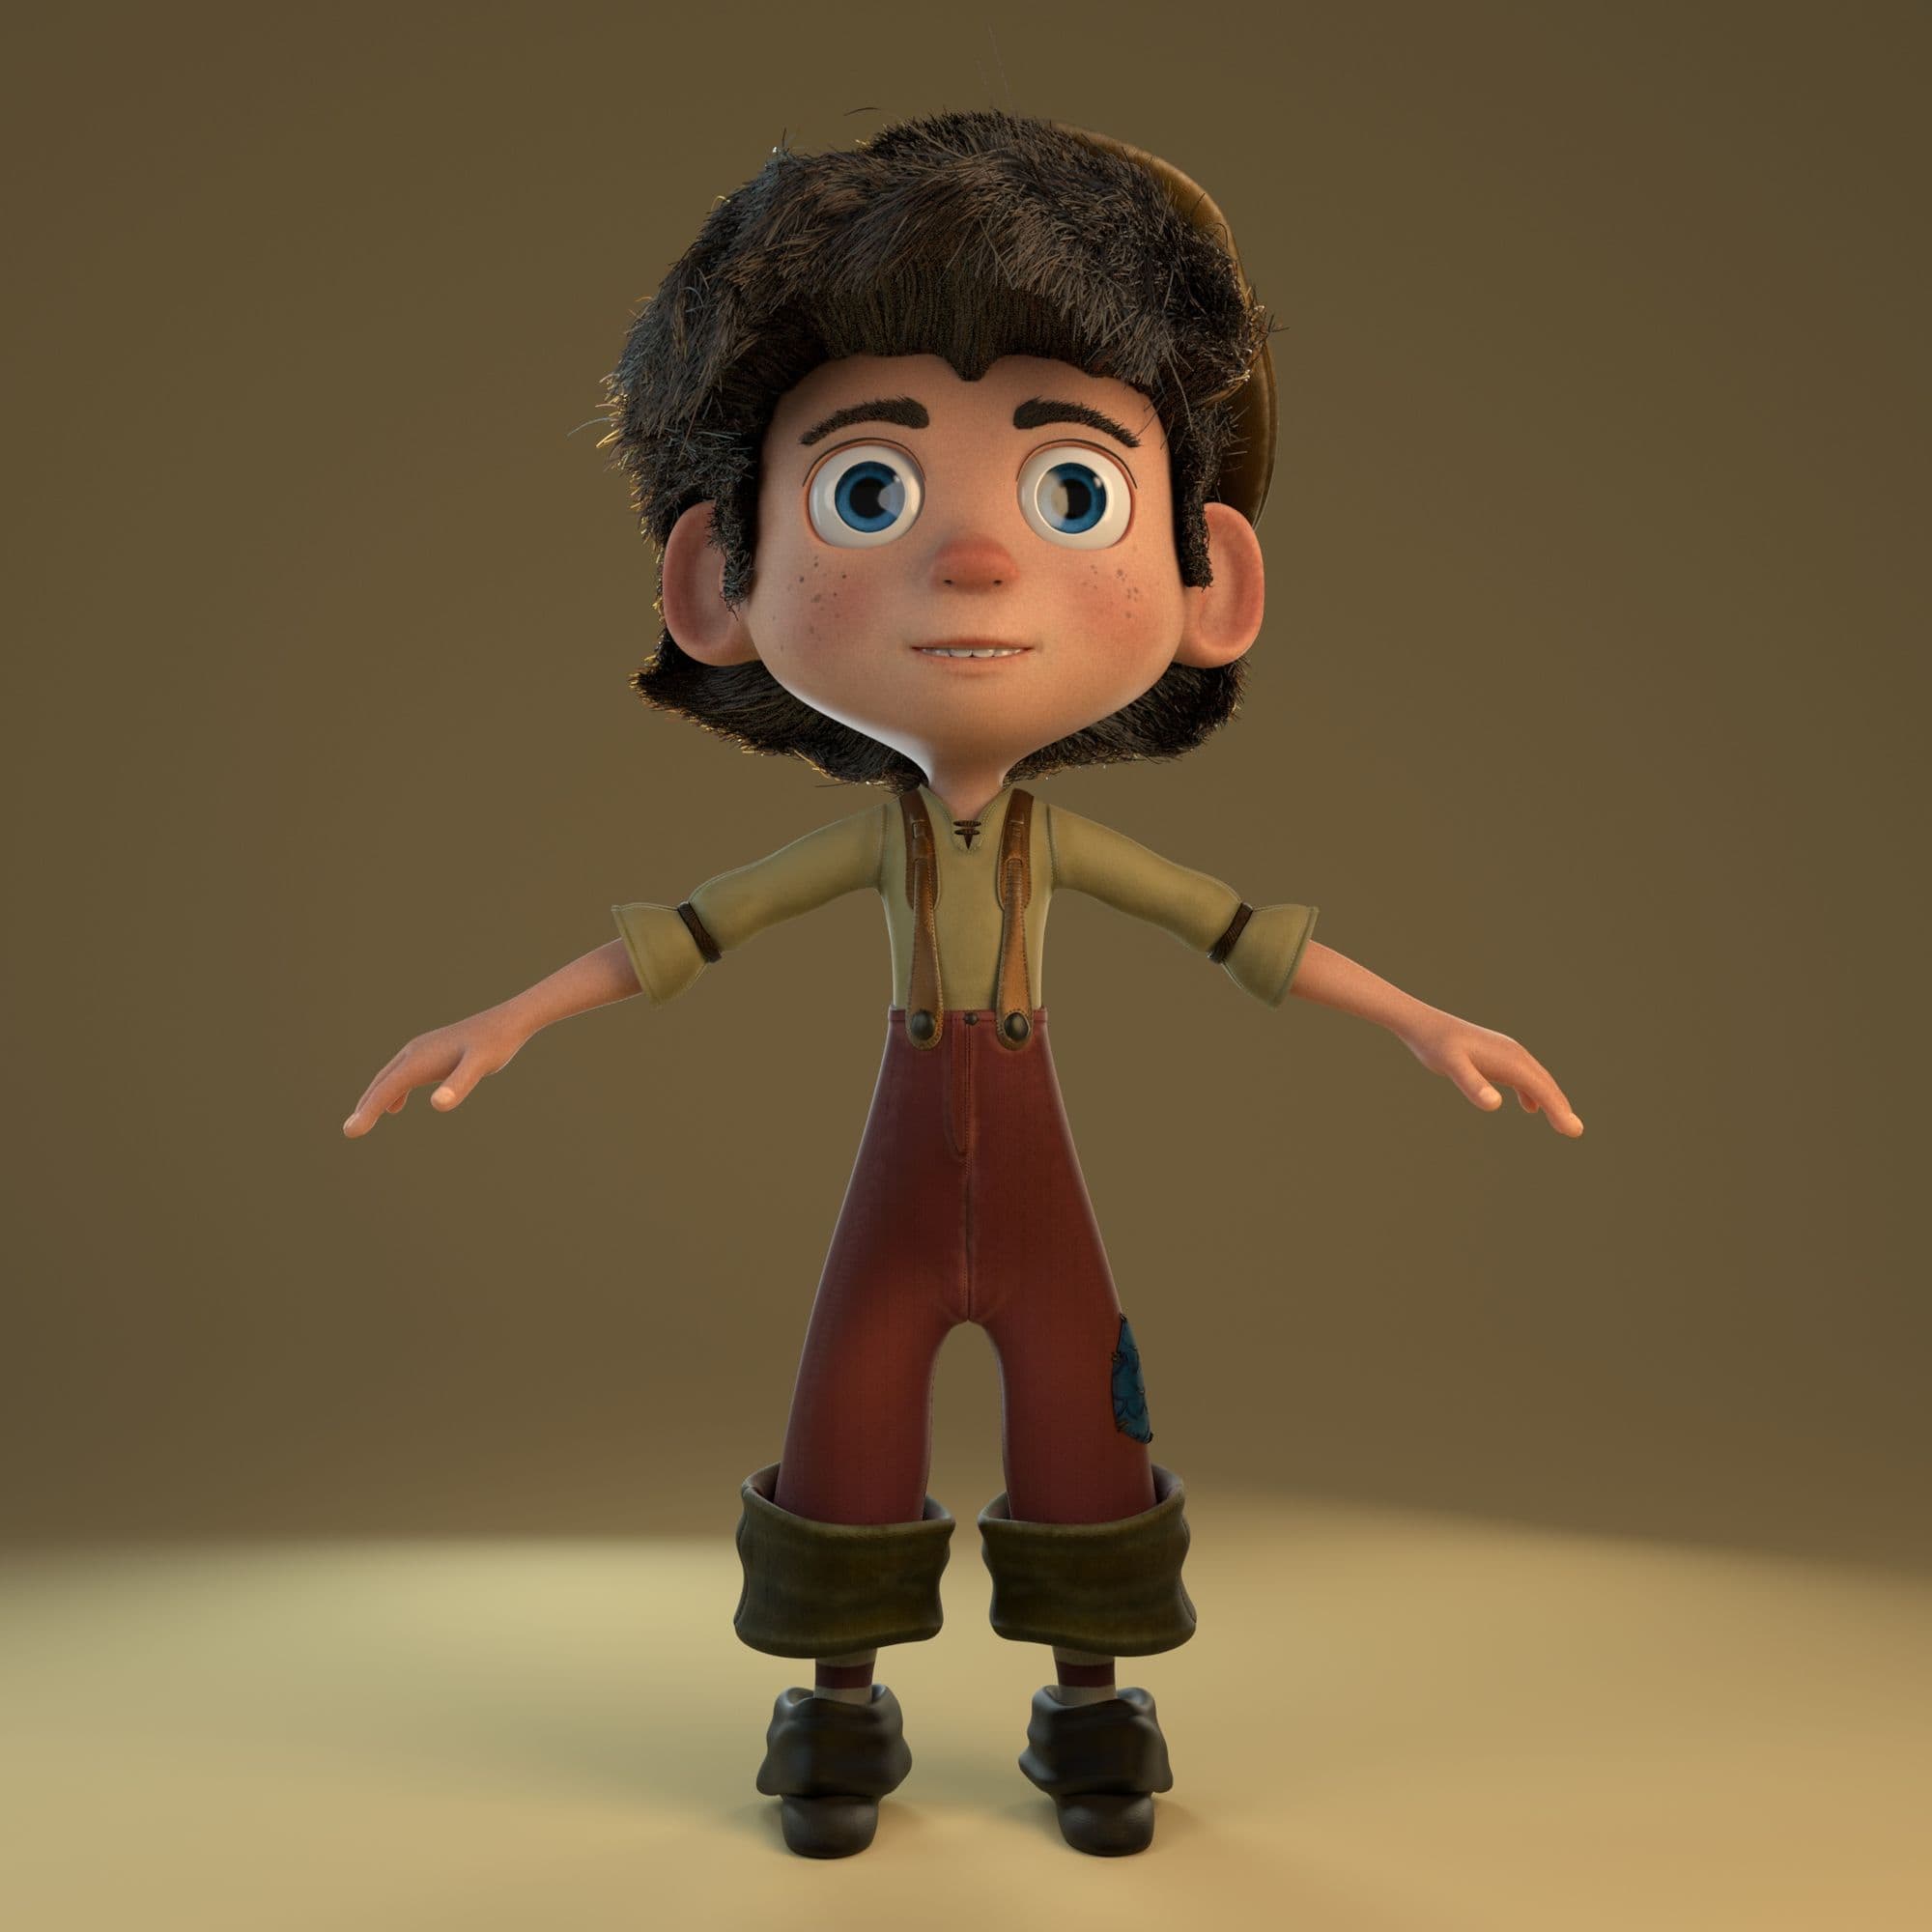
Lighting and Rendering
Happy with the result of everything to this point, I created a stage on which to add the lighting.
With a stage and five lights strategically positioned, I wanted to give the character a striking appearance, with materials that shine, a consistent silhouette and depth within the hair that I was looking for.
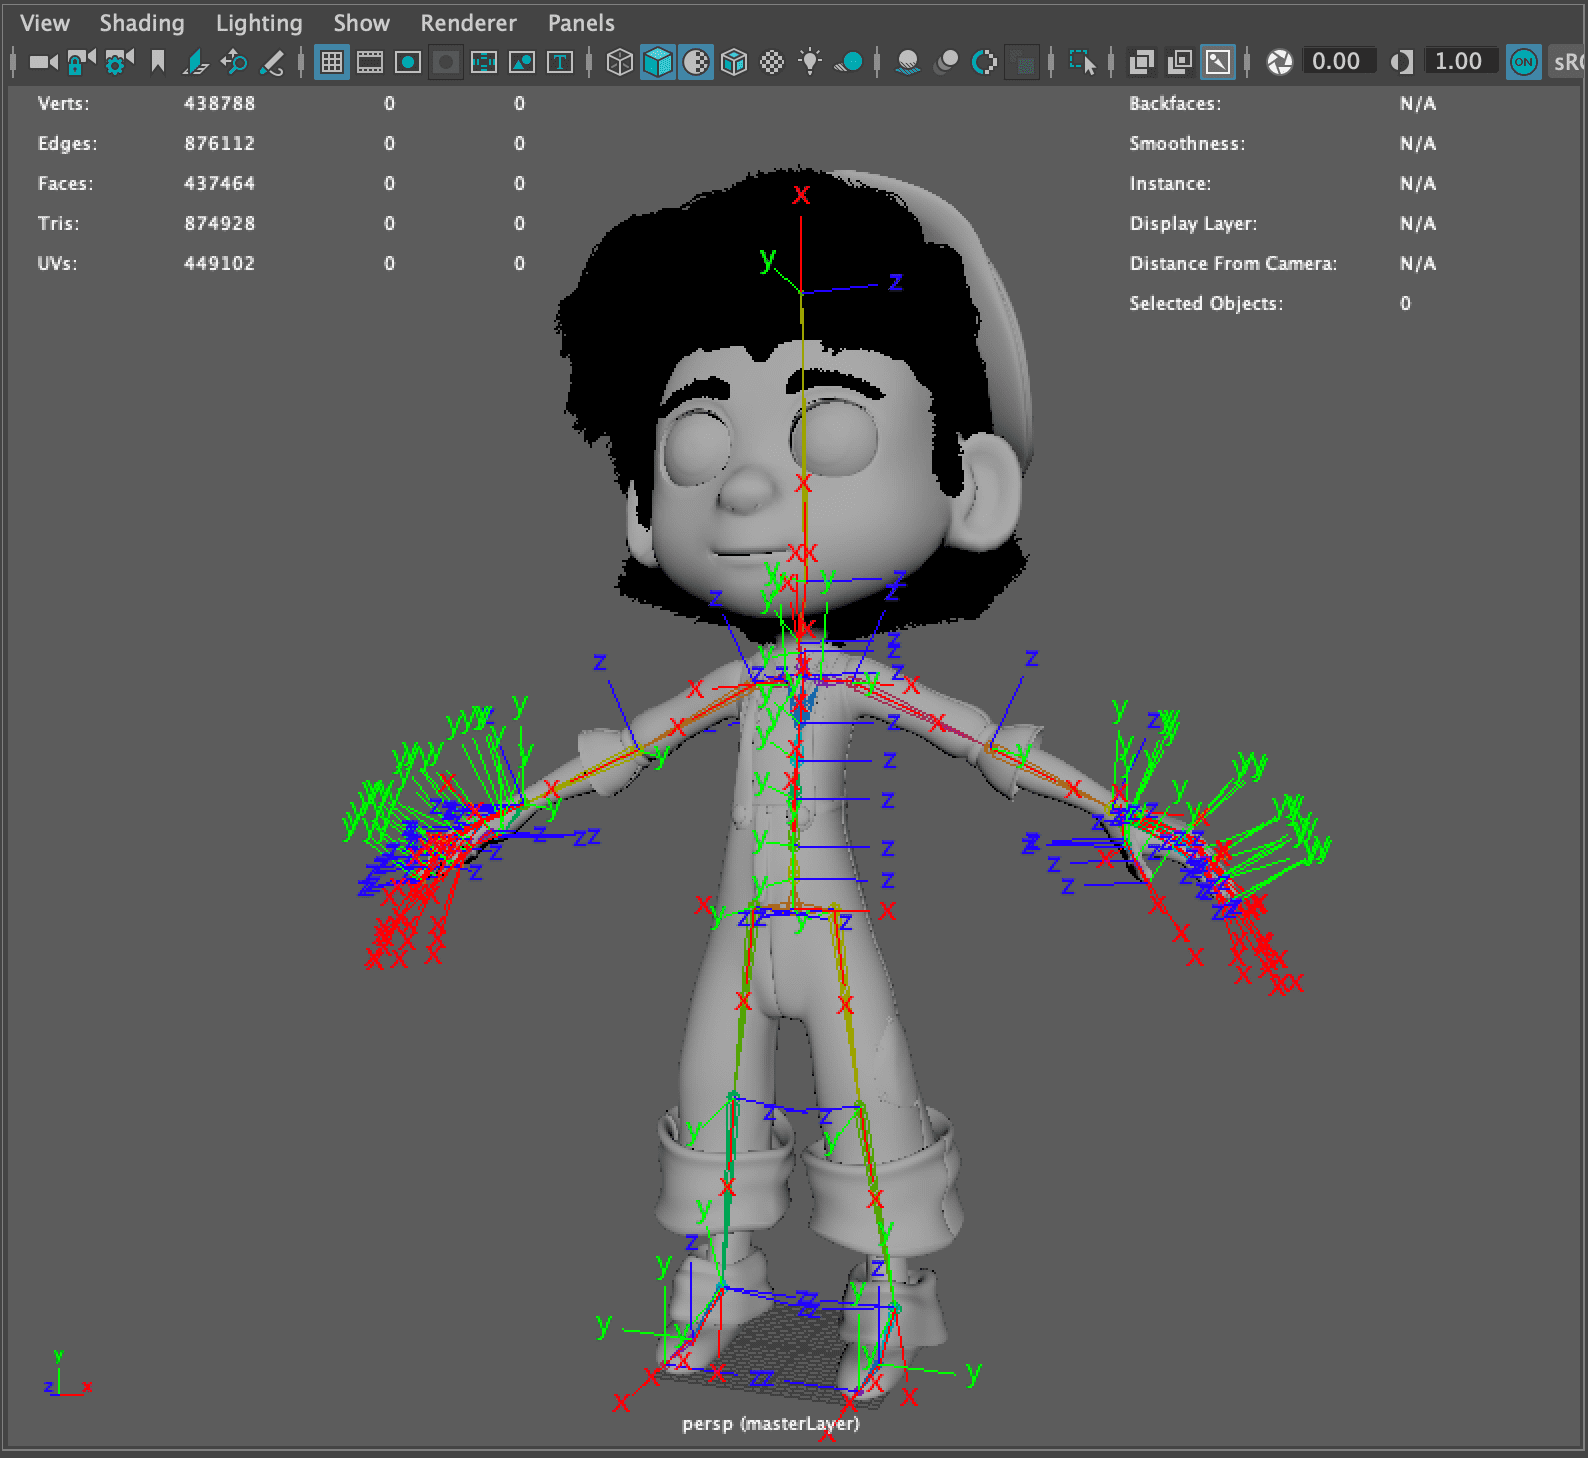
End pose
And finally, before making the final renders, I made a basic skeleton to give the character an interesting pose. Im currently doing a six-month rigging course that will help me to be better in general, but for this character, a simple skeleton that allowed me to move the joints to a non-forced pose, allowed me to get a pose similar to that in the concept. And for now, that is all I wanted to achieve with the rigging.
CONCLUSION AND RESULTS
Through this process, I realised that creating a character with results suitable for animation takes a lot of work, and that there are many ways to tackle any project. What I learned through workshop that I was taught at the Animum school, and especially by my tutor Juan Solís, was one way to approach a cartoon styled character.
At the moment I am also taking other workshops to give me wider perspective on character creation, especially doing so from an initial concept. This what the industry will want of character artists, so I will continue learning to improve on my current skills.
This Concept that I chose has given me a lot of freedom to face it as I like and without losing the essence of the concept. I really liked the result that has been achieved and I hope you do too.
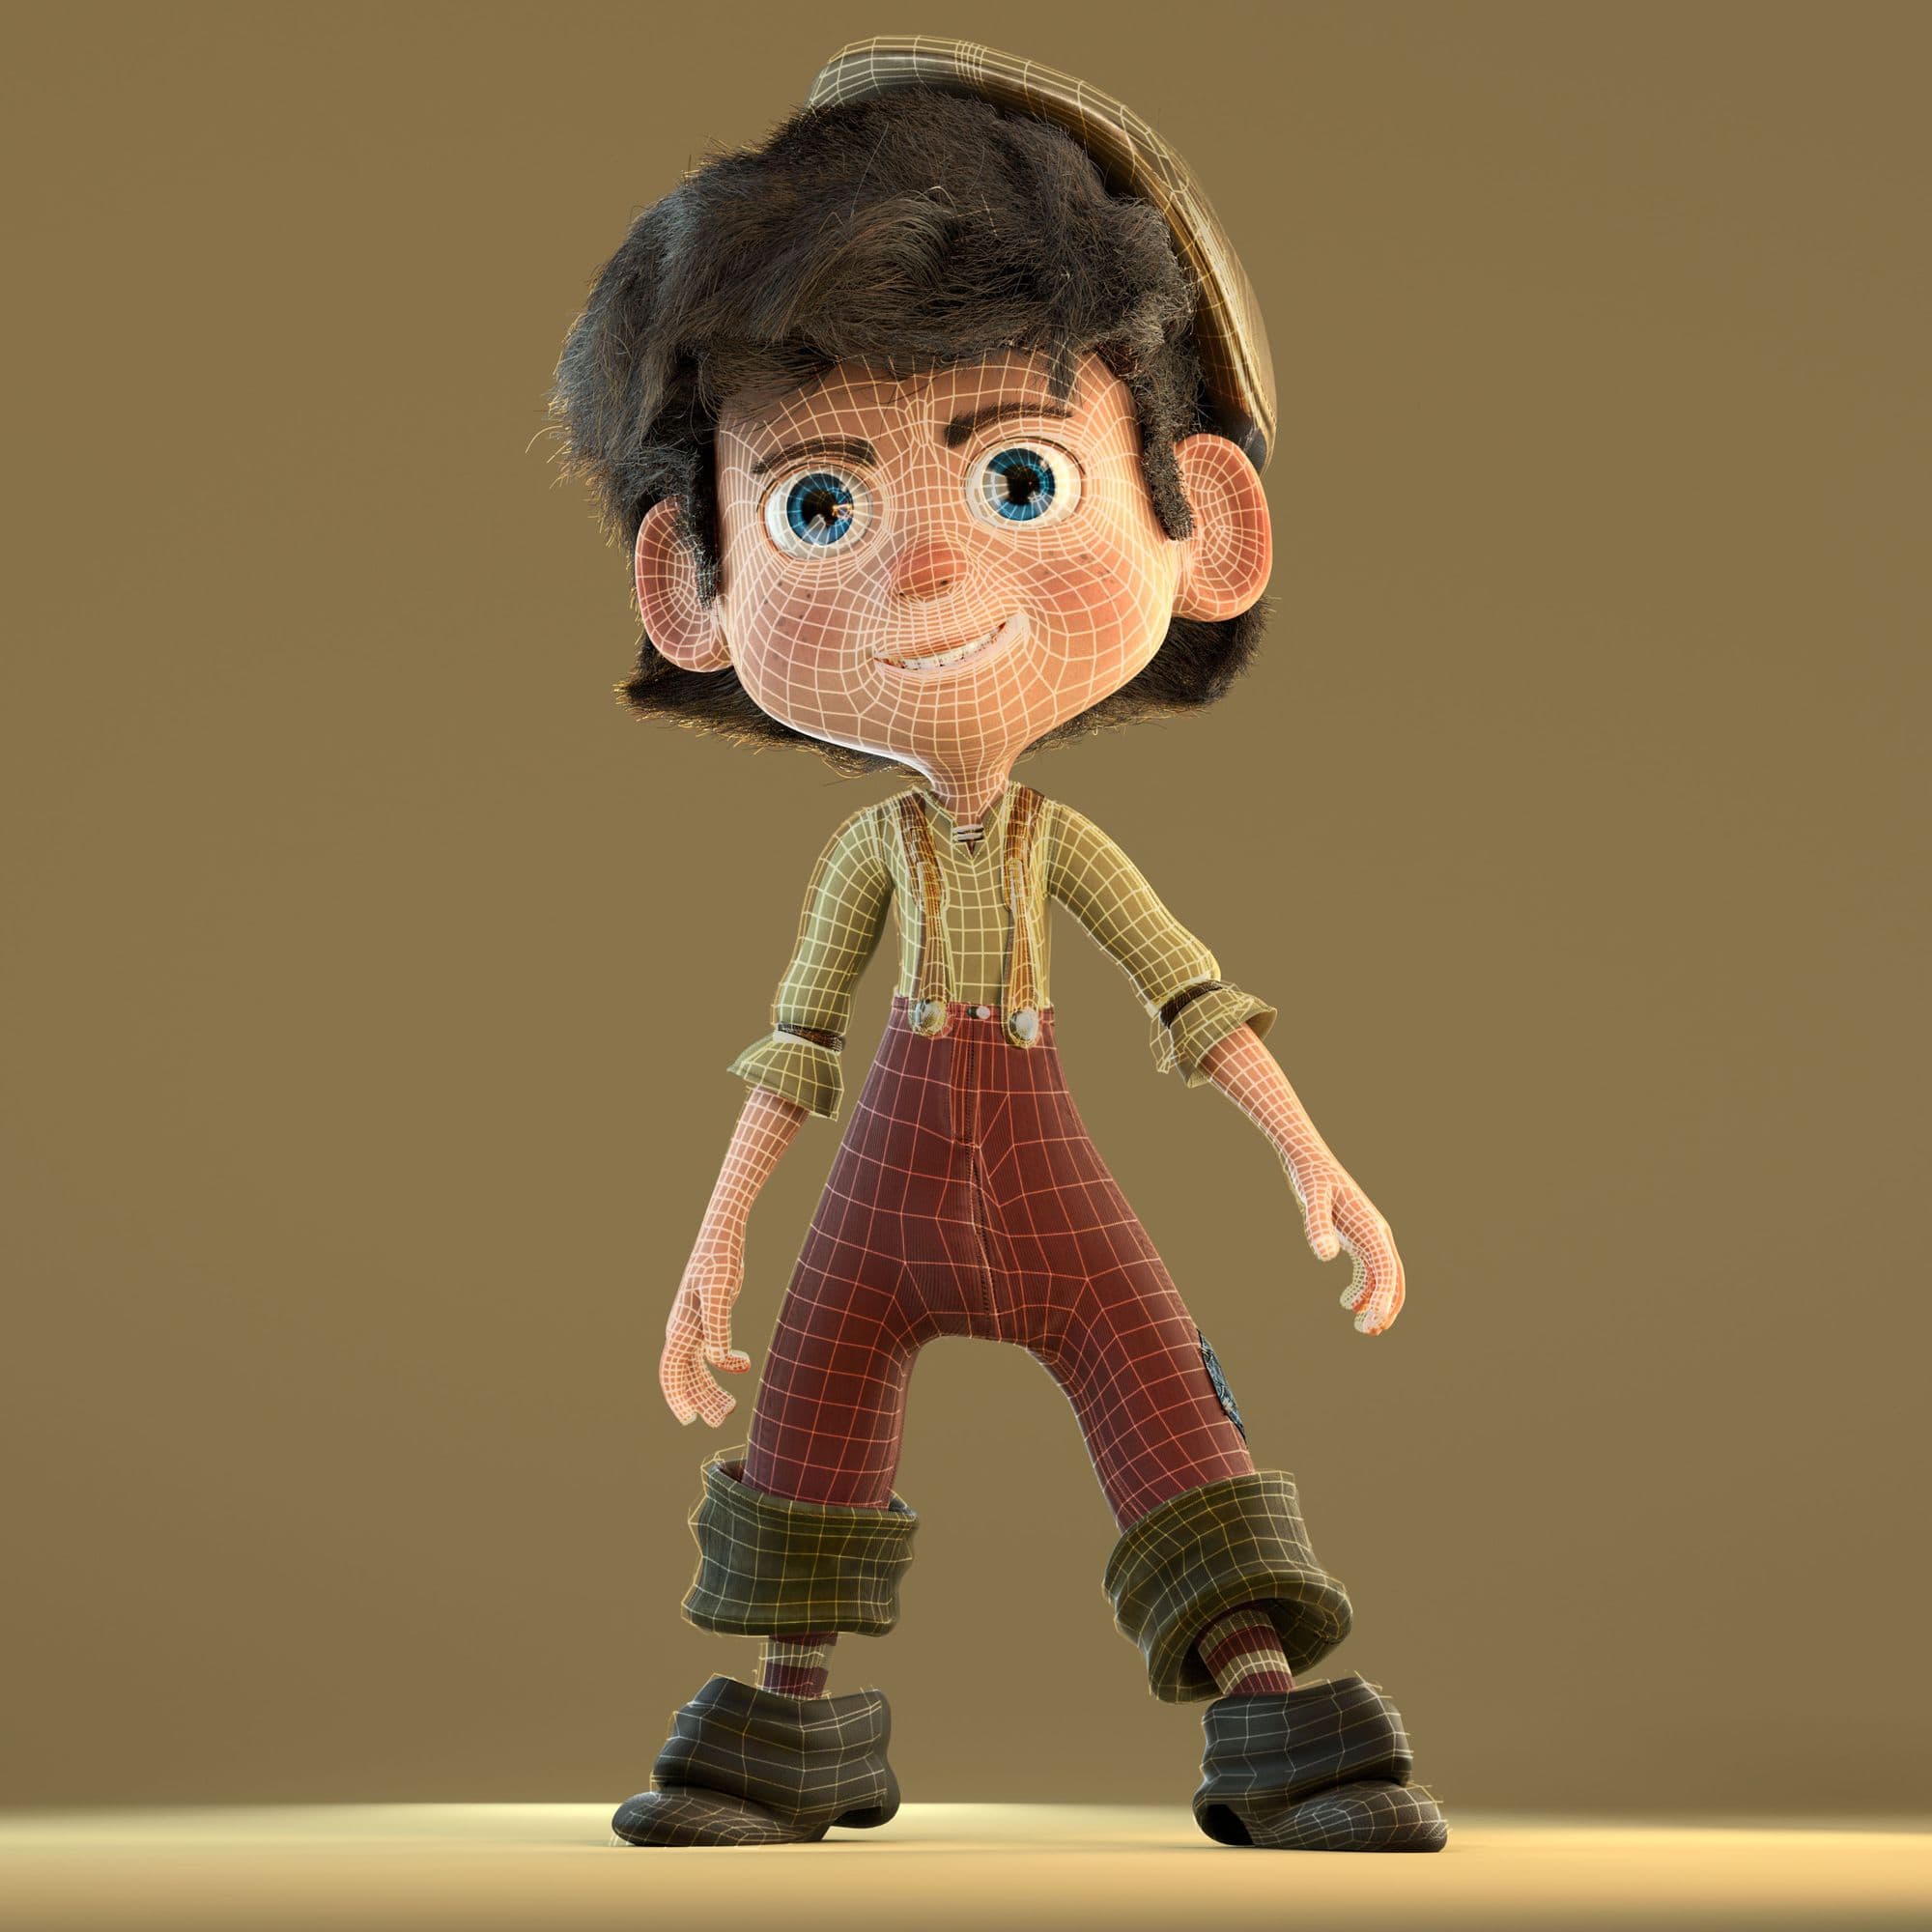
Render PoseRender with WireframeRenderFinal
Rubén López Fernández - Niko The Wingfeather Saga*