Creating a Photorealistic Prop Using Photo Projection in Mari
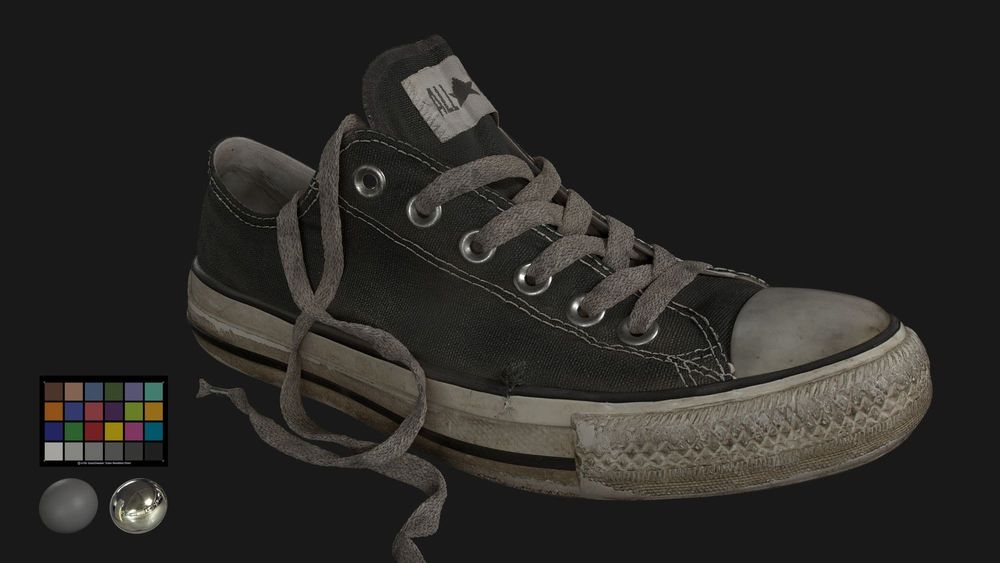
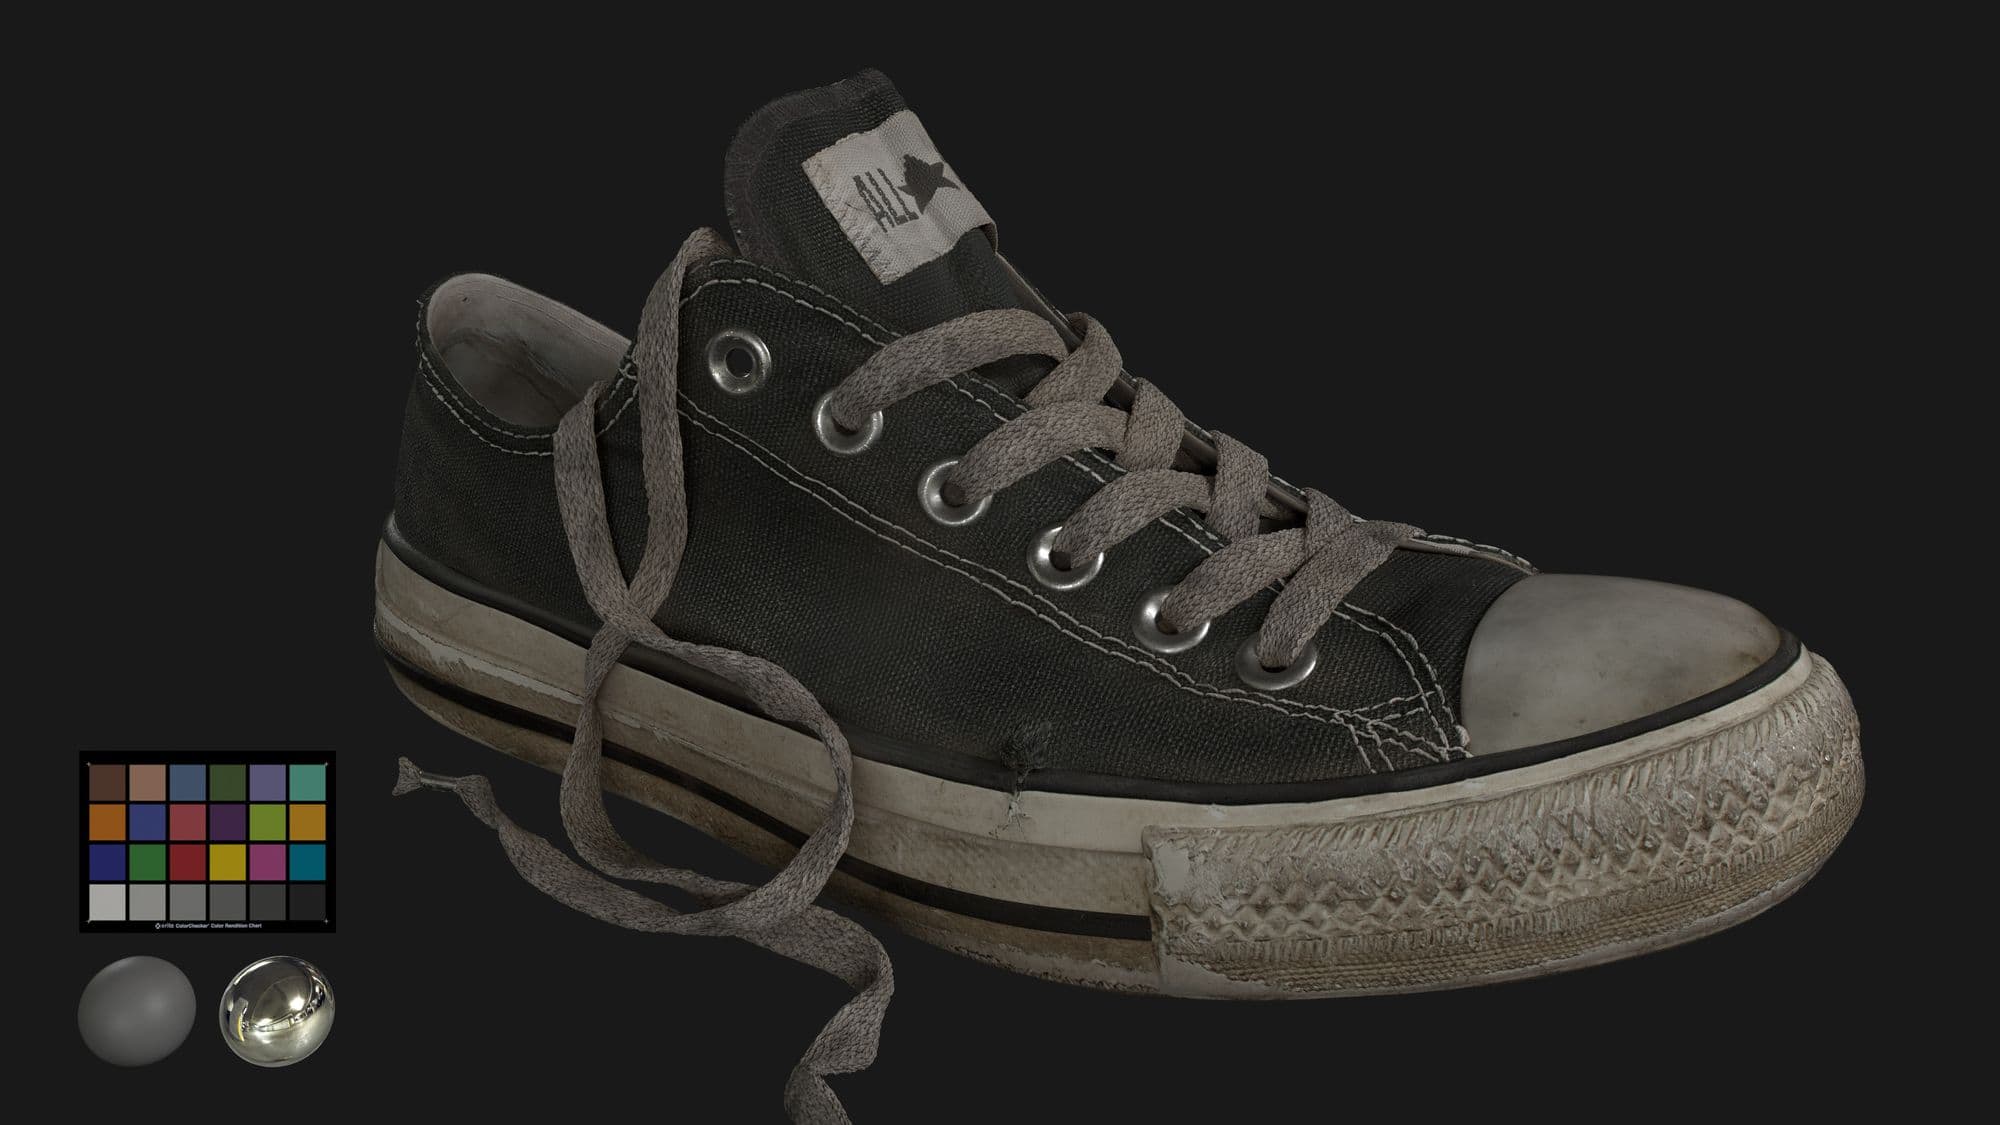
Think Tank Training Centre student and 3D Artist, Michelle Li, recreates the iconic Converse sneaker using photo projection in Mari.
Think Tank Training Centre student and 3D Artist, Michelle Li, recreates the iconic Converse sneaker using photo projection in Mari.

Michelle Li is a 3D Artist from Calgary, Canada. Watching films like Star Wars piqued her interest in the 3D world, and armed only with some experience in traditional drawing, Michelle enrolled at Think Tank Training Centre to learn more about the art of 3D. In this article she recreates the iconic Converse sneaker using photo projection in Mari.
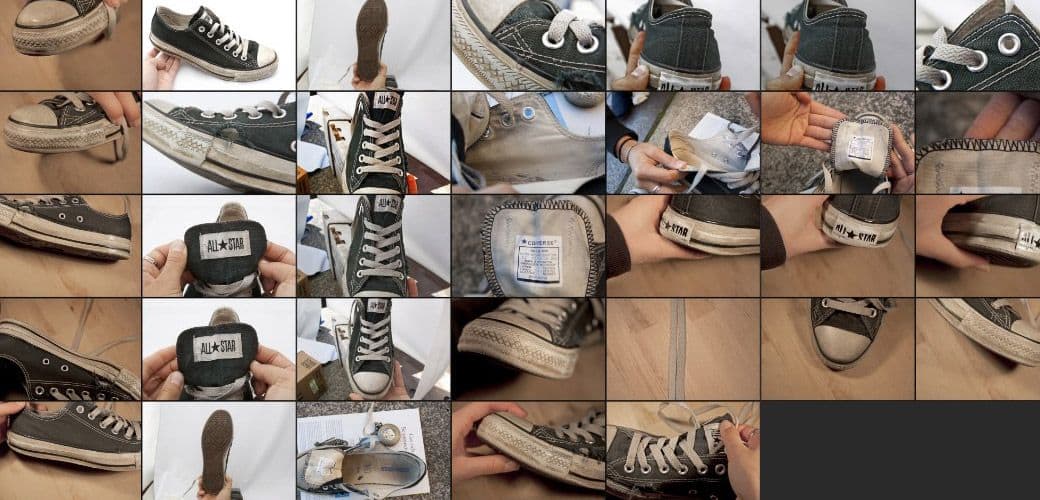
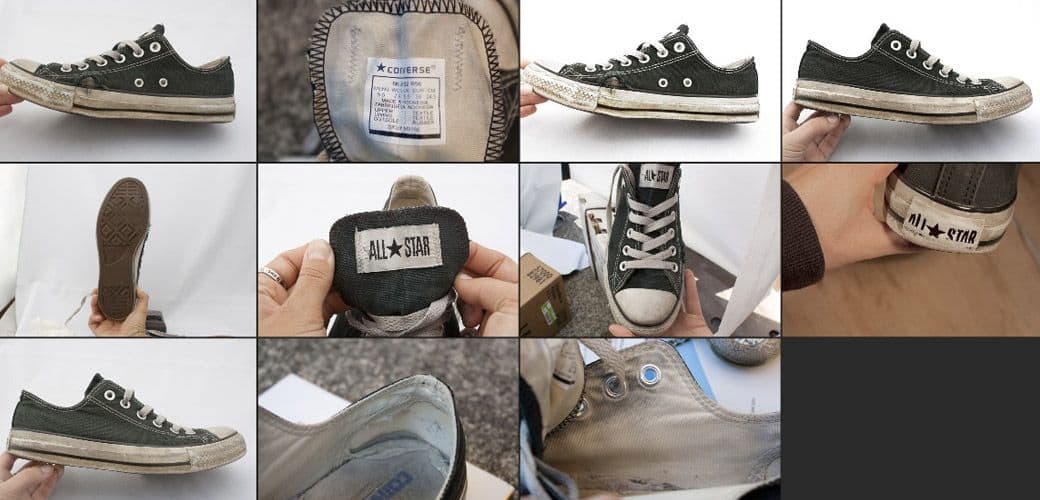
I was provided many photographs of the shoe at different angles by the school and those images were used as the main reference and as photos to project onto the model. For additional reference, I own a pair of Converse and used that to fill the gaps for some areas of the shoe that can’t be seen in the provided photos, especially the inside of the shoe.
● Pureref
● Photoshop
● Mari
● Maya
● V-Ray
From the photos provided to me I selected the photos that contained the least amount of lighting information for painting the projection. This is because the diffuse maps should be flat and contain no lighting information, otherwise during the rendering stage the material would not interact properly with the lights in the scene.
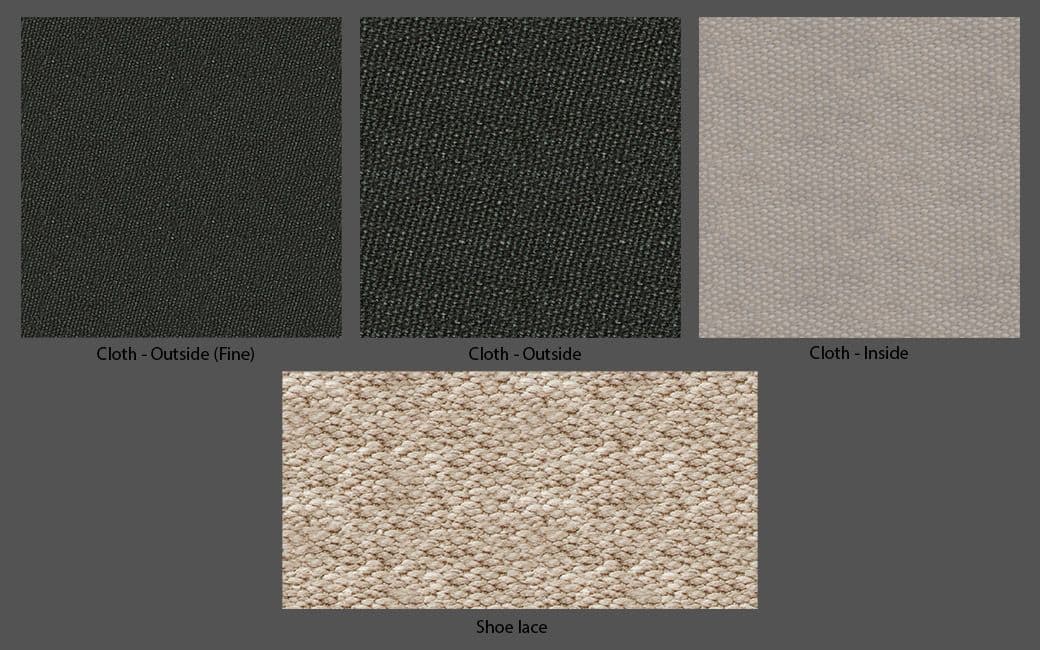
Next, I took the photos to be used for projection to create tileables in Photoshop. I cropped out a section of the cloth from the photo that has the flattest lighting and turned it into a tileable texture. I did this for each different type of cloth. This is so that the areas that don’t have projection will have a base layer.
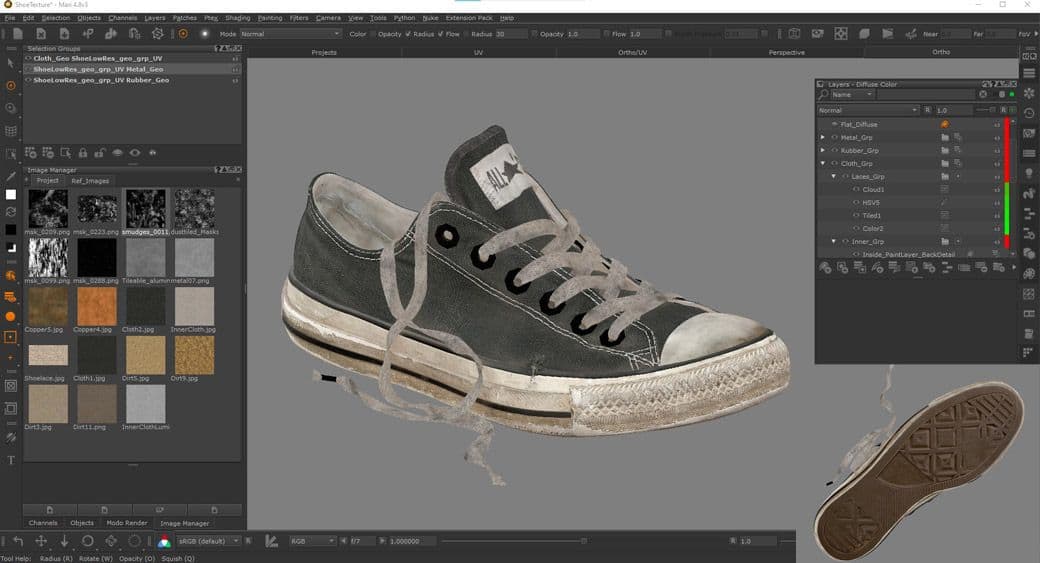
Inside Mari, I baked the curvature and AO maps using Modo render, and I created different isolation masks for different materials. I started building my diffuse map first and applied the base textures I created in Photoshop to different parts of the shoe. Then I added some breakup with a cloud procedural layer. Next, I started to project the images I selected by painting through the image onto the model. I set my paint buffer to ‘ClearOnly’ to allow more flexibility with painting.
To make the projection align with the model, I used the slurp and warp tool to fit the projection to the shape of the model. I kept the projections in separate layers for each section of the shoe for more accurate adjustments later made with HSV and levels. The diffuse for the metal part of the shoe will be added into the specular channel so in the diffuse channel the metal is black.
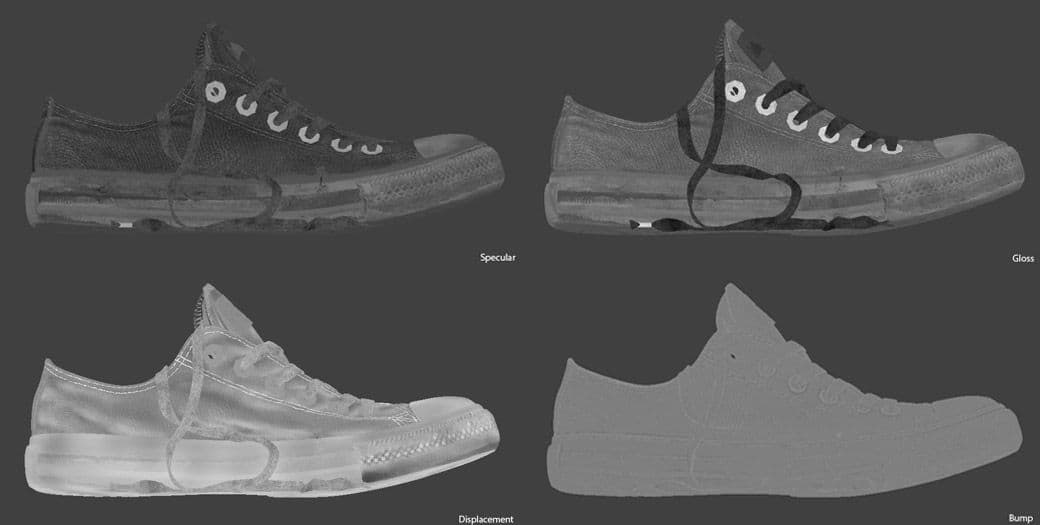
After finishing the diffuse I moved on to the displacement map. I used my diffuse map to drive the displacement, bump, specular and gloss. For the displacement, I made sure to pull out the big changes in shape, and for the bump, I ran a high pass filter to pull out the small changes in the shape such as the bump created by the threads in the cloth. Due to the destructive nature of using filters in the layers approach, I duplicated and merged all my cloth diffuse layers before running a high pass for the bump. For the metal parts of the shoe, I put the diffuse of the metal into the specular channel.
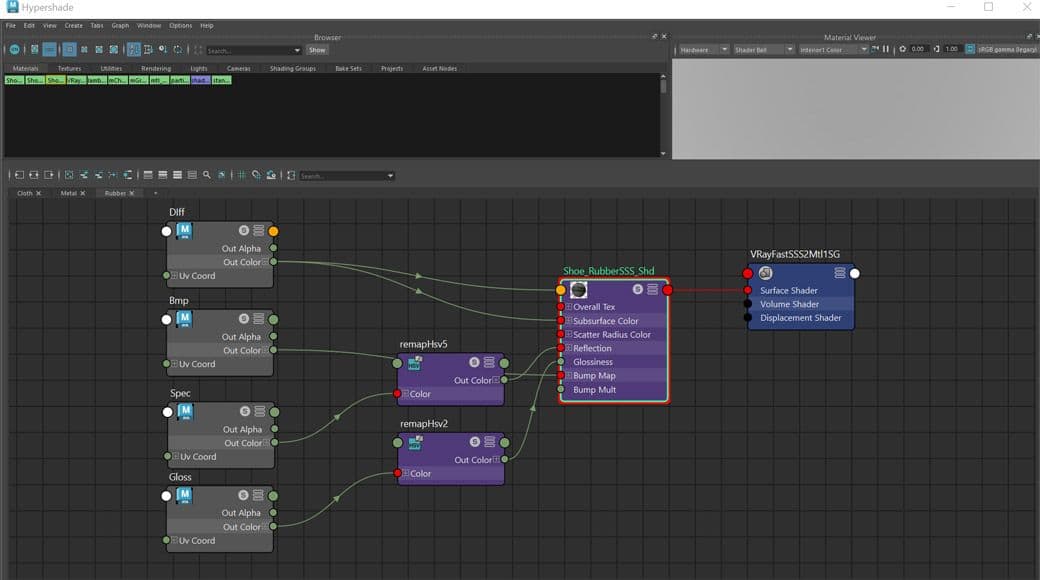
The look development of the shoe was quite simple, I used V-Ray as the renderer since I have used it for previous projects and am familiar with its shaders. I used a VrayFastSSS for the subsurface scattering of the rubber and tweaked the specular and gloss maps with a HSV remap. Then, I applied the displacement and adjusted its amount accordingly. I used a HDRI for lighting the scene.
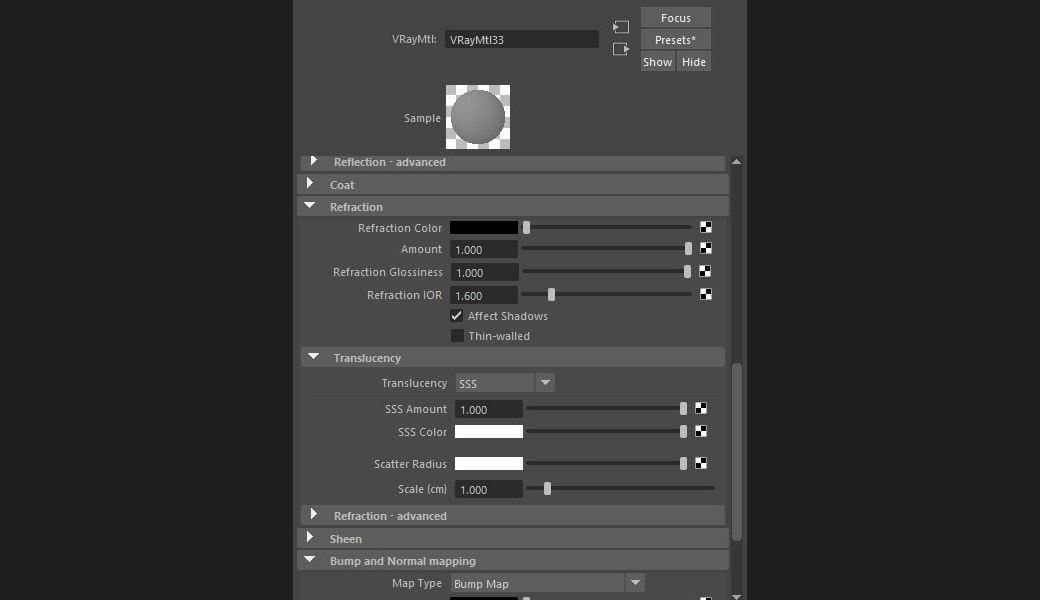
Alternatively, if using V-Ray 5 (update 1 and higher), VRayMtl can be used for SSS as well. This can can be accessed under the translucency section of the VRayMtl. At the time, I did not have access to update 1 for V-Ray so I could not test it out for this project, but I have since used VRayMtl for the SSS of a different project and it was able to produce better SSS and faster renders.
Using photo projection is just one of many ways to approach texturing for the shoe. I hope my explanation is helpful in shedding some light on photo projection and what it can be used for. This project was created using the layers approach in Mari, I am currently testing out node-based approach for future projects. I am looking forward to learning new techniques and improving on my current skills as my journey continues as a texture/look dev artist. See you in the next project!
Special thanks to Emily Bélanger for the model, Renato Scicchitano, for showing the process of photo projection in Mari, and my teacher, Tony Juricic, for the feedback.
You can find more of Michelle's work on ArtStation and The Rookies.