
Translating 2D Anime into a 3D Animation
Kota Kasahara challenged himself to create a project for which he had to learn all aspects of the 3D pipeline. This is Project Evangelion.
Kota Kasahara challenged himself to create a project for which he had to learn all aspects of the 3D pipeline. This is Project Evangelion.

Kota Kasahara is an aspiring 3D Modeller and graduate of Digital Hollywood University in Tokyo, Japan. Over the last 18 months, he challenged himself to create a project for which he had to learn all aspects of the 3D pipeline.
This article is about the making of Project Evangelion, which breaks down the work he did from modeling to the final composite.
I loved drawing, painting and creating since I was quite young. I was inspired by Japanese Concept Artists like Kouji Tajima. I also was taken by 3D sculptures I would find on the internet.
My original plan was to be a concept artist, but I gradually started to get interested in 3d sculpting and modeling. I thought it would be cool to combine my passion for 2D and 3D, and decided to learn ZBrush and Photoshop.
I spent the next 4 years in University. During that period I was able to make good friends to inspire each other and even now we are keeping in touch. Digital Hollywood University is such a unique place because the students are interested most creative industries.
During my time there I took some basic 3D classes in Maya and also drawing and sculpting, so definitely those experiences helped me to develop a good basic knowledge. To undertake the project this article is about, however, I learned most of softwares and skills by myself whilst I was studying.
I completed this project after graduating, and because at the time 3D modeling was not my main field, I had to study the entire process of making a 3D animation from modeling to compositing.
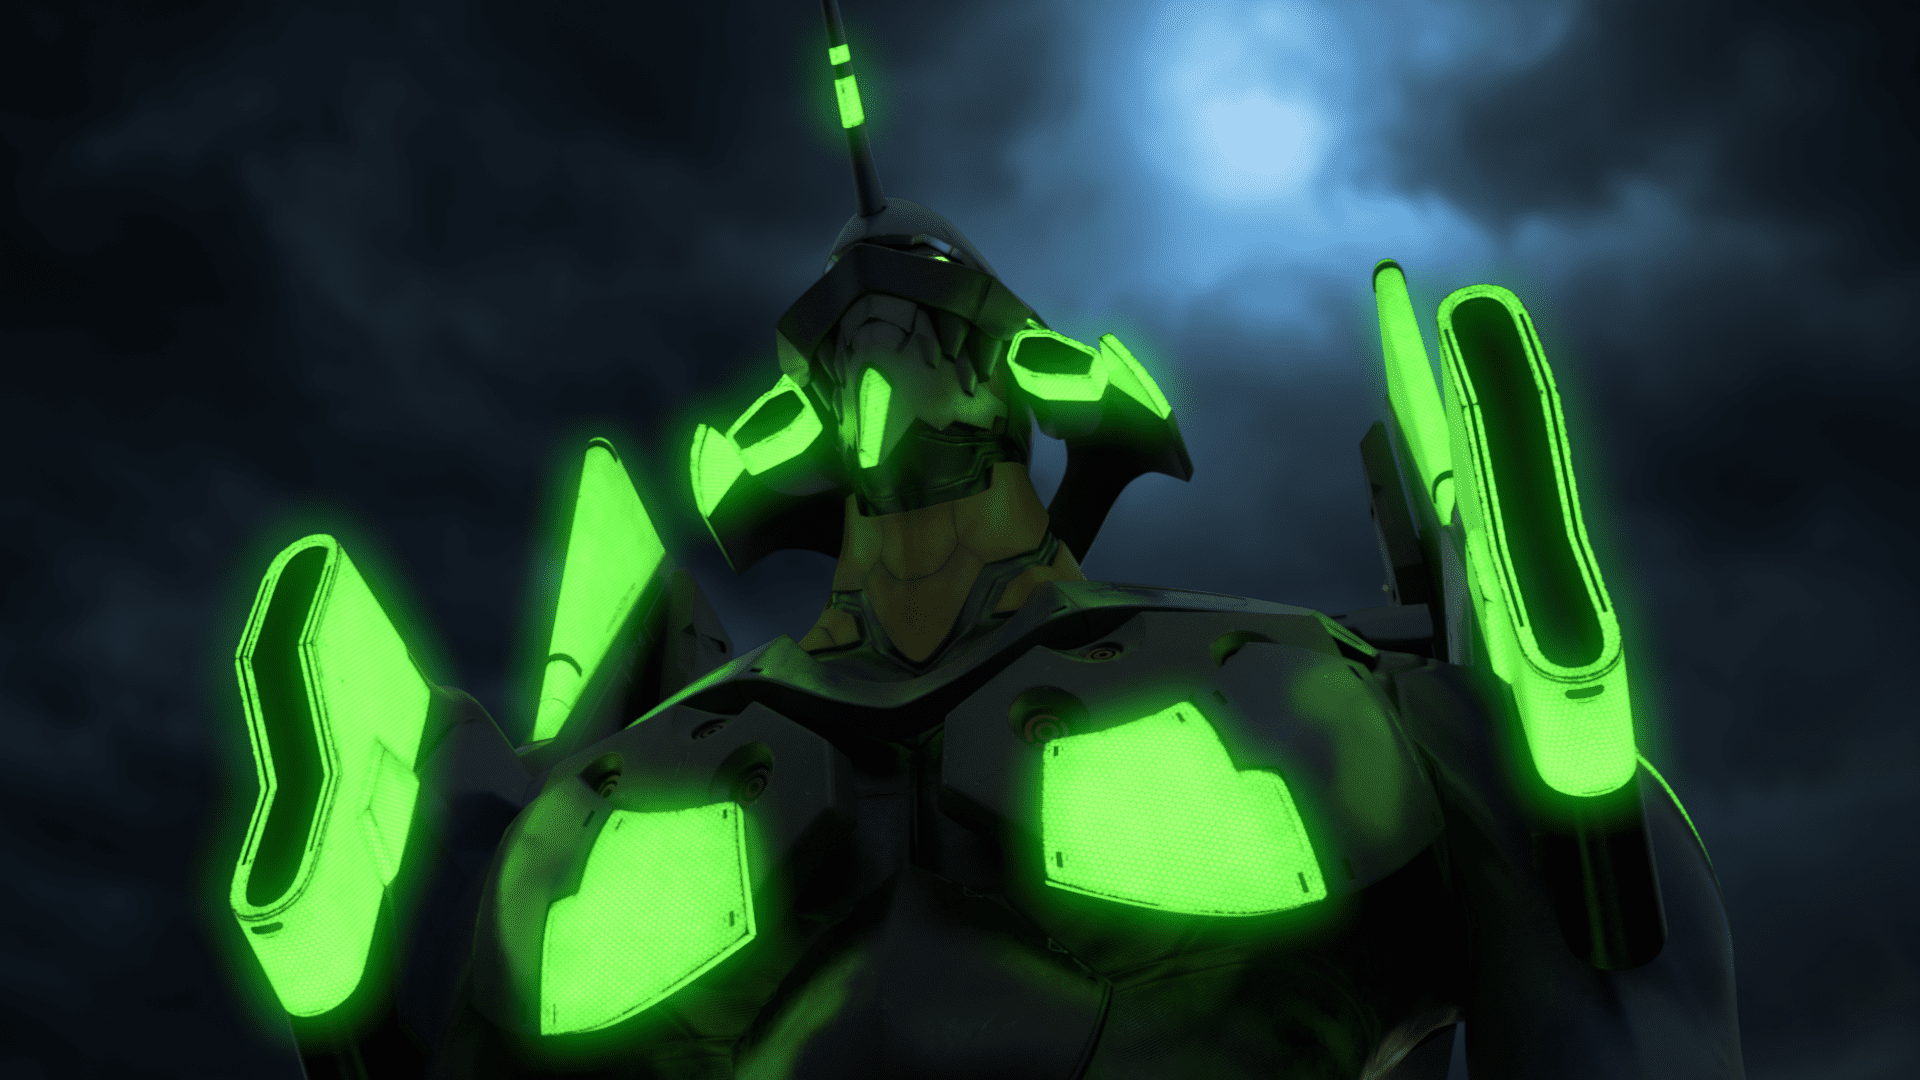
Originally I was planning to just fix the old Evangelion 3D model which I made previously, but I thought it would be really cool to reproduce the entire scene from the anime -Neon Genesis Evangelion- so I decided to carry a plan forward.

Software I used in this project:
Whenever I try a new software I always to search for tutorials on YouTube to get to know how to use the basic functions. Up until a few years ago there were not many tutorials, but now you can find so many videos and resources on the internet, which is fortunate for people who are willing to step into 3D field.
If I have to pick a favourite software it would be ZBrush. I have been using ZBrush for years and still it is my favourite software. When I used ZBrush for the first time I was so surprised because I felt like I was literally sculpting clay on screen.
The biggest advantage of using digital sculpting tools is that you can produce from your imagination quite fast. If you sculpt in a traditional way you need to buy clay, multiple tools and more to just get started but digitally, all you need is your computer and pen tablet which is amazing.
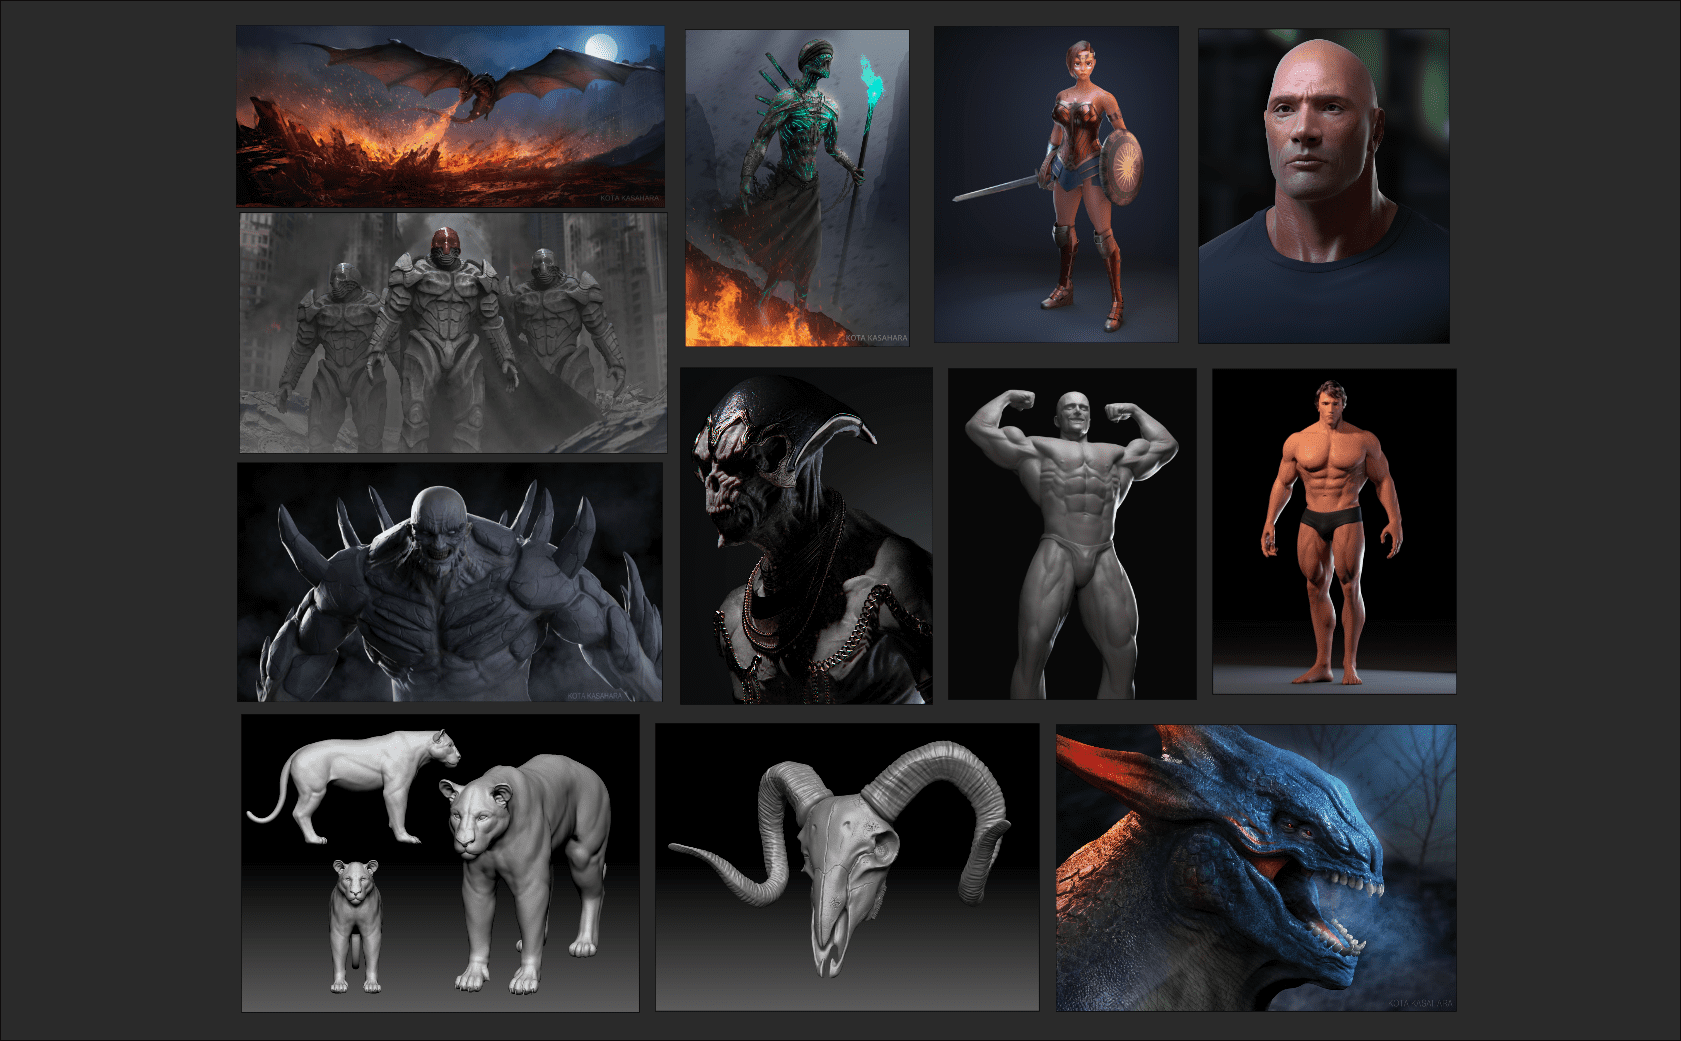
Before I start doing anything in 3D software, I always take time to gather as many references as possible because relying on my own assumption is something I should avoid whenever I create anything from scratch.
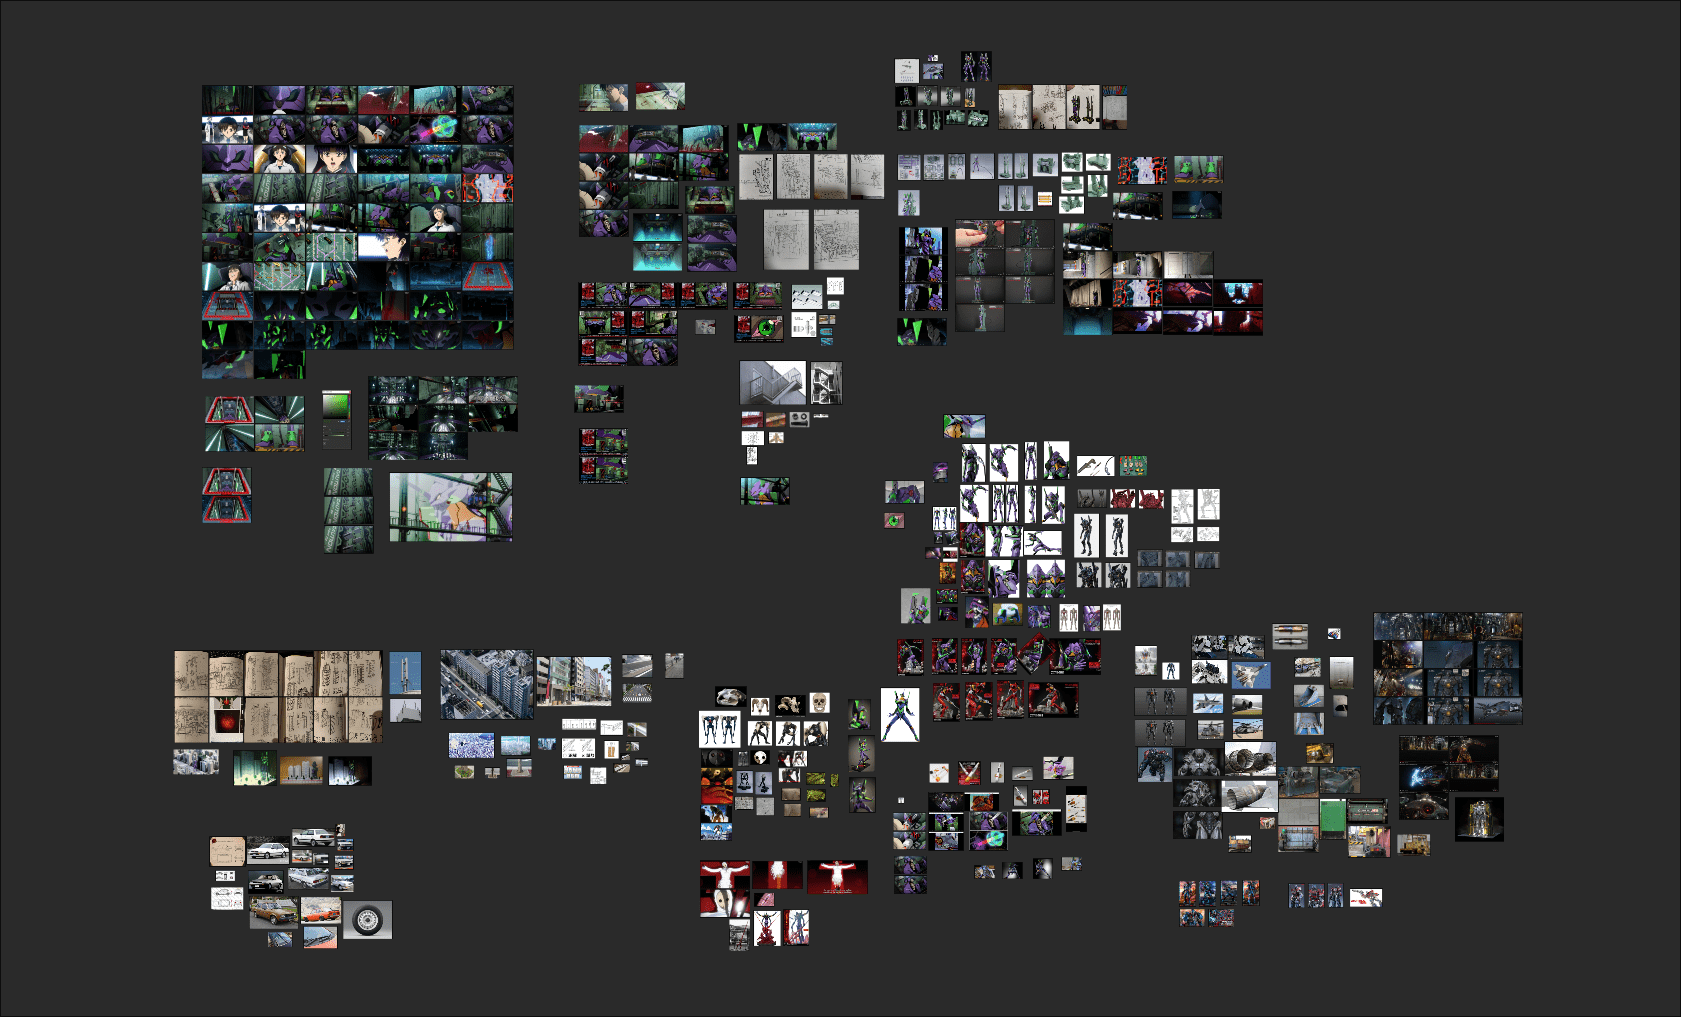
Observing and understanding objects well, keeps me on the right track all the time.
I always use the free software Pure-Ref to organise pictures.
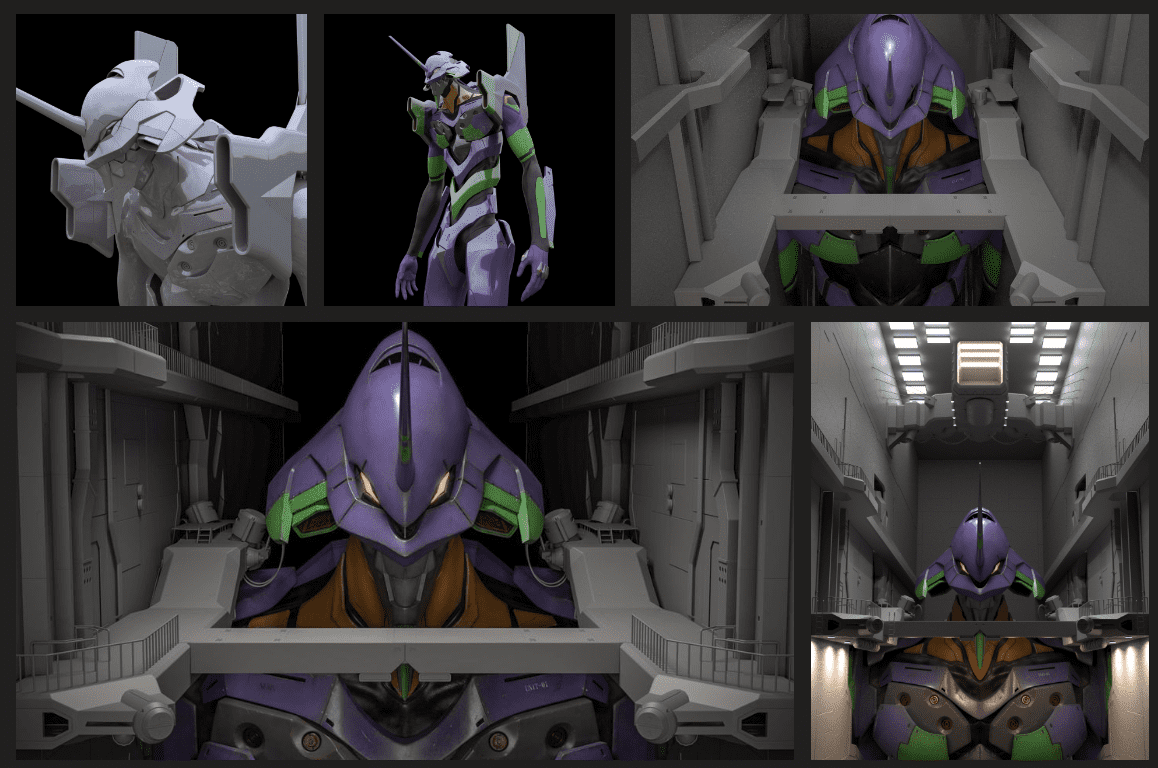
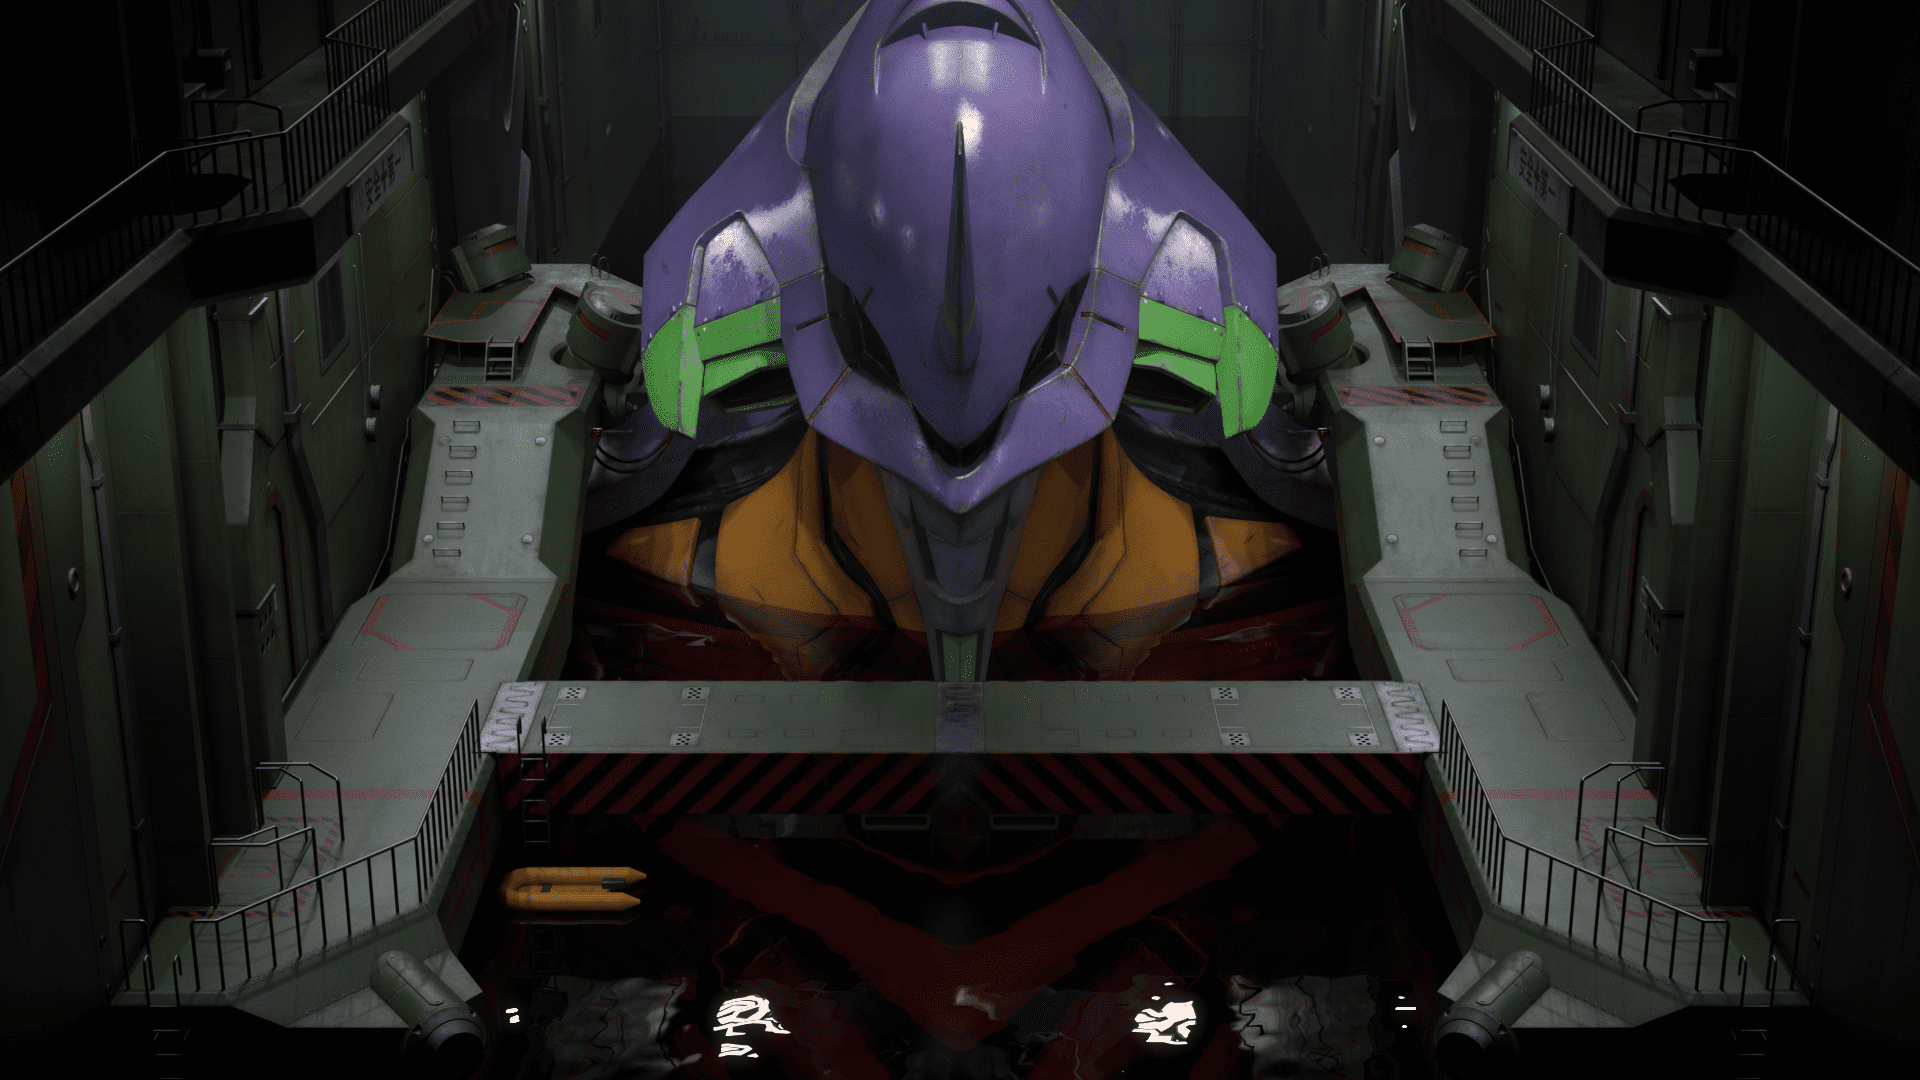
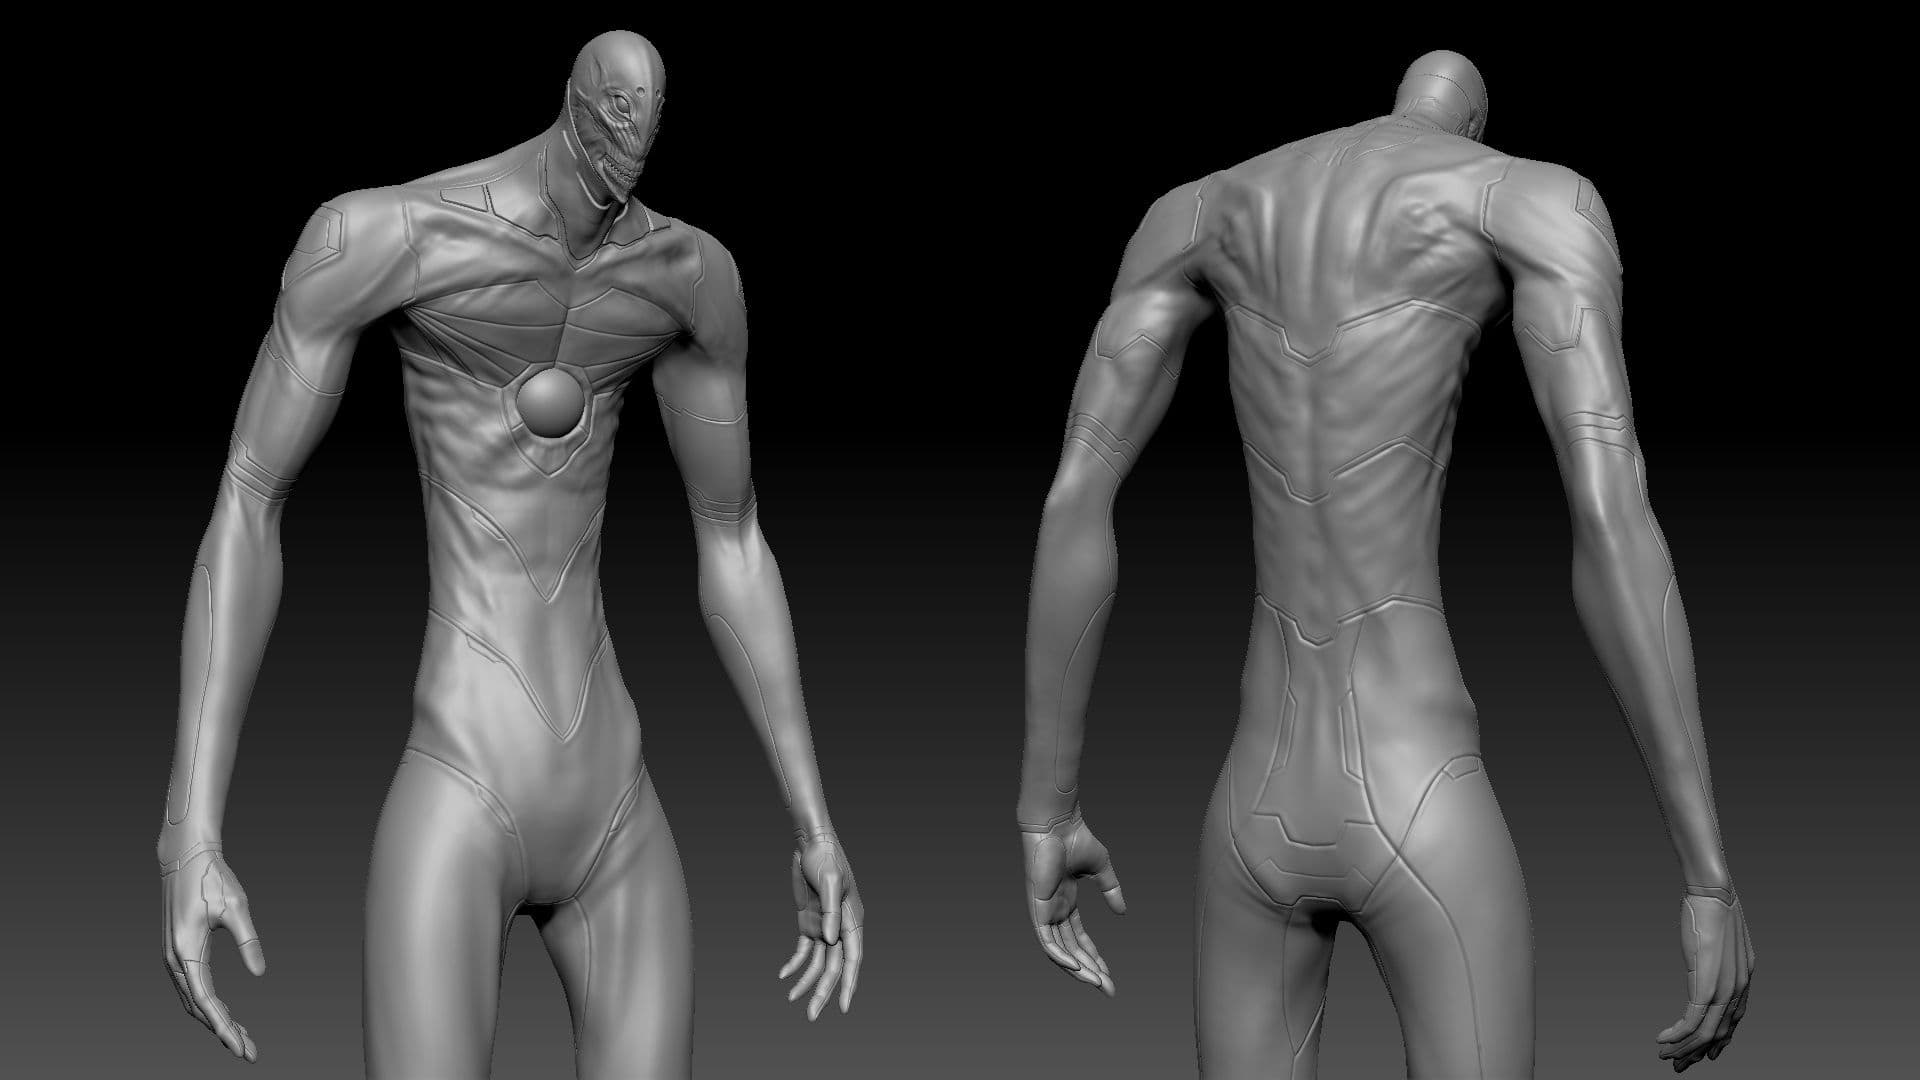
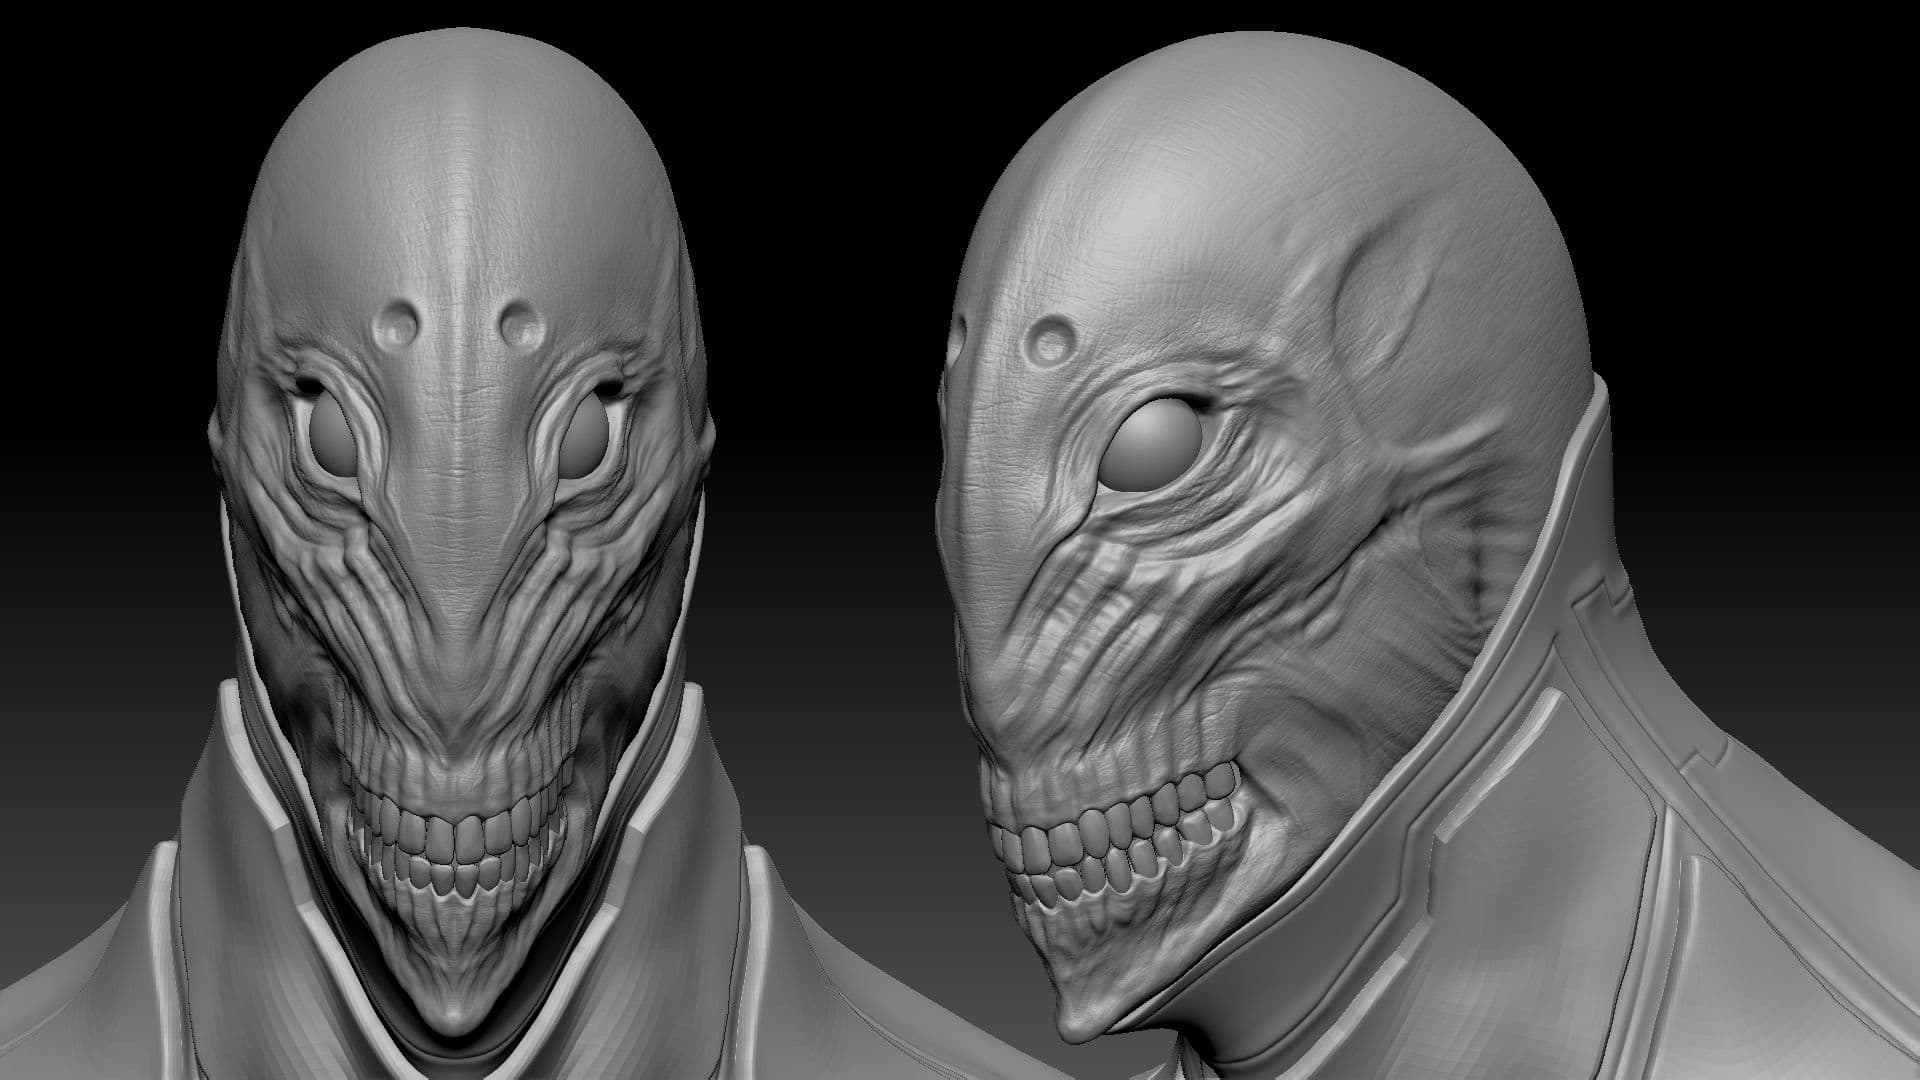
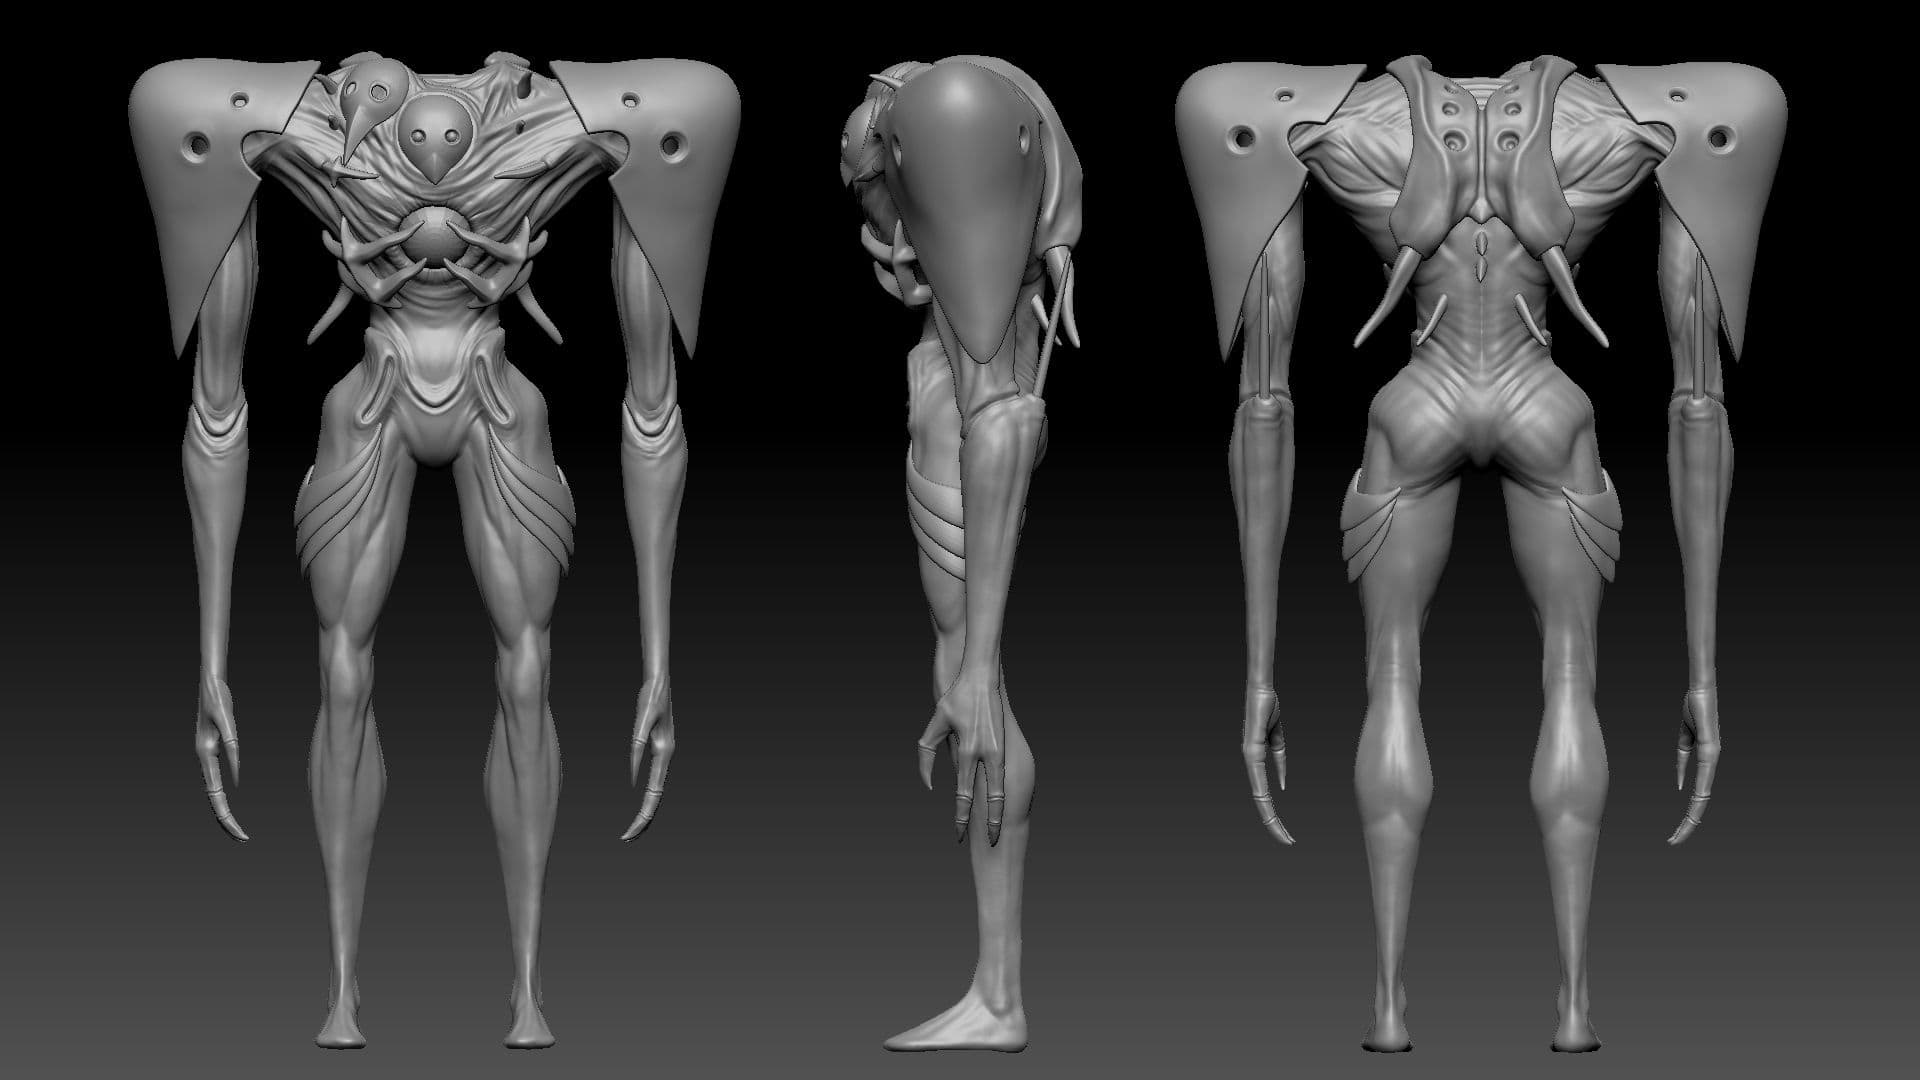
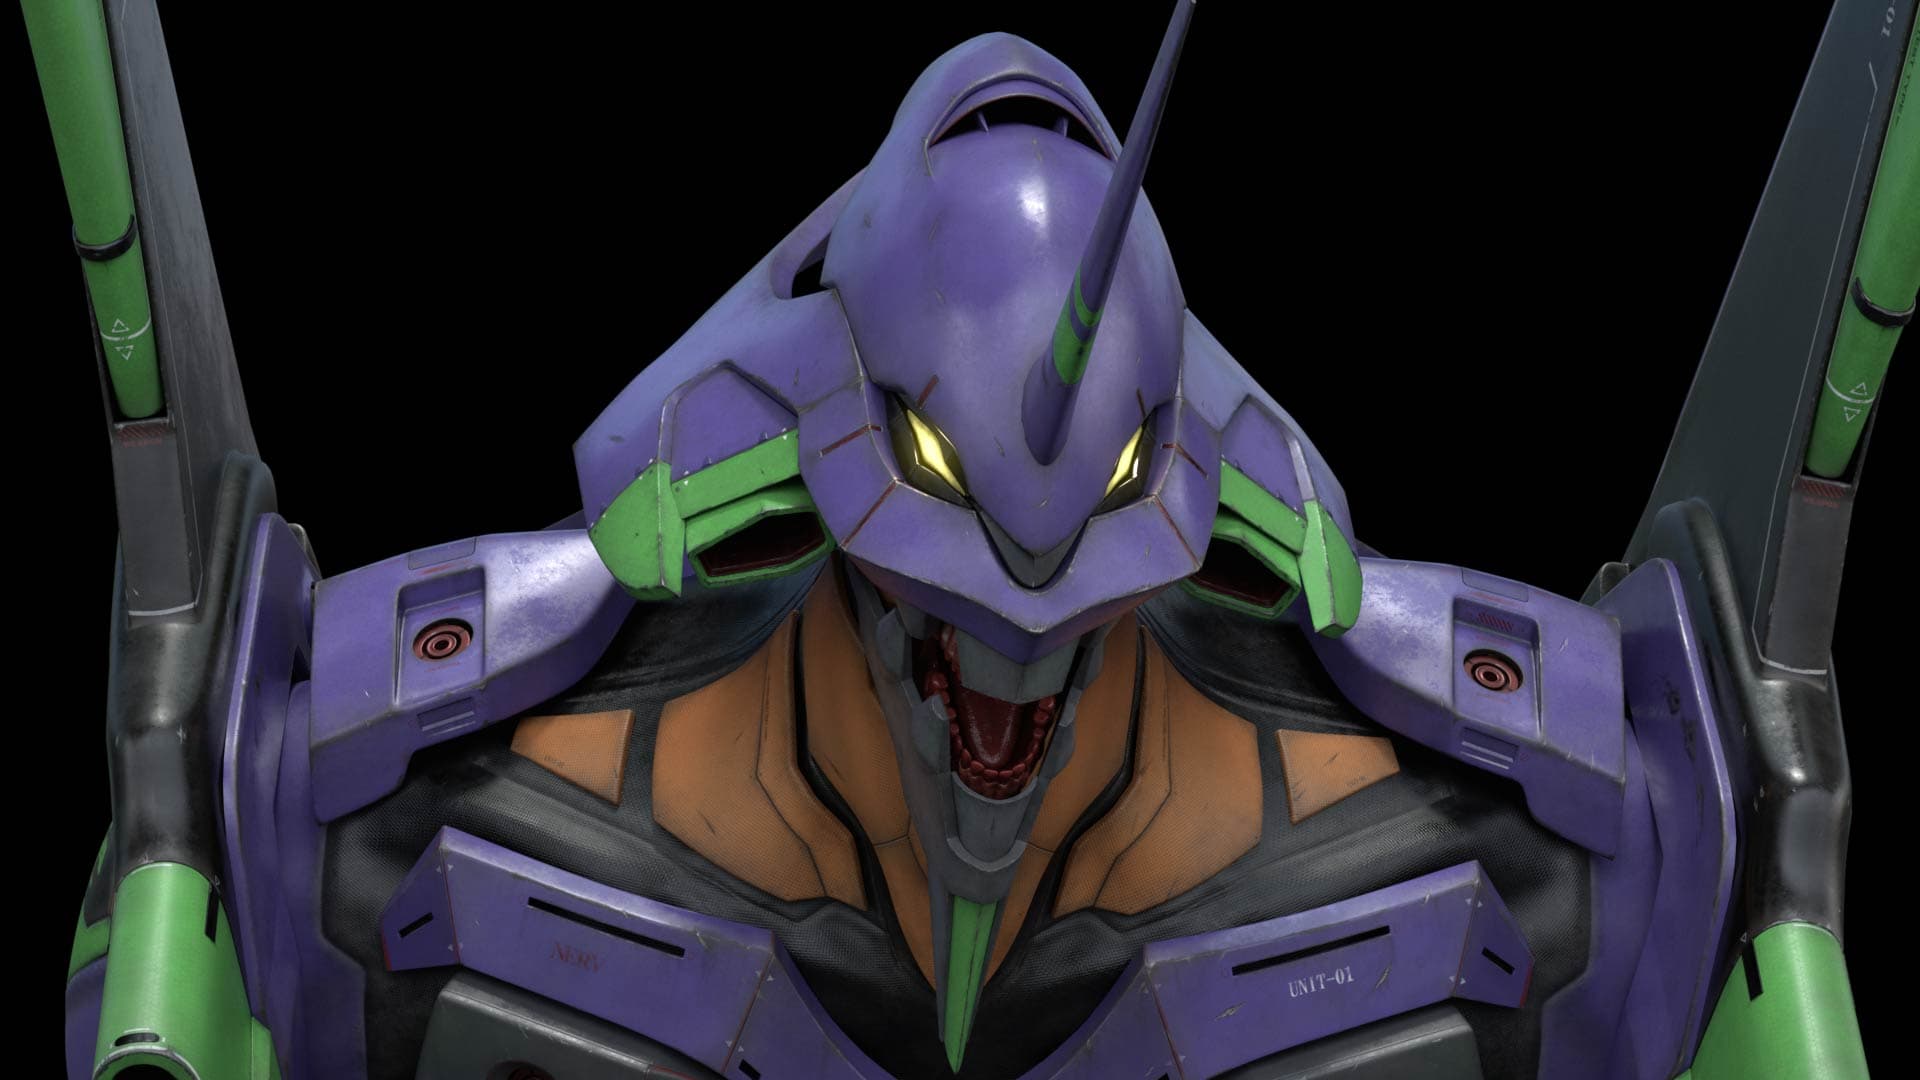
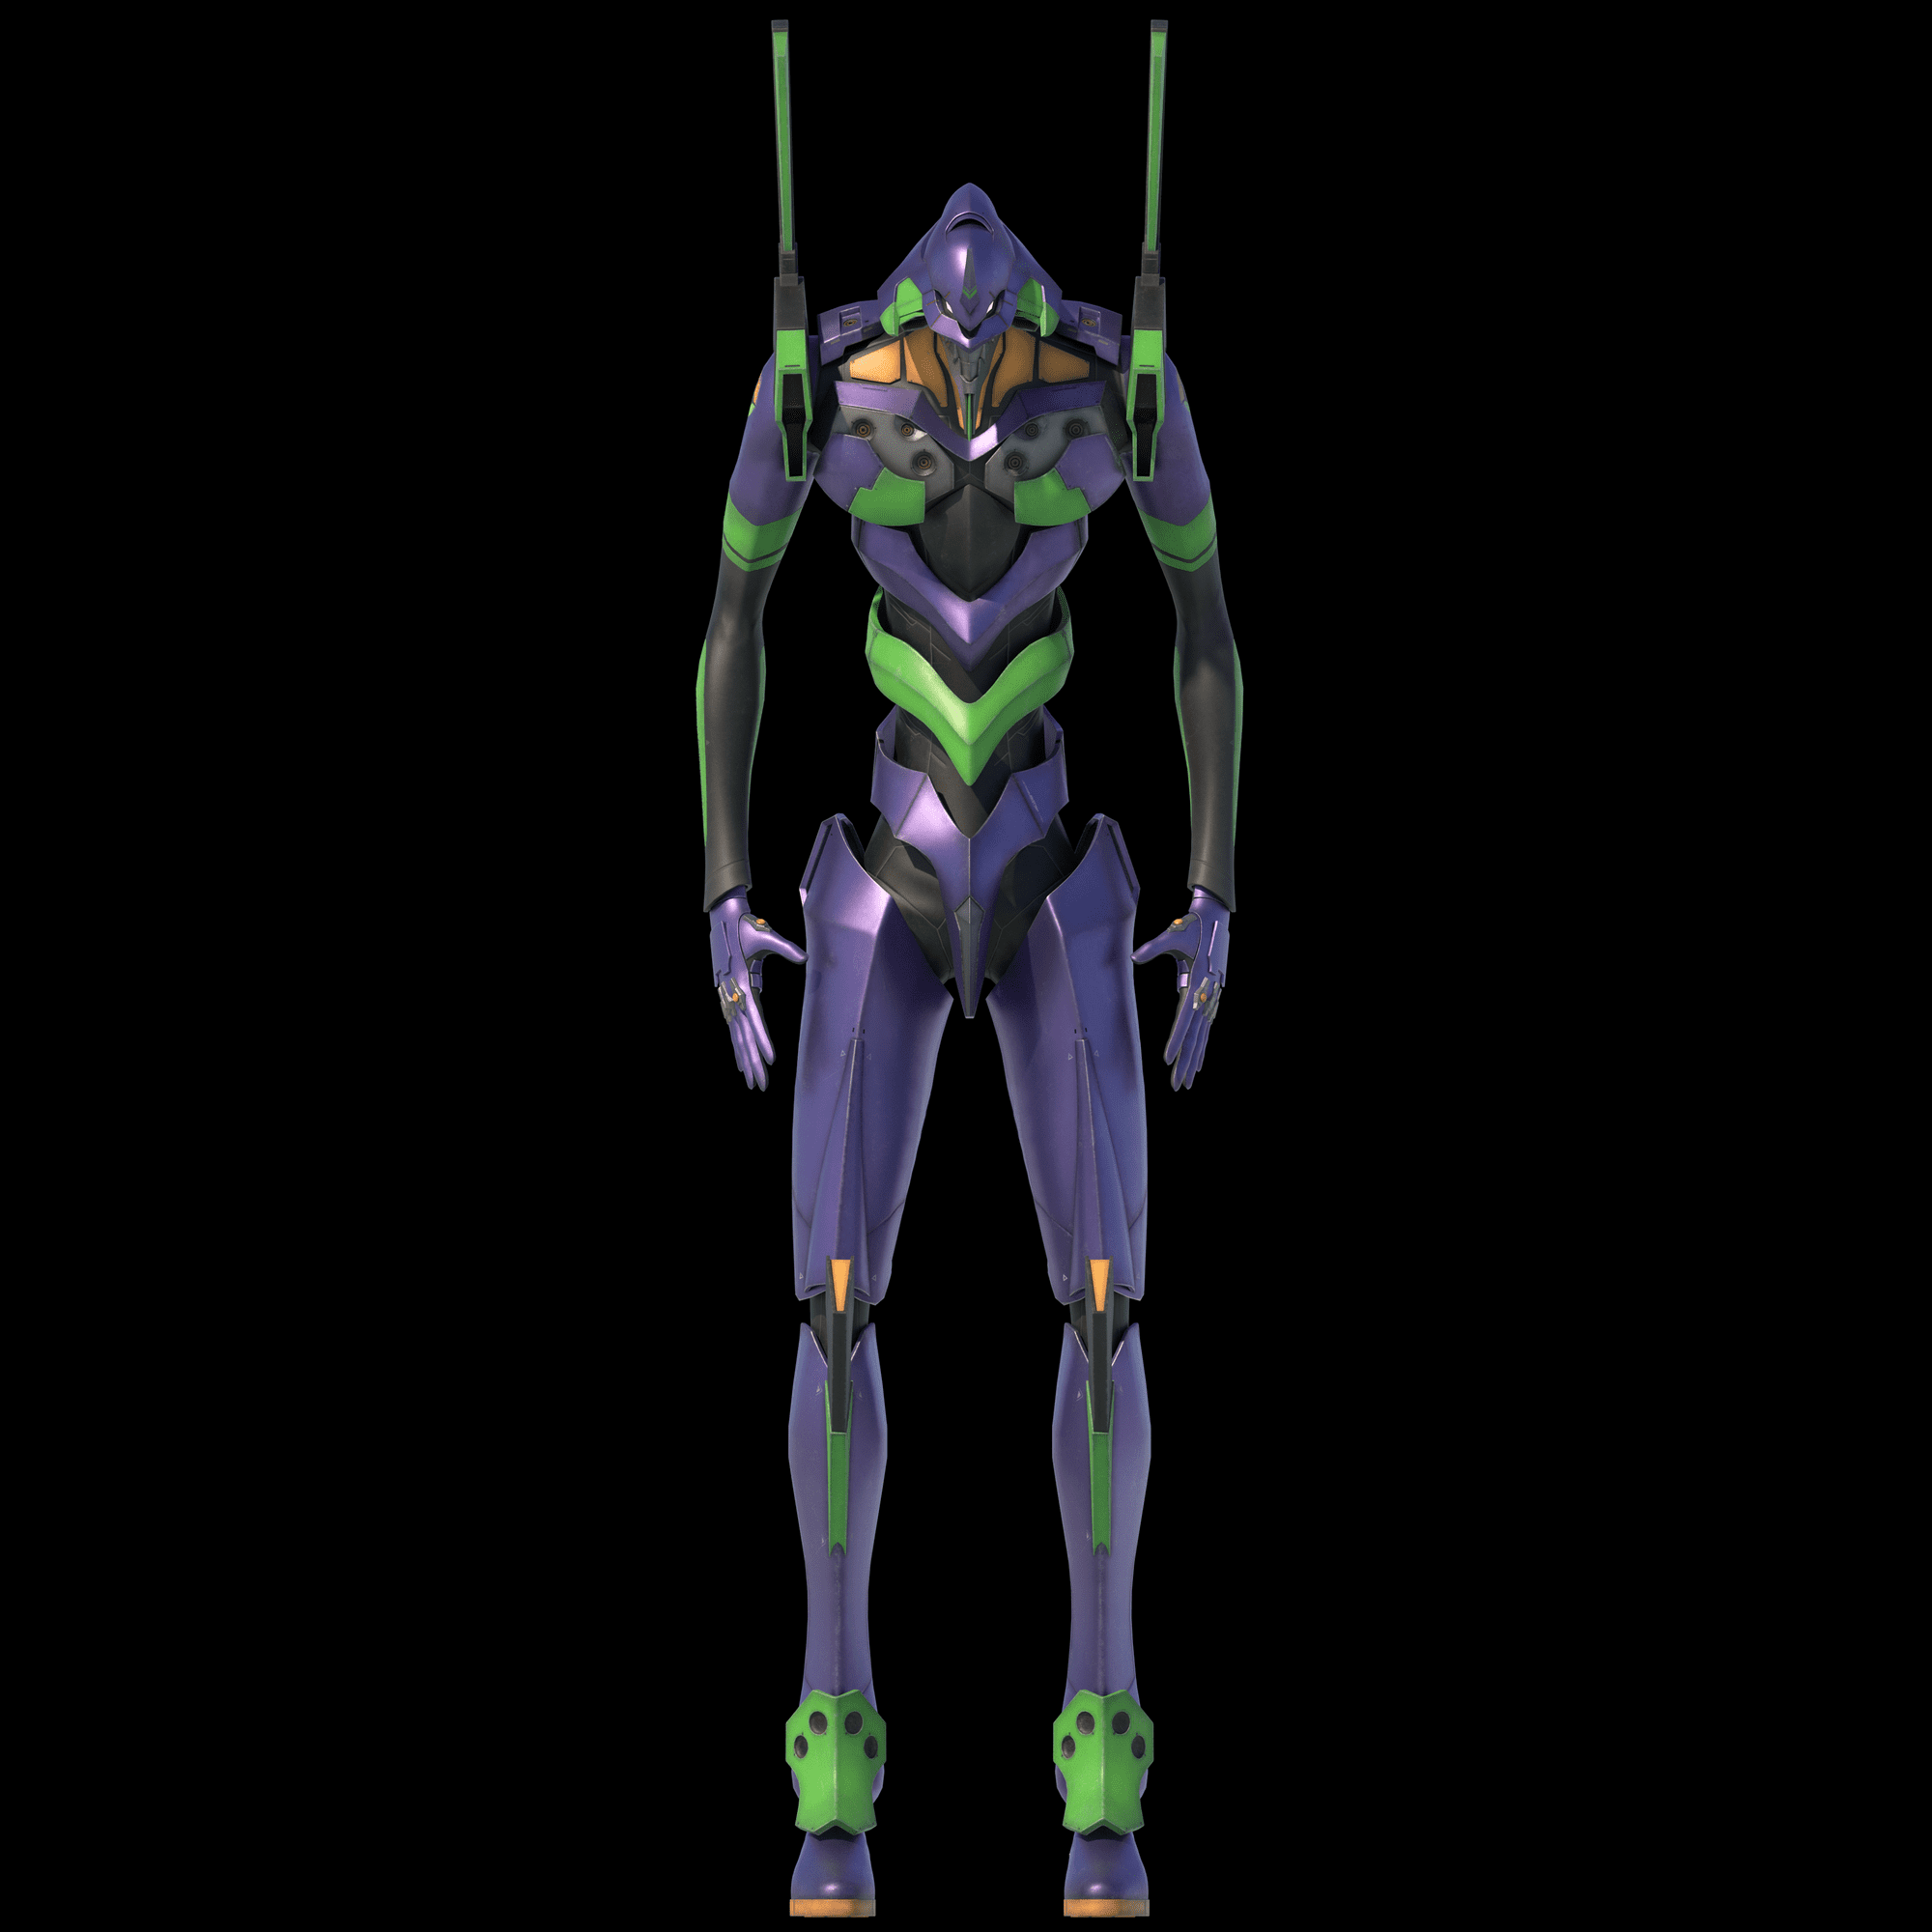
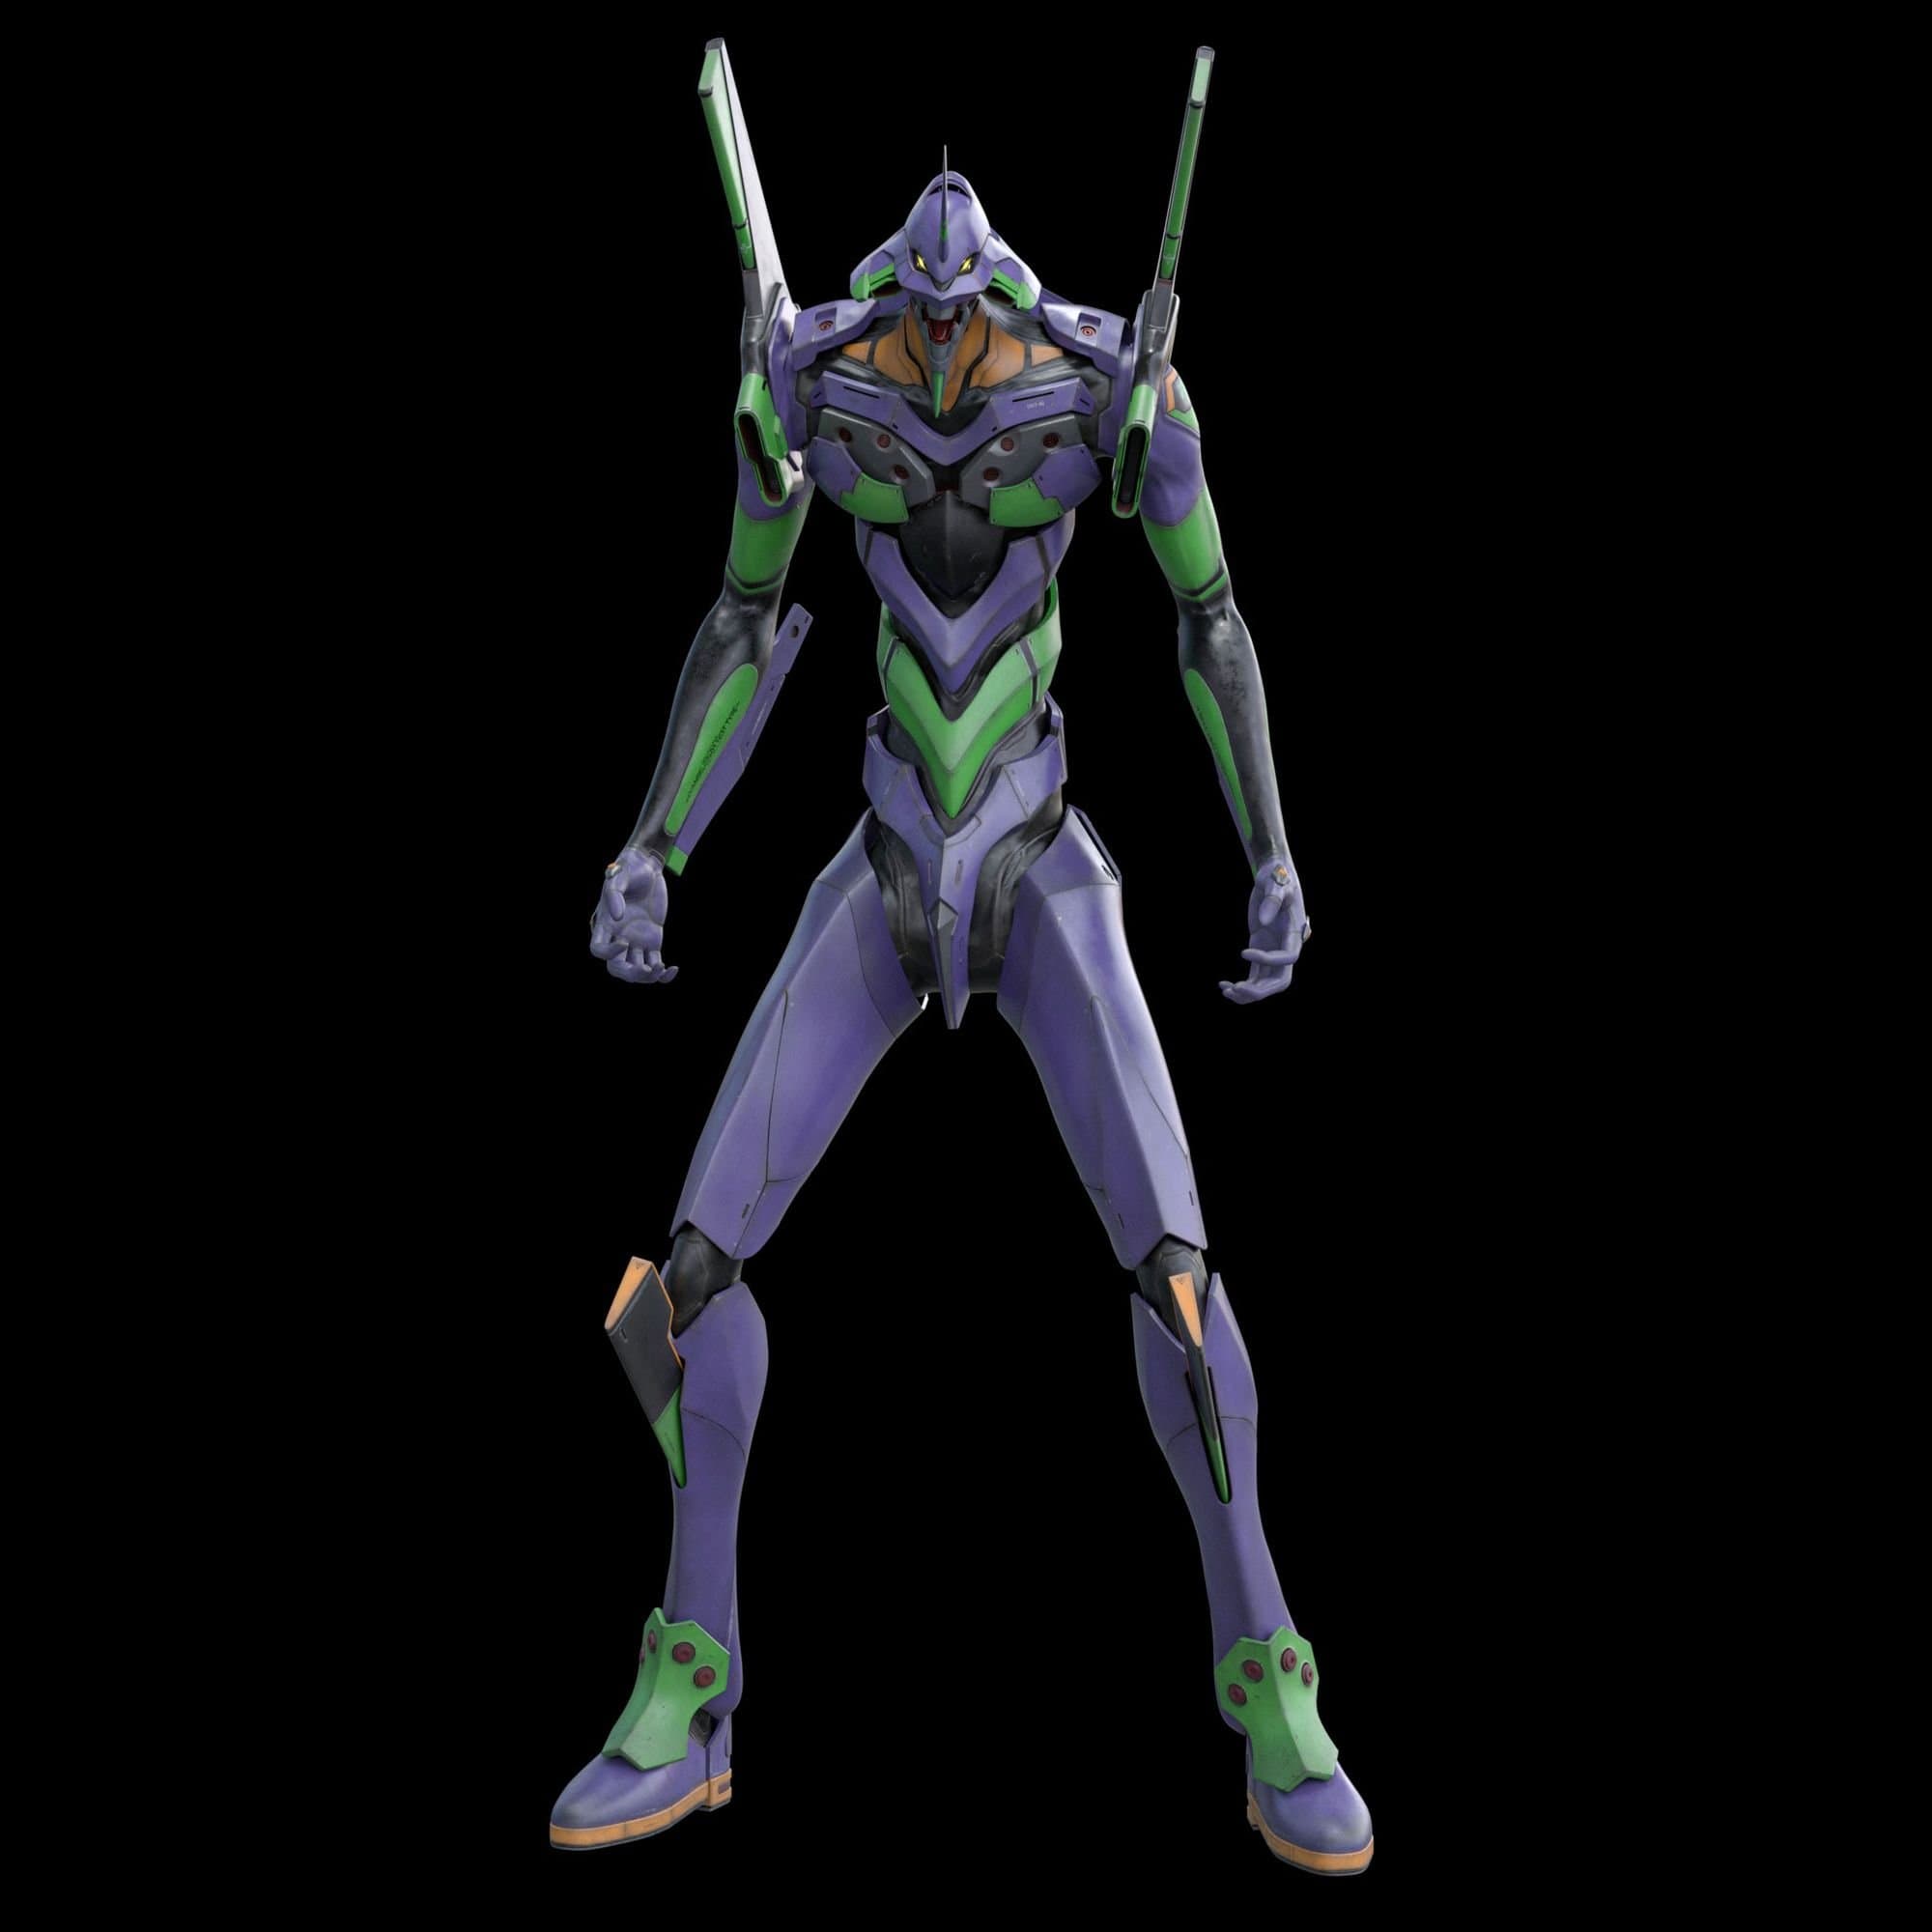
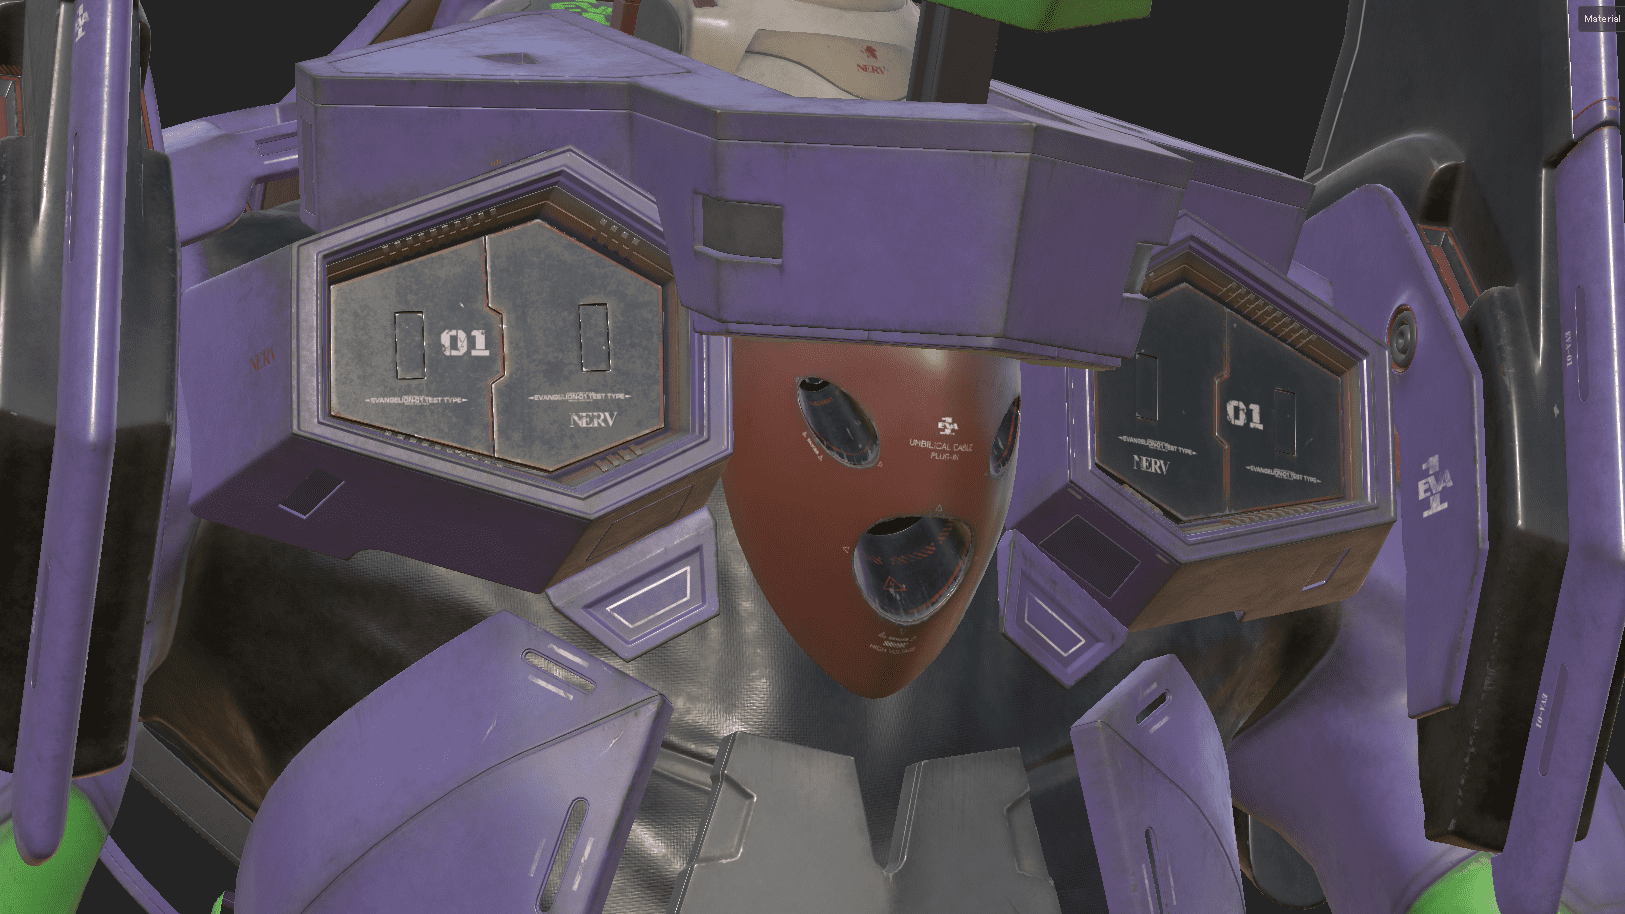
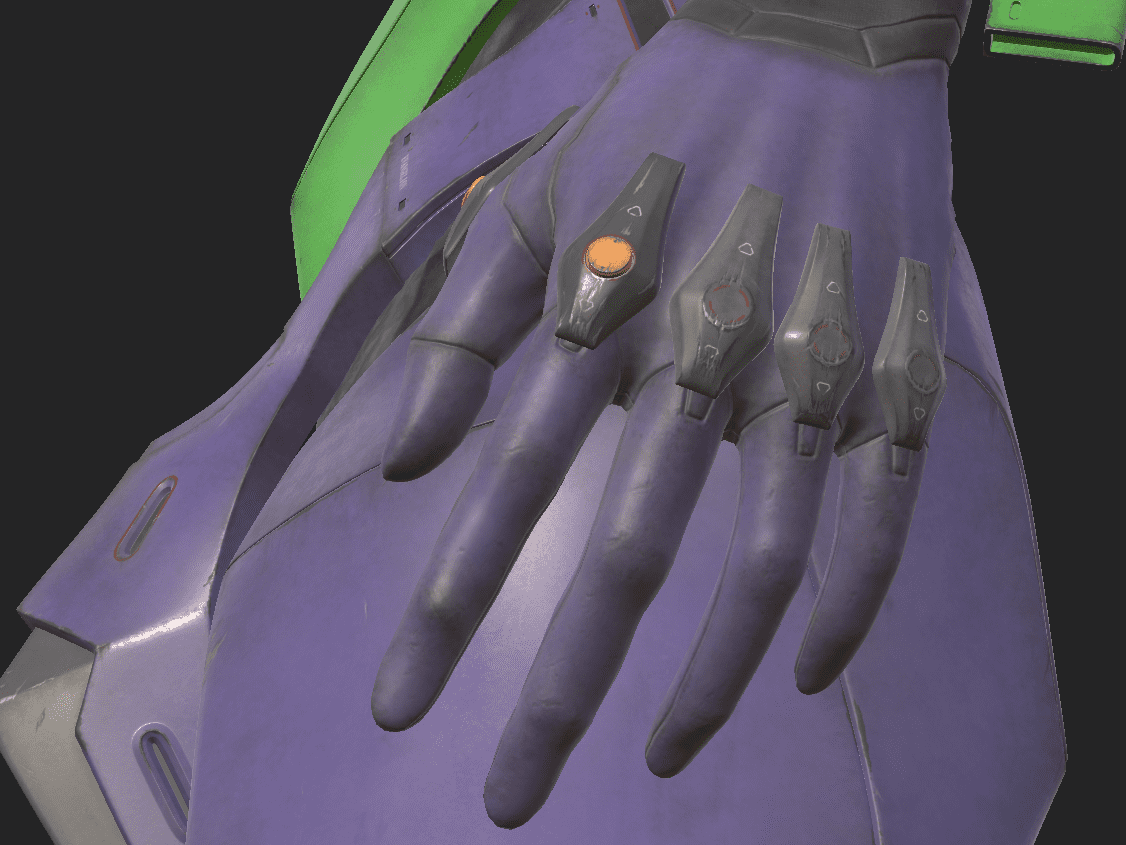
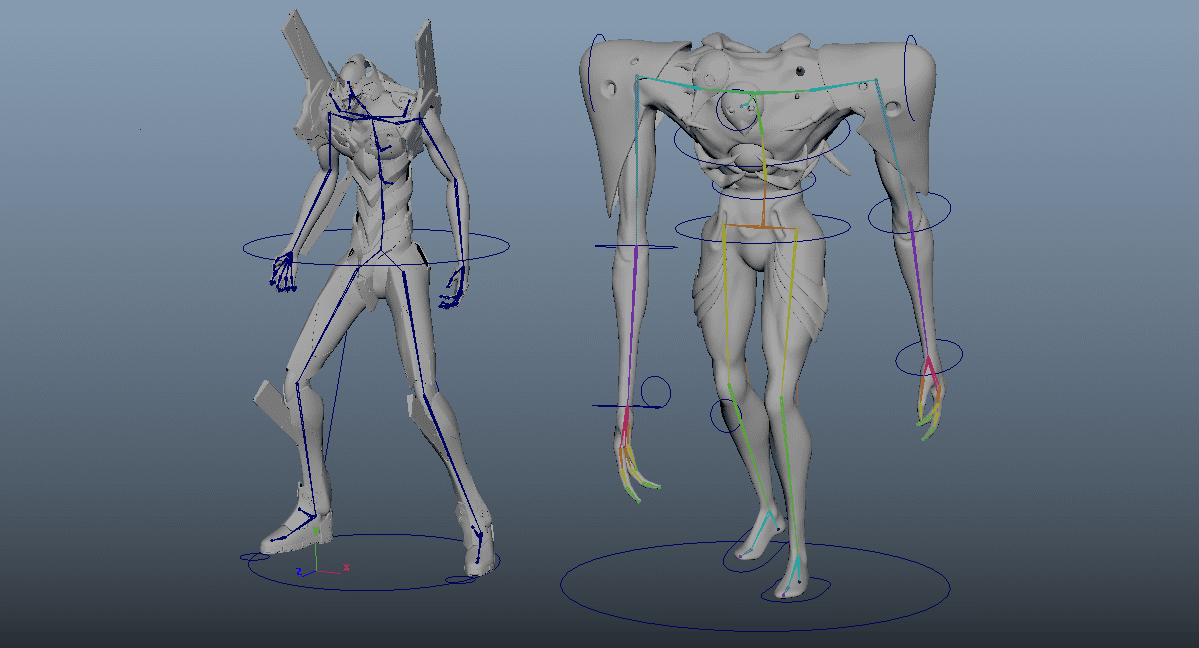
Evangelion is a human shaped character wearing a suit of armour. I used ZBrush for sculpting the body and face, and Maya for the armour.
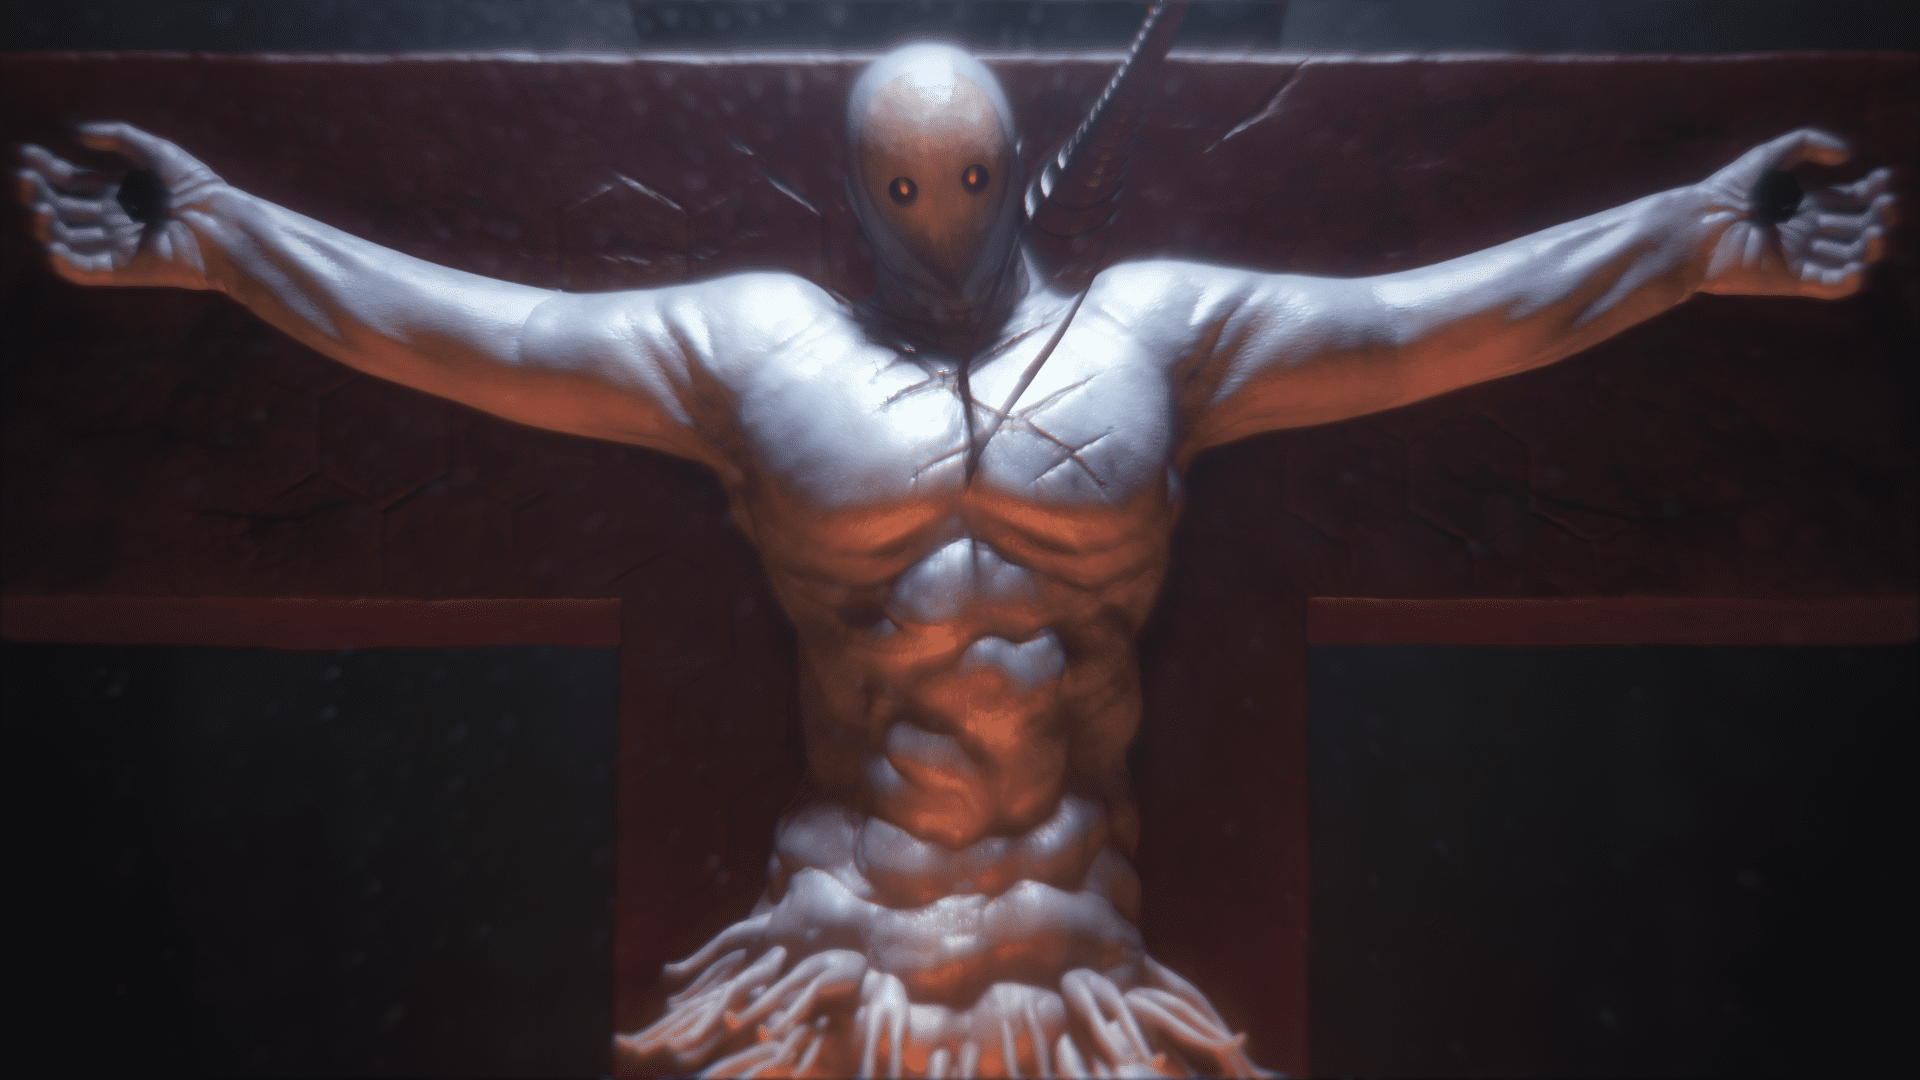
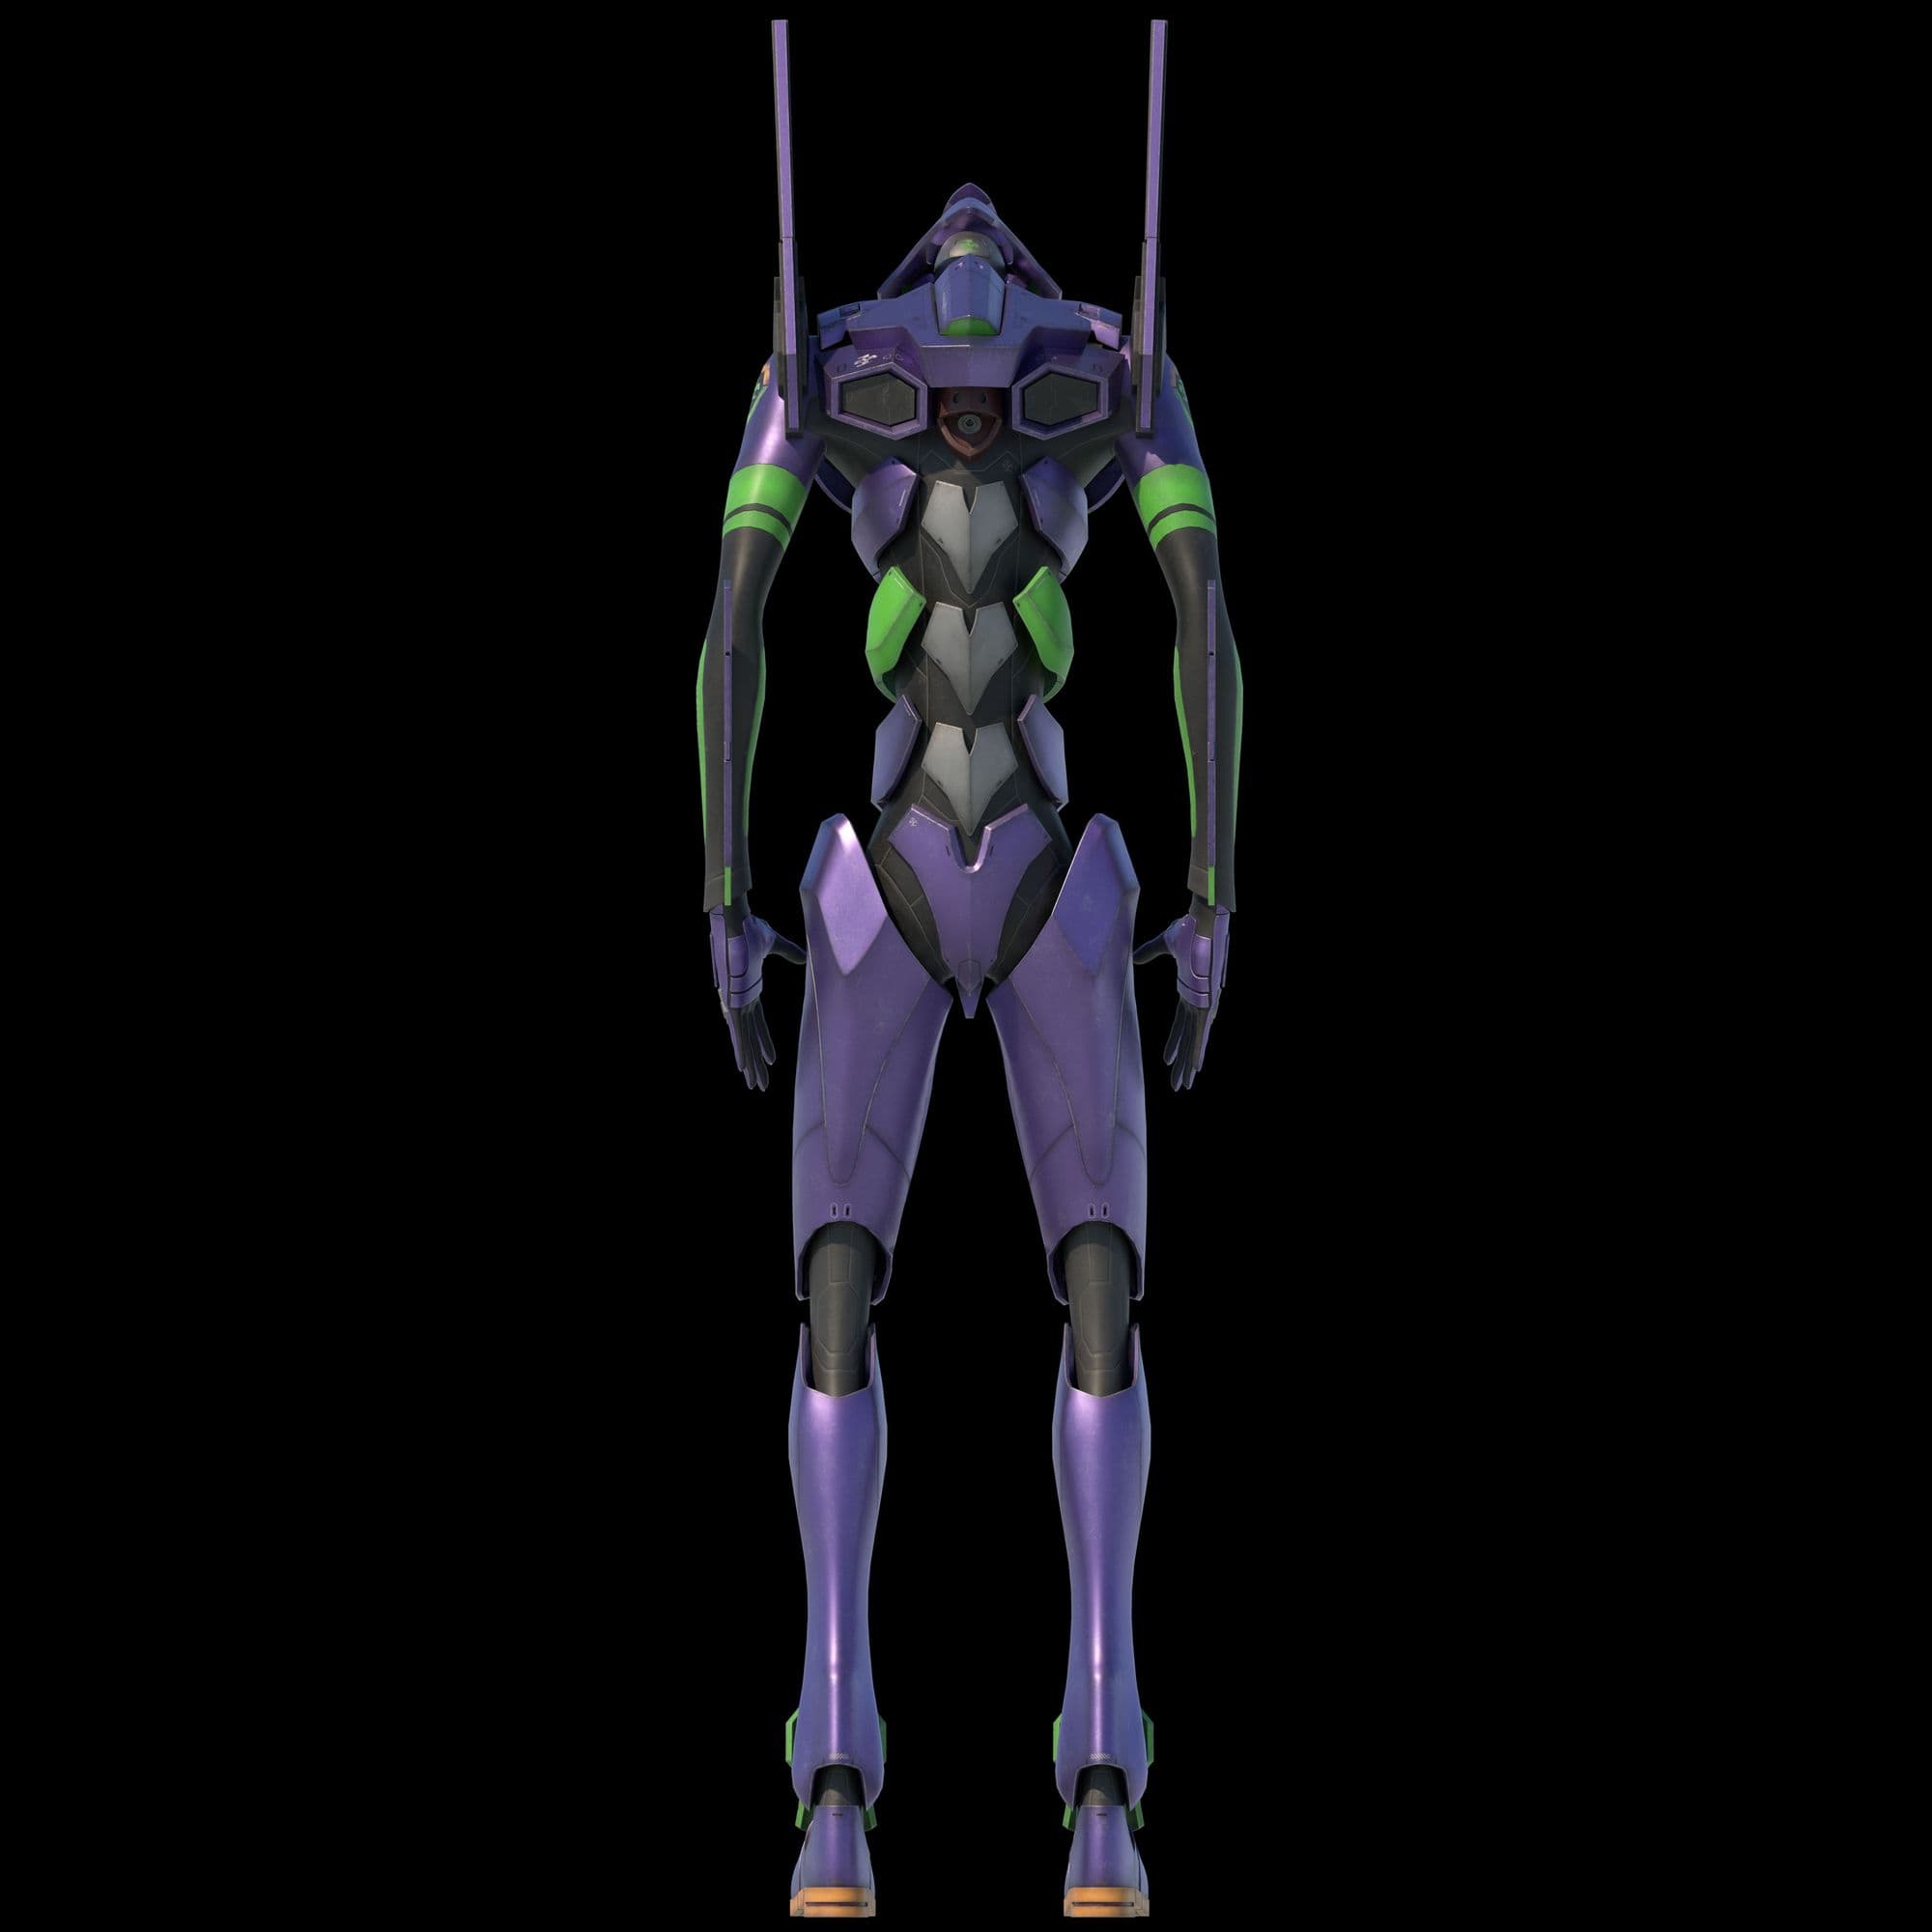
When it comes to sculpting living things it is always important to understand anatomy because even those nonexistent characters such as monsters or creatures, have bones, muscles, skin; understanding of anatomy is integral to making realistic characters.
My usual workflow is sculpting in ZBrush first then exporting it to Maya for retology and creating UVs. I then go back to ZBrush and project details to continue sculpting.
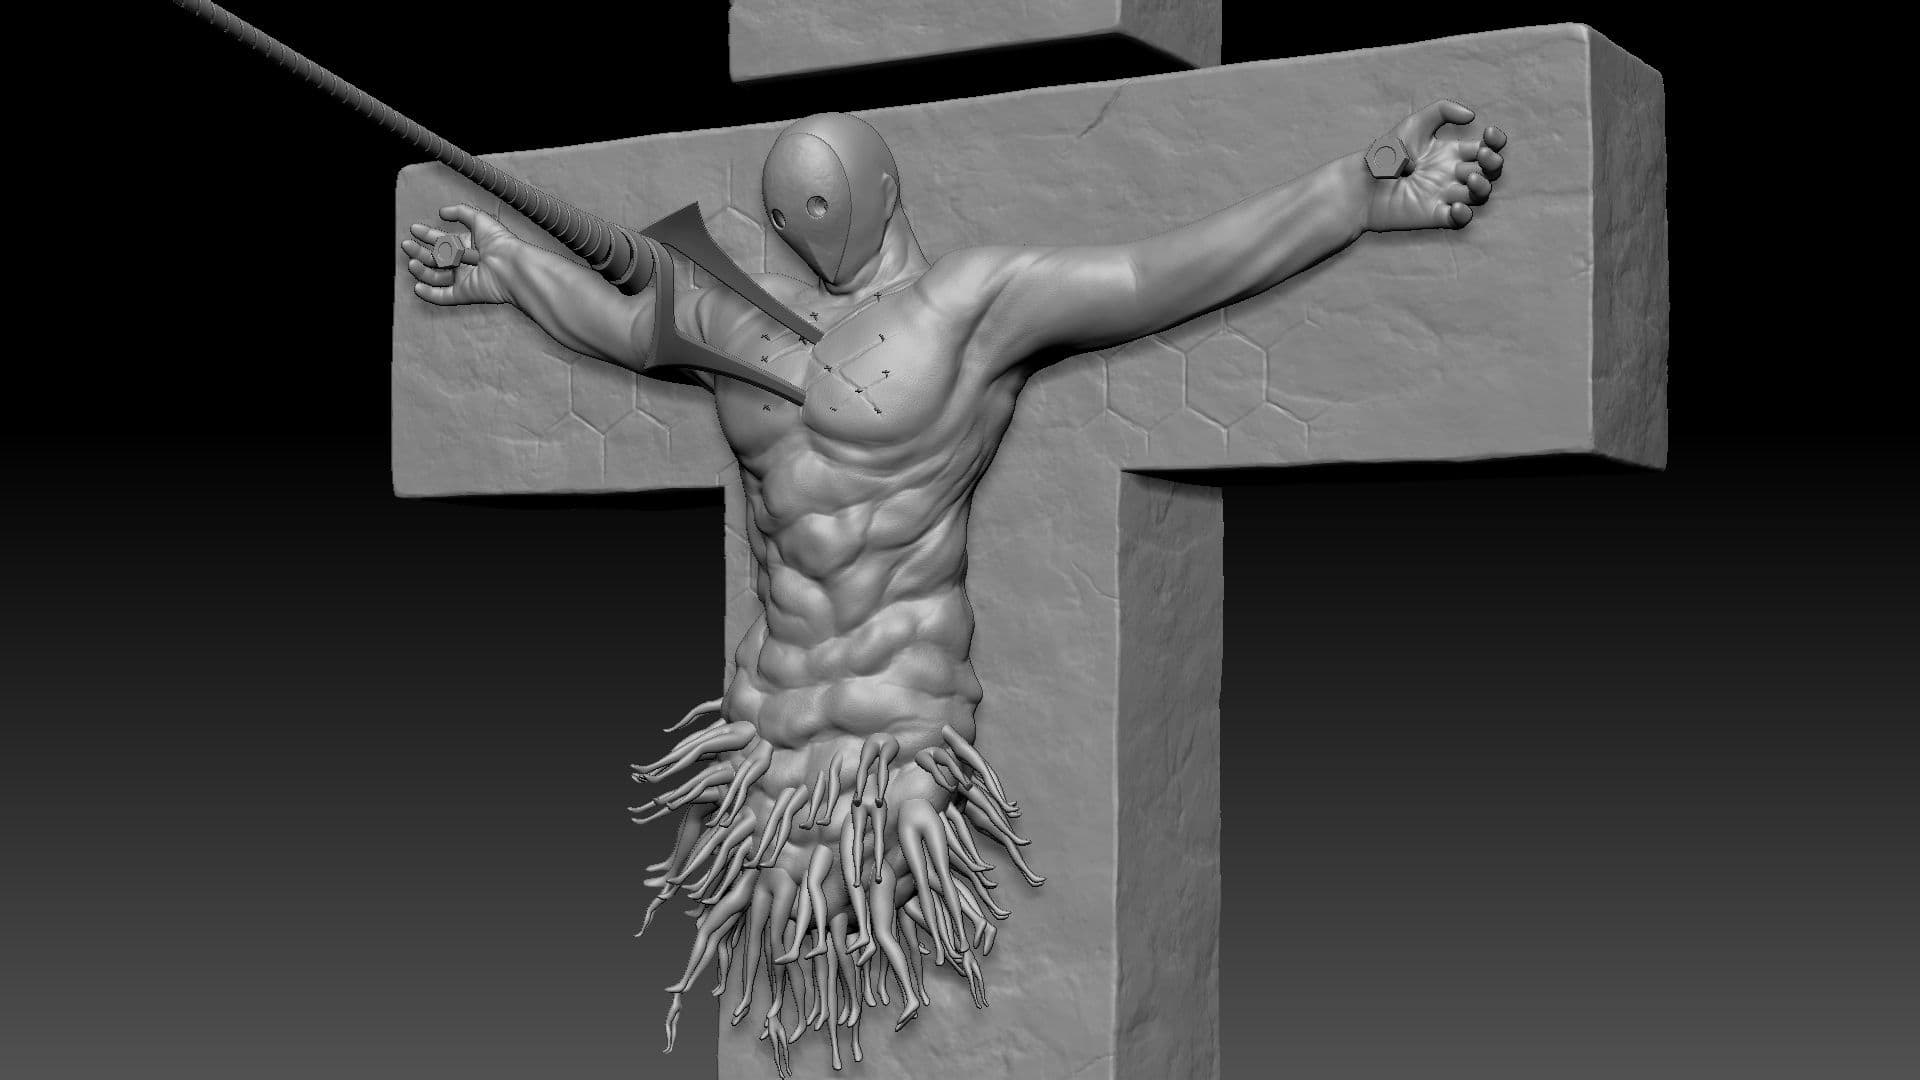
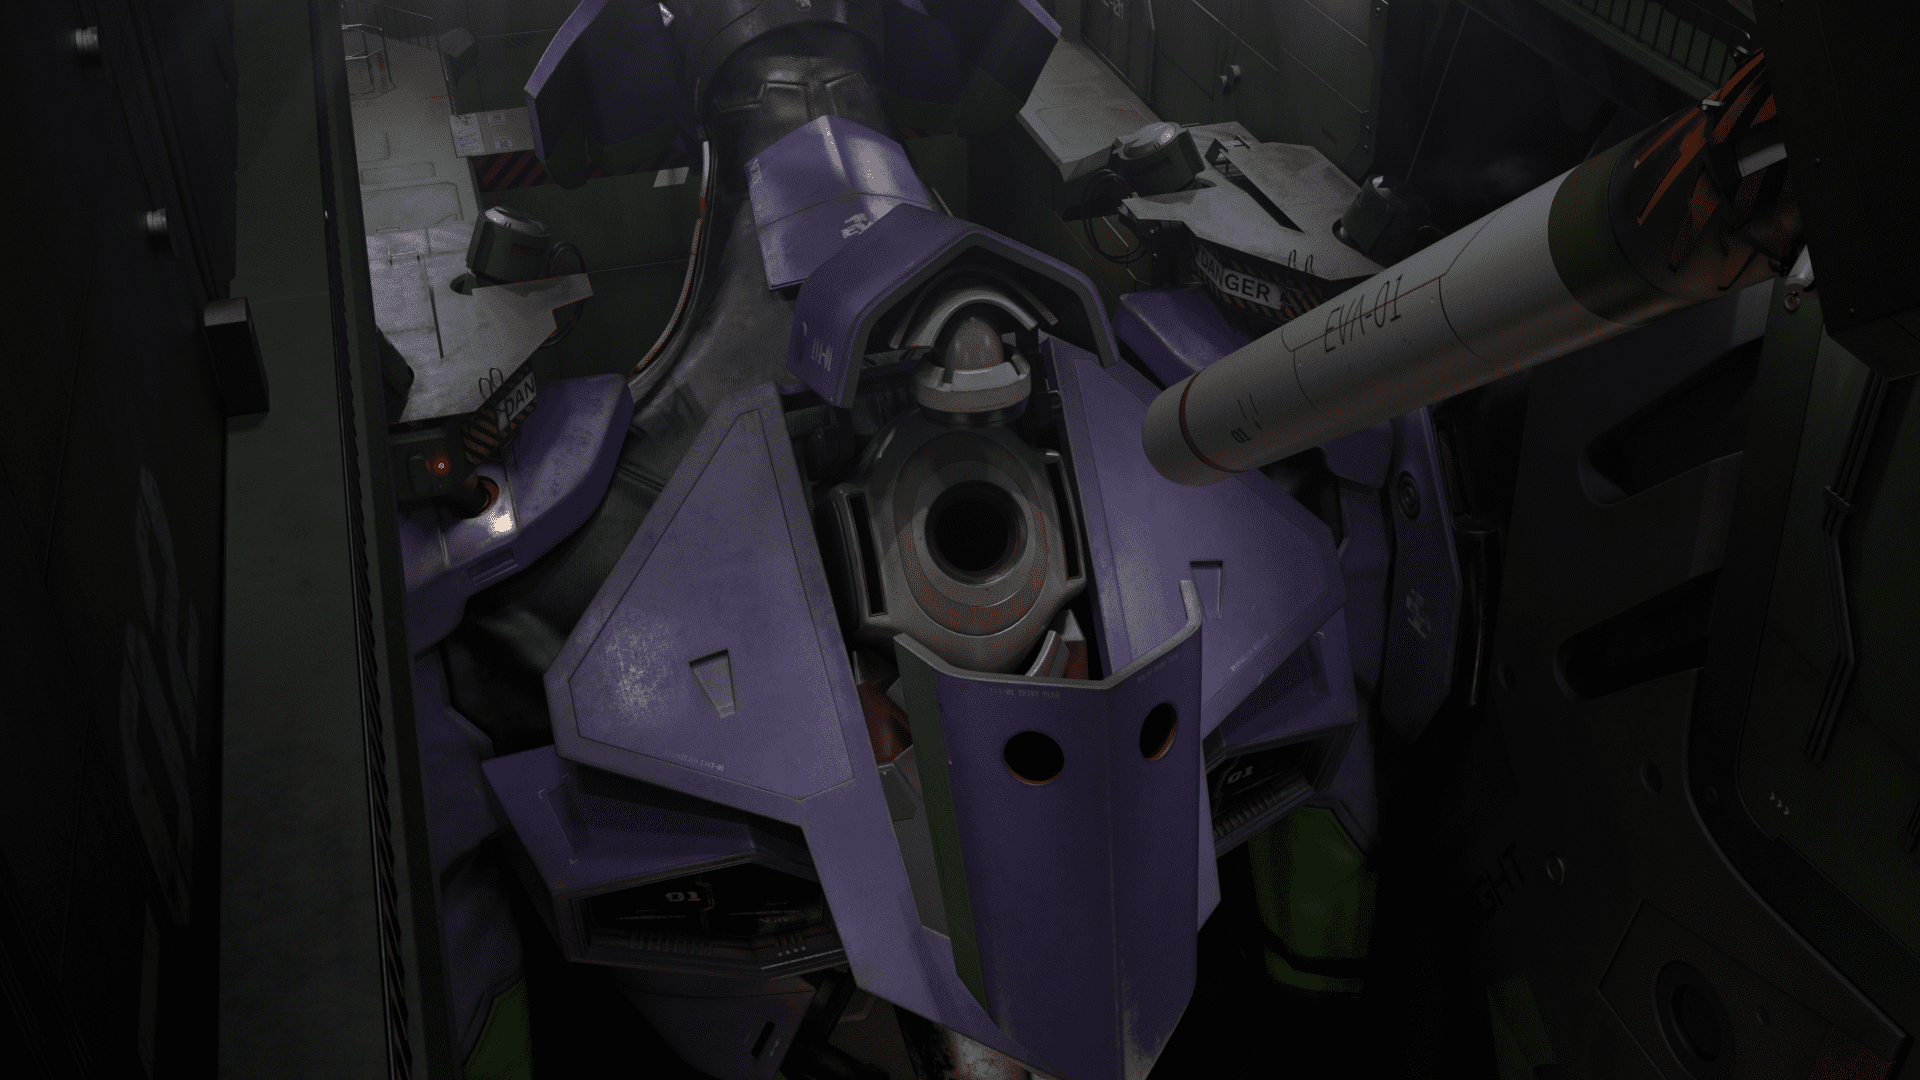
Modeling armour requires a hard surface modeling skill and it is quite time consuming for me. Since the character is anime inspired, the most difficult thing was to keep the design as simple as possible but it also has a decent amount of details at the same time to make it look realistic. Evangelion itself is a humanoid weapon and the design is quite simple but elegant so I only added a minimum amount of details to it because the original design is already great enough.
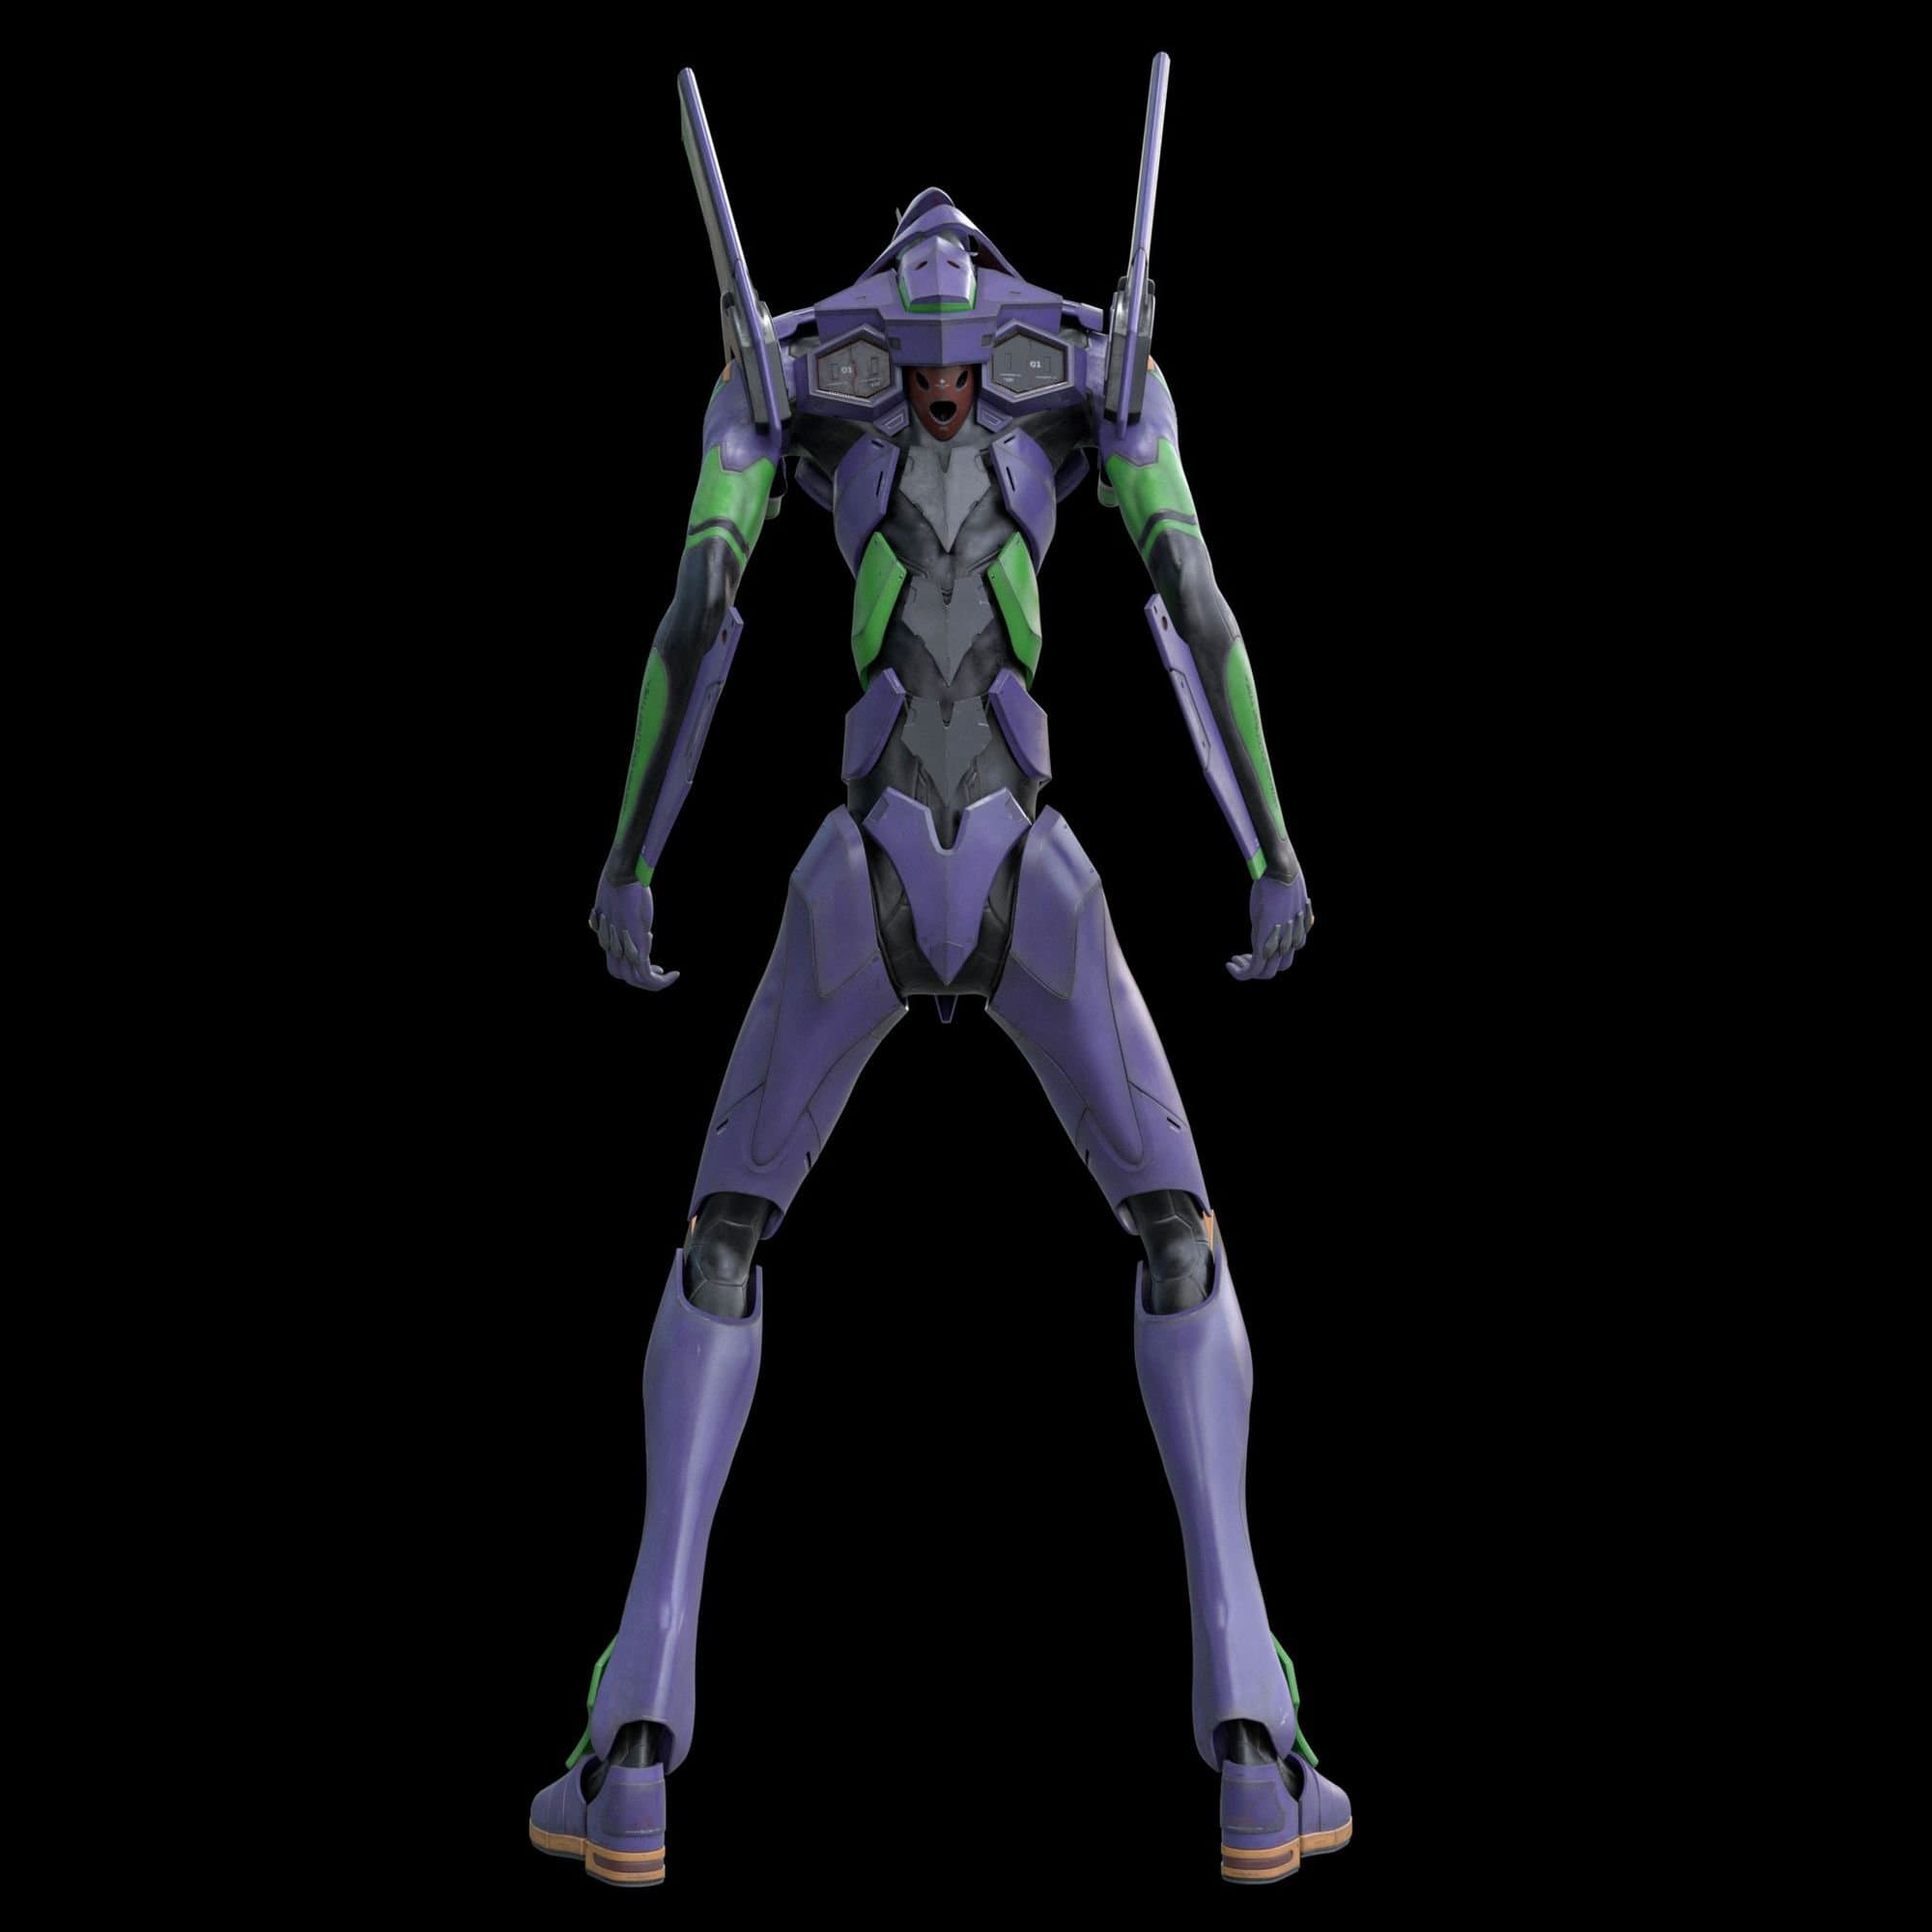
I tried to model every detail as much as possible to make sure that the character looks good enough without cool textures.
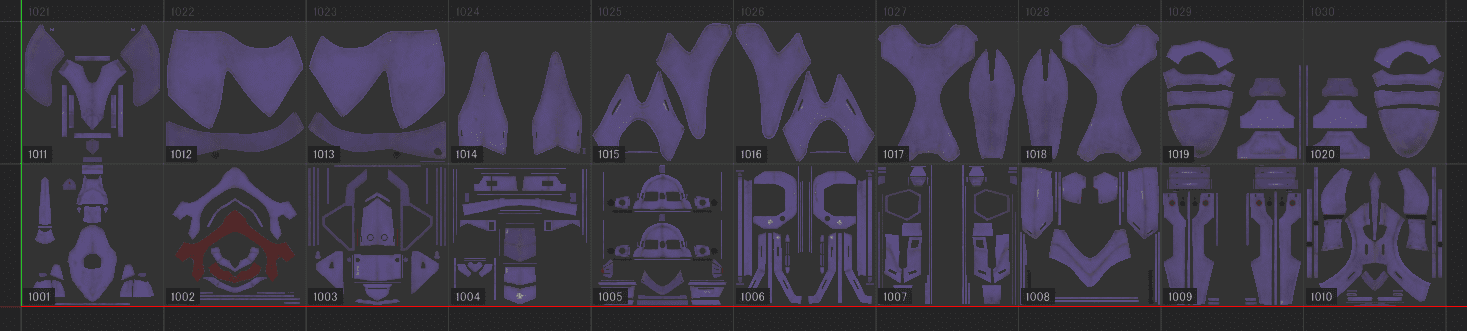
UVing is actually an important phase. If UVs have problems the further texturing process is going to be difficult and you might have to go back to adjust UVs again while texturing. For this reason I always make sure that UV tiles are aligned beautifully and they have enough size for high resolution textures and they all have the same scale. In this project I basically used a 4k map for each UDIM tile.
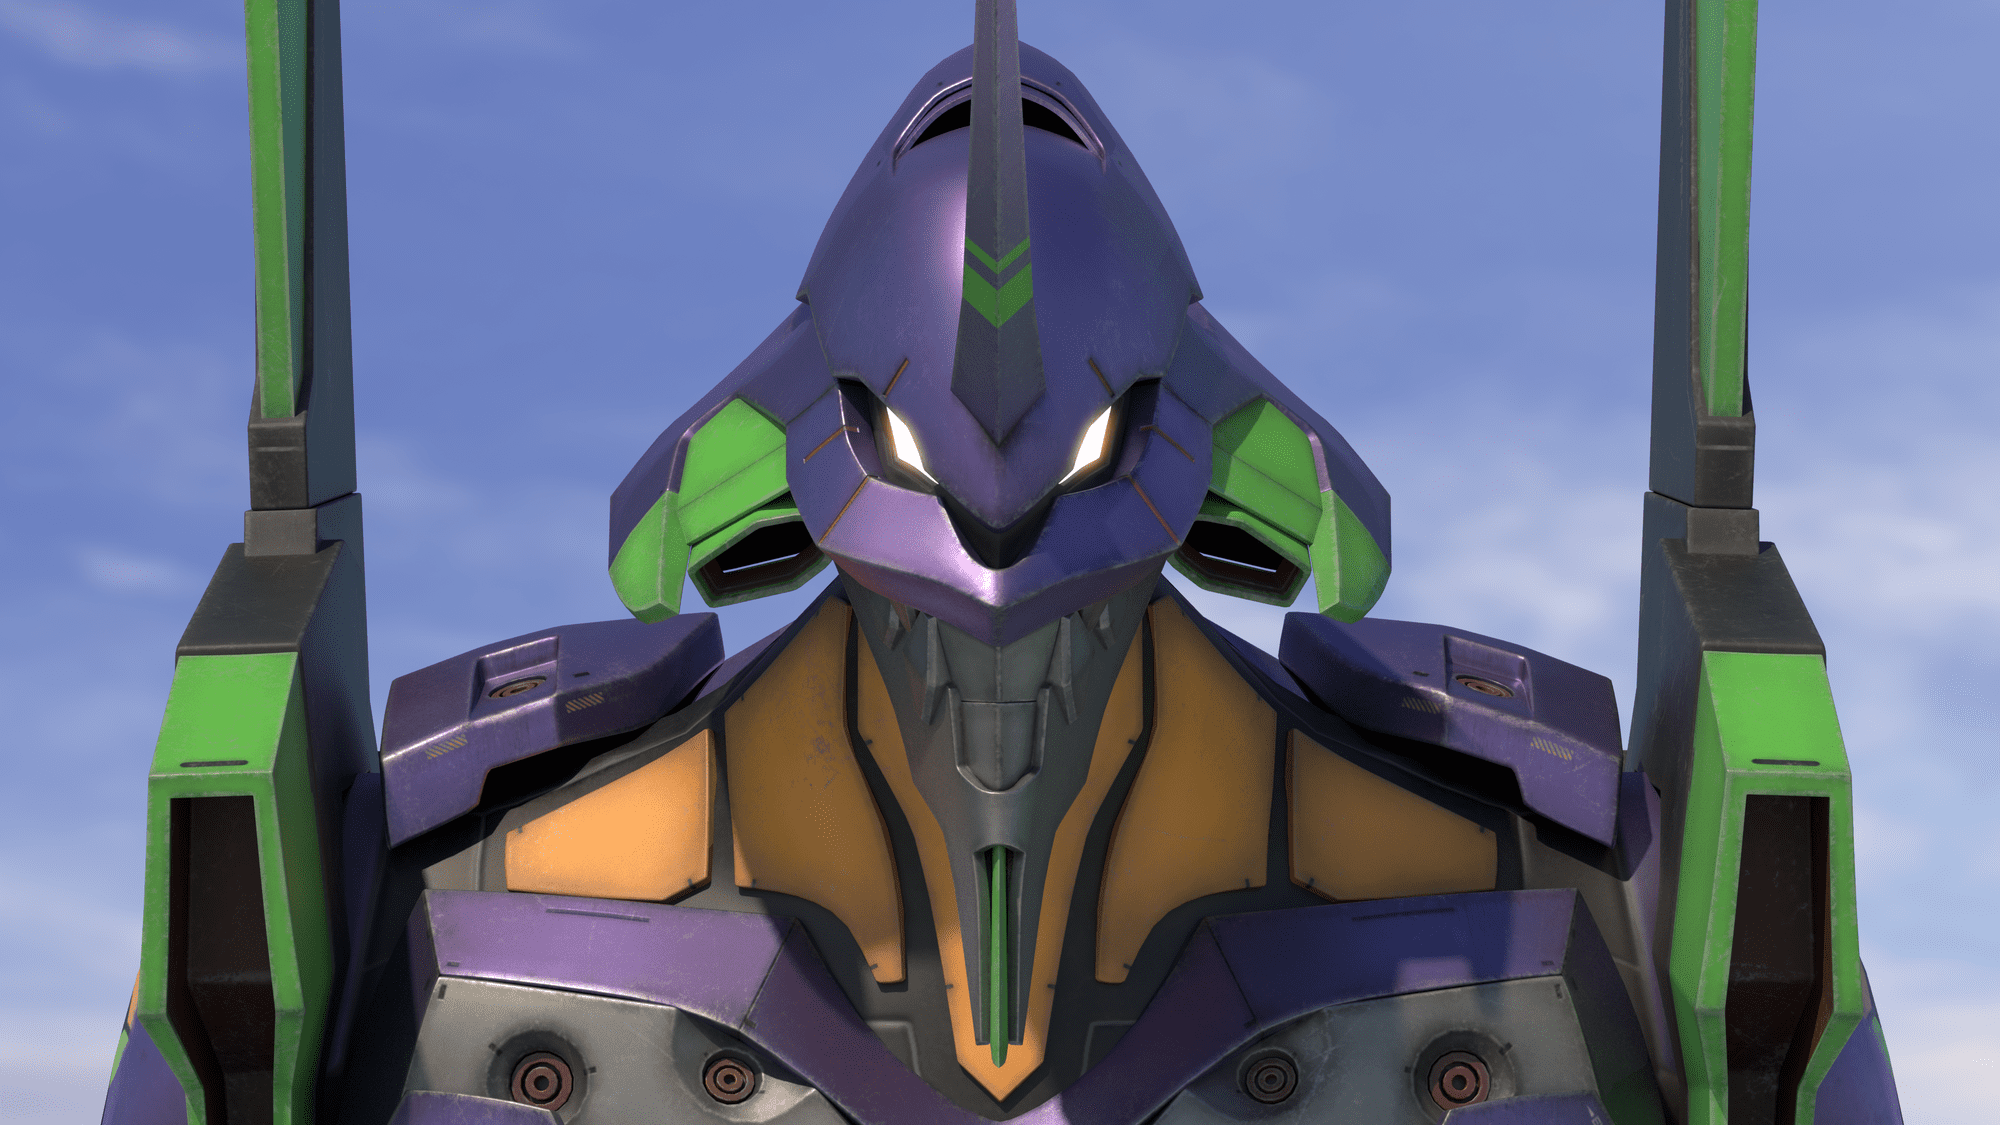
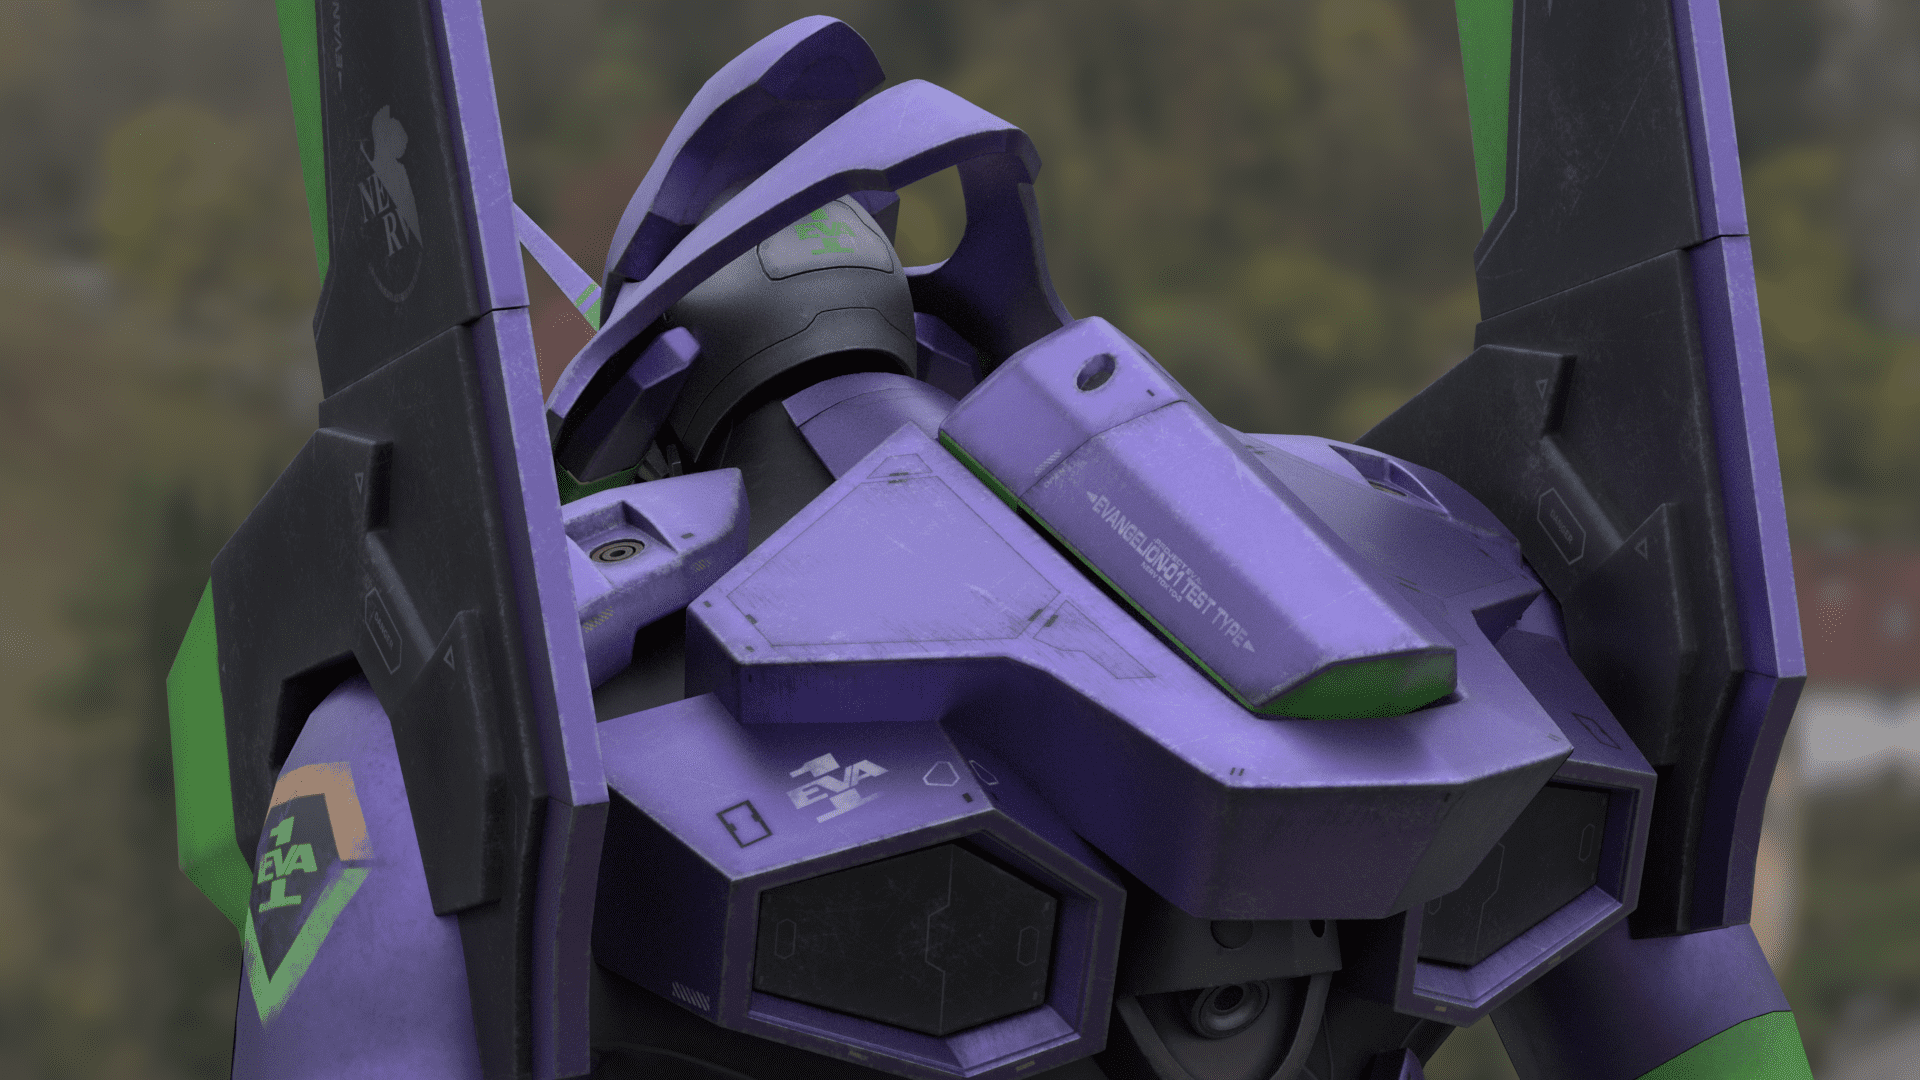
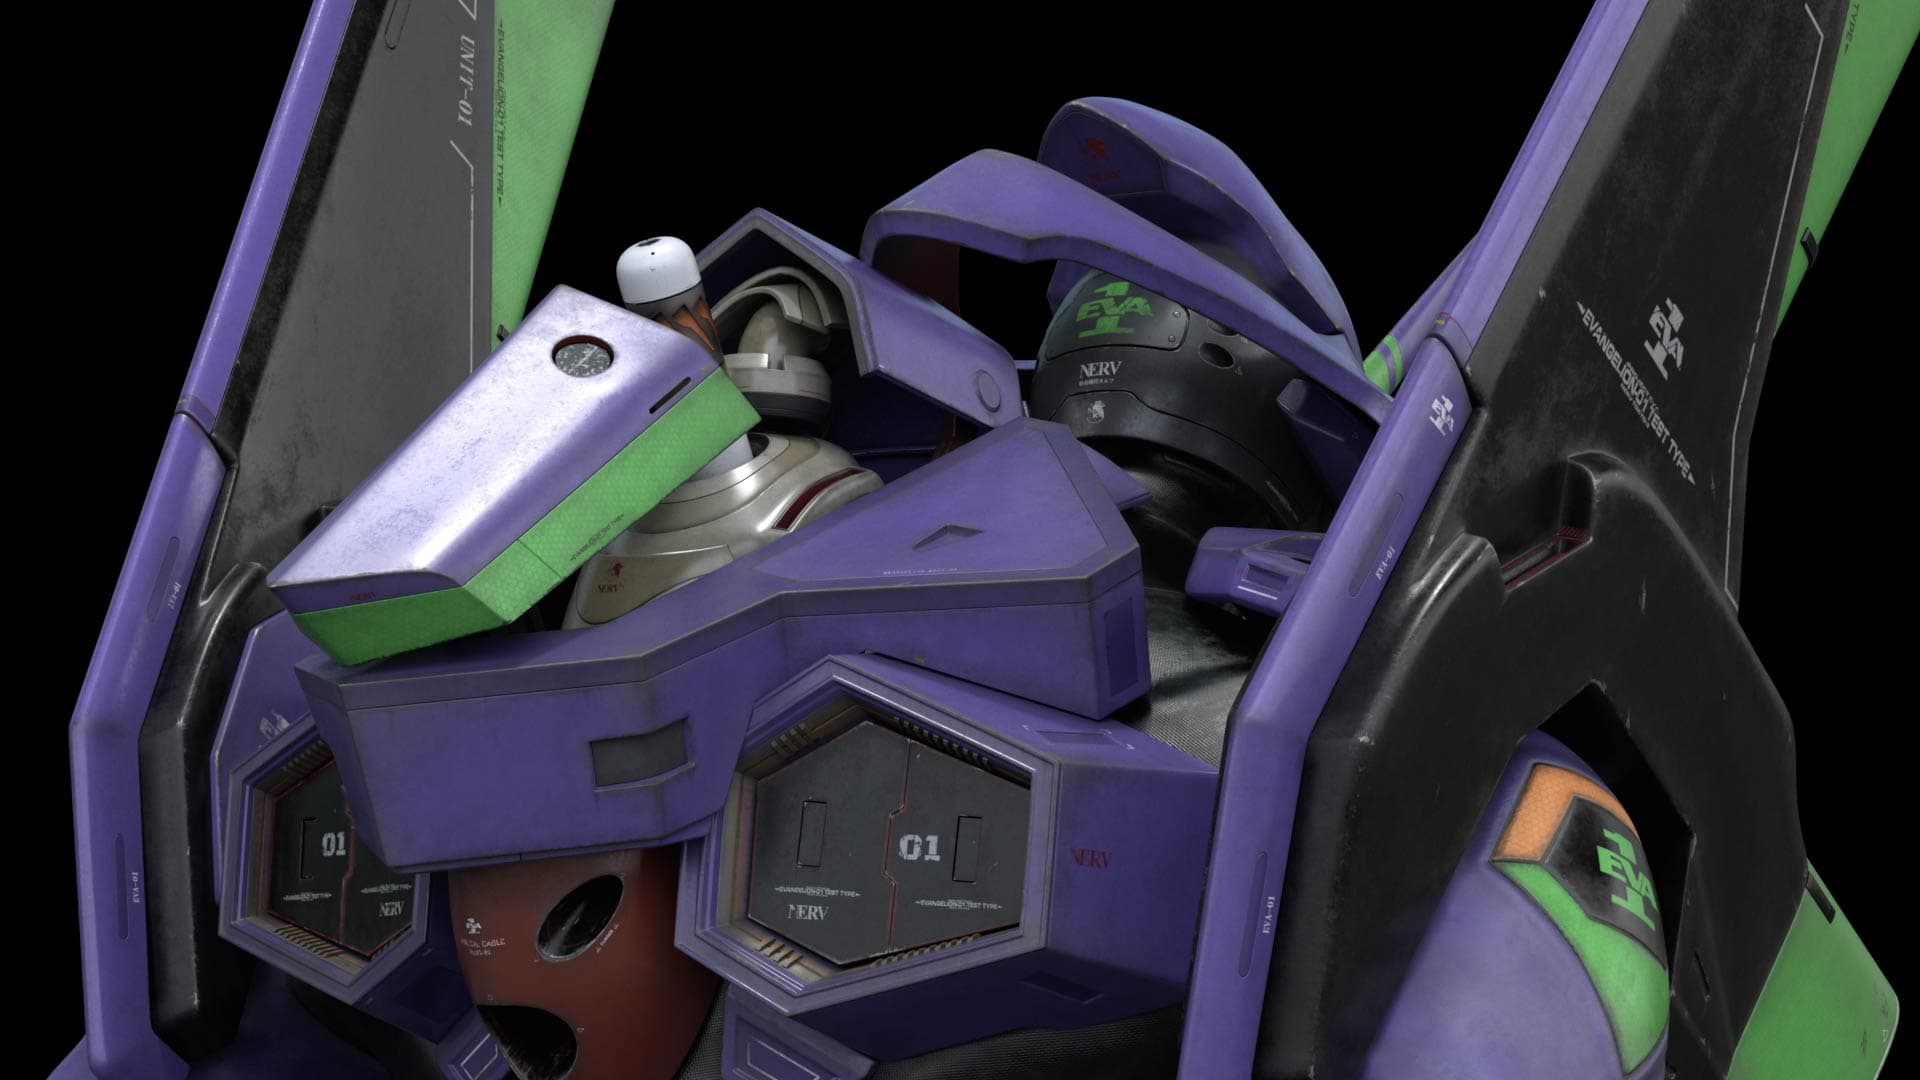
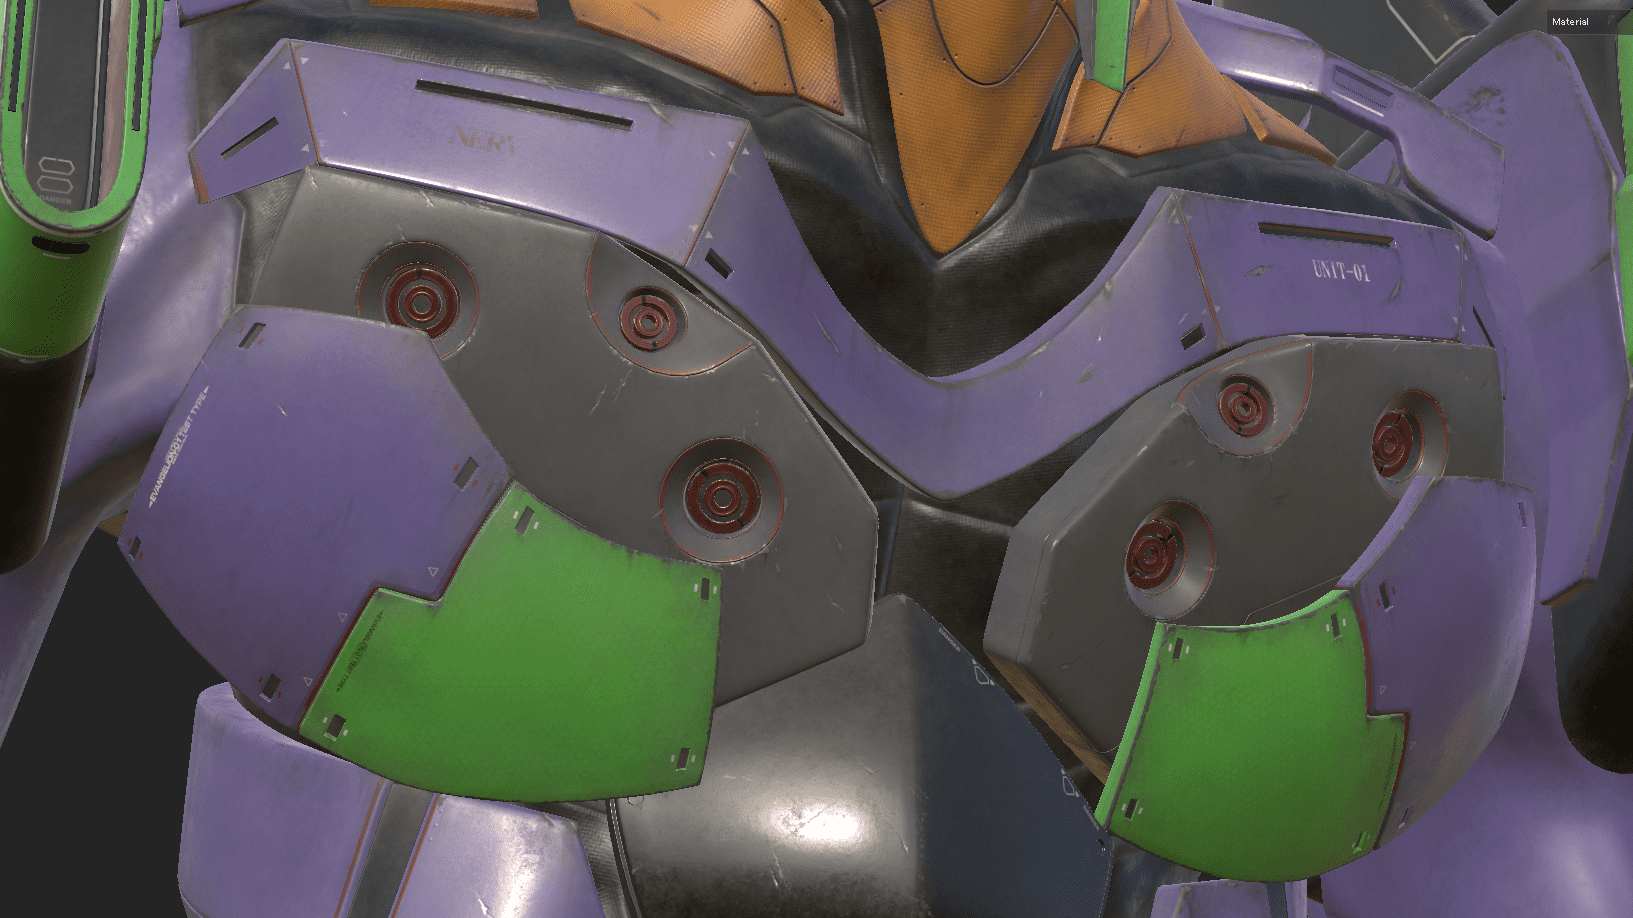
Texturing is a fun part of the process. I mainly use Substance 3D Painter. I personally prefer to make textures by hand using a brush and mask because I don’t think I can get the result I want from just drag and drop materials, even if I use smart masks it always needs to be modified by hand.
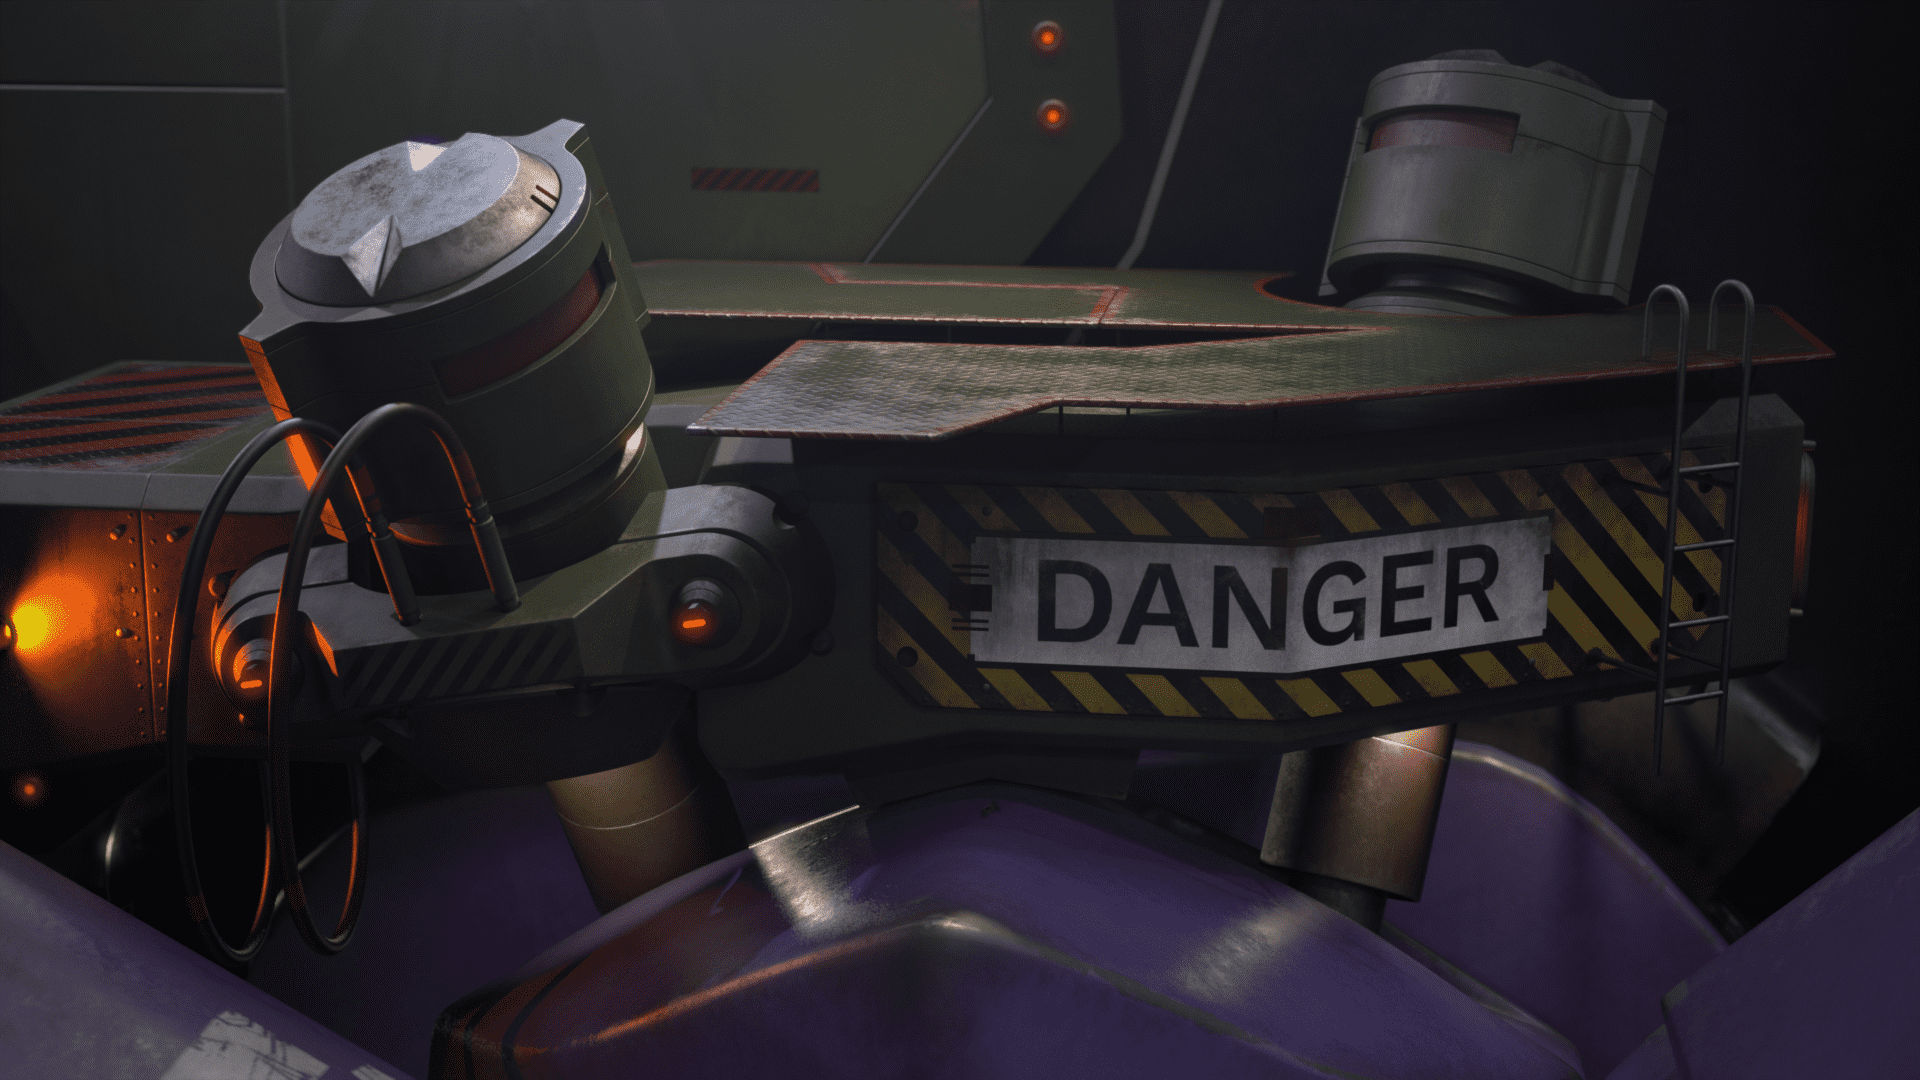
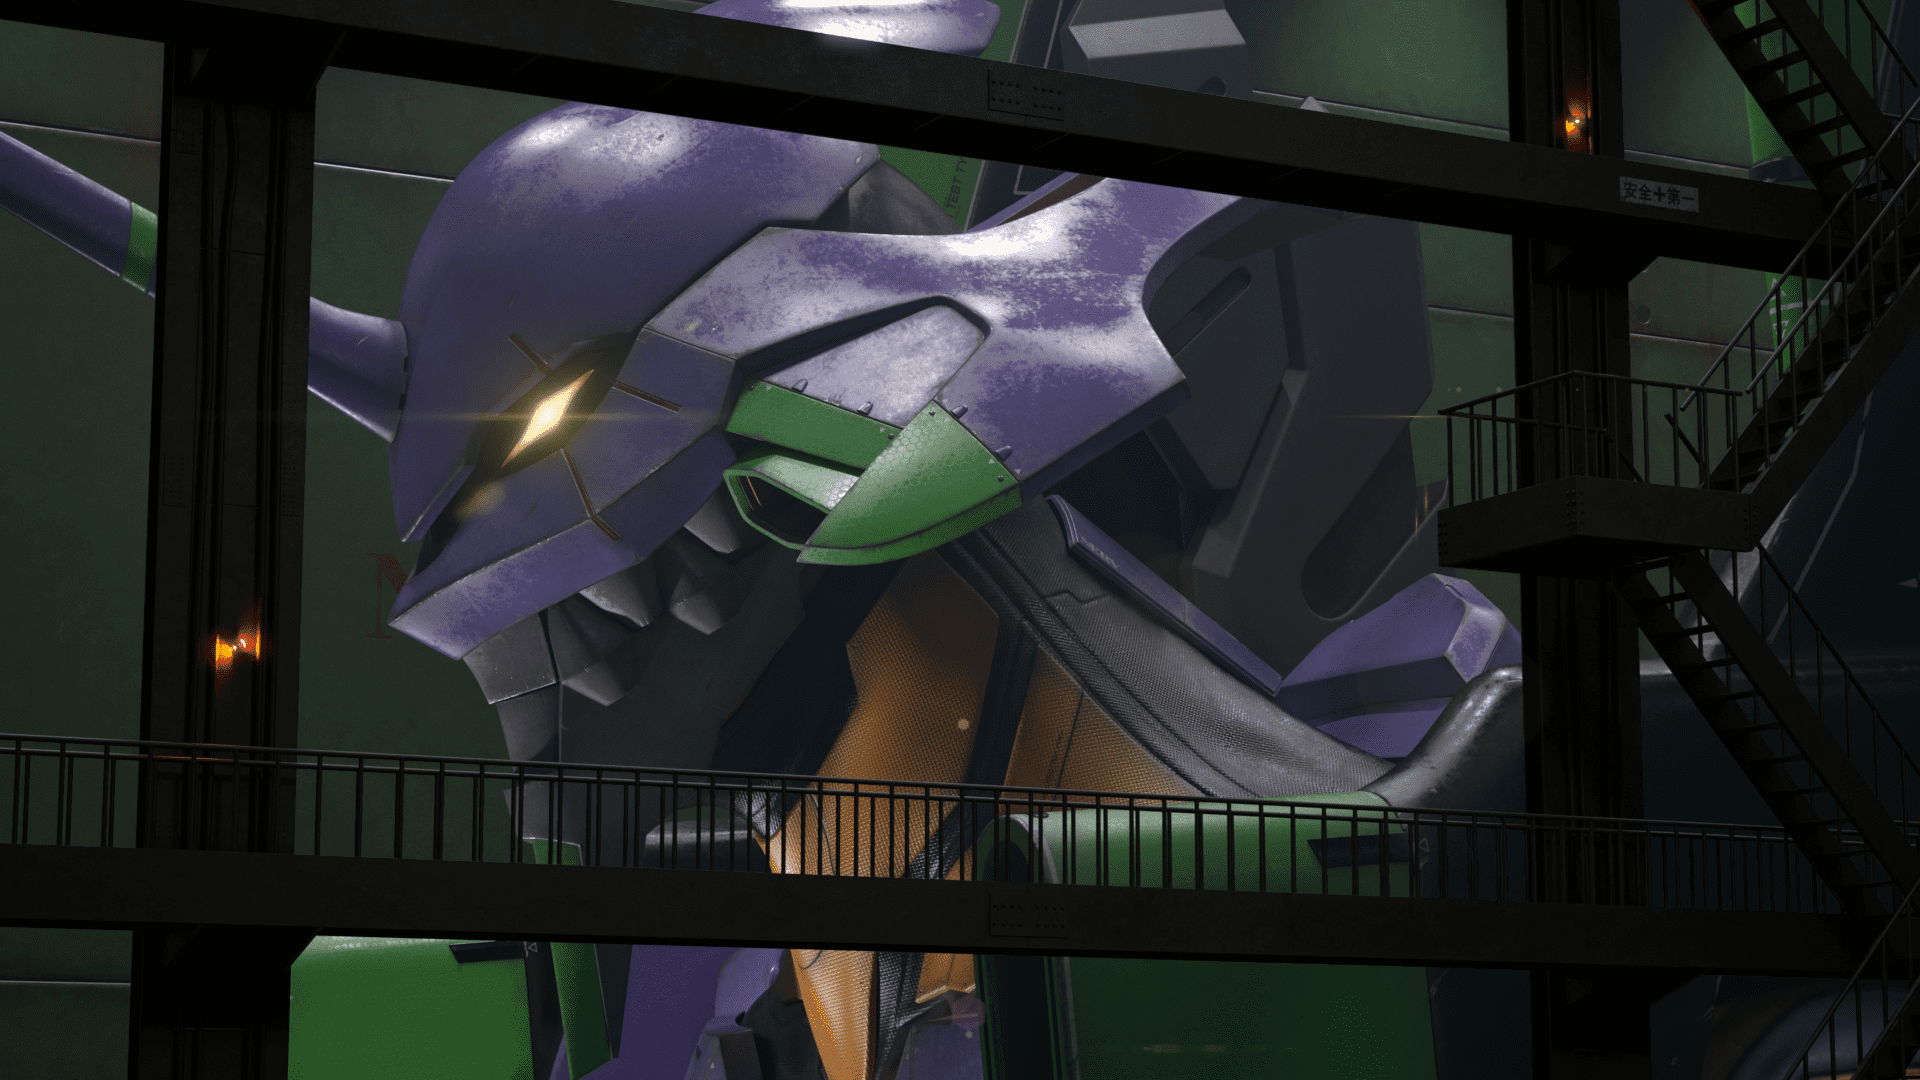
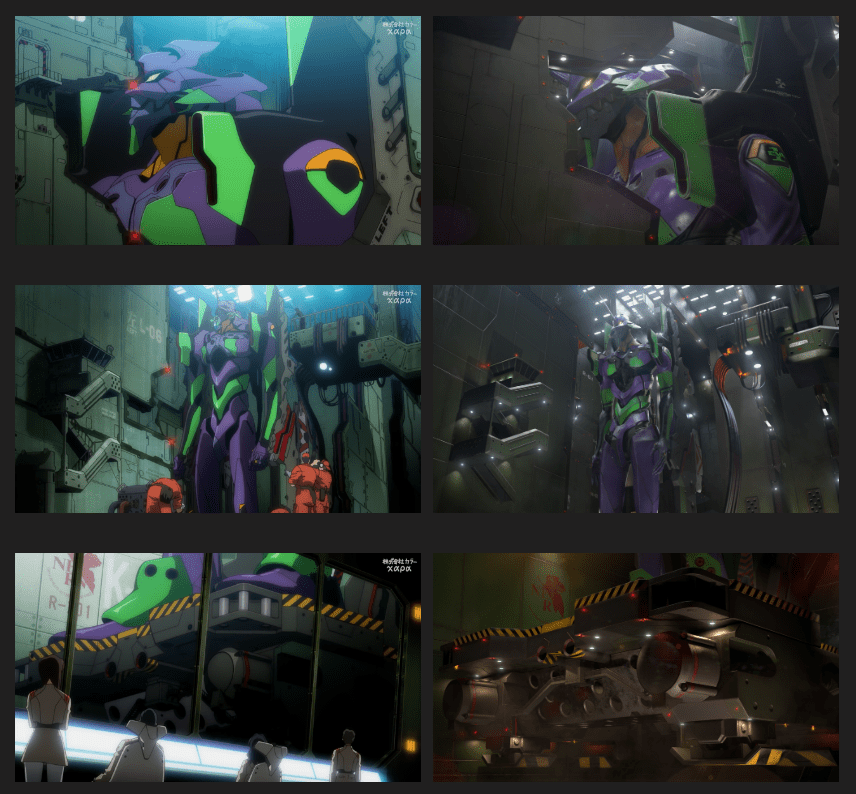
Before I start the texturing process, I need to define the background of the character. From the original anime, this scene is the very first launch for Evangelion test type-01, so it shouldn't look too dirty and damaged. I imagined however that it would have been taken for test drives and battle practice before the scene I was depicting, so I decided to add a proper amount of surface damages and dirt to make it realistic looking.
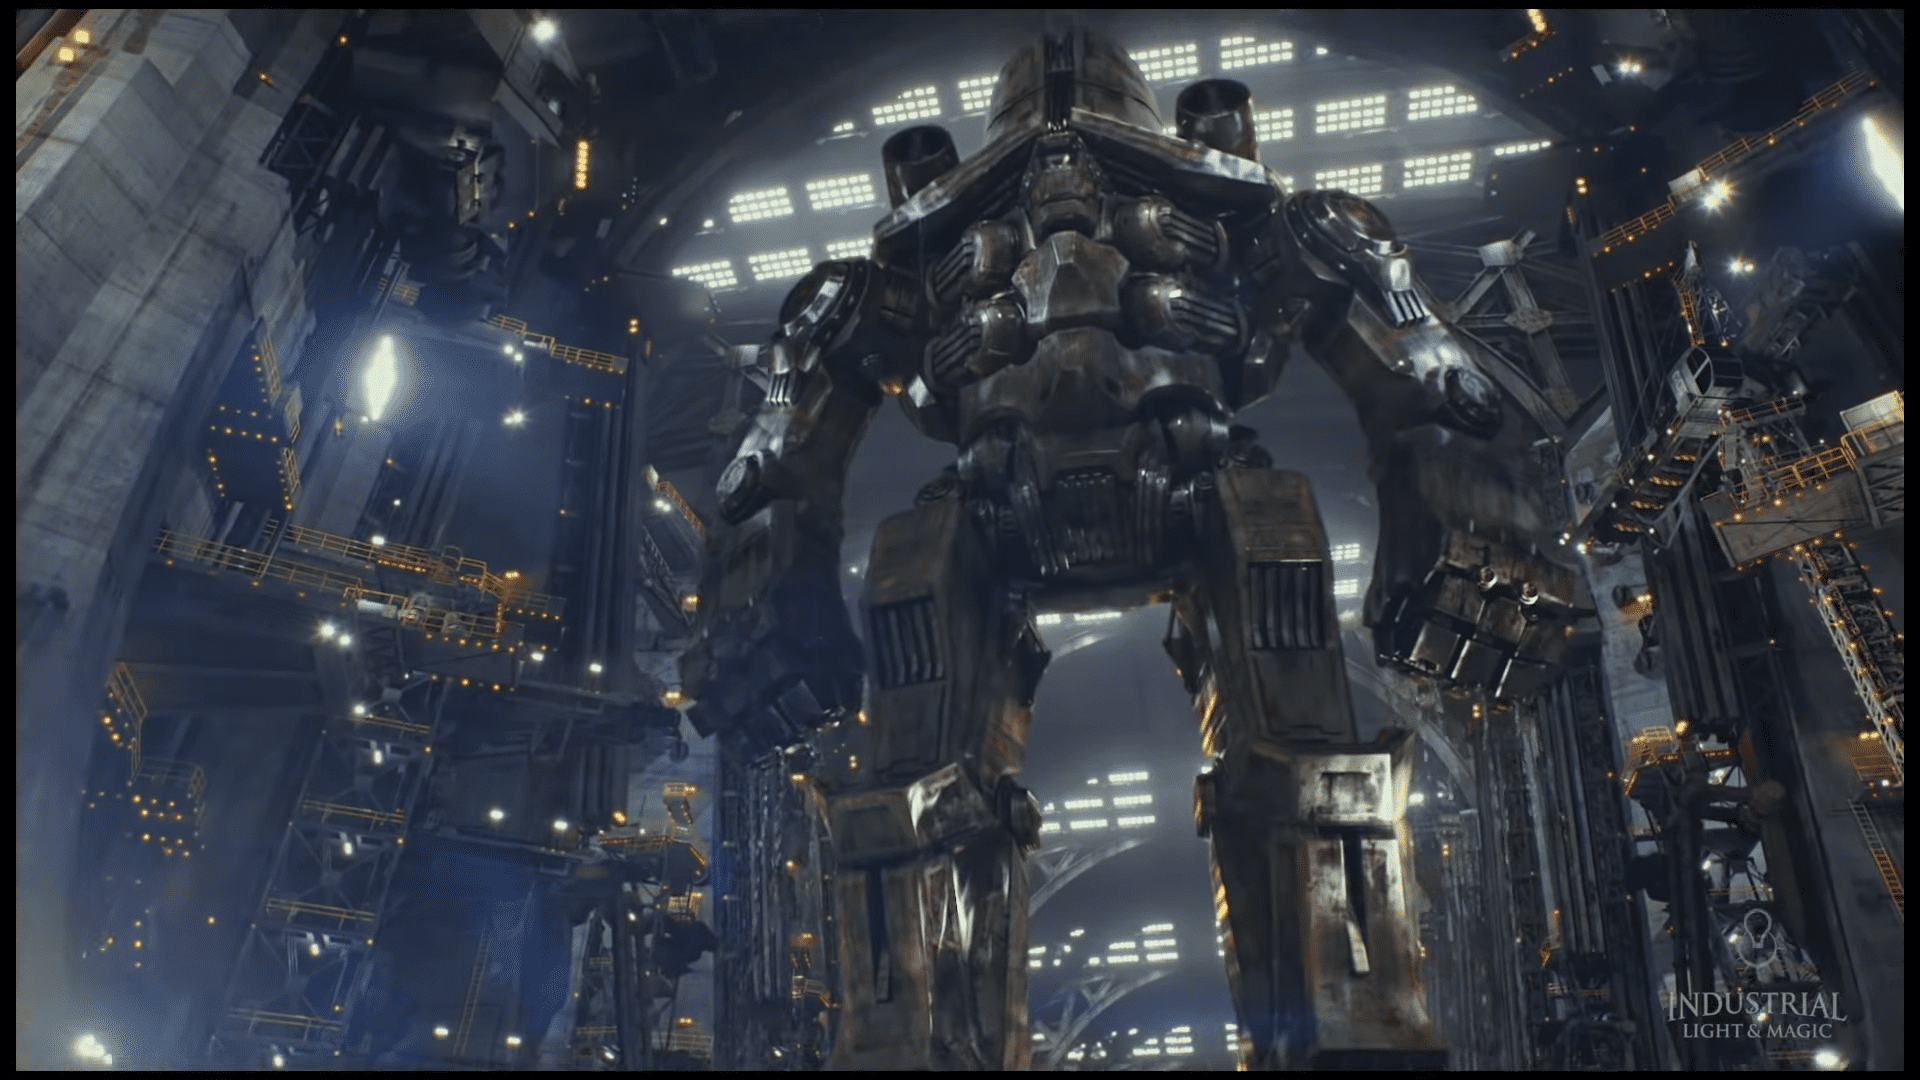
The movie Pacific Rim was a really good reference for this project because there are lots of impressive textures in the movie. For example, giant Jaegers: those robots have super detailed textures such as panel lines, small rivets, tiny paint works, dirt and rust, etc.
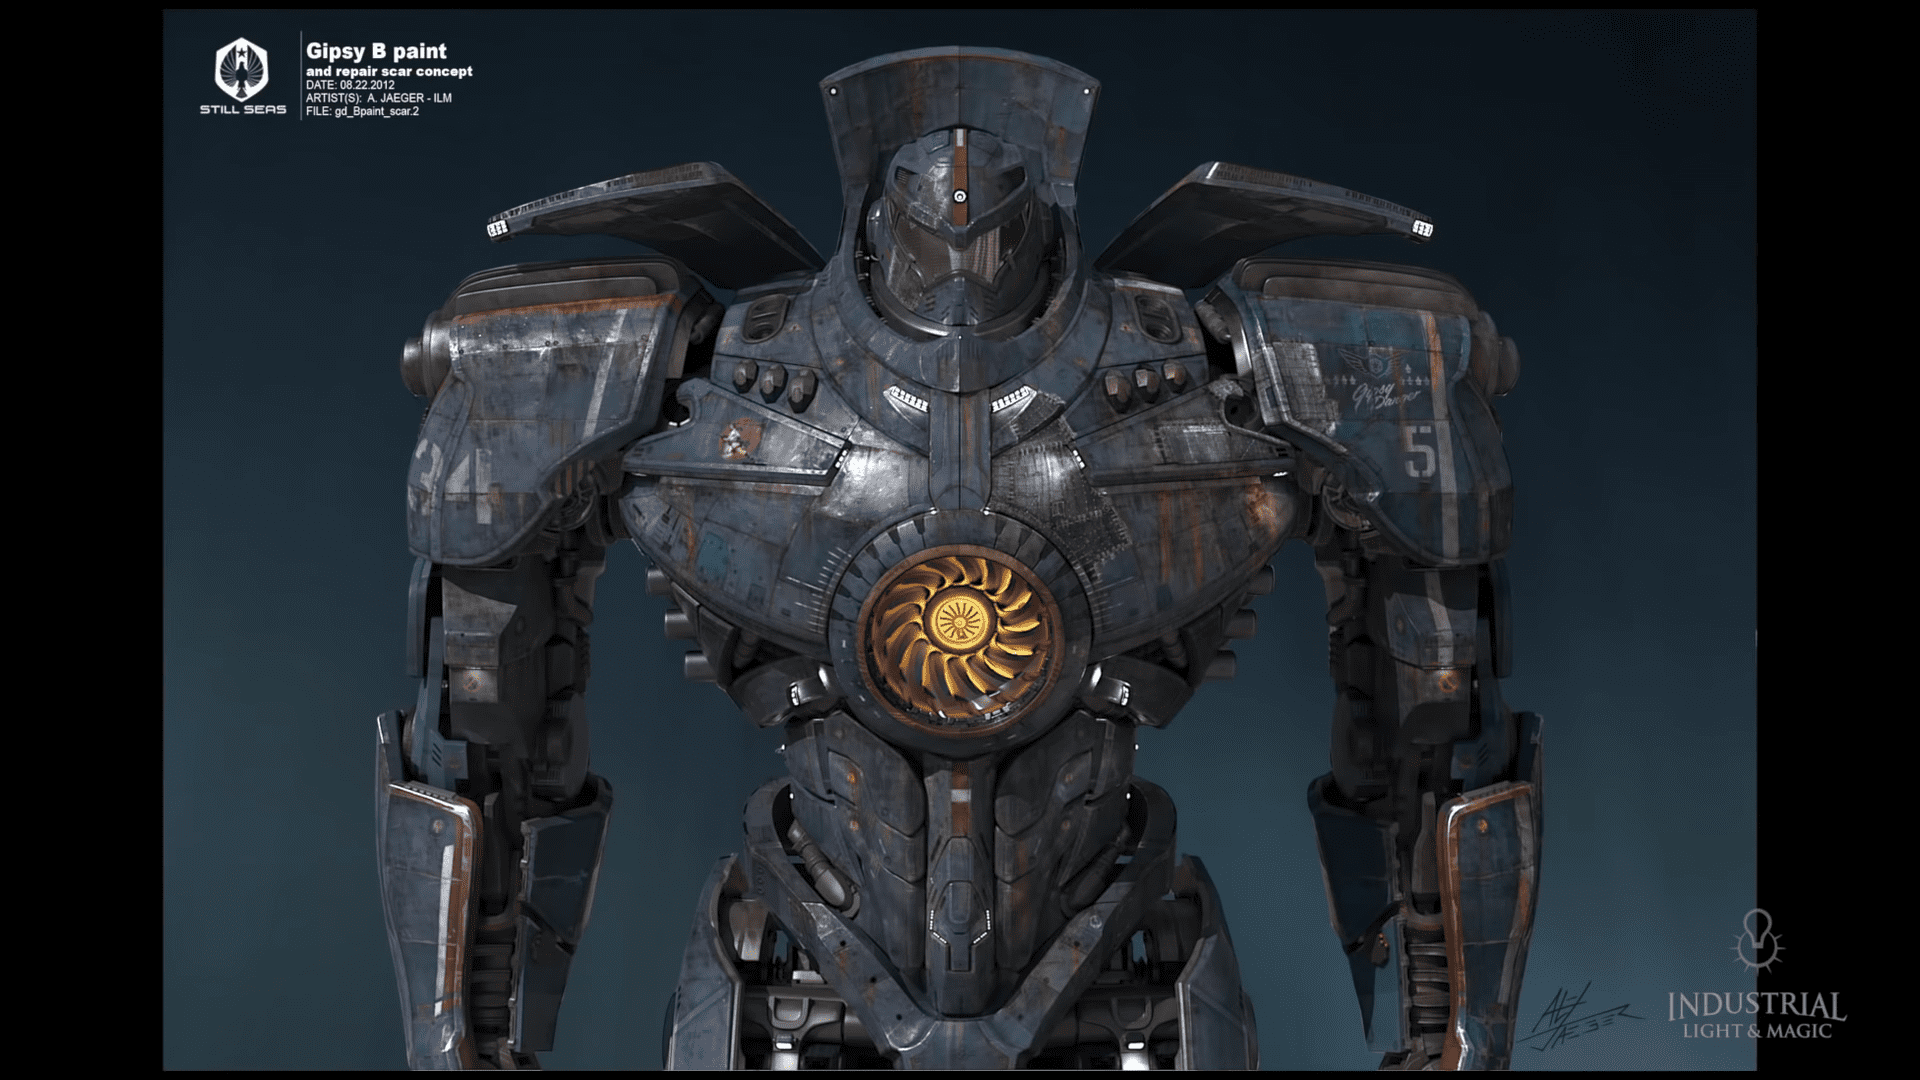
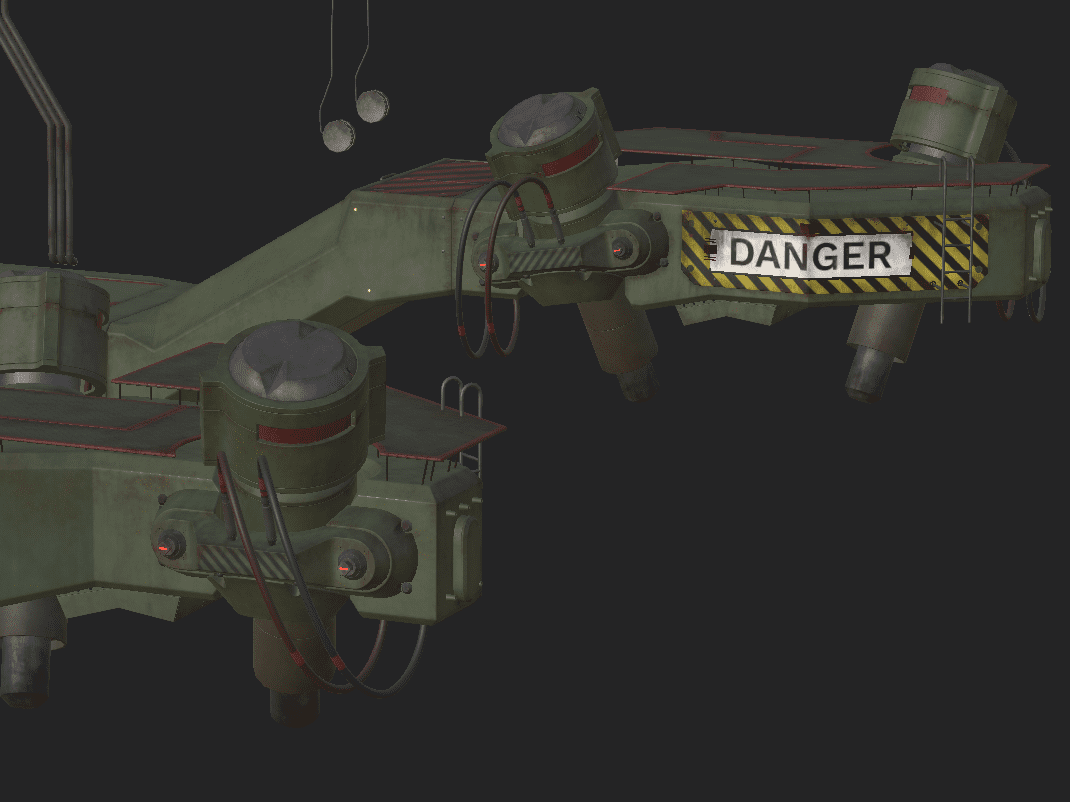
I applied those cool elements to Evangelion itself and the entire cage asset.


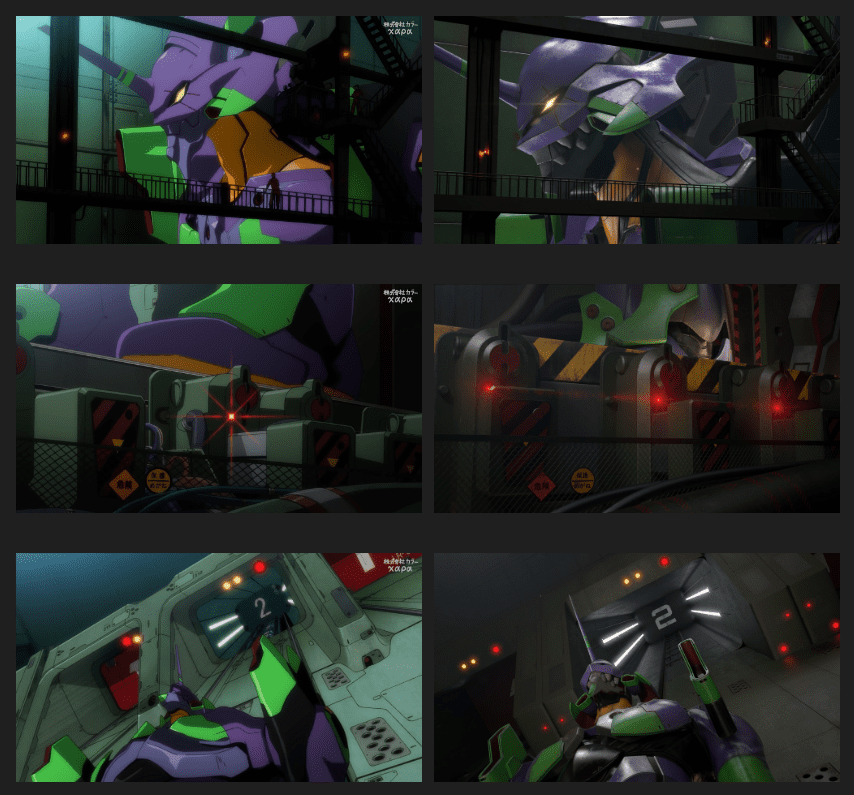
Every single cut had to be matched with the original anime, so for each cut I imported an image sequence as a reference, and adjusted camera angles and focal length one by one. There were a few cuts that I needed to create my own camera for, so it was a really valuable experience to learn more about camera layout for this project. As a result I rendered 36 cuts in total.
Rigging and Animation were something I was not familiar with, so I watched some tutorial videos and learned about the basic workflow. Since every single cut is based on 2D anime, some animation look a bit physically unrealistic but I wanted to respect the original anime so I tried not to change keyframes too much.
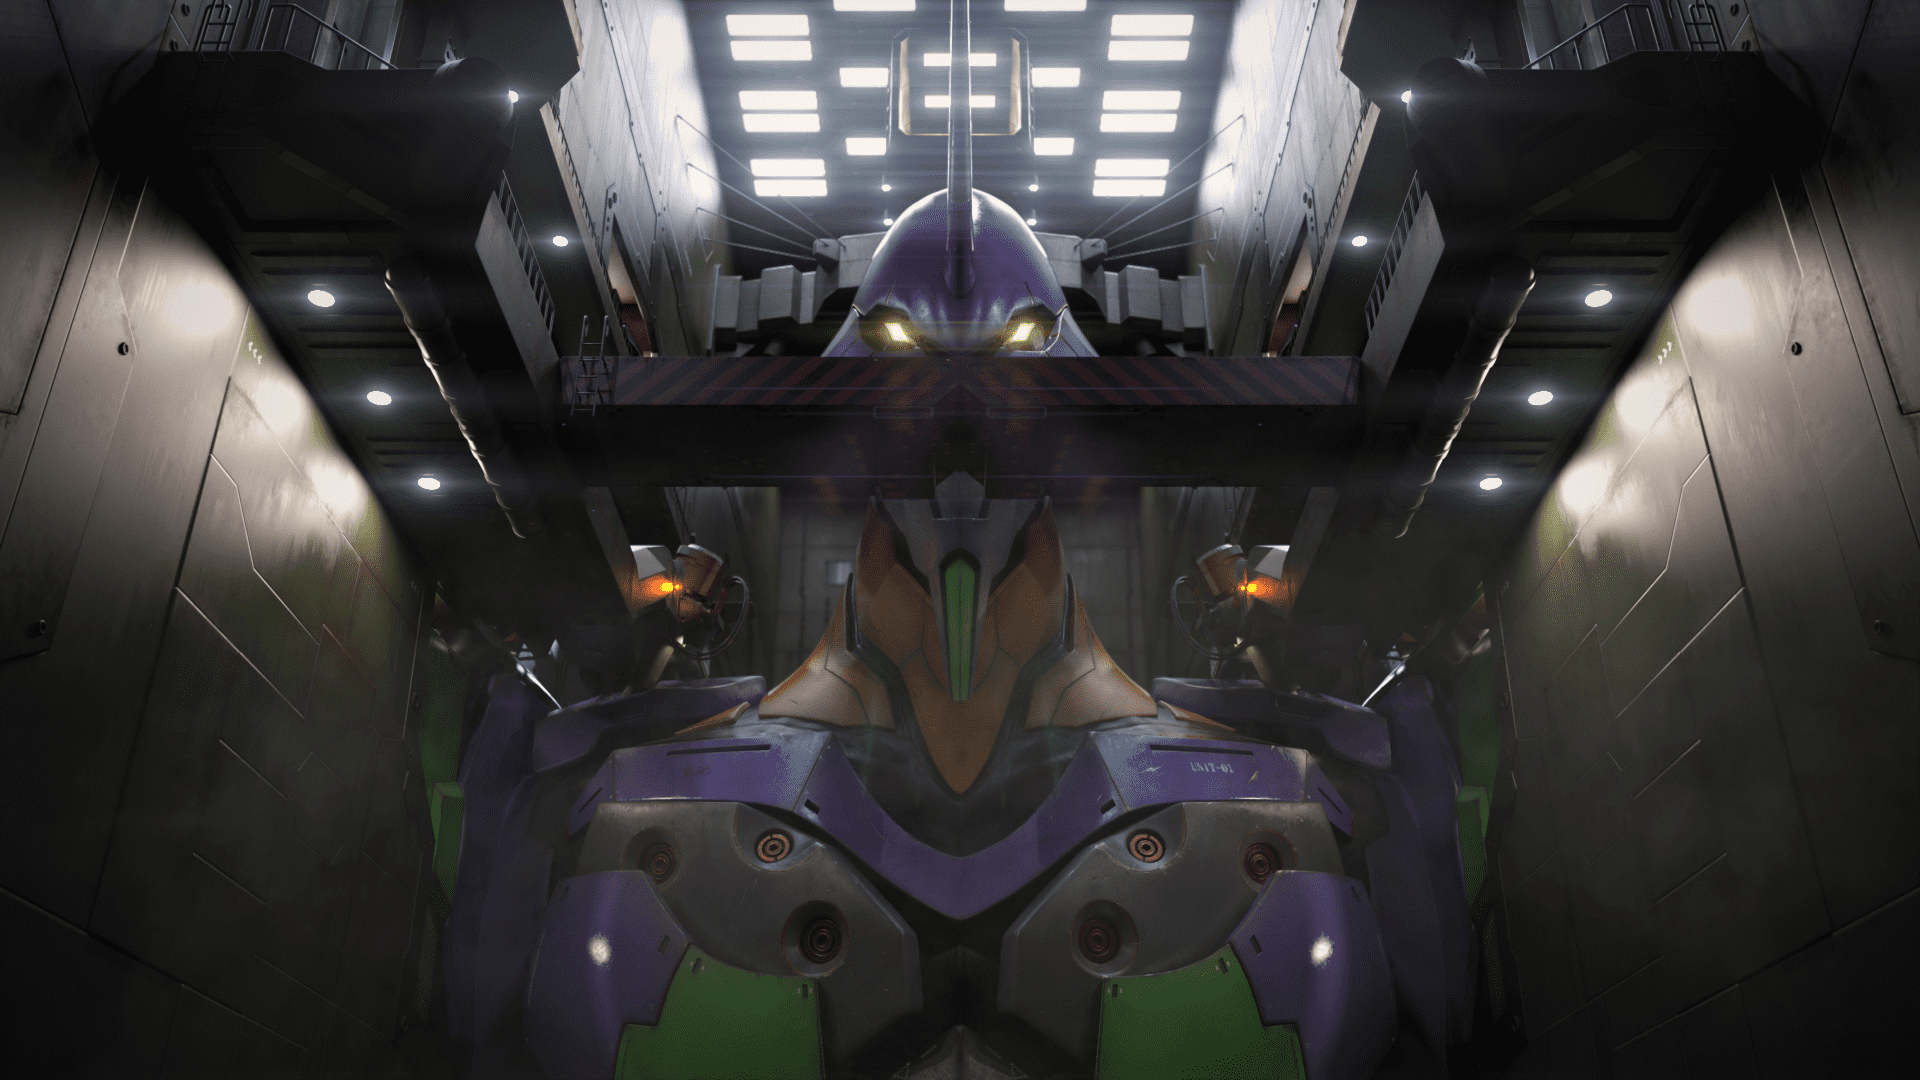
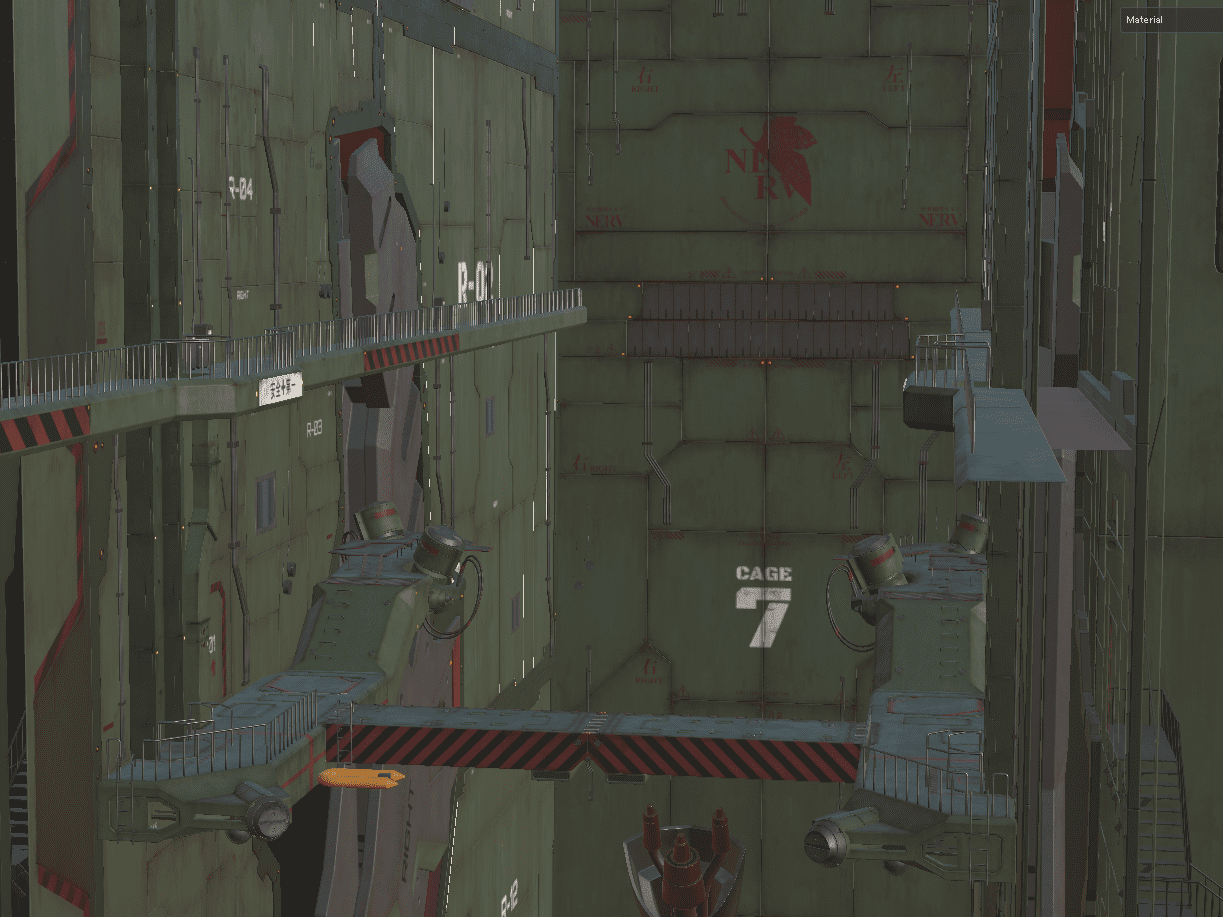
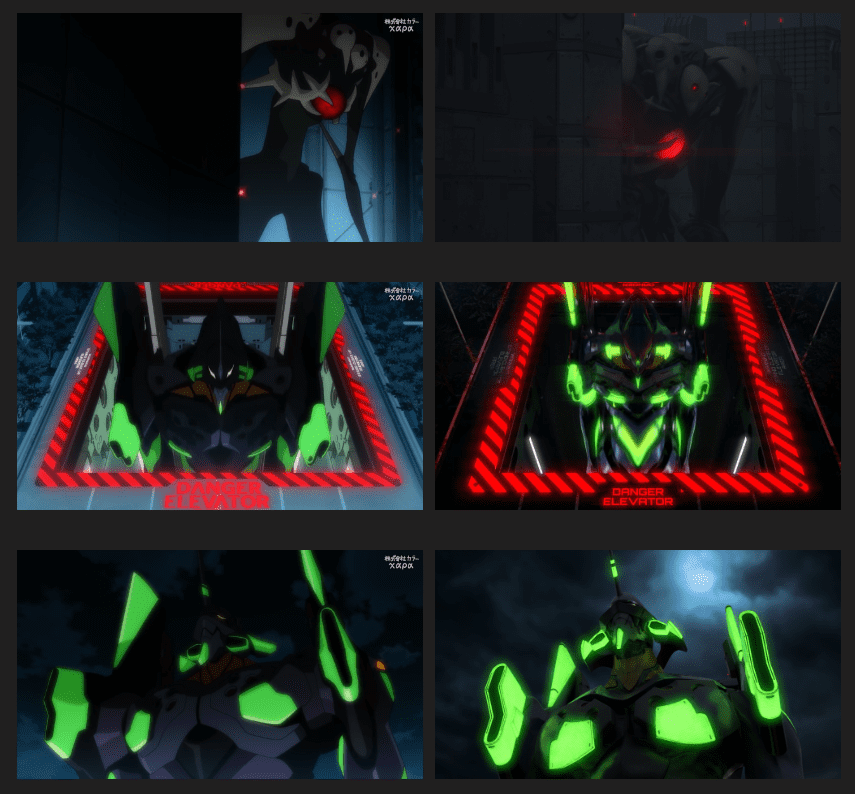
Lighting is one of the difficult elements and also really important because it is so easy to ruin everything by setting the wrong lighting so I had to take time to figure out what kind of lighting this project required.
The lighting reference that helped me a lot for the Evangelion cage was the Shatterdome from Pacific Rim. I added a lot of small lights and spotlights to make the whole scene look dramatic and vast.
The rendering software I was originally going to use was Arnold, however since it is a cpu rendering software, it takes too long to render sequences. So instead I decided to use Redshift which is a gpu render, and the result was amazingly fast and of high quality. I rendered multi-layer EXR image sequence for each cut to make the post process efficient.
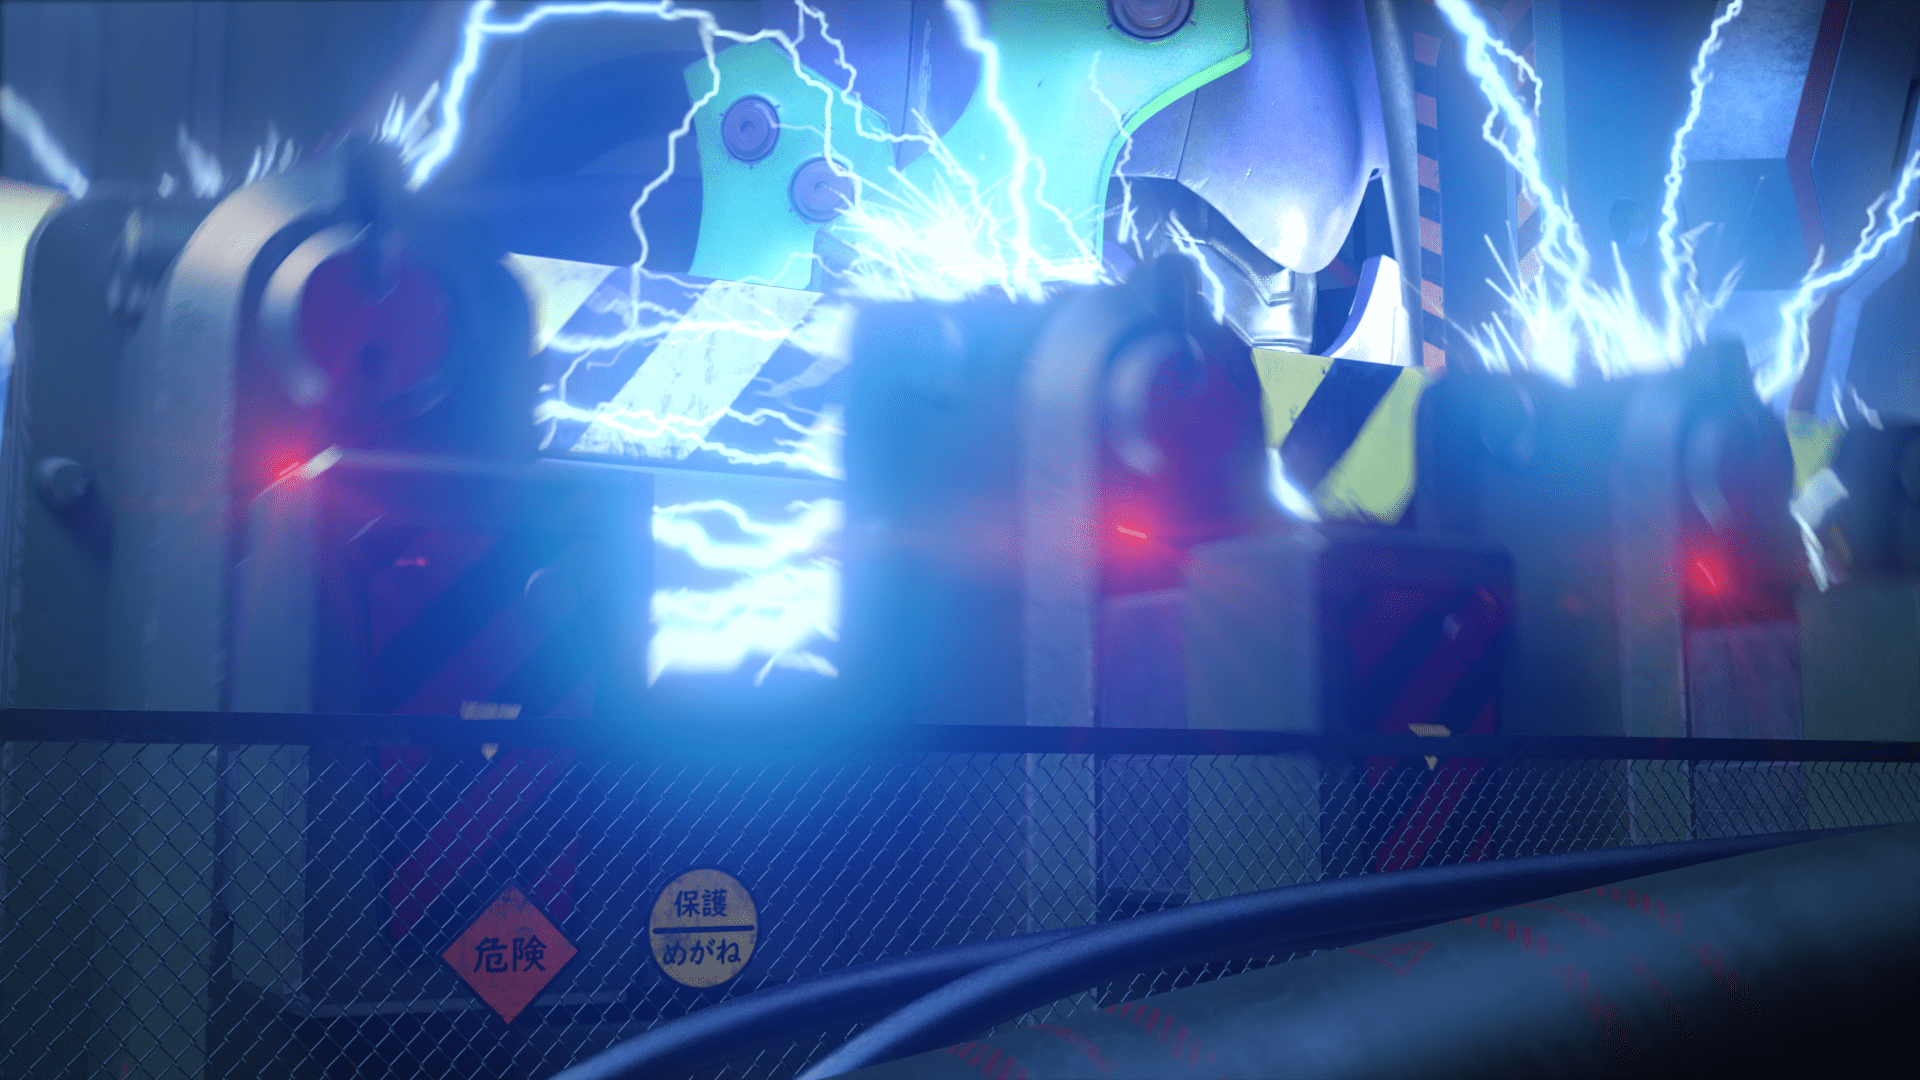
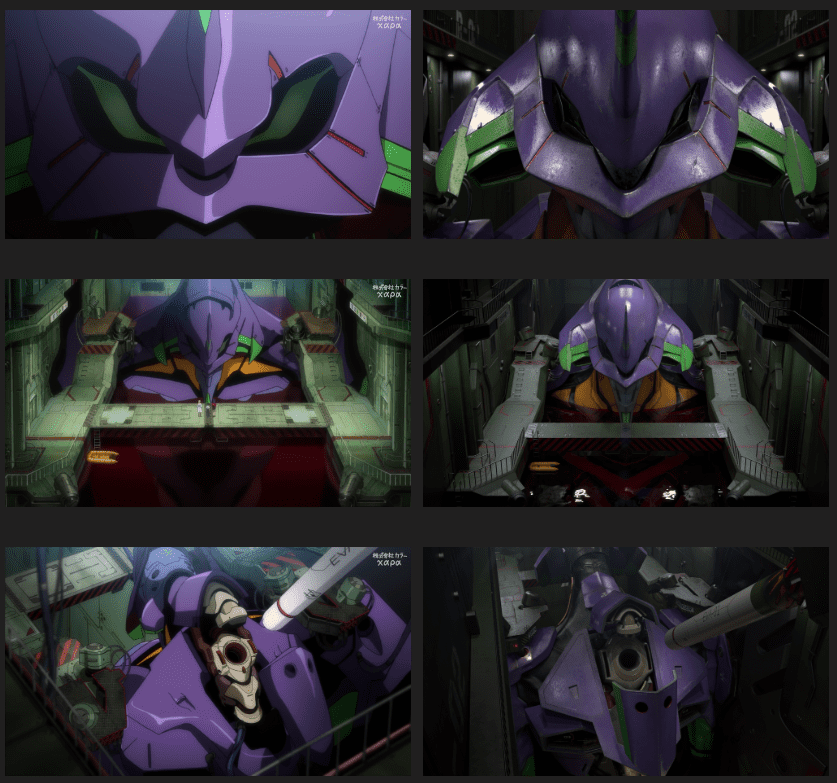
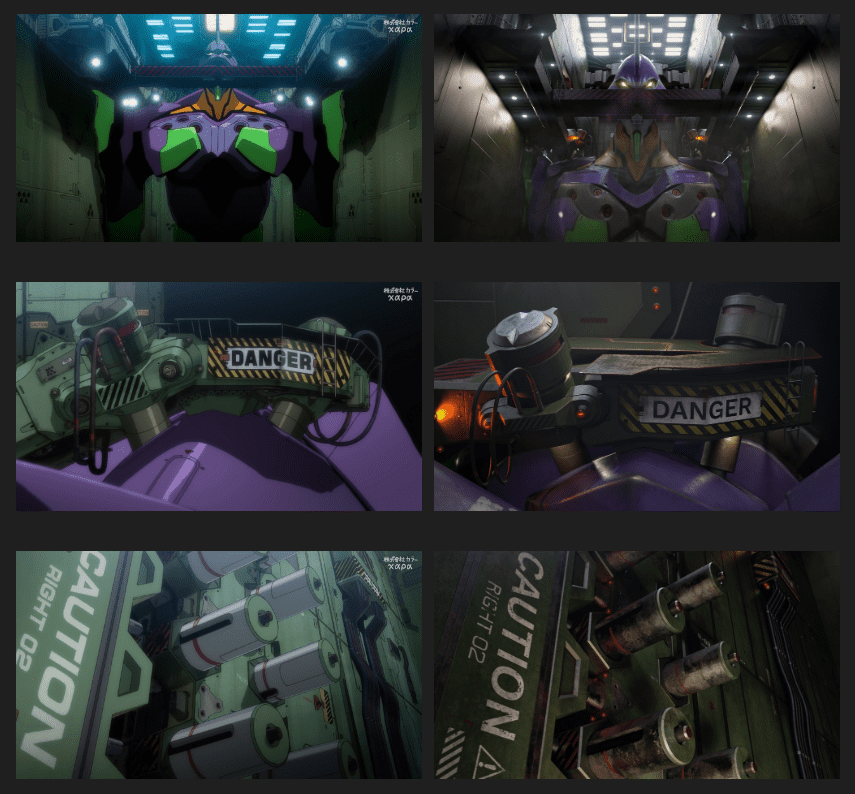
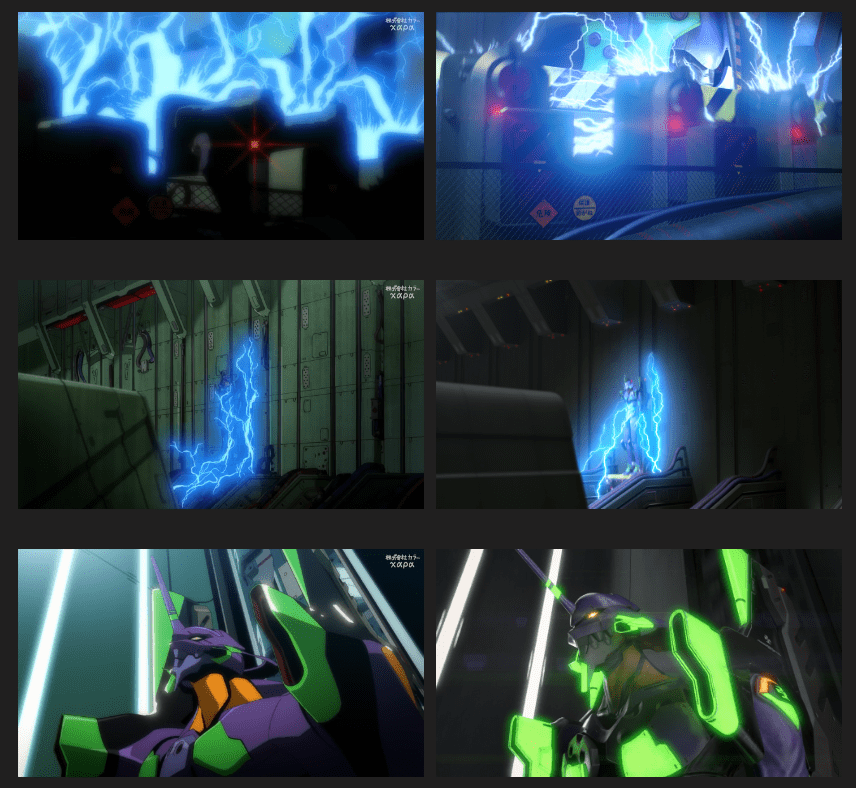
After all these works are finished it is time to do the compositing which is where the magic happens. I had no idea how important and effective compositing was before I actually did it. I thought the original render sequence from Maya looked fine and I didn’t think I needed many adjustments but as you can see from the comparison there is a huge difference between them such as colour, atmosphere, bloom, lens flare, DOF, motion blur, etc.
I used After Effects for compositing and I bought some plugins such as RSMB, Fast Bokeh Pro and Optical Flares to make it look cinematic and also I used some video footage and sound effects from Production Create and it was quite helpful.
Although those plugins are quite powerful, it always need some adjustment in order to get the best result, so in some cuts I had to create masks by hand frame by frame to make it look right and of course it takes time but as a result it totally worth it. I learned so much about compositing from some vfx breakdown reels and also a youtube channel called Corridor Crew, they are awesome.
Thank you for reading my article. I started this project after graduating University because job hunting didn’t go well, so I needed to create something that no one has ever done before. I knew that this project was going to be quite time consuming and also really challenging for me because I had to learn not only about modeling, but every single process from modeling to compositing.
I created every single object from scratch so it took a year and a half to finish this project and it might be a bit too long, however, I needed to improve my skill through this work and I didn’t want to cut corners, so I am pretty happy with the result. I hope you like it, thanks for taking the time to share in my journey.
You can find more of Kota's work on The Rookies, ArtStation, Twitter, Instagram and LinkedIn.