Mr. Thready: A Journey into Game Development as an Artist and 2D Animator - Part 1
In this article, Flavio Díaz, a recent Voxel School graduate, shares his experience working on his first game as an Artist and 2D Animator
In this article, Flavio Díaz, a recent Voxel School graduate, shares his experience working on his first game as an Artist and 2D Animator

In this article, Flavio Díaz, a recent graduate of Voxel School, shares his personal experience working on his first game development as an Artist and 2D Animator. Flavio also took on additional responsibilities such as storyboarding, puzzle design and scriptwriting, among others, because, apart from the programmer and later the addition of a music composer, there was only a team of two executing the entire project. If you are looking to create your first game, this article may bring you some inspiration!
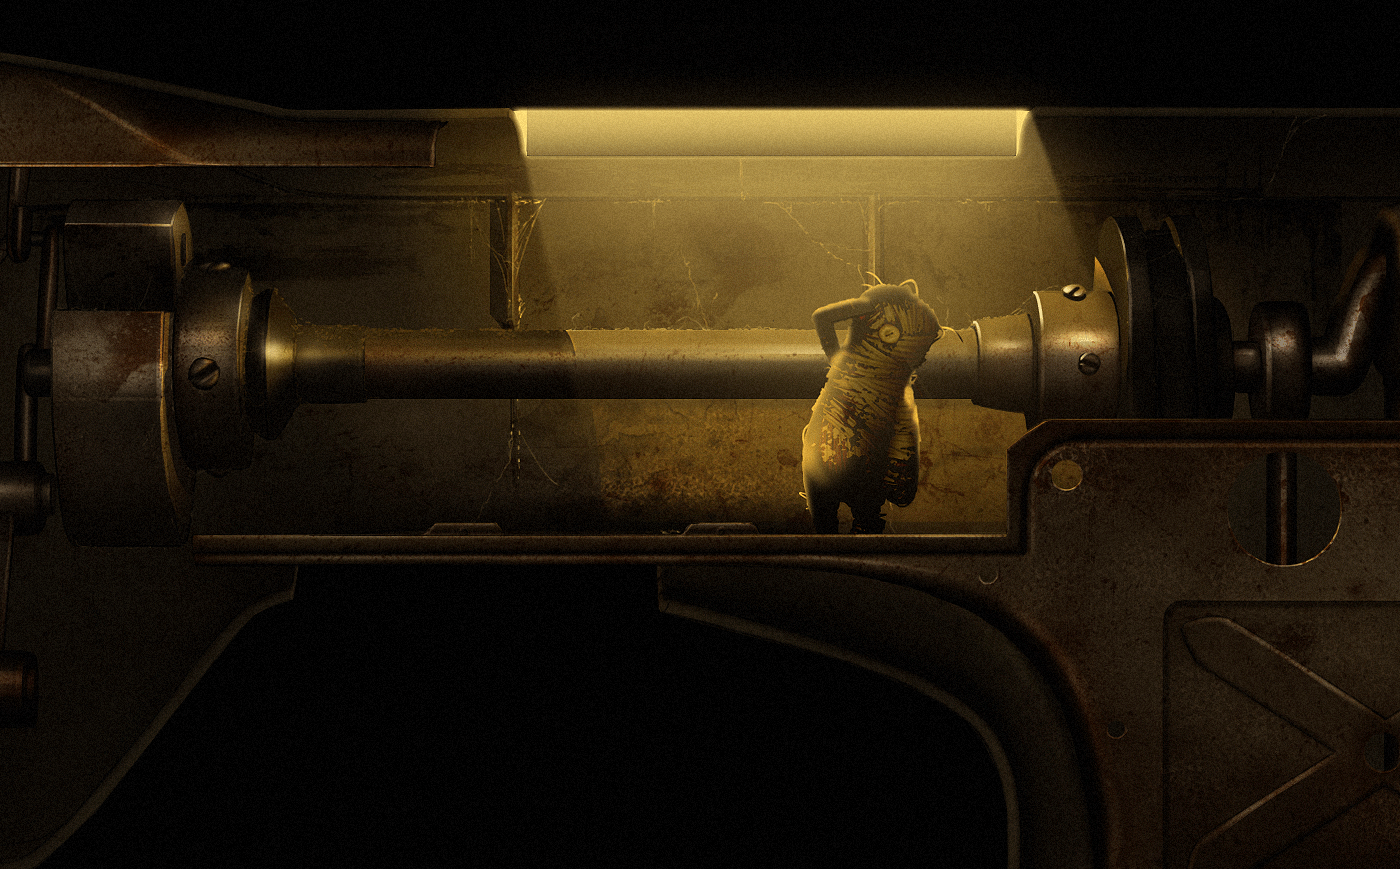
Mr.Thready is a hand-drawn Point 'n Click adventure. Set in an abandoned factory in the 50's, we take the role of a small voodoo doll that wakes up in the middle of this mysterious and huge place, where you will have to solve many puzzles and find out about your true origin.
I must mention that despite the project having a long development period, unfortunately we couldn’t complete it due to various technical and personal reasons.
I'll start by saying when I got into this, I had no idea how to make a game, with no formal education in art or animation. I only had a cheap Wacom tablet and a friend who shared my enthusiasm for making a game. Here's how it went (well, more or less):w
- Hey dude, let's make a game, huh?
- Mmmm…. ok.
- Look!, made a drawing with my new Bamboo Wacom tablet.
- Nice

You know, I don't think it's a good example of how to get started in this, but it's how things came about in my case. And that's how the idea of Mr.Thready was born.
We had this idea to create a "simple" 2D Point 'n Click adventure game with hand-drawn graphics, centred around a tiny character in an overwhelming world. This idea came up when my friend and I were at the gym and he mentioned seeing an ad about a little sugar character facing challenges and dangers in a city. He suggested we should do something similar, and I thought it was a good idea.
We decided to go with a voodoo theme, and naturally, our main character would be a voodoo doll. That was our "great" market research.
Fortunately, my friend and I used to always be on the same page when it came to creative ideas, and it was clear to us that although the general concept was cute, the mood would be dark. In fact, games like Silent Hill, Abe's Oddysee, Limbo, or Amanita Design's games were big inspirations for setting the mood or the gameplay. However, the main references, for obvious reasons, were movies such as The Borrowers and Ghibli's Arrietty.


Apart from the countless technical challenges that come with starting to develop a video game with no prior knowledge, I'll focus only on the artistic aspect.
Although I eventually reinforced my skills at Voxel School, my learning during the development of this project was entirely self-taught, with all the ups and downs that come with it.
It's often said that the best way to improve in drawing is to draw non-stop, but over time, I realised that simply drawing wasn't enough. For a while, I kept drawing more and more environments or characters without much planning, documentation or references. I was basically driven by the HYPE! Yes, I improved significantly during that time, but it also led to numerous redesigns and wasted material since I often didn't know what was wrong. That's when I decided to do things better by using more visual references, and even relearning the fundamentals of drawing.

After going through some ups and downs and gaining some experience, we made the decision to give the visual style a twist while maintaining our level of motivation. One of the most significant stylistic decisions we made, was to set the game in the 50s. We chose this era mainly because it's an interesting and attractive period in terms of industrial and graphic design.
We thought a textile factory, full of industrial machinery and the numerous sewing elements (boxes, flashy labels, brands...) would give the environment a much greater appeal and verisimilitude. Of course we used all kinds of references such as pictures, ads, movies or games like Fallout.

By the way, originally the game was called Voodoo, but later it was renamed Mr.Thready, in reference to the classic toys like Mr.Potato that were so successful at the time.
This new stylistic twist helped us to create new ideas for the story and the context.
In short, our friend is actually a child who died after falling into a well at the factory. Unfortunately, shortly after, there was a nuclear accident that caused the immediate evacuation of the factory and its surroundings, preventing his search. Many years later, he comes back to life as a voodoo doll.
Well, you could say that although the game doesn't take place in the 50's, the factory keeps that aspect.
Our first action as a player is to wake him up in the middle of a dark sewing box full of thread bodies. From that point on, we take control and help him to advance by solving puzzles, while connecting pieces of his memory to discover his true origin.
Although this video is an alpha version, especially the sound, I hope it helps you to get an idea of how the game started.
Now you have a better understanding of what Mr. Thready is about, I'd like to show you the work that goes behind everything you've seen. It may not have been the world's best workflow, but it worked quite well for me. Basically, it involved the following.
This consisted of a images collection, mostly abandoned places, factories, tailor shops, etc. The idea was to capture the overall atmosphere of the environment and come up with different compositions, colours, and lighting.

This is where I put into practice everything I absorbed from those references, using whatever means necessary. Personally, for something like this, I try to prioritise atmosphere and lighting over colour. So many of the concepts involved grayscale compositions or even ridiculous photomontages. Colour would only come into play when the atmosphere was working.


Once the composition was established, it’s when I focus on individual objects or groups of objects, looking for specific references for each object to achieve the highest level of detail possible.

I usually start with line drawing as a base, then add flat colour, shadows, lights, textures and details, in that order. All in separate layers to keep more control over future modifications.
Once it's completed, I transfer the final object to the main document in its corresponding place in the scene. This process is repeated again and again until the entire scene is completed.

Once all the objects are in place, I start working on the overall scene, including aspects such as atmosphere, lighting and colour adjustments. This means all elements go through a second phase of deeper detailing for environment integration.
I also would like to show you some brushes I used to reinforce the sense of realism of the objects. They were mainly used in a layer reserved for textures. There are several shapes that I used to give effects of rust, stains, dust, roughness, etc. By means of different fusion effects, color adjustments, and always trying the preset shapes were not obvious, I was able to find the desired effect.

To finish in the most illustrative way possible, I leave you a timelapse of a prop rendering.
Note that I also had to make several pieces of graphic design, as is the case of this milk carton. Sometimes using pieces of royalty-free illustrations, or completely from scratch. This was key to enhancing the vintage feel.

Nooo, it's no big deal. But actually, YES.
This is something I thought was interesting to mention. Since this is an overloaded visual style in terms of detail and textures, the management of layers and PS files was a task that I had to learn the hard way.
On top of that we used several layers of parallax, so many separate objects were needed. My PC wasn't very powerful and working on documents that were over 500mb was simply not an option if I didn't want my computer and my head to explode.

I can't overlook this topic, as this is a puzzle game.
There's not much mystery in how we came up with the puzzles. It mainly consisted of me and my mate sitting and working to put together ideas that we used to write down or sketch at any time of the day.


On many occasions, these ideas came from sewing documentation. In fact, one of the puzzles was based on a sewing machine manual that my friend found at his grandma's house. From it we were able to make a puzzle about sewing patterns.

In order to achieve this, it was necessary to find the best way to simplify the operation of a machine, and thus, adapt it to our gameplay needs while preserving realism.
To finish, I would like to show you a teaser where you can see a quick review of all the content we created.
I hope you enjoyed this first part about the work behind the scenes of Mr. Thready. In the second part I'll talk about the creation of characters and the first incursions into 2D animation.
You can find more of Flavio's work and reach out via his Rookies profile here.