Environment Concept Art Using Blender and Photoshop
Artside School student Geoffrey Amesse embraced a creative challenge in an environment design workshop led by Karine Villette. Venturing into a dark fantasy realm, he shares a breakdown of his project, offering a blend of 3D and 2D techniques learned during the process.
Geoffrey Amesse is a student at Artside School and during an environment design workshop with Karine Villette, he experimented with creating an ambitious concept art for a game environment, with a 3D and 2D process. Whilst Geoffrey generally likes to work on stylised and cheerful projects, he took the opportunity to get out of his comfort zone and experiment with a dark fantasy universe. It was a challenging project on which he learned a lot, and in this article he imparts some of that knowledge along with a breakdown of his work.
Identifying gameplay needs
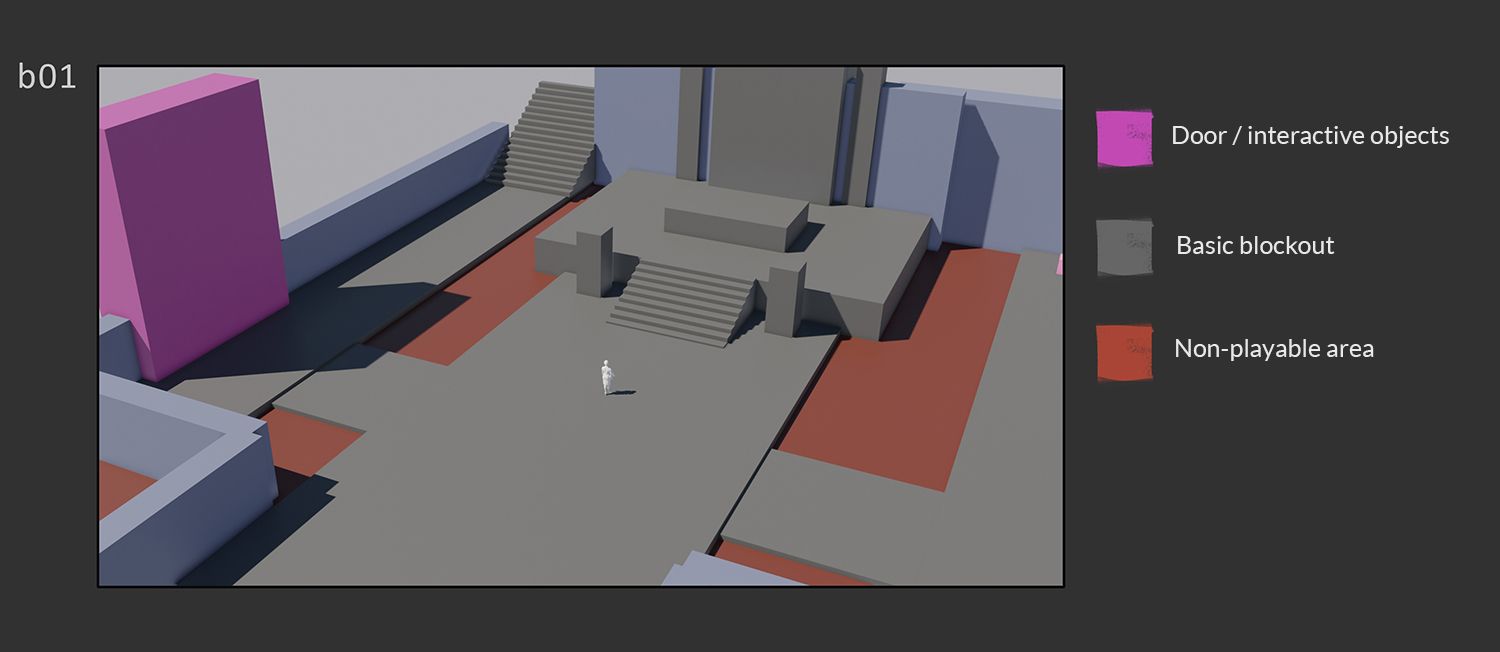
Before starting designing I identified the gameplay requests of this game environment:
Which areas the player has access to and which he doesn't have?
Where does he need to go?
And which areas he needs to look at?
With these needs identified, I started with this imposed game design blocking. My task was to design it and create an environment that follows it without changing the structure.
gameplay blocking
Initiating the design
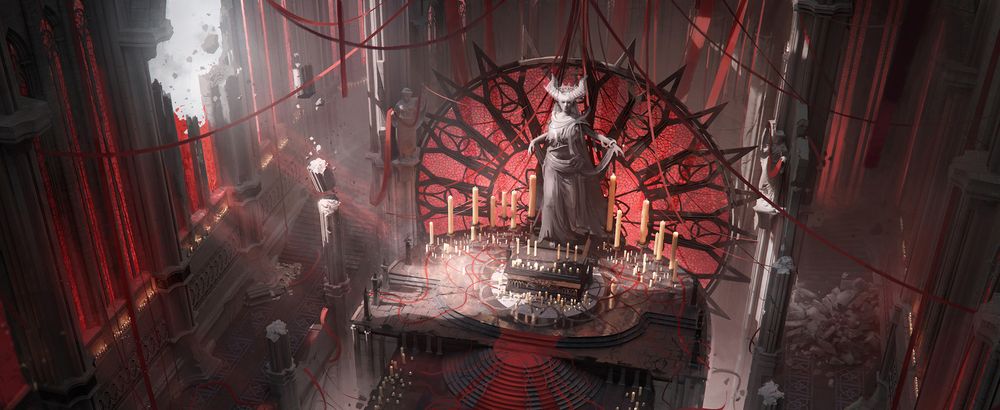
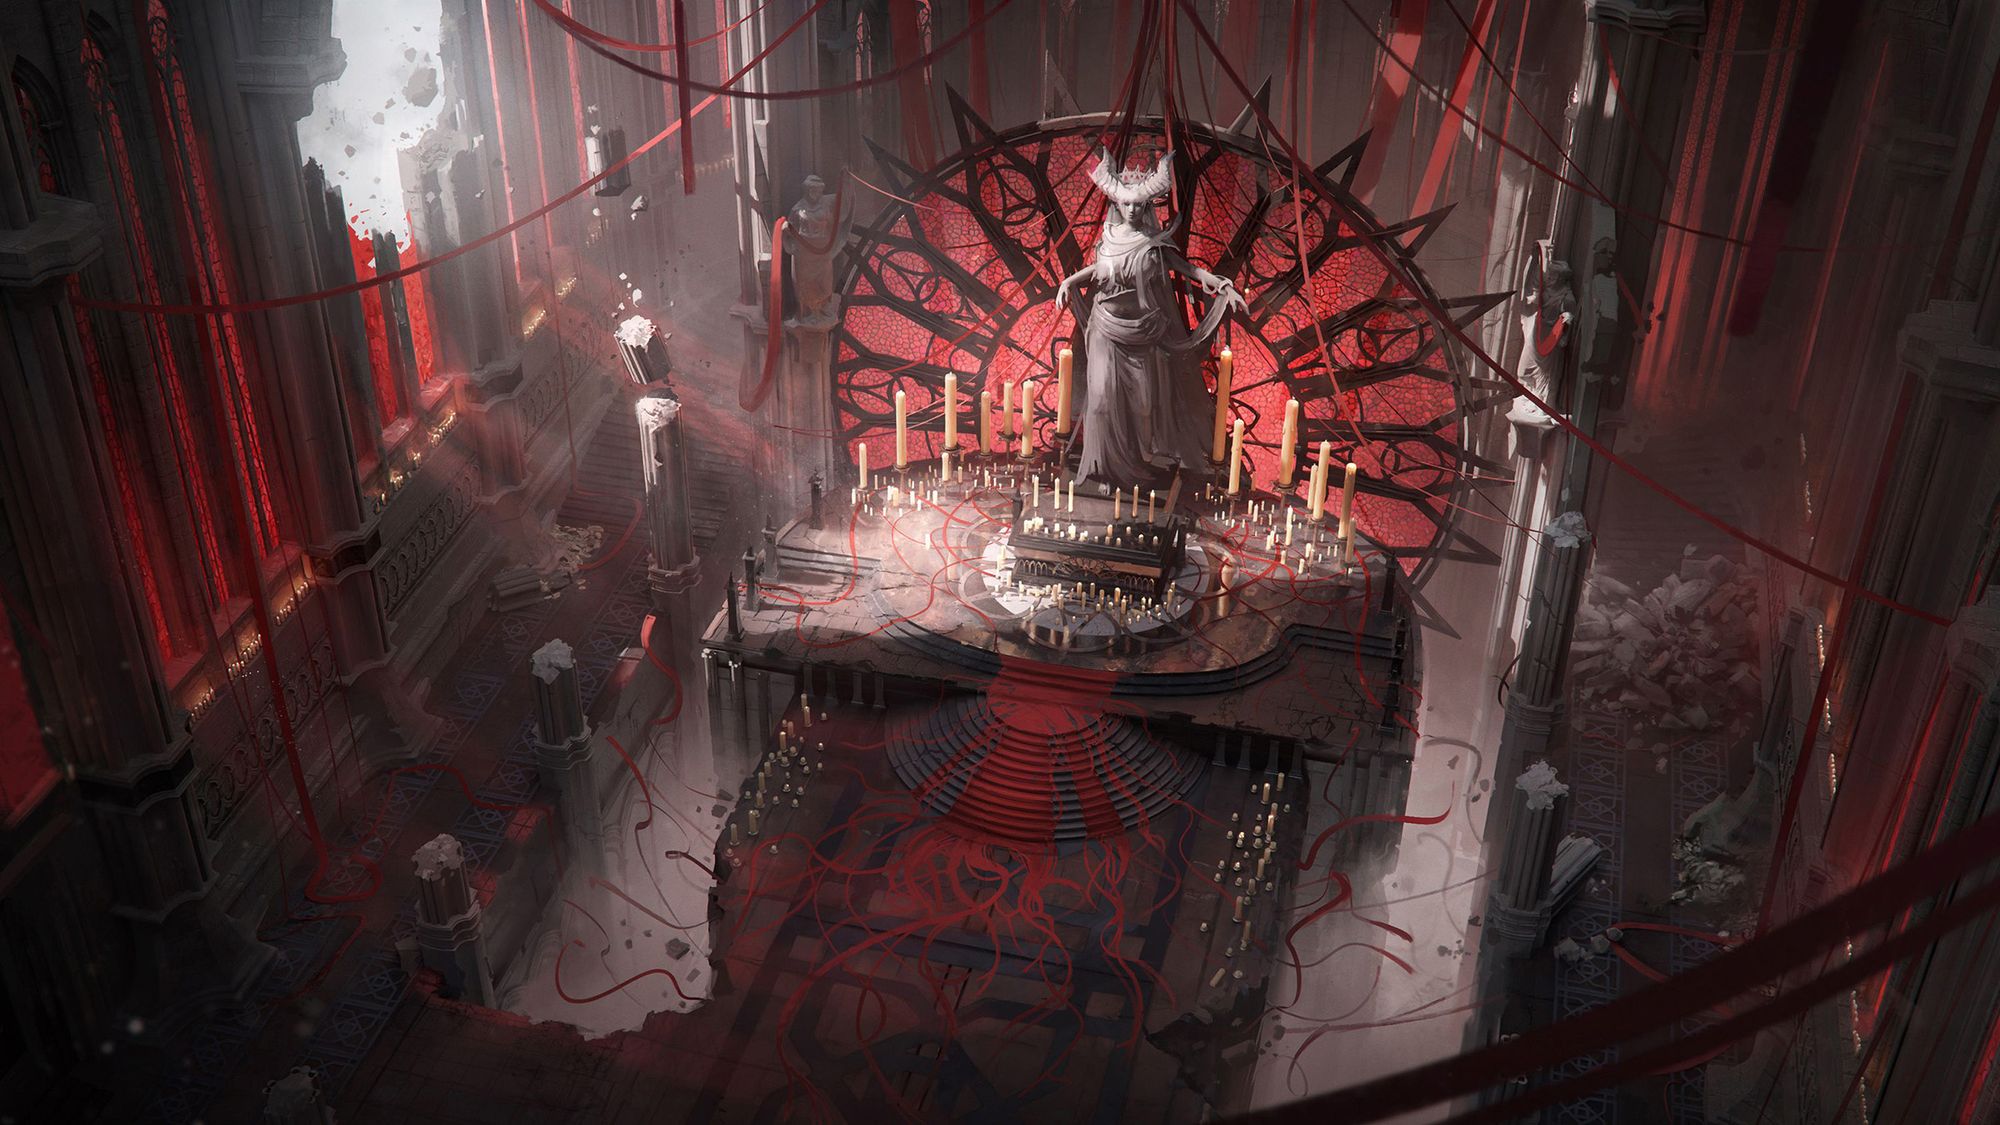
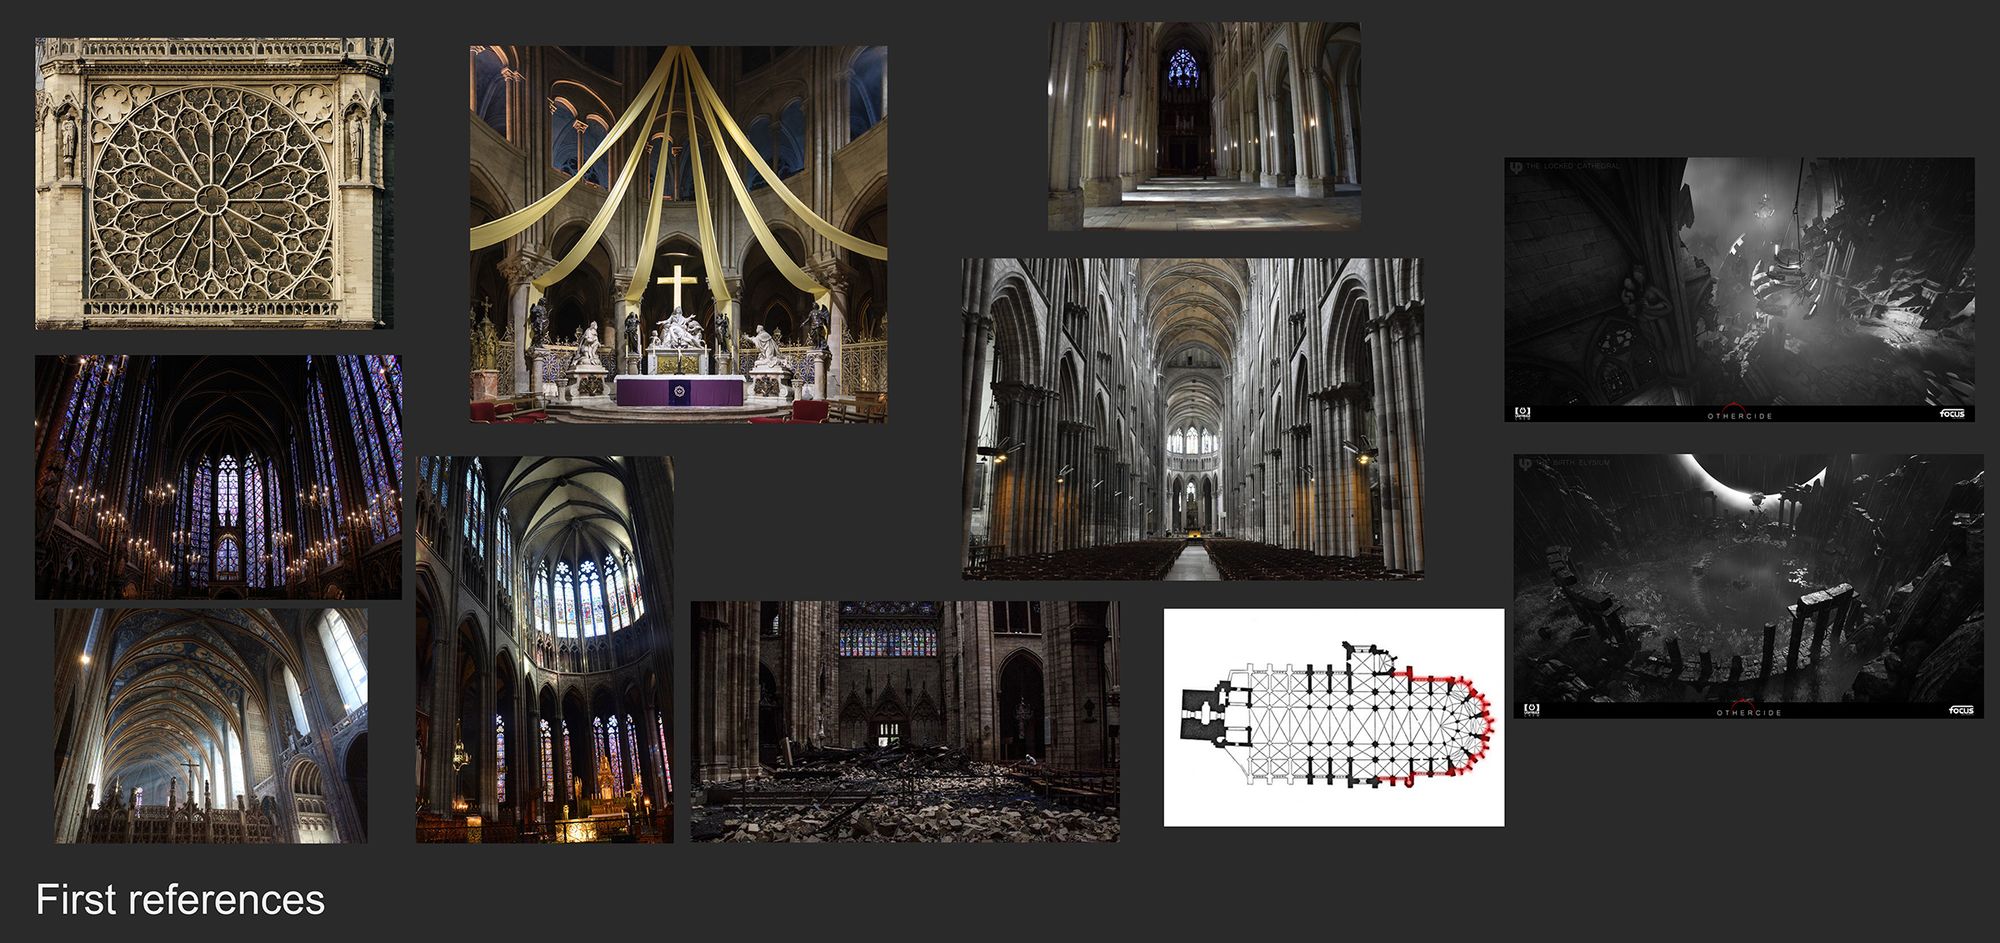
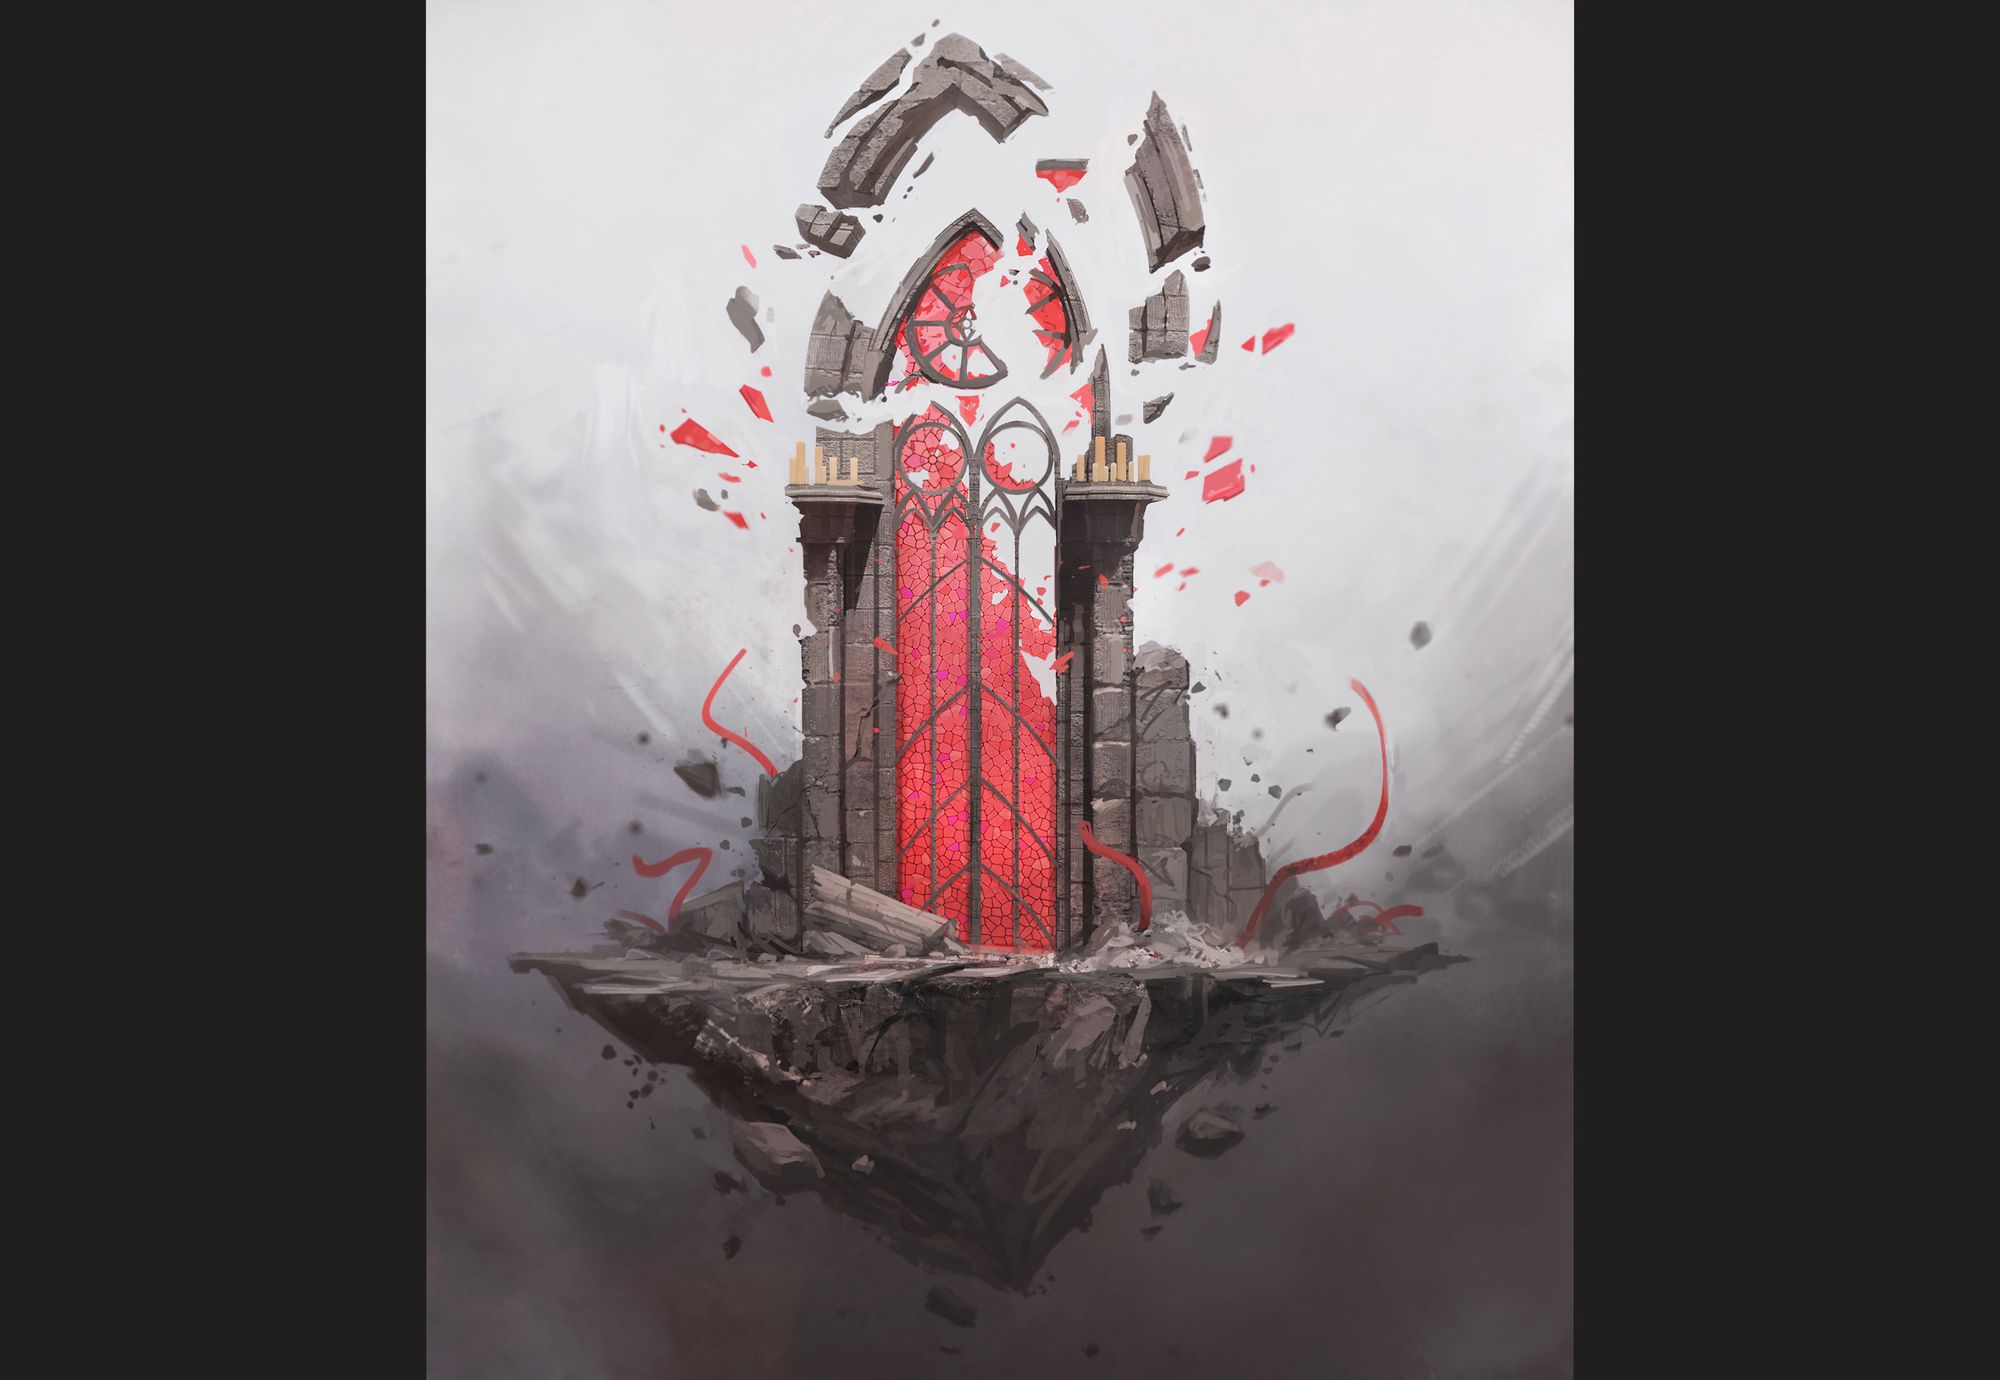
Firstly, I looked for architecture references, moods, and inspirations to pinpoint a direction for this project. I aimed to create an environment featuring red blood-stained glass. The inspiration stemmed from the frigid stone and tranquil ambience characteristic of cathedrals, as well as the contrast it formed with the red stained glass – a primary characteristic of my setting. I was also drawn to the ribbons cascading around a central element in one of my selected references. Moreover, inspired by the Diablo universe and the art direction of Othercide, I wanted to incorporate a sense of destruction and fantasy.
Here are my main references
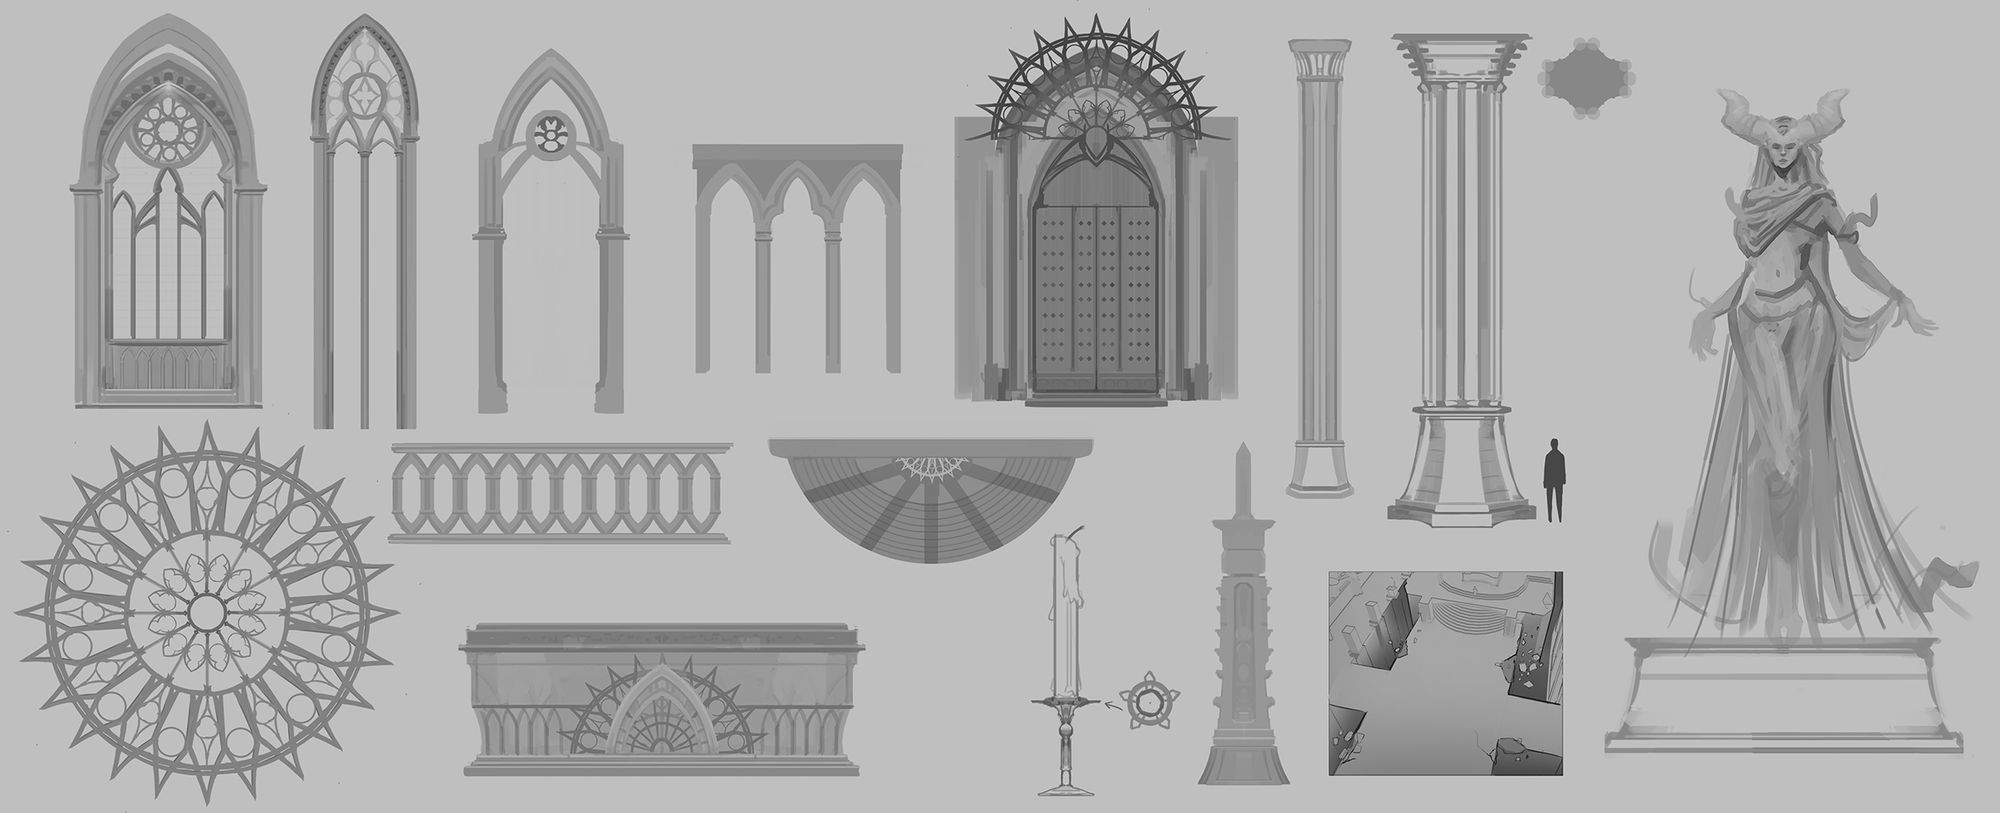
Once my ideas were more clear, I started with 2D assets research and some quick sketches of what I wanted. I established a shape language and designed some elements, thinking well to scale and which elements I wanted to highlight in the scene.
2D assets design researchesI also did a first concept of mood and colour to visualise better the direction
Modeling
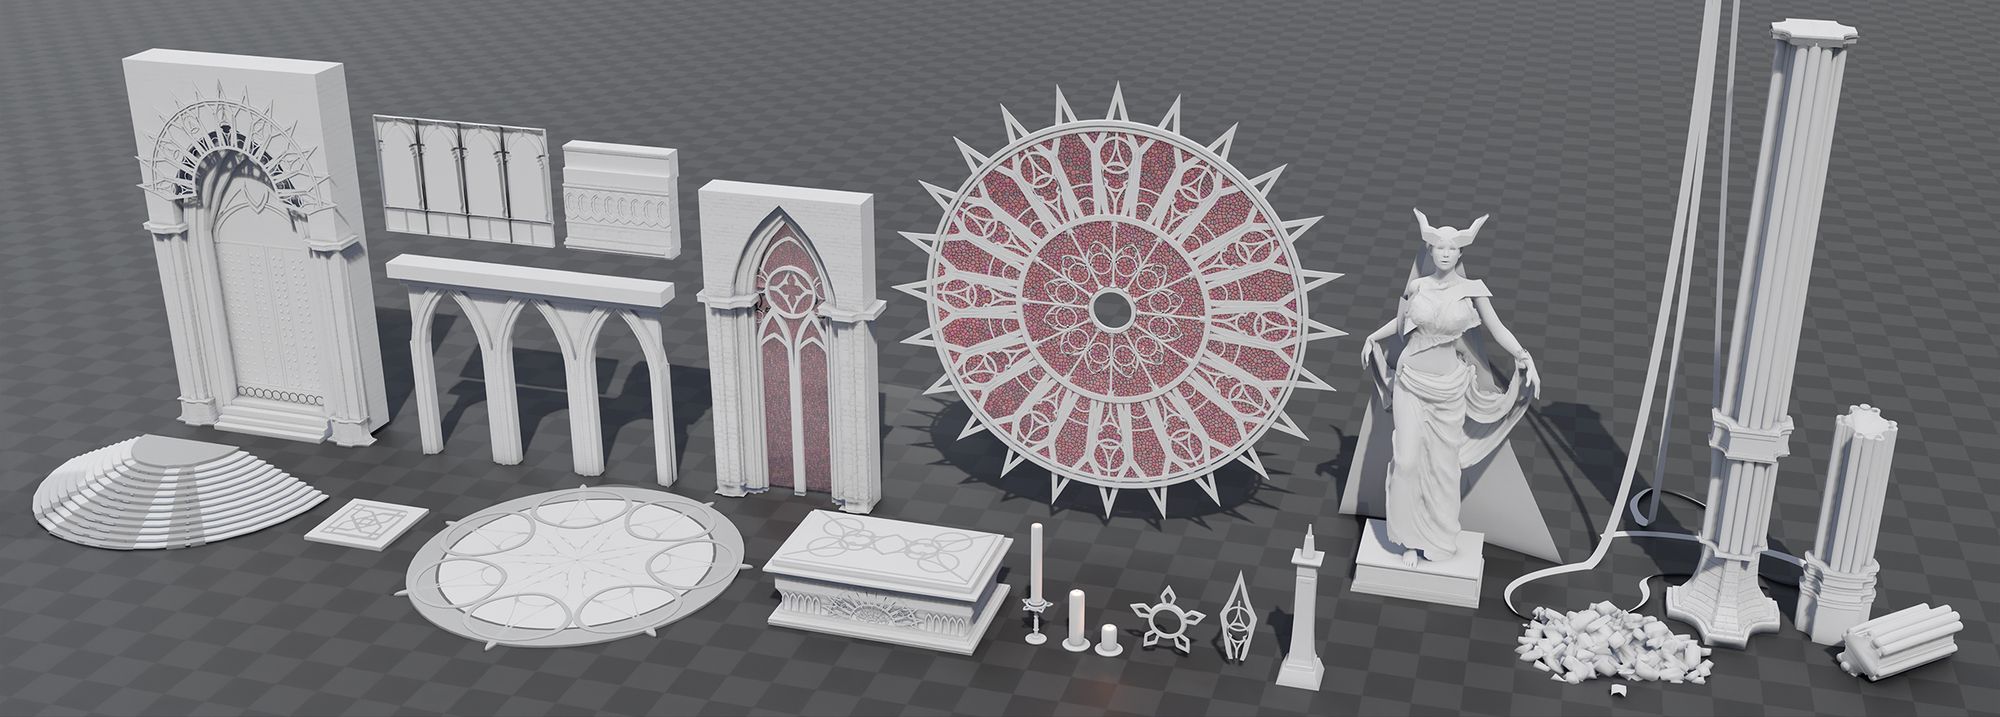
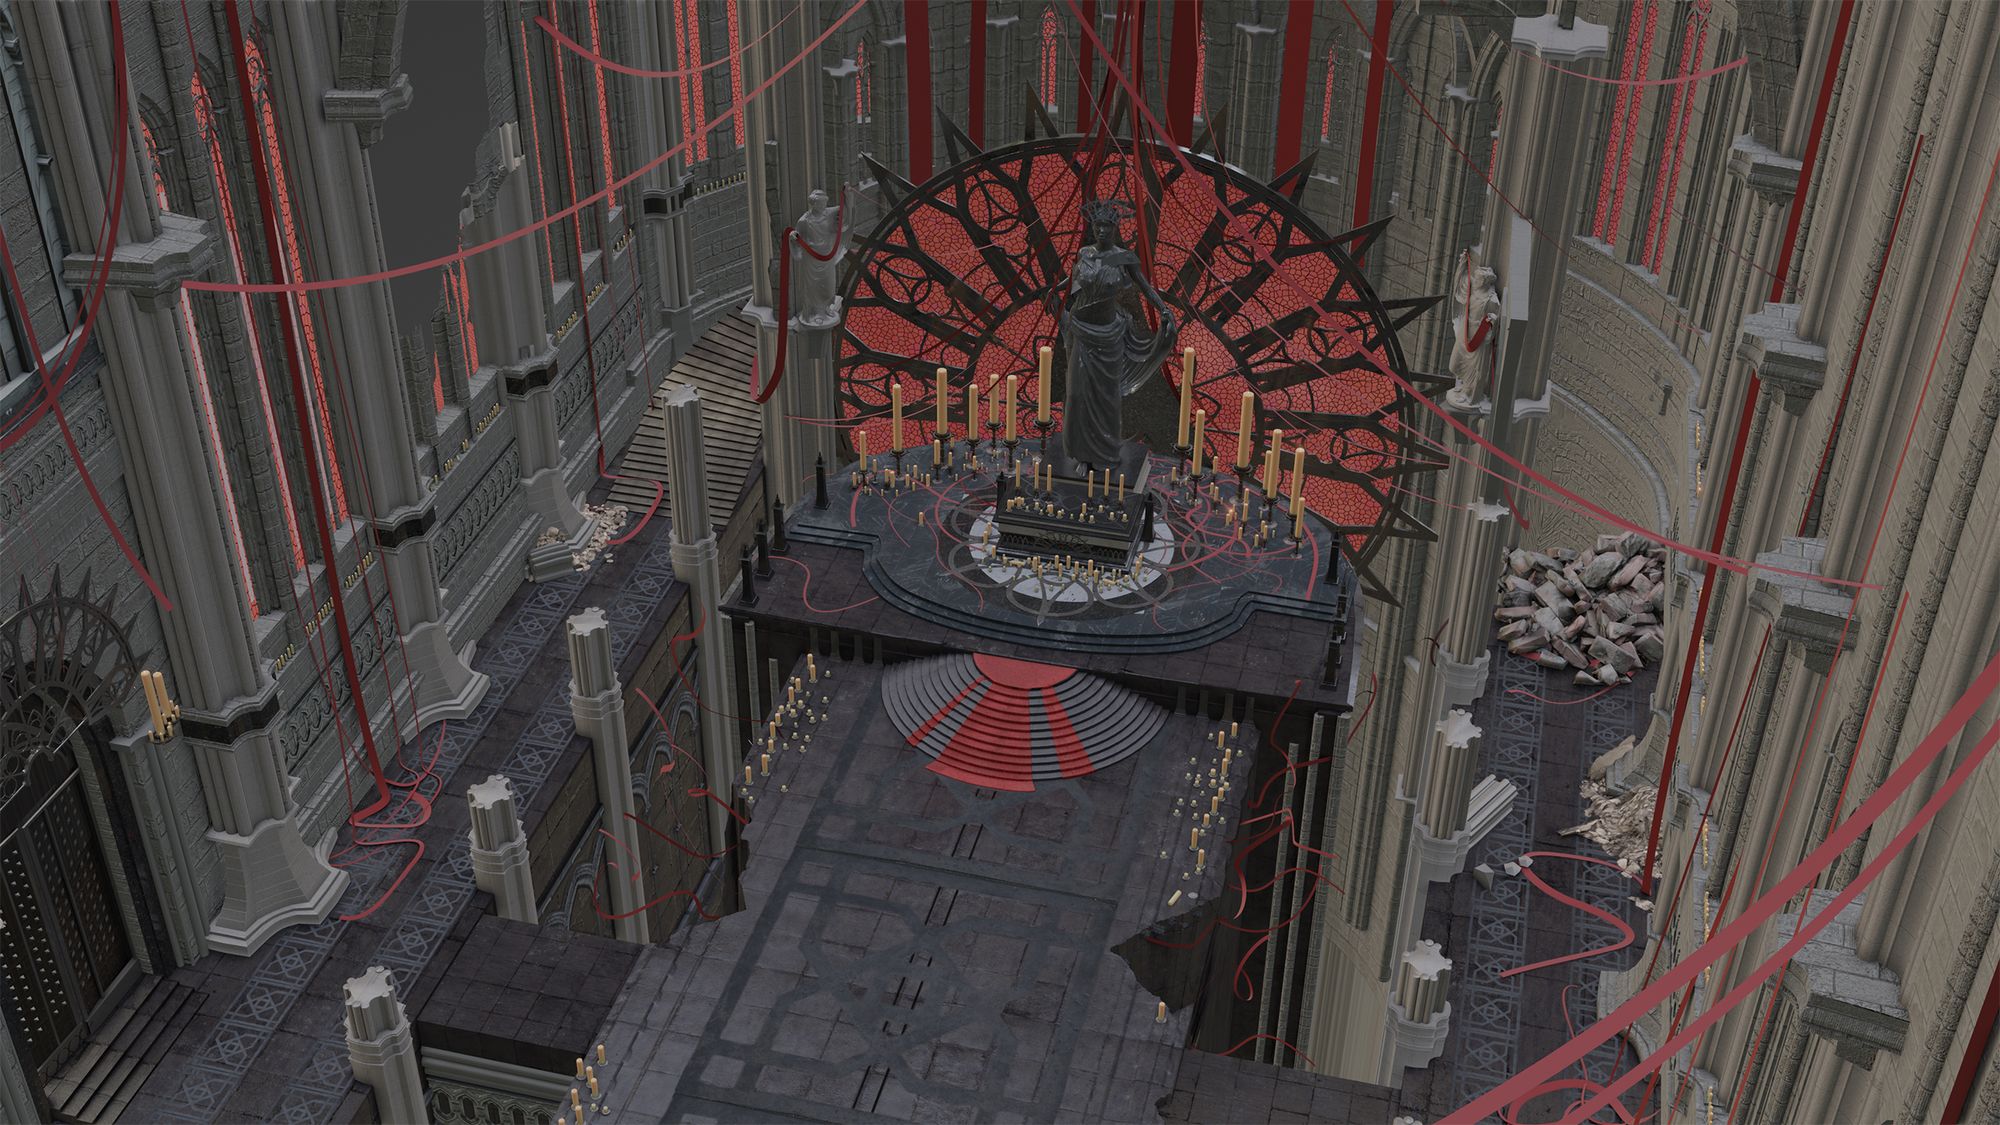
Following these initial 2D explorations, I started to work in Blender. I modeled all the necessary assets and incorporated certain models sourced from Bridge for intricate details.
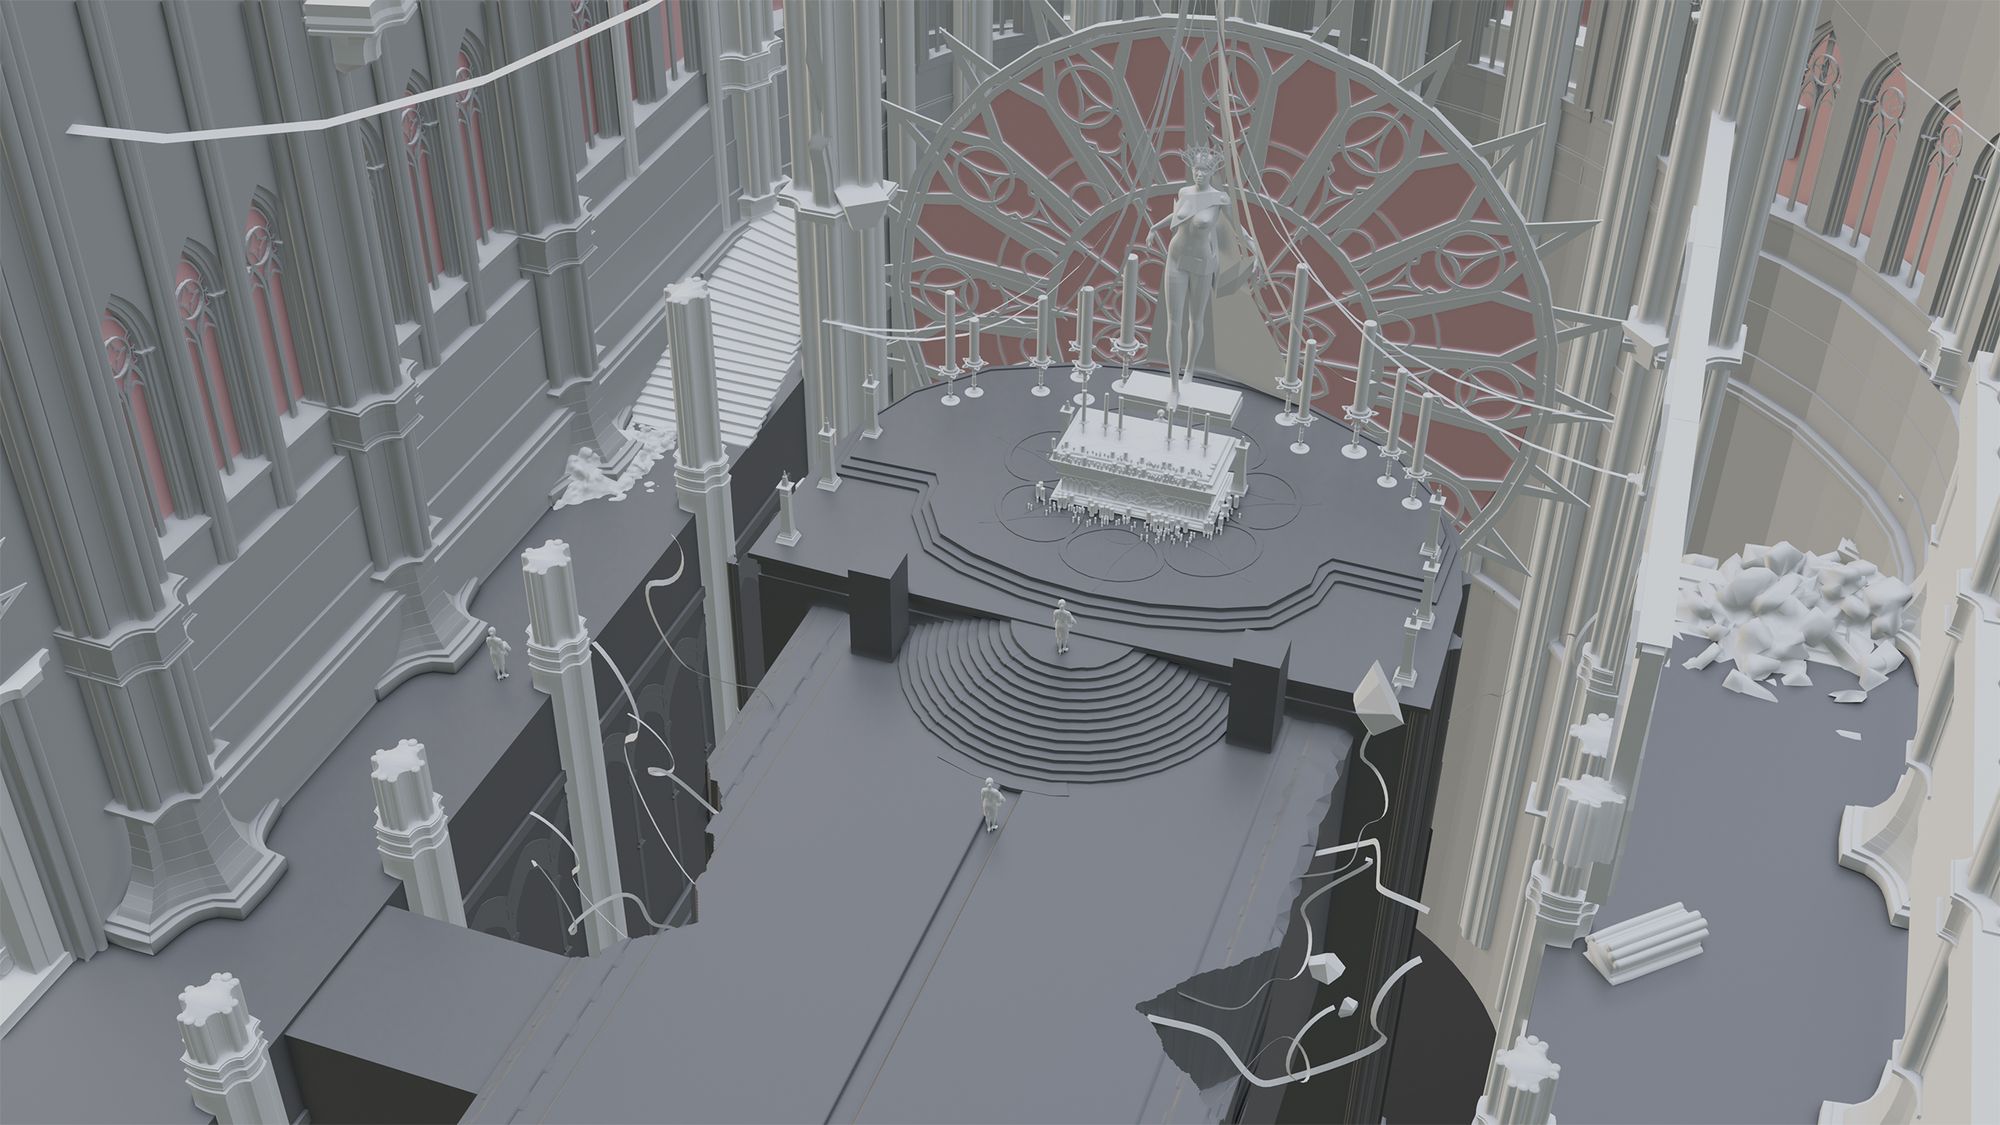
To make the central statue, I utilised a pre-rigged 3D model, posing it in Blender. I then sculpted drapery to create a foundation for later paintovers. Once my assets were complete, I strategically positioned them atop my blocking, honing in on an optimal composition.
Given the nature of concept art, I didn't overly concern myself with topology and technical intricacies; optimisation and intricate detailing weren't prerequisites for this project's close-up views. Furthermore, I opted for a 2D approach for certain elements that were more swiftly executed than modeling them in 3D.
Assets modelled in BlenderMy 3D scene modelled
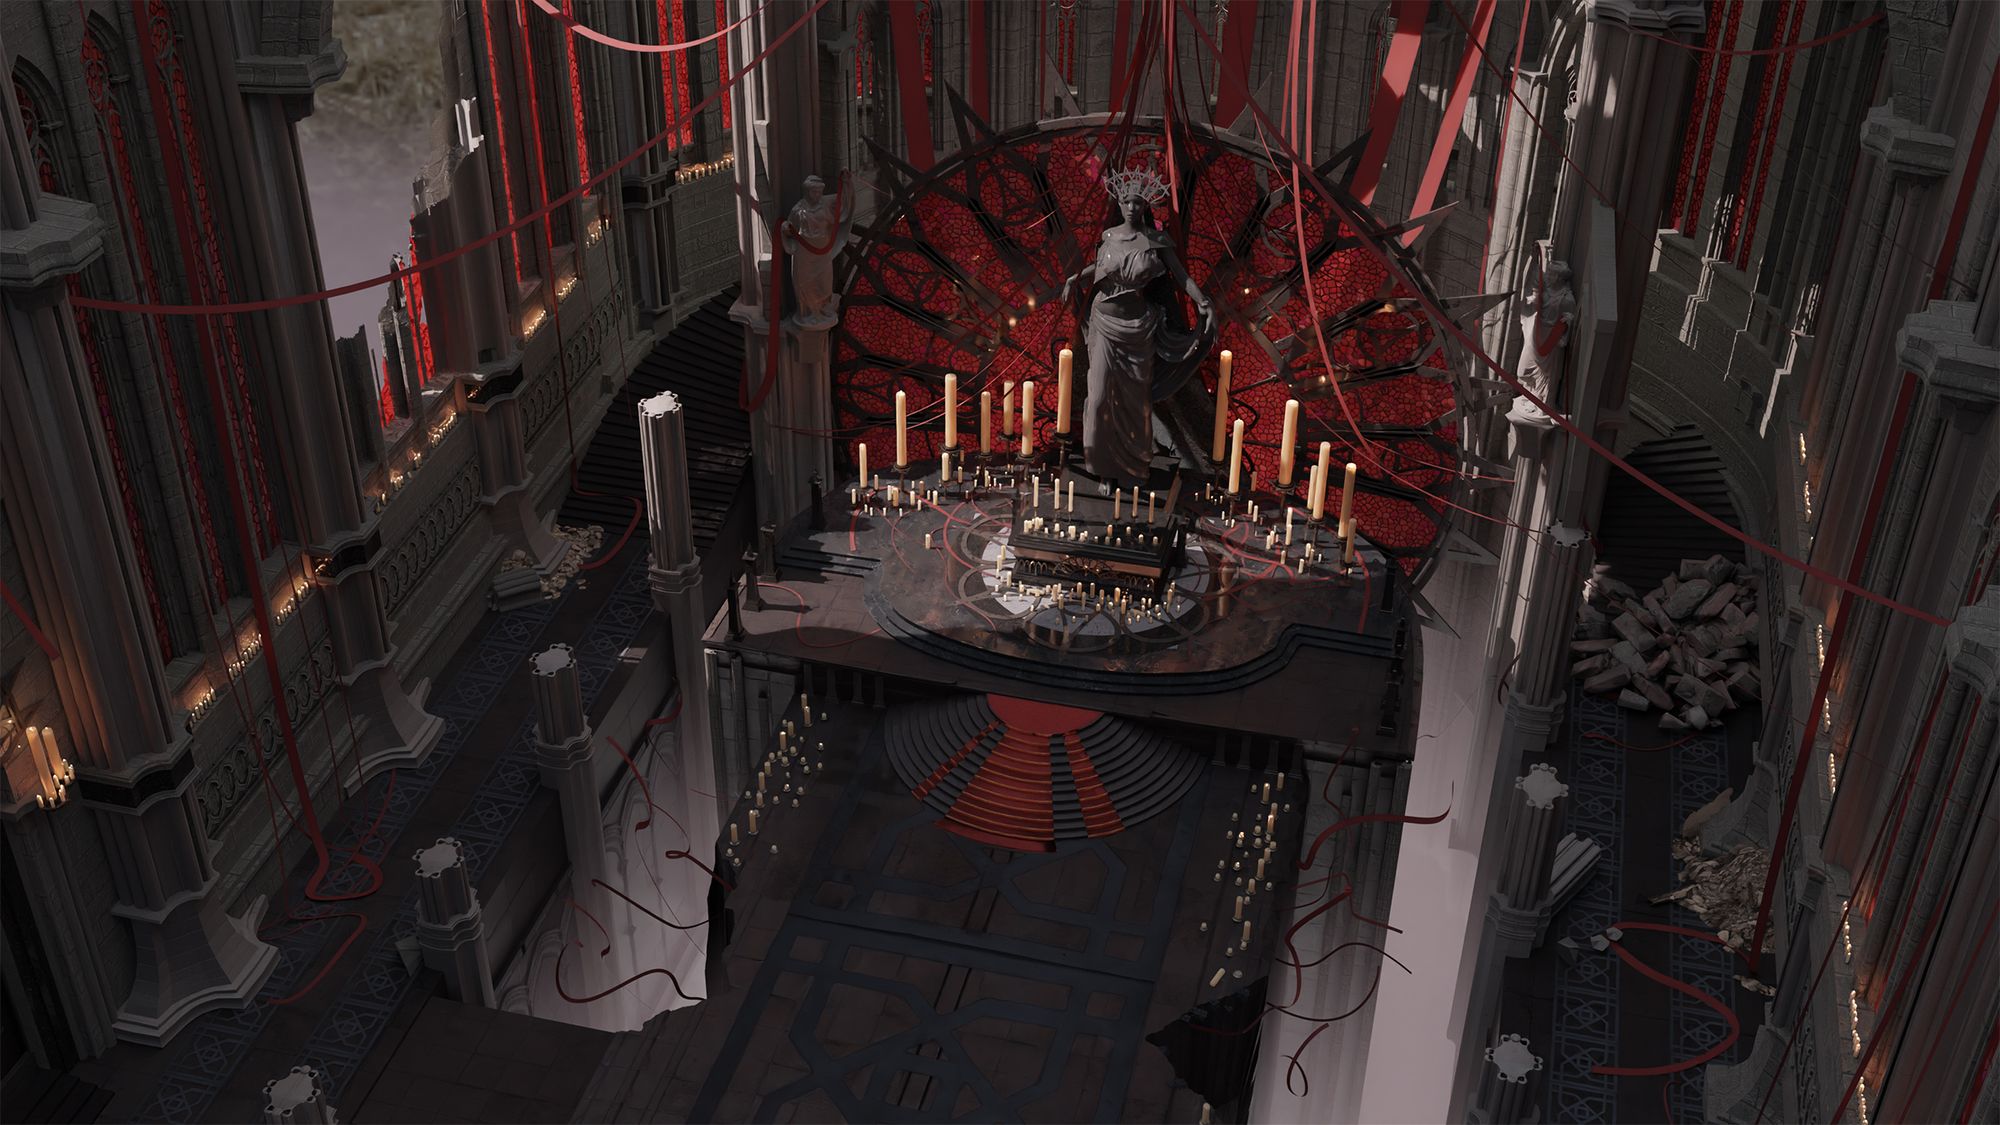
Texturing
As I was creating a concept, I wanted to be efficient and quick with my work. During the texturing phase, I opted for automatic UV projection on my assets, offering both speed and great results. Next, I found materials from Bridge and adapted them to match my environment's colour scheme. I finally made a specialised material in Blender for the stained glass, granting me greater control over its visual presentation.
Add materials and textures
Lightning & Rendering
The lighting was straightforward: I made an HDRI, a primary sunlight to accentuate the scene's focal point, and fill lights to enhance shadow details. The candle lights were achieved using an emissive shader to prevent excessive illumination.
Add lighting
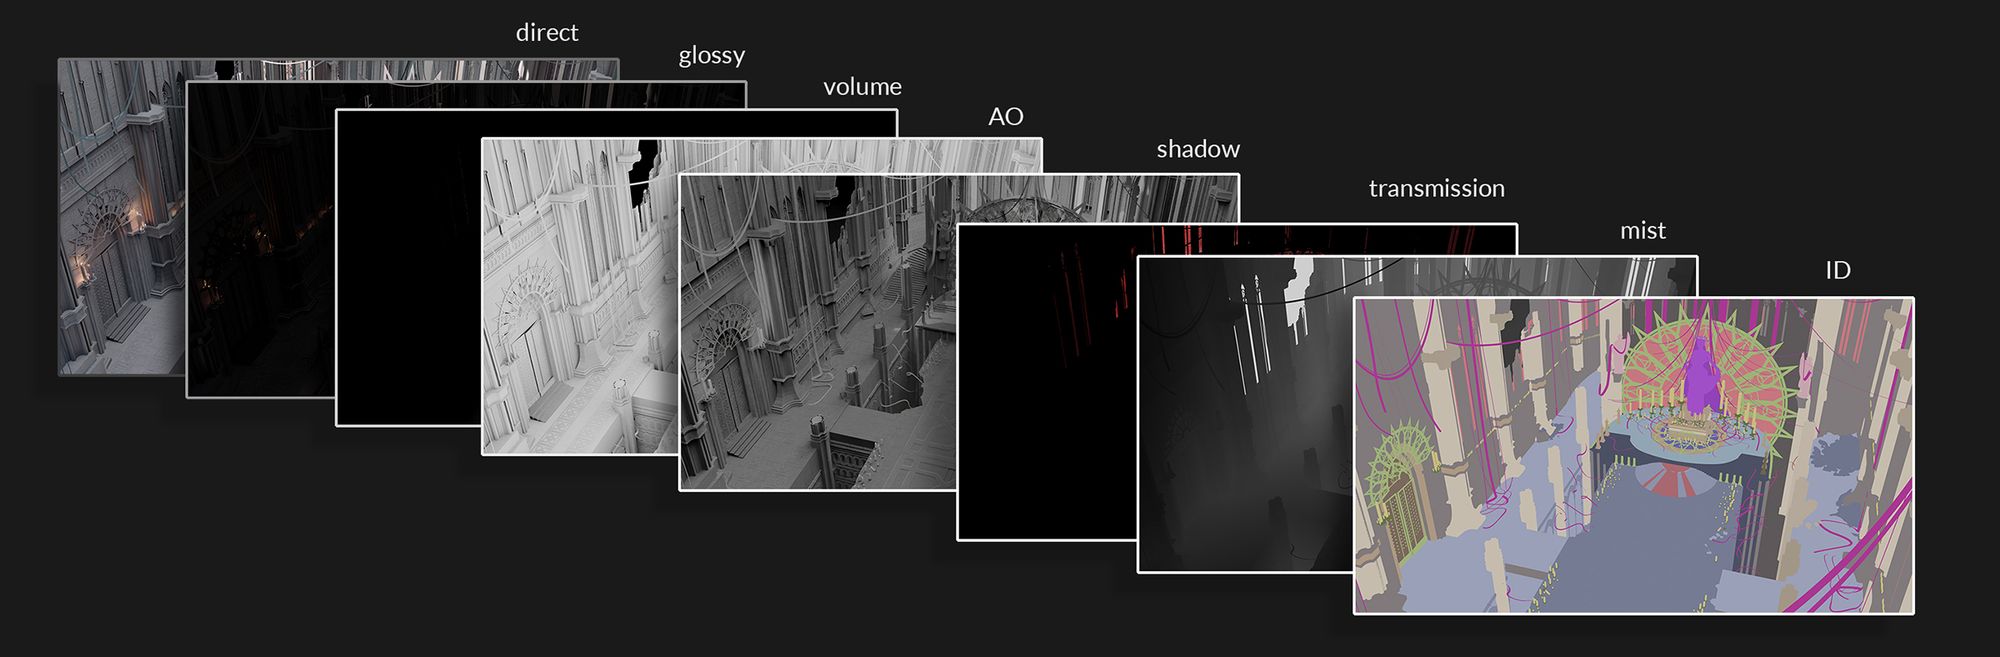
Finally, I used Cycle for rendering and got some 3D passes for 2D paintover where required. These passes helped me isolate some asset with the ID pass or to do compositing on my render later.
3D passes for doing some compositing
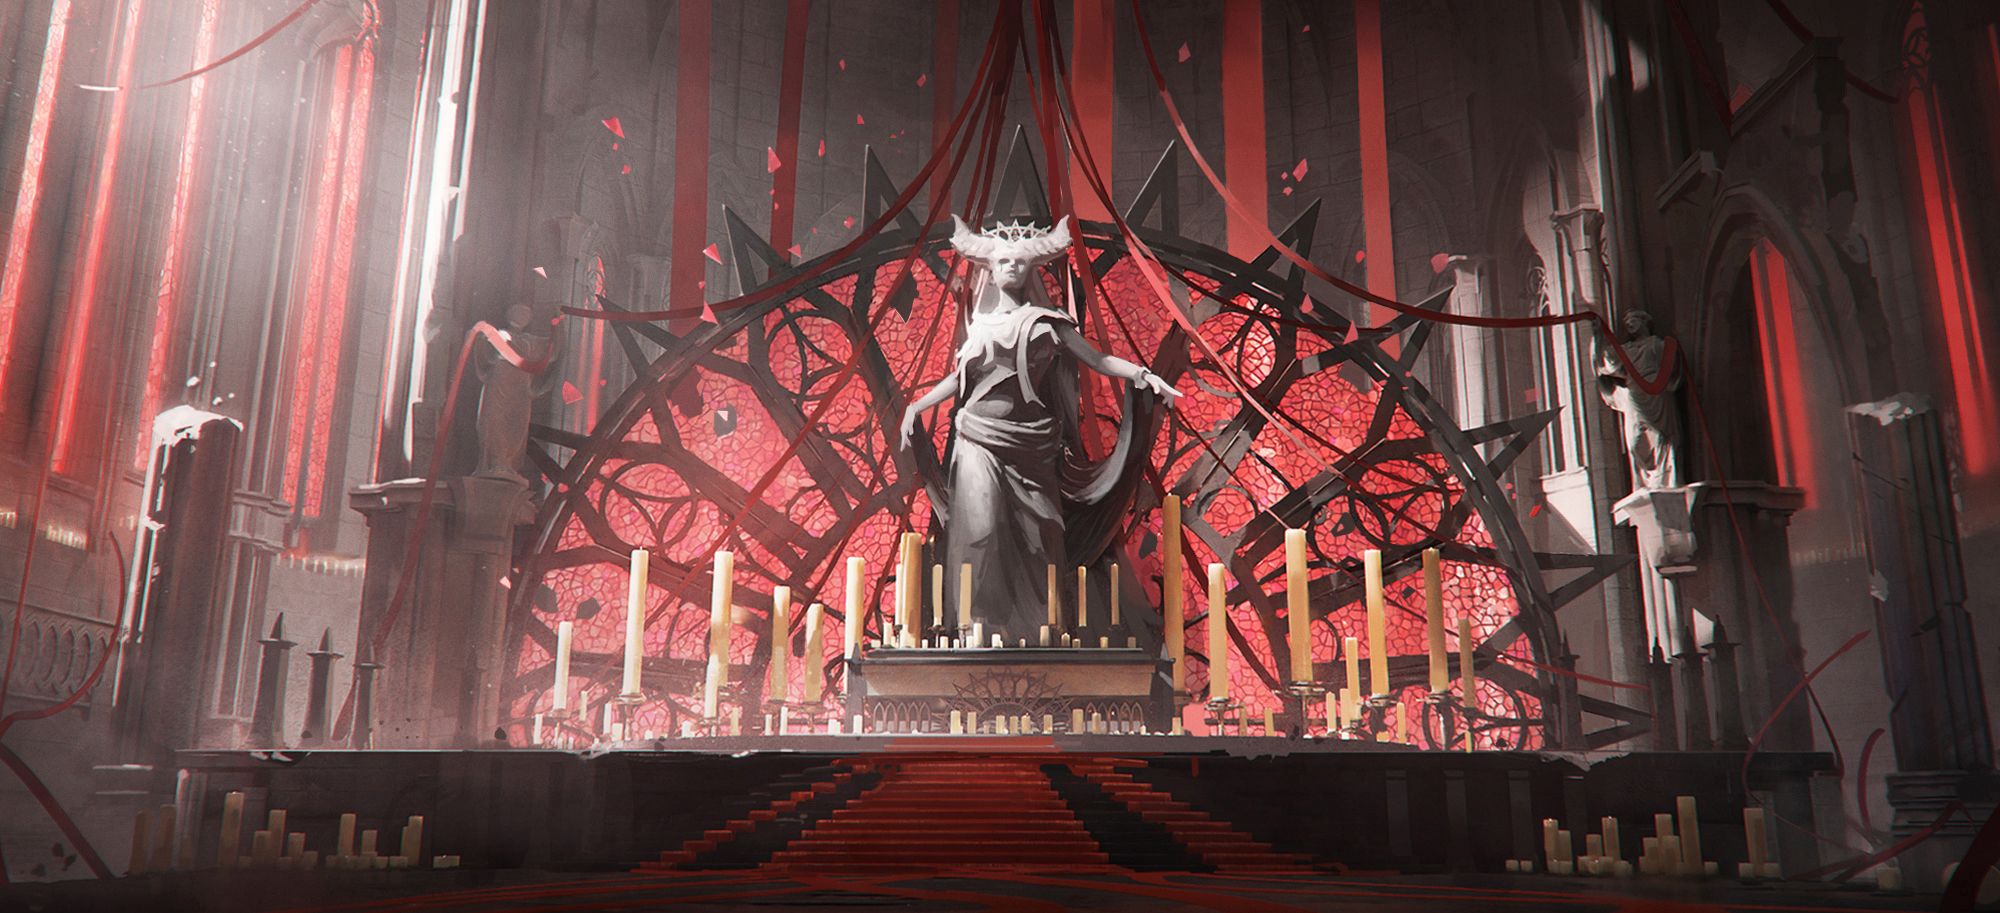
2D paint-over
I went back to Photoshop to paint over my 3D render and used my 3D passes to push the atmosphere to the next level. I painted some details which would have been longer to do in 3D, and I polished my focus point as well as other focus areas.
This was my favourite part of the process, everything was placed. At this step I feel like I’m bringing the concept to life and make it more visually attractive.
Advantage of 3D
One of the big advantages of this process is that I’m able to do other shots really easily. When my 3D scene is done, I just have to move my camera, render a shot and overpaint it. It can be really useful for extra concepts, close ups on props, creating keyframes etc.
Different shots
Conclusion
No doubt this was one of the projects from which I learned a lot. Going out of my comfort zone was challenging but so much interesting and discovering a new software like Blender was super fun and exciting. I’m super grateful from Karine Villette, I would never have been able to do this work without her feedbacks and advices. This new workflow will help me to explore many more possibilities!
Thank you for taking the time to read this article, I hope it will inspire you.
Find more of Geoffrey's work via his Rookies portfolio and contact him via the links in profile.