Sam Senpai, a student at the Asian Institute of Design in Bangalore, embarks on skill-enhancing projects, constantly refining his techniques for efficiency and effectiveness. In this article, Sam offers a glimpse into his learning journey, showcasing projects from his Rookies portfolio.
Sam Senpai is currently a student at the Asian Institute of Design, Bangalore. With a passion for sketching, watching anime, animation films, superhero movies, and video games, Sam was inspired by the many artists creating the moving images he enjoyed watching. This passion for these arts has motivated Sam to create new, skill-enhancing projects, with each one teaching him new techniques that make his work more efficient and effective. In this article, he provides insight into the learning journey he is on, sharing projects featured in his Rookies portfolio.
The Routine
As for my daily schedule, it's a structured routine. I work from 9 am to 6 pm at AID (Asian Institute of Design). My day kicks off with setting up my workspace, ensuring it's clean and ready for a productive day. The first task is checking my email, making sure I'm up to date with any important messages.
Then, I sketch for about an hour. Prior to my classes, I take a moment to review my animation files, and if I have any doubts, I ask my mentor for help.
After attending my classes, I dedicate my time to animations, allowing my creativity to flow. I find that also helping my classmates with their animation projects is not only fulfilling but also a fantastic learning opportunity. During this process, I also make sure to take short breaks to recharge.
My mentor plays a crucial role in my journey. Regularly, he checks my progress on the animation front, offering guidance and corrections when necessary.
Once my animation reaches the rendering stage, I return home, where I set it up to render overnight.
Workflow
Here is my general workflow when I approach a new project:
Concept: I come up with an idea or a story with a theme.
Reference gathering: Start to collect multiple references that match the idea - I use YouTube and Instagram.
Asset Sourcing: Try to get good props and models for my animation - I use Sketchfab, Turbosquid and CGTrader.
Rig Selection: Choose an appropriate rig that matches the Idea.
Scene Assembly: After all the references and models are ready, I import them to Autodesk Maya and start to Layout and keyframe the reference.
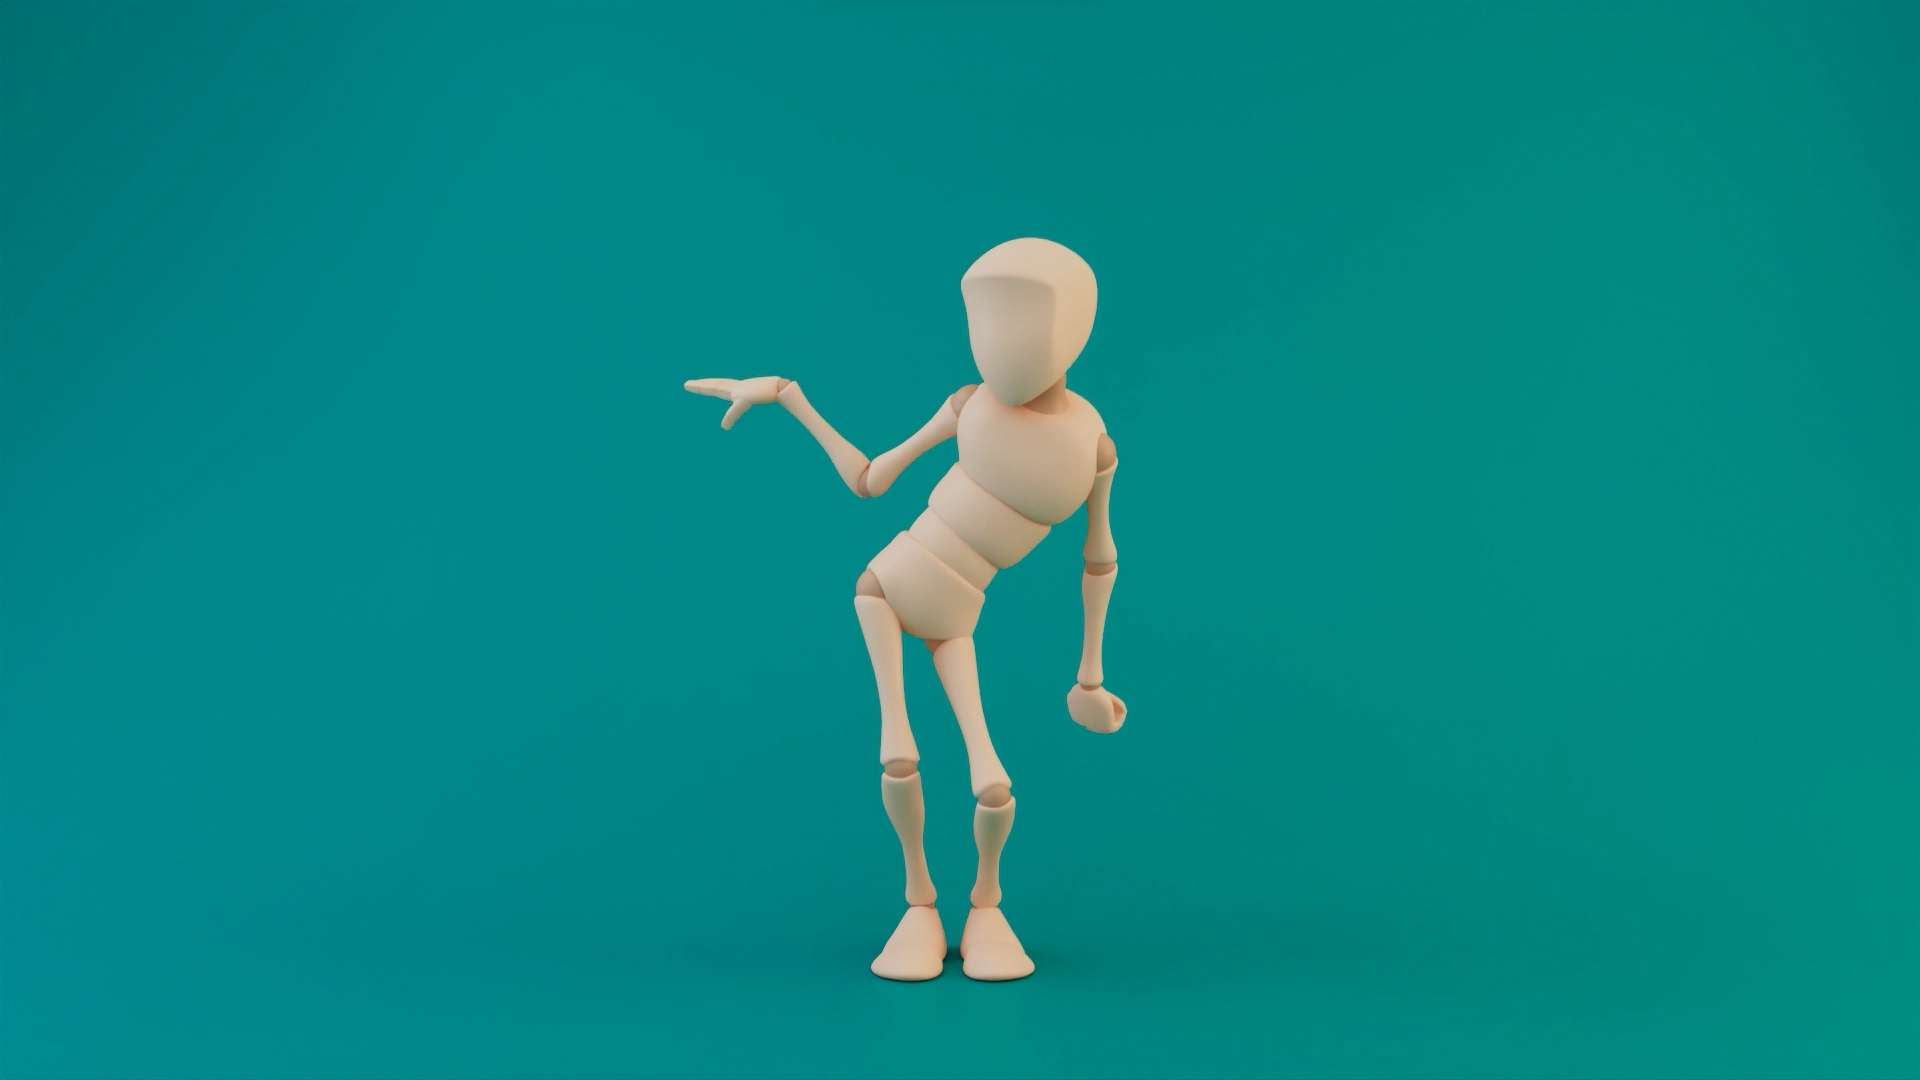
This was my first 3D character animation. I use Autodesk Maya for all the projects. I've done a bunch of ball-bouncing and prop animation before, but this was the first time I had done a character animation.
To get started, I looked through YouTube for some references. Then I saw this dance video and thought, "of course, I don't dance, so why not animate this dance?"
Once the reference was ready, I used “bony rig” to animate the dance. I started out by blocking out the animation with poses that matched the song's timing, which was easy since I'm good at making poses.
After that, the 'in-betweens' were challenging because it was my first attempt at character animation. In 2D animation, the rule was simple: I just had to draw in-between poses to match the previous and next frames. However, in 3D animation, the software automatically generates the in-betweens, which I wasn't expecting. The graph became messy, and my mentor advised me not to worry about the graphs for now and instead focus on creating the 'in-between' poses. So, I approached it like I would in 2D animation, and it started to look better.
Next, I tackled overlapping and arcs. This part was tricky for me because I wasn't confident in handling overlapping actions. I sought guidance from my mentor, who suggested a helpful technique: 'Move your keys 2 frames ahead during overlapping actions.' So, whenever I wanted to depict overlapping actions in my animation, I shifted the keys two frames ahead for one controller and four frames ahead for the following controller, with some additional adjustments in the graph editor. This approach resolved my overlapping challenges and deepened my understanding of the process.
With those aspects addressed, I moved on to the cleaning and polishing stage. It wasn't straightforward because the graph was messy. I needed to smooth it out, which I accomplished with my mentor's guidance. He emphasized the importance of keeping as few keys as possible, eliminating unnecessary ones, and avoiding flat or linear graphs to maintain the animation's liveliness and flow. Following his advice, I cleaned up the graph, ensuring it remained dynamic. The result was a clean and smooth animation.
In animation, there are instances where flat and linear graphs are appropriate, such as in a robot's movement, characterized by constant speed. However, in this project, I strived to keep the animation alive and dynamic. Ultimately, the animation turned out great!
0:00
/
I am satisfied with my first character animation; I reflect back on the 7 hours I took to make this animation. I used Maya Arnold to render it, which took 5 hours on my laptop.
"Mad Gamer"
I decided to share this with you because this is one of my finest animations. It’s a “pantomime”, which means an animator does a shot without a facial expression to narrate a story.
In order to convey the emotions of 'anger' and 'breaking things' to the audience, I knew I needed a solid reference point. Finding the right reference for my story proved to be a challenging task. After extensive research, I eventually discovered several reference videos that aligned with my concept.
When it came to setting up props and models, I opted to utilize the 'Stewart rig' from Animation Mentor. Gathering the necessary props and models turned out to be a time-consuming endeavour, as I had to source them from various websites.
0:00
/
After everything was set up, I began the process of 'blocking out' the animation. Handling constraints and parenting posed some challenges. I had to parent the character's hand to the katana, and when the character interacts with the monitor, I needed to parent it to the monitor as well. Figuring out the 'what,' 'when,' and 'where' of these parenting constraints took some time, but I eventually got it right.
Once I had a handle on these aspects, I could proceed to the next step. With a good grasp of in-between frames and overlapping actions, I breezed through this phase in just a couple of hours.
The best part of this animation project was animating the props around the character. It added a dynamic element to the animation, infusing it with life and realism. After completing the prop animations, the overall animation looked amazing.
With the animation now polished and refined, it was time for lighting and rendering. The entire process, including rendering, took approximately 14 hours.
0:00
/
Now that I've mastered the art of parenting objects to controllers and toggling them on and off as needed, it has made a world of difference in my animations. As evident in the video, my character wields a katana to wreak havoc, and multiple actions unfold simultaneously. The use of parent constraints has been a game-changer, significantly enhancing the quality of my animation.
This project has elevated my animation and technical skills to new heights compared to my previous works. I was happy to receive compliments from both mentors and friends, recognising the strides I made in this animation.
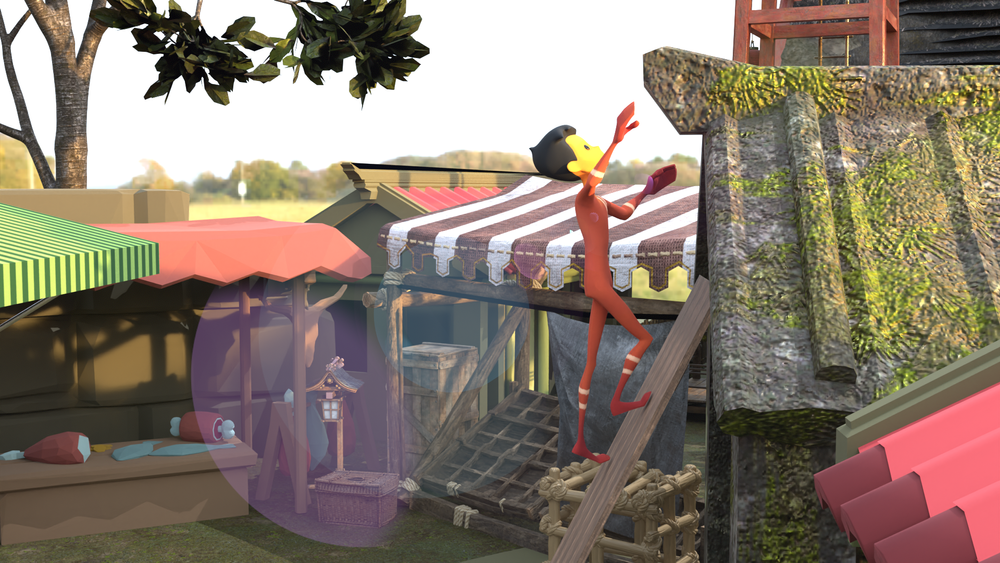
"Parkour"
This animation was the longest I've done so far! It was fun to find a parkour reference since I'm a big Jackie Chan fan. I pulled some shots from Shanghai Knights and Wheels on Meals and combined them with my other references. The best places to look for good references are YouTube, Instagram, or acting it out yourself!
I wanted to go with a Japanese theme for my set and model, so I spent a lot of time finding models that fit the theme and the idea.
0:00
/
It was tricky blocking out the animation since the character had to move around in the environment, and I had to make sure the props and animation were all in sync. It was challenging because the props kept changing positions while I was moving the keys, and I also had to use lots of constraints and IK/FK switches. I used a lattice deformer for the canopy for the spring effect and locators for the props.
The timing and spacing of the parkour were tricky because the character was running, jumping, and interacting with the environment, so it took some time to figure out in particular, where to add parenting constraints and locators and when to Switch on/off the IK/FK, etc.
I had to use a lot of IK/FK switching,whenever the character needed to make contact with props or the environment. I utilized the IK controller for precision. Conversely, for achieving a smooth and flowing motion, such as arcs or swings, I relied on the FK controller. This approach ensured the best possible results, given the character's interaction with various elements in the scene.
0:00
/
After in-between and polishing, the animation was ready for texture and lighting. I used Arnold for Lighting and Render. I included 7 camera shots for this animation. It was fun rendering 7 different shots and combining them. It took me 20 hours to render 630 frames. I used Premier Pro for post-production and the results are amazing. I improved a lot from this animation.
Thanks for reading my article all the way through! And don't forget to Sketch!
Reach out to Sam and see more of his work via his Rookies portfolio here.