Sculpting and Texturing Your First Animal Character
M3DS student Vasko Andonov brings his 3D feline ninja character to life using ZBrush sculpting, Maya retopology, and Substance 3D Painter. Follow along to learn how he created his first 3D animal character.
Using ZBrush sculpting, Maya retopology, and Substance 3D Painter for texturing, M3DS student, Vasko Andonov, brings his feline ninja character to life. In this article, Vasko takes us through his process for bringing his first 3D animal character to life with a cute, yet stealthy vibe.
The decision to create the Shinobi Cat character was influenced by a combination of personal preferences and inspirations. My cat, with its sneaky and stealthy nature, served as the primary inspiration. Coupled with my interest in Japanese culture, I decided to craft a character with ninja-like qualities. Thus, I introduce the Shinobi Cat, a fusion of cuteness and stealth.
References
I searched for a reference of a ninja cat and ended up with this perfect reference of a ninja cat made by the Animation and Visual Development Studio CANOE. It showed all of the characteristics that I was looking for in my character.
Sculpting Workflow
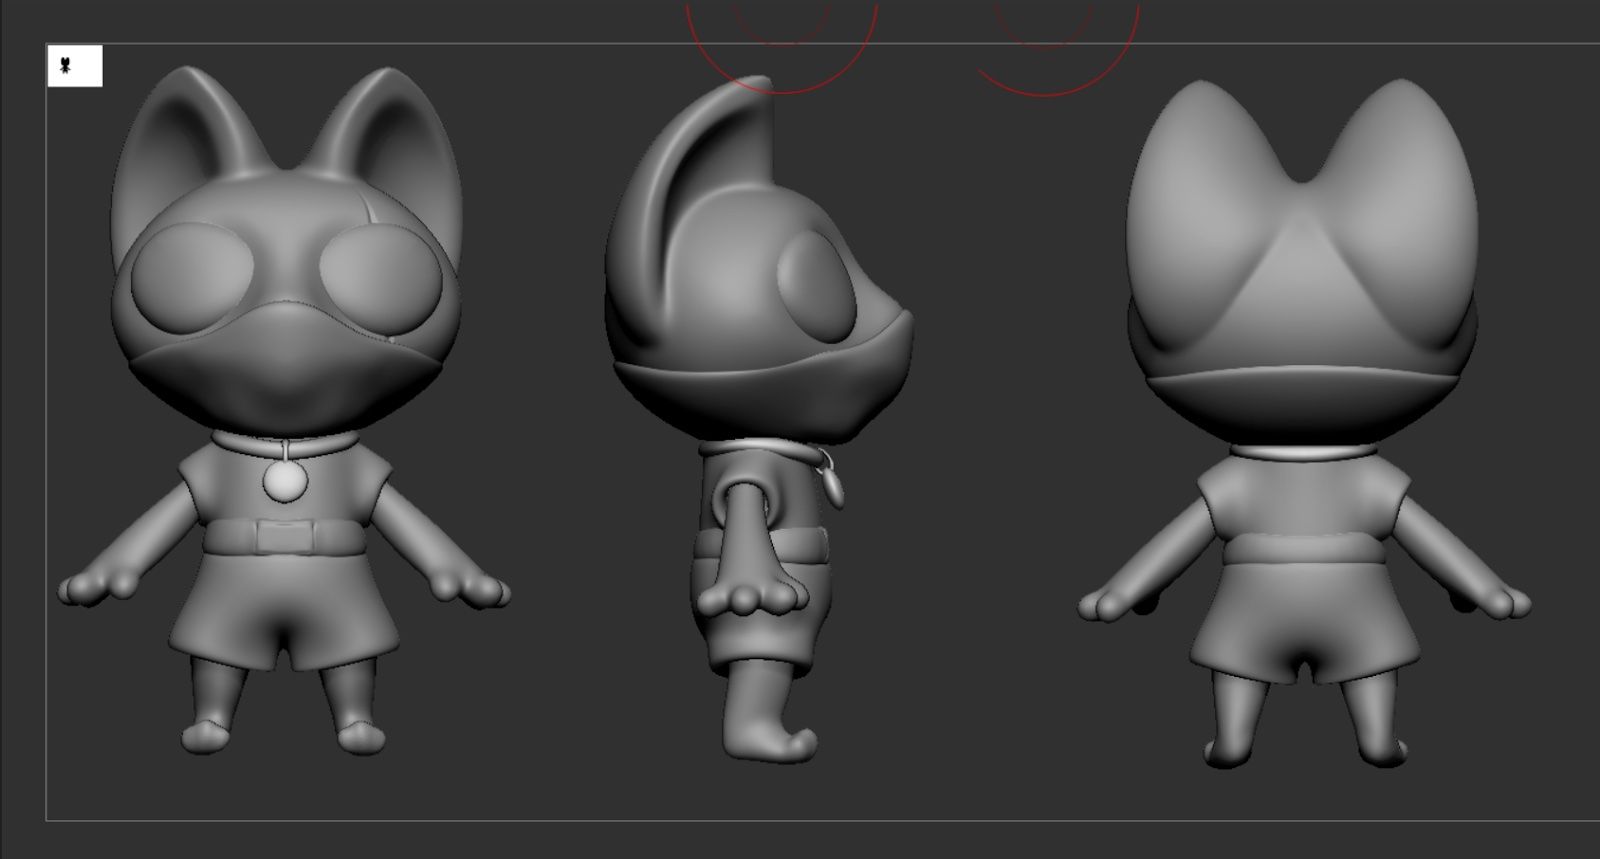
For my ZBrush Workflow, I started by importing basic 3D primitives. Using the ZBrush’s sculpting brushes I managed to shape and detail my model, focusing on proportions and primary forms. I continued to refine my sculpting by adding intricate details such as the kimono, collar and belt.
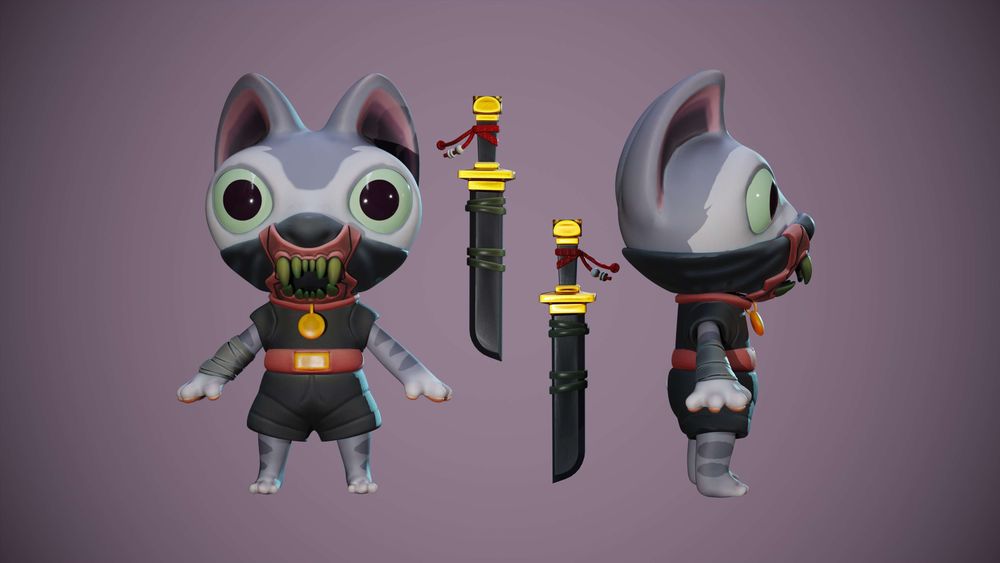
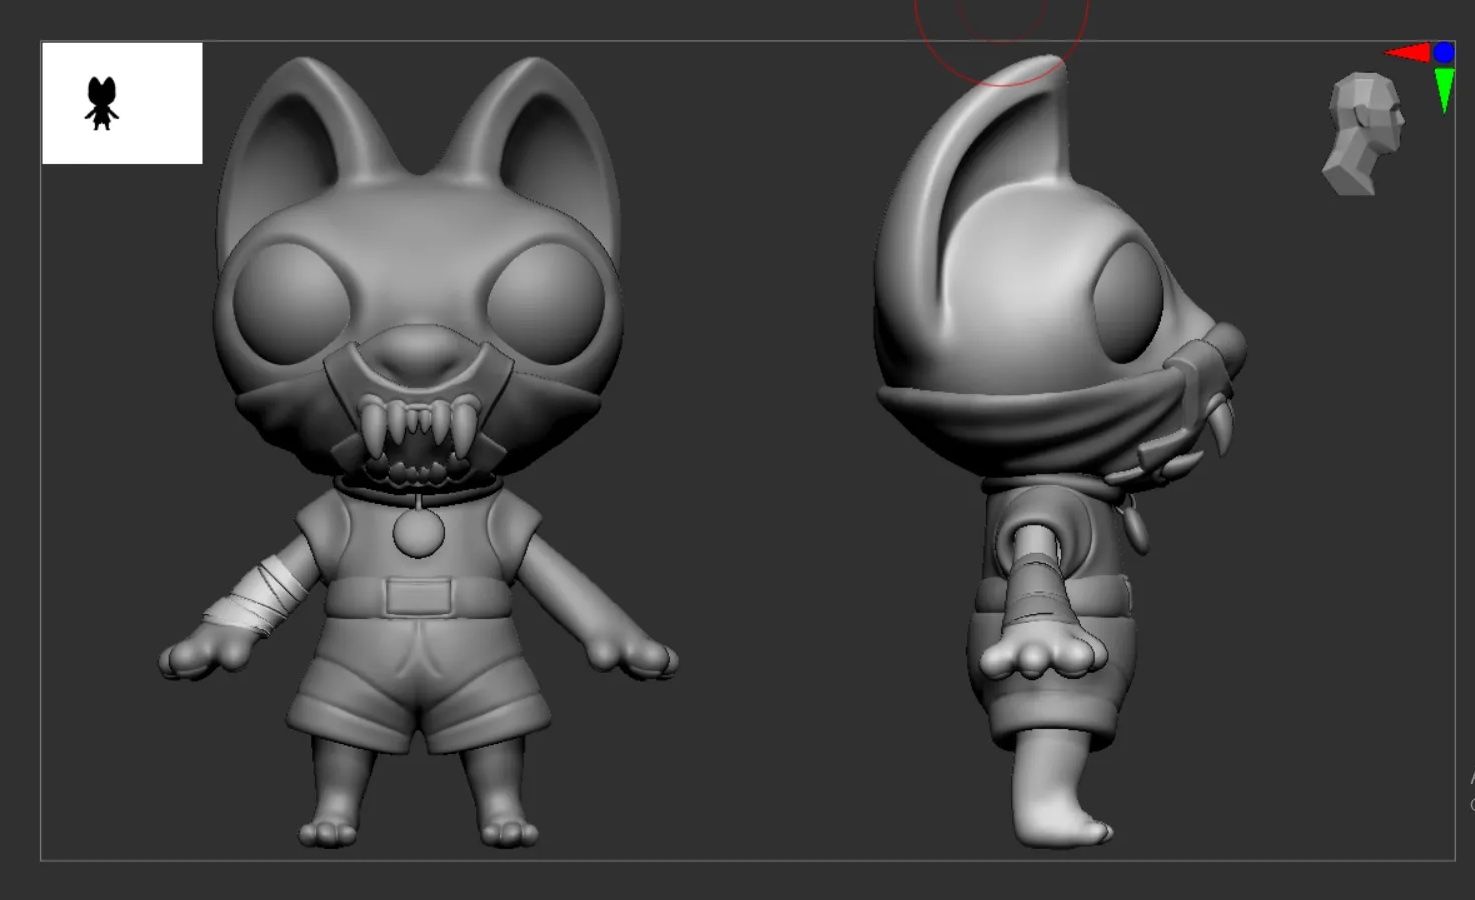
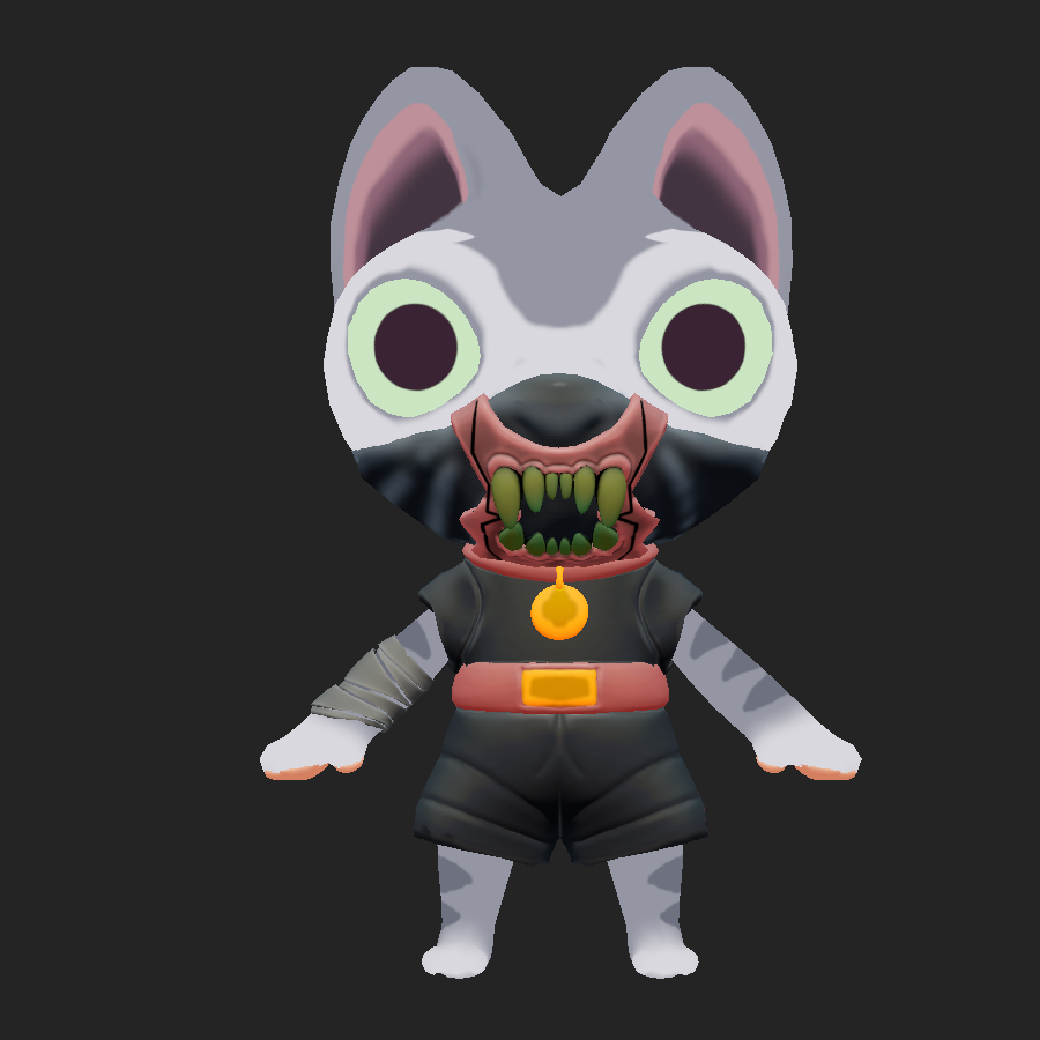
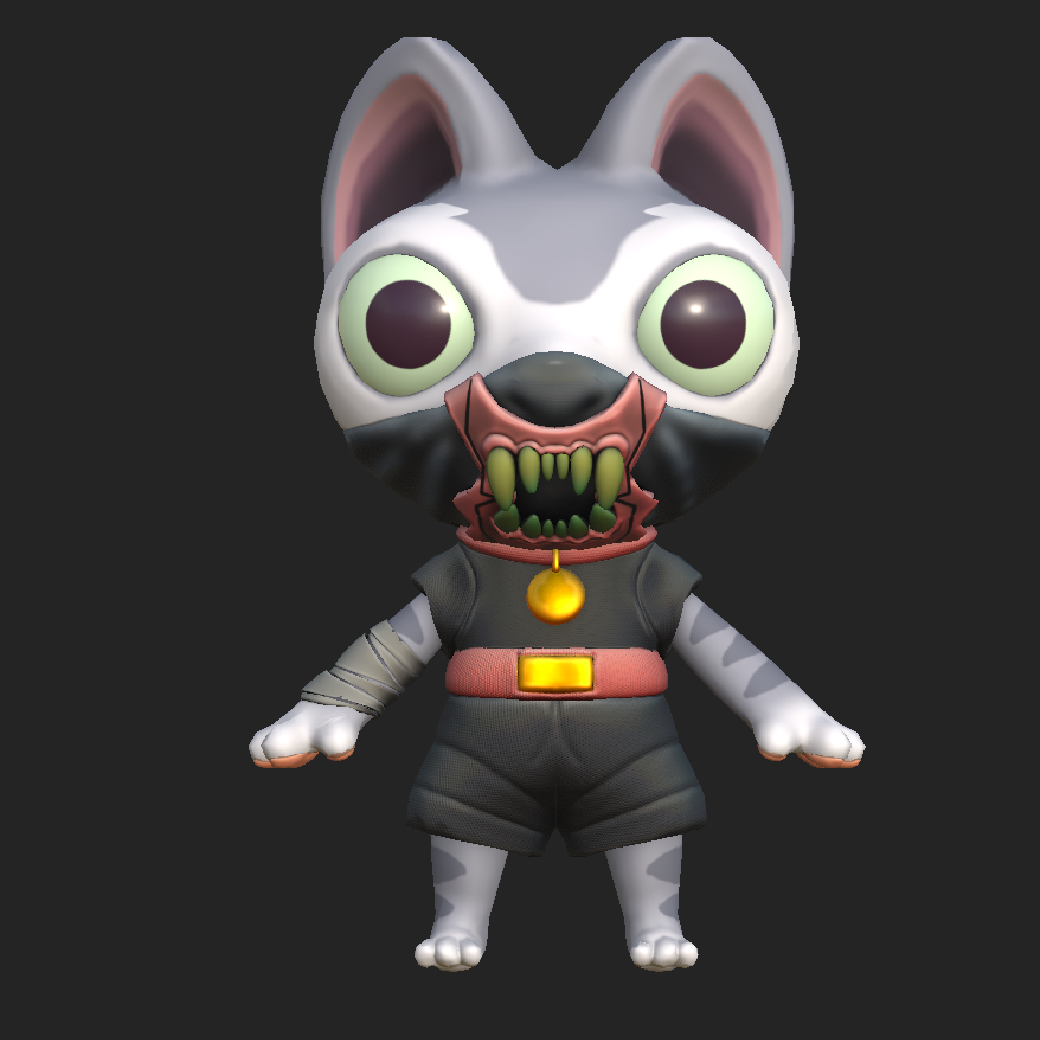
I wanted to add something more to my character, so I decided to make him a little more intimidating. As a ninja, he has to have something to cover his face, but knowing that the character is a cat I didn’t want to hide the teeth that are a characteristic of an animal cat. I ended up making a mask and putting some bandages on the arms of my character.
The ZBrush workflow was both challenging and rewarding. The biggest challenge was the sharp teeth. Because of the material of the mask which was cloth, I couldn't put the teeth directly on the mask. What I did is with the option Mask in ZBrush I masked the form of the prosthesis for the teeth on the mask and with the extrude option I made the prosthesis. After that, with a simple sphere, I made one tooth and with the Pinch brush, I pinched one of the points so it had the natural shape of a sharp tooth. With the Standard brush I outlined the place where the teeth begin, and I also with the Standard brush I put some volume on the mask so that I could get that cloth material. Overcoming the learning curve and improving my tools and techniques was fun. The process breathed life into my character, giving him a unique personality and developing their appearance.
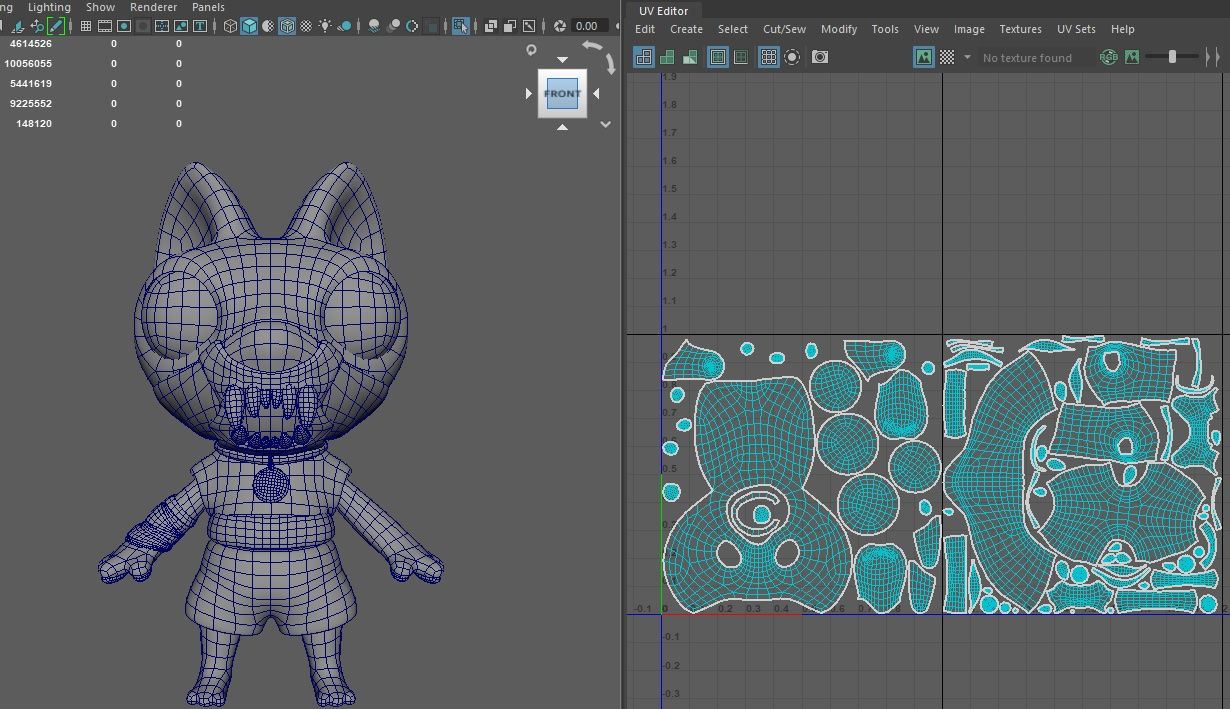
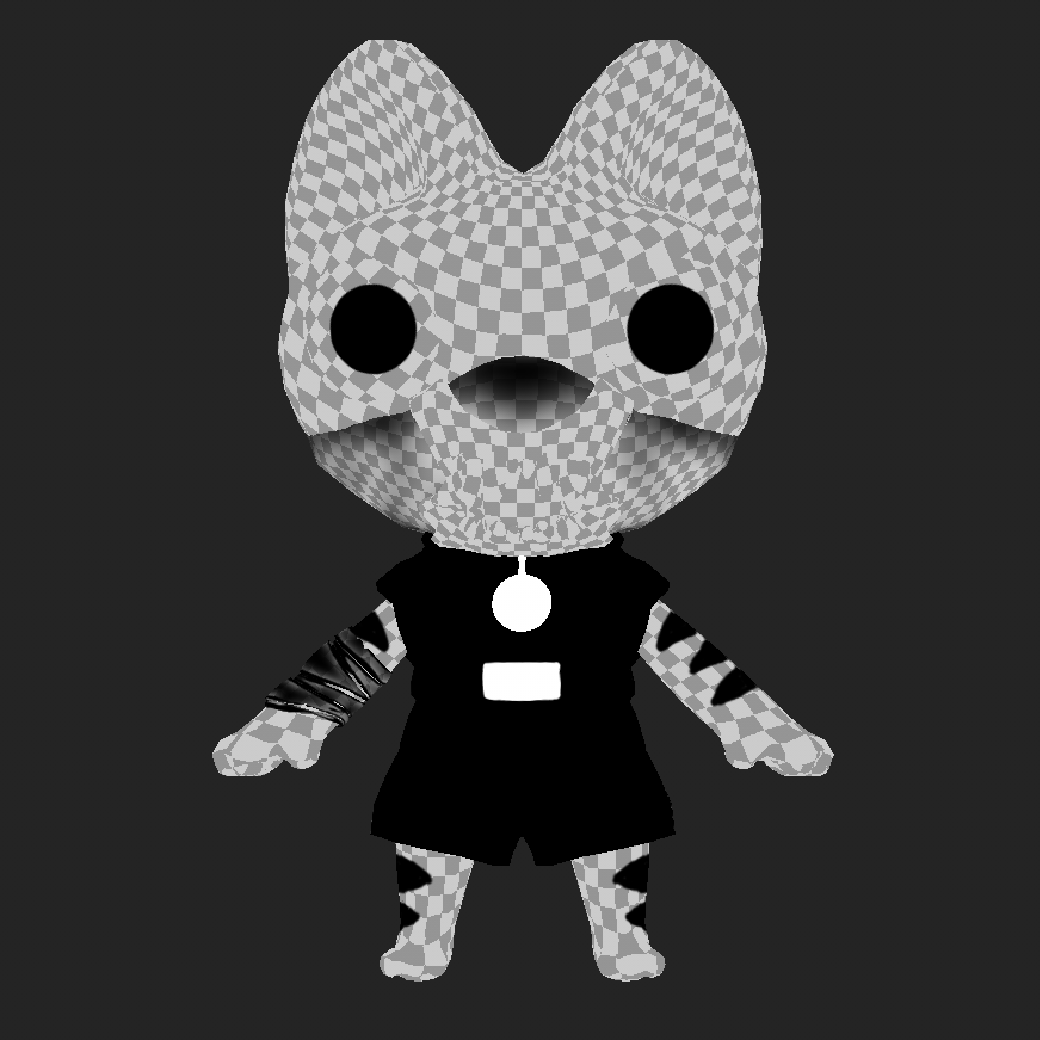
After that, I exported my 3D model from ZBrush and imported it into Maya. I performed retopology to create a cleaner and more animation-friendly topology. Retopologizing in Maya enabled me to reduce the overall polygon count while maintaining the visual quality of my mode. Also, it helped me create my UV maps easier.
Modeling & Retopology
I then exported my 3D model from ZBrush and imported it into Maya. I performed retopology to create a cleaner and more animation-friendly topology. Retopologising in Maya enabled me to reduce the overall polygon count while maintaining the visual quality of my model. Also, it helped me create my UV maps easier.
I used Maya to create the sword which was the weapon of choice for my character. I began with the blade of the sword starting with a simple polygon cube and using extrusion, scaling and beveling to shape it into the desired blade form. After that, I created the hilt and the guard of the sword using additional polygon primitives, like cubes, spheres and cylinders to model the grip and the pommel of the sword. I added some fine details and bevels and some additional components to the blade.
Texturing
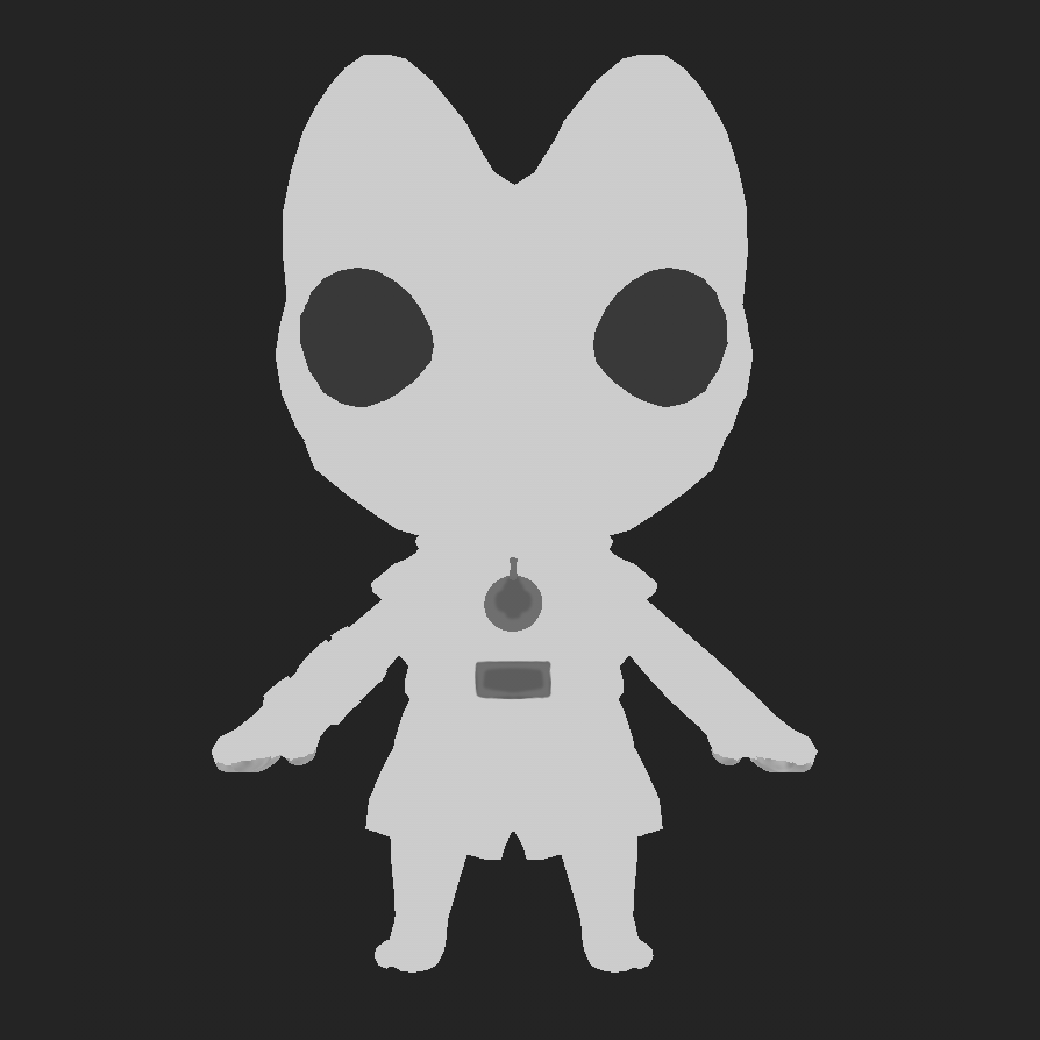
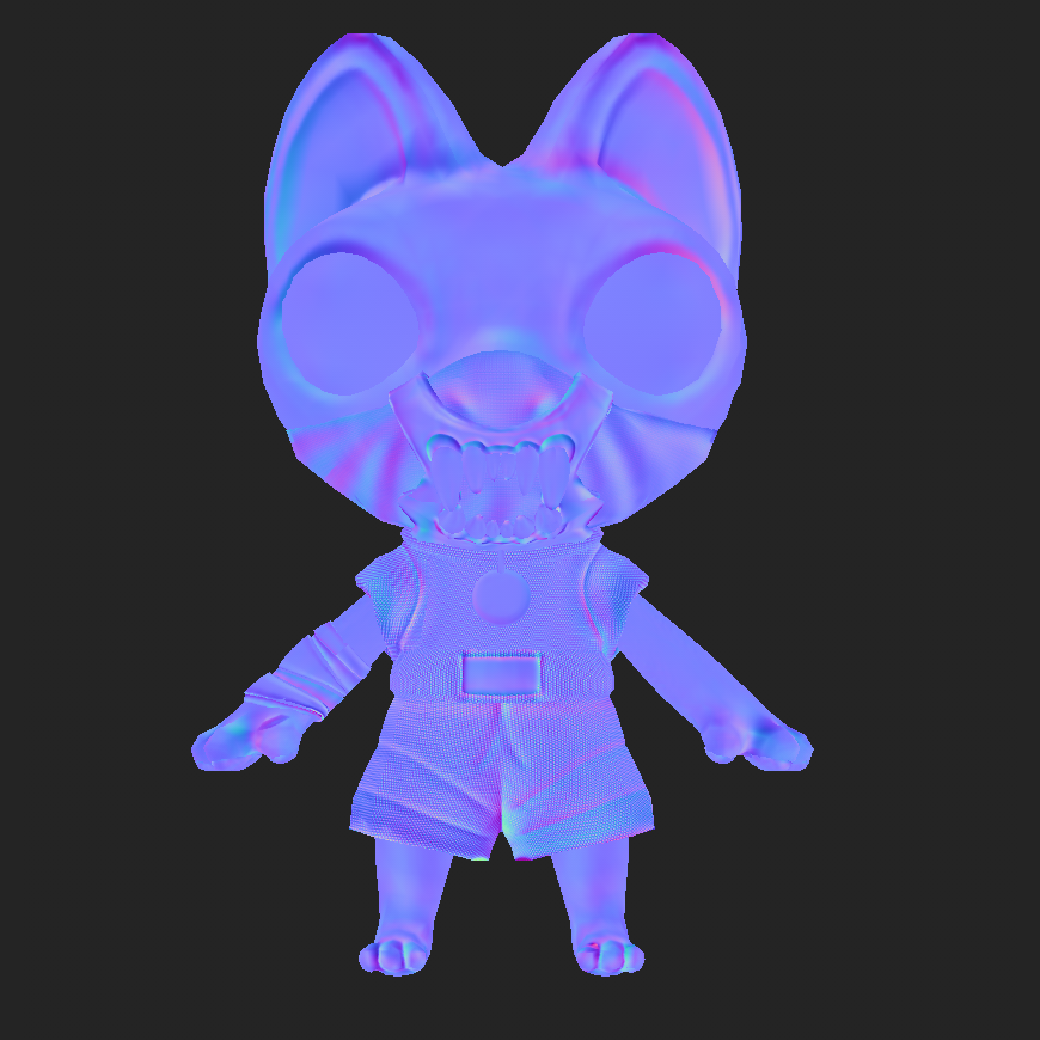
For texturing my model I used . I started by importing my 3D model into Substance 3D Painter and baking my model. I used smart materials and masks in an efficient way to achieve complex and realistic textures.
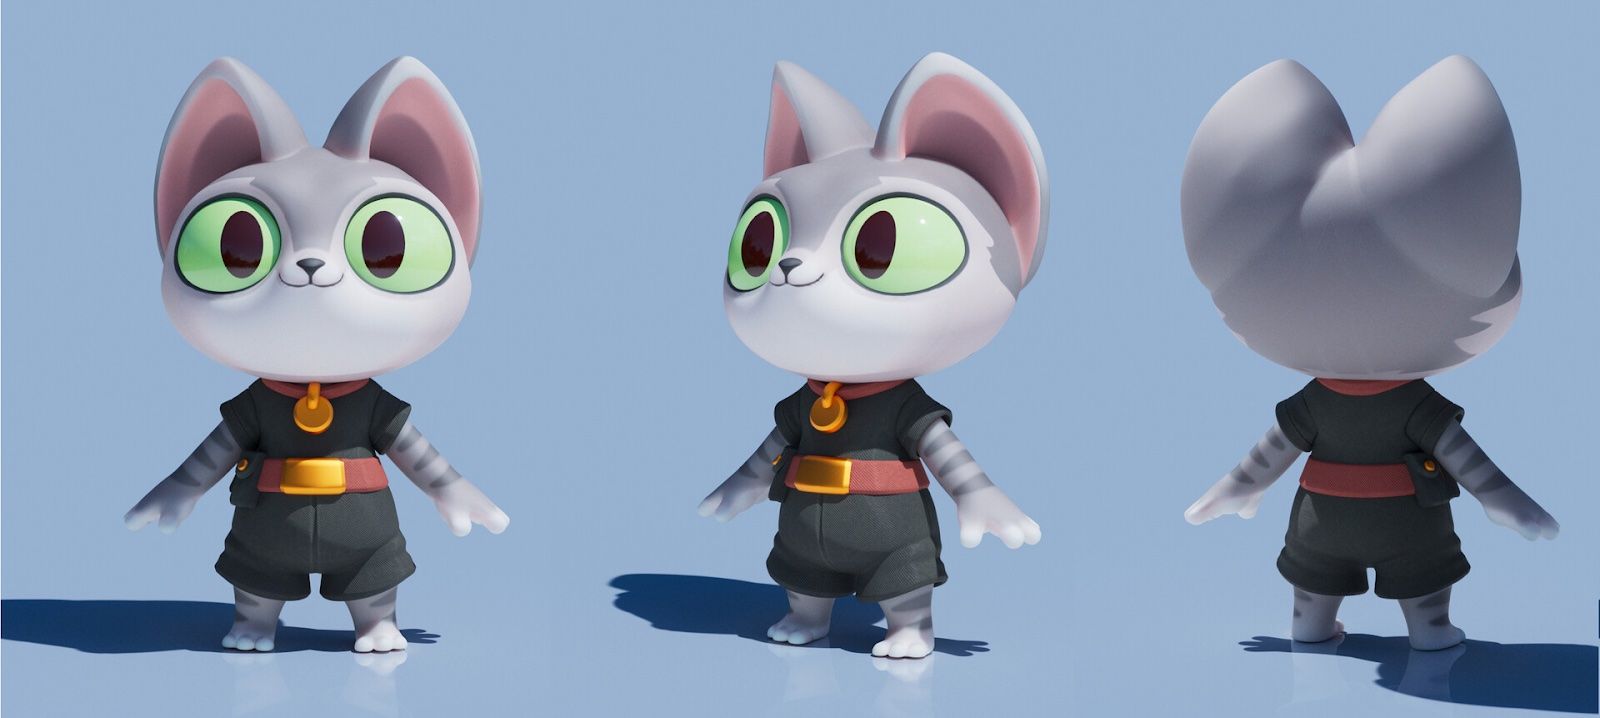
I textured my model using Substance 3D Painter, starting by importing and baking it. For the body, manual painting began with a base colour, adding a white layer for the face, hands, and feet, and a dark gray colour for arm and leg patterns. Smudging enhanced the natural feel. Smart Materials, specifically Fabric Synthetic Dots, adorned the kimono. The Black Mask option with the Curvature generator applied to other clothes. I utilized Filter Blur for teeth and added a subtle green curvature for venomous effects.
I also used some manual painting on my character and for some parts, I used the generators offered by Substance 3D Painter. In the end, I used Marmoset Toolbag for the final renders.