Building a Complete Rig for Games and Animation: Spider-Gwen
Alexandre Pragnon, a CIME-art student, shares how he created a versatile rig inspired by Spider-Gwen, suitable for both gaming and animation.
Alexandre Pragnon, a CIME-art student, shares how he created a versatile rig inspired by Spider-Gwen, suitable for both gaming and animation.

Always intrigued by video games and animated films, the passion for rigging in particular was ignited within CIME-art student, Alexandre Pragnon. We enjoyed his latest project, building a rig inspired by the Spider-Gwen character and we asked him to share how he built a complete rig that could be used for a game or animation project - enjoy!
The Spider-Gwen project is an individual project completed during my 4th year at CIME ART, Béziers. The purpose of this project was to create a complete rig for this character for animation or video games.
The character needed to have the following functionalities: IK/FK for the legs and arms, an IK spline for the spine, and reverse foot for the foot. We will detail each part, point by point, in the following sections of the article.
To begin, I had to choose a model that could accommodate the functionalities listed earlier. Therefore, I chose the Spider-Gwen character.
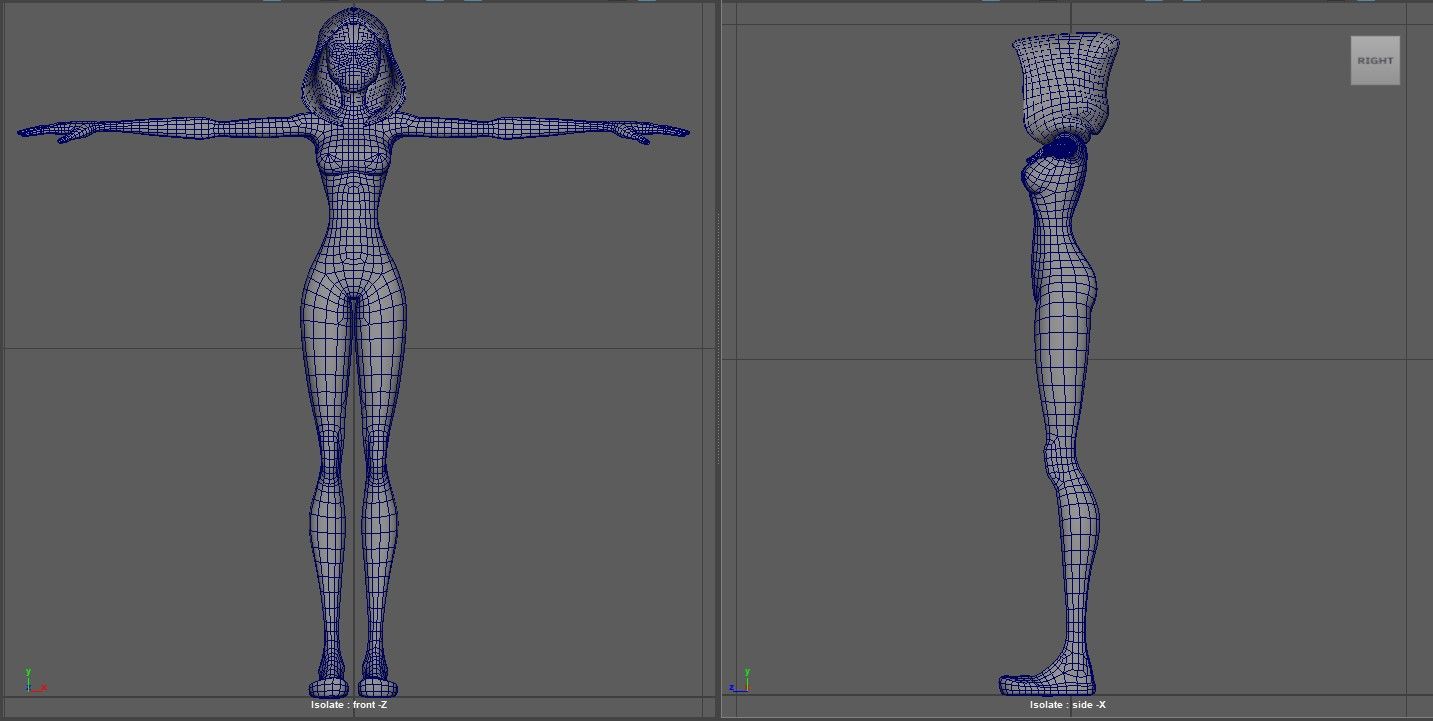
Before starting to work, I first checked if my model was "clean," meaning if the model was suitable for rigging. This involved examining the edge loops and ensuring the topology was correct.
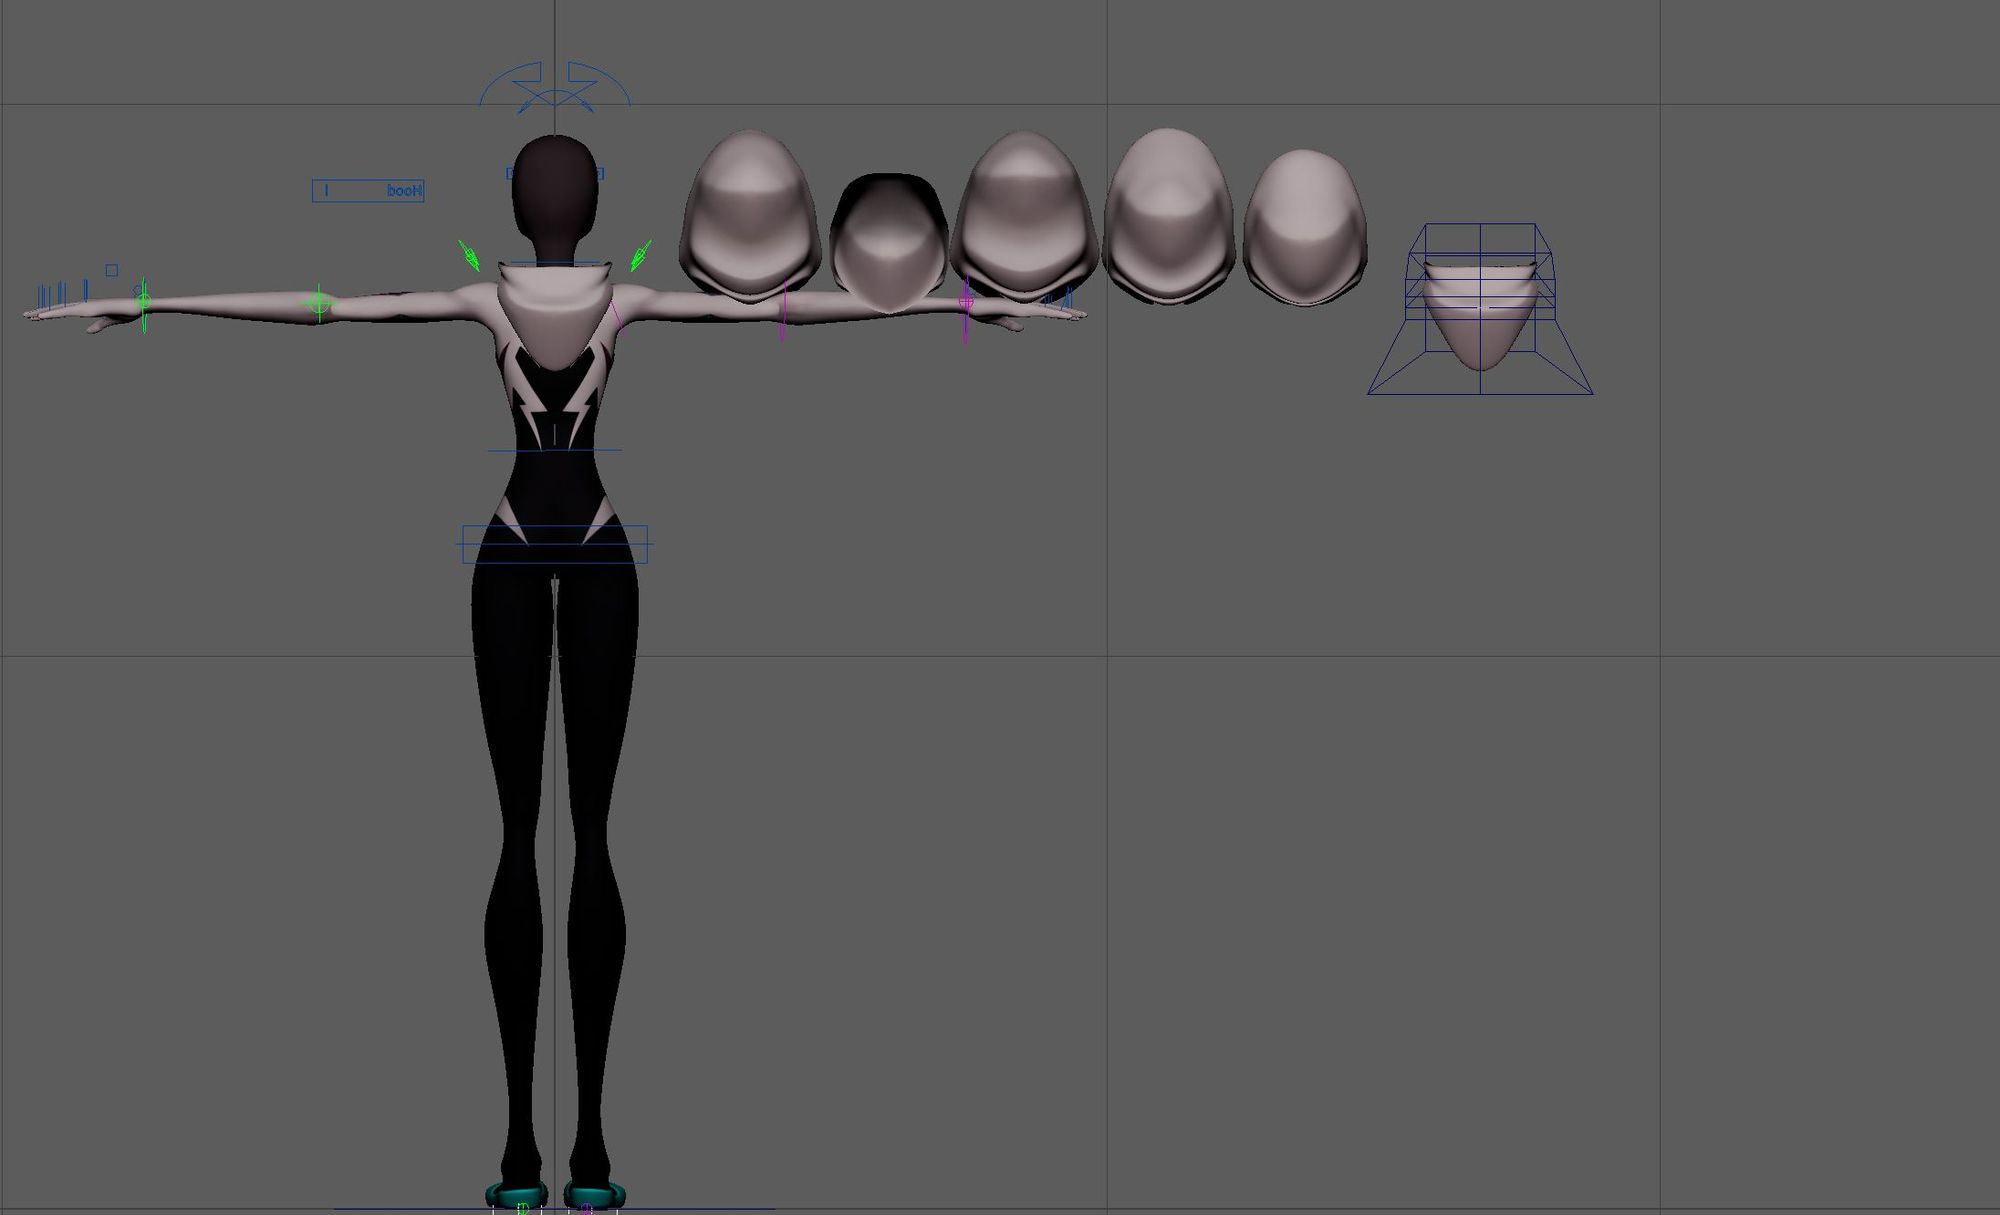
Next, I started by placing the bones following several skeleton references. It's important to remember to add an additional bone between the elbow and the wrist for twist control. I used a lot of references to place the bones as accurately as possible and to achieve realism.
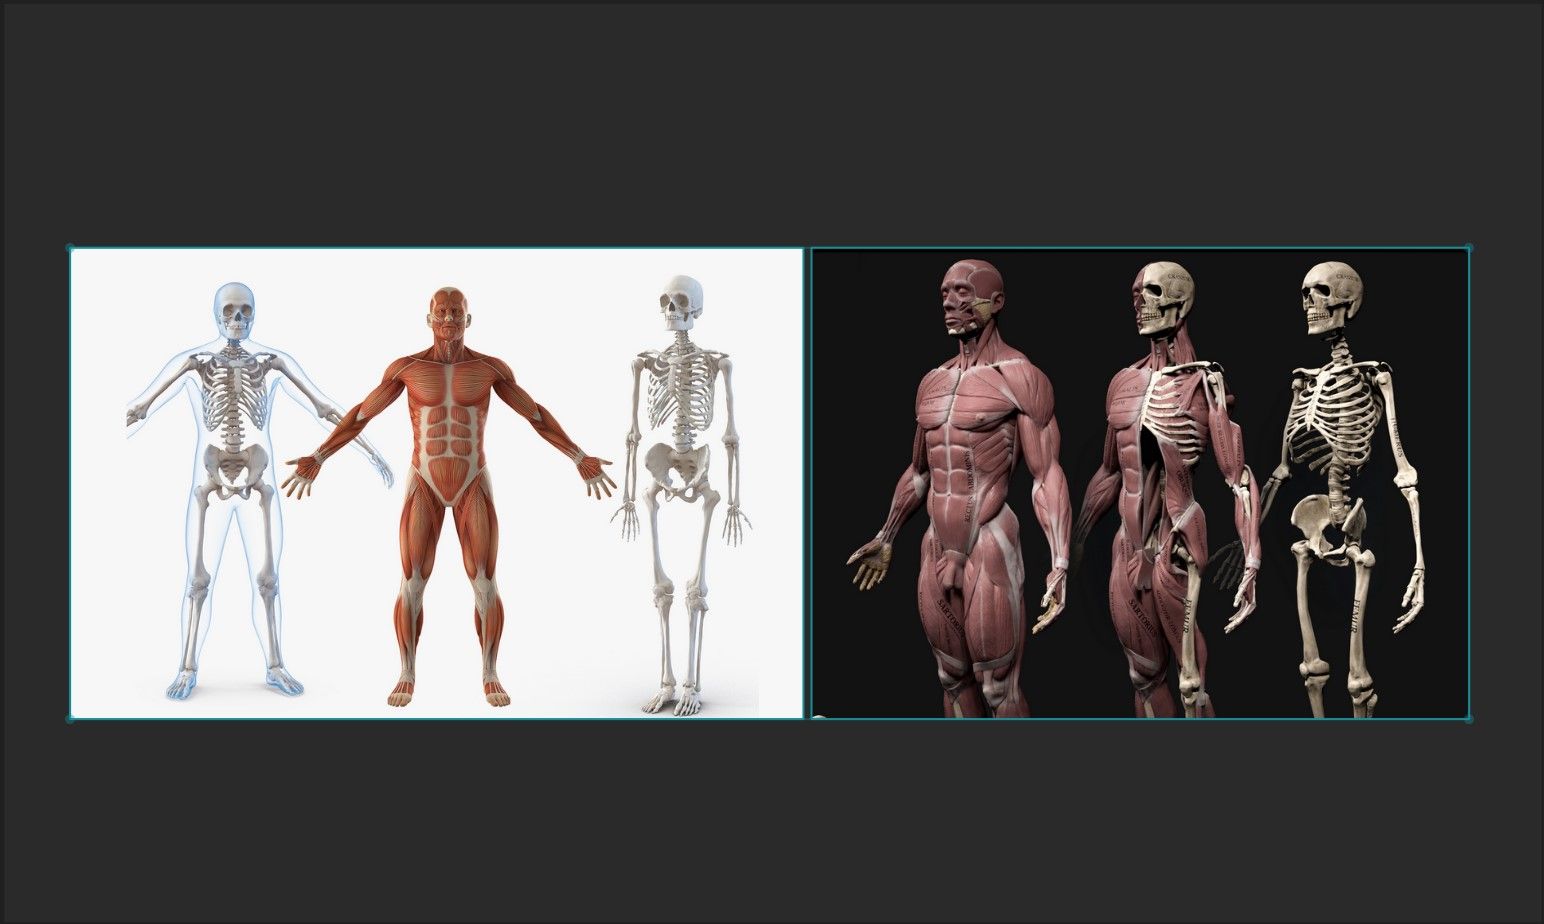
Next, I started by placing the bones following several skeleton references. It's important to remember to add an additional bone between the elbow and the wrist for twist control. I used a lot of references to place the bones as accurately as possible and to achieve realism.
After placing all the bones, we need to orient them. This ensures smooth and natural movements of characters or objects. Correct bone orientation ensures that joints bend and move realistically, which is essential for creating convincing and credible animations.
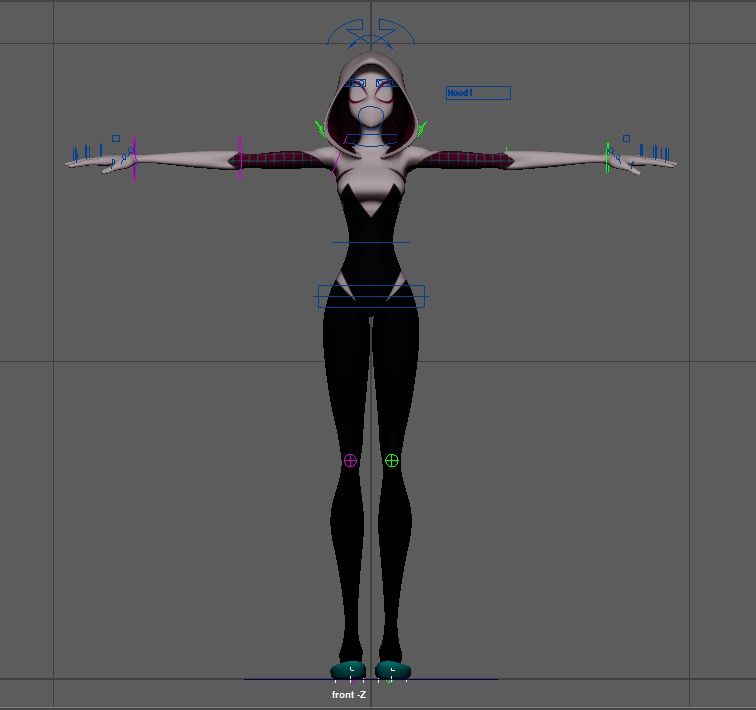
Now that I have a properly oriented skeleton, I'll place some controllers to start working. I'll include the Root, hips, and 2 controllers for the arms and legs for the IK system. I'll also set up my IK system with the pole vector.
Next, let's tackle the Reverse Foot. The reverse foot is a technique used in 3D animation to more effectively control the movements of characters' feet. To do this, I'll place 8 locators for swing, roll, and bank, and I'll use the connection editor along with set driven keys to add 3 additional functionalities.
After creating my entire IK system for the arms and legs, I'll create new controllers to establish my FK system and simultaneously create my switch. This way, the animator can choose between the FK or IK system.
Now that I've set up my arms and legs, I'll create my spine with an IK spline to achieve smoother pelvic movement.
I'll revisit the arms and use the twist bone. Using the node editor, I'll add a blend color node and a multiply divide node so that the IK and FK wrist controllers affect the twist bone's rotation. In a real human body, when we turn our wrist, the forearm rotates by half the amount. So, in the multiply divide node, we'll divide by two.
For the facial part, I added some controllers for the jaw and brow, allowing me to manipulate expressions during rendering. However, the most significant work on this character is the hood: I created a switch that allows the animator to manipulate the hood with simple controllers or through a blendshape system. Blendshape is a technique used to deform 3D models through sculpting.
For the hand and fingers, everything works similarly to the arms, with an FK and IK system. The fingers have two additional attributes: Spread and Bend. These attributes allow the animator to control the hand's opening or the spreading of the fingers. These tools work with set driven keys.
After completing the skeleton, we move on to the final step of rig creation: Skinning. Skinning associates a 3D model with a skeleton. Typically, I start by working from the feet up to the hips. I refer to various sources to achieve the best deformation possible.
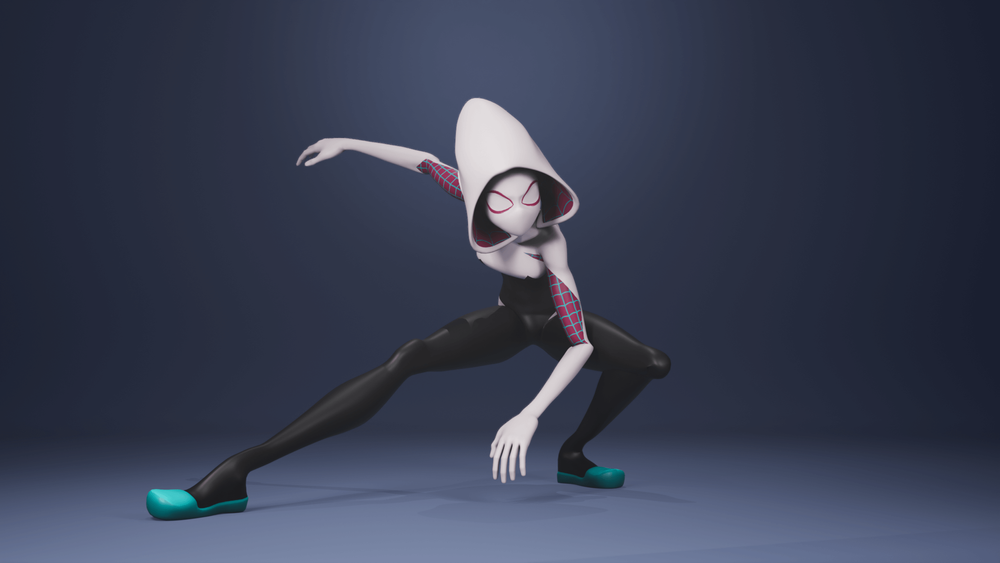
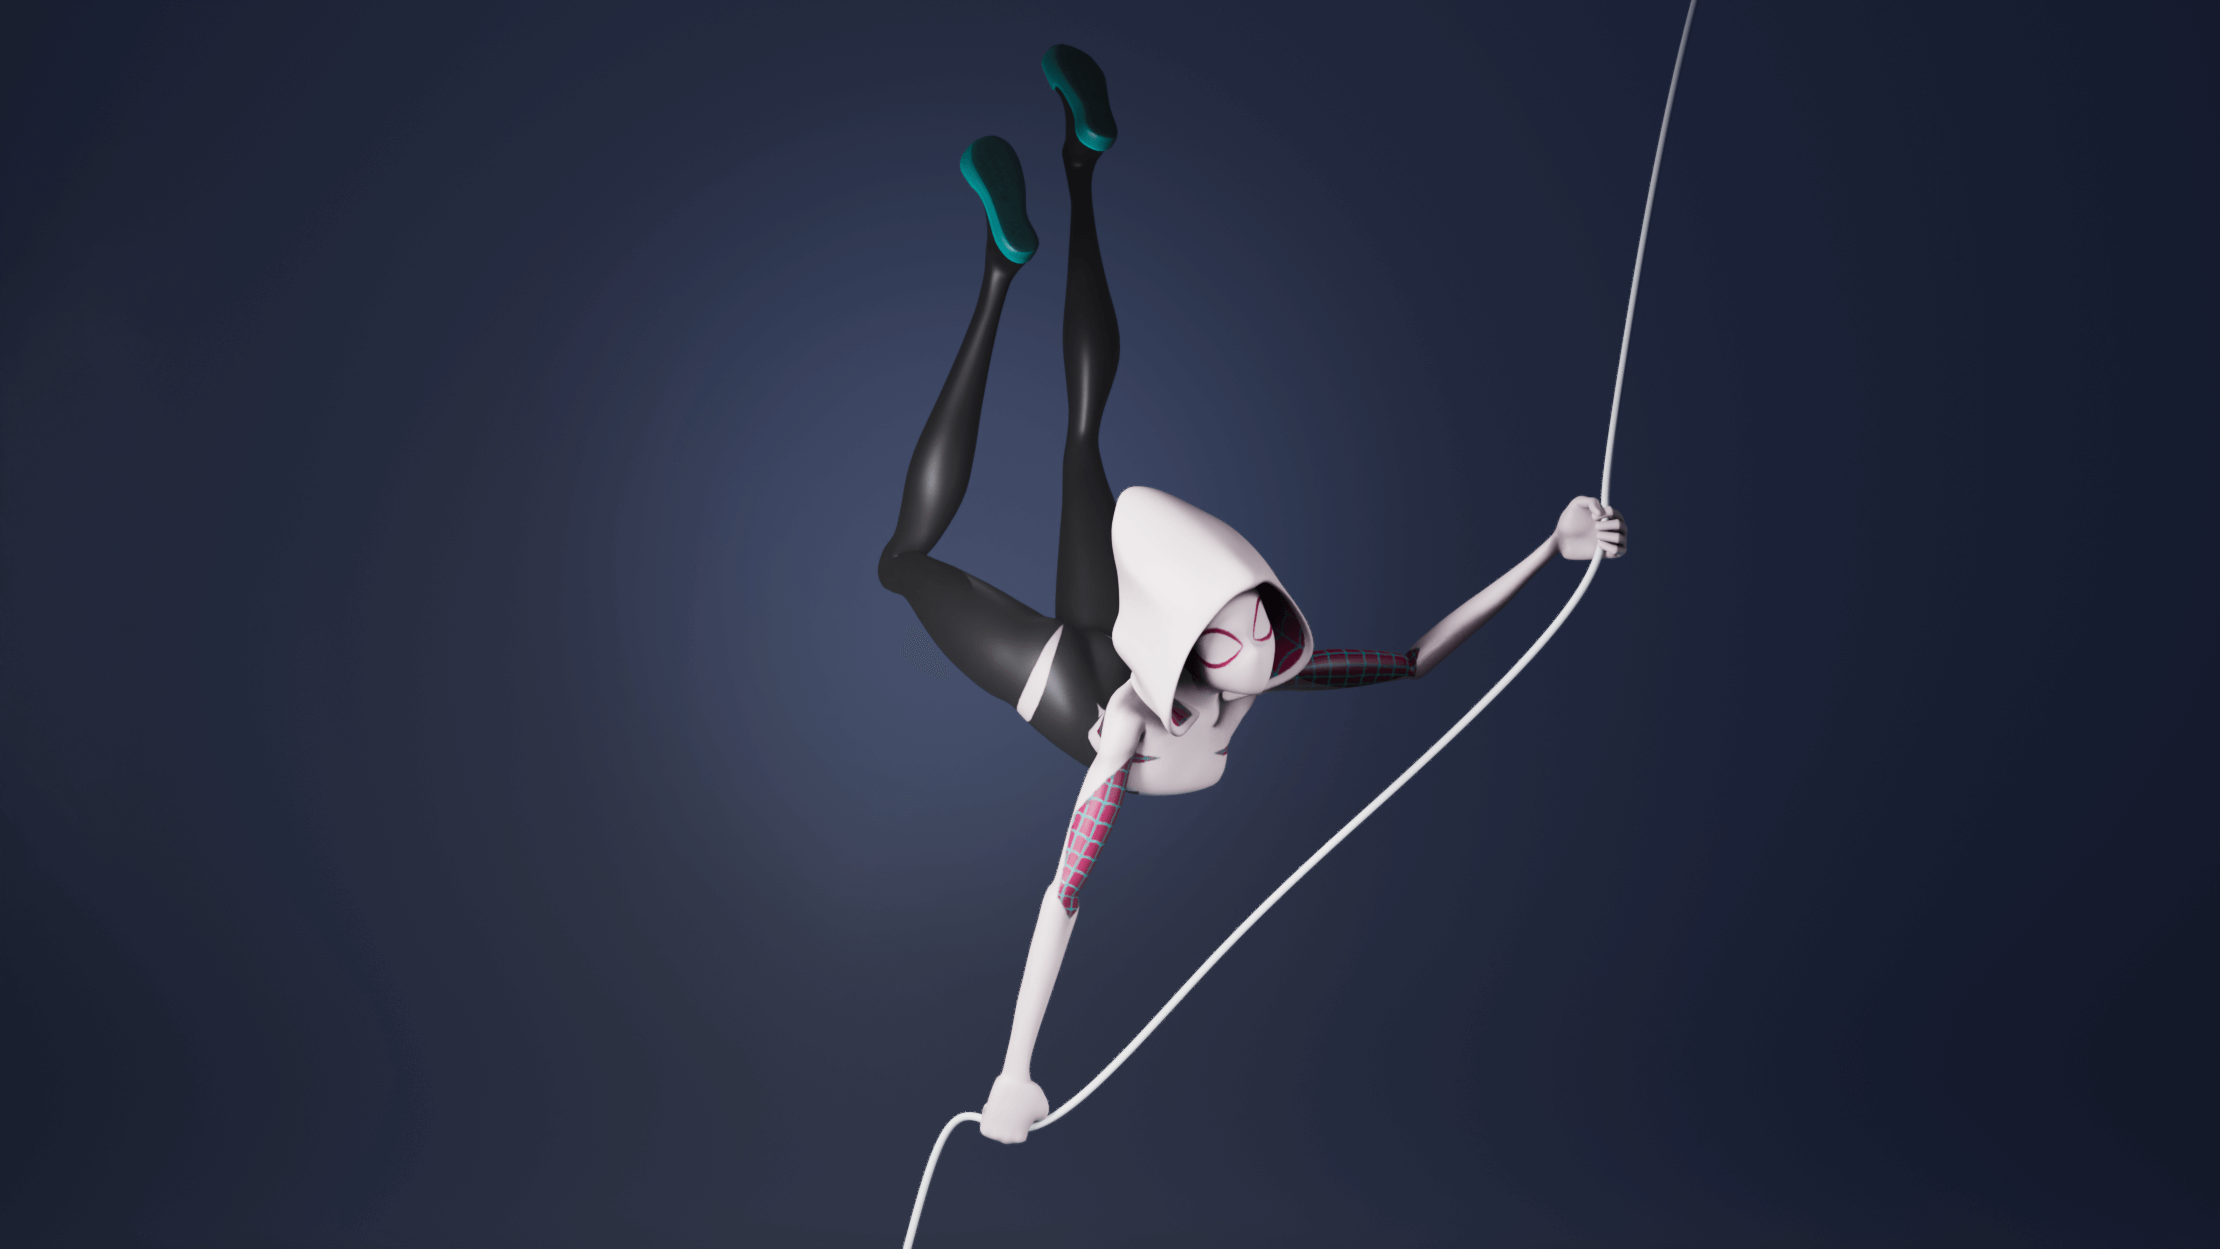
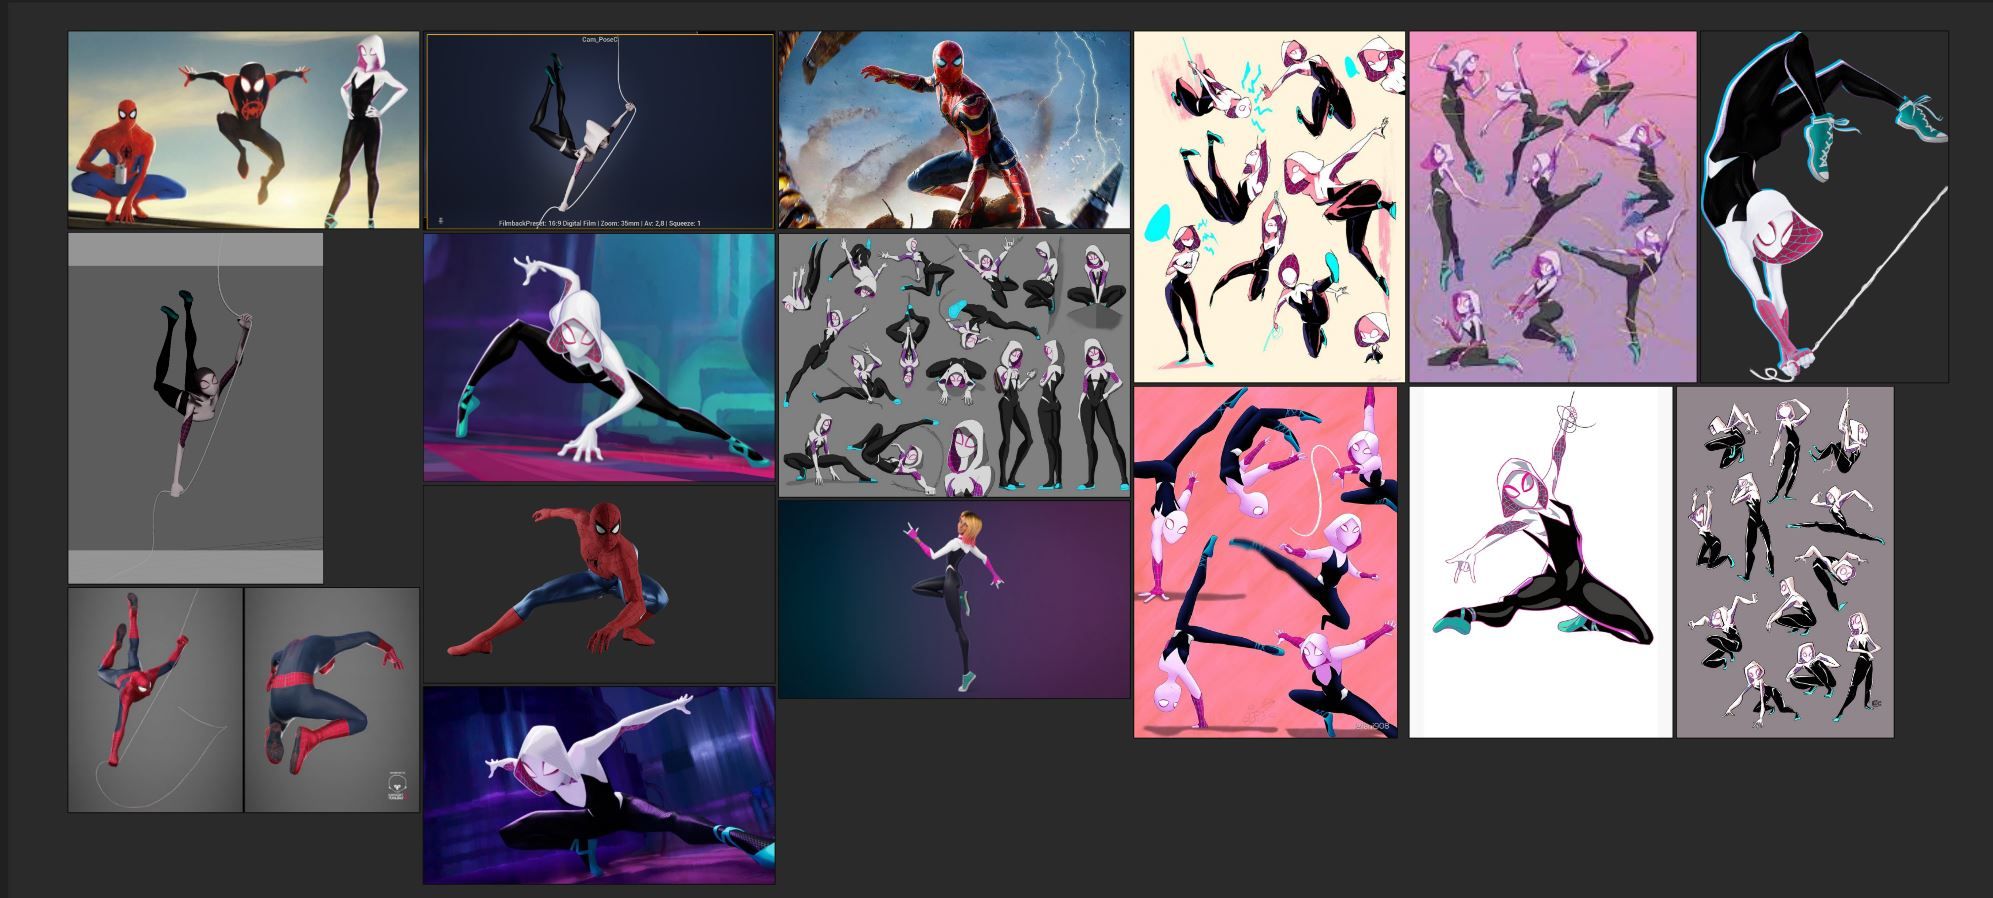
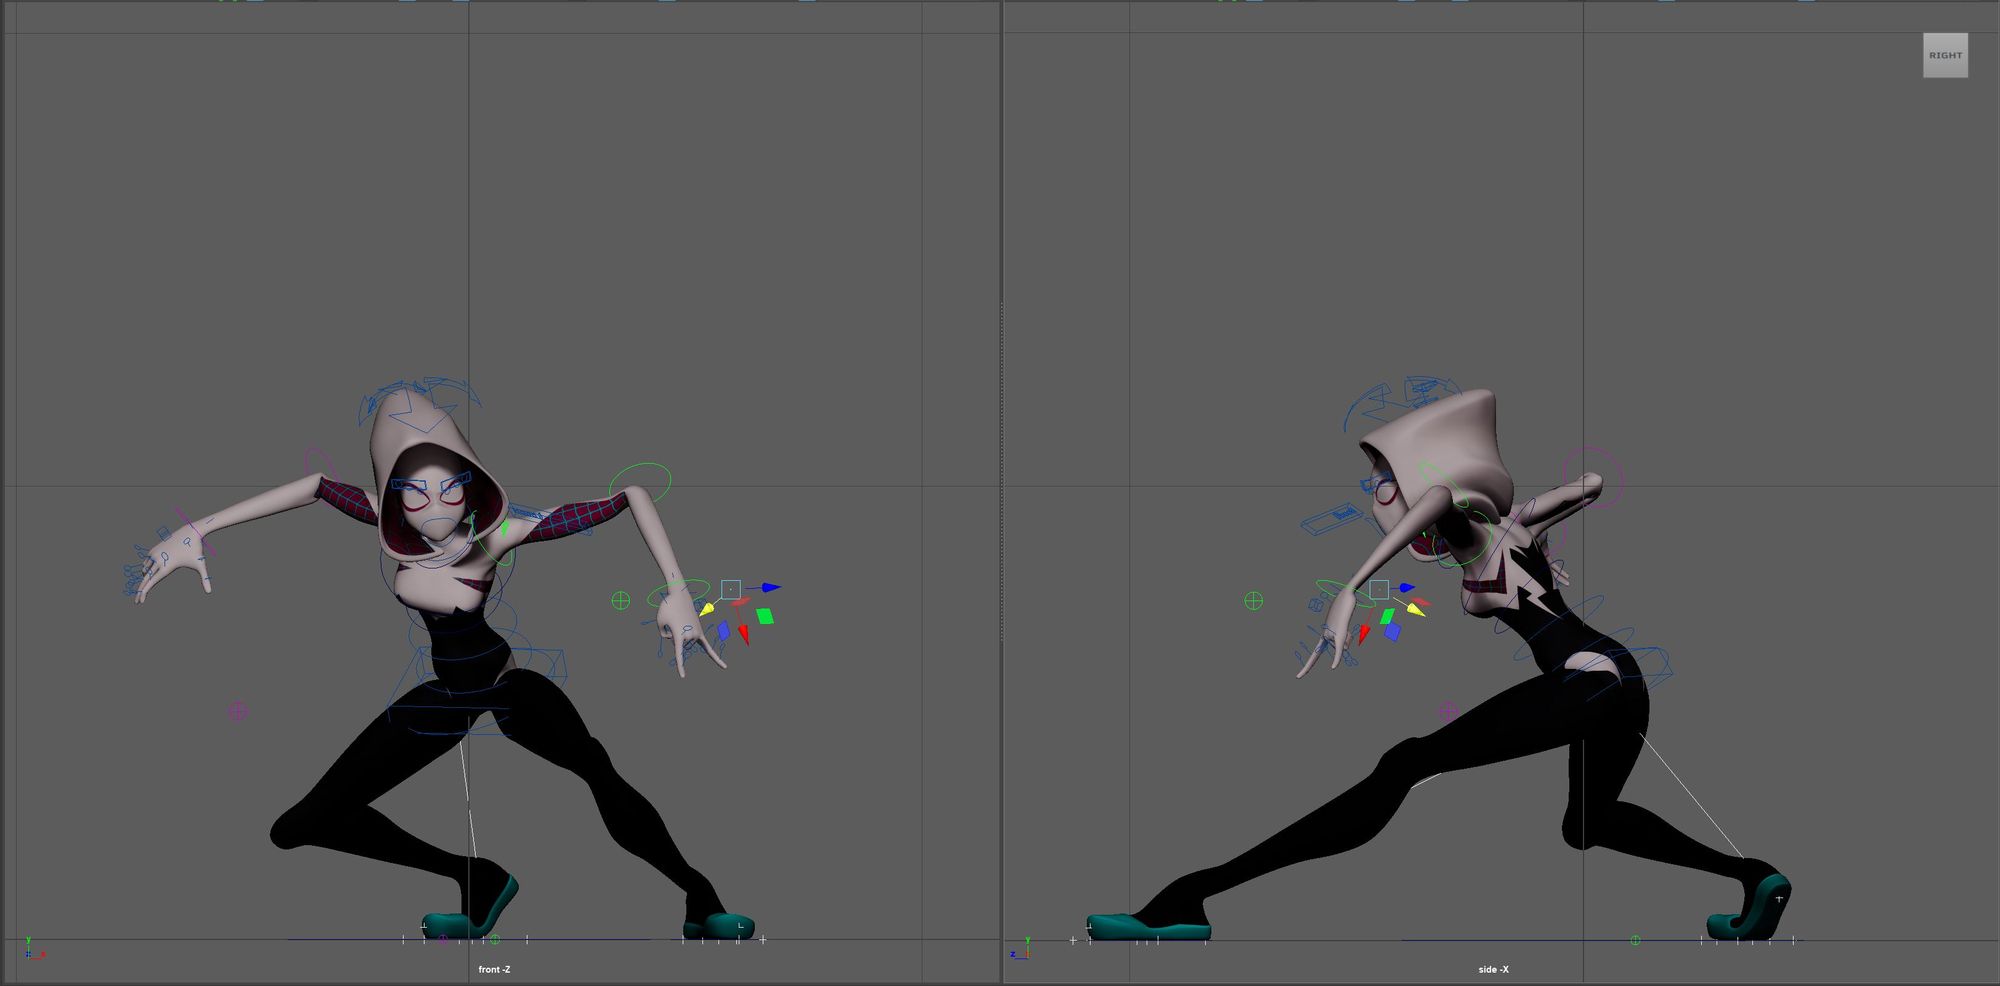
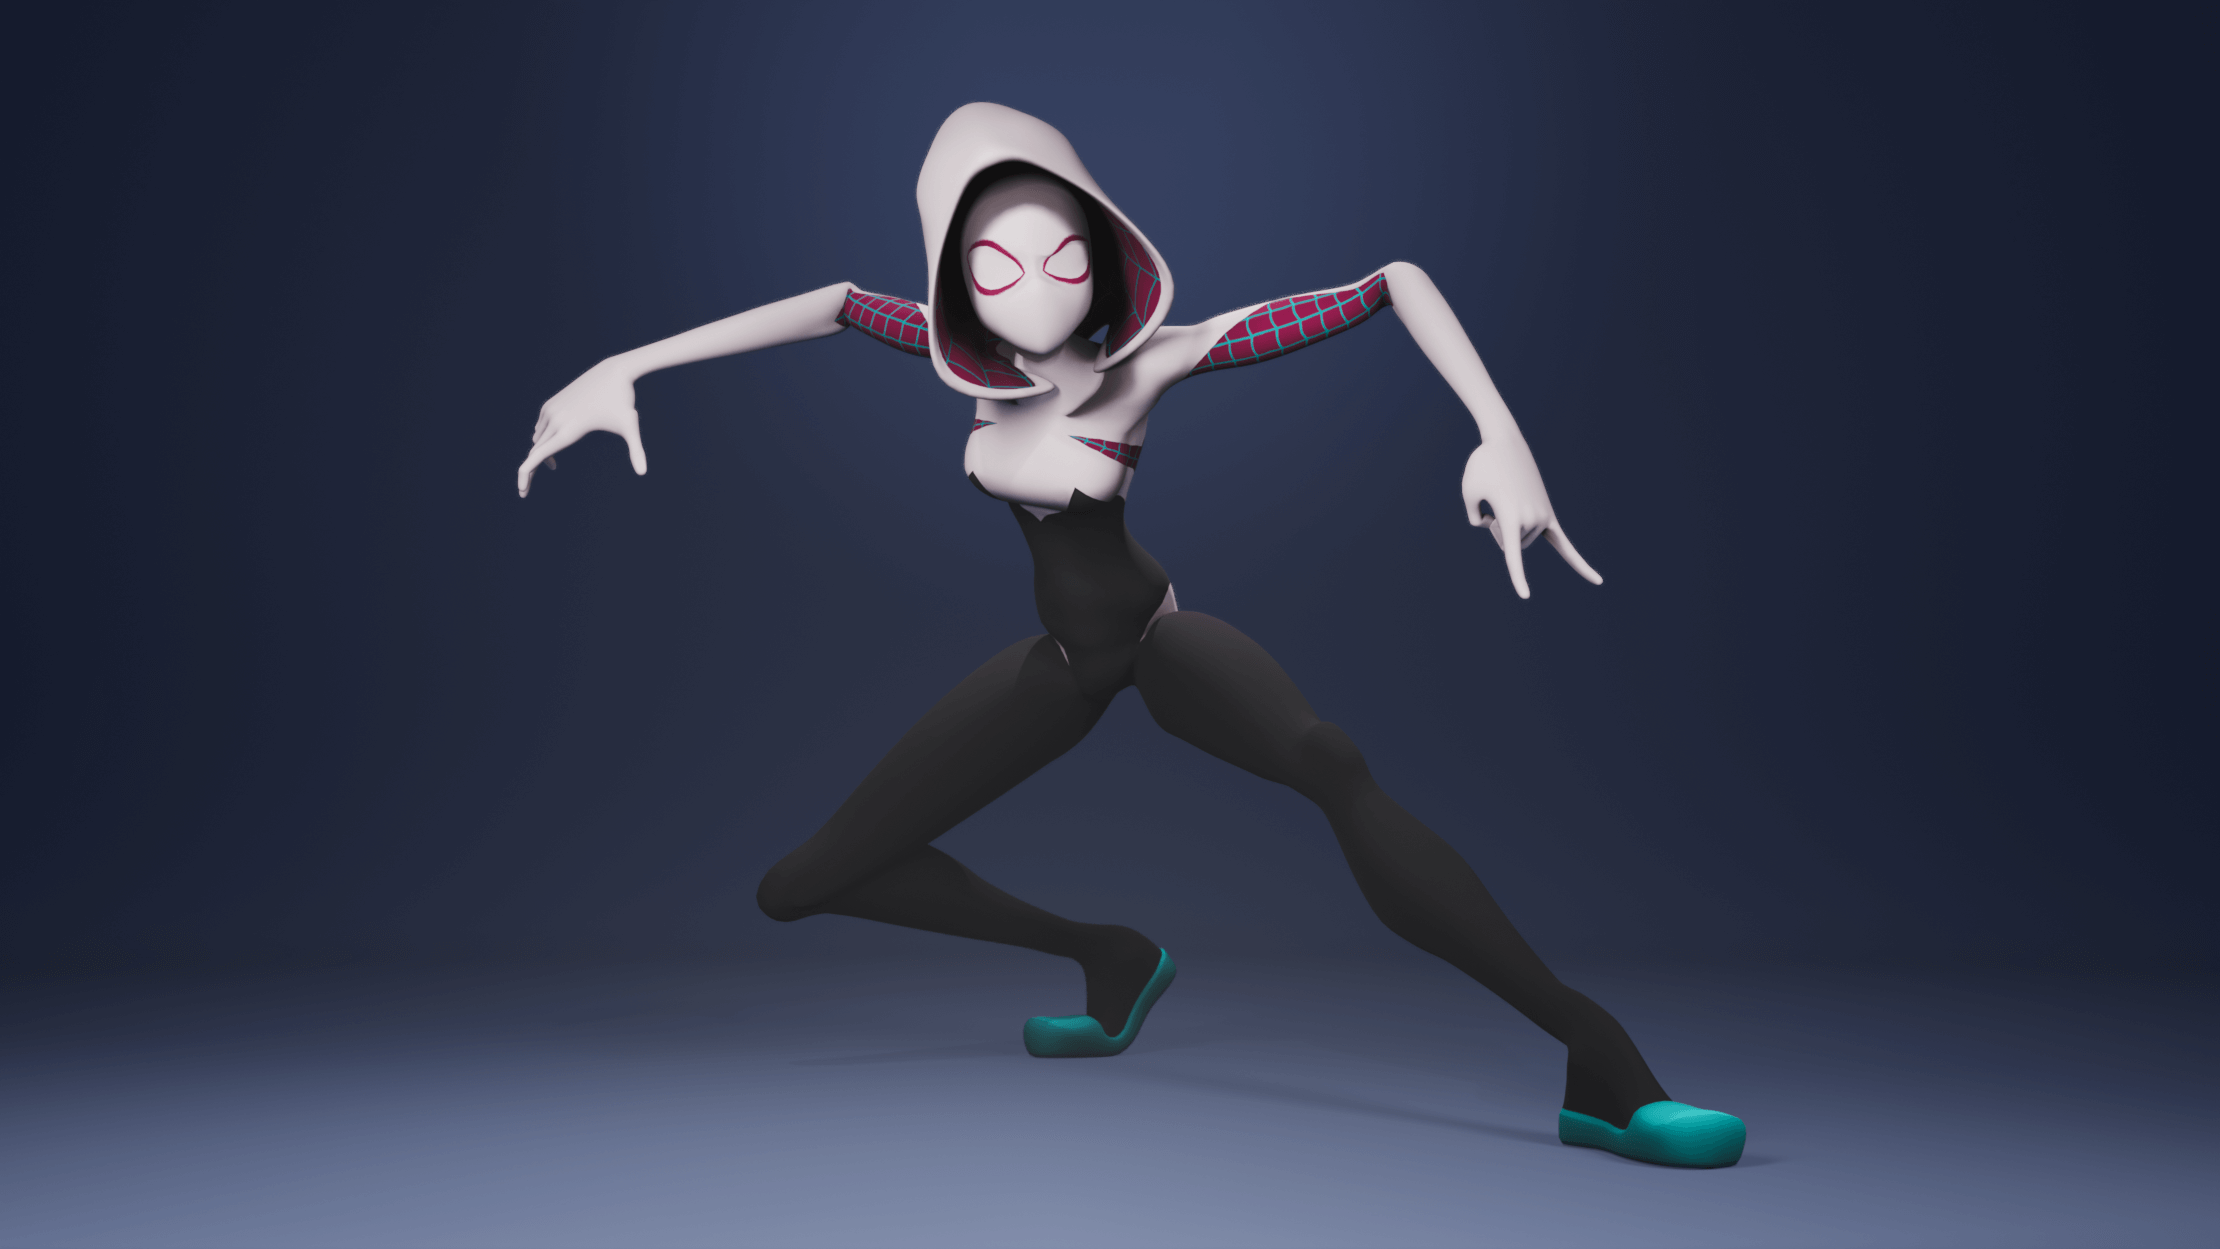
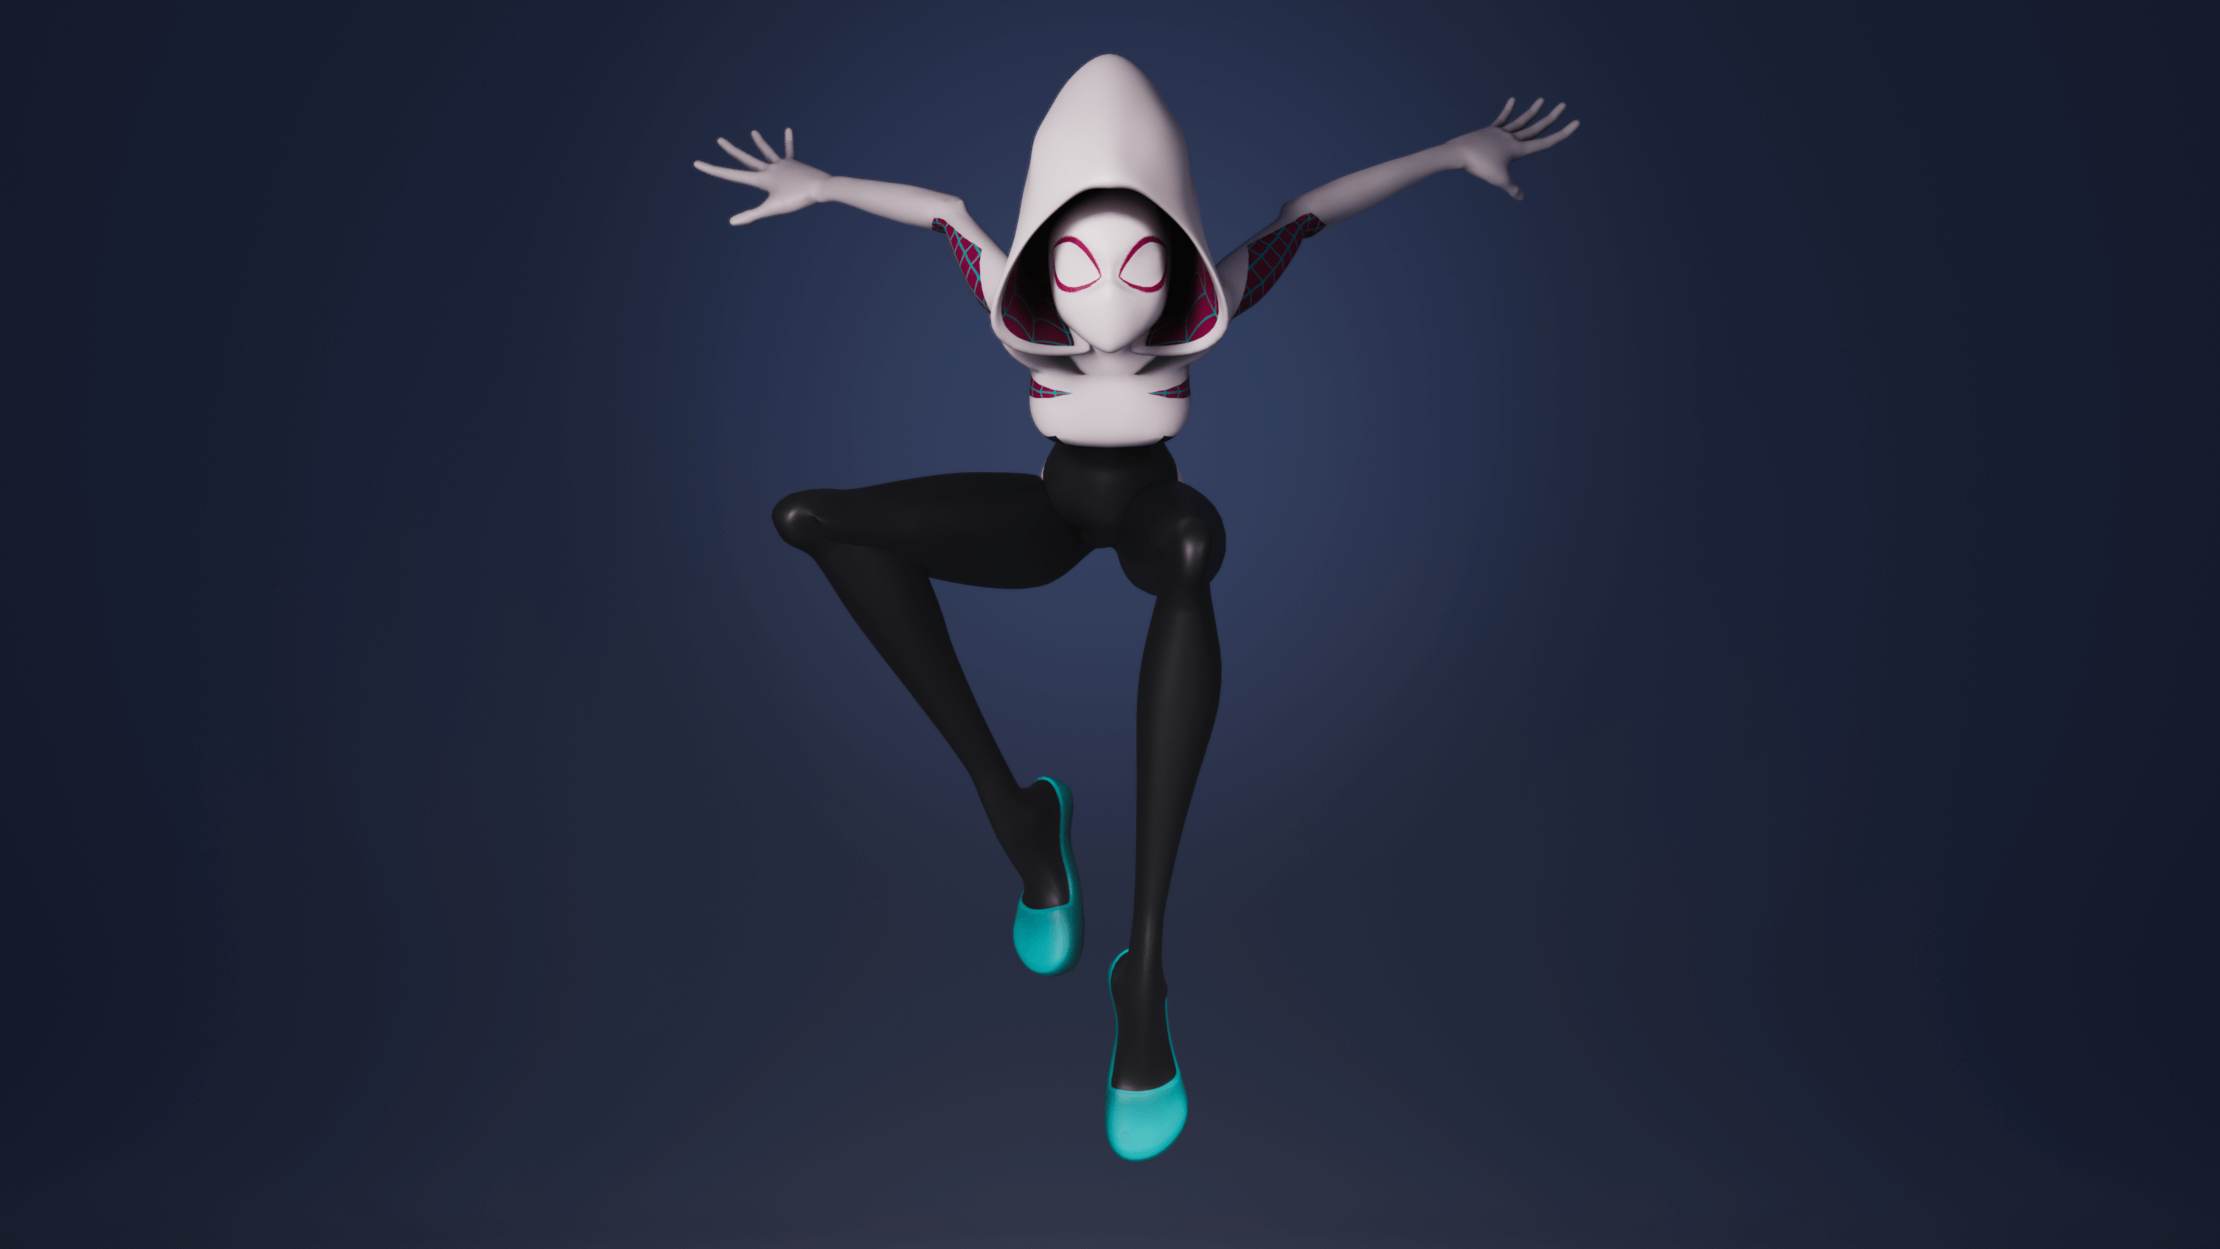
Once my rig is finished, I will create a posing using the controllers I've created. Once again, I will refer to many references.
I set my keyframes and then import my model into Unreal Engine 5. I then create my final scene with some basic lighting and there it is!
Check out more of Alexandre's work in his Rookies profile here.