From Concept to Creation: The Making of Snow Girl
Matteo Hu, a Chinese 3D artist from Italy, shares the steps involved in bringing 'Snow Girl' to life, from the initial spark of inspiration to the final rendering.
Matteo Hu, a Chinese 3D artist from Italy, shares the steps involved in bringing 'Snow Girl' to life, from the initial spark of inspiration to the final rendering.
In this article, Matteo Hu shares a step-by-step process of creating his latest project, "Snow Girl," along with insights into the learnings, challenges, and little wins he encountered along the way.
Hey everyone, I'm Matteo Hu, a 19-year-old Chinese 3D Artist based in Italy. This marks my second year in this field, and I've been dedicated to studying it non-stop. I'm honored to have received an invitation from The Rookies to share my process on my latest character project with you all! I chose a concept by Zim.
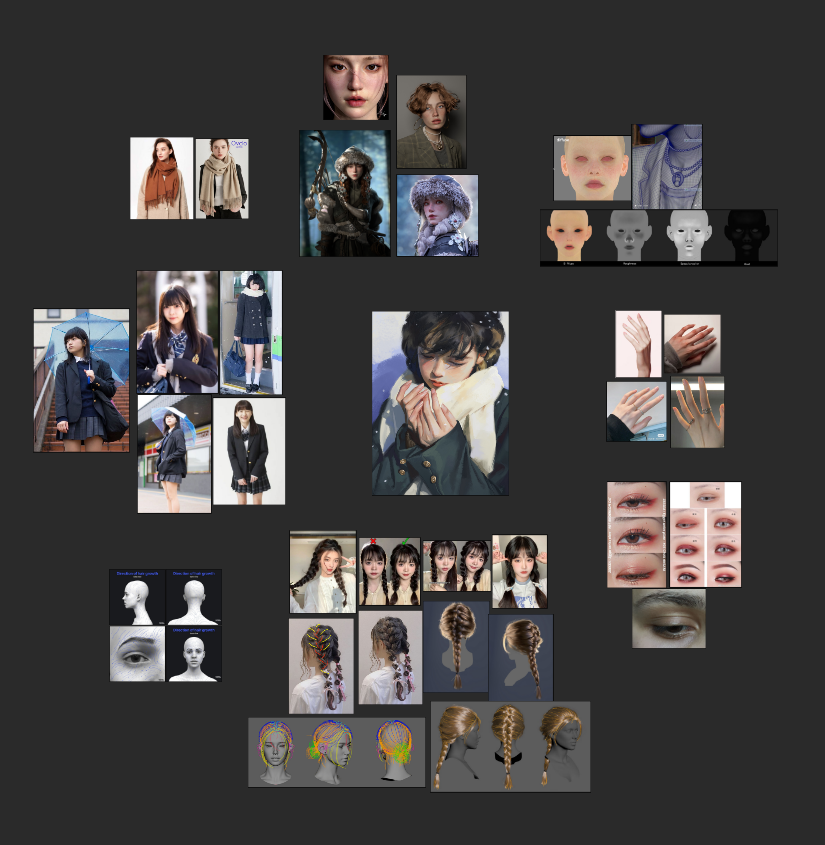
I used PureRef to gather reference images, selecting what I deemed to be a sufficient amount based on the chosen concept art. Before starting, I analyzed the concept art to grasp its diverse structures, ensuring I could find corresponding references to facilitate production. Specifically, I focused on sourcing reference images for hair, an area where I lacked expertise.
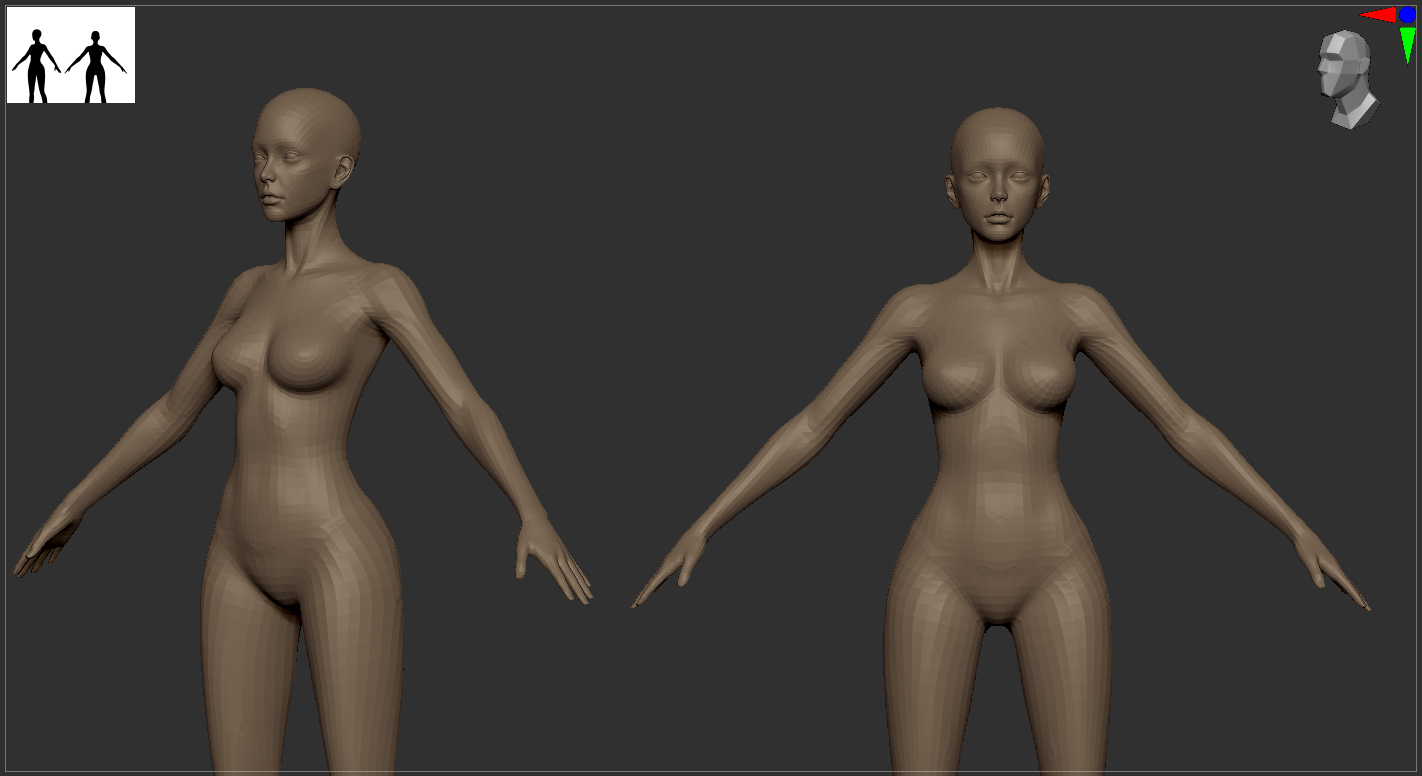
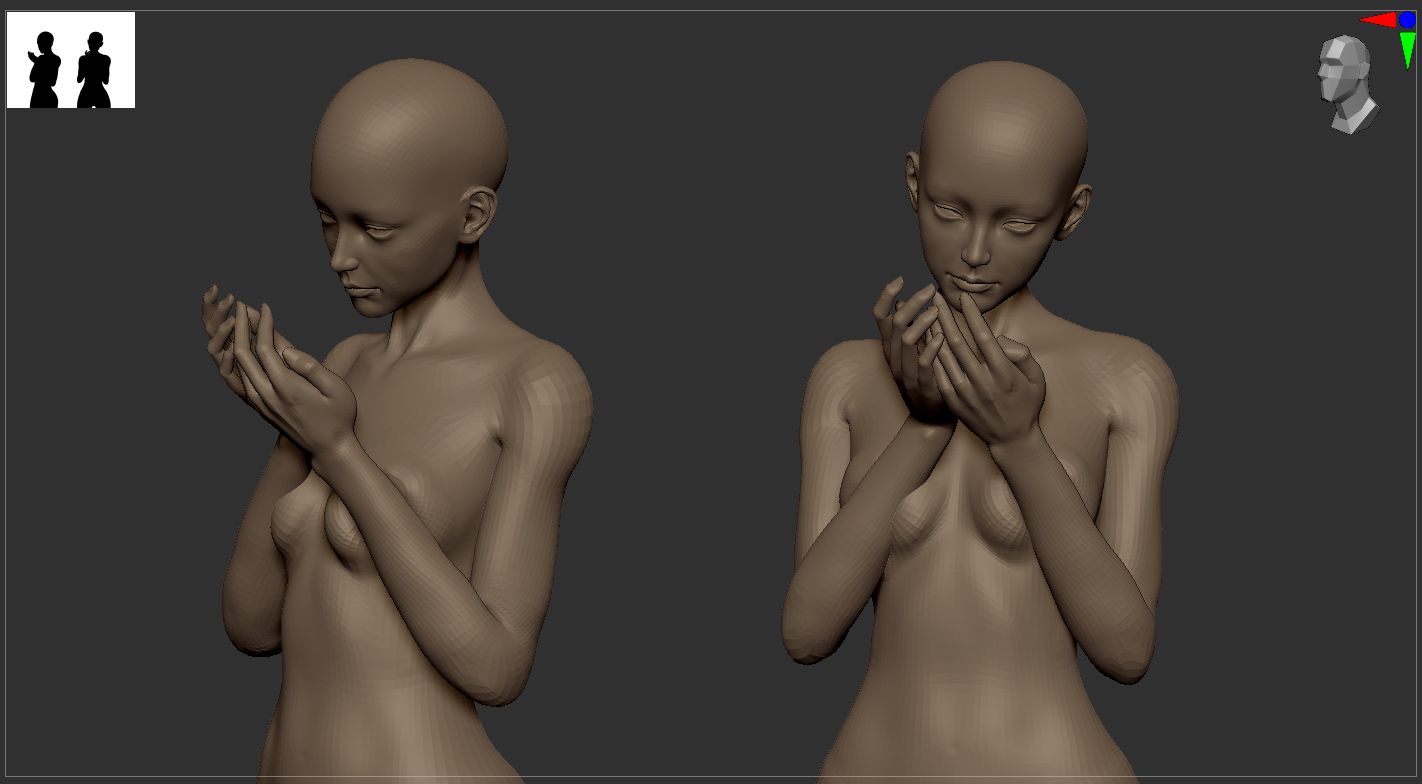
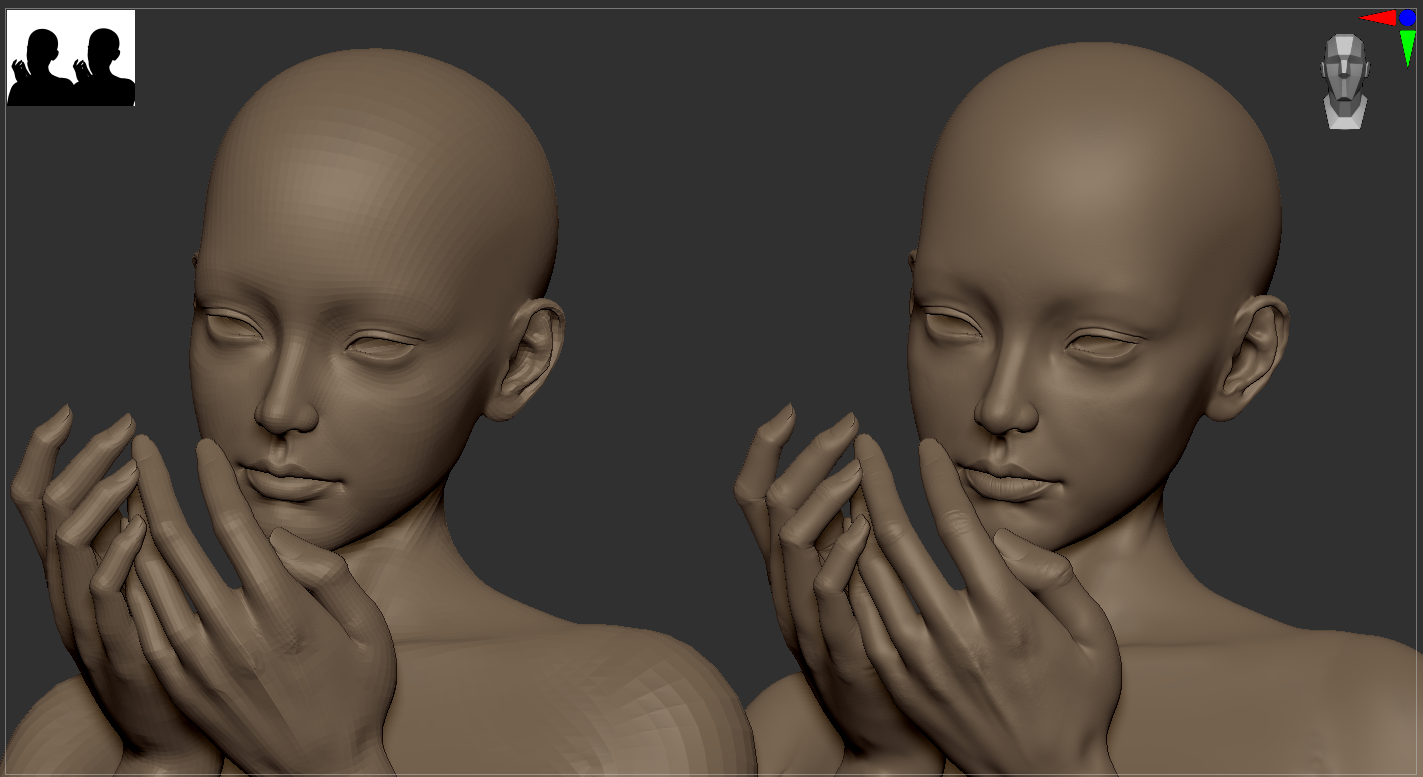
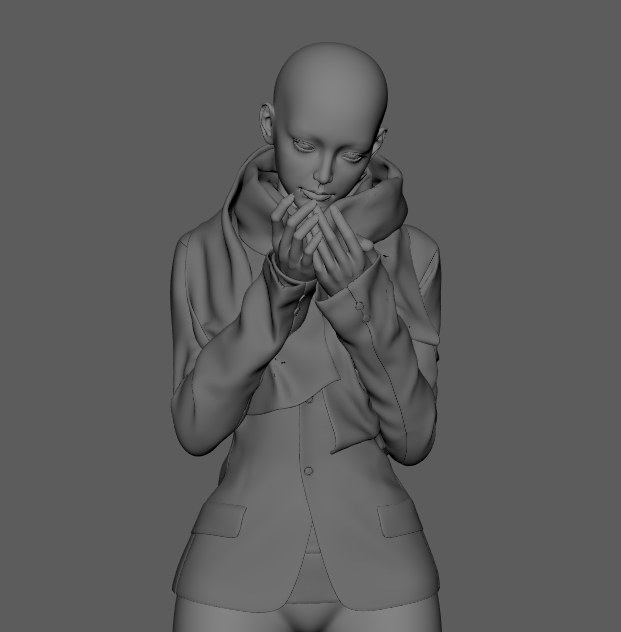
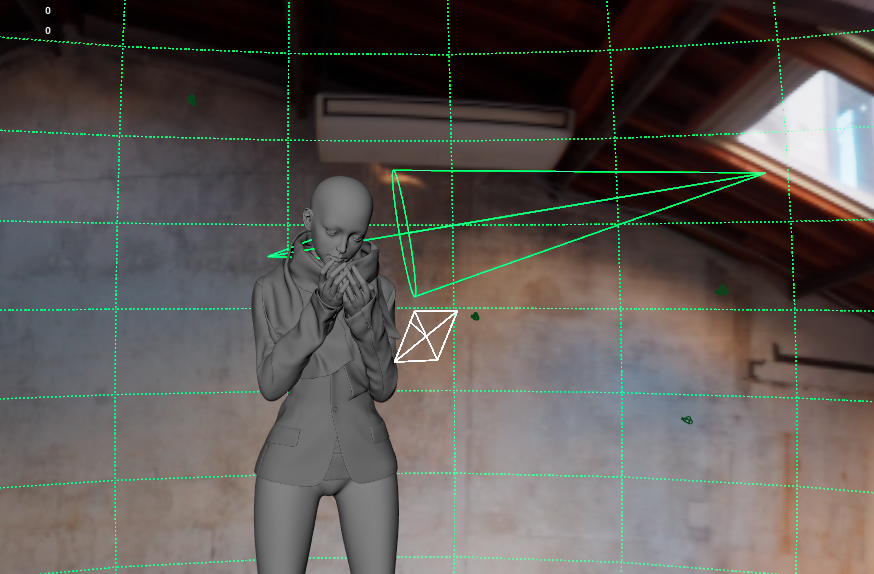
In the sculpting stage, I utilised the female base model to expedite the process, initially adjusting the model's posture to match the concept art. Once I resolved the various distortion issues in the adjusted poses, I directed my attention to sculpting the face and hands until I attained the desired outcome. Subsequently, I employed ZBrush's layer function, along with brushes and alphas, to progressively refine both the face and hands.
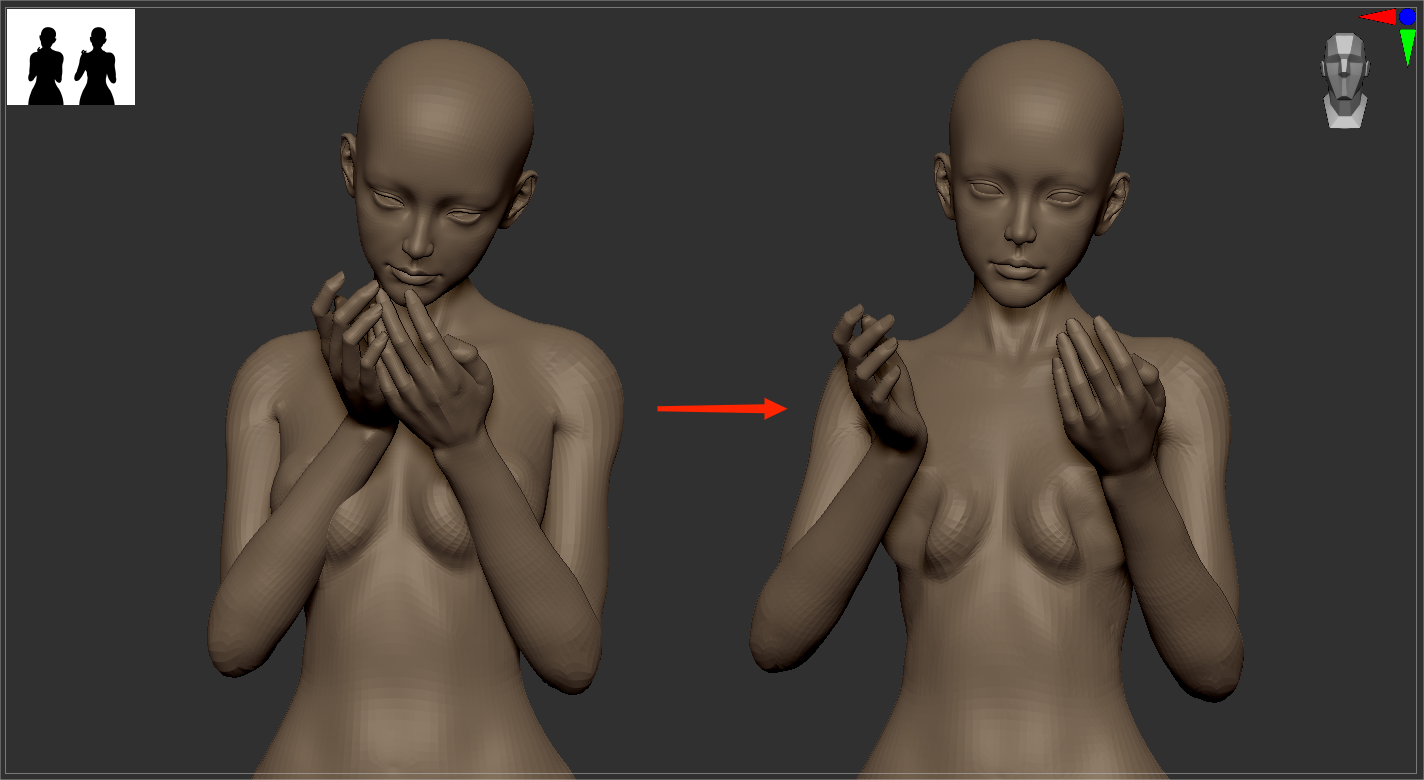
I used Marvelous Designer to create the costumes. To avoid problems in Marvelous Designer, I made adjustments to the character model before importing it into the software. I realized there wasn't enough room for the arms and body, so I rotated both arms outward slightly to accommodate the costume.
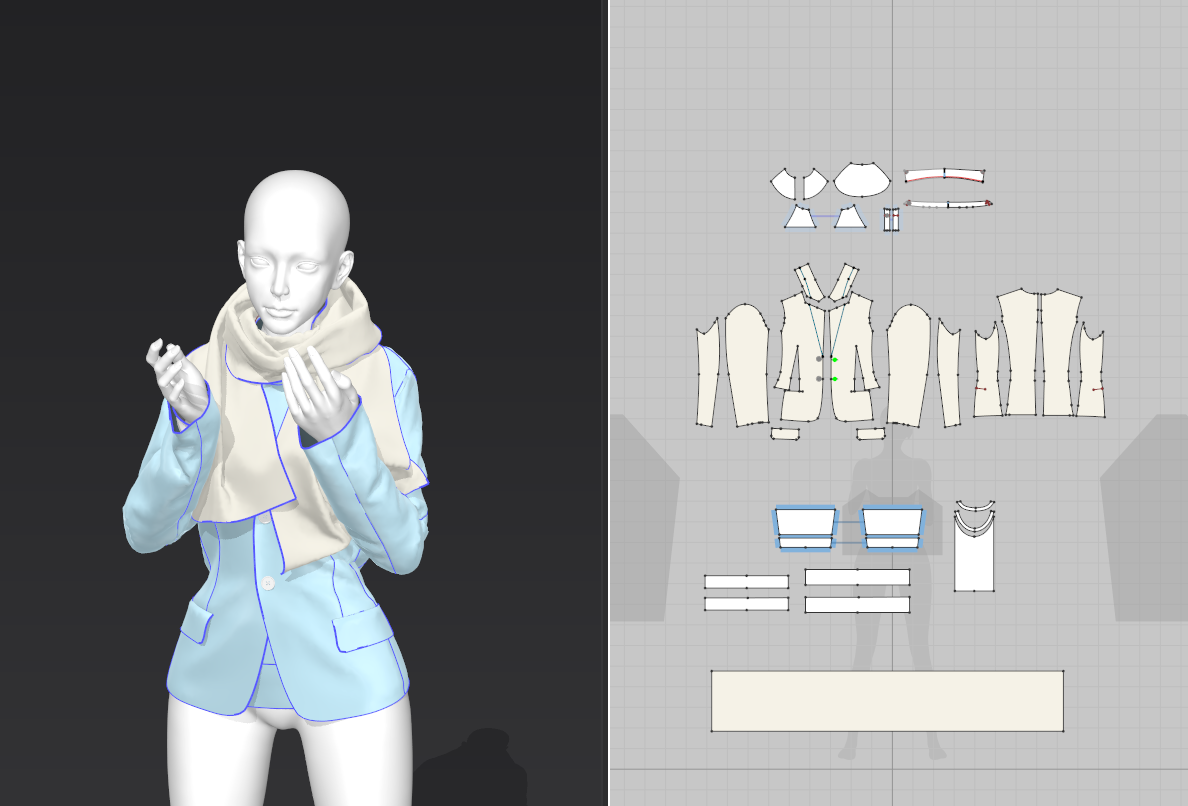
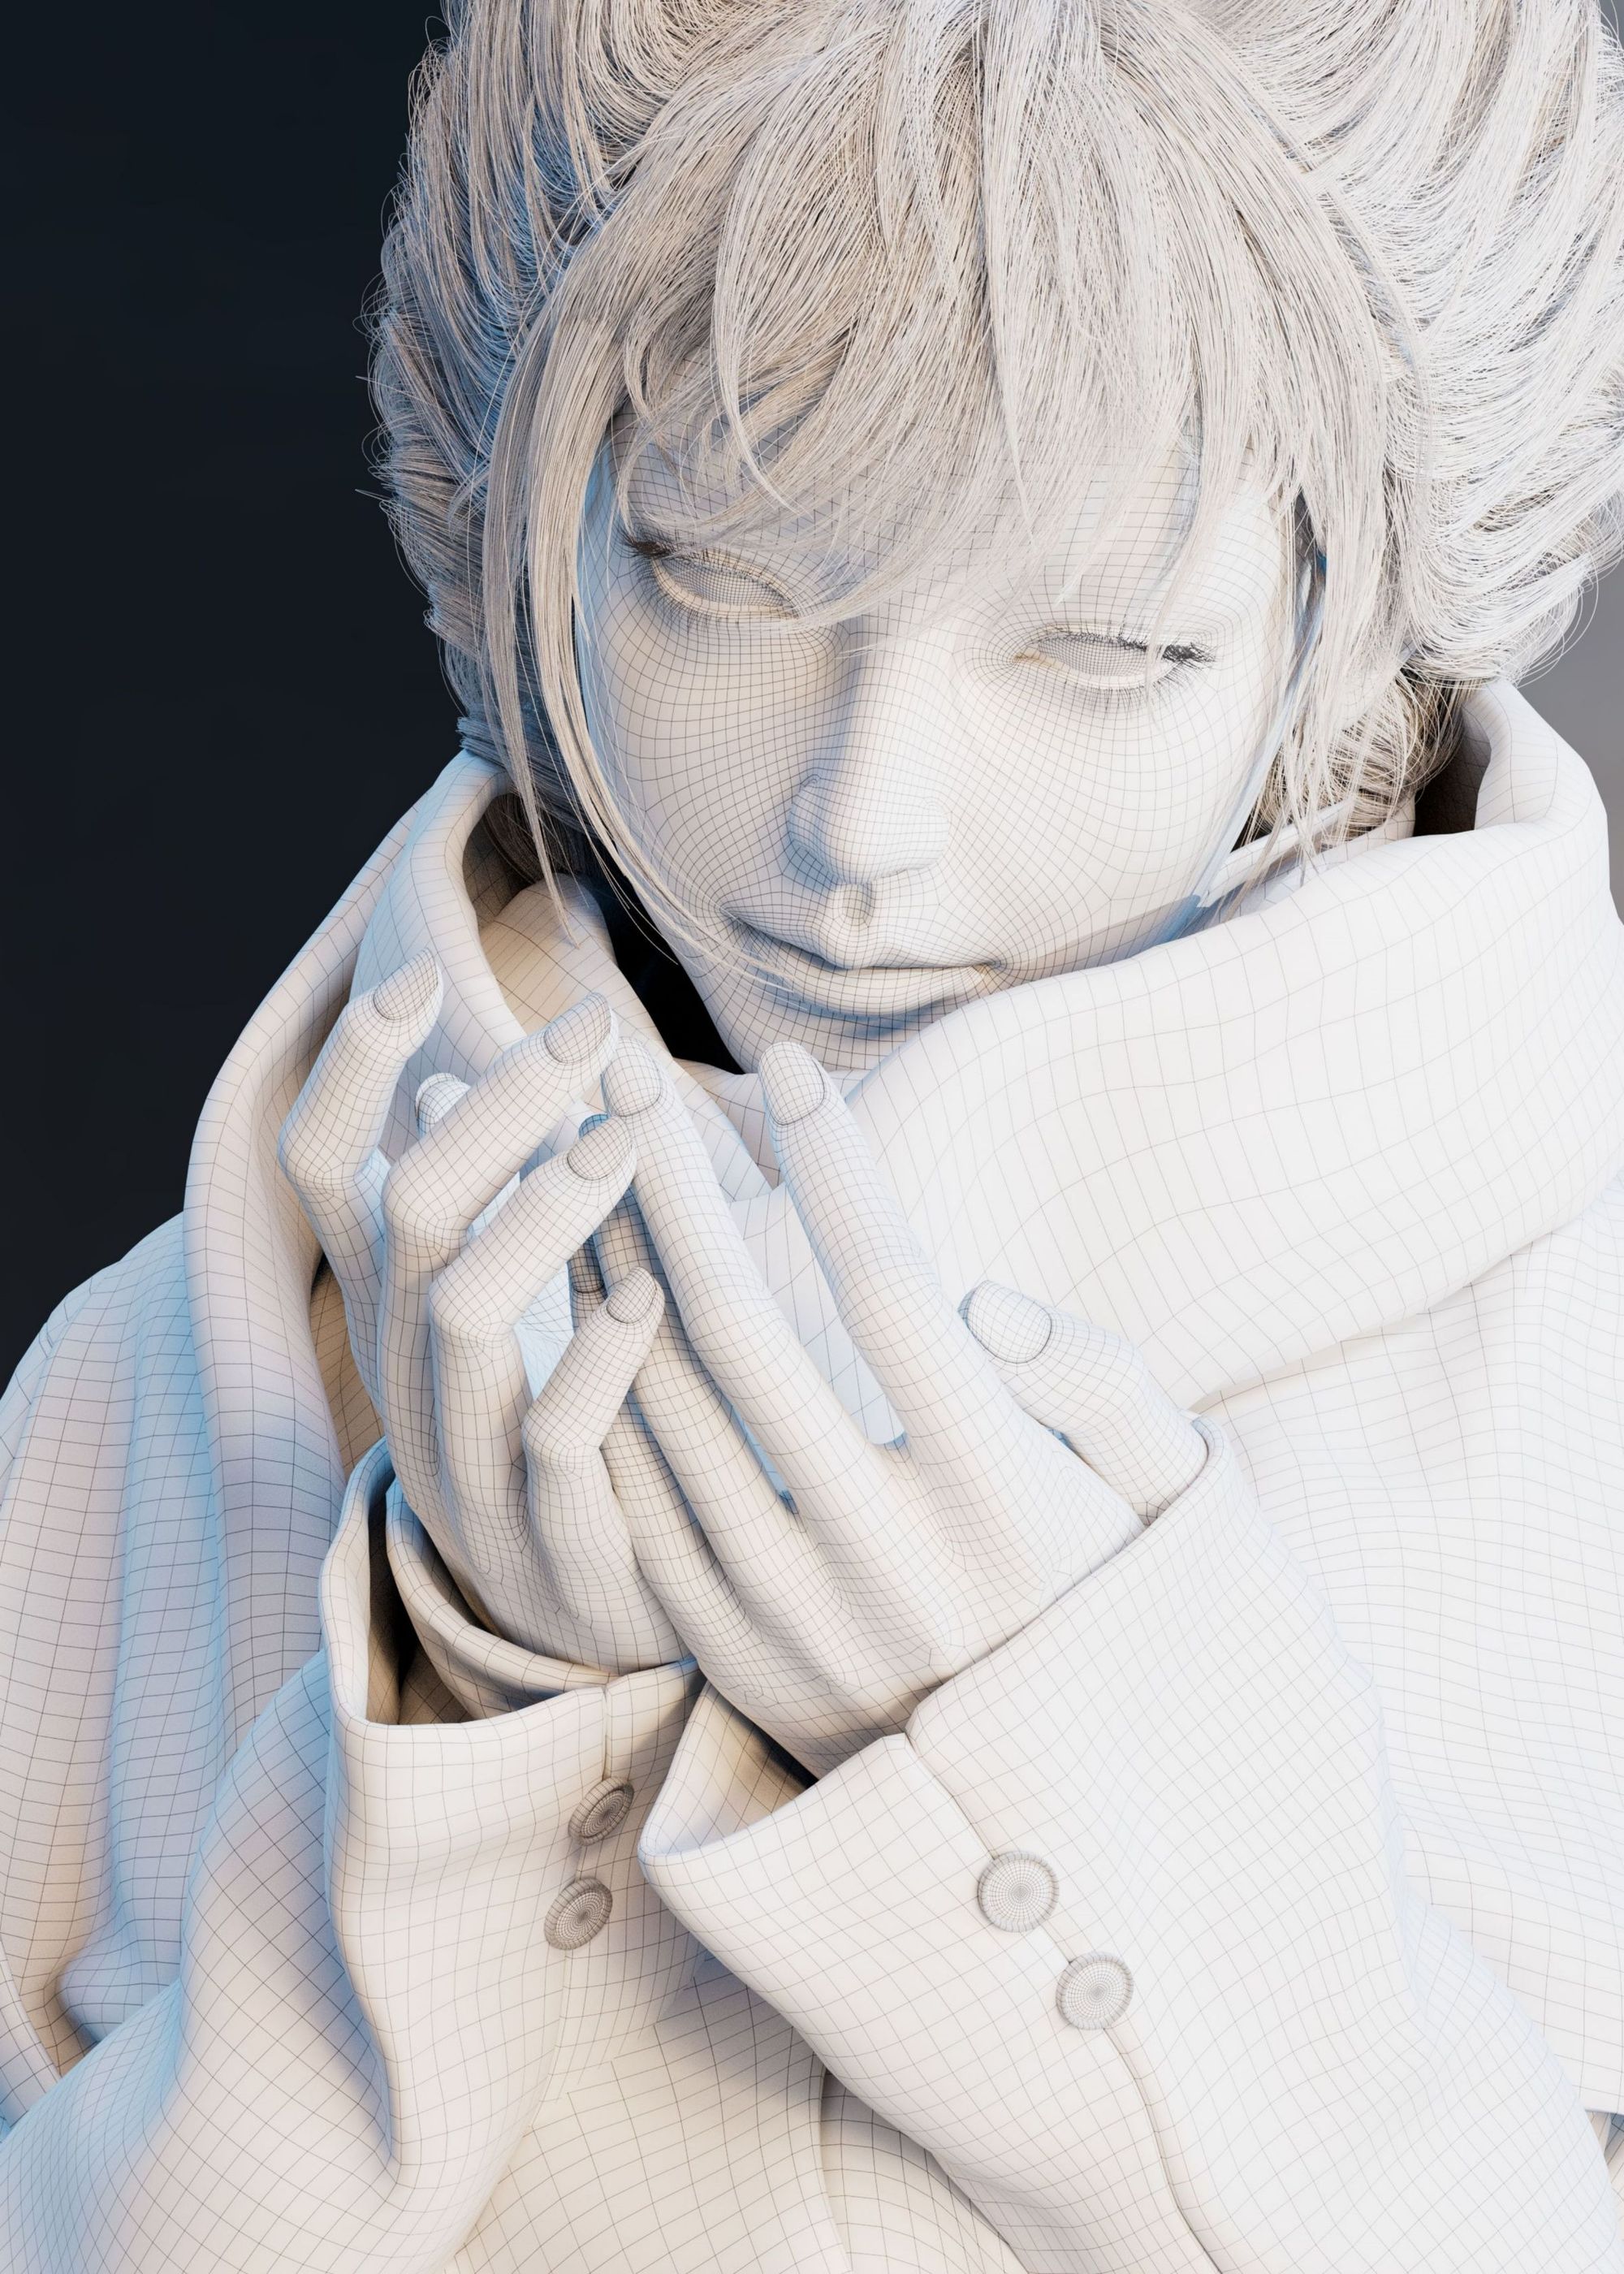
Since I only had a few models to retopologise (just the costume), I didn't combine the various layouts of the dress when I exported it from Marvelous Designer. I imported the costume into Maya for retopologizing after creating it, and I used a retopology plugin for Maya called "jQuadCloth for Maya".
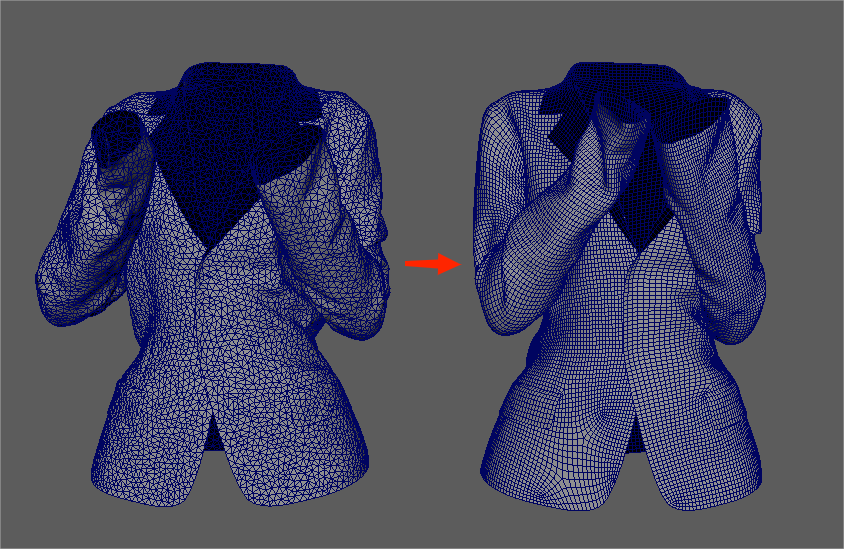
When this stage was finished, I imported to ZBrush for refinement.
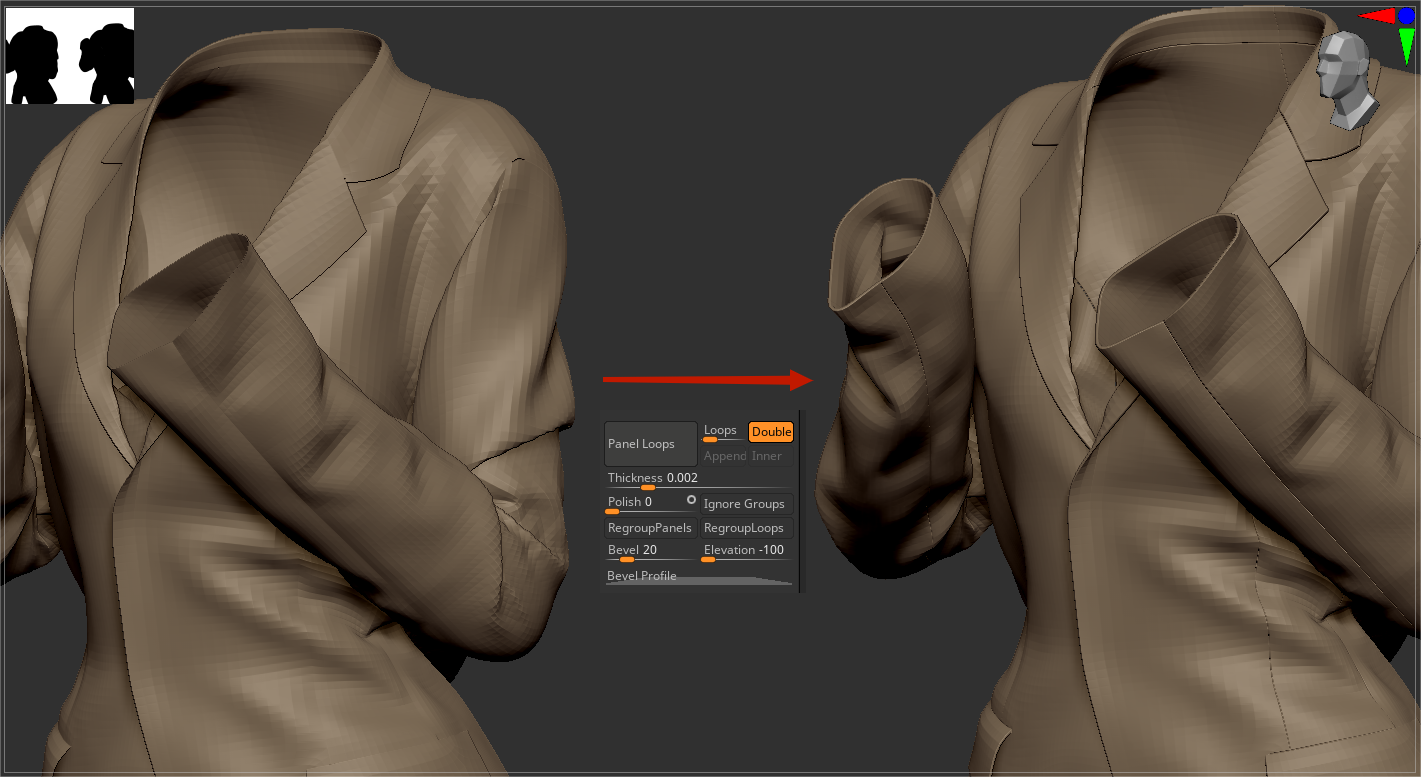
After all the garments are topologised and imported into ZBrush to add thickness. Since I didn't choose to merge the layouts when I exported the costumes from Marvelous Designer, the panel loops give the costumes a stitch-like appearance when used to add thickness.
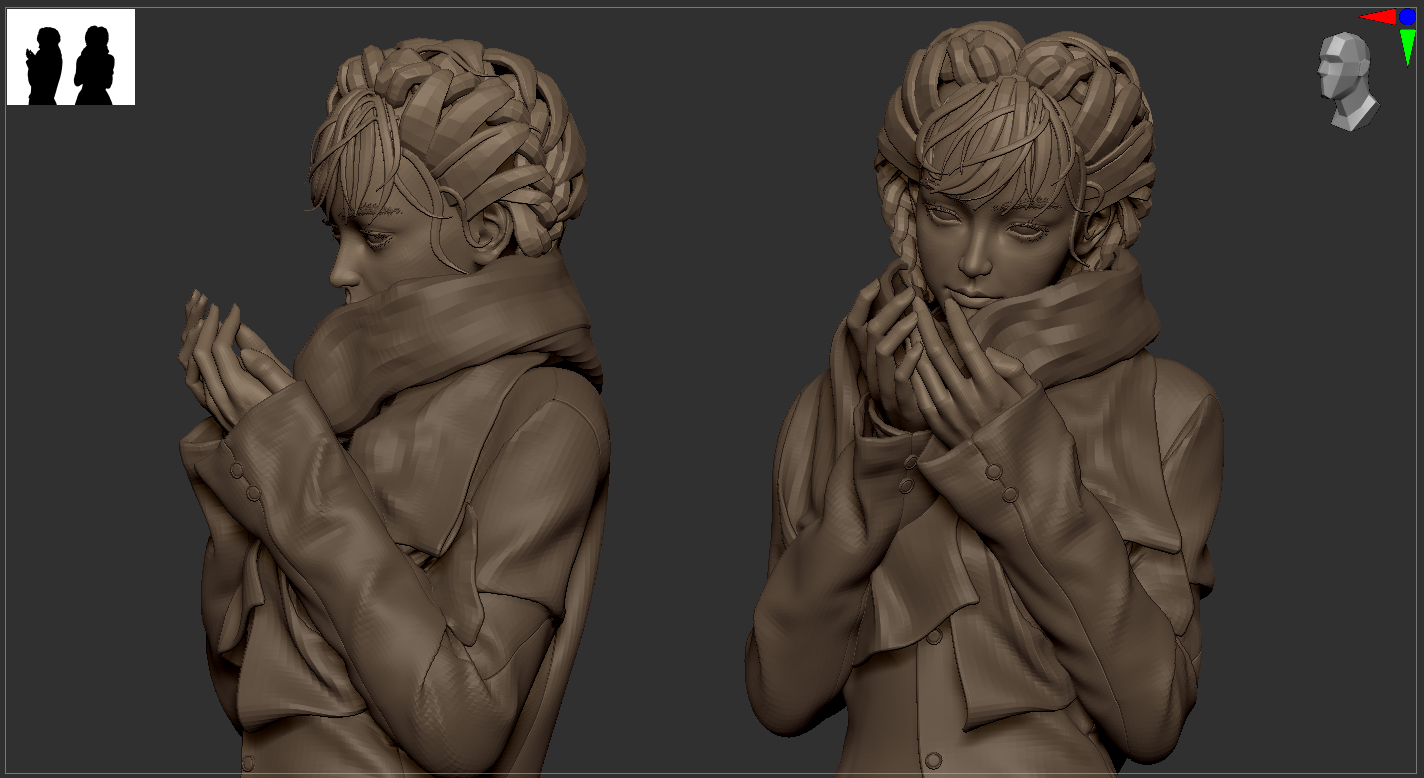
At this stage, I added hair, eyelashes, and eyebrows to the character in ZBrush to see the overall look. The hair could have been added earlier, but ultimately, it was to simplify the process of adding hair in Maya using Xgen.

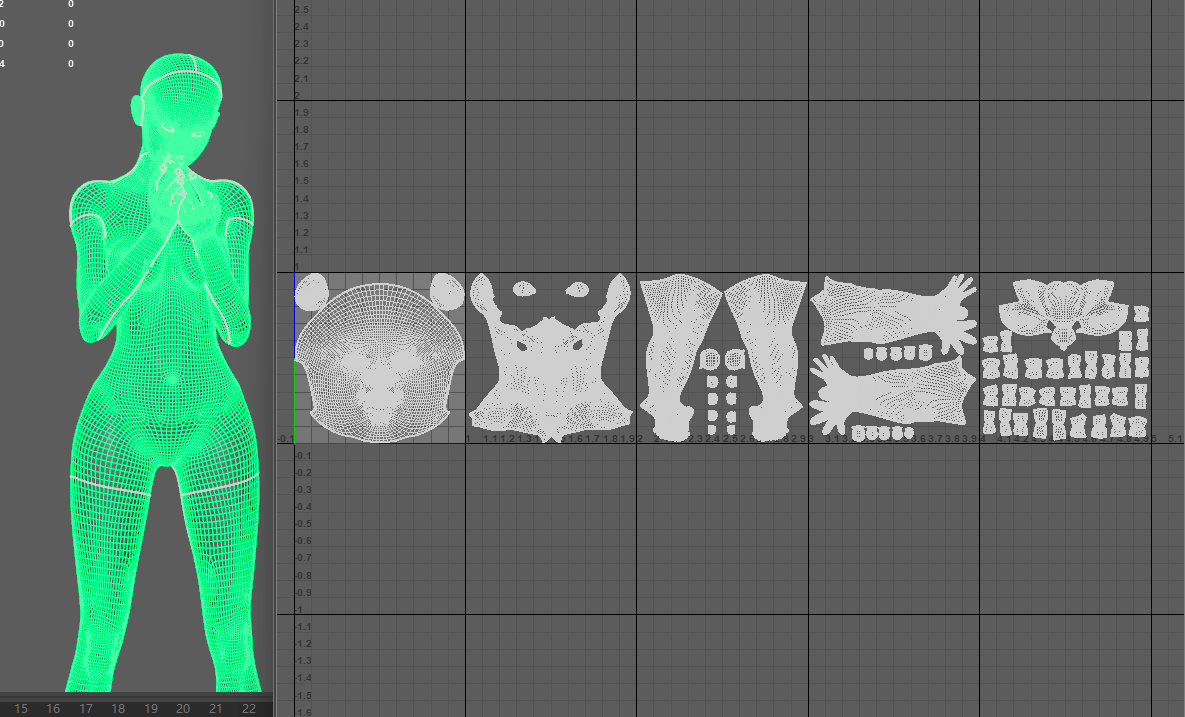
Creating UVs for the model before importing it into Maya for integration is necessary. Here, I used RizonmUV to create the UVs. I assigned several UDIMs to the character, dividing them into Head, Torso, Arms, Legs, and Mouth with Teeth. For the clothing, I allocated only two UDIMs, but I reduced the size of the inner parts of the clothing that were not visible.
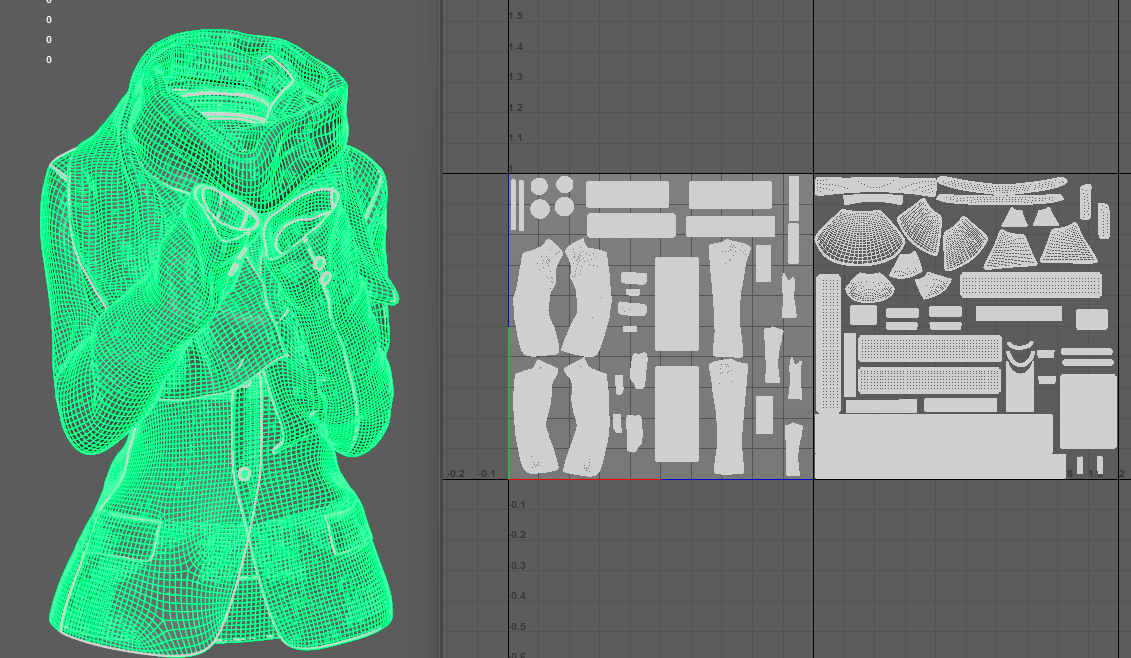
To prepare for the texturing stage, I gave the clothing and the character two different texture spheres, named them, and finally softened the edges of the model.
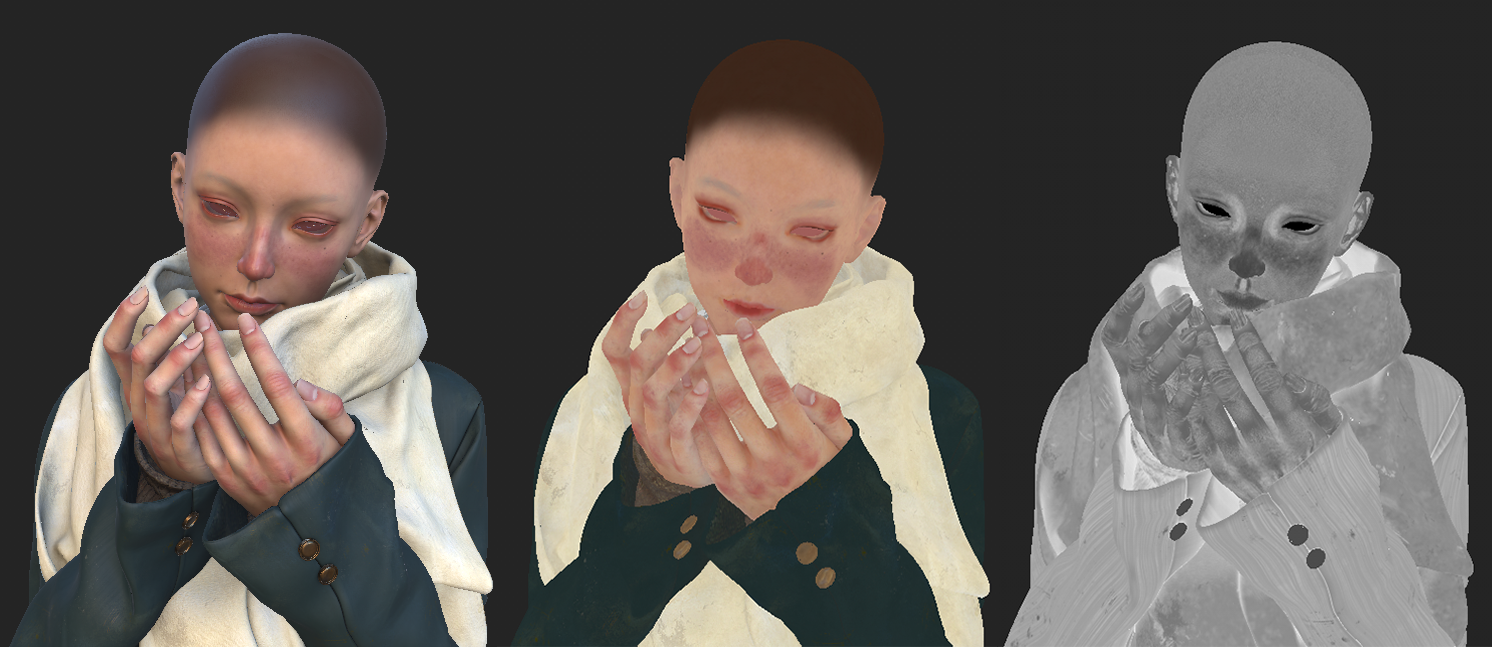
To create the texture, I used Substance 3D Painter. This stage is crucial, so I spend ample time on it. I follow a specific layering process: base colour, colour adjustments (1, 2, ...), Texture (height), and I typically group these layers for organisation. Additionally, I incorporate elements like dirt stains and edge wear, ensuring careful consideration of the roughness adjustments. Finally, I apply various filters to refine the overall effect.
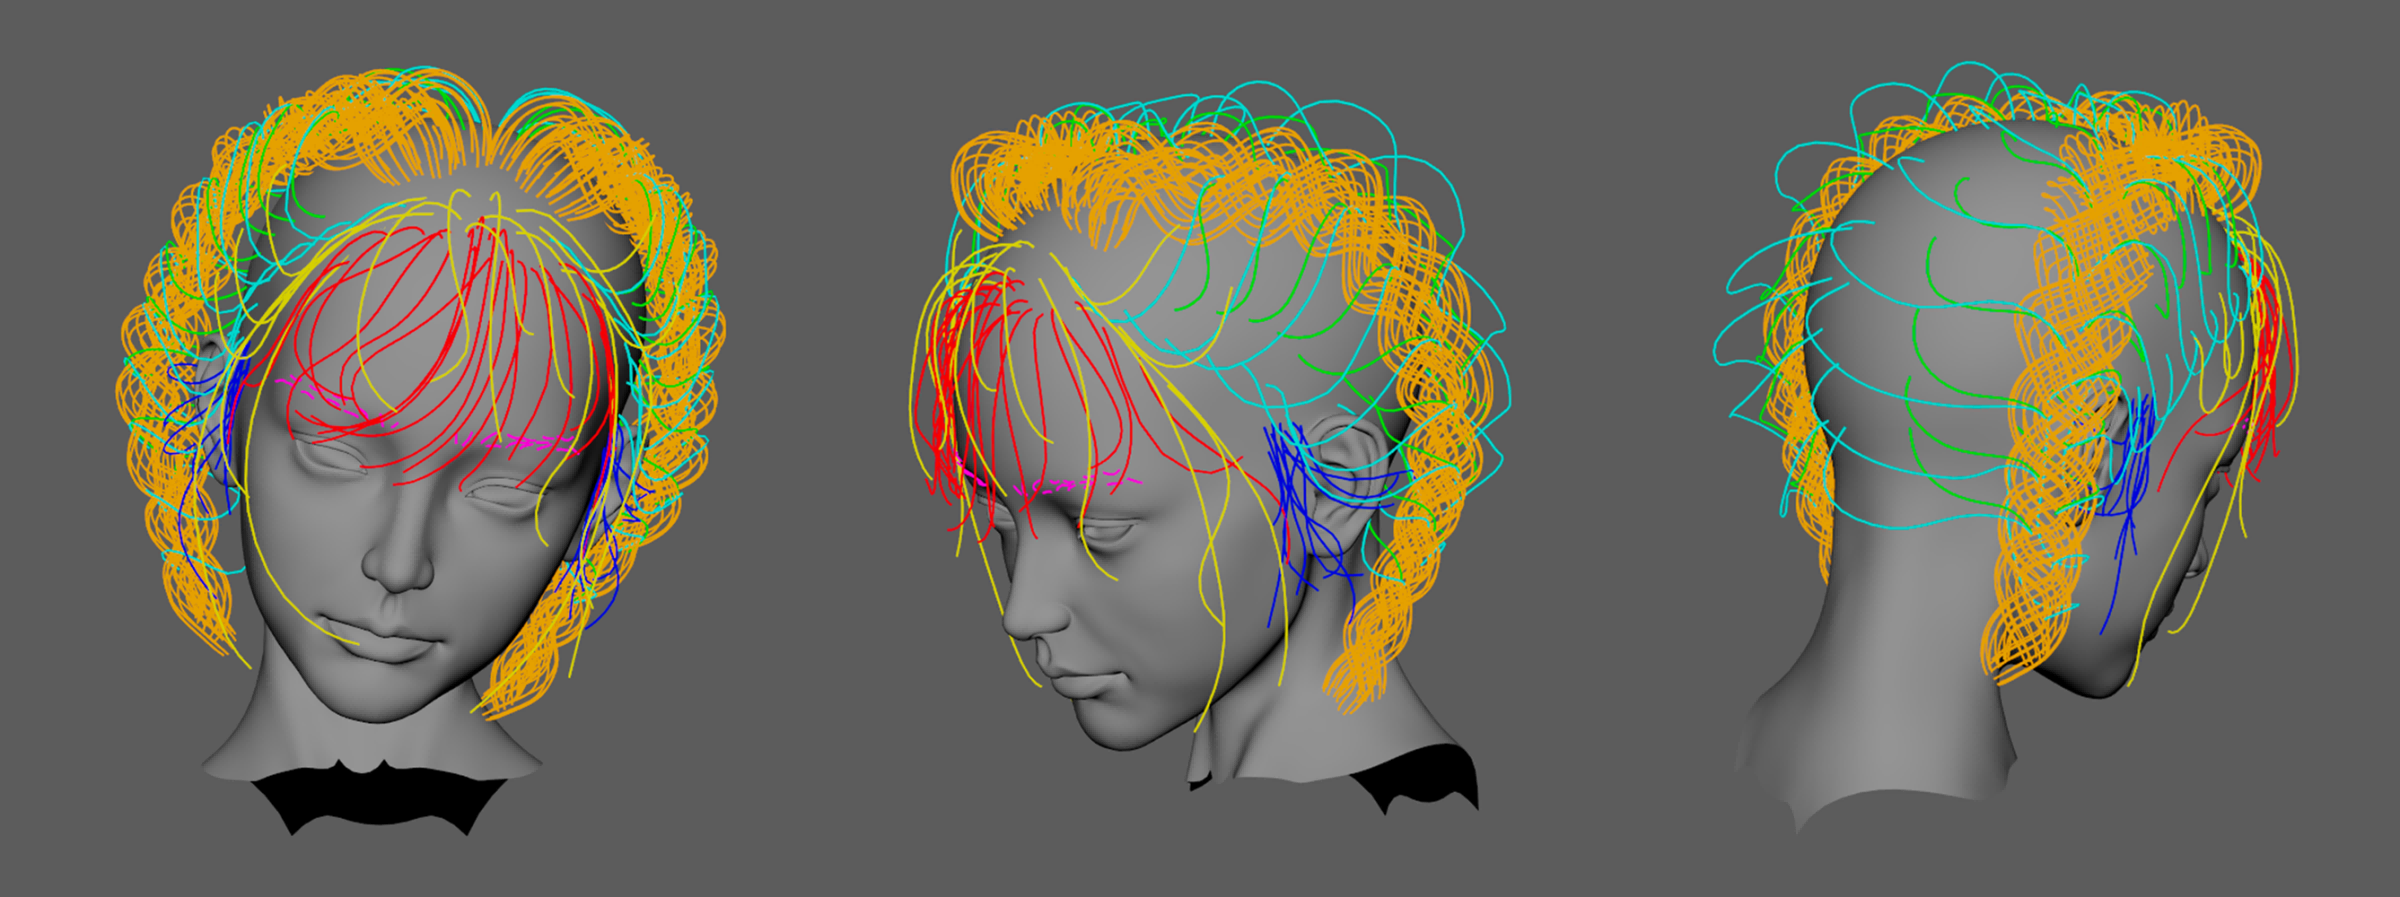
Before the final render, I created the hair in Maya using Xgen. This stage consumed most of my time. Initially, the effect didn't meet my expectations, prompting me to review reference images and videos closely. After multiple attempts, I finally achieved the desired effect. I divided the hair into sections and created different descriptions to simplify the process.
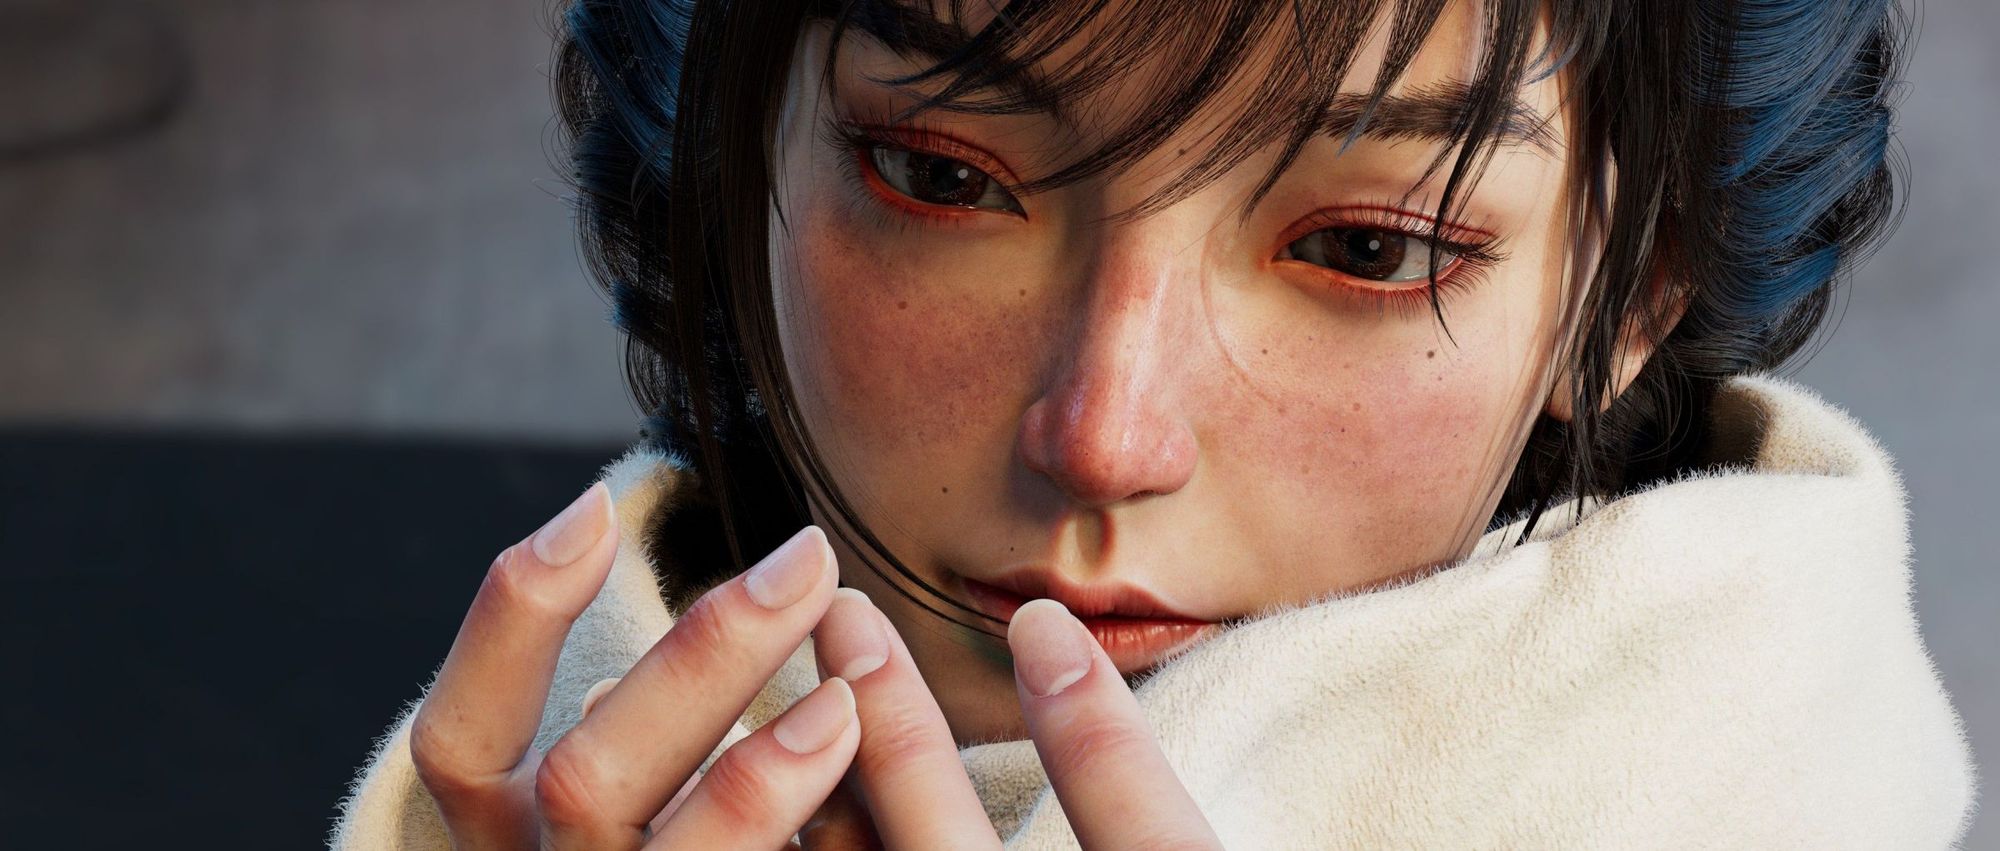
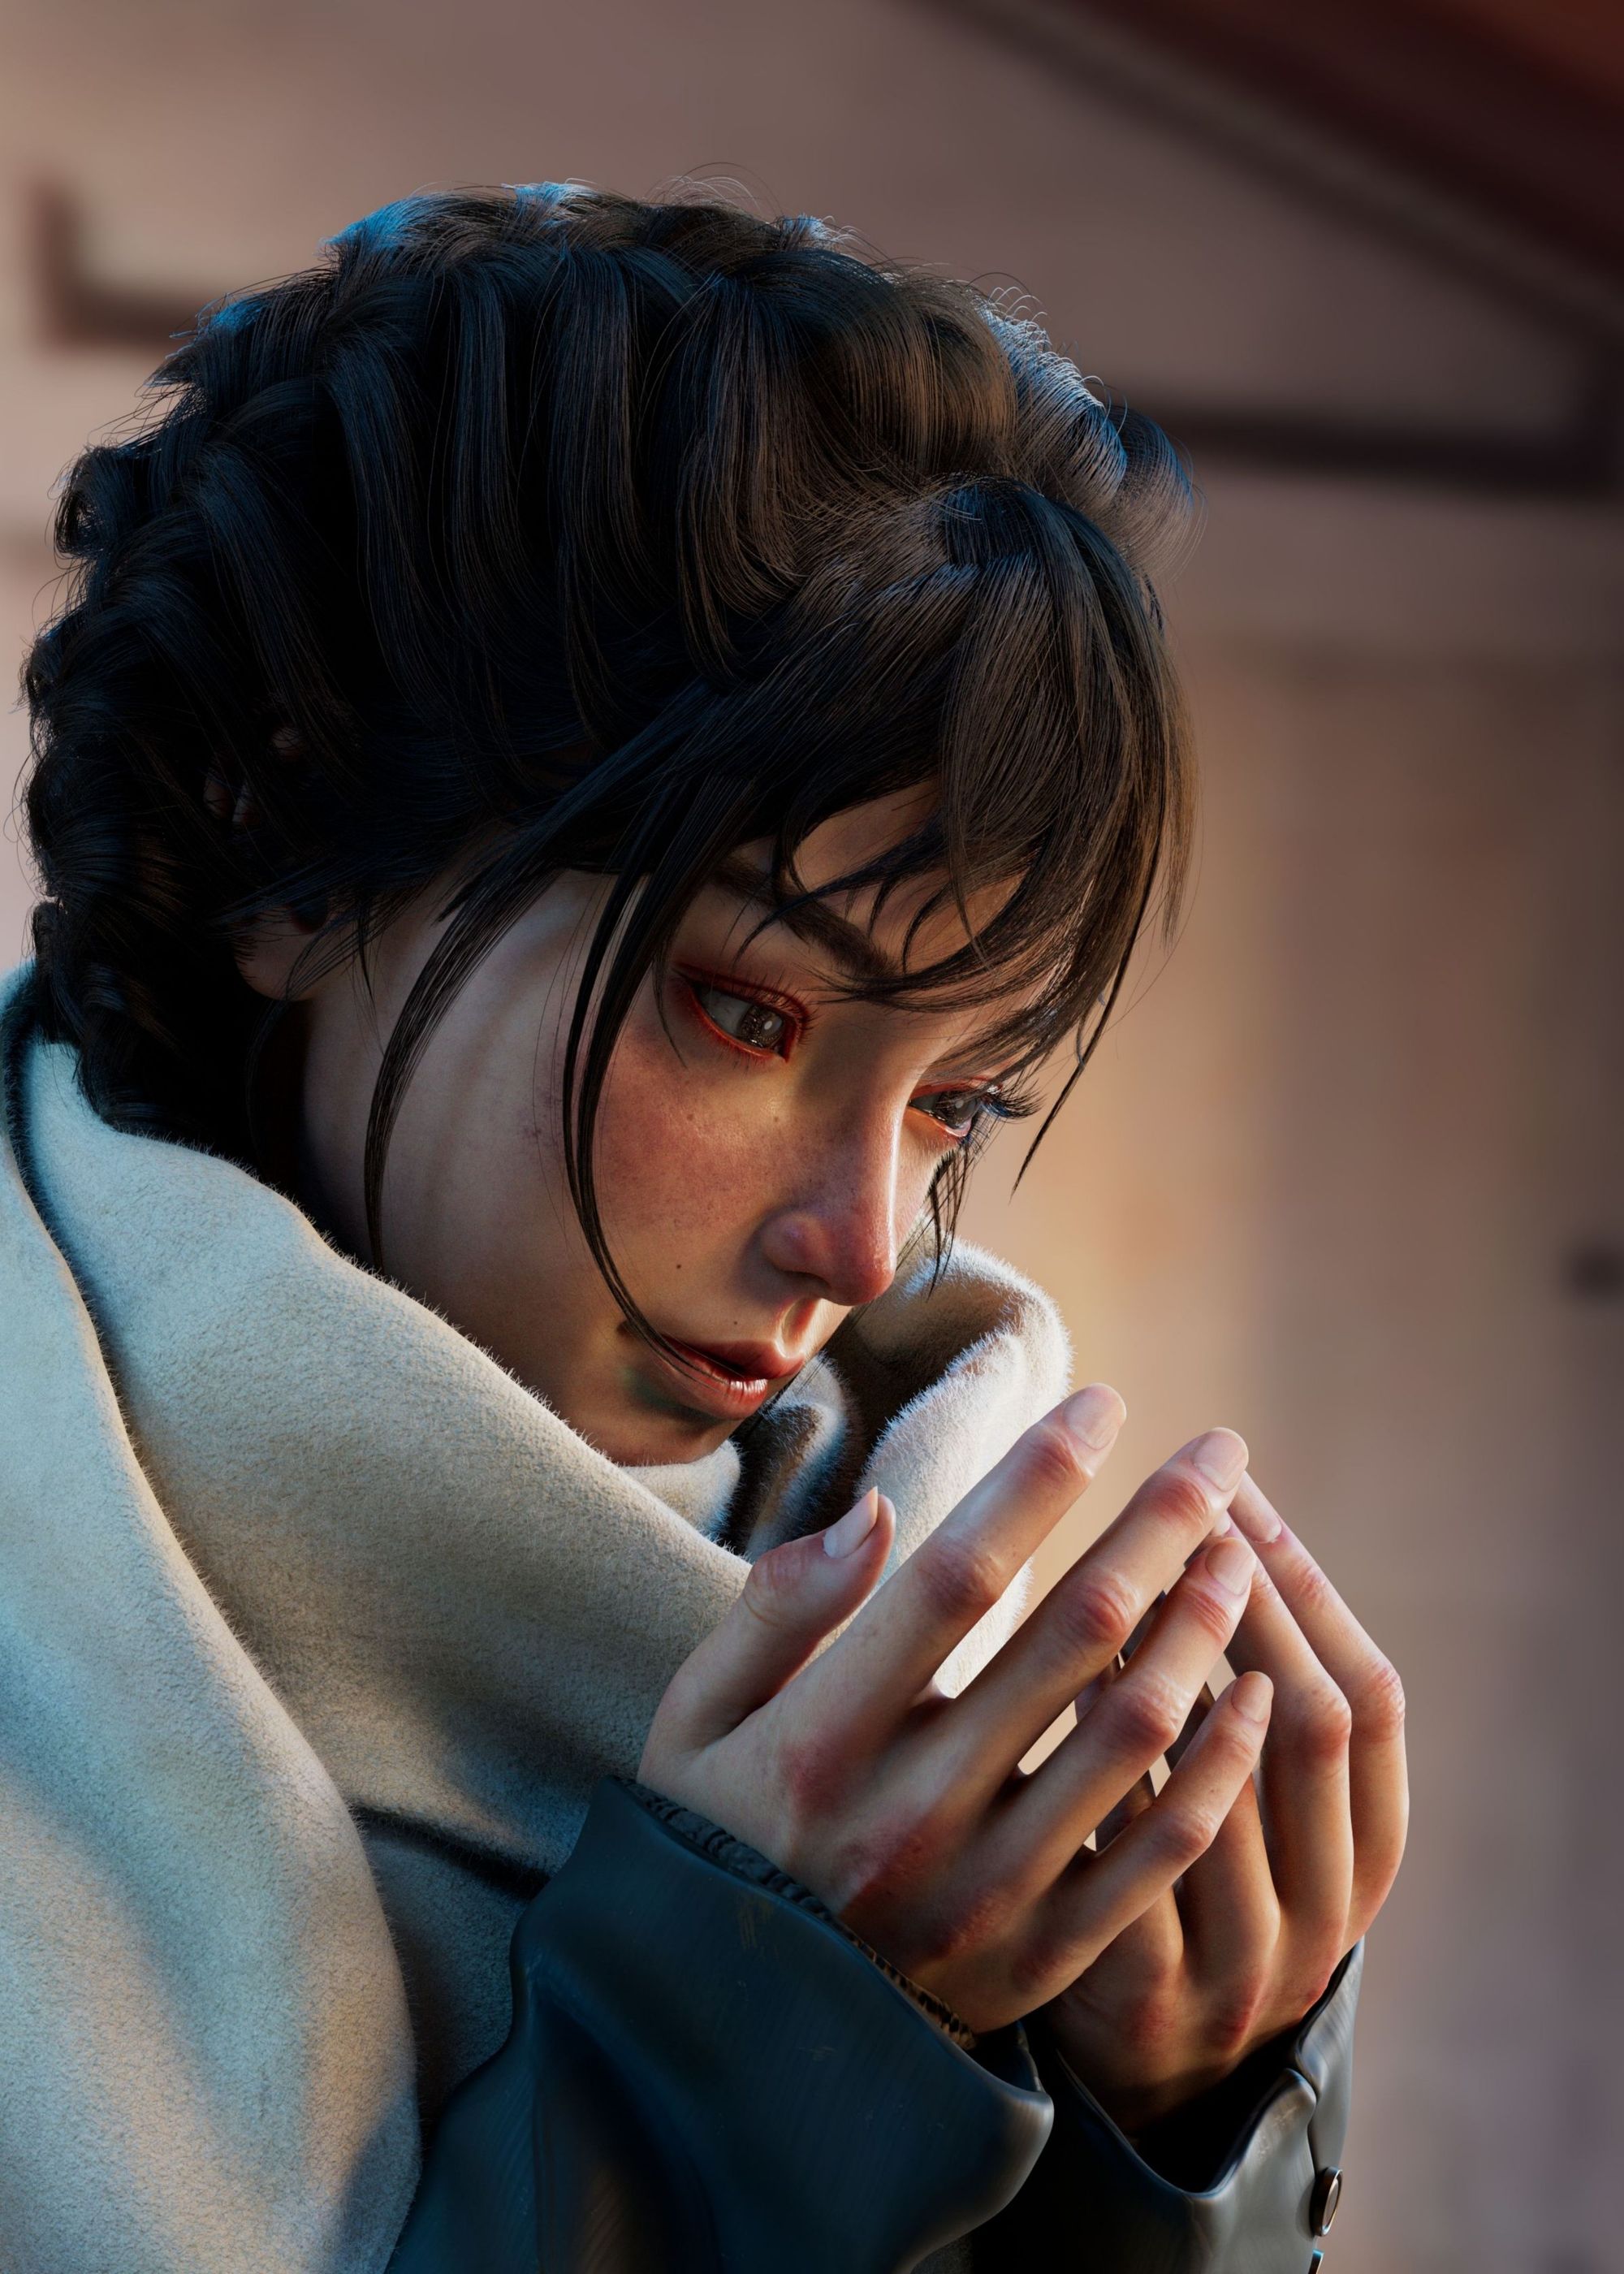
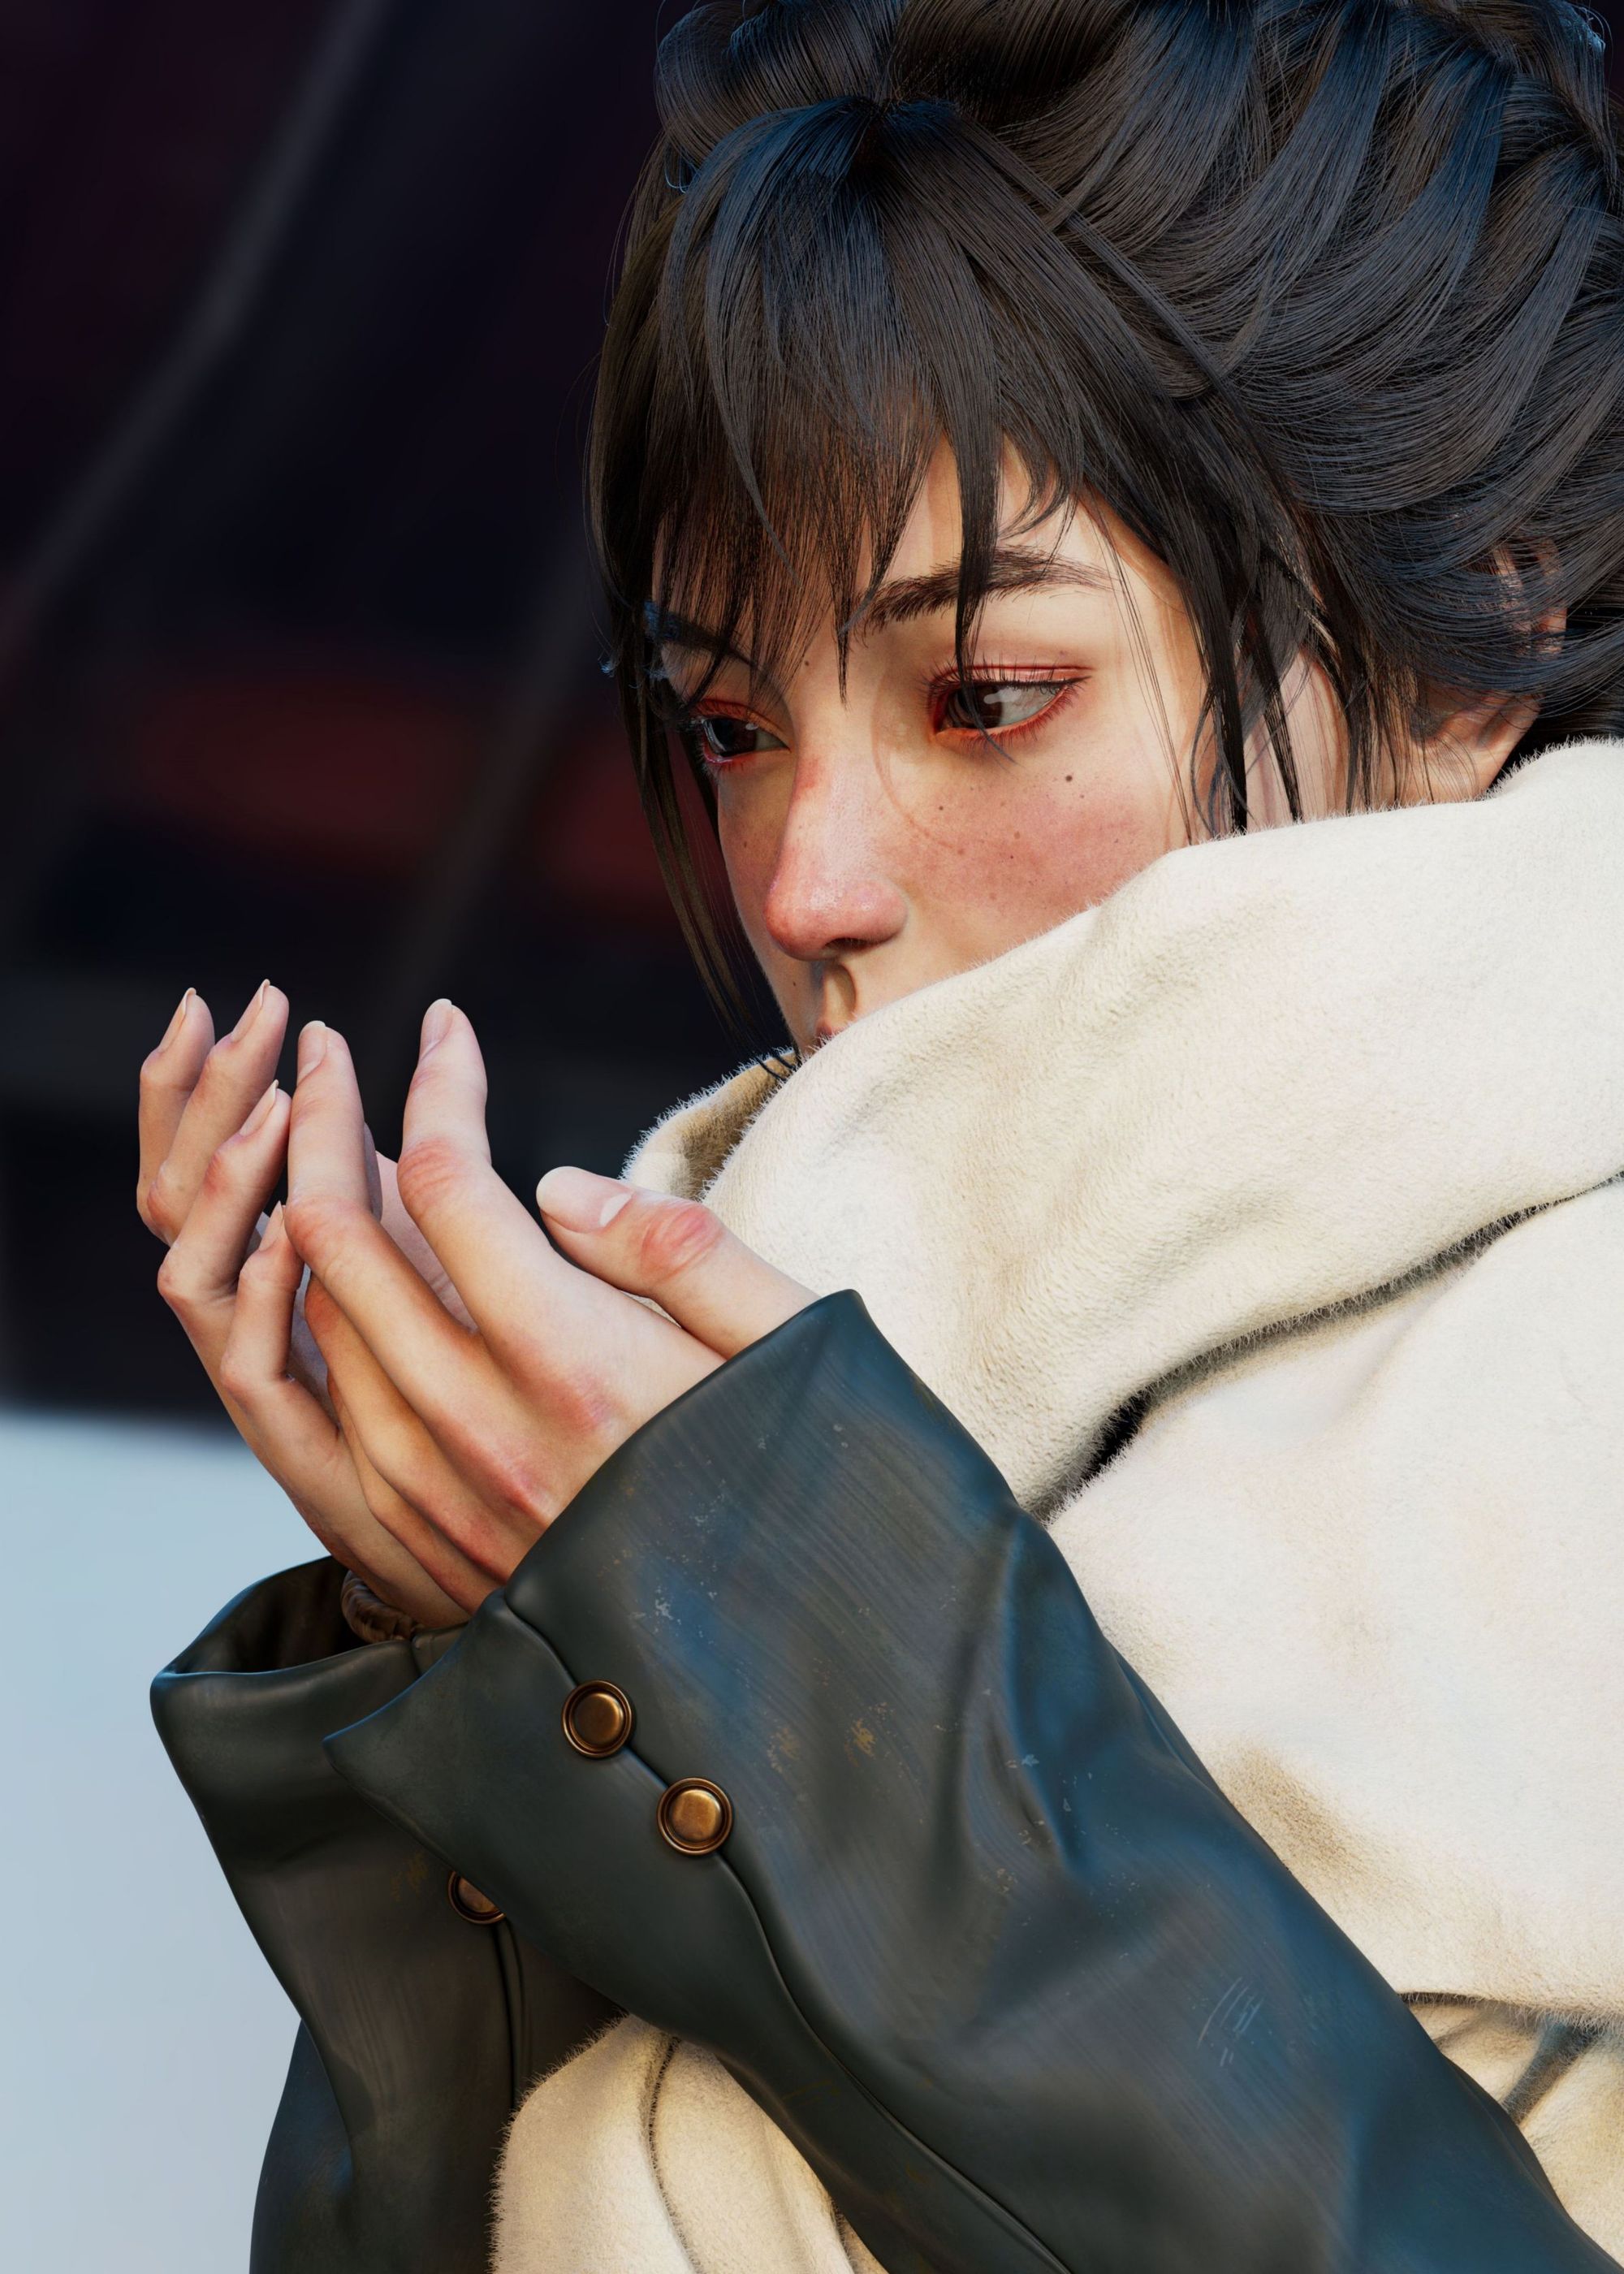
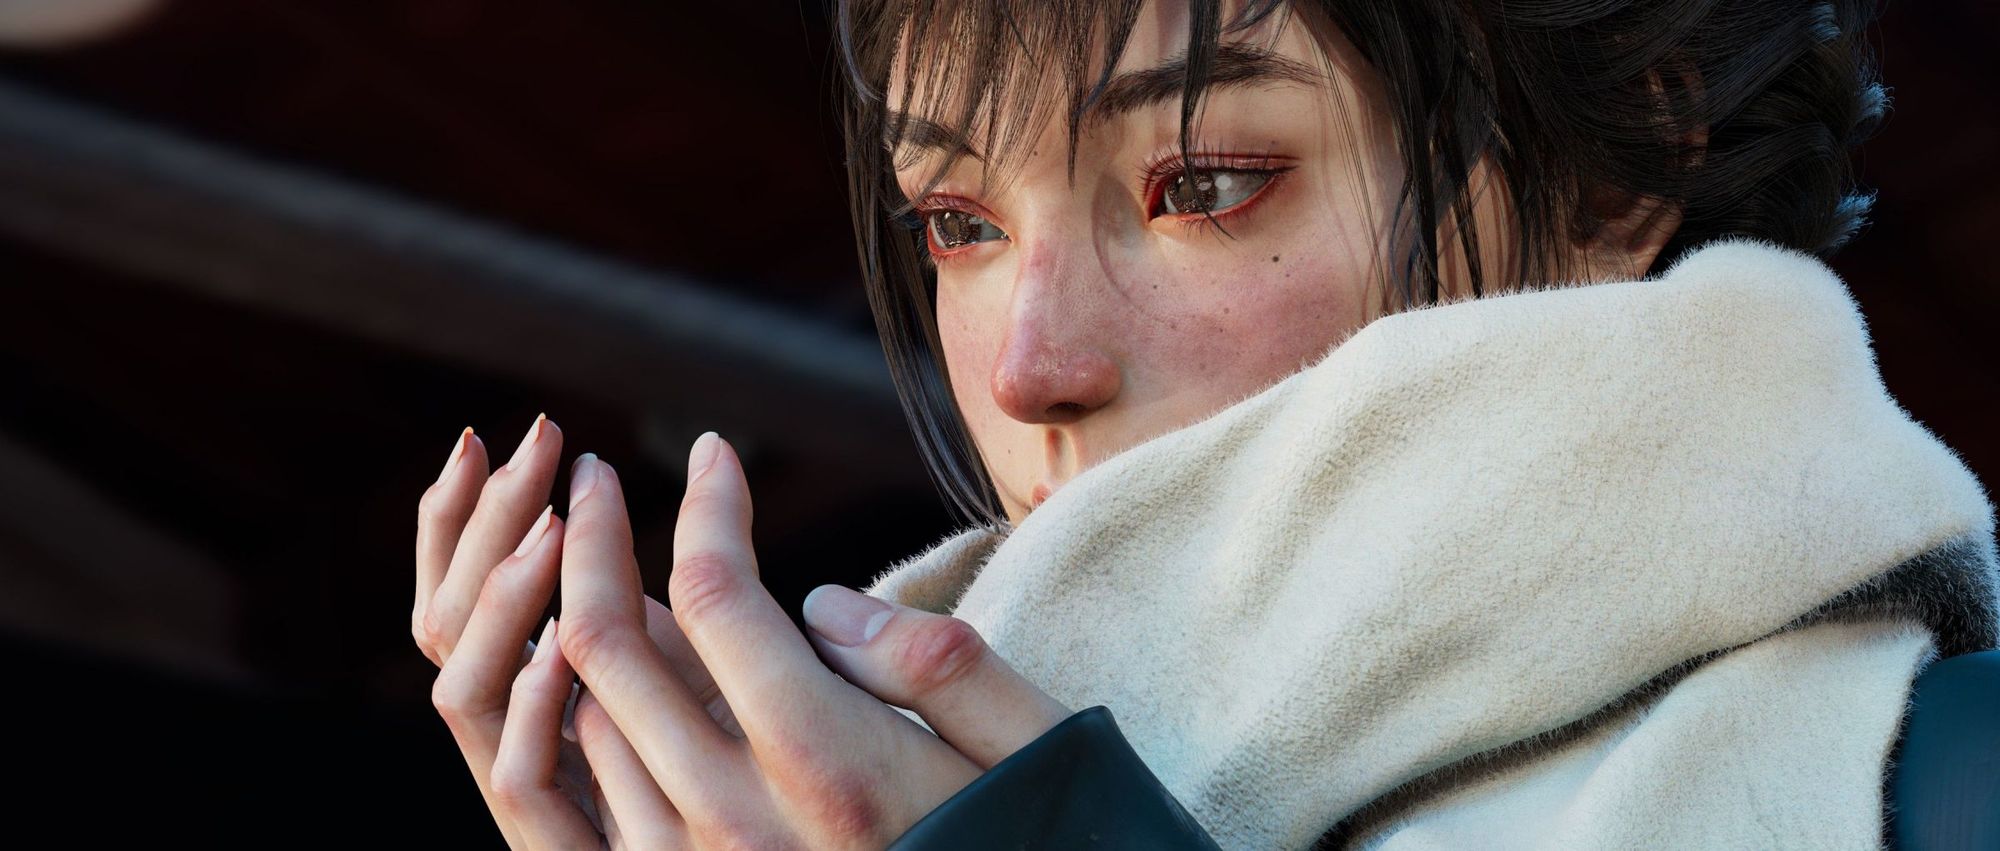
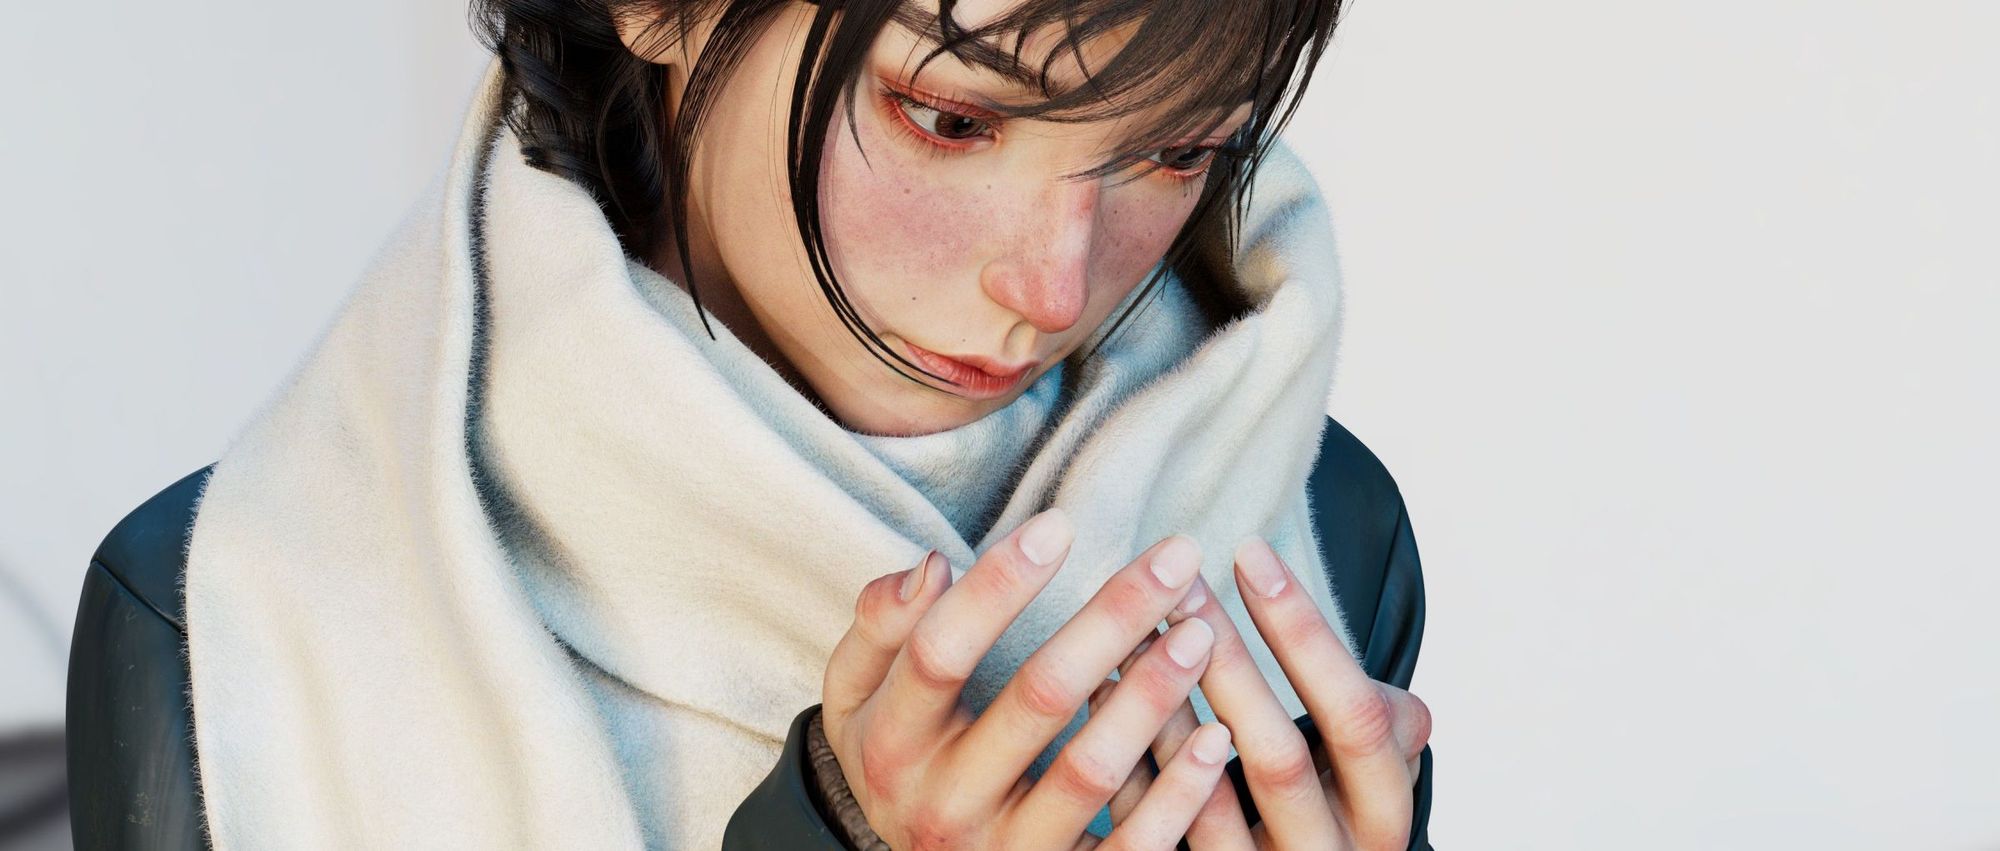
For this rendering stage, I opted for Arnold as my rendering engine. I arranged several light groups to match the respective shots. I aimed for a simple lighting setup, primarily using HDRI from Substance Painter as the main light source. Additionally, I incorporated a side light and an essential eye light.

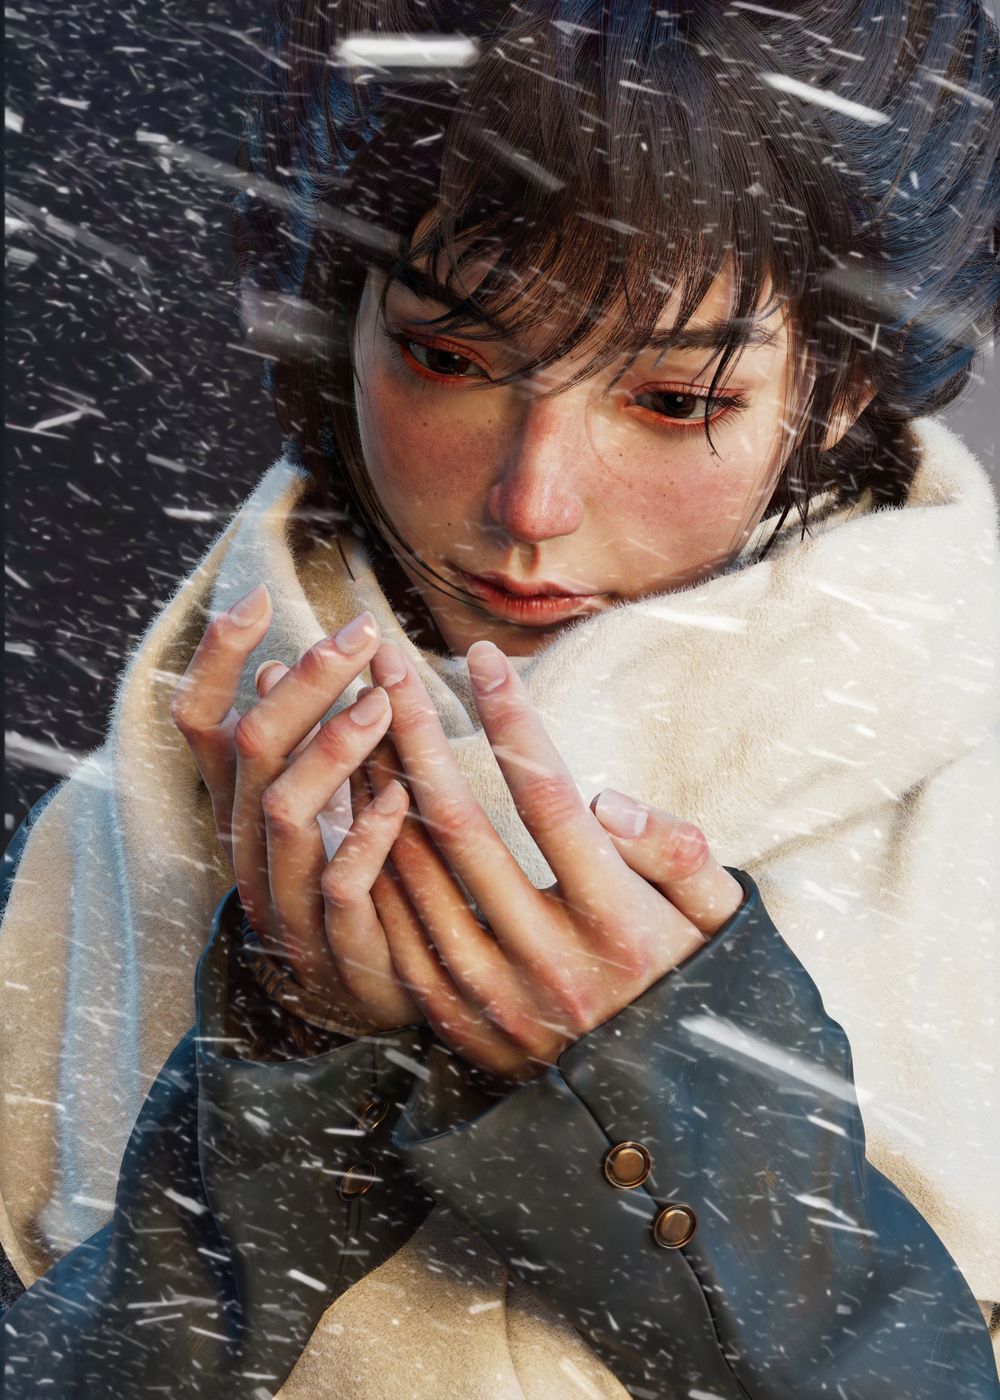
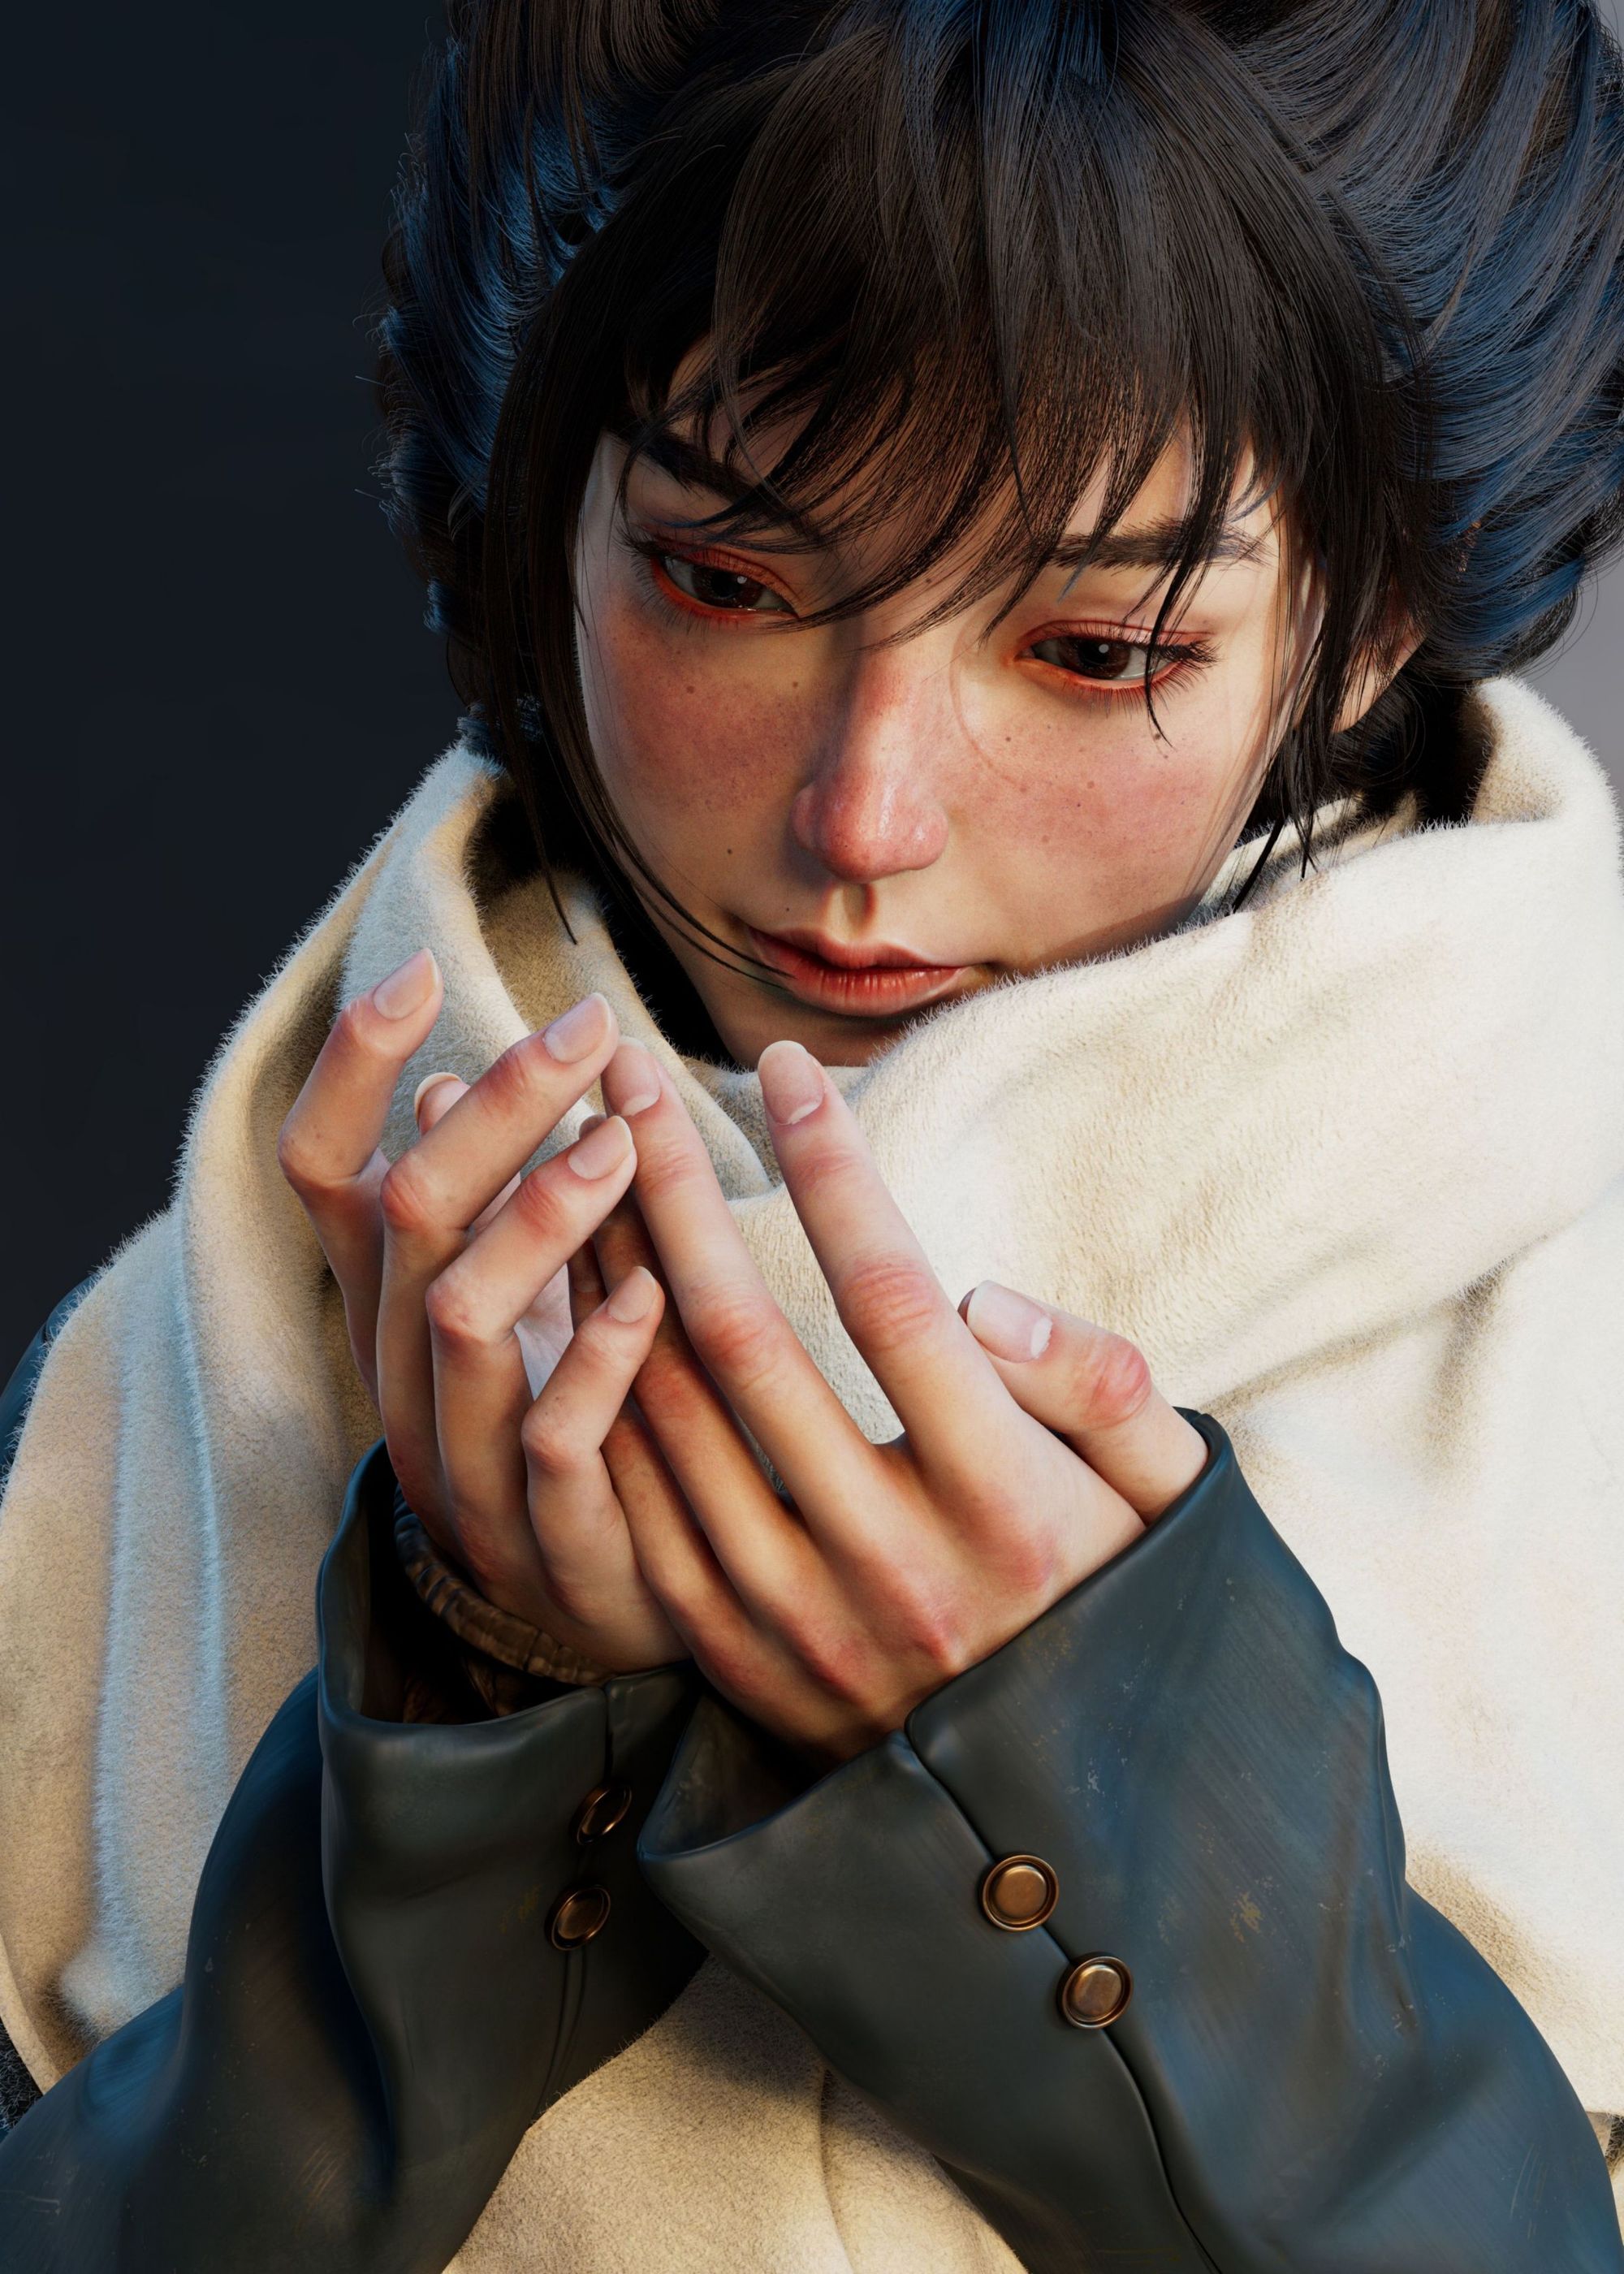
As I favoured the aspect ratio of movie shots (2.35:1), I rendered a few with this ratio. In the final renders, I focused on rendering without colour grading or post-production, except for one where I added a snow filter. This concludes the process.
In closing thank you so much for taking the time to read this post. I hope you'll join me as I continue to progress in 3D art! Become what you dream of!
If you have any questions about this, are unsure, or have anything you want to know, look for feel free to contact me on The Rookies, Artstation, and Instagram.