Behind the VFX of a Project Featuring a Prehistoric Predator
Student Jan Daviknes, studying Visual Effects at Kristiania University College, is impressing with his latest VFX project.
Student Jan Daviknes, studying Visual Effects at Kristiania University College, is impressing with his latest VFX project.
Student Jan Daviknes is enrolled in the Visual Effects Bachelor's program at Kristiania University College in Oslo and is currently undertaking an internship at Saurus Animation. We were impressed by his latest VFX project and asked him to share both the shot production and character workflow to inspire other budding VFX artists. Read on and let us know what you think!
This article is two parts. The first part is about the VFX pipeline from idea development and on-set practices, to 3D rendering and compositing. The second part is purely about my creature creation process including modelling, texturing and shading, rigging, and animation. The project was an assignment I did during the fall semester of 2023. I give insight to my process and techniques, and what I have learned so far in my career and perhaps it can be helpful for fellow students in 3D and VFX.
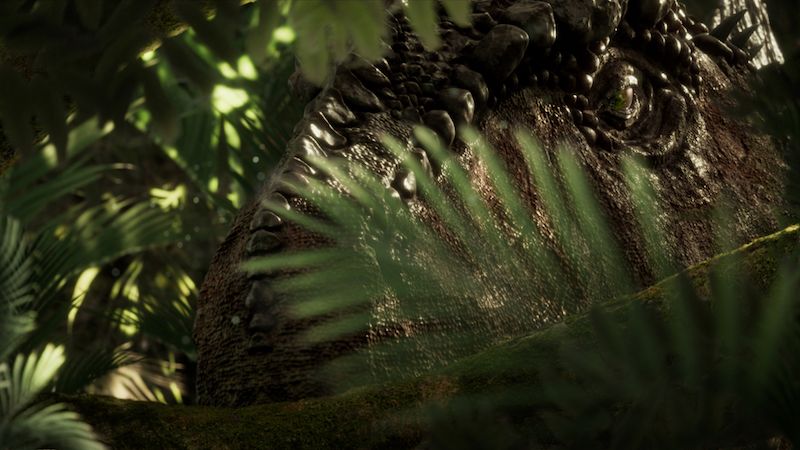
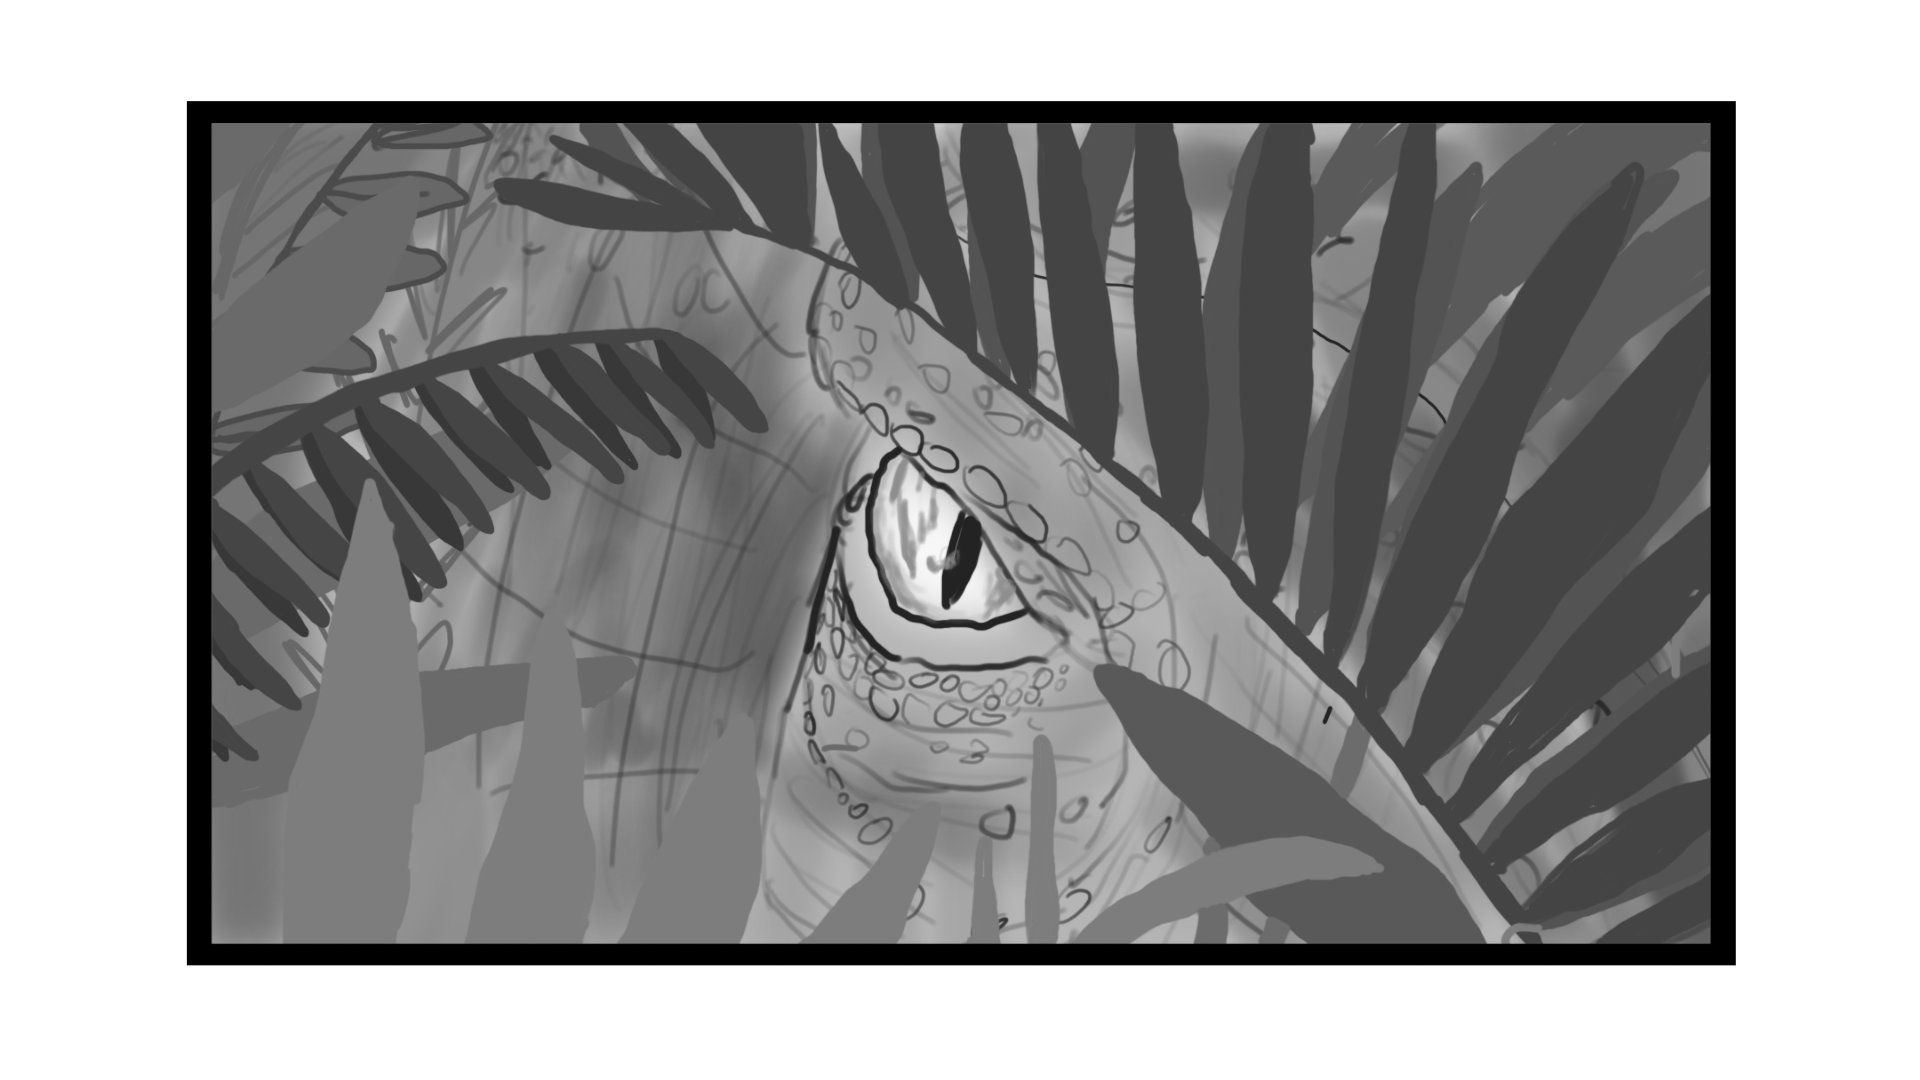
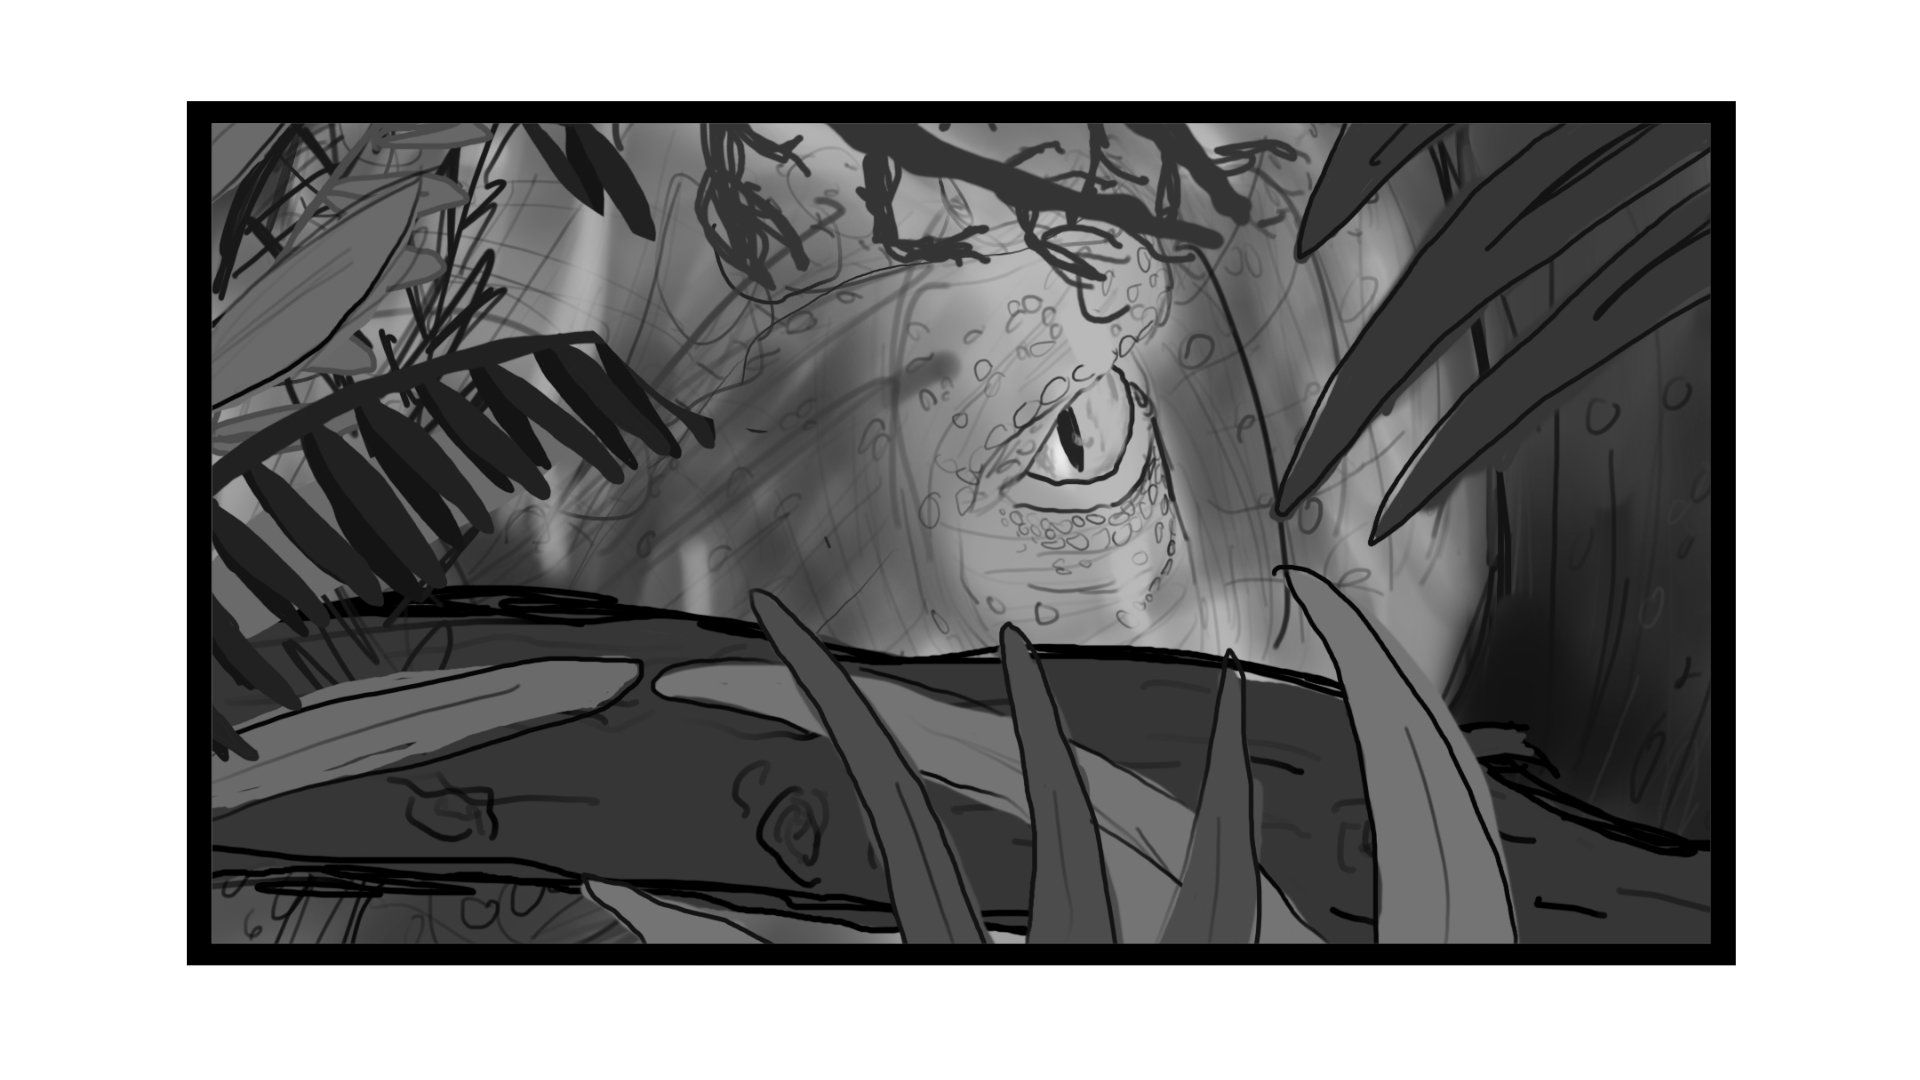
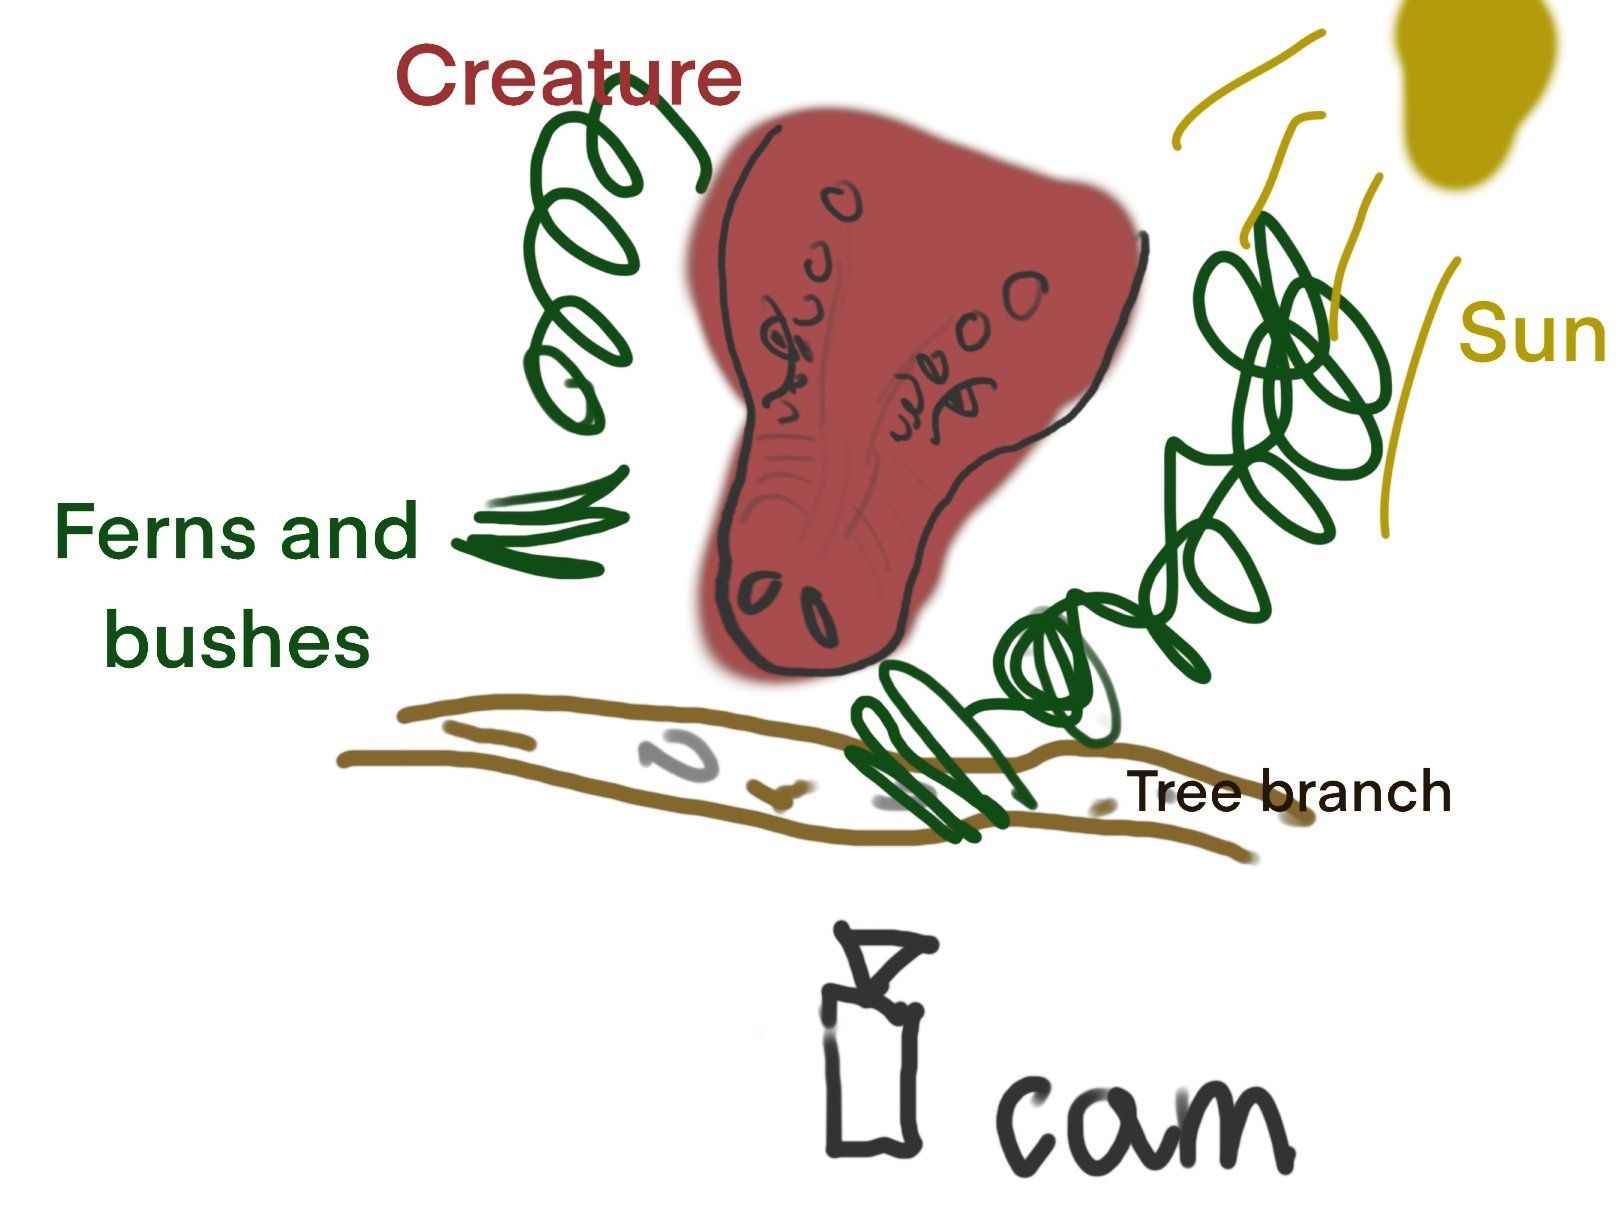
A Carcharodontosaurus is lurking in the bushes, her eyes locked onto her prey. Concealed by the lush vegetation of a cretaceous forest, the predator is slightly illuminated by beams of sunlight slipping through the branches. What will happen next? A simple backstory to a long process. This project was part of a VFX production course in the 5th semester of my bachelor's program. The course has a high expectancy of independence. We have to plan, shoot, and produce multiple VFX shots, this is one of the shots I produced. The purpose with the course is to become familiar with how the VFX production pipeline works, and how to produce VFX shots. We learn about idea development, filming, on-set data collection, 3D rendering, and VFX compositing.
As a student in the VFX field I have to be constantly be thinking about how to improve my reel, because the reel is the most important part of your application when applying for a job. I have to make sure I’m showcasing the necessary techniques and skills that the studios are looking for. Something to keep in mind when doing this, is to make sure I have variation in my reel. I want to show that I can handle multiple types of projects and styles and genres. This means including both dark and bright shots, wide shots and close ups, wide shots and narrow lens shots, cheerful mood, and dark mood etc. Simultaneously I want to play to my strengths with every project, and I believe there is a fine balance that needs to be found between having some variation and playing to your strengths. This was the background for my idea process. I wanted to produce a close up shot that had a calm energy and bright saturated colours that would stand in contrast to my other reel shot, which is very dark and intense.
For a long time I have had a passion for creatures, and creature design. I created a base asset for a dinosaur model some months prior to the project and I wanted to incorporate it somehow. This gave me a framework for the idea process.
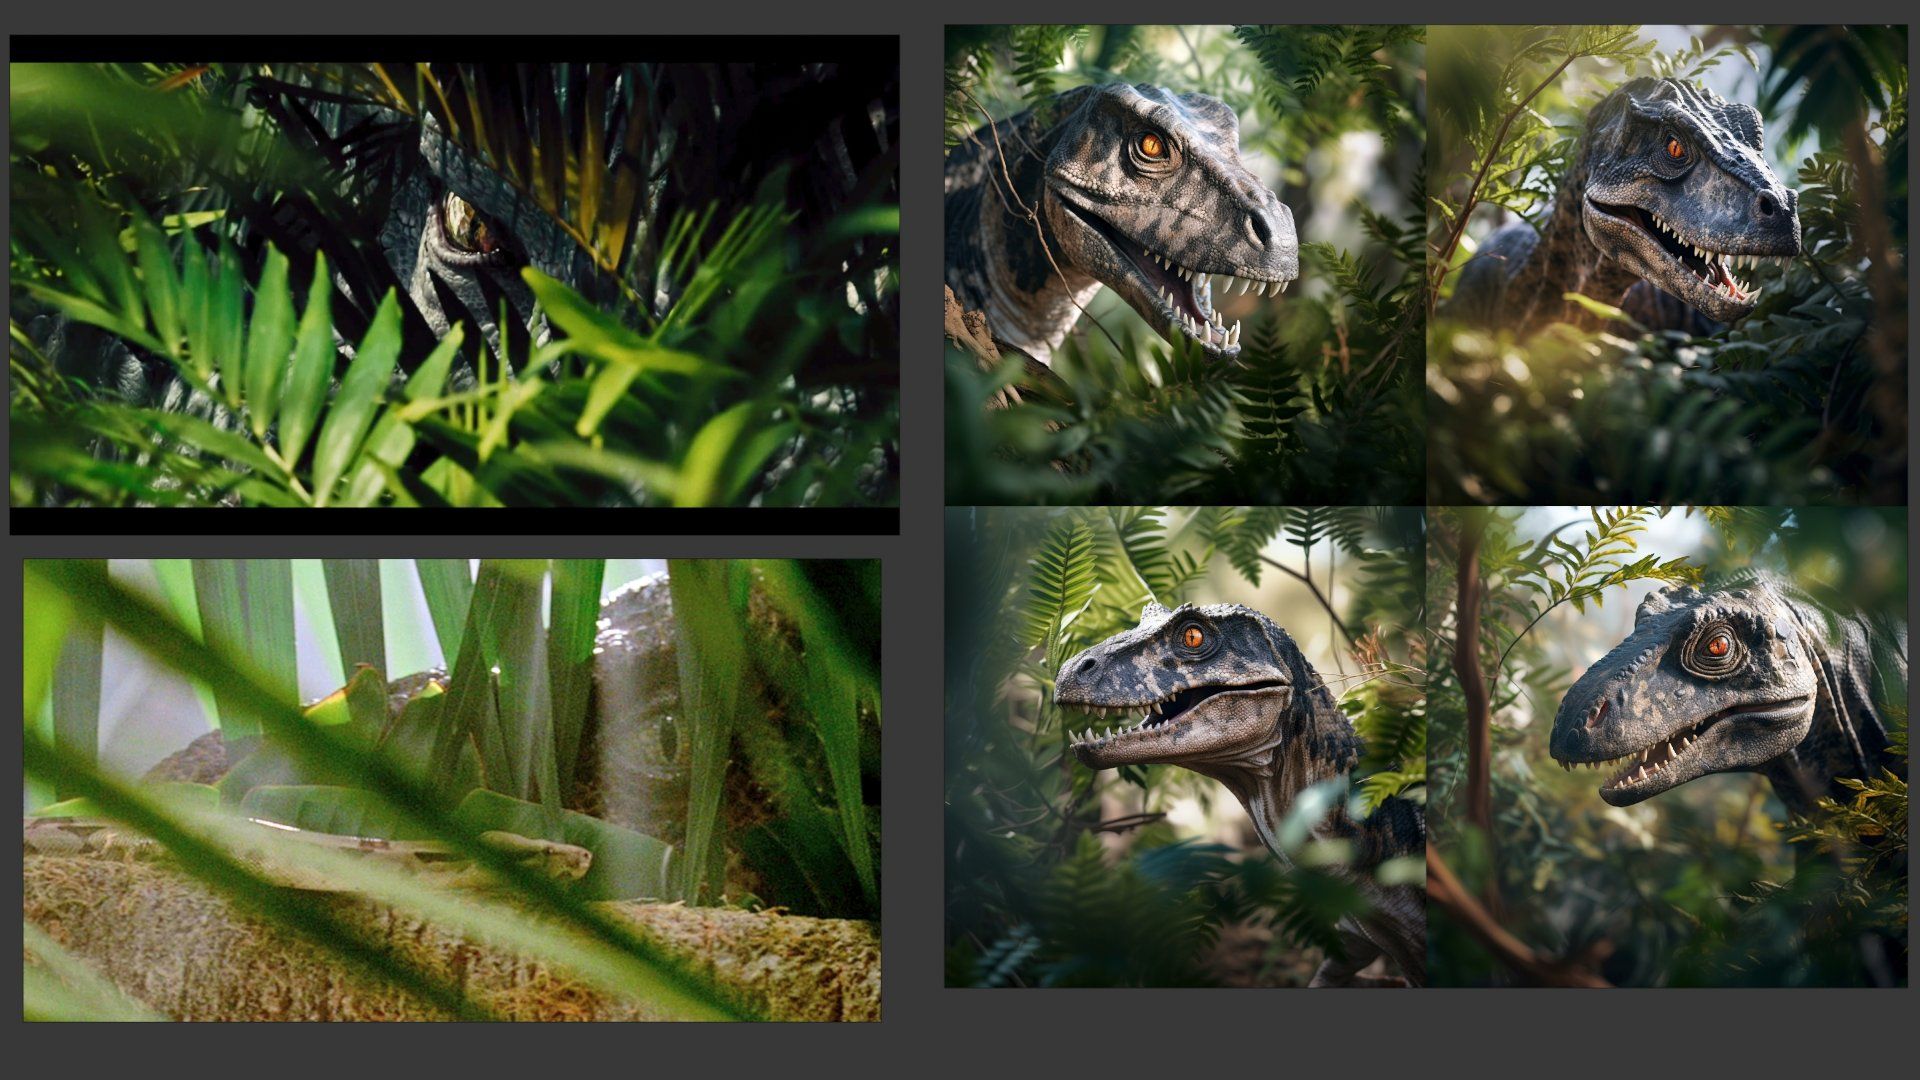
References are always important when starting off with a project. I use references for the whole process in different ways. To begin with, references are super important to get inspiration and to determine the mood, lighting, and composition. My main inspiration was taken from a shot from the movie Jurassic World. I also experimented with AI to help with ideas and mood.
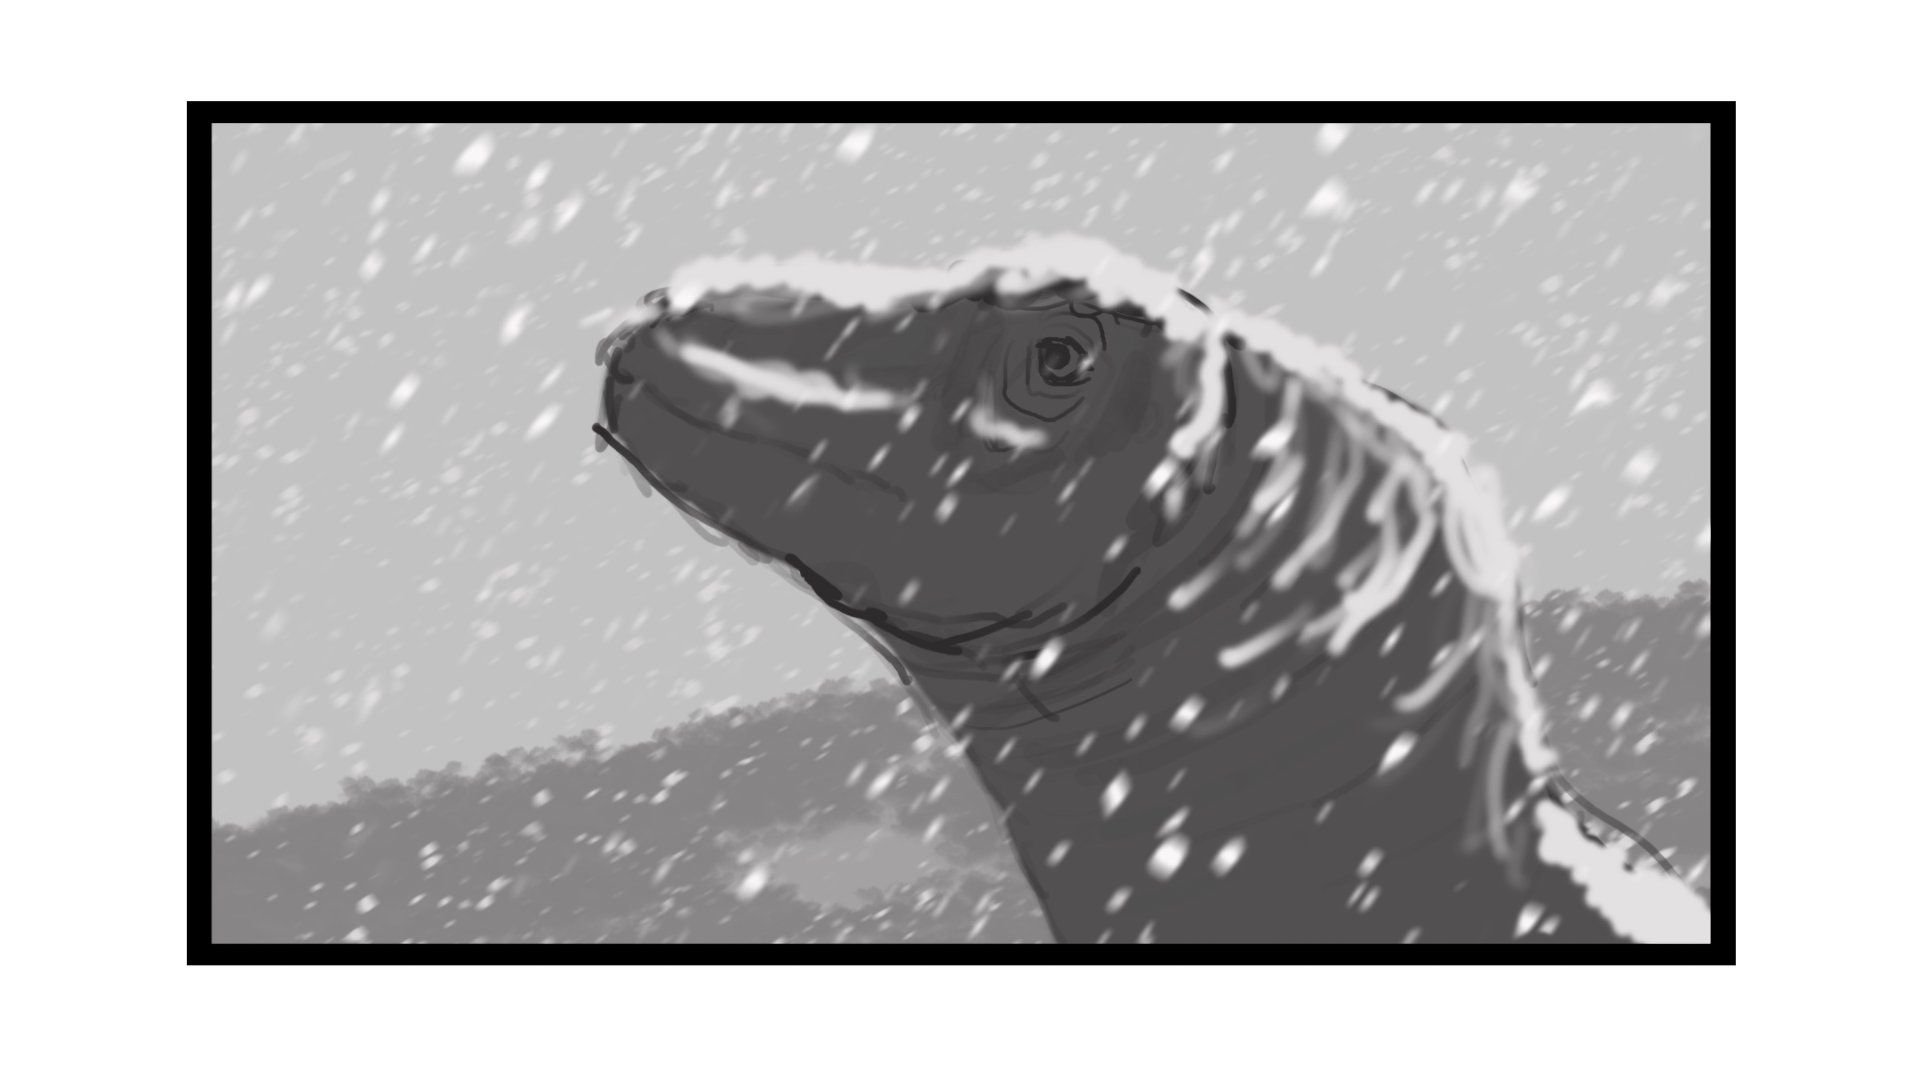
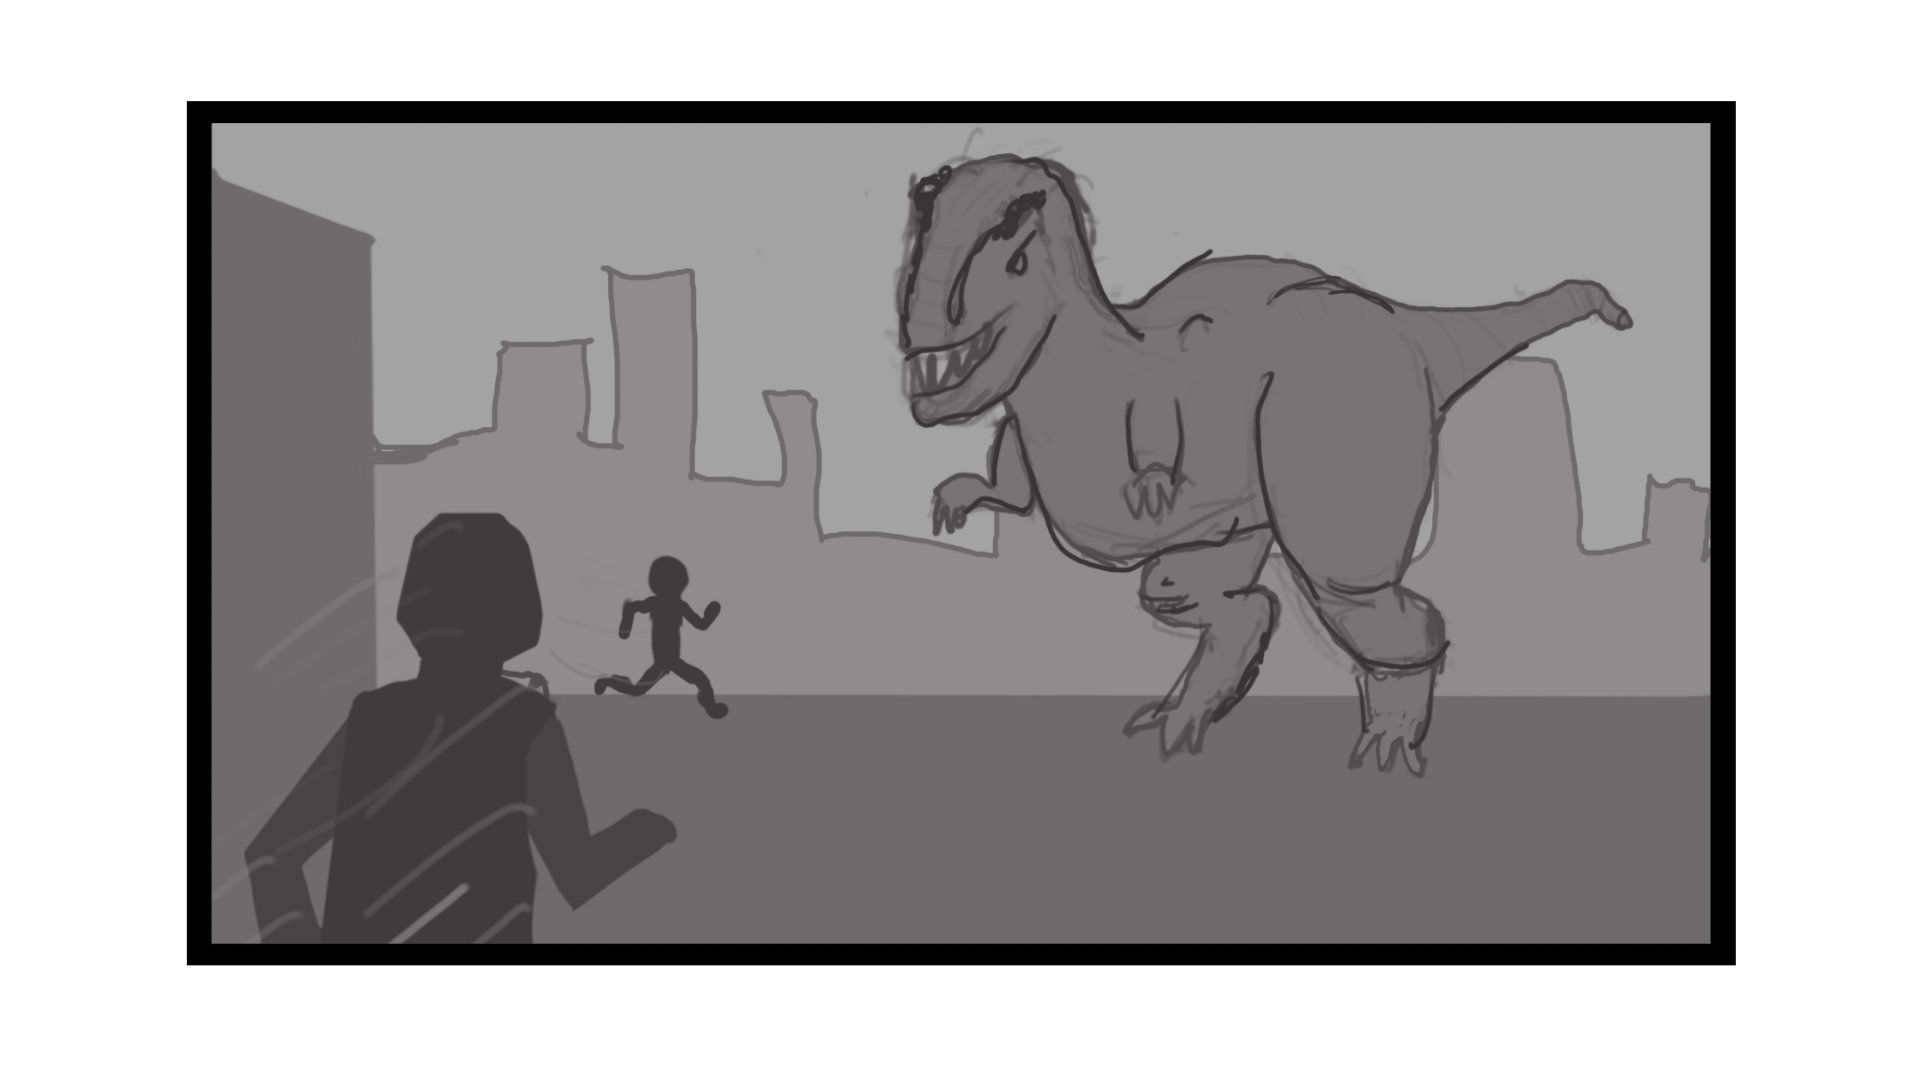
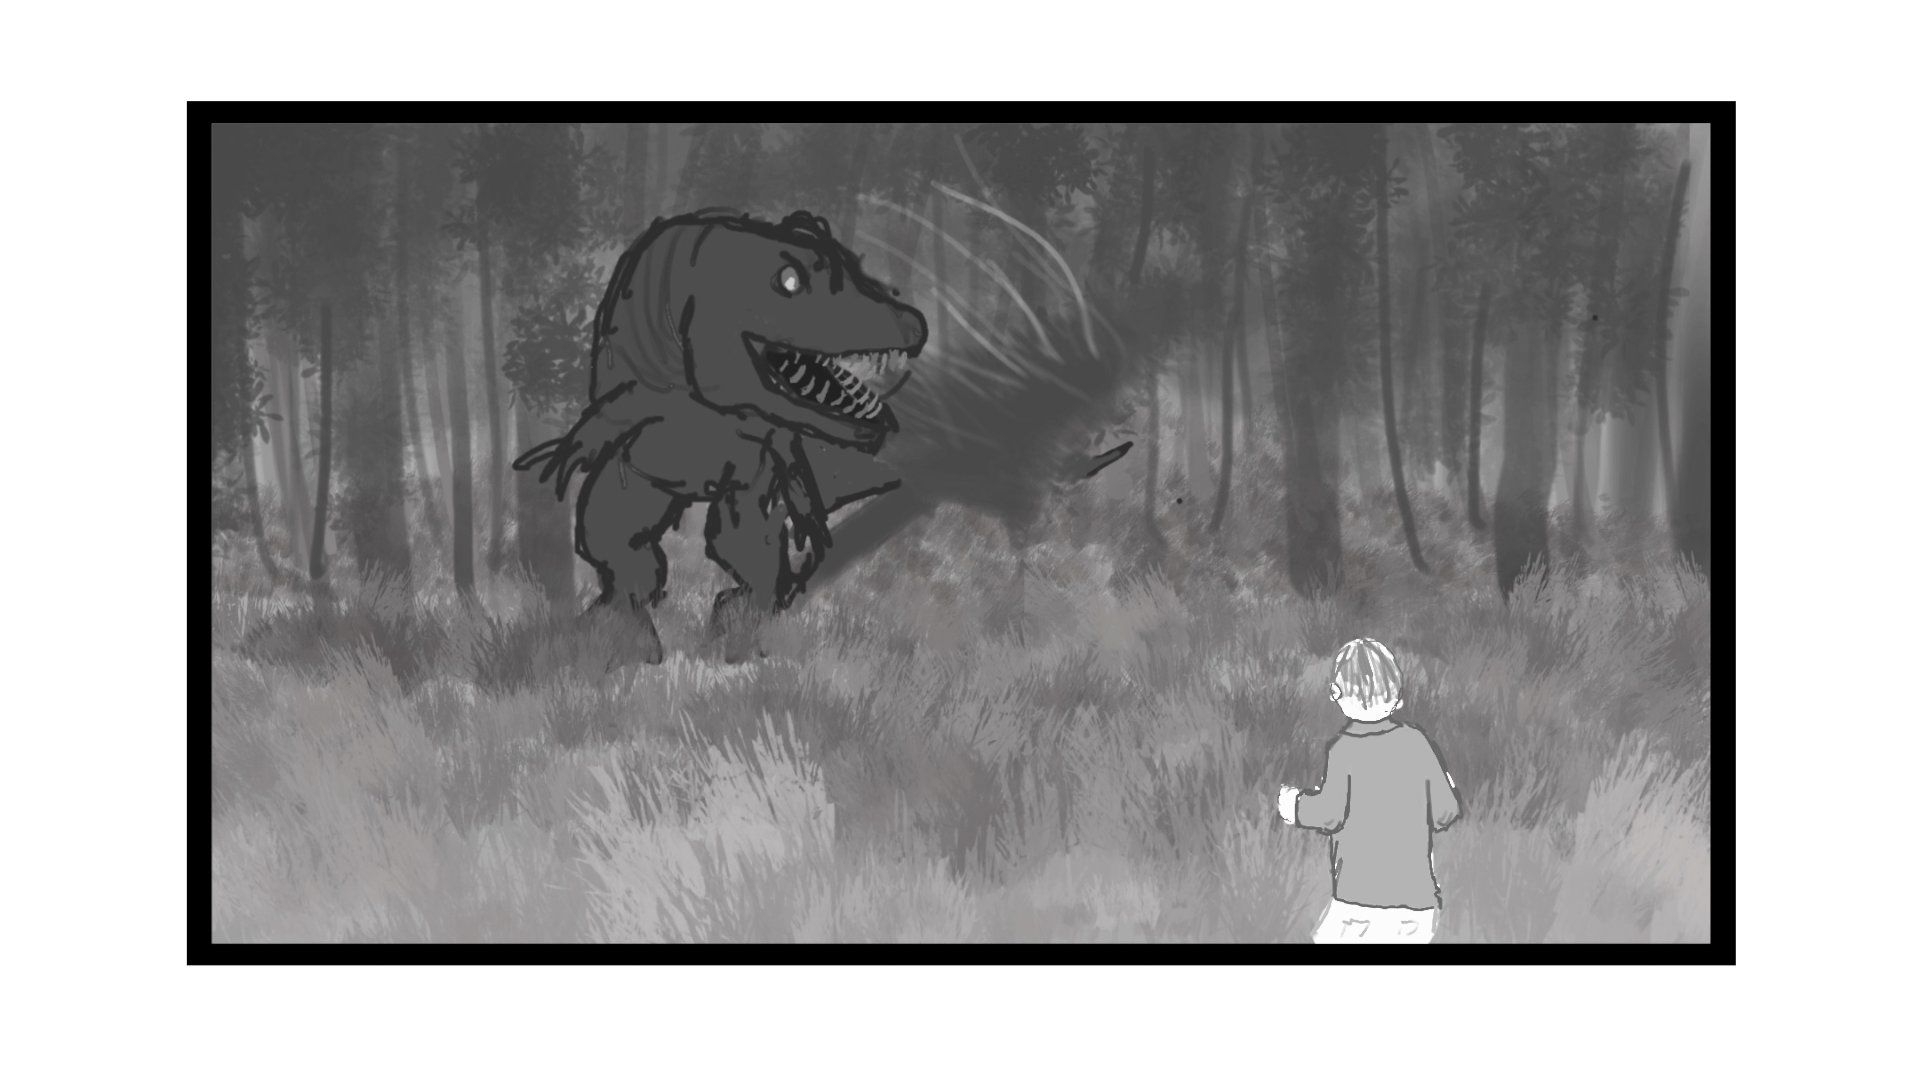
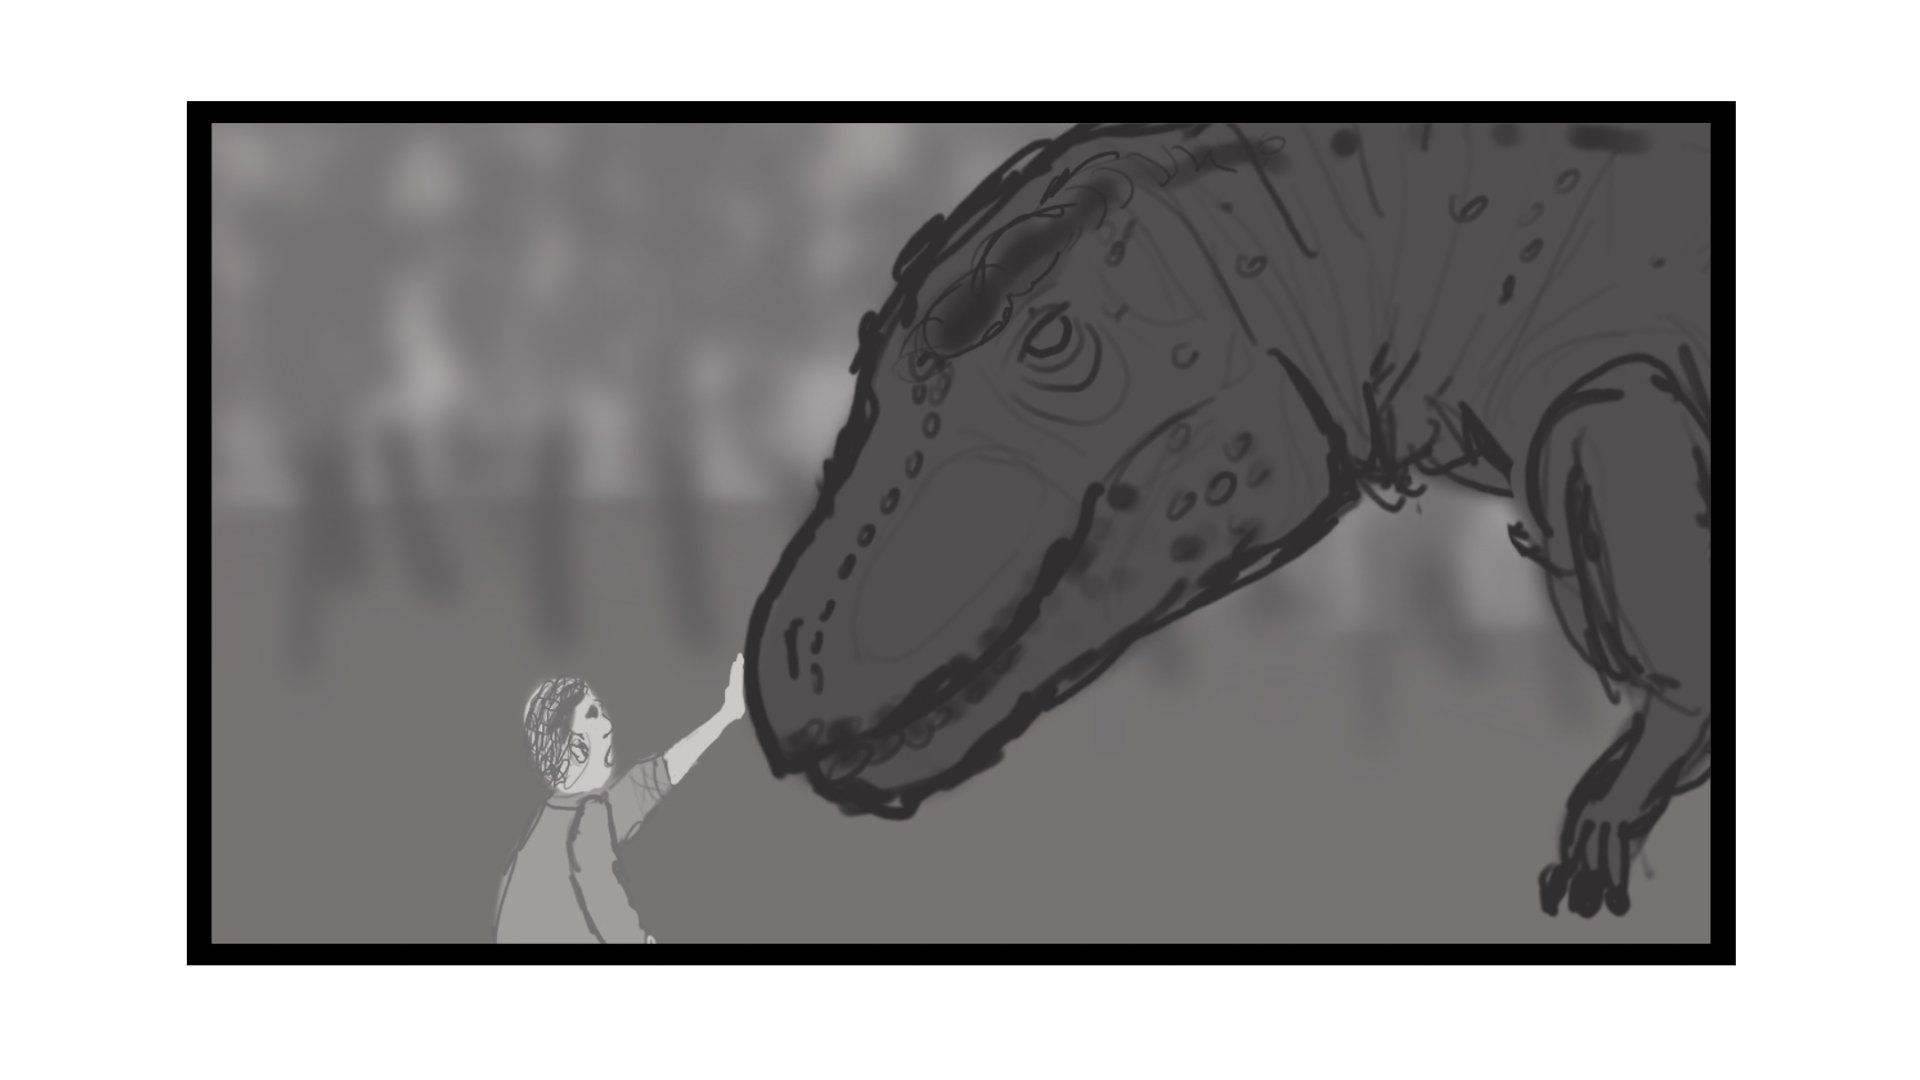
Once I had a general idea of what shot I wanted to create, I started to put together a production plan. This plan includes reference images as well as all practical information for how to complete the production. I put together a schedule and include deadlines for each step of the pipeline. This process also includes storyboarding and 3d previsualization. My storyboarding process can sometimes include bashing together images or drawing from scratch; this lets me establish the general composition, framing and mood of the shot, making it an artistic process that lays the foundation for the rest of the project. I create a few different versions and possible ideas. I find it to be better to quickly generate multiple rough ideas, and pick the one I like the most, rather than sticking to the first idea I have.
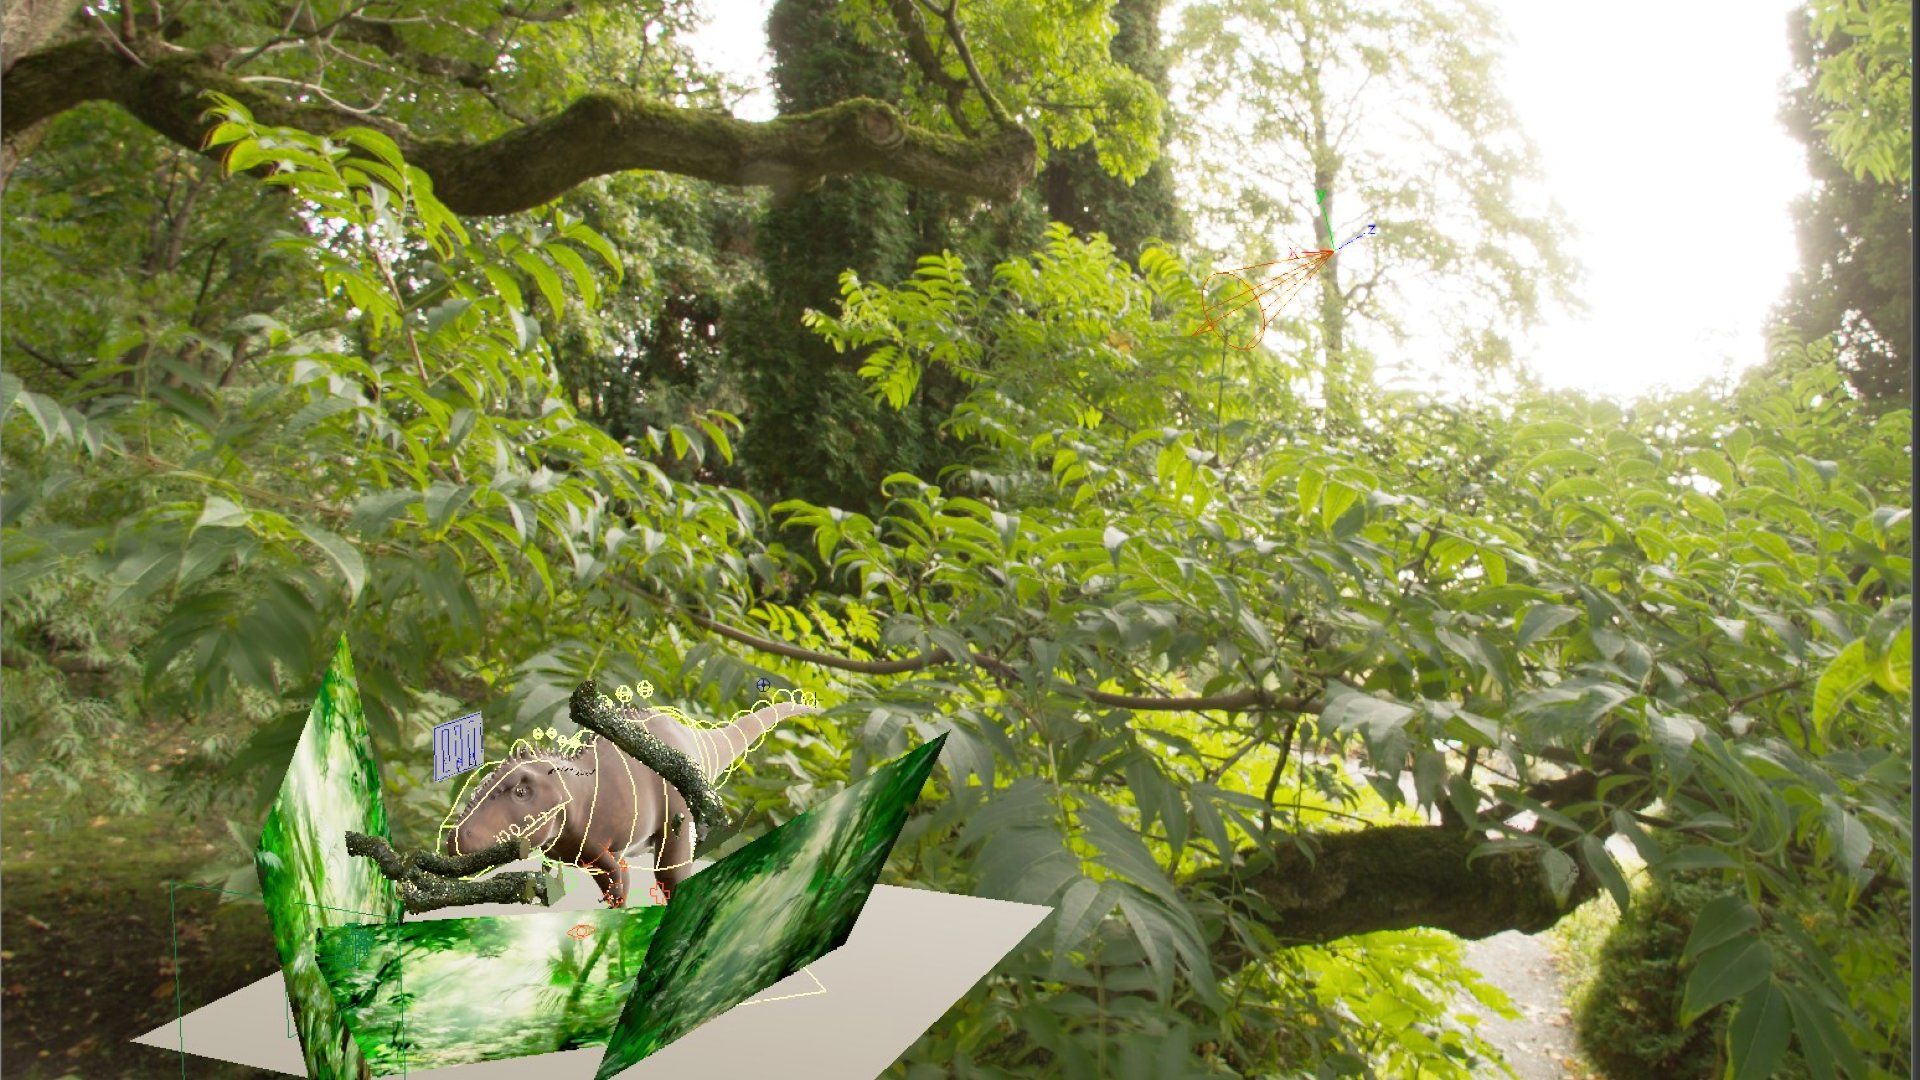
Next, I use 3D visualization to determine camera movement, focal length, action/movement and the general layout of the scene. Doing this early in the production with low resolution models allows me to quickly find out what works and what doesn’t work composition wise, with the general idea, lighting or anything else that might stand out. Using these tools allows me to quickly go through many iterations until I have an idea I like.
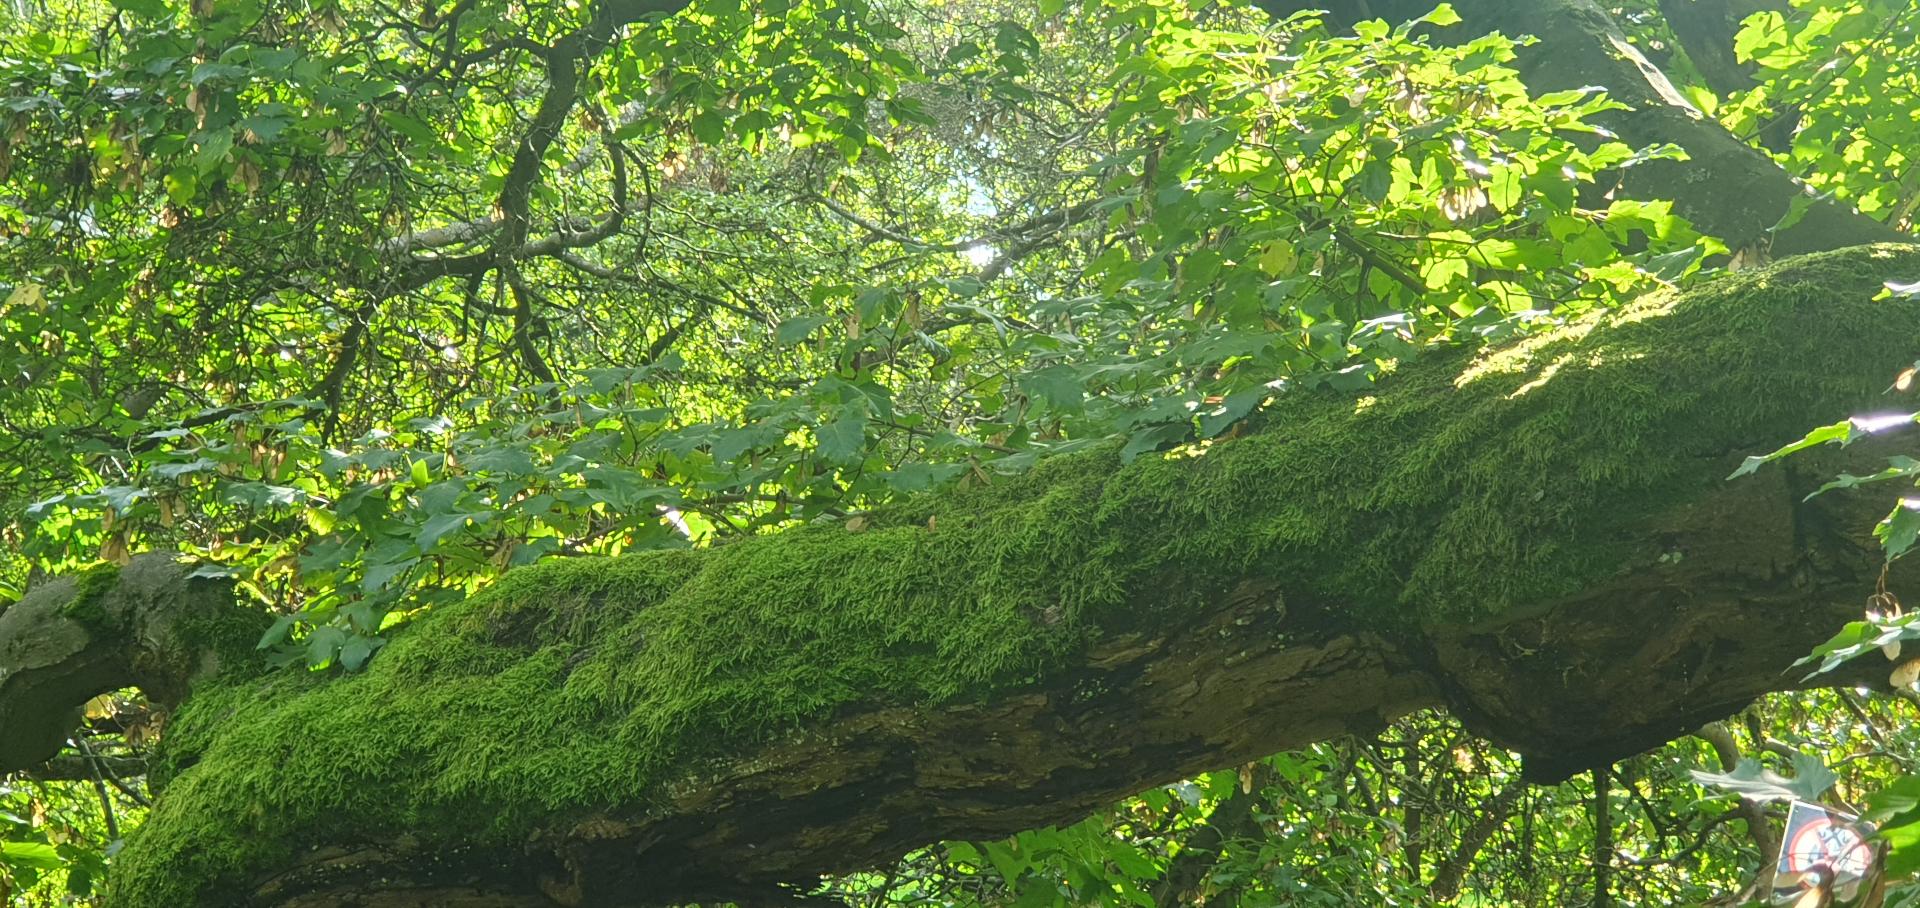
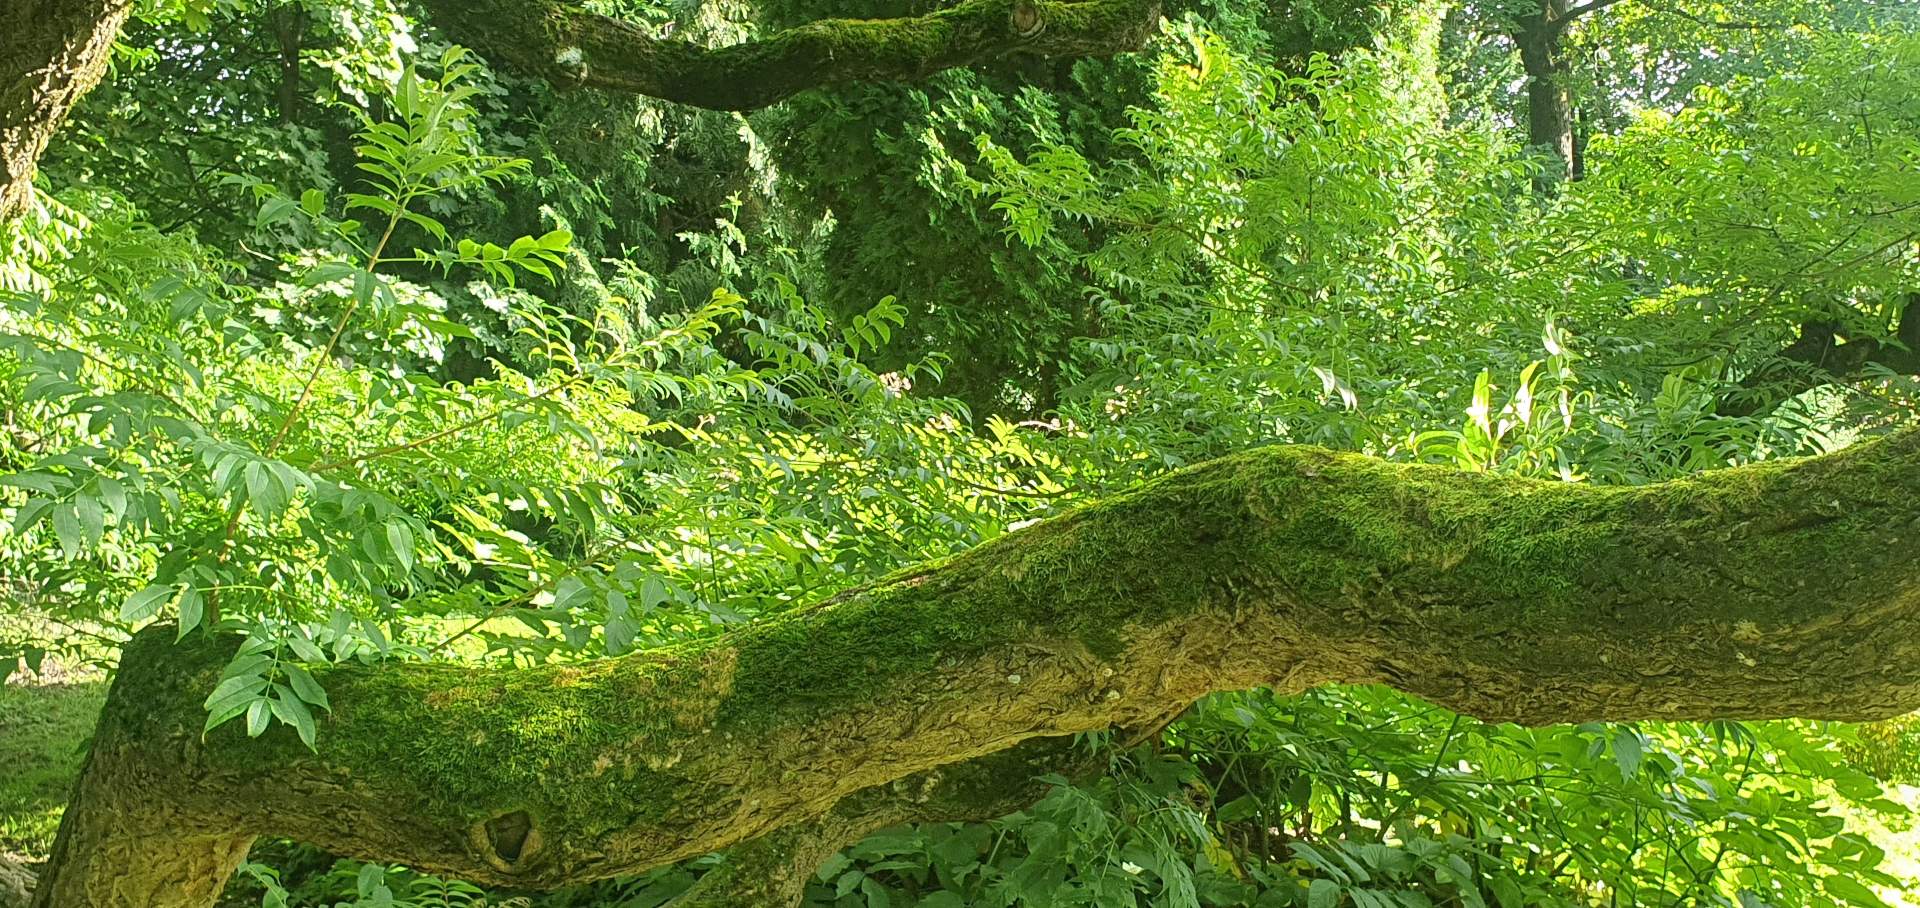
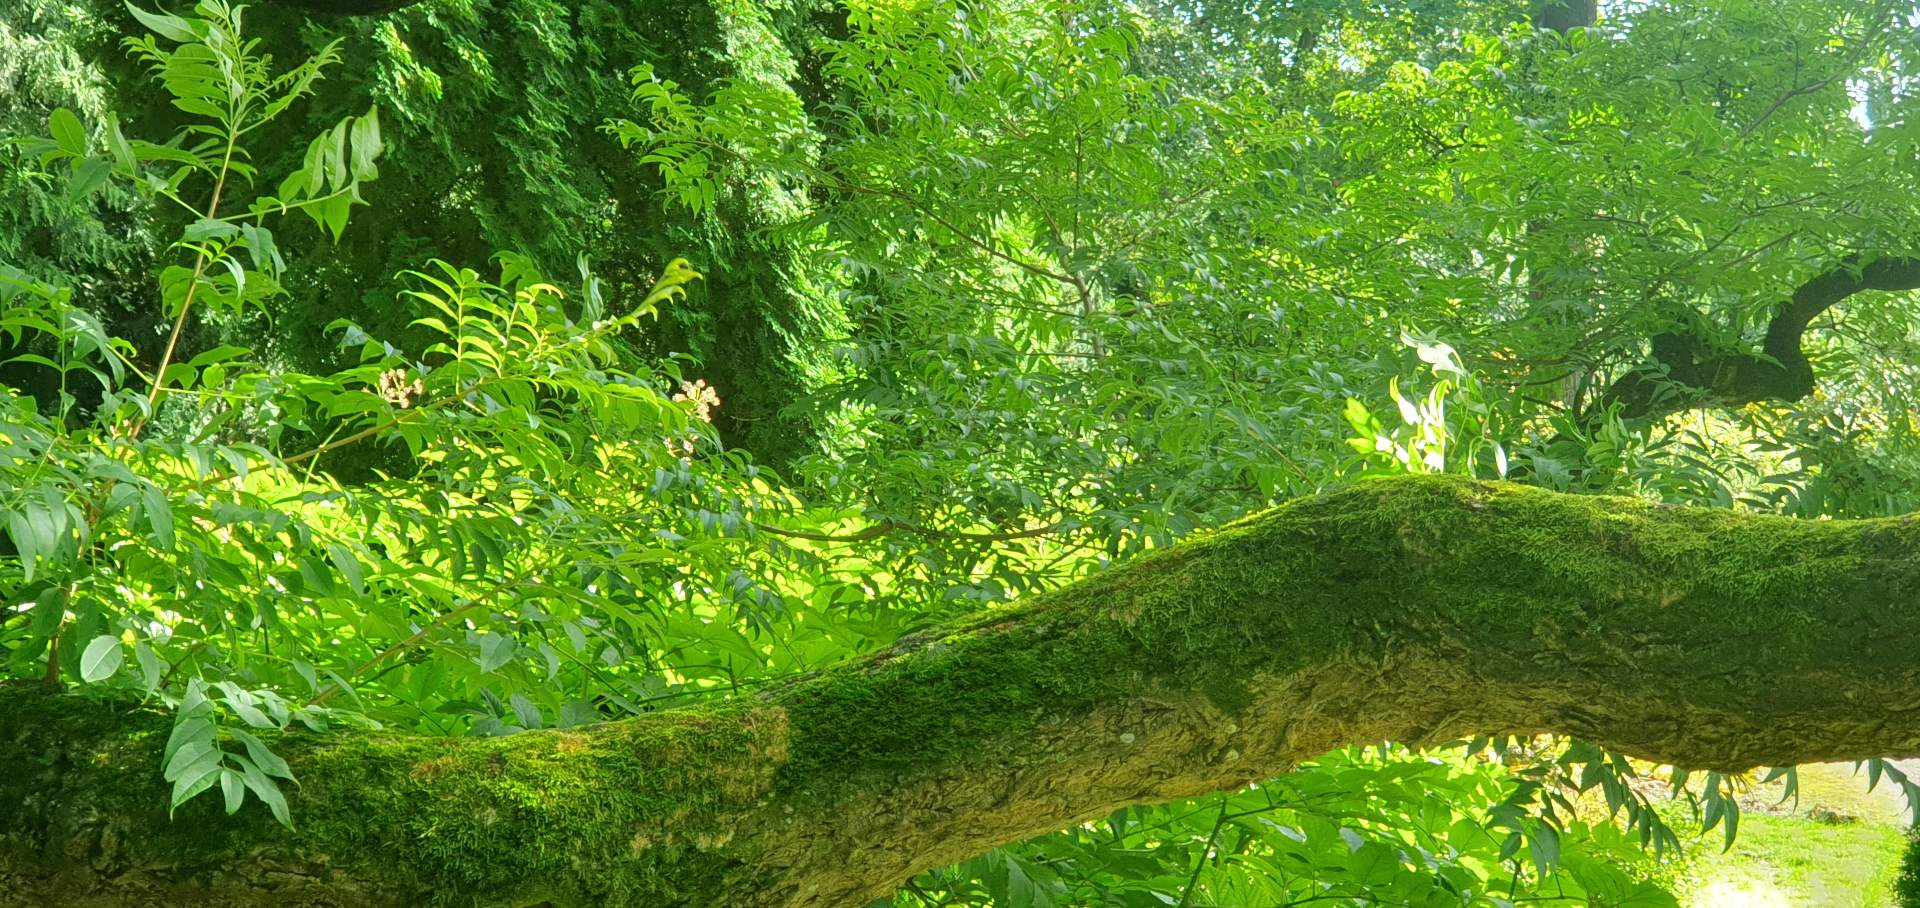
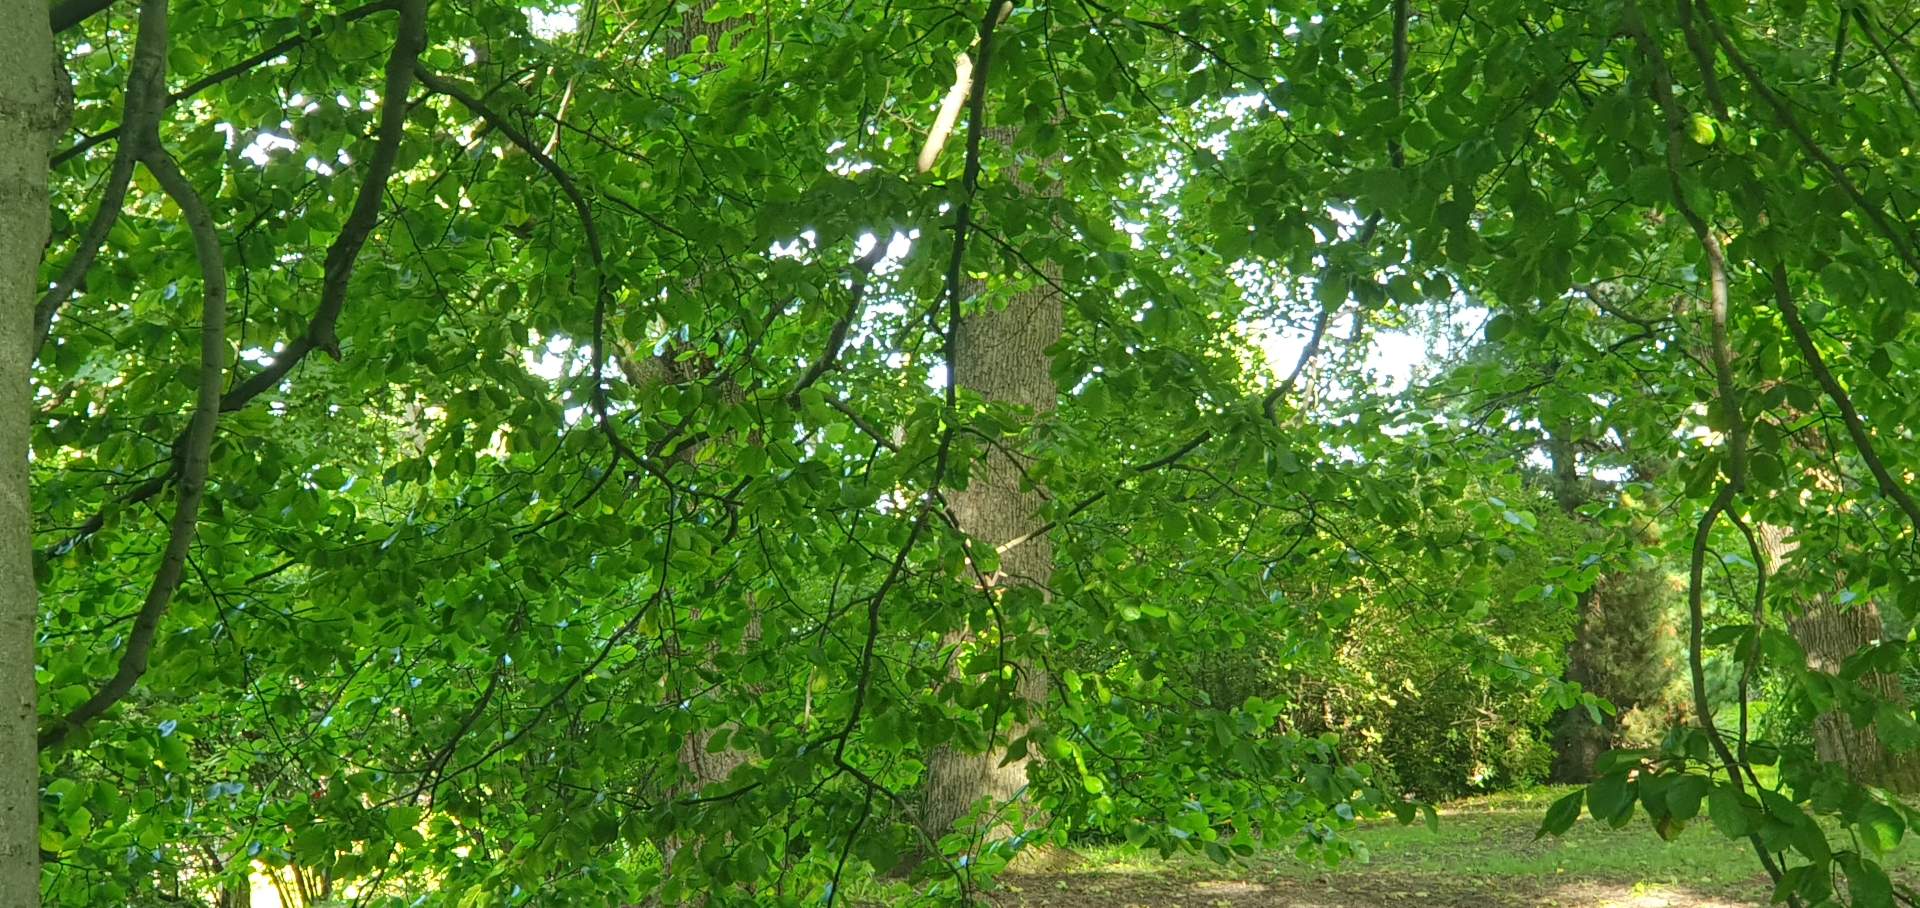
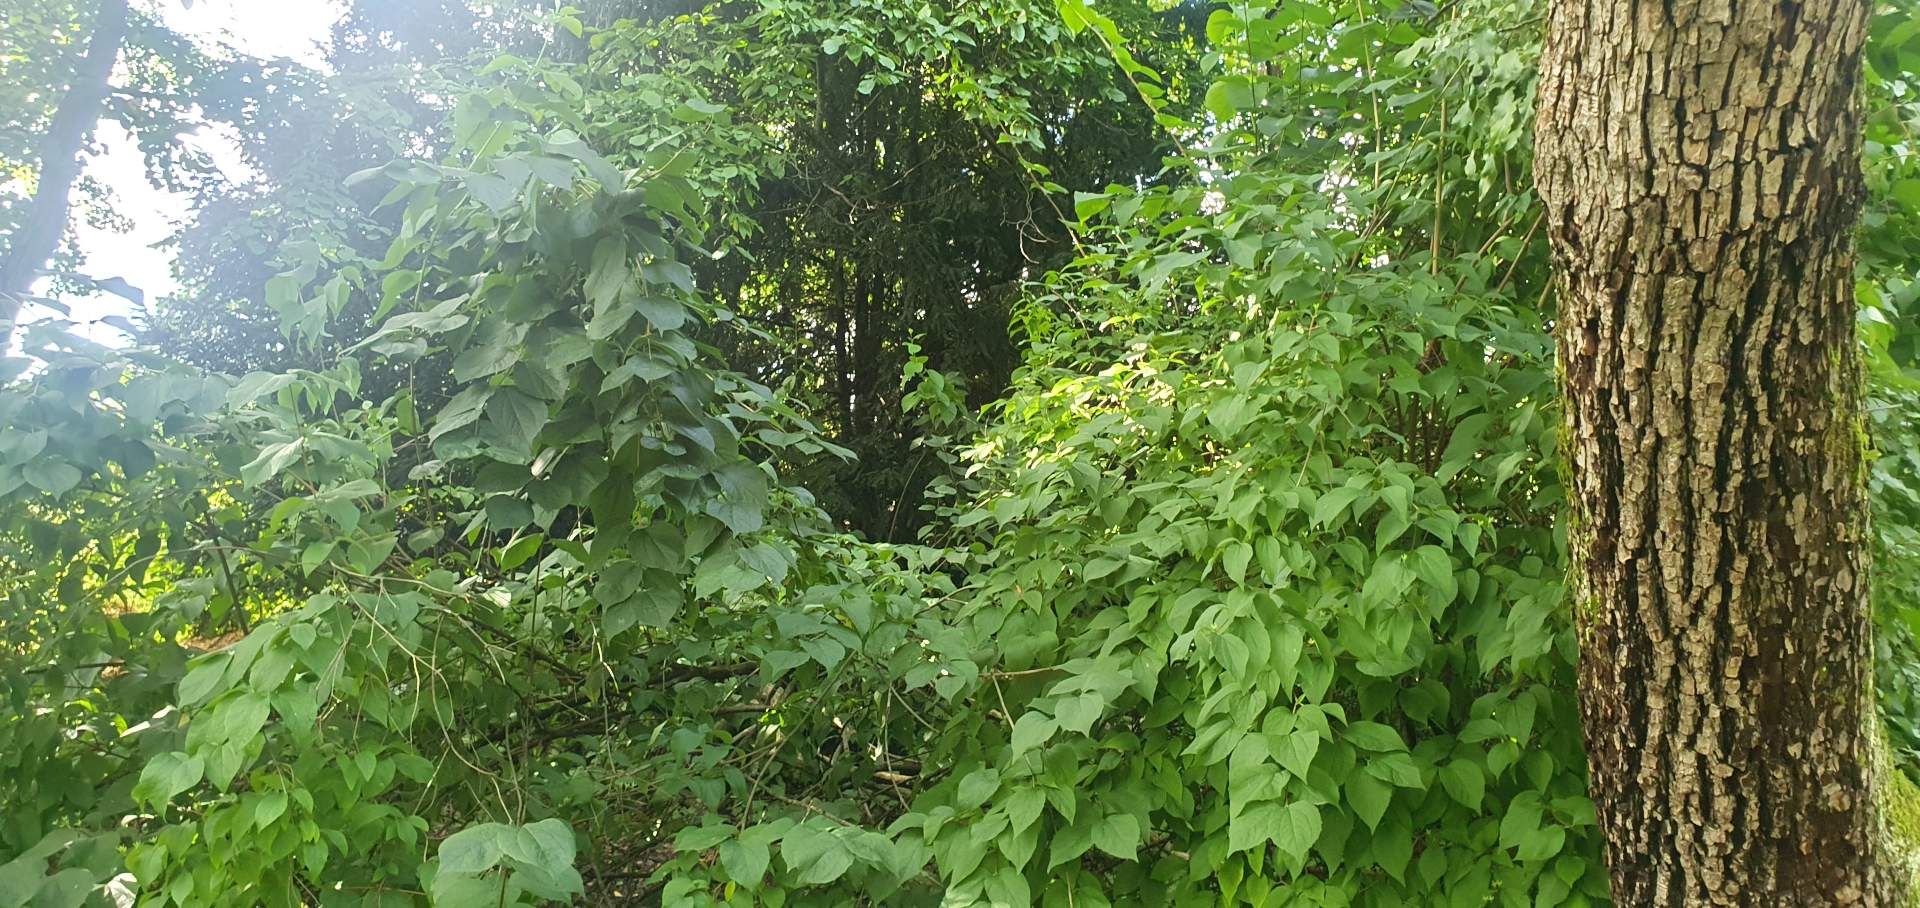
When doing student projects like this you are limited with the logistics and budget, and I often find it difficult to find a location that is suiting for my needs. Doing research into locations and scouting potential places to film is crucial, and unfortunately time consuming, but looking around on google maps and being familiar with my city helped me a lot. Nearby the school there is a nature reservoir called Botanisk Hage, located in central Oslo. It is publicly available and has a lot of greenery, and an abundance of trees and plant life, perfect for posing as a prehistoric jungle. I went to scout the area and found a few different potential spots and took a few photos with my phone. Doing this before filming is very useful, because then you know exactly where to go and what to do, when you are filming for real. This is good practice as on bigger productions there are a lot more people involved and a lot of money at stake, so every second counts.
After the location scout I picked an exact location I liked, and drew a floorplan. This is arguably more important when you are bringing artificial lights, but I found it to be handy regardless. This is because you can show your crew and the people you are working with when you are on-set so everyone understand the task, and we have a shared vision. Having the storyboard on set is also useful in this regard.
For the shoot I used a Blackmagic URSA that I borrowed from the school, including the tightest lens I could get which was a 70mm lens. This shot is static, that includes no actors, so it wasn’t a very complicated shoot, however I made sure I found the correct composition and framing. It can be tricky to simply imagine a CG character in your shot and try to frame accordingly, especially something this big. I shot a few different versions trying out different angles and framings, and since I had a zoom lens, I also tried pulling out a little, in case I misjudged the size of the creature.
When I am happy with my footage I start the on-set data gathering process. I measure distances between the camera and branch, as well as the height of the camera. The more measurements of the set the better! The more data I can get from set, the smother my process will be for the CG and compositing workflow. Using the same camera, with the same exposure and settings, I shoot a chrome ball, gray ball and a Macbeth colour chart, roughly in the same spot as where I intend my CG to be located. Later, I can use this for color calibration and lighting.
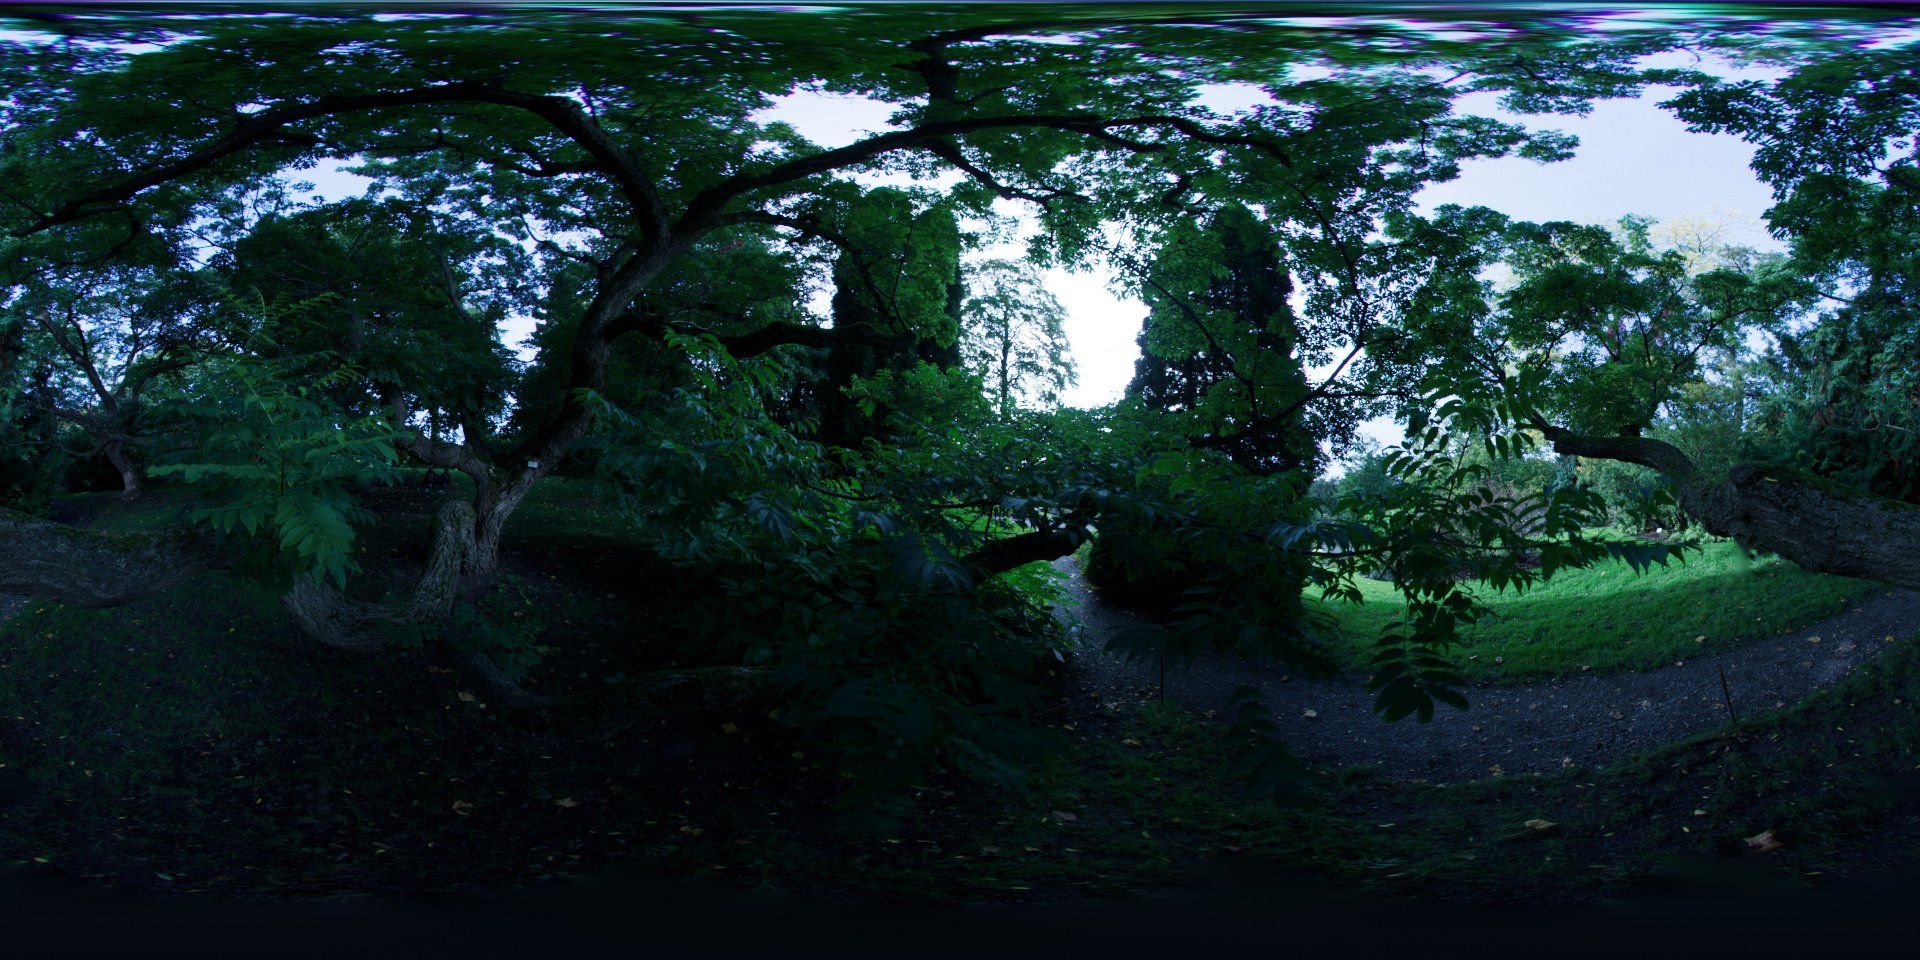
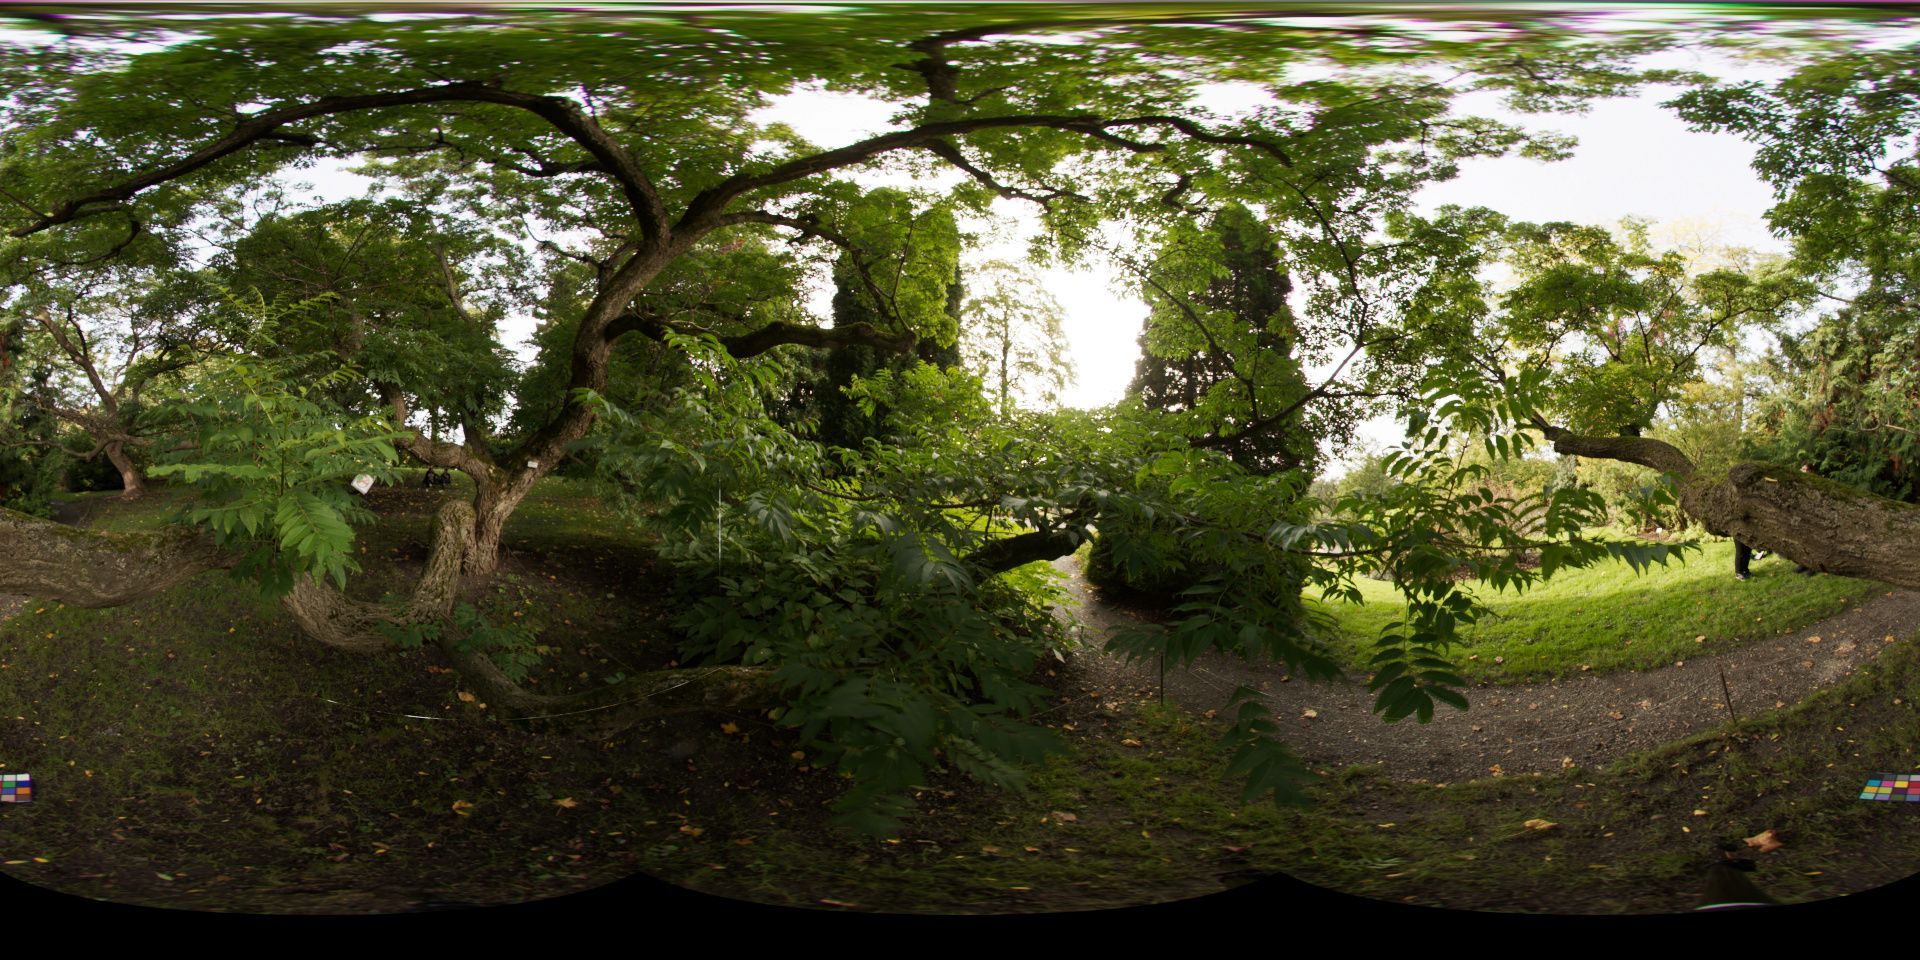
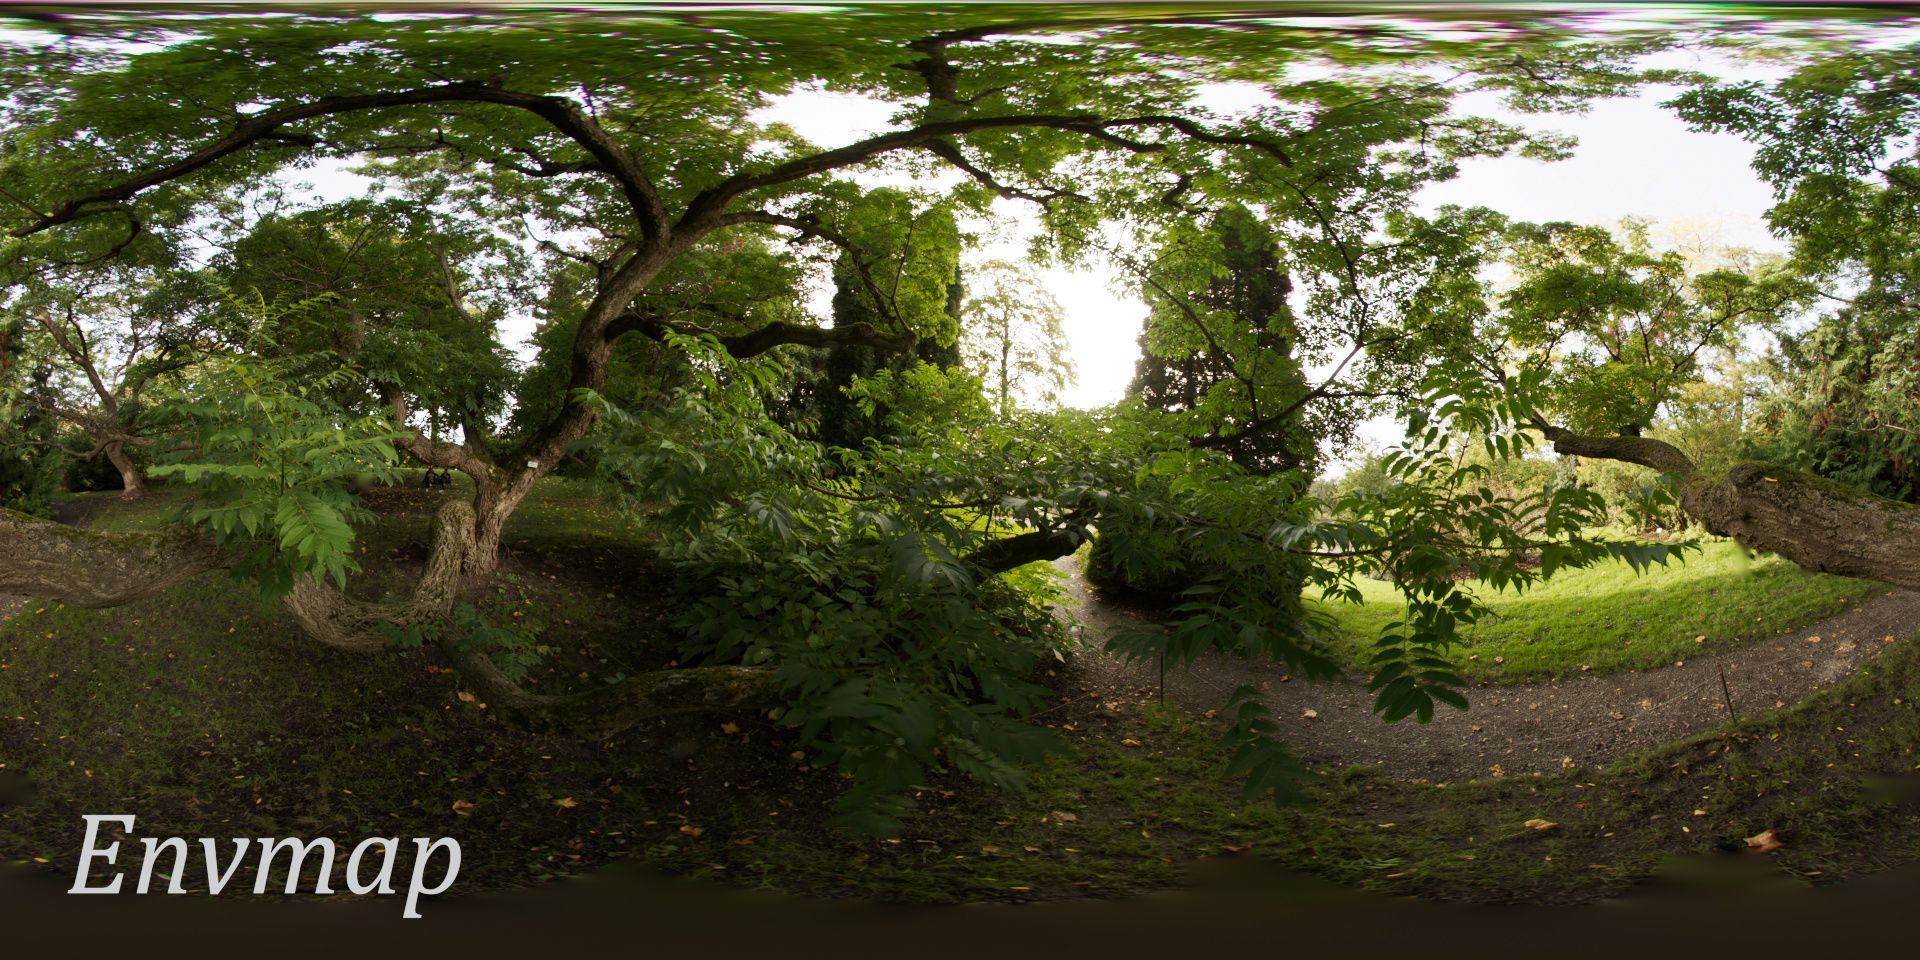
I also capture a high dynamic range (HDR) image of the surroundings to capture the lighting information of the scene. This will be the base for my lighting setup in Maya. I include the McBeth chart in my frame so I can calibrate the colours of my panorama image to match my plate.
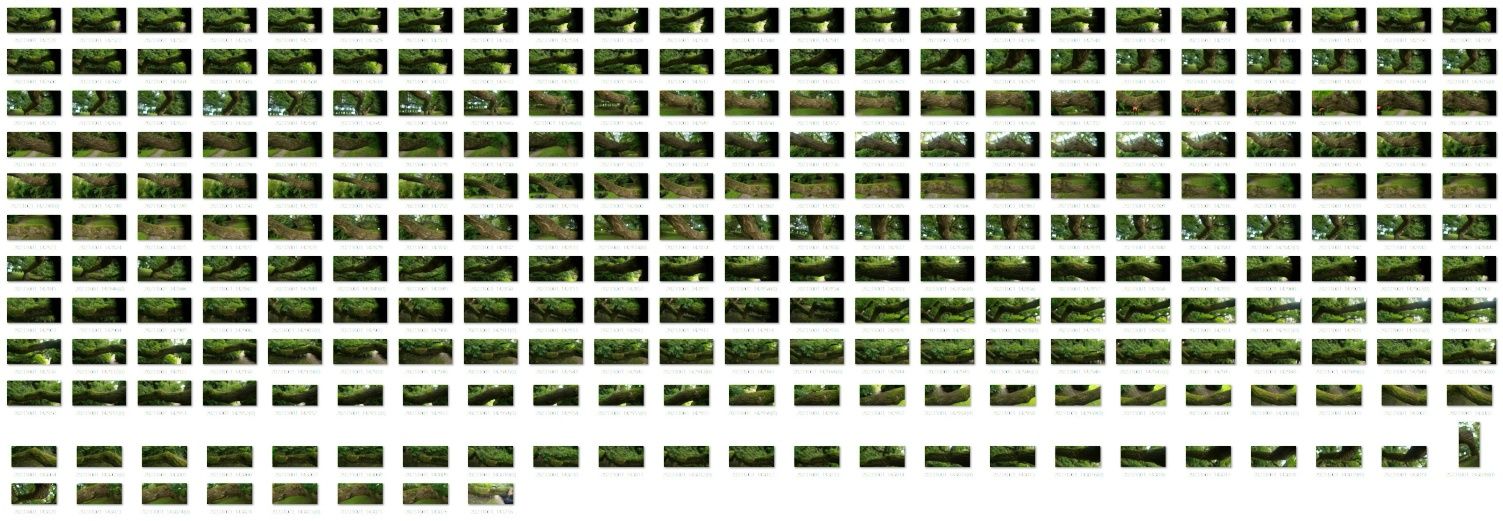
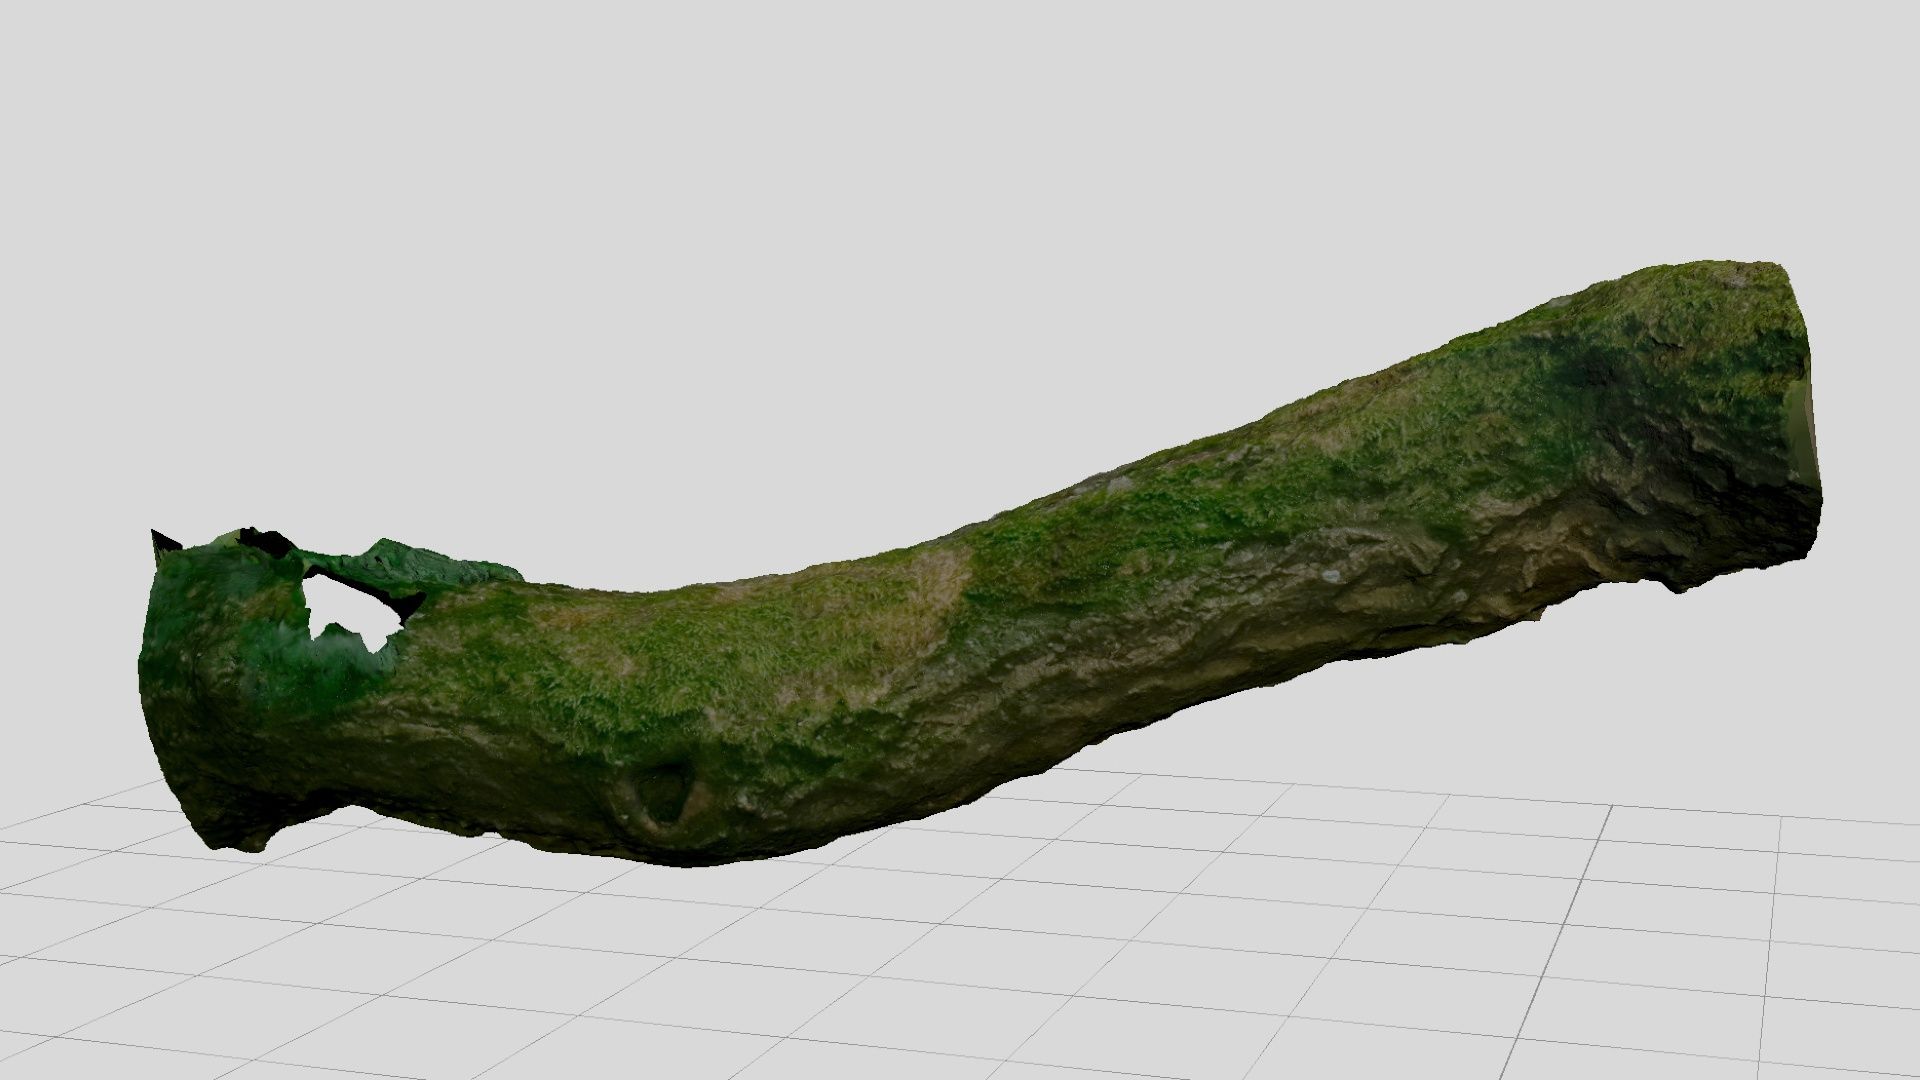
The last thing I do in the onset process is to take a photo scan of the branch that is leaning through the shot. I used jpg files as I simply used my phone to take the images. For my purpose this worked just fine, but using exr is recommended for higher quality scans. Having this as a 3D model will be very useful for specifying the scale of my scene by having exact measurements of the branch, as well as orienting the camera in my 3D scene. This can be done manually, especially since my camera is static, but having a scan makes this process very efficient and precise. If you have a camera movement in your shot, doing this will be especially useful, and can help you in solving your camera matchmoving.
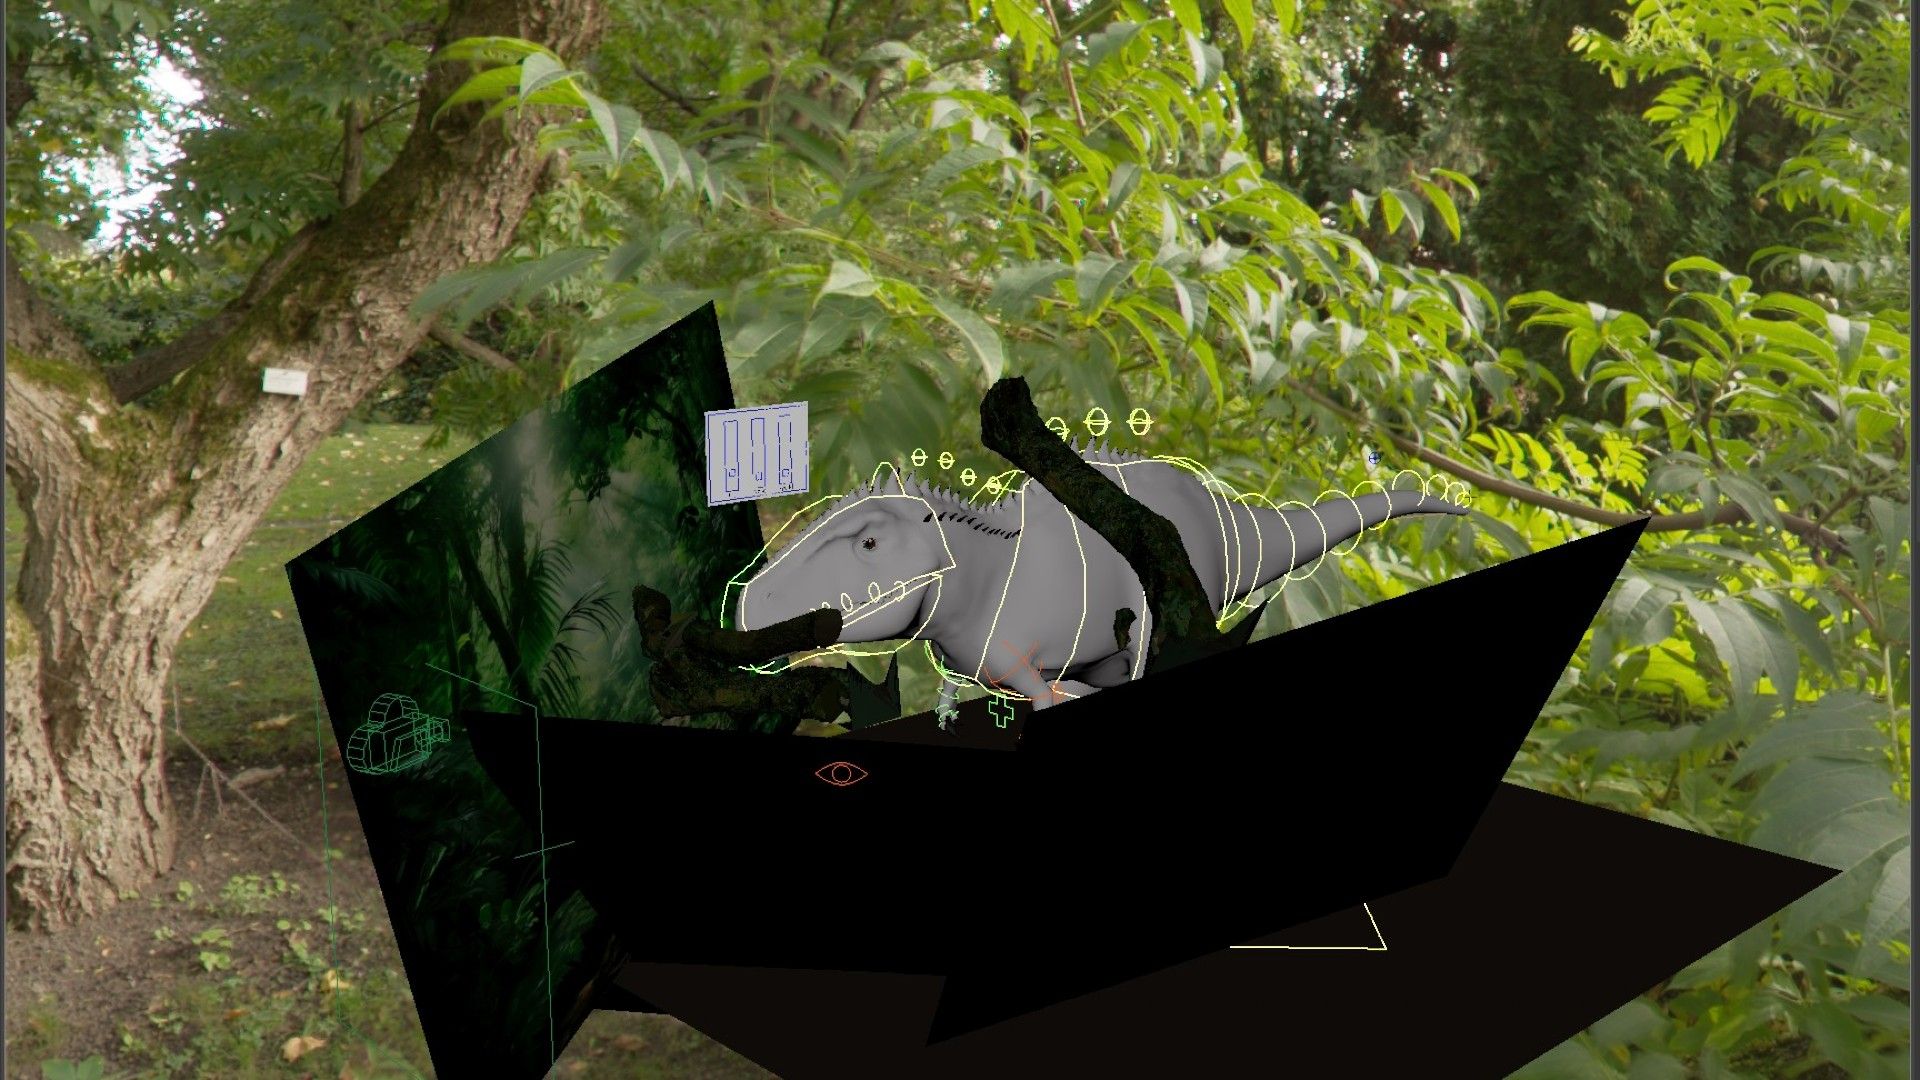
The animation needed for this shot is quite minimalistic. The movement needed to be very subtle and slow, but because the shot is very intimate its important that it feels realistic. I found it to be very easy to exaggerate the movements, and I ended up having to remove alot of the work I did. Either the movements were too fast, or there was too many different things the creature was doing. This is a very large creature, and it should not make extremely sharp movements, which is something that can easily end up happening when trying to make the animation interesting, like the example below:
Having put alot of effort into my rig I used morph target to be able to do more with the face, like muscle tensions, lip raising and eyelid animations. There wouldn't really be a lot to animate if I only had a head and a jaw controller. From here I essentially just tweaked the keyframes and tried to find a balance between believable movement and an interesting animation. I am neither a rigger nor an animator, so I tried to go simple with it.
For my render I needed to get accurate ambient and directional lighting on my model. This is why I captured a HDRi panorama image, from the exact location of where I was going to place my CG. This is only used for ambient lighting. This will not be good for specific light sources. I therefore added a spot light to act as a sun. This gave me much more control of the lighting and allowed me to use gobos. For extra control I used some geometry to guide the light and give me more bounce light. The HDRI is never enough to light the whole scene, there are always more steps needed to have control of your lights, but it gives a tremendous advantage in the lighting process, especially when matching a lighting condition to a physical place.
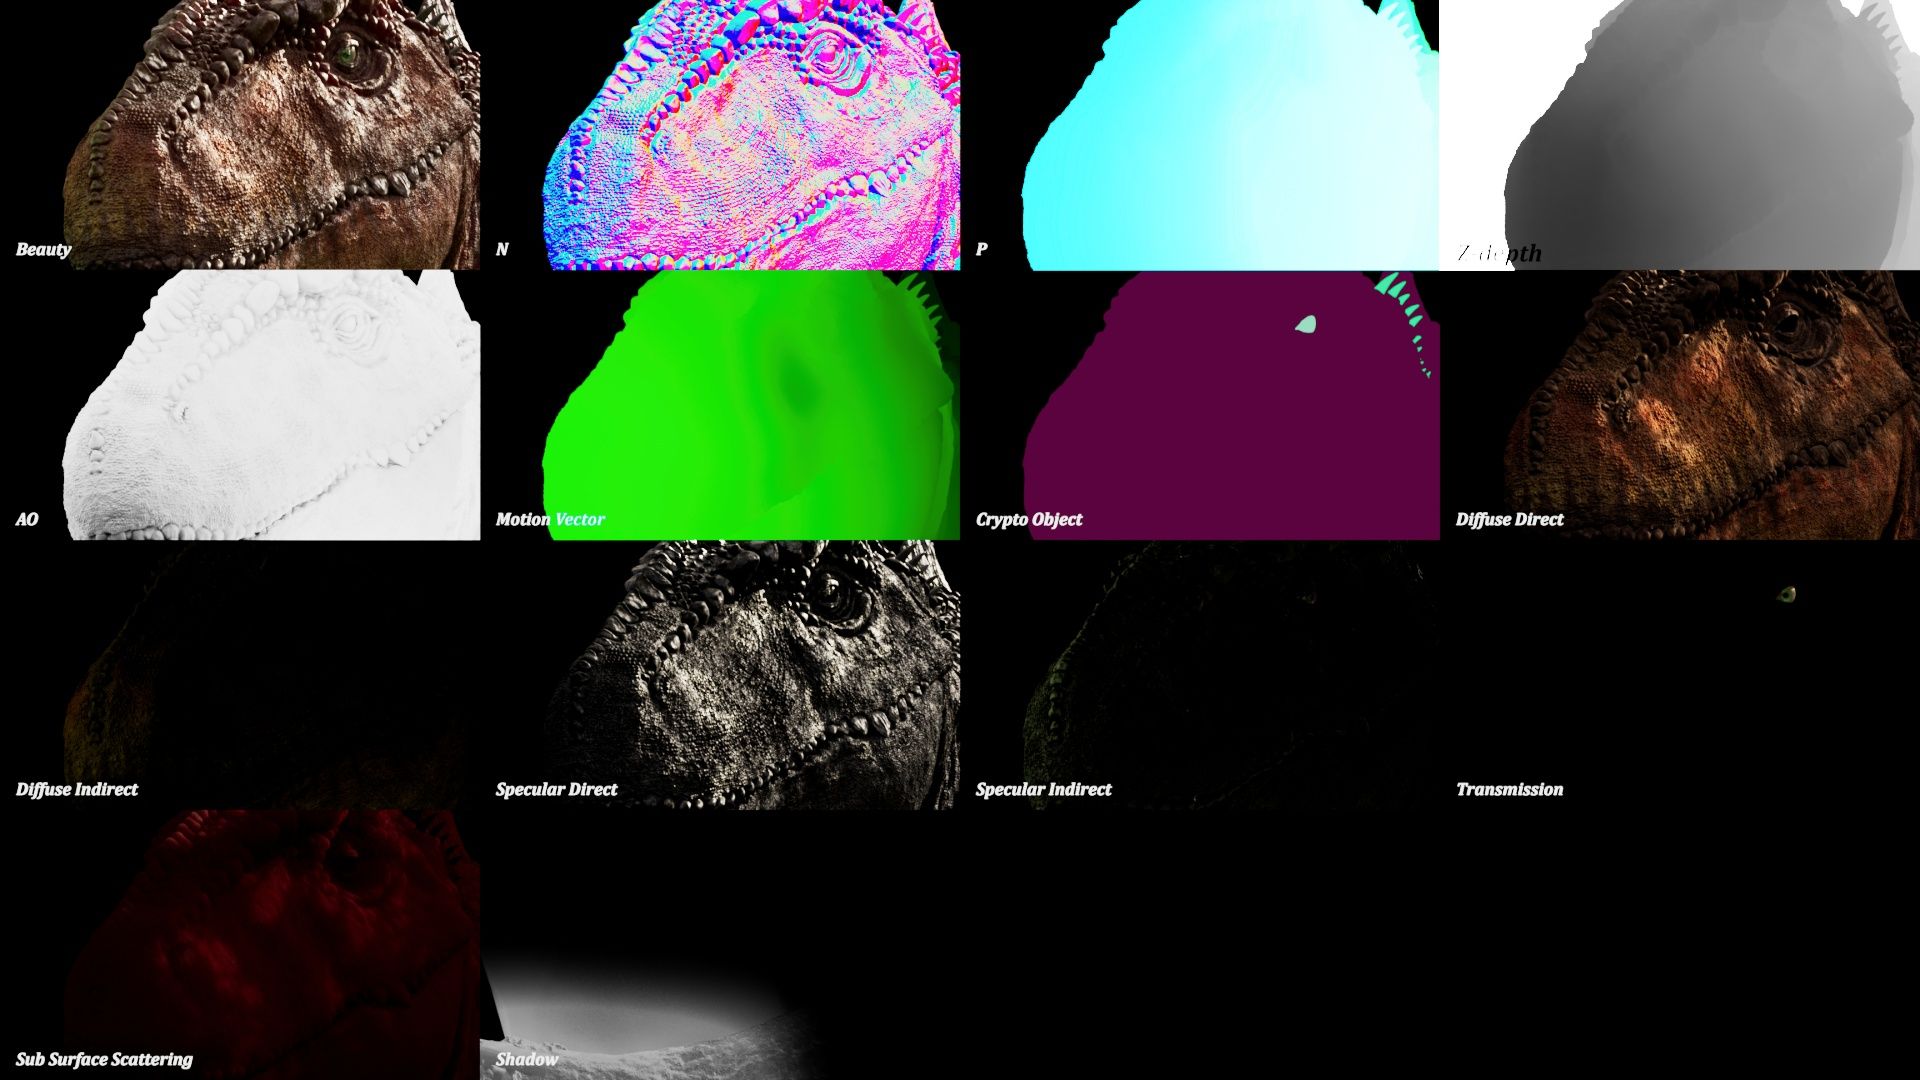
When rendering my CG it was important to have the necessary render passes. These passes give me as a compositor a lot of control after the CG has been rendered. So instead of re-rendering many times as changes need to be made, I can make these changes in compositing. I therefore setup various AOVs so I can split up my render and effect each layer separately. Using light groups will often be more useful, but for my shot I wanted to have more control of how the light affected my model, rather than controlling each individual light. I also included other AOVs like depth, position and normal.
In this stage the point is essentially to seamlessly blend together all the different elements, and make it seem like it was all shot in camera. Further the compositor has to match the colors of all the layers, specular highlights, shadows, hue, saturation, value etc. Since I did light matching using the data from set, this process will be a lot easier. Lastly I want to create lens effects so there is consistent depth of field, consistent sharpness/softness, glows, lens distortion etc.
Compositing is largely about masking. Masking different areas so I can affect them differently and as I want. I make sure to render crypto matte so I can create any mask I should need, often in combination with Position mattes (masking based of position data in 3dspace, using the P-pass). A good example of when I needed to adjust my render passes, was when I needed to change the hue of the highlights in the CG to match the hue of the highlights on the plate, as I realized after the render that this did not match. For this I used the specular paass. I also used the indirect specular pass to match the hue of the bounce lights more accurately, to get even more green reflections and jsut generally more indirect light under the creature.
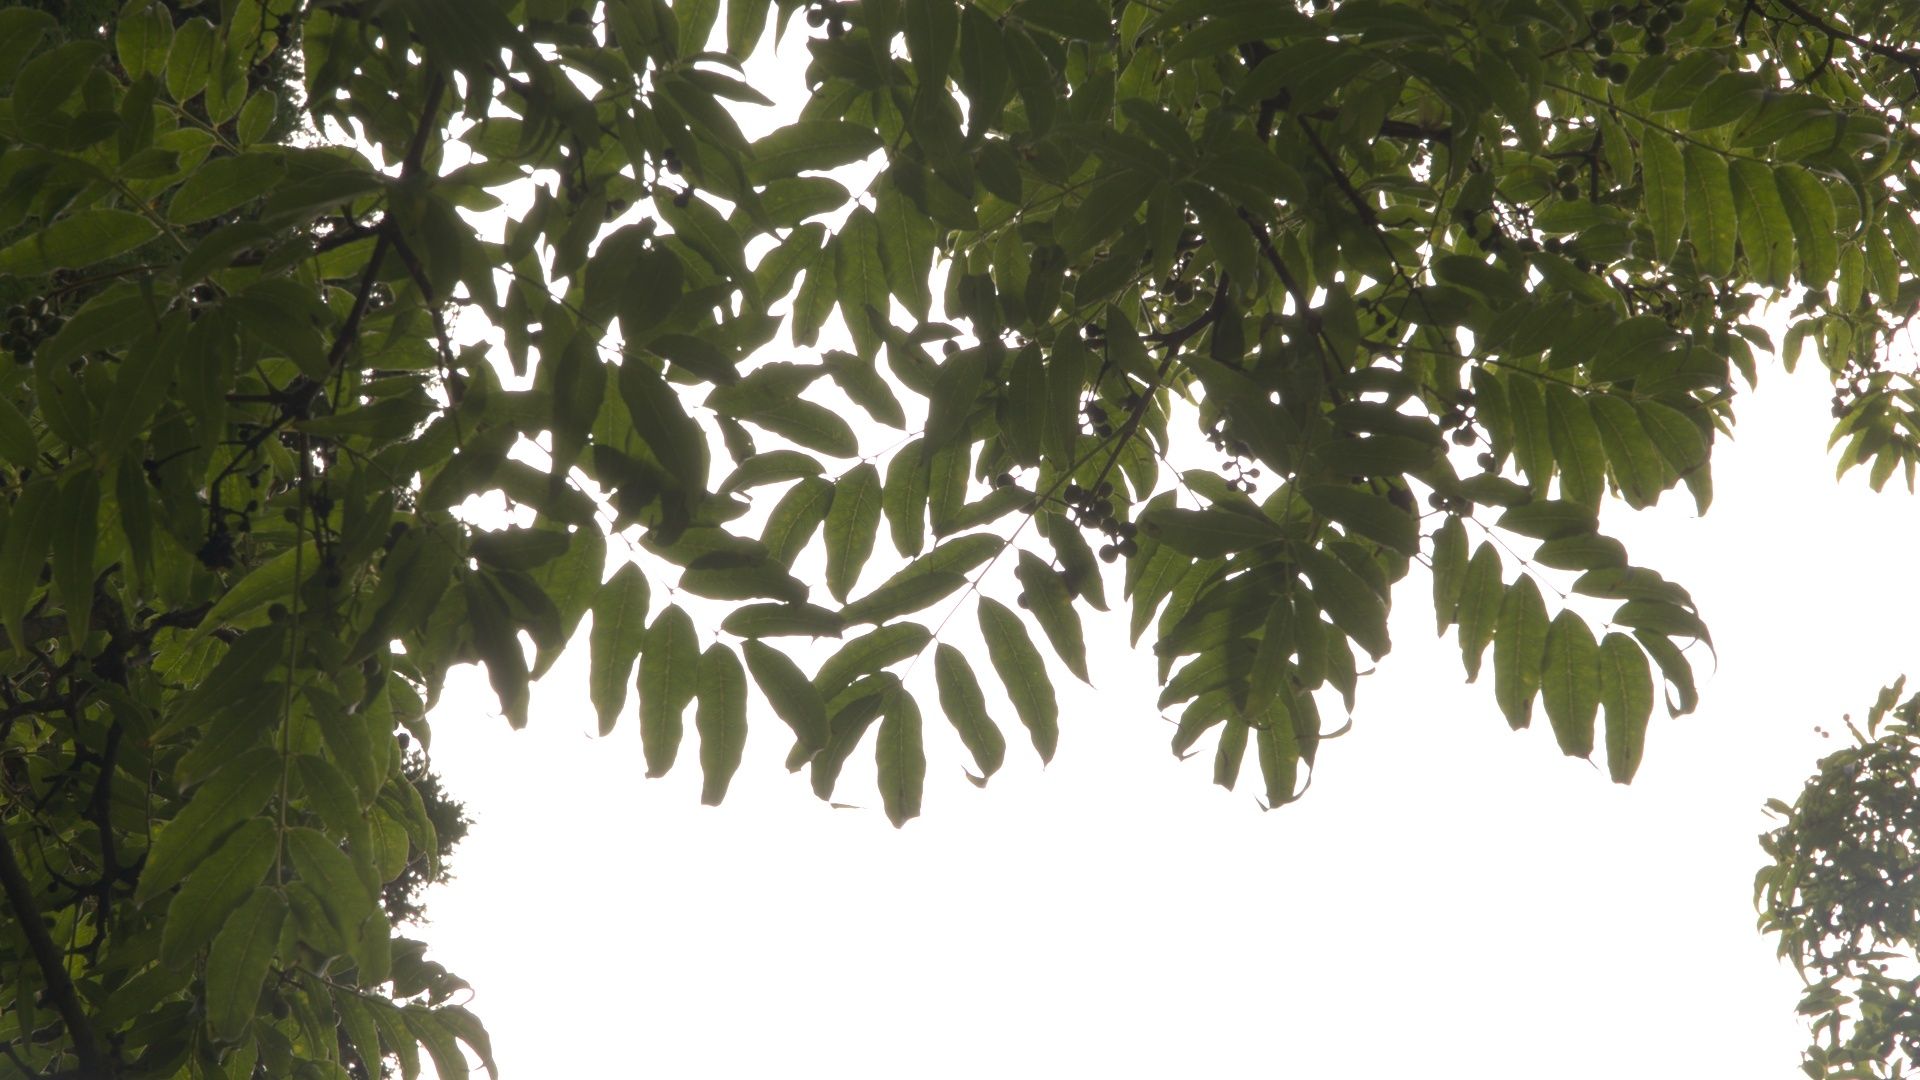
When I was on set, I also recorded various plates of different leaves, against the sky so I could later use a lumakey to separate them and use as various elements in front and behind the creature to create depth in my shot.
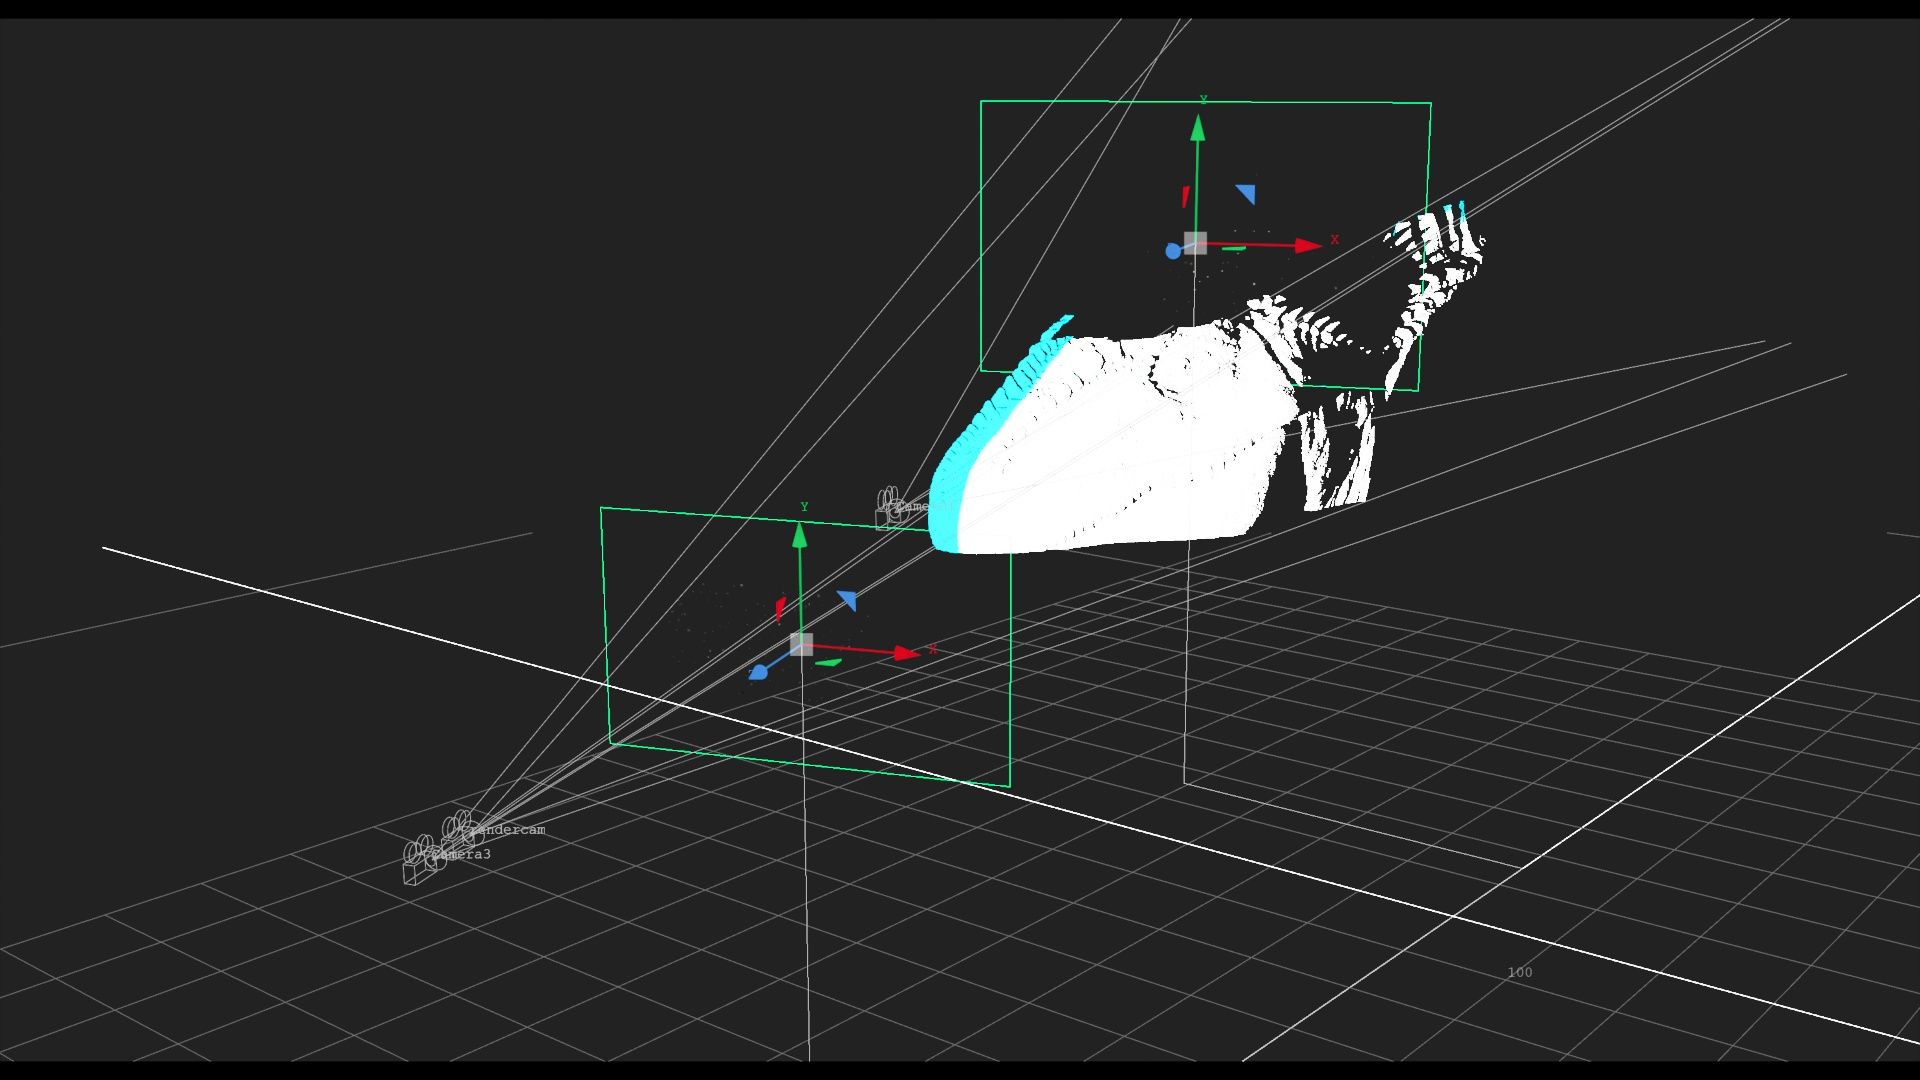
When layering the different elements, it was very handy to use the position pass. Using this pass I could visualise an exact point cloud of my 3D scene and then use this to position my layers exactly where I needed them based on exact distance. Because I had a static camera, this may not have been strictly necessary, however I did get a very exact scale on all my layers based on the distance using this method. For my particle layers this was especially important. The particles should be the same size and speed in 3D space, so when I simply put them at different depths and render from my camera, I get exact and realistic size and movement, and I don't have to guess the scale and speed.
Putting all of these elements together and making it look correct and then good, is very detailed work, tweaking values and trying to make it match and look consistent. This is the foundation of compositing; light and how it effects the elements in the shot.
The 3D scan came in useful once again as I rendered it as a shadow catcher. Faking shadows in comp is extremely difficult, so having a model of the exact shape of the branch allowed me to render this as a separate layer and use it to add a shadow of the creature onto the branch.
The last aspect had to do with lens effects. Ultimately the shot is viewed through a camera, and it views the world quite differently than the human eye. I tried to match the general softness of the plate, as CG renders tend to be very sharp and "perfect". I also added glow and defocus that also need to match with plate. Constantly I'm using the plate as reference, because that is what the CG needs to match. I calculated the lens distortion, however since I used a 70mm lens there is very little lens distortion. Lastly I add grain on top to match that of the plate.
Compositing is my main area of study, however I also have experience with sculpting in 3D. This has been a passion of mine ever since I discovered 3D and I got introduced to ZBrush. For this module I had the opportunity to combine my skills, by creating a creature from start to finish and use it for a live action VFX shot. Organic sculpting is a massive field of its own, but there are some fundamental principles I have picked up. There can be a lot of variations in styles and level of realism, but I believe there are overarching principles that apply when creating characters.
Two things that need to exist in balance when sculpting a character is anatomy and design. These two are part of every sculpt and a professional sculptor knows how to balance them. They can sometimes conflict with each other, therefore it is very beneficial to have a specific predetermined design before you start the modeling process. It is my understanding that it is not wise to design your character as you are sculpting, as these aspects can get in the way of each other. This is an area I don't feel confident enough to lecture about, so I will refer to other resources online where this is explained in more detail.
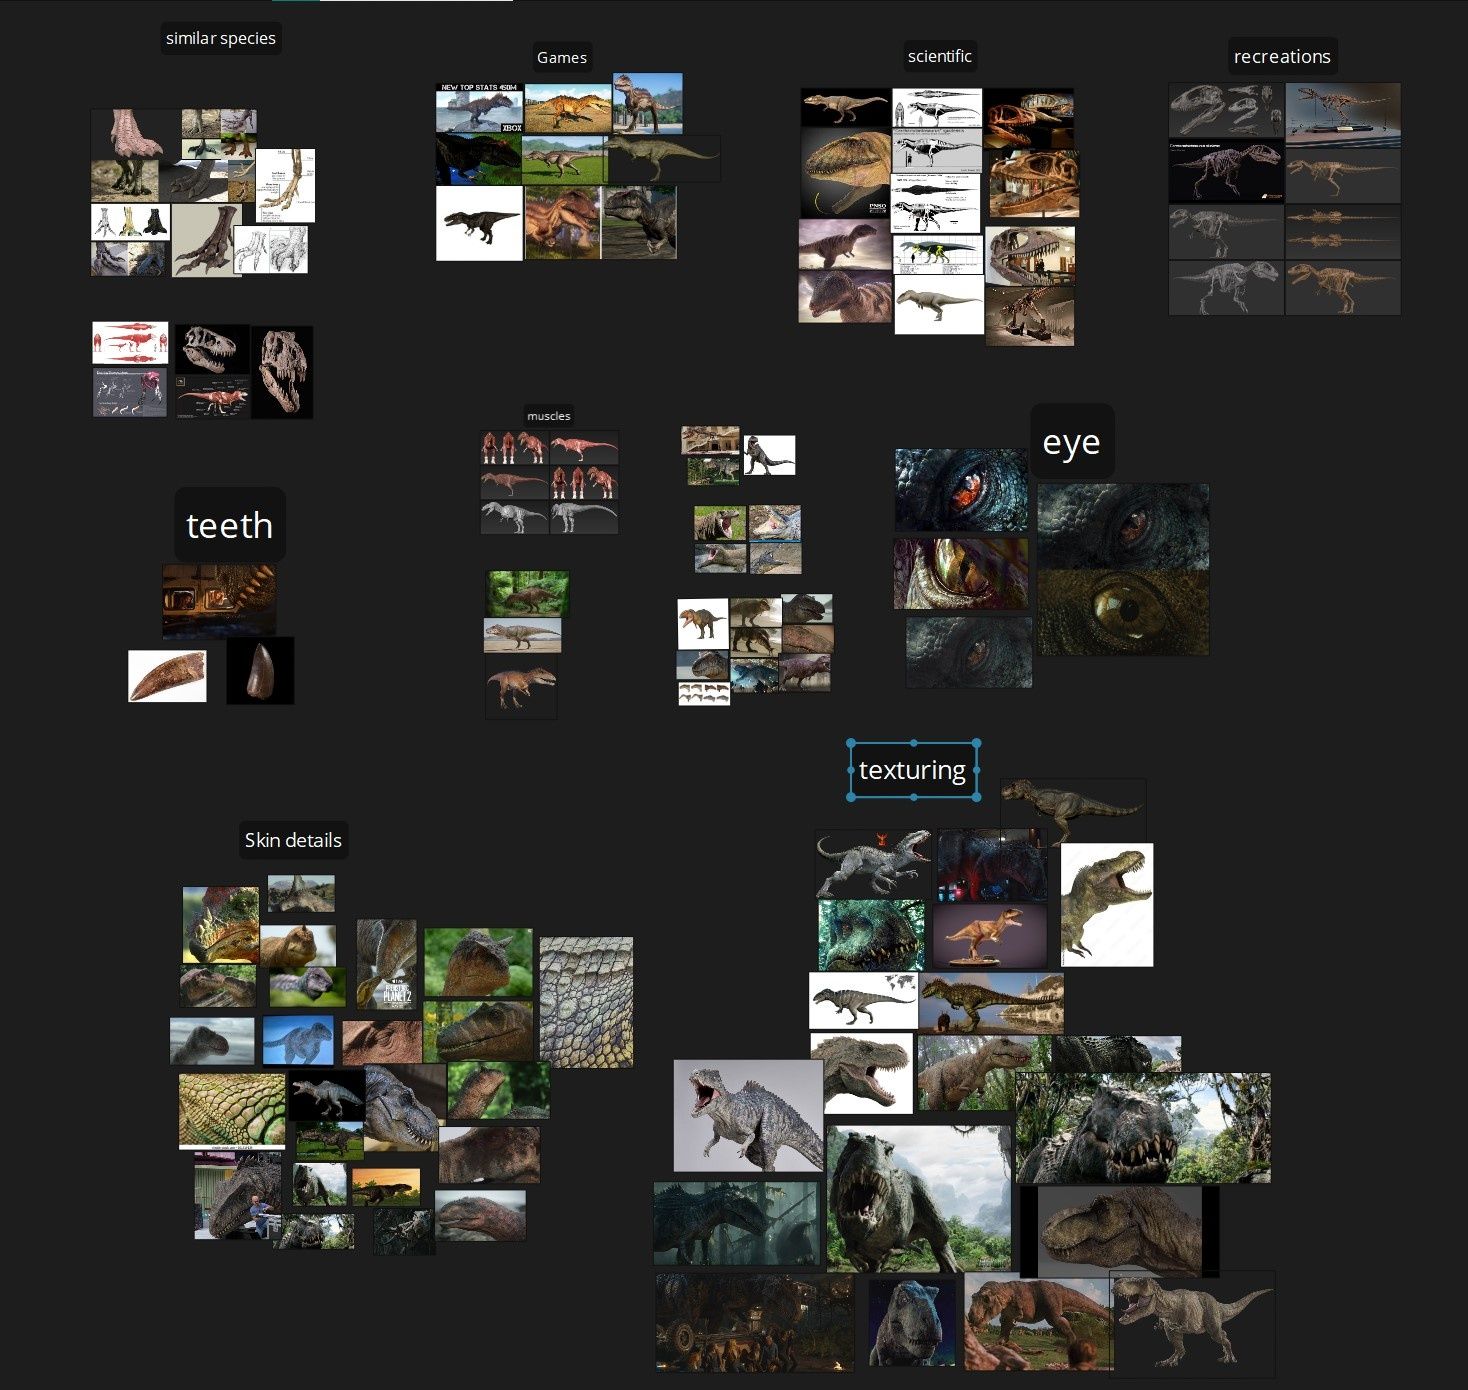
When starting a sculpting project, step one is always, you guessed it, references! This should be second nature for every artist regardless of what area you are in, references are crucial. For sculpting it is also important to structure your reference board in a systematic way. Break up the different parts and gather references for the different components of the model. General shape and size, similar creatures, muscle anatomy, skeletal system, skin details and colors are some categories.
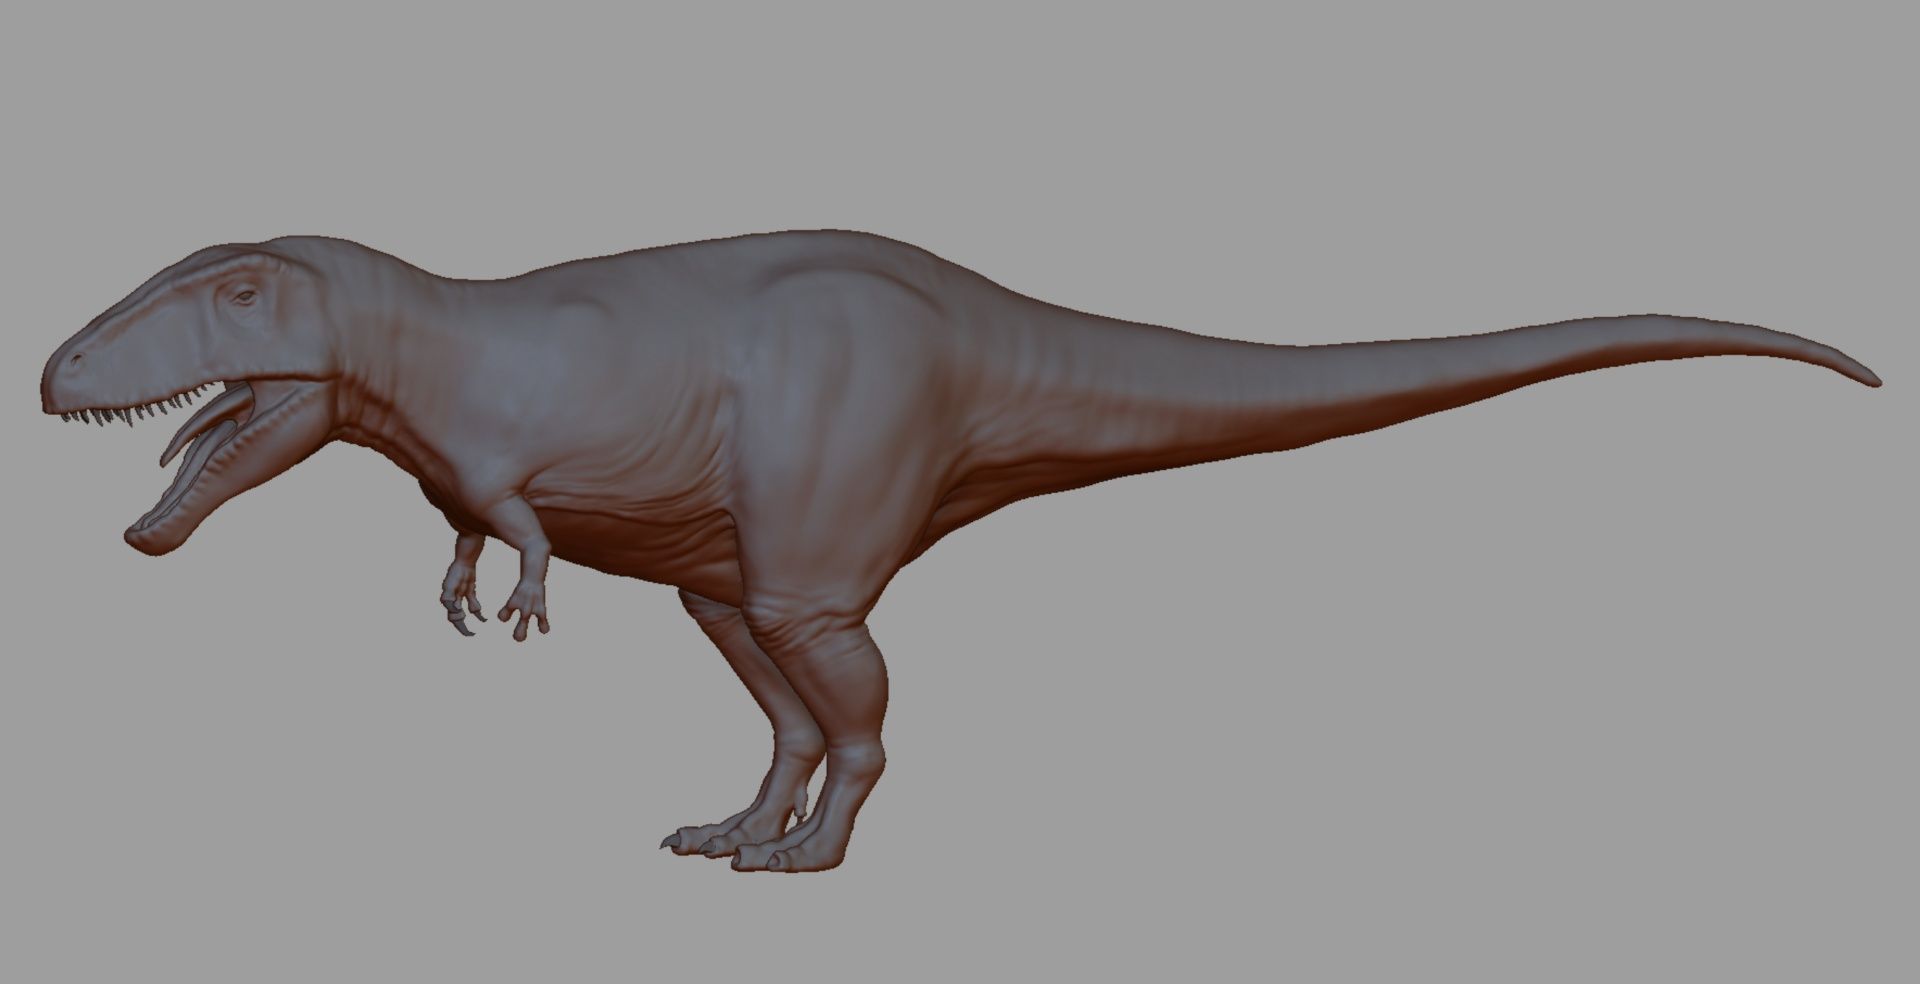
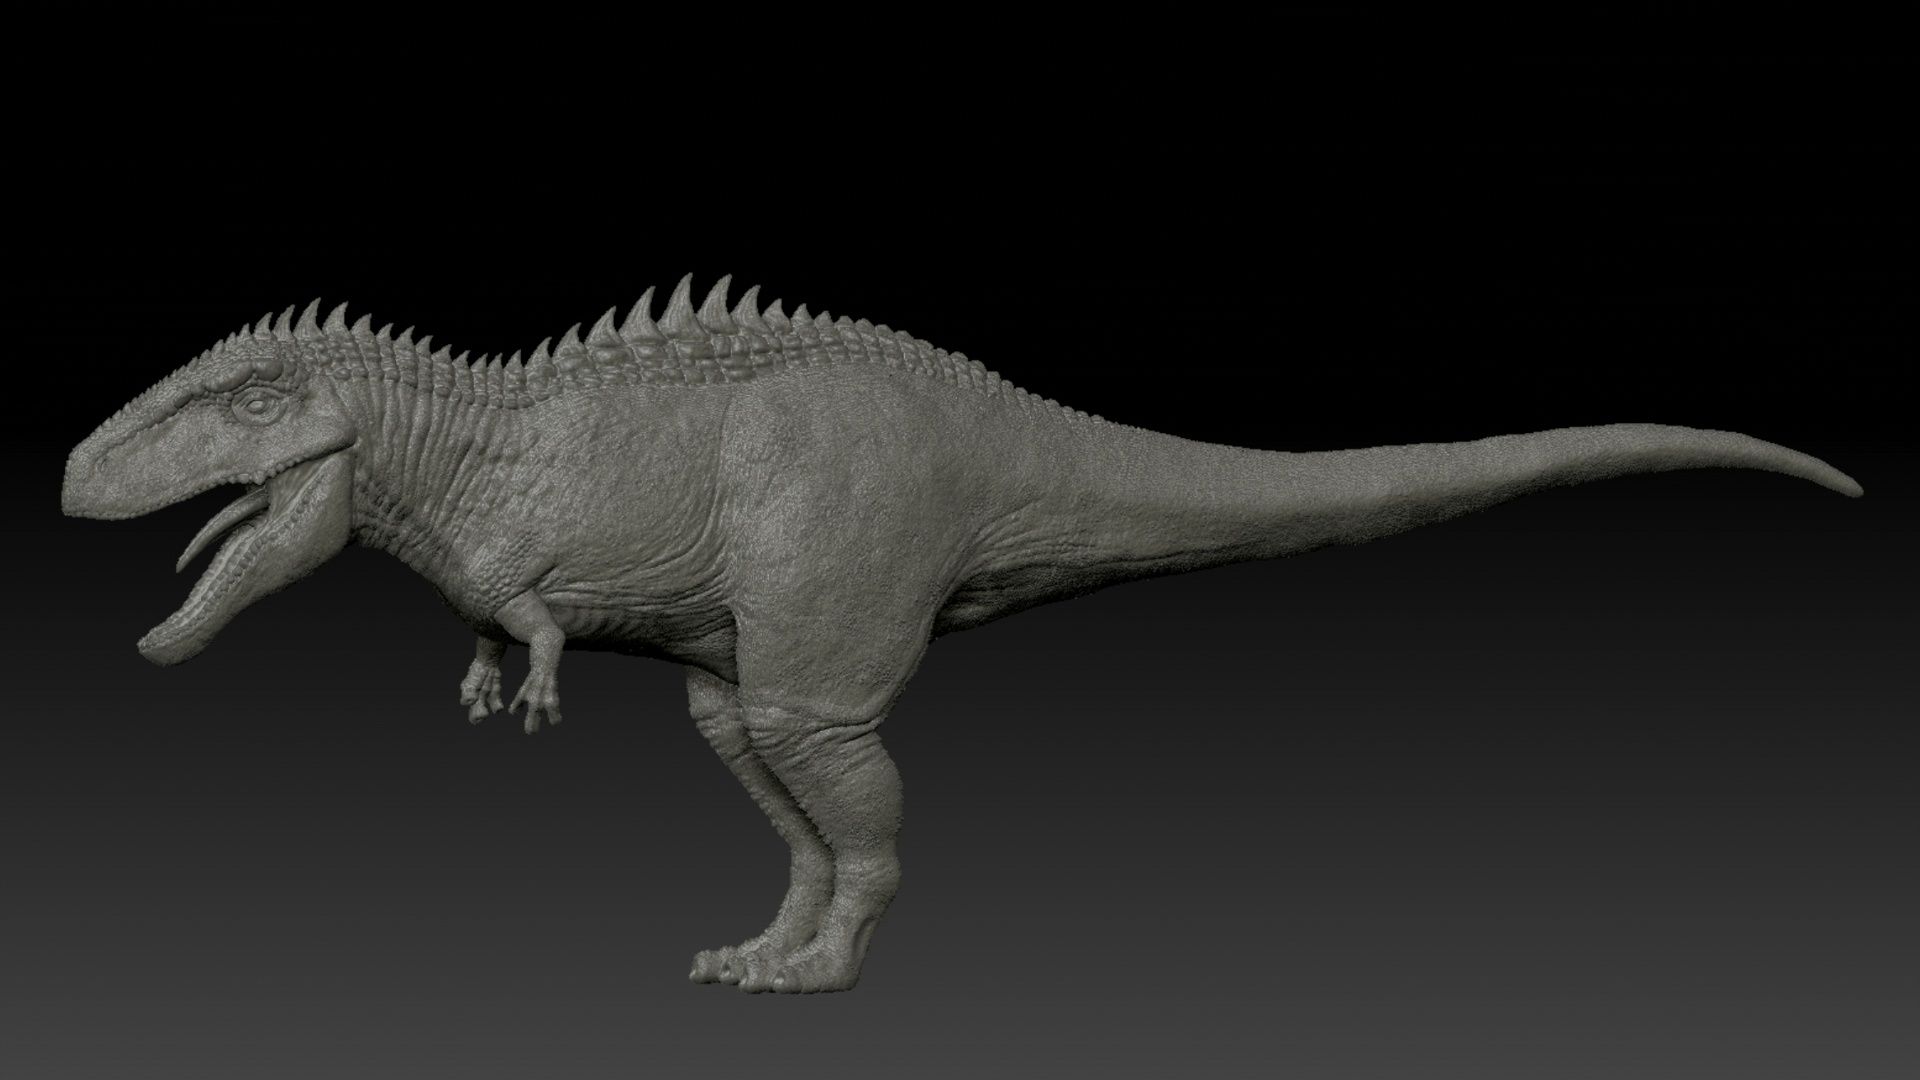
When I have enough references I start by blocking out the main shapes (in ZBrush using z-spheres), defining the joints and the proportions of the body. Using reference images for this can be very helpful. I use a turnaround sheet/side drawing of the creature and import it into my software. Then I can create the base model from this.
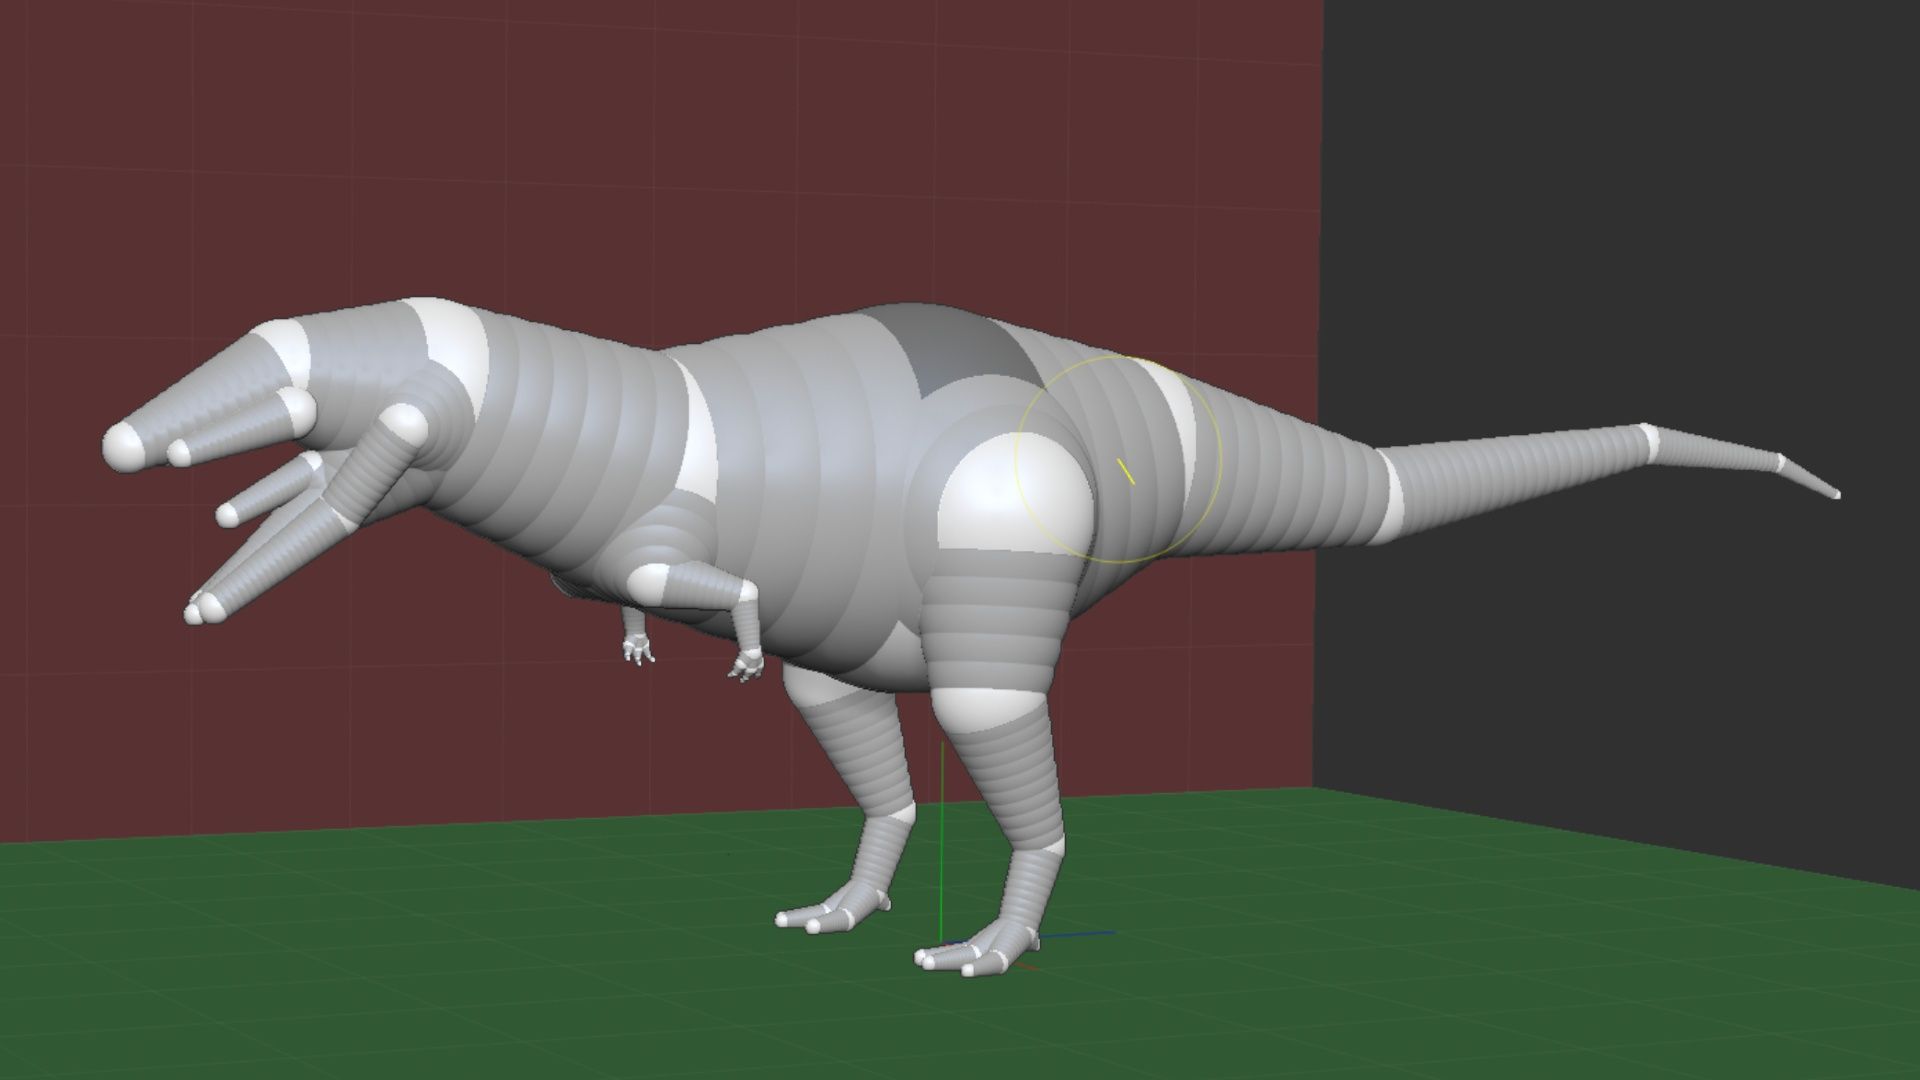
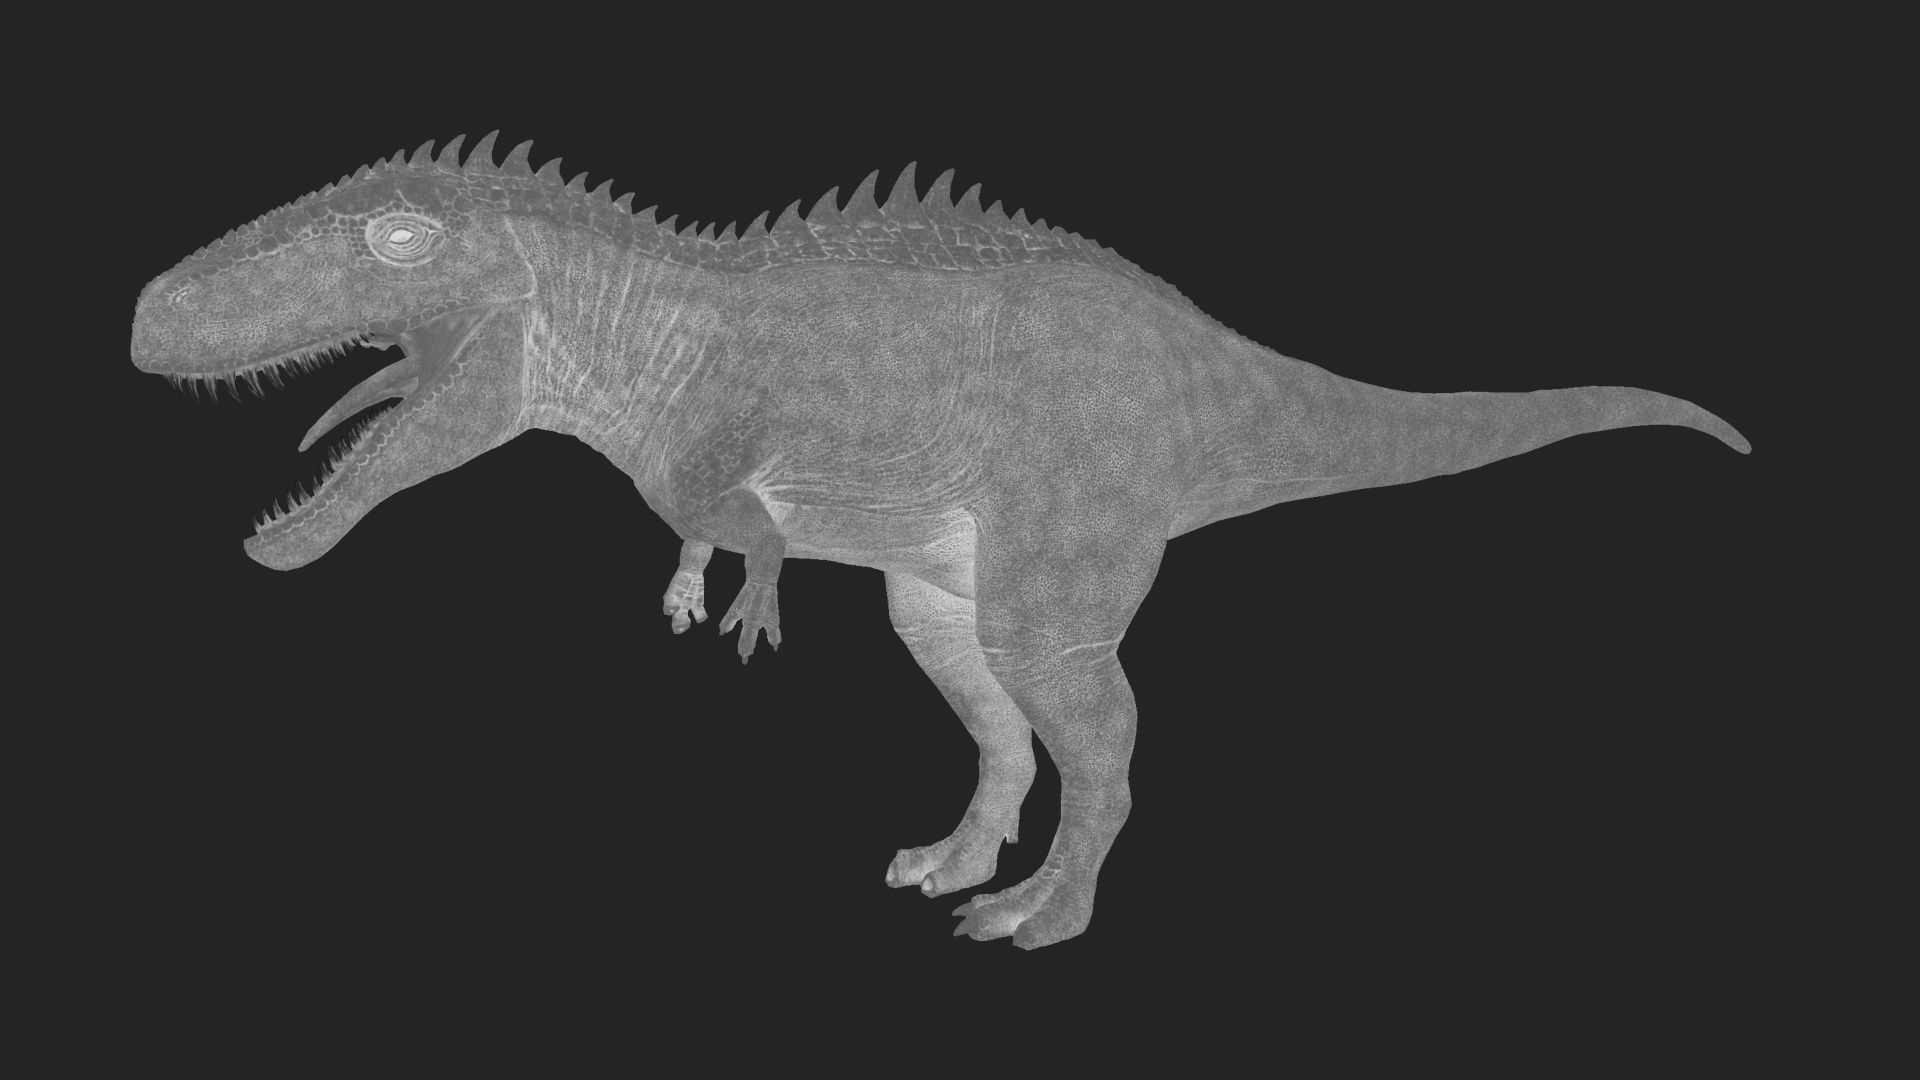
From here I gradually increase the resolution of the mesh, starting with very few polygons. Essentially, I want to squeeze as much detail out of the mesh resolution as possible, before subdividing. I am then refining the shapes and defining important landmarks, visible bone, and essentially building the skeleton.
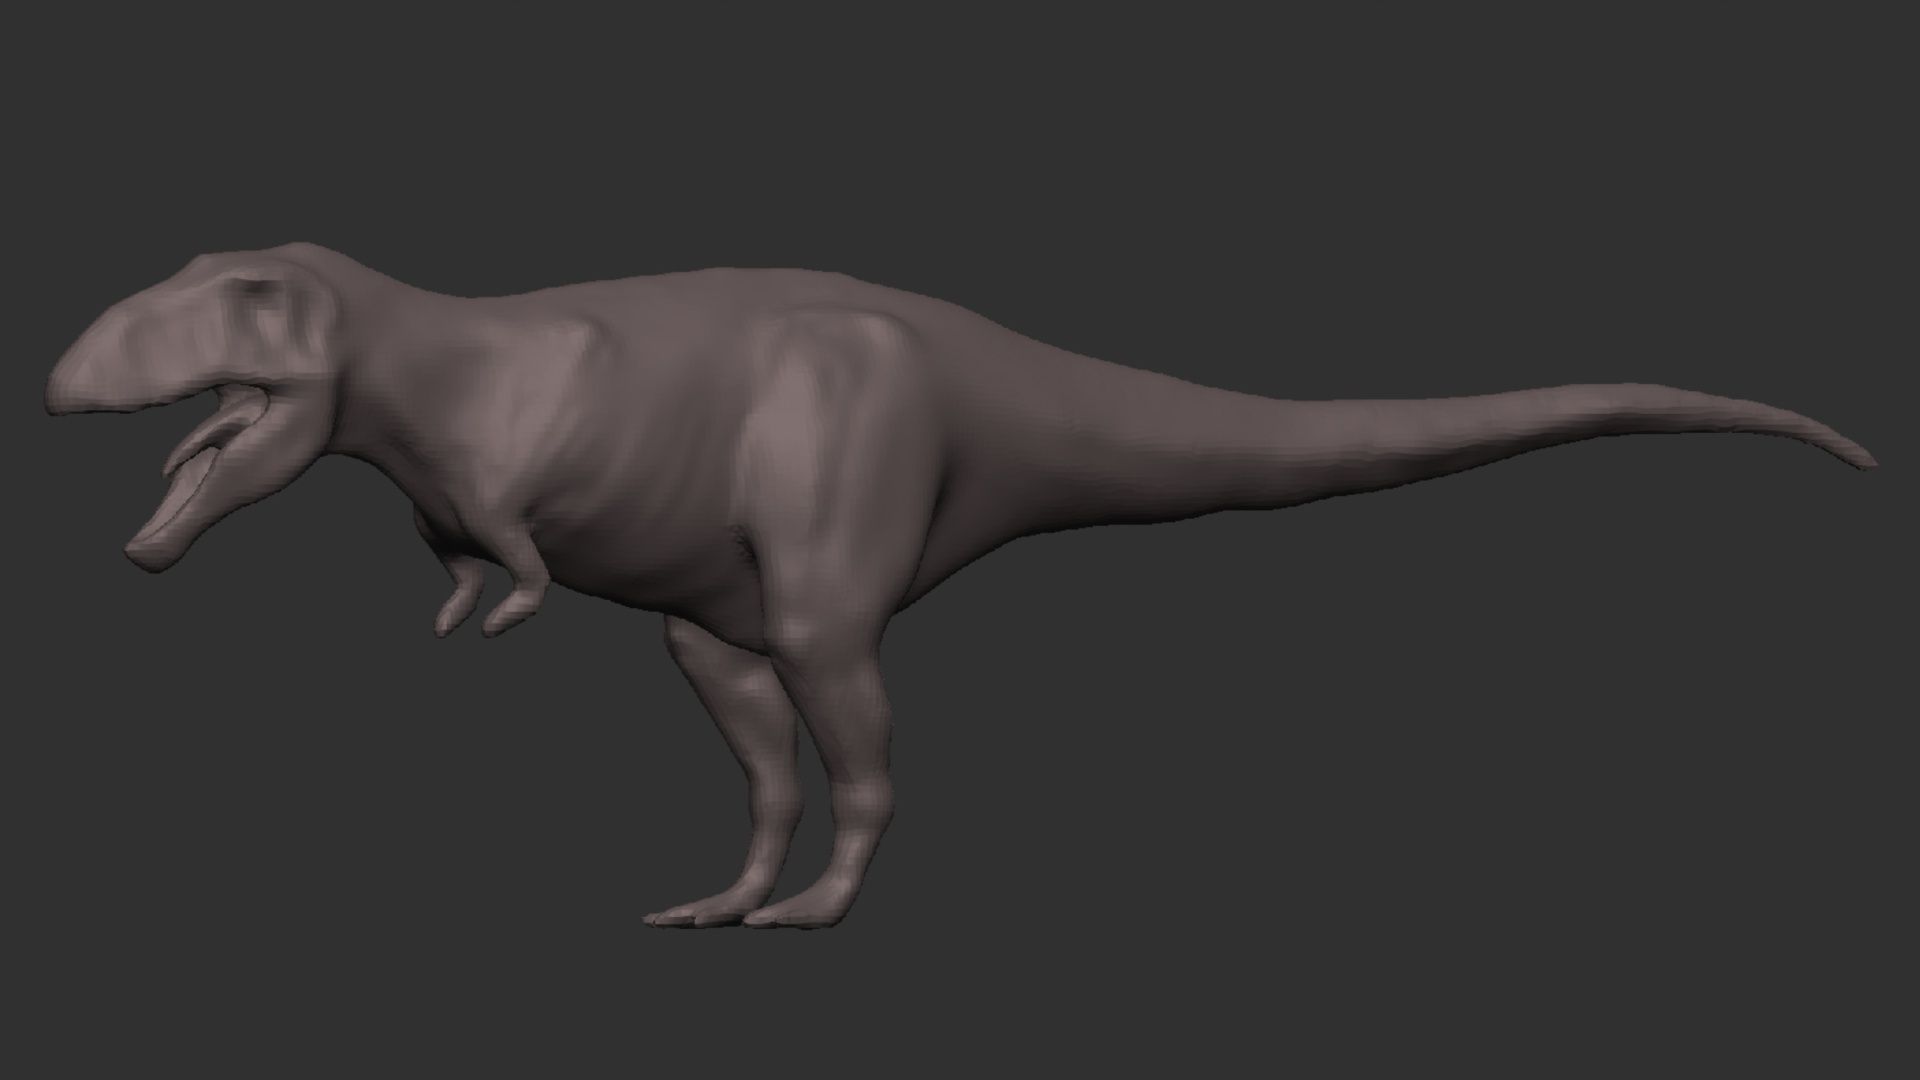
I continue squeezing out details until I don’t have enough resolution to continue, and then I subdivide. I add muscle definitions and volume, while maintaining the important landmarks. It is vital to constantly use references for anatomy build. I didn’t have a lot of images of the exact species I was creating but I used references of similar creatures, like the T-rex, which has a lot of images and recreations available.
The process continues by layering together the skeleton, muscles, fat and skin. This is however roughly speaking because anatomy is very complex, certainly when it comes to something that doesn’t exist (anymore). Including all of this there is a design process involved which needs to be intertwined with the anatomy aspect. Only when the anatomy looks good, can I start with the tiny skin details, because for this process I need a lot of polygons, and it is difficult to go back once I have done this. I can however keep the subdivision levels and lower them to make slight adjustments, but I can't make big changes without messing up the details.
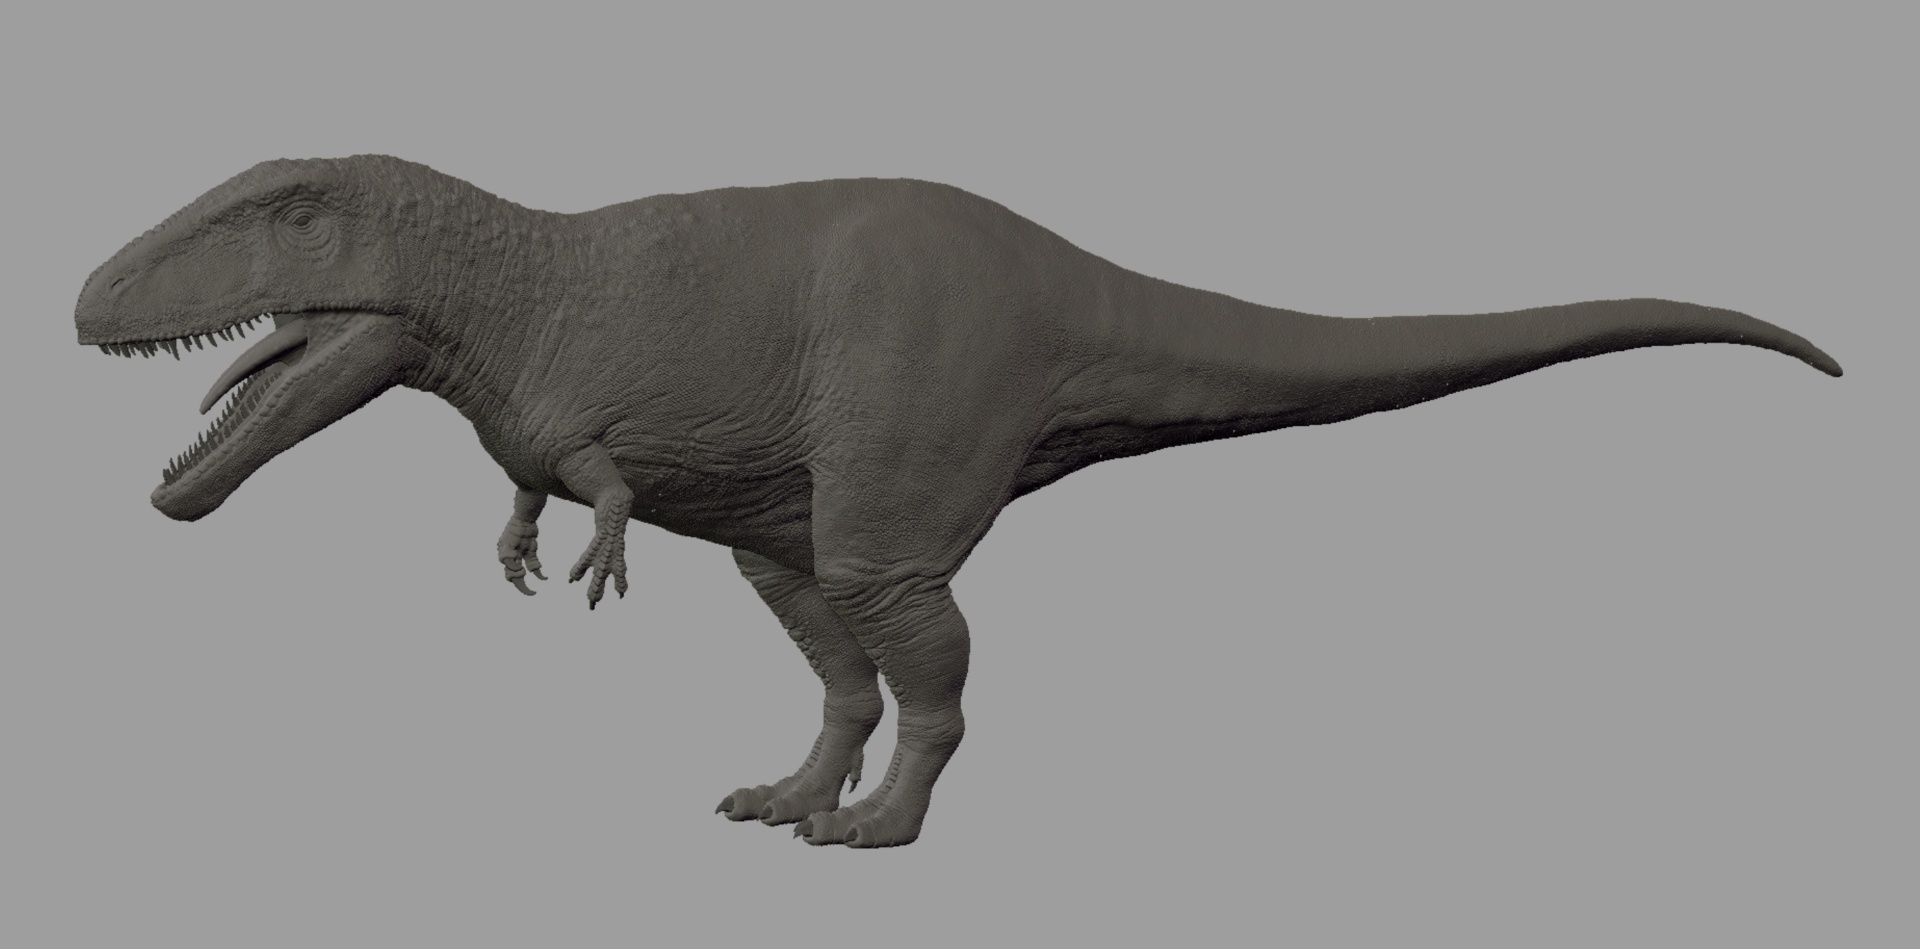
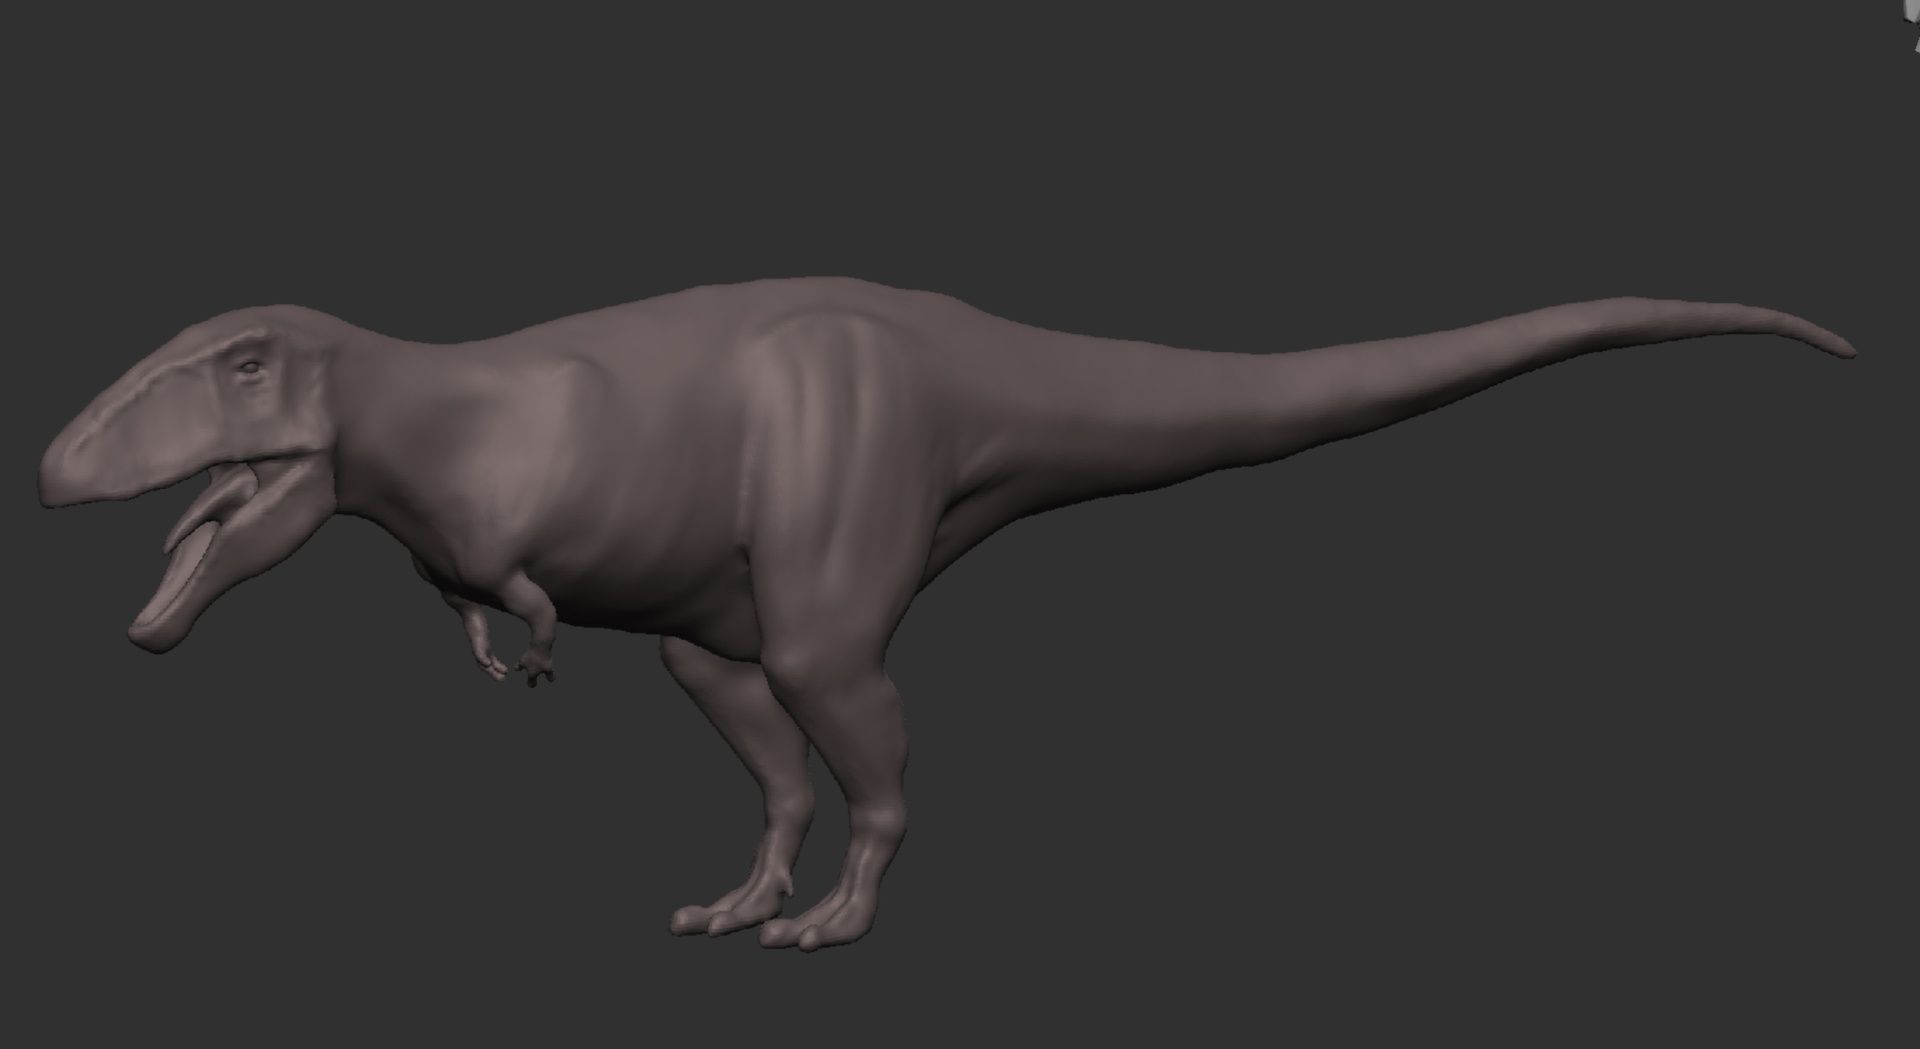
As mentioned earlier, design is something that ideally would be determined before you start sculpting, however I realized I had not put enough effort into the design process. My sculpt reached a point of near completion, and I found it to not look particularly interesting. I think it is important to be aware of what use case your sculpt is going to have before you start sculpting. My creature was going to be used for a VFX shot. My model looked like an anatomy study that perhaps looked more like something for a documentary. I decided I needed to make some changes. I needed to give the creature more interesting features and character.
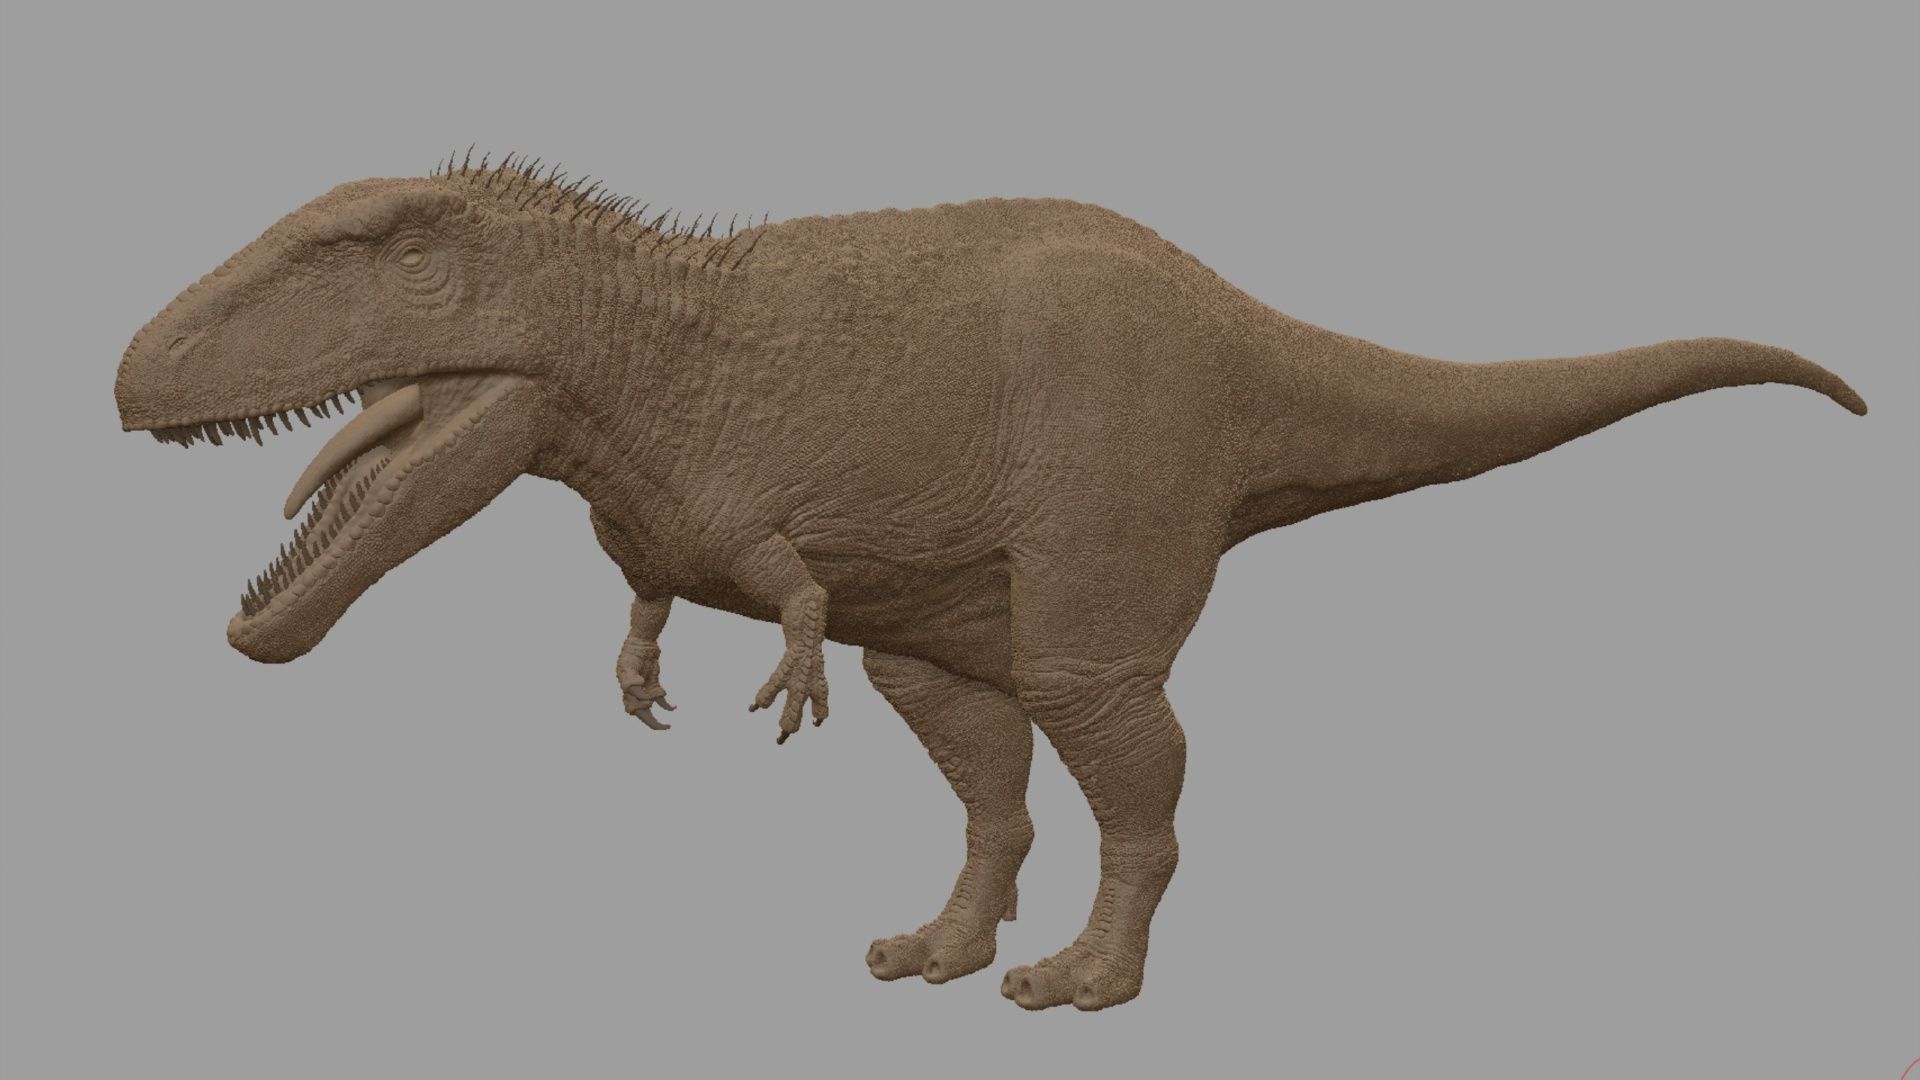
This redesigning process set me back a lot and I had to redo a lot of the finer details as I had to un-subdivide the model. All of this ended up eating up a lot of time, so I had to work a lot of overtime to achieve the result I wanted. This is a reminder for anyone reading that you want to make sure you have a specified design (even a rough one) before starting, so you don’t have to design the model as you create it.
When the sculpt was finished I brought the model into Blender to do retopology. This is an essential stage in order to later on create a rig for animation, as well as texturing. Retopology is a very manual and time consuming process, so I try to optimize my workflow as much a s possible. I find blender to be a very efficient tool for this, using hotkeys. I do however start my retopology workflow by using the auto re-meshing tools native in ZBrush. This will be far from perfect but it usually gets far on the way. This works then as a base for the rest of the process. When the low polygon model is complete, I UV unwrap the model, and lay out as many UDIM tiles as I think is necessary. I knew that I was going to need more texture resolution on the head since this was going to be a closeup shot, so I split up the head in multiple tiles, while the body parts that were going to be further away from the camera got fewer tiles. When the UV tiles are laid out and placed correctly I can start the texturing process.
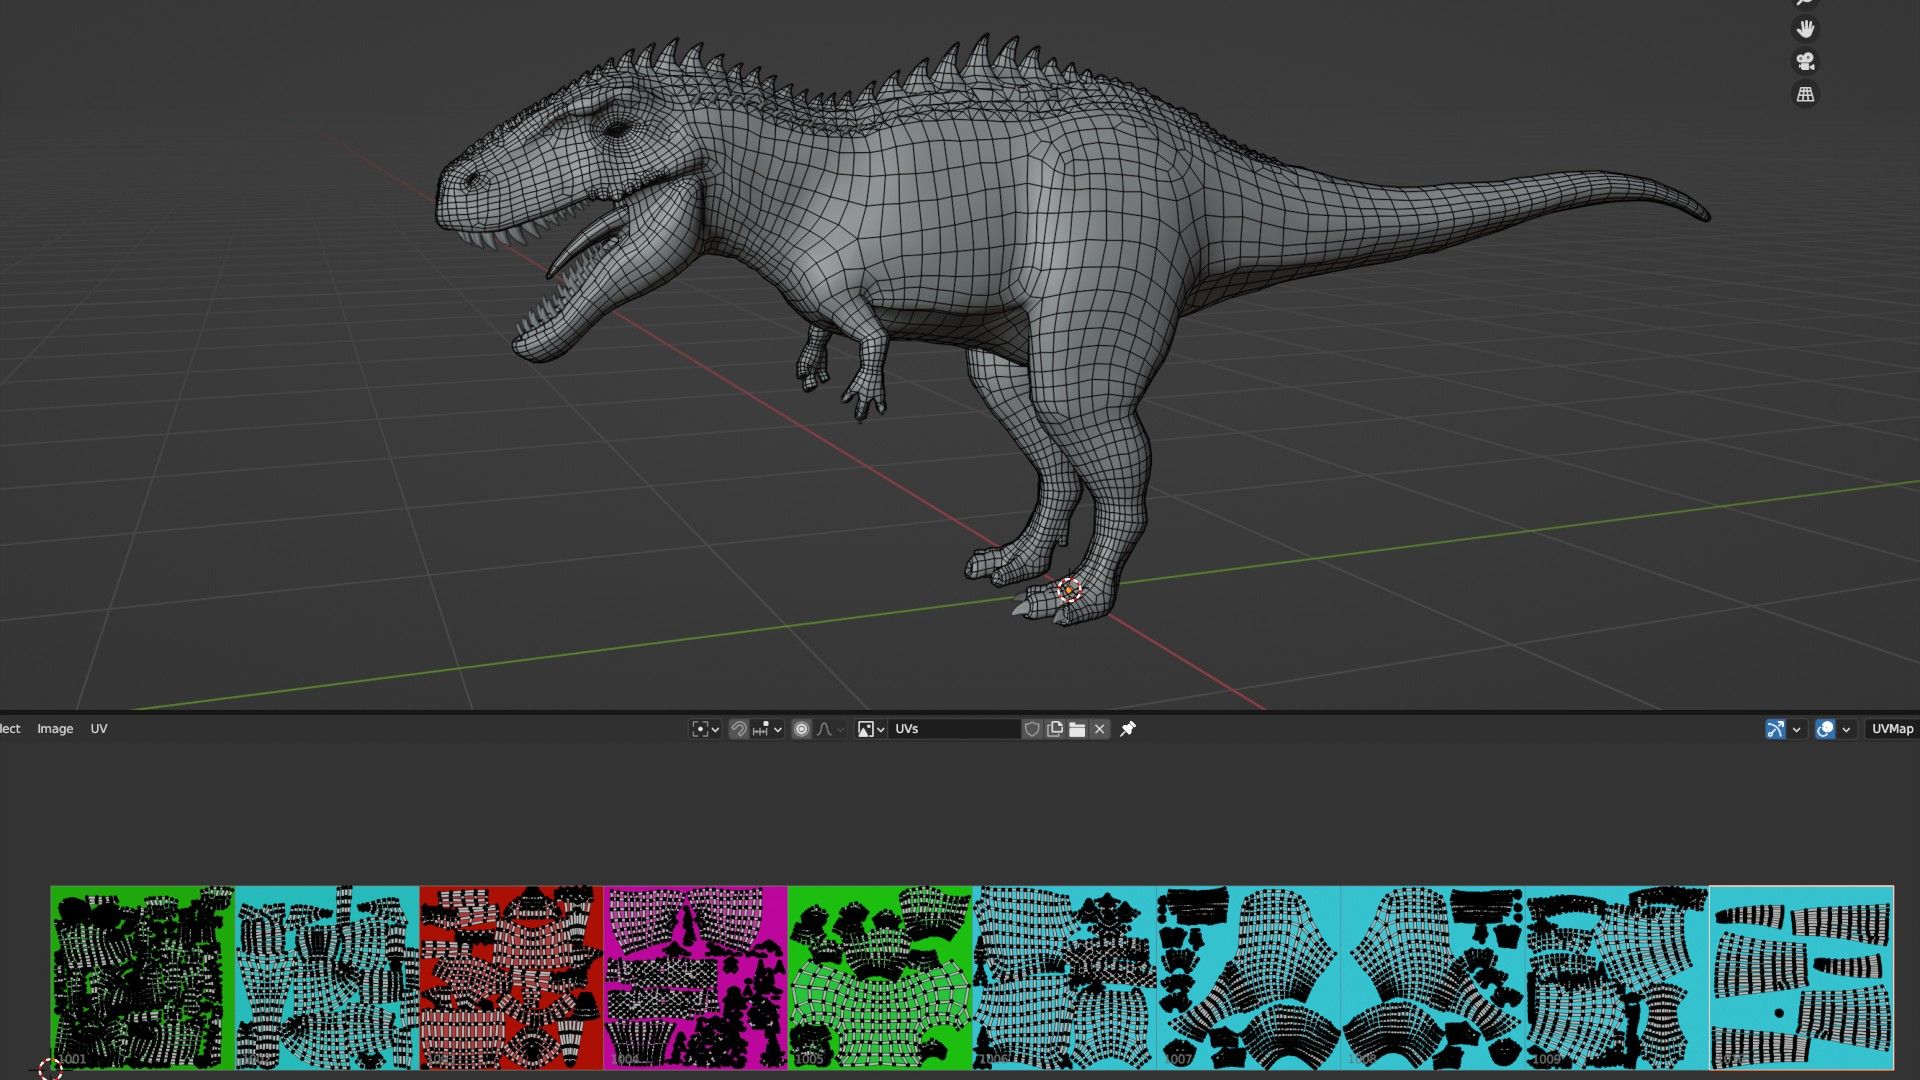
After the UVs are in place I bring the model back into ZBrush and reproject the details so I can export displacement maps.
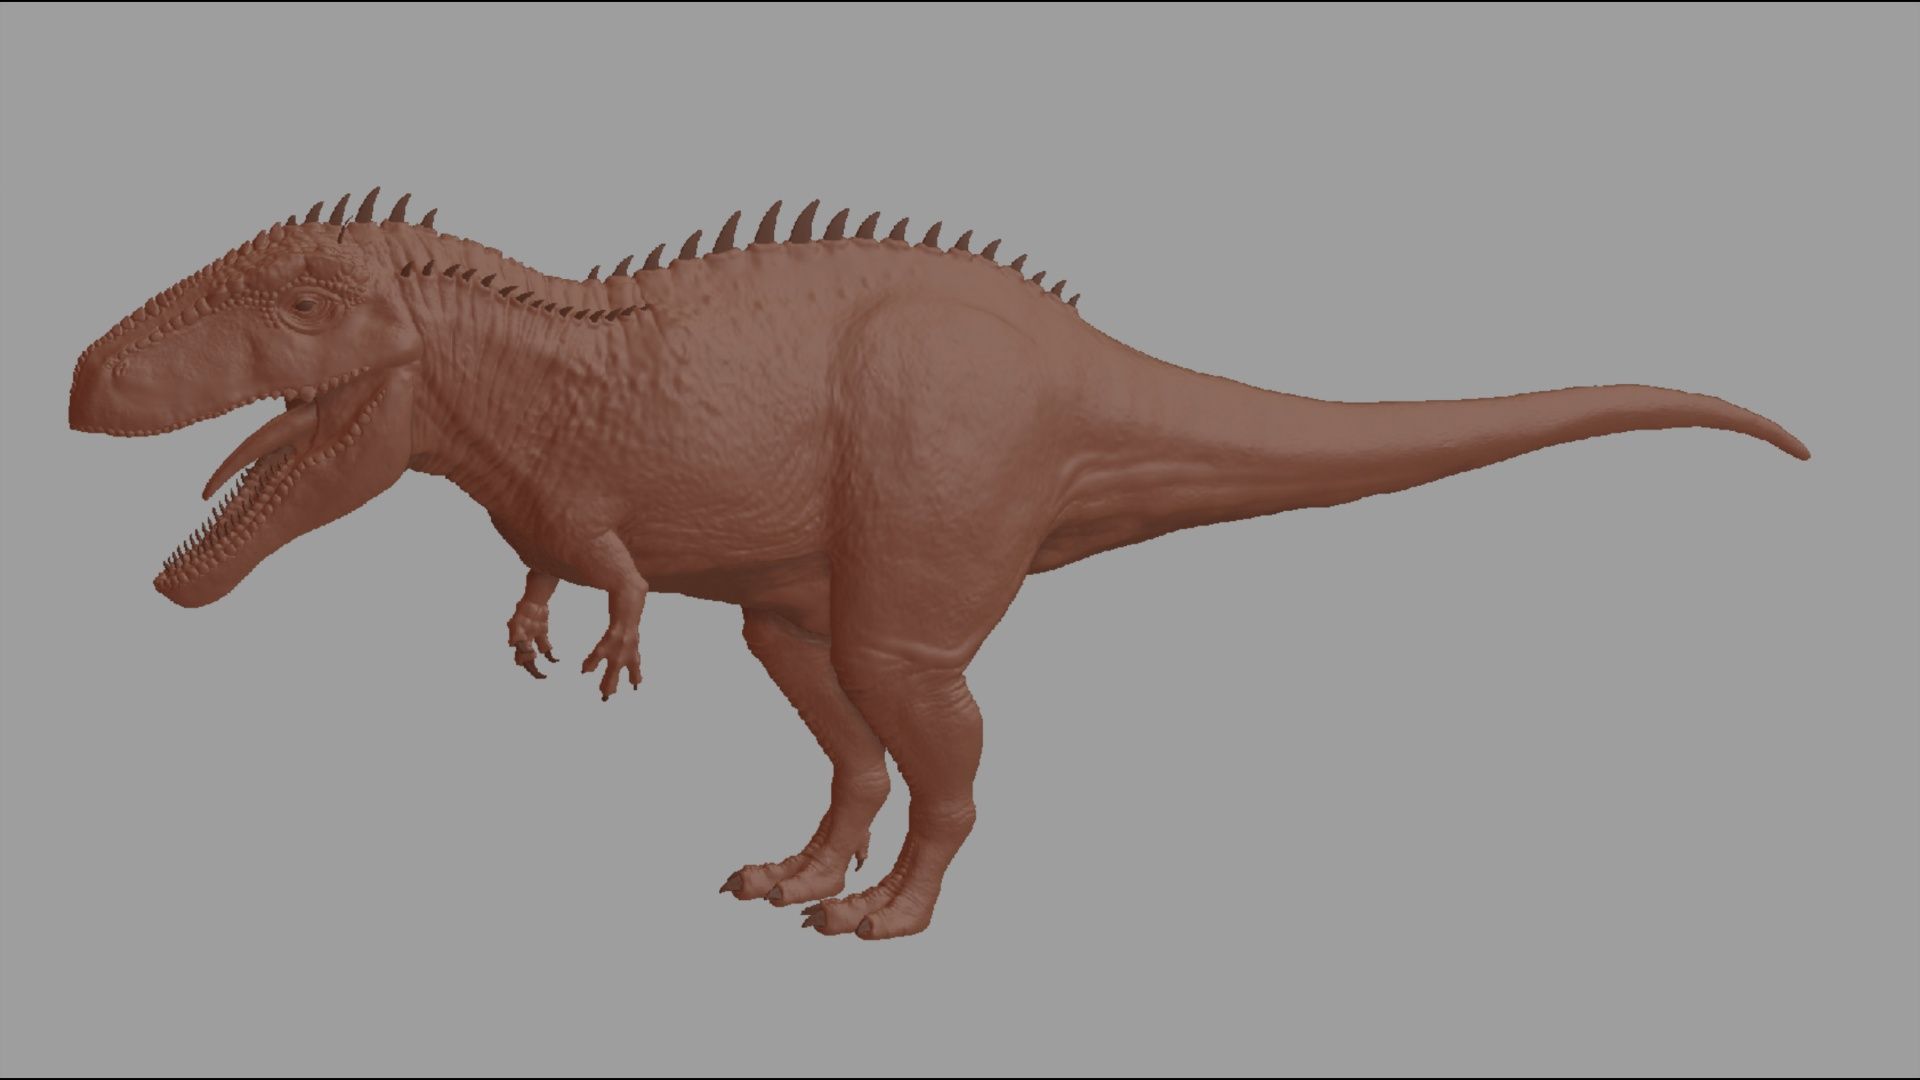
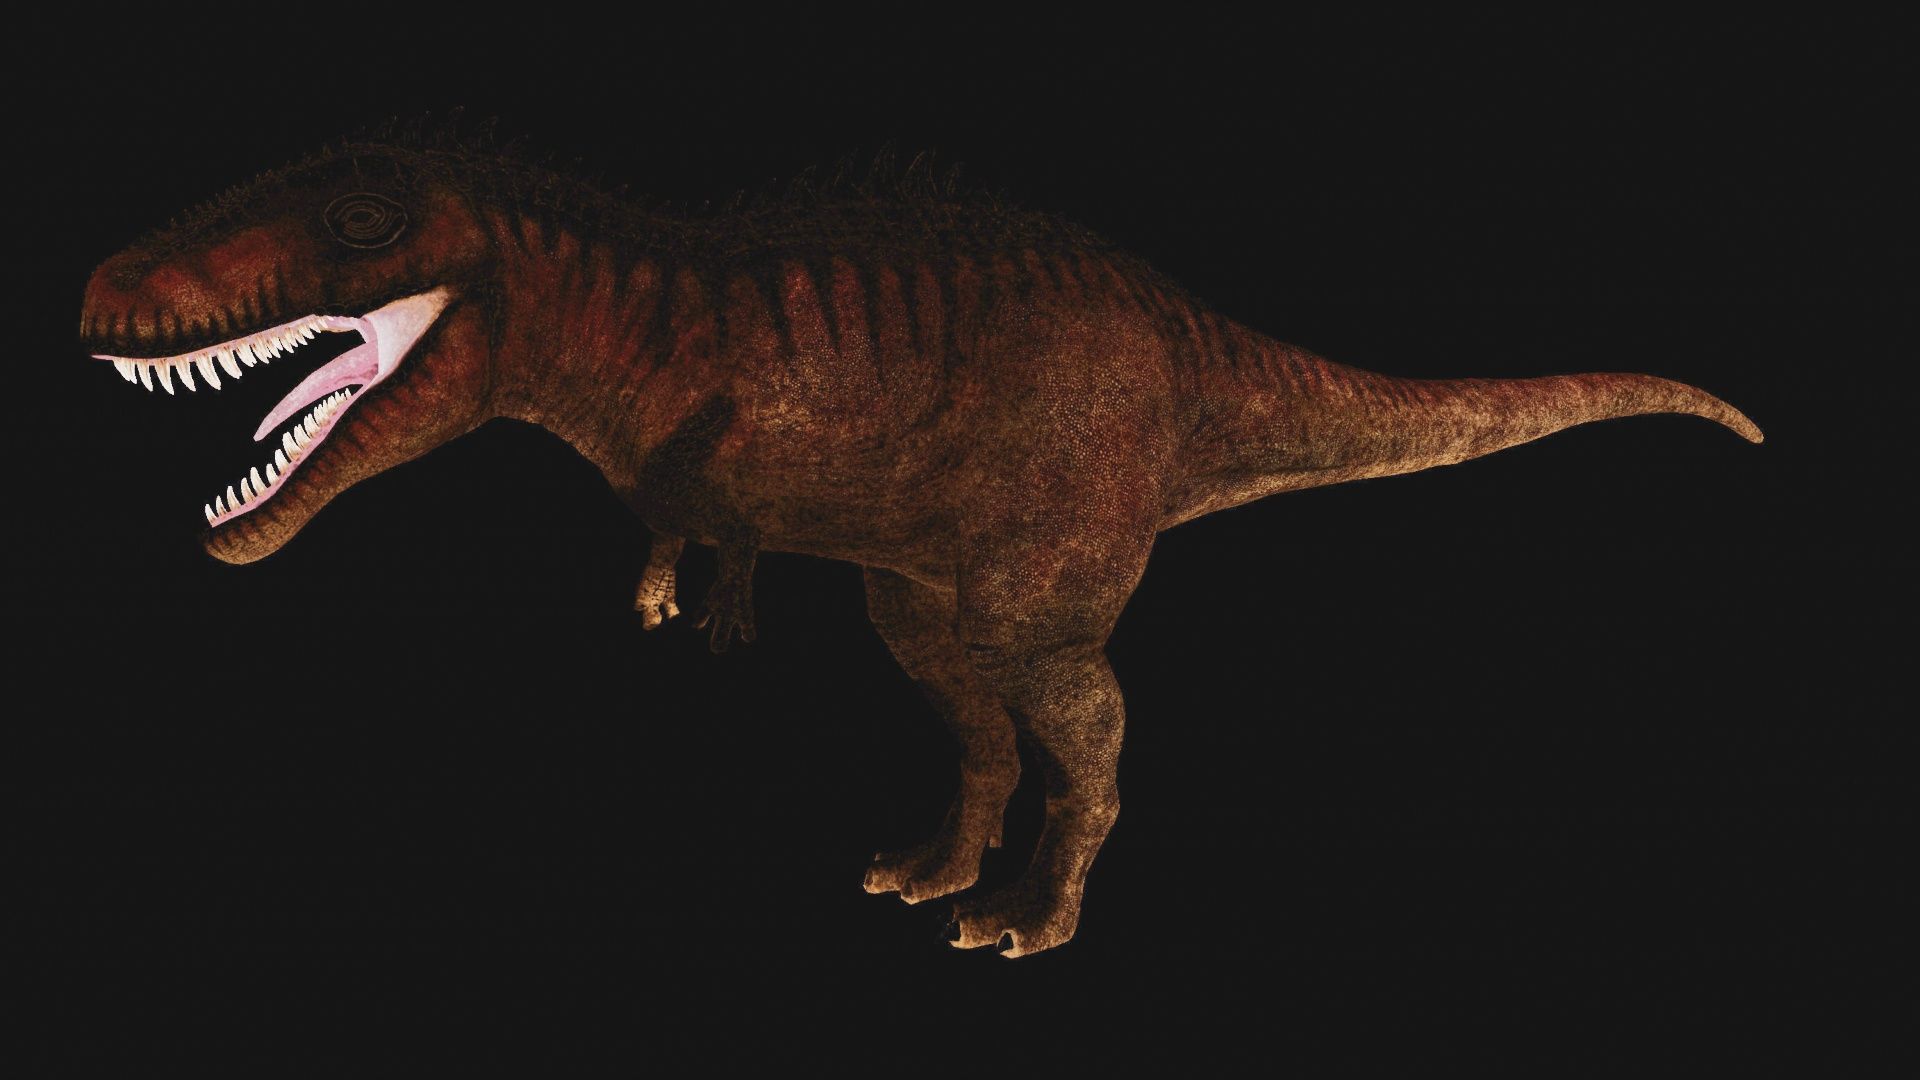
I used Substance 3D Painter for the texturing stage. Substance 3D Painter is a really useful texture painting software, and in the last few versions of the software it has been possible to paint across UDIM tiles. This is a feature that has made my life a lot easier. Essentially it means that I can paint directly on and across the model regardless of which UDIM tile those polygons belong to. On previous projects this has been quite troublesome. When texturing It is very helpful to use references. I use them for patterns and scales, color combinations and color values. For instance I noticed that animals with scales will have bright values on the convex, exposed areas, while the cracks and crevices will be darker. This can be a result of pigments having more or less access to the sun, but also simply because of dirt gathering there.
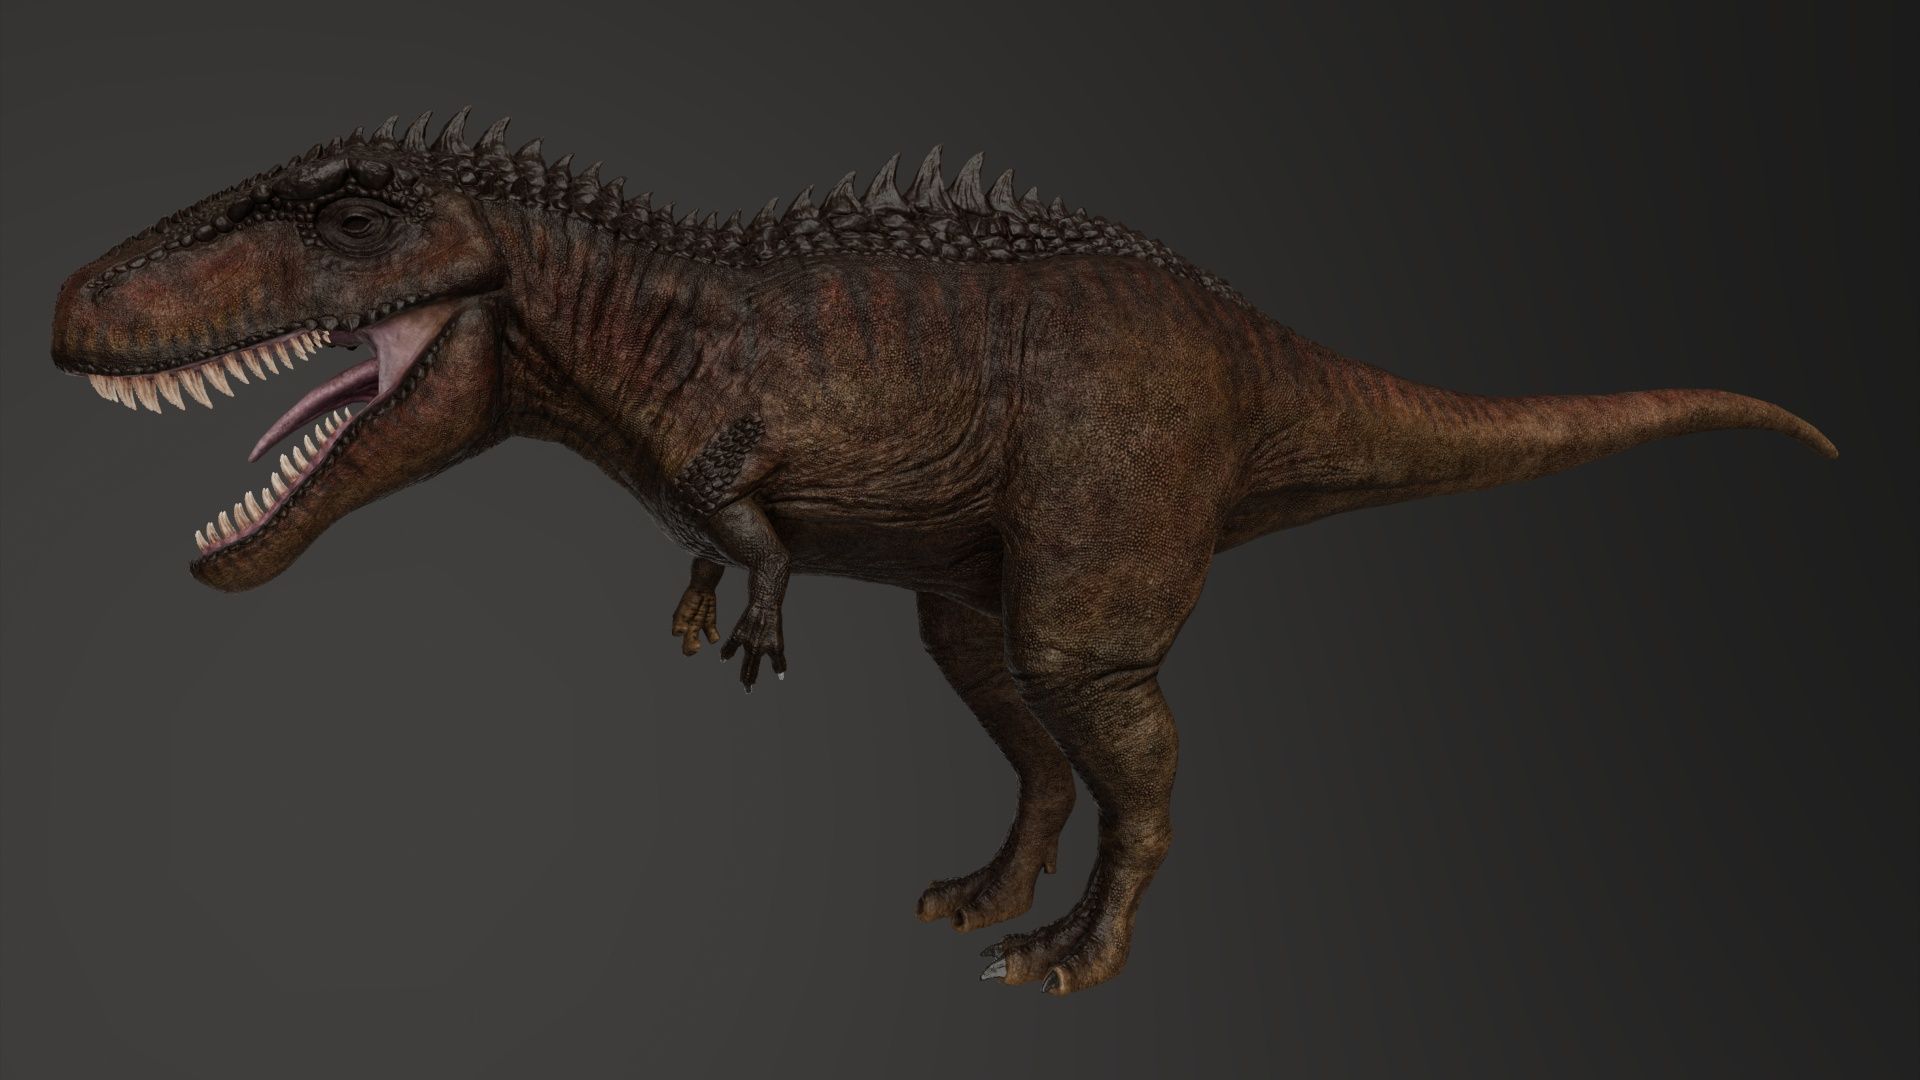
I used the Substance 3D Painter baking tool to extract different baked maps from the high polygon sculpt. These maps are extremely useful in the texturing process. I can create unique masks using curvature, ambient occlusion, and thickness in various generators and in combination with noise patterns, but I want to preface that some layers with hand painted patterns was necessary. The generators will get you far, but there will always be need for manual painting.
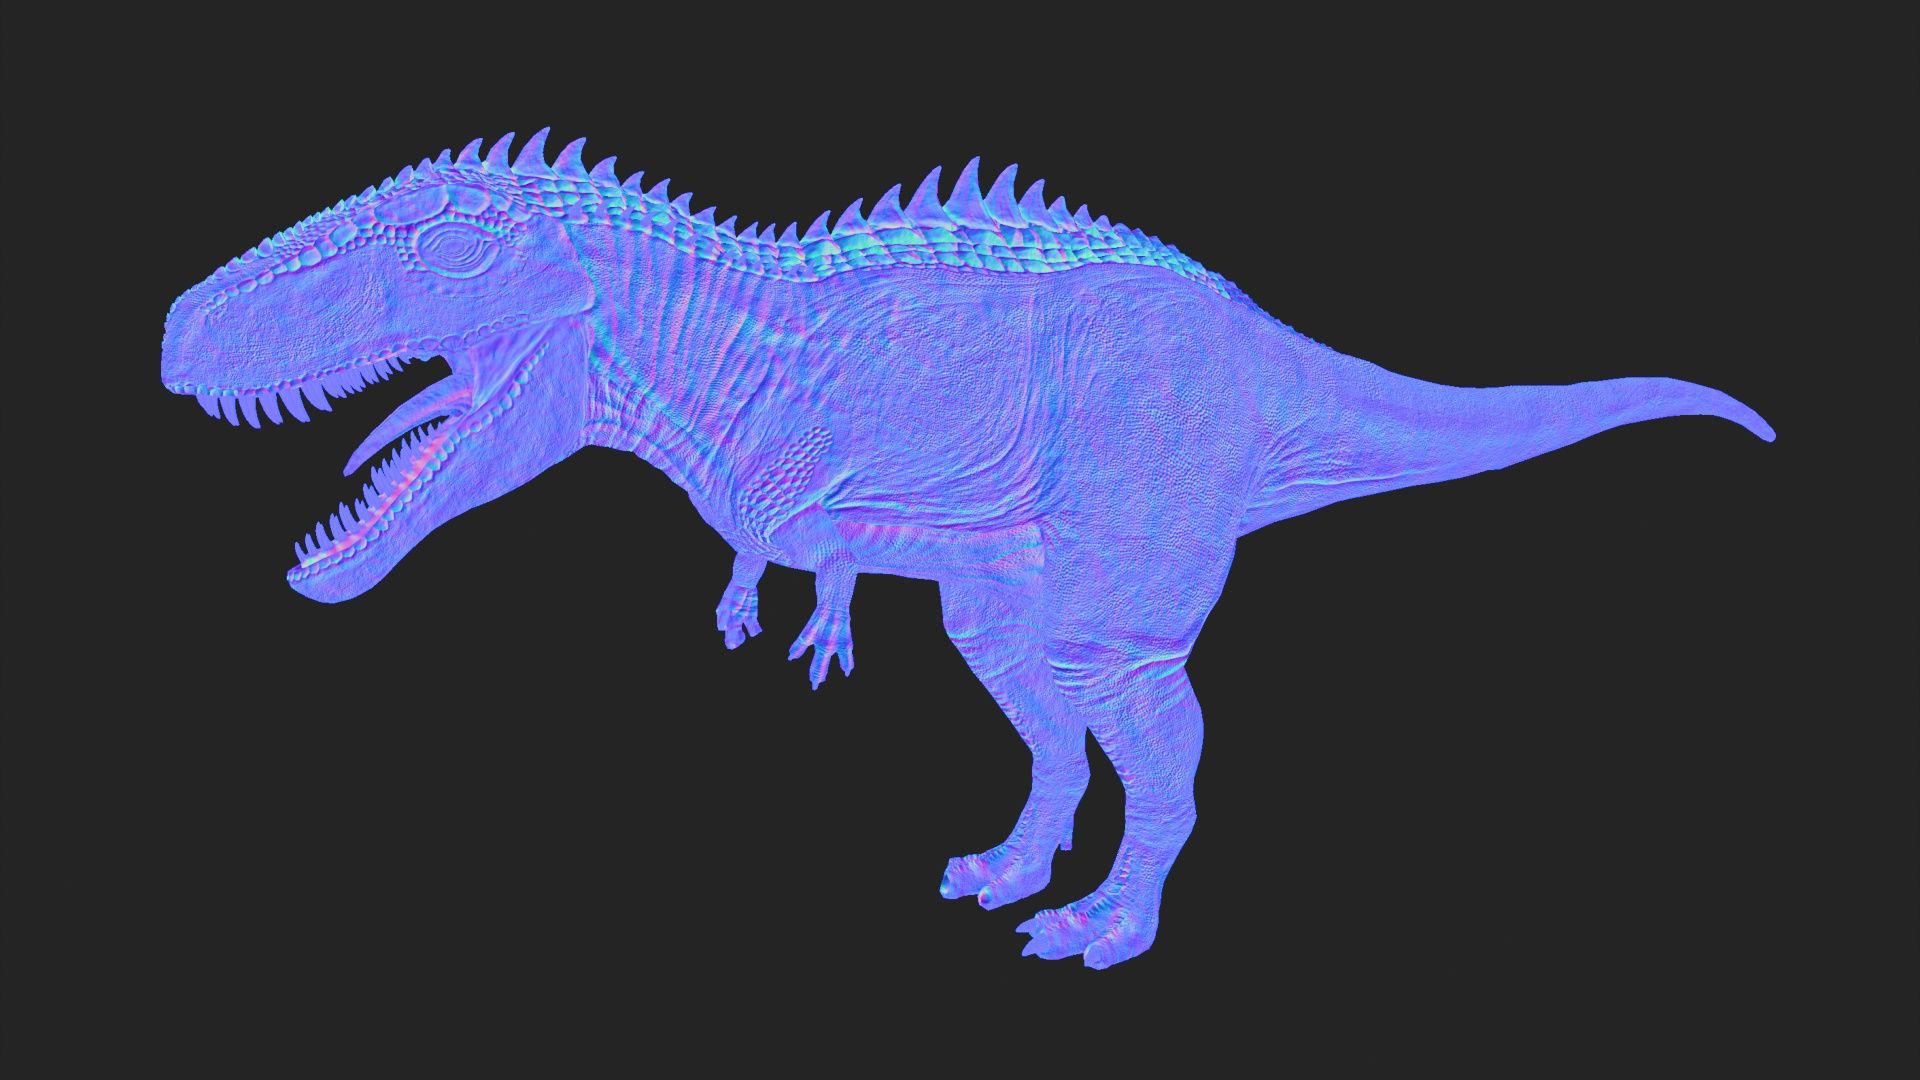
Even though the normal gives a lot of nice surface details from my sculpt, I mainly use it in combination with displacement maps. Displacement maps are the only method for surface details that actually generate geometry. Since my shot is a close up this was the only thing that would be sufficient for me. I generated displacement maps in ZBrush.
When I am texturing I usually go back and forth a lot between Substance 3D Painter and the software I am ultimately rendering in, in my case Maya. Especially when working on the roughness map. The materials usually look very different in Substance 3D Painter than it does in other software, so I am always going back and forth and tweaking values. When I am doing this look-dev process I am using the the HDR image from the set to light my model and I add in a chrome and gray ball reference, and I render a full 360 turntable to visualise the whole model from all angles and to see how light interacts with the model from all angles.
The next part of the 3D pipeline is rigging. The rigging process is essential if you want to animate a character. There are some auto-rigging tools that exist, but I do the rigging from scratch. I started by placing joints inside the model, making sure they have the correct placement, hierarchical structure and the pivots have the correct and consistent orientation (x is always (locally)forward, and y is always (locally) up). Once the joints are placed I create all the different constraints. The legs have IK constraints, the knees have swivel/aim constraints, the eyes have aim constraints, and the arms, neck and tongue have standard FK constraints. On top of all this there is a dynamic tail rig, various wrap deformers around the eyes, and morph targets for facial animation.
I just explained my rigging process in a very straightforward way, this is however very different from how it really went. Rigging is such a technical and difficult process, and I had a lot of issues before reaching the final product. I spent many hours watching tutorials and trying out different approaches. Just getting the joint orientation correct was very tedious, and I learned about the importance of avoiding gimbal lock. Thinking about how each joint is supposed to rotate and specifying the rotation order will help you avoid issues like this further down the line.
Next I created animation handles/controllers that I link the constraints to. These controllers also need to be oriented correctly in relation to the joints they are controlling. Using the grouping technique allows me to keep clean values on my controllers.
To conclude, the VFX process for this type of student work have to starts with an idea that compels you, then you develop your idea in the preproduction phase. This consists of gathering references, drawing storyboards and animating a previz. These are important tools for you as an artist to effectively design your shot, and define/visualise and not at least communicate your idea and goal. I have learned that it's important to gather as much data needed as this will be important later in the process, and its useful to take an extra minute and gather everything you need. Using the data from set I can effectively light my scene, and calibrate the different elements so they match each other. After I animated my character I rendered out the scene with different render passes and used Nuke to composite all the different layers together, and with the plates.
My process for creating a Carcharodontosaurus from start to finish:
Like all other aspects of VFX, first step is always about references. Then I gradually build the model by incrementally increasing resolution, squeezing out as much resolution as possible. First I get shape and form right, then I add visual landmarks like bone, then I define muscle definitions and lastly fat and skin. I learned that its wize to have a clear design before starting, so there wont be a conflict between anatomy and design. After I did retopology and UV mapping I baked and textured the model, and did lookdev in maya. The last step before I can animate is to setup a functional rig using both FK and IK controller, in addition to some morph targets and other deformers.
This was a very fun and challenging project, and I have learned a lot. Thanks a lot to The Rookies for allowing me to share my breakdown and my processes, hopefully it's something that can be of some utility for fellow artists. Thanks a lot to my instructors at Kristiania University College for the guidance and help.