A 3D Motion Graphics Workflow: Developing a TVC Concept
Koh Kang Hui, a student at 3dsense Media School, is a curious designer exploring diverse mediums, aiming for versatility in digital and traditional art. Here, she discusses her recent project on The Rookies: a 3D motion concept for a TV commercial.
Koh Kang Hui, a current student at 3dsense Media School, is a designer with a strong sense of curiosity. She enjoys experimenting and working in various mediums, aspiring to become a versatile designer skilled in both digital and traditional mediums. In this article, she shares details of her latest project on The Rookies: a 3D motion concept for a television commercial.
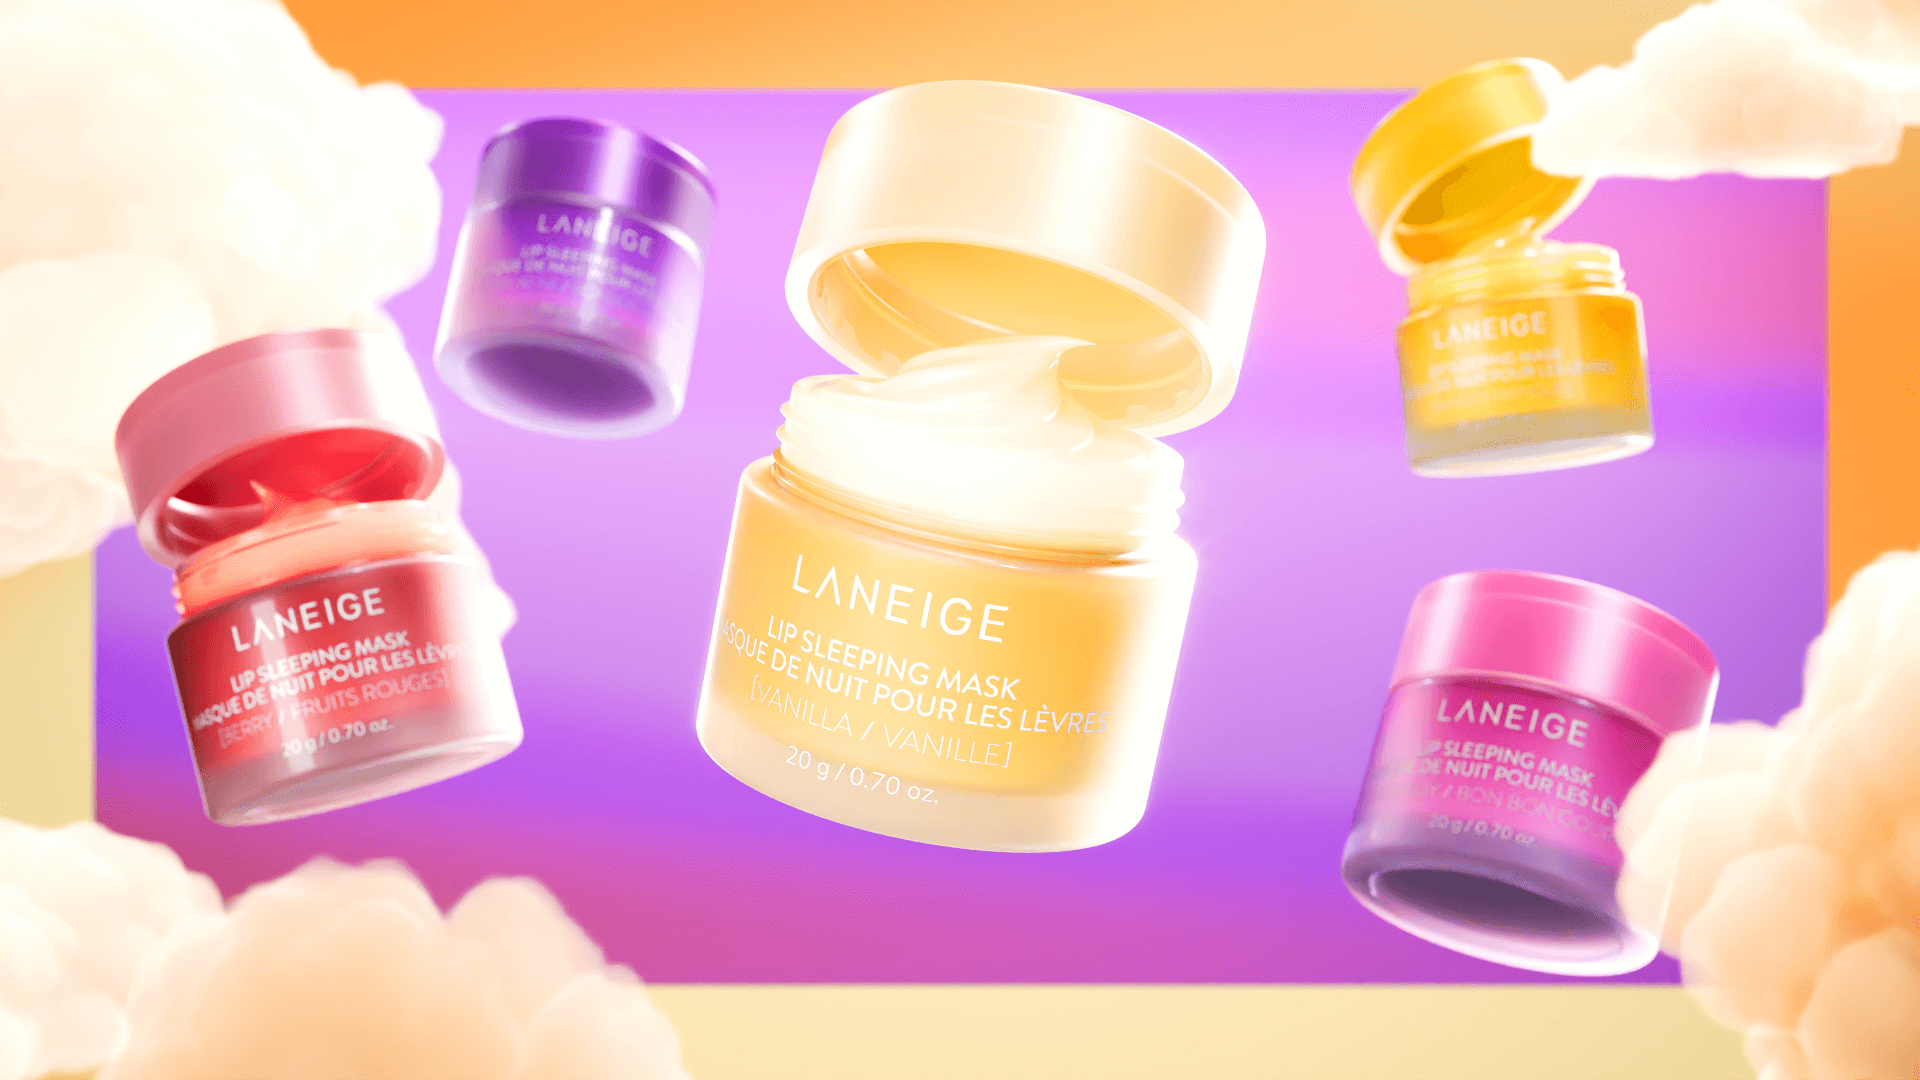
Hello! I am Koh Kang Hui, a motion graphic designer based in Singapore. I am thrilled to have received this opportunity from The Rookies to share more about my workflow for one of my projects. Today, I'll be sharing more about the creation process of a fictional TV commercial featuring the Laniege Lip Sleeping Mask. This was a collaborative effort with my teammate, Giovanna Anne Martinez.
Our Timeline
Time management is one of the most important things when it comes to working, especially on larger-scale projects. We were given roughly a month to work on this assignment. Setting deadlines for each milestone of the project also helped us to stay on track to submit on time:
We decided to go for a fun and quirky vibe for our video to mirror the vibrant colours of the different flavour variants of the product. After several discussions and a brainstorming session aided by mind-mapping, we decided to focus on showing the main benefit of the product, which was hydration.
Some of the keywords we extracted from the mindmap were: Moisture- Bouncy, Smooth, Growth, Juicy, Bubble/Ball
Building upon these, we came up with the concept of ‘Sweet Vitality- 5 Sweet flavours to revitalise your lips’, intending to showcase the hydration benefits in abstract yet engaging ways.
How we decided to represent Hydration and the claims of the product:
Revitalised lips: Growth of flowers and fruits.
Bouncy lips: Bouncing on gummies
Intense Moisture: Travelling through candy moisture balls and abstract shapes.
Baby Soft Lips: Fluffy clouds floating
In addition to this, we decided to have monochromatic environments according to each variant to further emphasise the flavour of the product.
Storyboarding & Offline Cut
Following ideation, we transitioned to storyboarding and crafting the offline cut. We came up with a storyline for the video before getting into details with the storyboard:
Establish Scene: Flowers blooming in an archway
Revitalise (Reddish Pink): Berry Flavour causing growth of fruits and flowers
Bouncy Lips (Purple): Gummy Bear Flavour bounces on gummy bear head in gummy/jelly environment
Beauty Shots (Yellow): Close up beauty shots of mango flavour
Intense Moisture (Pink): Sweet candy flavour travels through a sea of moisture bubbles.
Baby Soft Lips (Beige): Vanilla Flavour burst out with a sea of clouds.
5 Flavours come together: All 5 flavours pop out then fall and land onto growing platforms. Logo appears.
Storyboard Artist: Giovanna
During the storyboard stage, we also planned out what sort of animations and transitions we would want to include in the video. It might change slightly as we moved along but planning these out in advance would make the workflow smoother and easier subsequently. Then with the storyboard, we created an offline cut with the edited audio. An offline cut is useful to help figure out the rough pacing of the video, and to see if certain parts are too quick or too draggy.
Styleframes & Animation
Before we proceeded with styleframes, each of us did some testing for our allocated scenes to see if certain techniques or animation would work out the way we envisioned. Both Giovanna and I will be sharing more details on some scenes we worked on.
Scene 2 - Kang Hui
I will share more about Scene 2, which was one of the parts I worked on. Before I started on the styleframe, I did some testing to figure out having the movement of the swing affect the growth of the fruits.
Blocking I first started by blocking out my scene in a camera angle that was similar to what was planned in the storyboard. Once I was satisfied with the blocking, I proceeded to add details and refine the scene.
Texturing & Lighting In this case, I started to add the grass and layer with different colours for more depth and visual interest. I also added more details to my swing. Then, I began to add in the fruits and flowers that would appear as the swing moves. After I was done with modelling the scene, I start to work on texturing and lighting with Maxon Redshift.
I adjusted the colours of the grass and added some subtle texture to the swing. For this project in particular, we realised that the use of rim lights and highlights helped the product to stand out more against the monochromatic environments. I also amped up the vibrancy and brightness of the scene with the help of colour correction.
Animation Finally, animating the scene was trickier than I anticipated. It took me several tries to have the swing move more naturally and smoothly. I also encountered problems with the fruits jittering as they were popping out, which took me a while to fix.
After many iterations and thanks to discussions with Gio, I was able to reach this final version of this scene.
Scene 3 - Giovanna
Hi! I’m Giovanna Anne Martinez, I am the project manager and storyboard artist for this project.
I’ll be sharing one of my parts, scene 3 where we introduce the ‘Gummy Bear’ flavour. Though it might seem relatively simple and straightforward, this scene did go through a number of testings and re-iterations for the design. Let’s delve in!
Testing Before working on the styleframes, I had to test out if the idea worked in C4D. The idea was to mix animation with simulation to control the bounce and create an interaction with the 2 objects.
Blocking After working out how it worked, I started blocking out my scene. I modeled some gummy bears and began setting up the layout based off the storyboard.
Texturing & Lighting While it may seem simple at first, having an entire scene to be in a monogamous colour takes it up a notch. We still need to add variation to the scene; whilst taking into consideration the aesthetics. That was the slight struggle I faced but through many discussions and feedbacks from my friend and teammate, Kang Hui, we were able to figure out the final look for the scene.
Animation Lastly, the final animation was also a surprising issue I faced. Namely matching the transition from the previous part (Kang Hui’s) to my part and creating a natural bounce.
The initial versions were definitely awkward to say the least and it took a number of tries to finally get a smooth transition. Learning through my peers is something I relied on and through that, I was able to achieve something I was happy with.
Through this process, I’ve learnt so much about creating something from scratch that even this simple idea has many nuances to it. You just gotta keep testing, asking, trying and learning but most importantly, trusting the process.
Scene 7 - Kang Hui & Giovana
This was a scene that pushed our teamwork to greater heights. The file was passed back and forth a number of times but it was also a process we learned a lot from.
Kang Hui: I did the modelling, the lighting, texturing of the clouds and the animation of the front portion of the scene. Getting the right look for the texture of the clouds was pretty tricky. The clouds made lighting the scene a challenge too. After that i passed the file to Gio for her portion of the scene.
Giovanna: Continuing from Kang Hui’s part, I animated the later part of the scene of the backdrop flying down, clouds moving away and the caps twisting open.
Kang Hui: Based on what Gio did, i further adjusted and refined the timing the animation, in particular, the drop down and the expansion of the backdrop.
Giovanna: After which I adjusted the lighting after our checking the low-res render, finalising the scene. It was a tough one wasn’t it?
Kang Hui:Yeah! But that was a pretty interesting experience hahaha!
Giovanna: We definitely learnt a lot from each other!
Animation
After all the styleframes were done, we started to work on animatics. During the animatics stage, we make use of viewport renders, focusing on getting the timing of the camera movement and the main motion of each scene right. Viewport renders help to speed up the process, as it takes much lesser time to generate a viewport render as compared to rendering hundreds of frames. This is where the offline cut also helps. Using the offline cut, we can determine how many frames we need to allocate for each scene and work within the number of frames for animation.
When the animatics are all good to go, we started to refine our animation and work on adding things like secondary motion. In the meantime, we started on low-res renders to make sure that there will be no mistakes or glitches with our video. It also helps us to have a better idea of how the final video will potentially look like, with the final textures and lighting.
Low res renders to avoid glitches like this in the final version!
If everything goes well, we start to render the scenes in full resolution. We also find sound effects that would enhance the video and add those in.
Final Output
Finally! The fruits of our labour!
Thank you so much for reading this post! I hope this gives you more insight on the process of creating a 3D motion graphics video.
You can find me via my Rookies profile here, and Giovanna's profile can be found via her website.