Creating "The Translucent Creature": Exploring Transmission and Subsurface Properties
Sofia Bonini, a 24-year-old graduate from a small city in northern Italy, provides further insights into the creation of "The Translucent Creature," detailing the challenges encountered along the way.
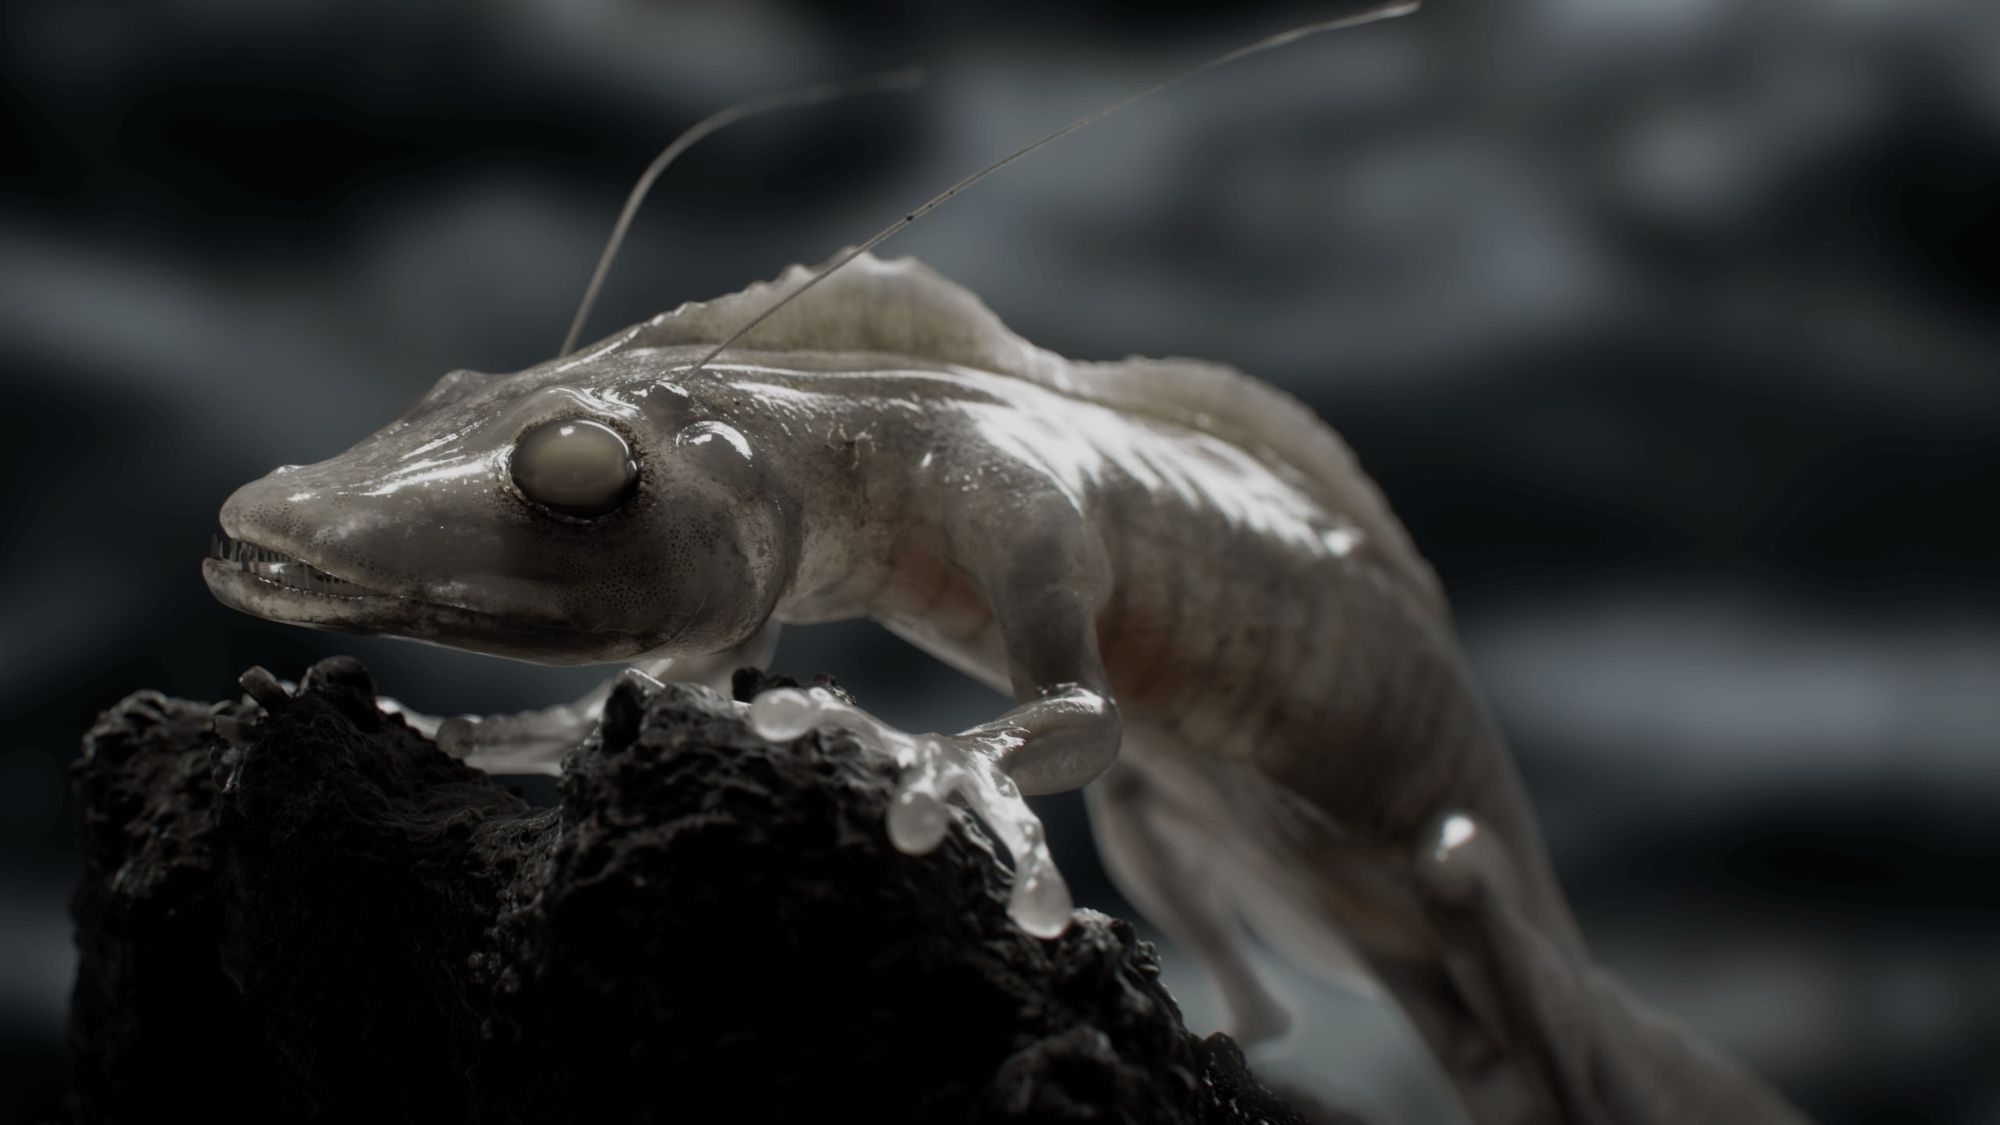
3D Generalist Sofia Bonini shares details of one of her first portfolio pieces. Here, she shares details of a challenging project she has been working on it for the last few months of her education at PIXL VISN | media arts academy. In this project she explores transmission and subsurface properties of a translucent creature.
My Translucent Creature
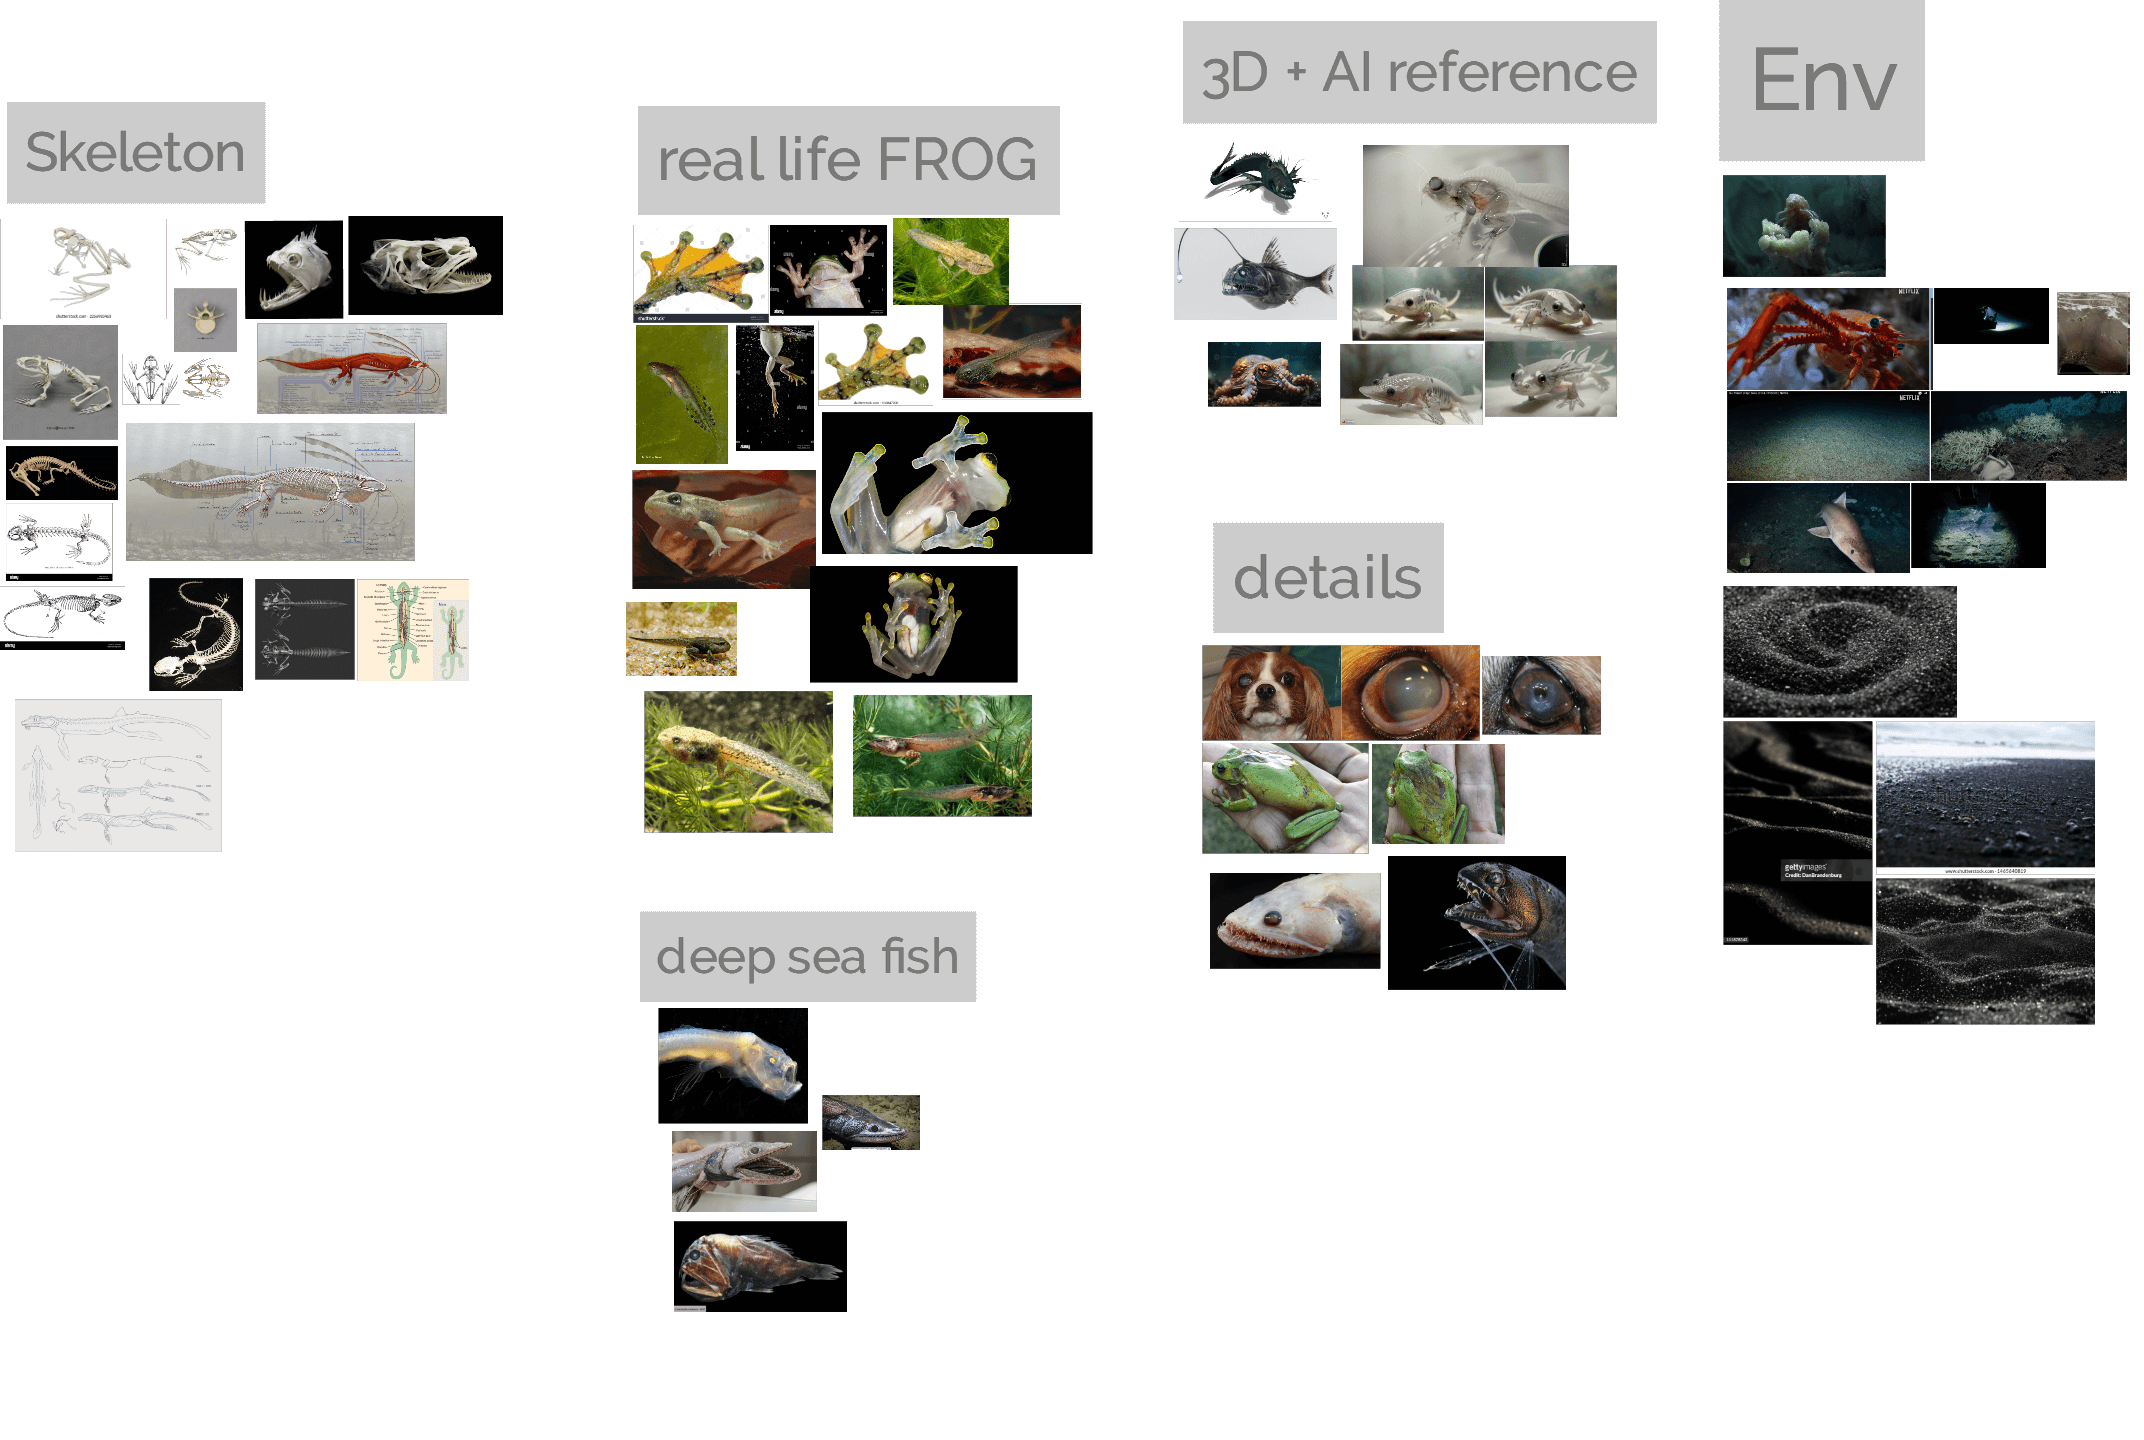
Reference
It all started with me stumbling upon an incredible work by Roberto Digiglio, the "Triturus Profundis". That’s when the idea sparked of creating a creature with bone, organ and vein details.
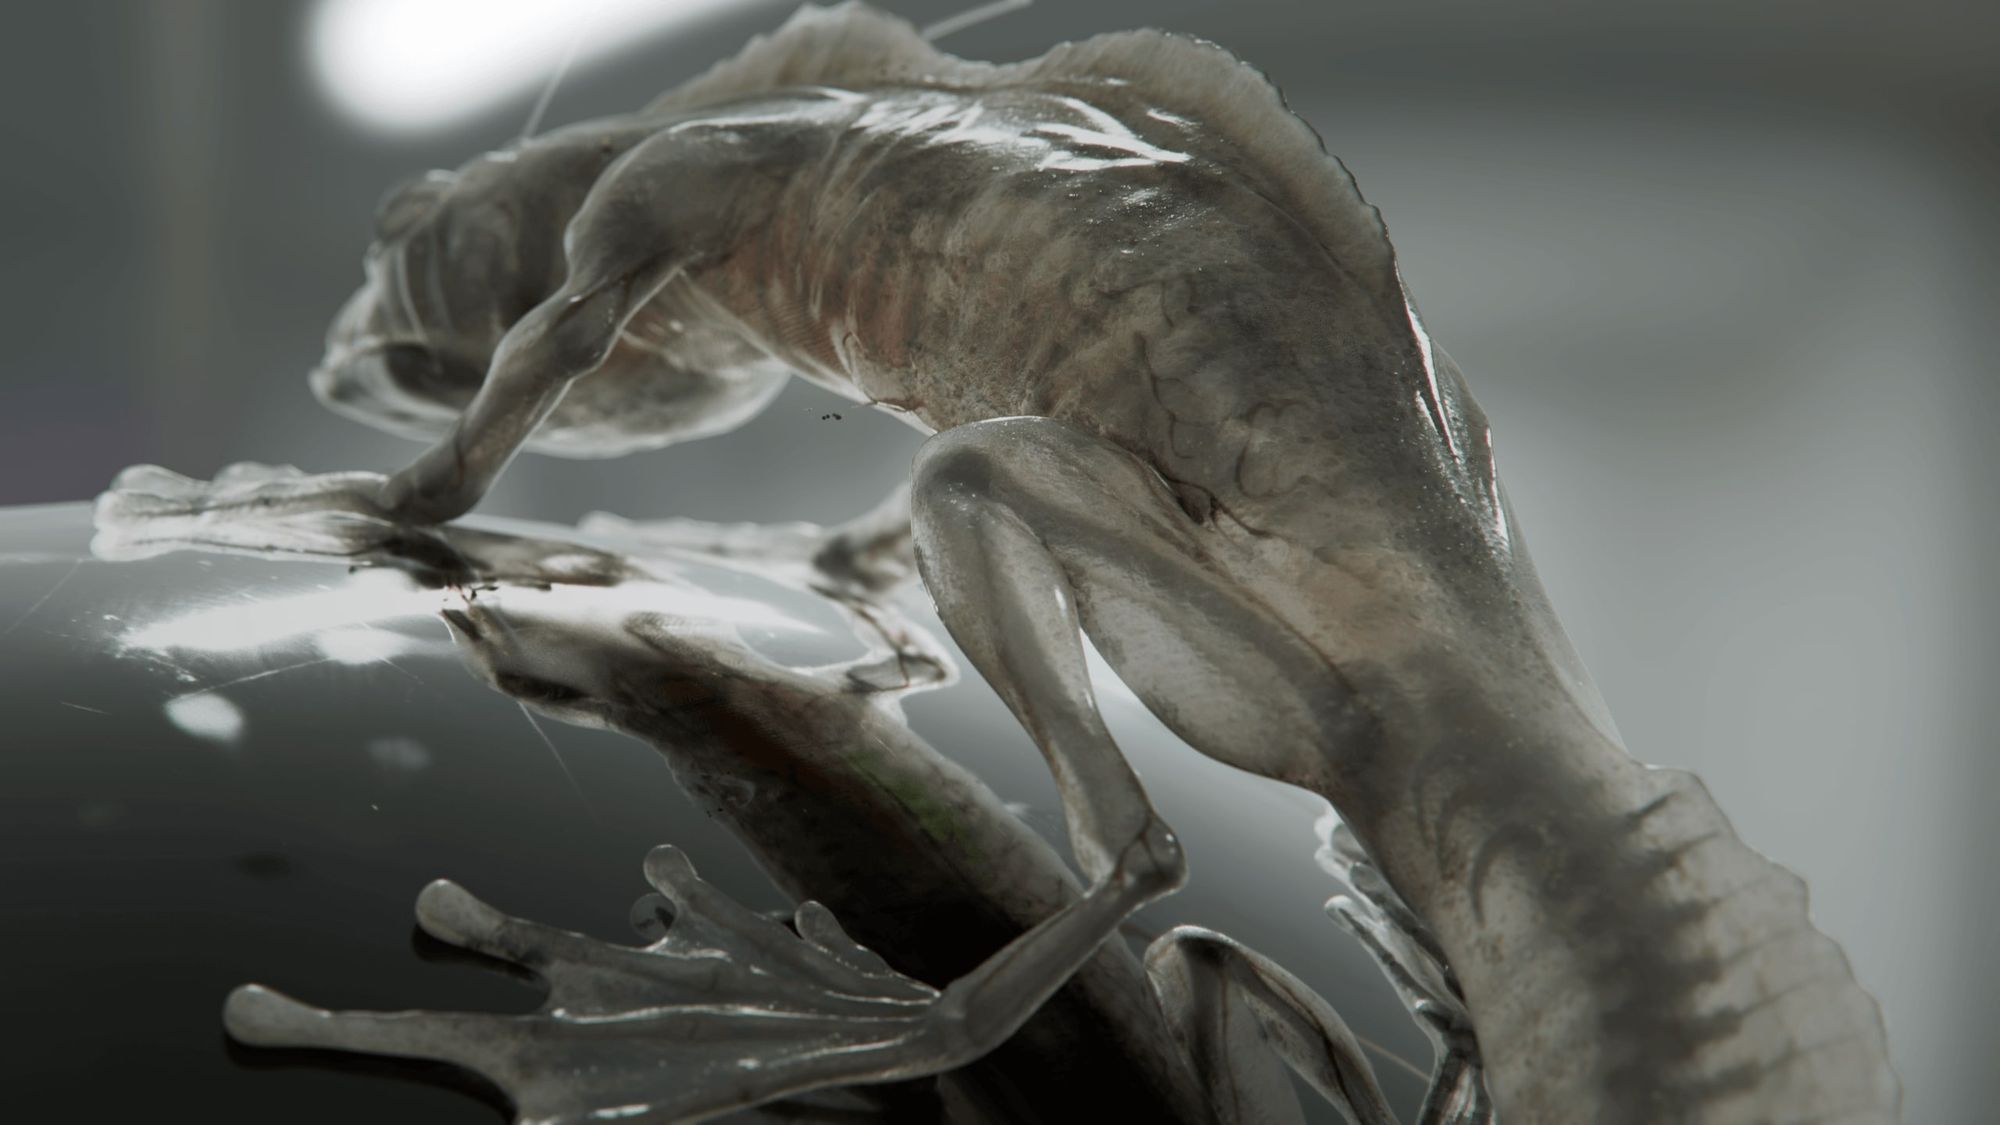
So, before diving into the project, I began collecting references of real-life creatures with similar anatomical aspects. I discovered glass frogs, which provided great references for organs and translucent skin. Additionally, I examined skeletons of various lizards, frogs, and even small crocodiles. With numerous reference pictures at hand, I had to narrow them down to the essentials to ensure efficiency during the texturing phase.
Furthermore, I gathered references for details I wanted to incorporate to add depth to the creature's appearance and avoid a plain look. For instance, I found eye references of blind dogs to depict the creature's eyes. Since my creature resided in the dark depths of the sea, its eyes appeared foggy and enlarged, resembling those of blind dogs.
To add scars to my creature, I used frog scars as references. Additionally, I utilised Adobe Firefly to create some AI references. By combining real-life references with my ideas, I aimed to bring my creature to life, even though it doesn't exist in reality.
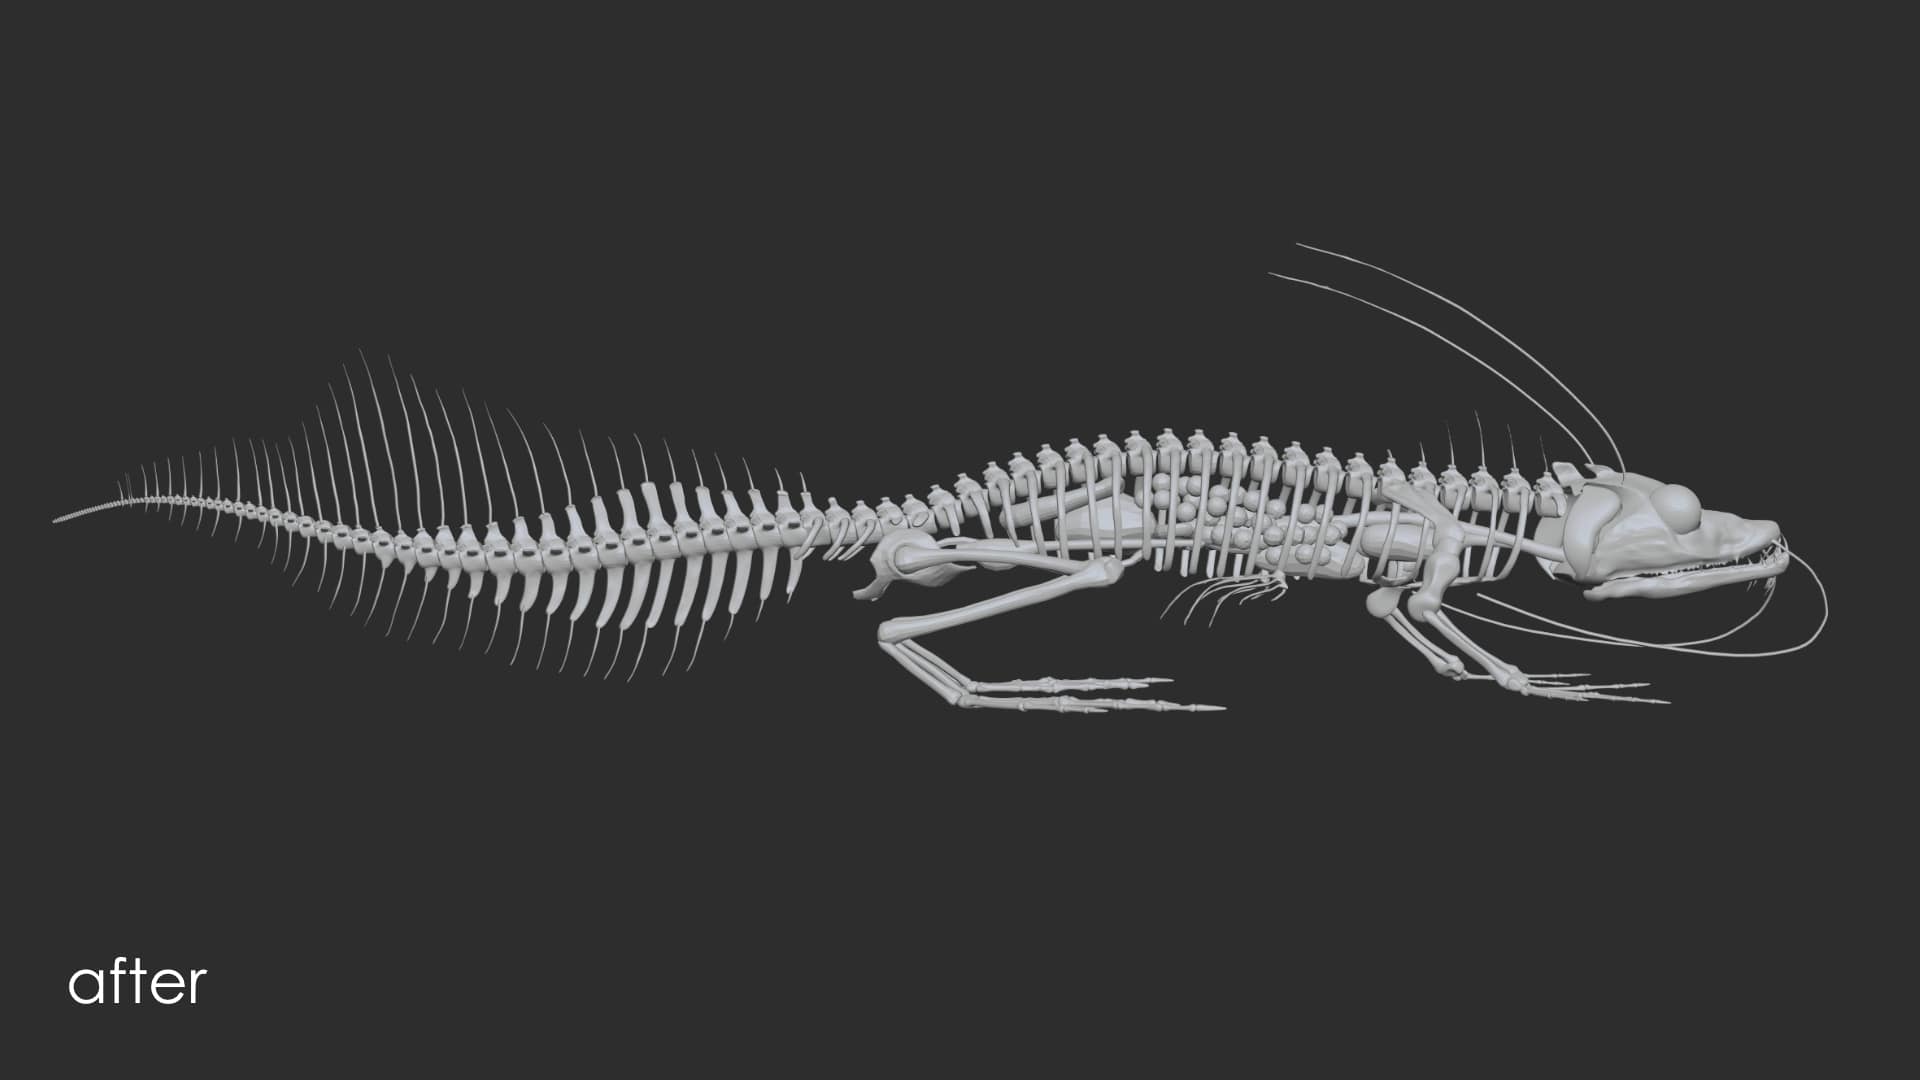
Modeling
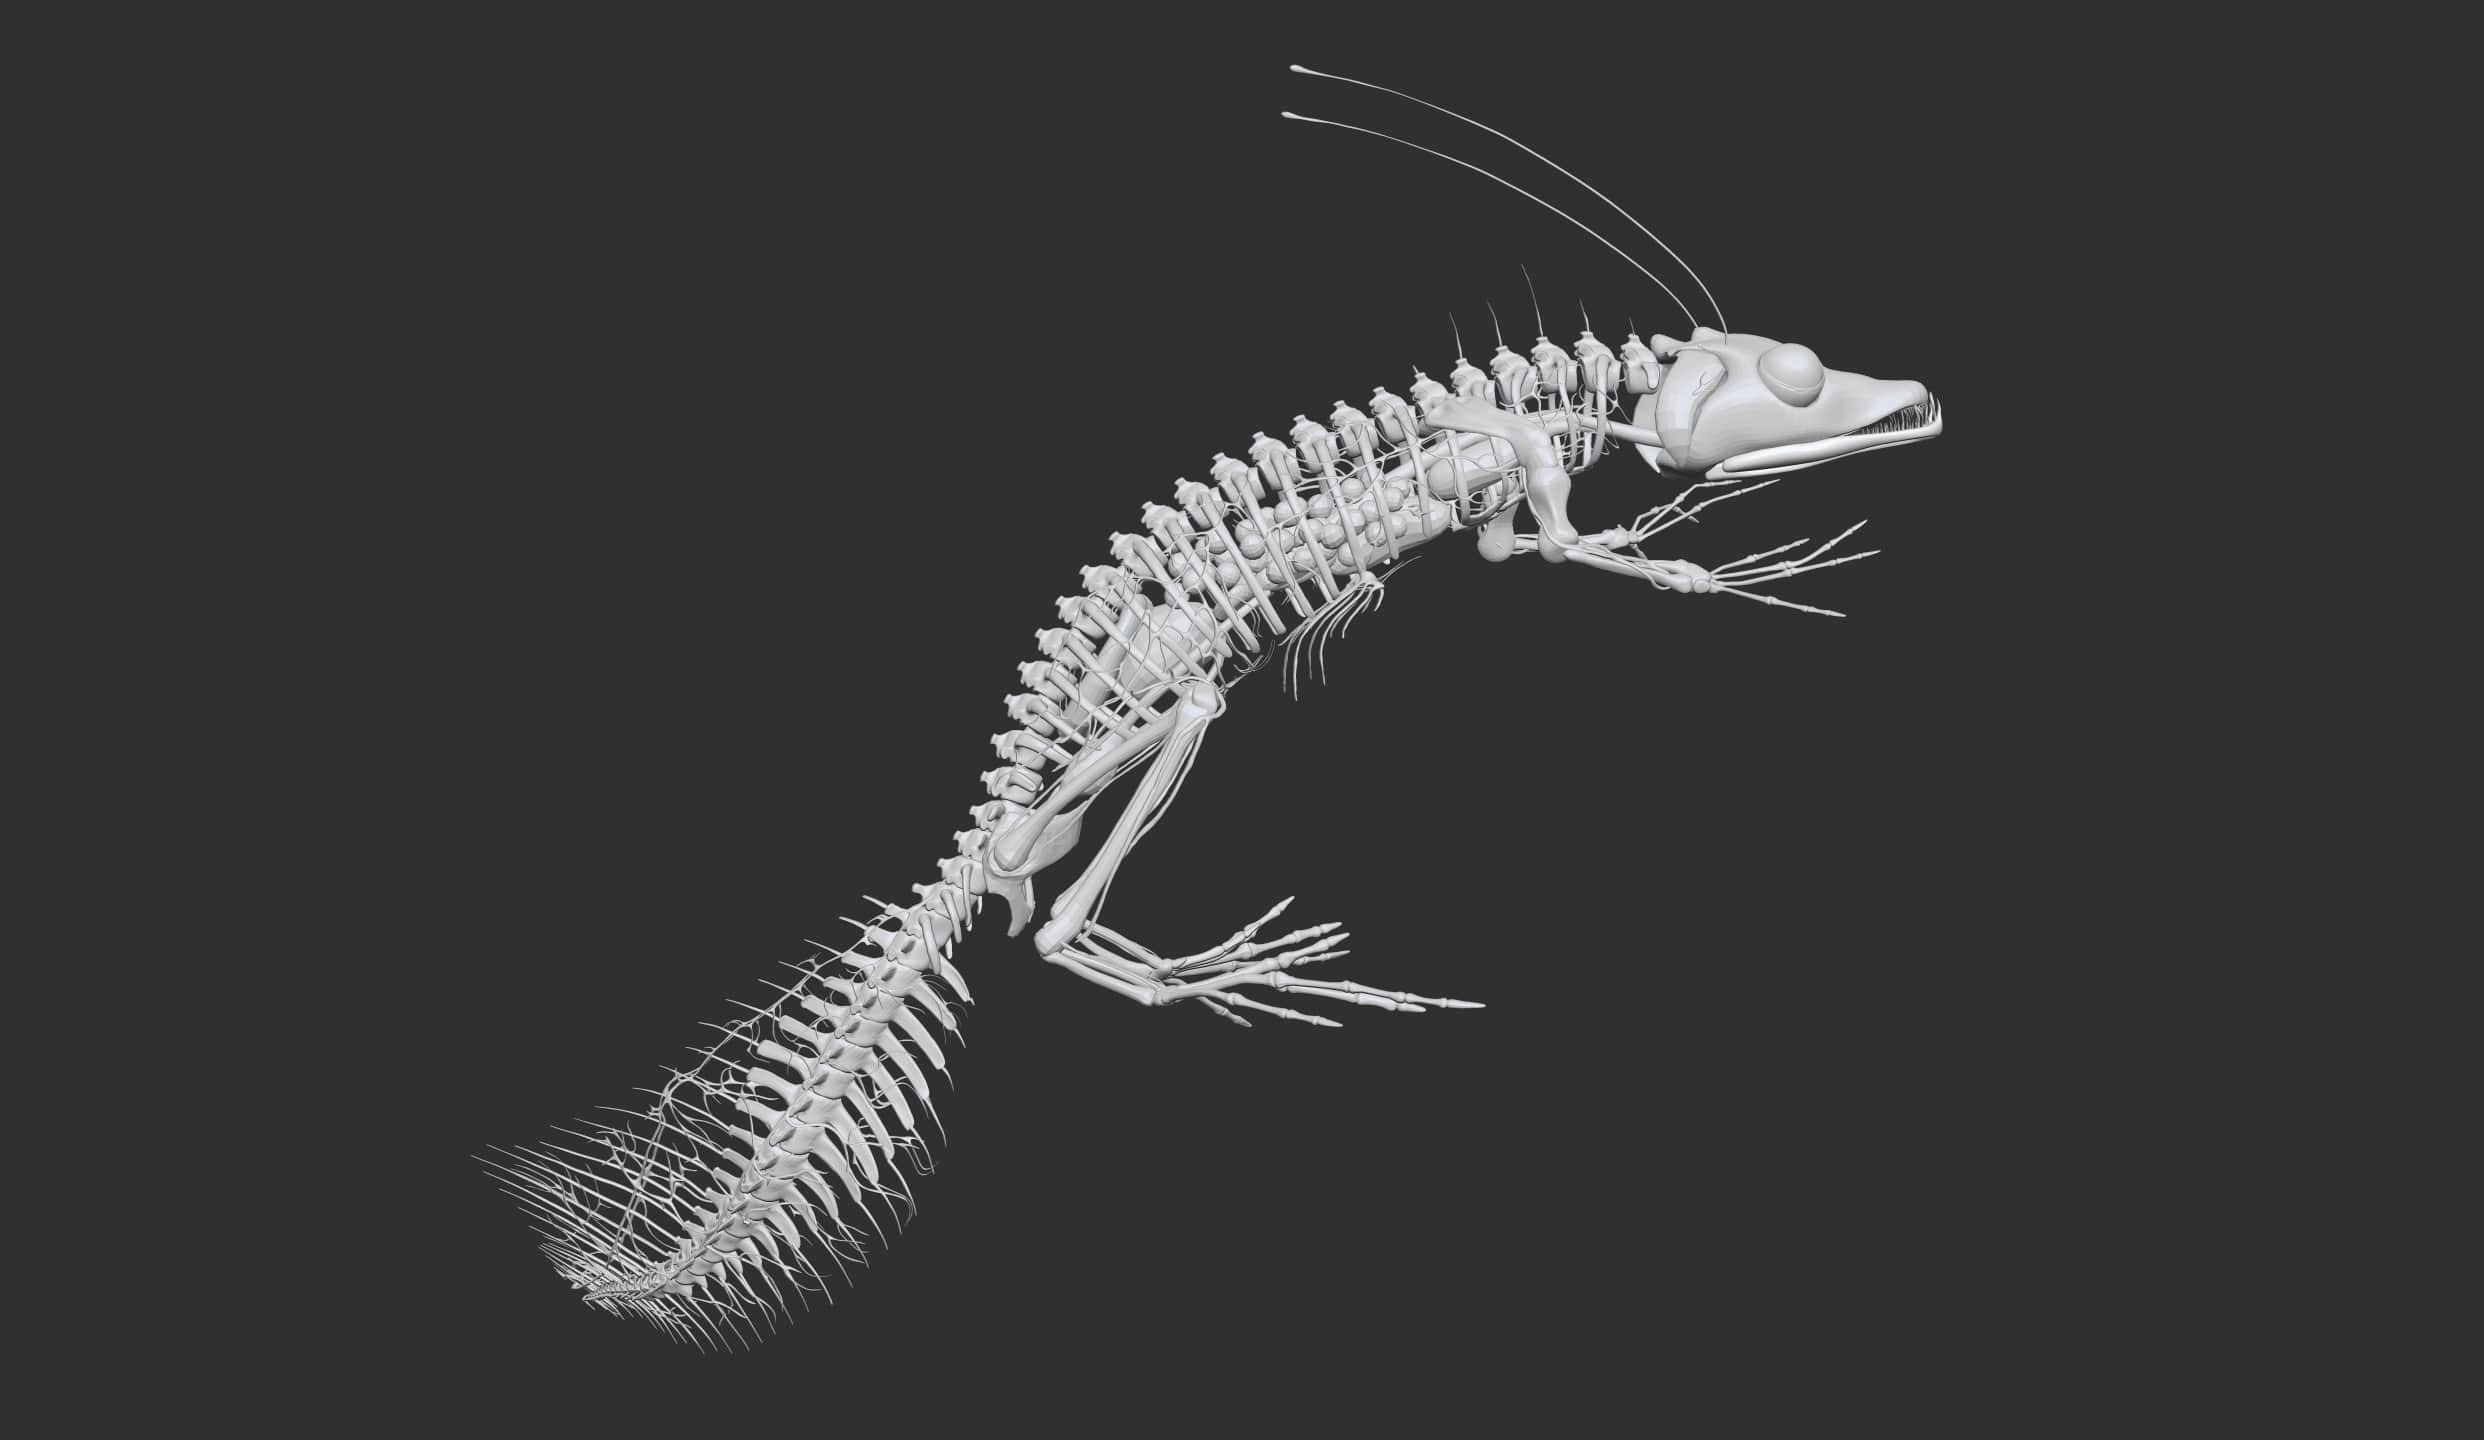
I began with the creature's skeleton, which turned out to be much easier and more enjoyable than expected. Using scientific images as blueprints, I blocked out the bones in Maya, utilising frog skeletons for the legs and lizard skeletons for the body.
Once I completed the block-out of the main skeleton, I transitioned to ZBrush. There, I refined the silhouette and experimented with various heads and features, such as antennas. Initially, I favored the idea of a fish head, considering the creature's habitat in the deep sea. However, something felt off. After spending a week exploring different skull designs, I settled on the lizard skull, as it fit better into the overall concept.
After finalising the skeleton, I started blocking out the organs. I knew they were only visible through the skin, so I decided to save time and model only the main organs. Before I created the veins, I decided to put the skin over the bones and organs first. Then I traced the veins along the skin with the Curve Tube Tool in ZBrush.
After all that, I put a basic rig into my creature in Maya for posing. I was hoping to be able to animate an idle animation in the future.
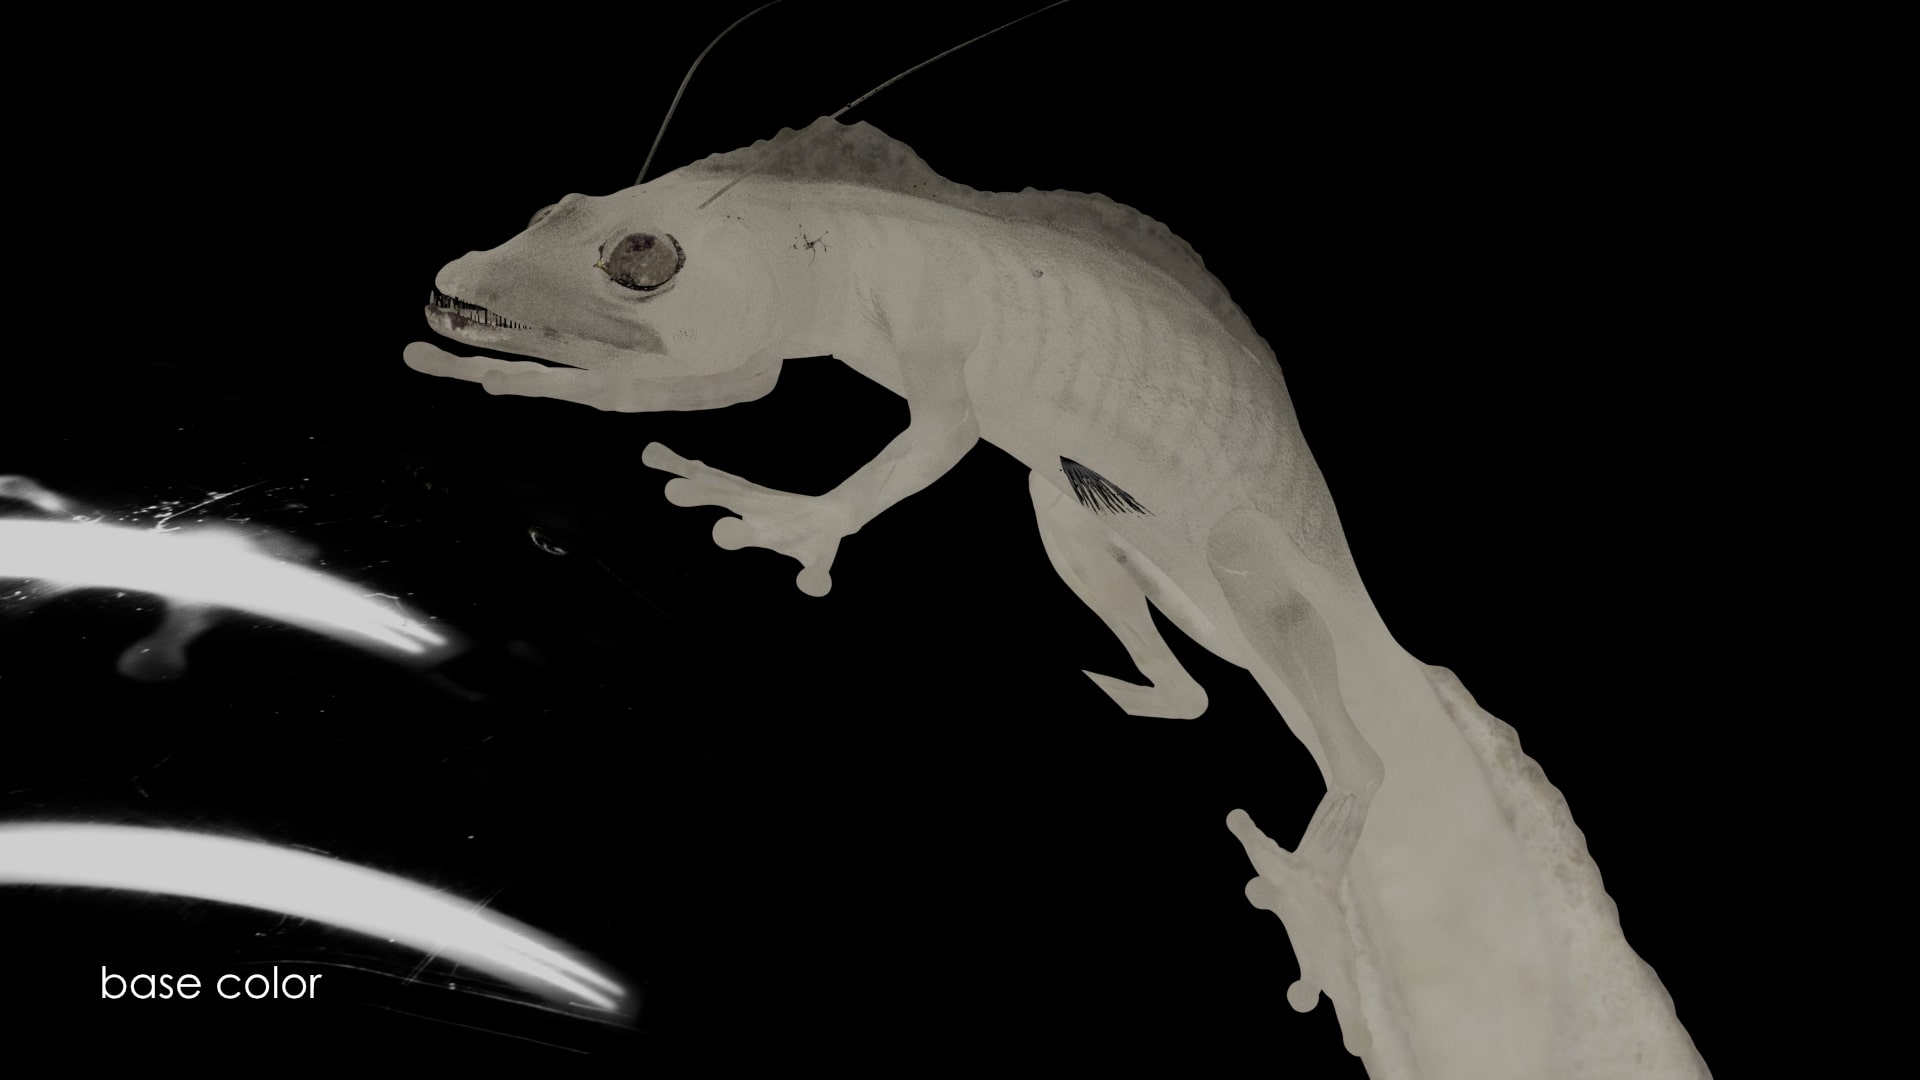
After that odyssey, the moment I had been waiting for finally arrived—I was able to open Mari. This time, my workflow was somewhat reversed. Typically, I would start with bump and displacement to use them for the base colour. However, on this project, the bump would almost be invisible due to subsurface and transmission, making it mostly relevant for the specular breakup. Therefore, I began with the base colour, which was also quick and not very visible on a translucent creature.
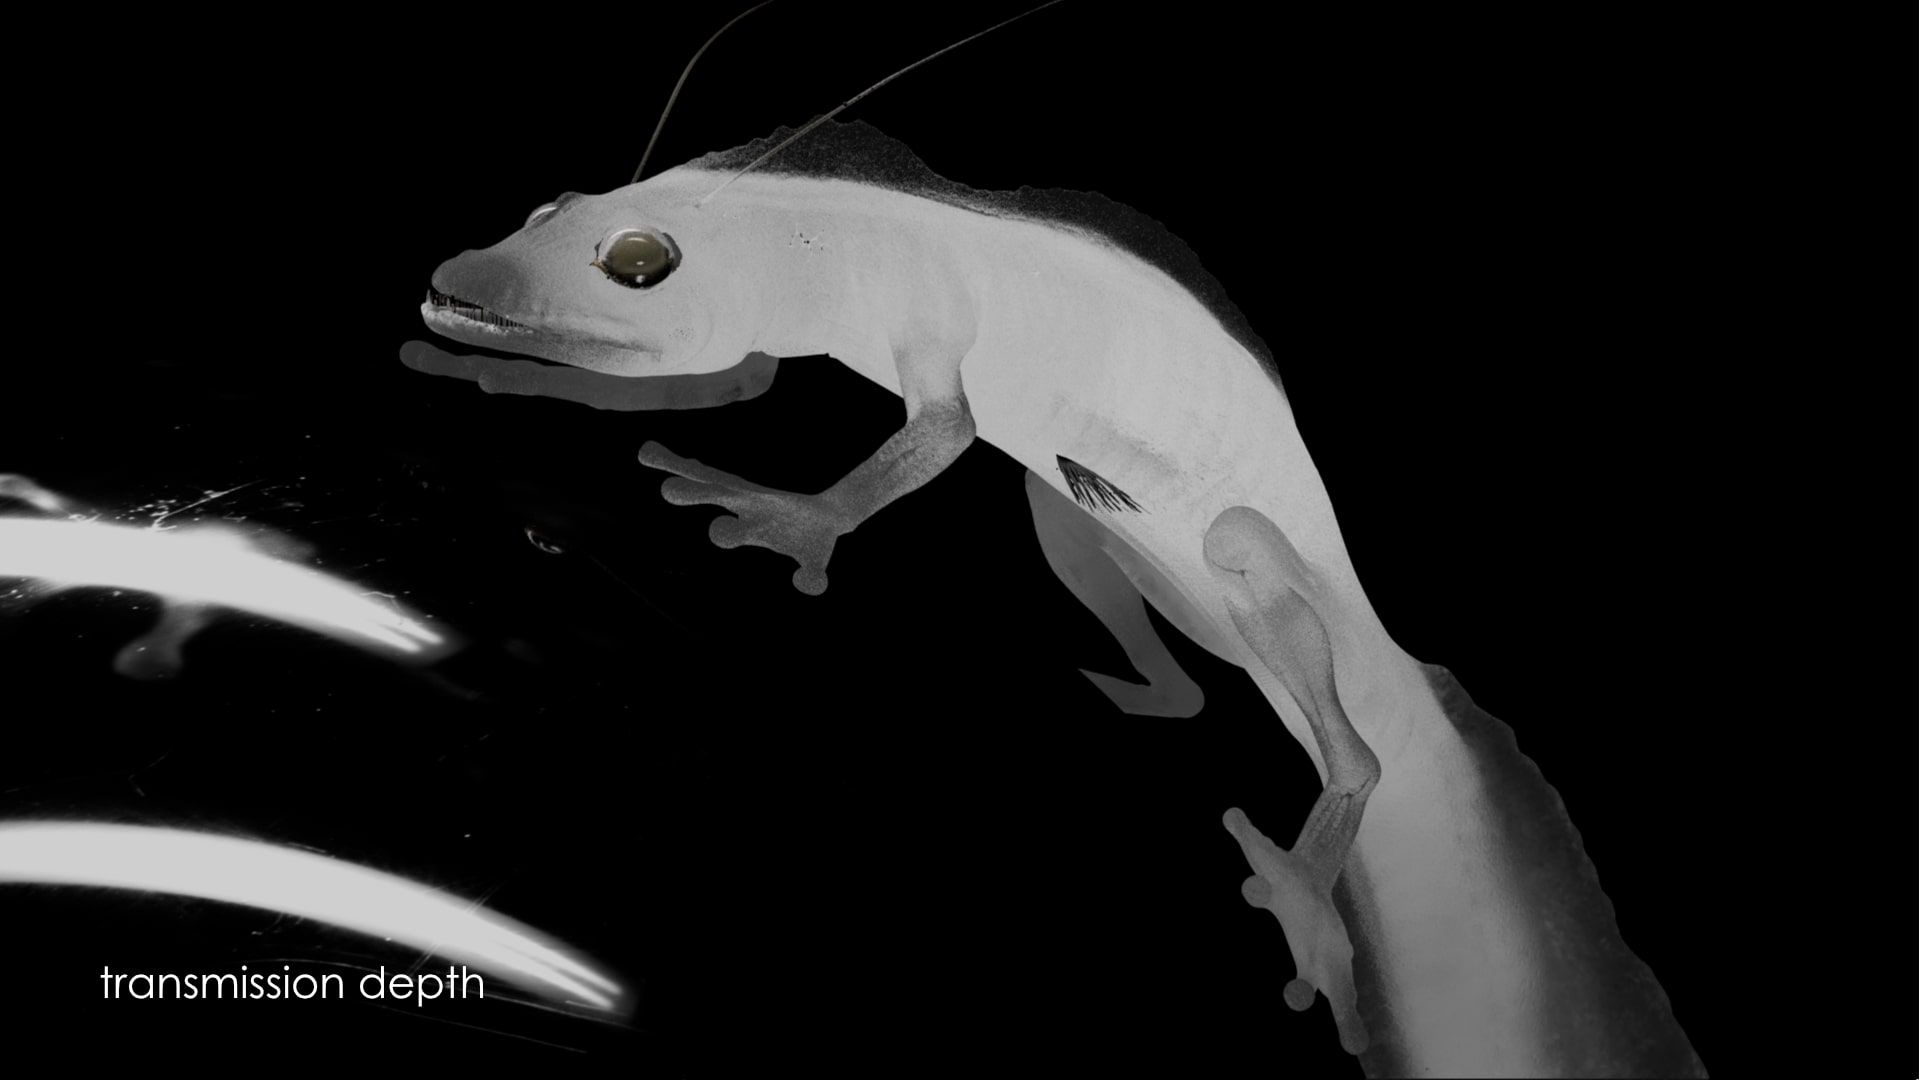
The main focus is in maps and masks for transmission, transmission depth, sss and so on. I spent the most part in black and white masks for different attributes in my shader. I was going back and forth between Maya and Mari, always checking my maps in the render-preview. I even added flakes in Arnold for the glass frog's shimmering cell-effect. I also decided to combine my maps to a RGB texture.
For the texturing process of the bones, organs and veins, I attempted to texture the big parts like the skull first. For the rest I used Maya shaders and controlled the transmission depth and colour breakup with noise.
shader of body
After conducting some tests in Maya, I realised that my texture work on the inner parts would not be visible. Therefore, I opted to use Maya shaders throughout. This decision would enhance rendering efficiency and speed. Additionally, all the organs and bones were created with transmission. Although I had previously used subsurface, as I will explain in the next section, I encountered challenges with render times, prompting me to switch exclusively to transmission for these elements as well.
organs, bones and veins with Maya shaders
Rendering
Now, I could initiate a rendering test and render one test frame in HD 1080p in Arnold. The first frame took nearly 6 hours, and my intention was to render in QHD eventually. The subsequent step involved identifying the reasons for the long render times. I meticulously reviewed each aspect to pinpoint the culprit. I reduced the resolution of my maps, decreased subdivision levels, and after implementing several adjustments, I succeeded in reducing my render times by a few hours.
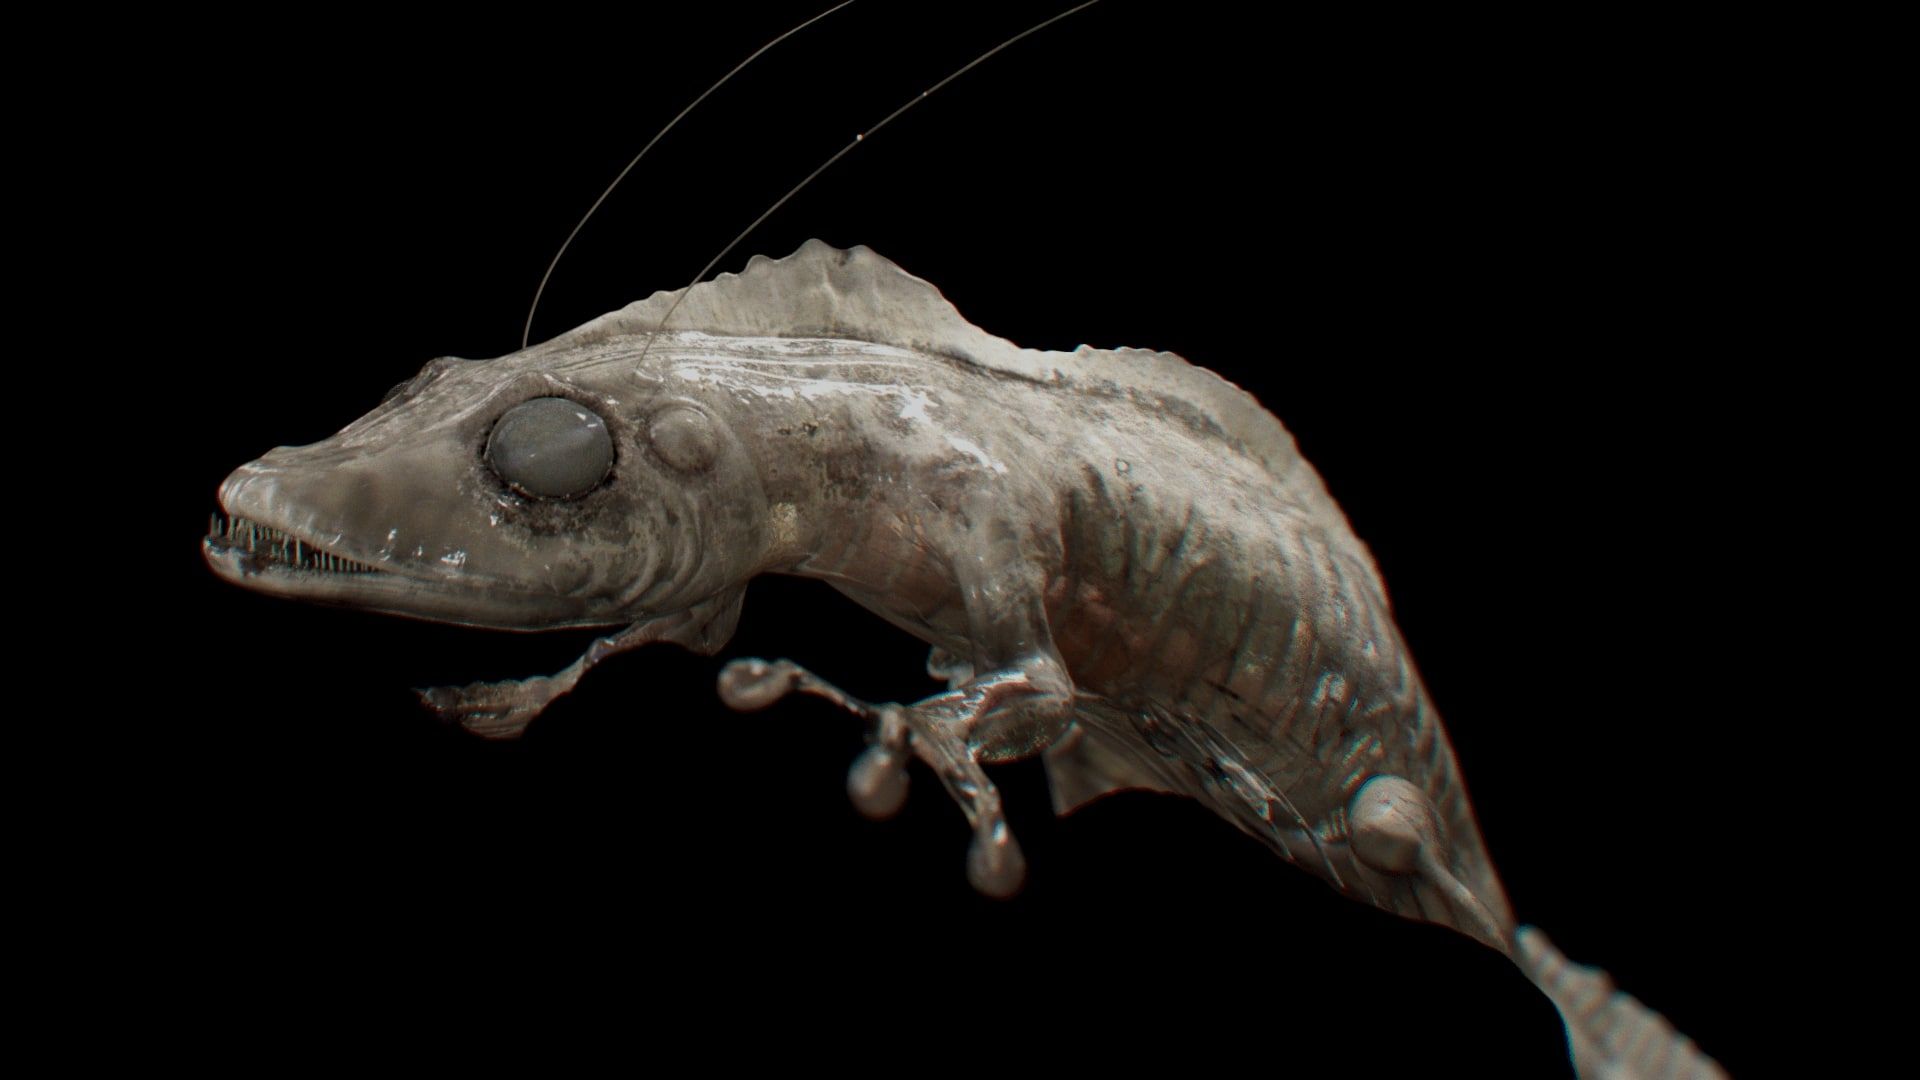
Ultimately, I identified the cause of my prolonged render times: the interaction between subsurface scattering (SSS) and transmission. My render was significantly delayed because the subsurface scattering and transmission maps predominantly contained gray values, resulting in simultaneous calculation of SSS and transmission in the same area. To resolve this issue, I revisited Mari and painted more efficient masks, aiming to minimise the overlap between transmission and SSS as much as possible. As a result, I optimised my render times to achieve 50 minutes per frame.
Following that, I performed minimal compositing in Nuke to enhance the photorealism of the render.
Iterations
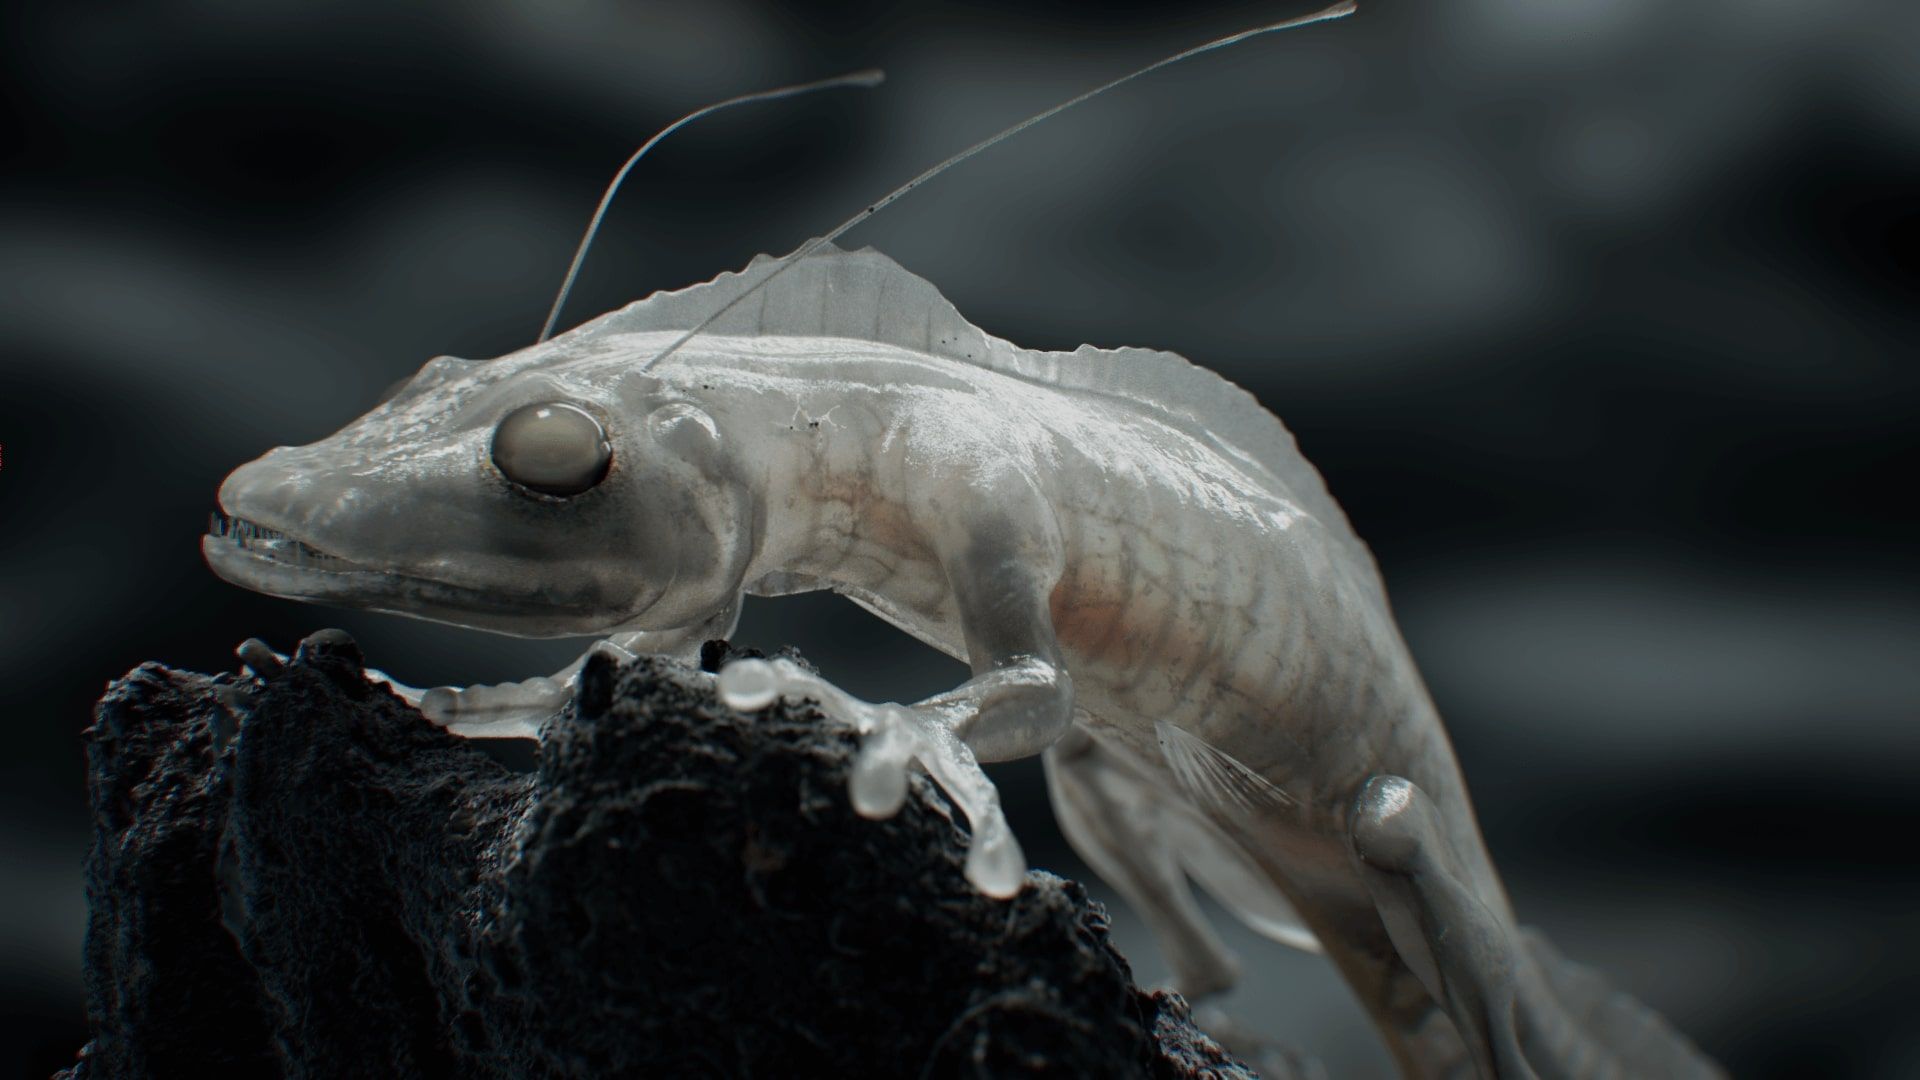
Here is a small process gallery illustrating how I achieved the desired level of detail and translucency. Initially, I incorporated excessive detail, noise, and dirt, resulting in an overly busy appearance on the creature's skin. Consequently, I minimised these elements entirely. From there, I gradually reintroduced dirt, breakup, SSS spots, and other features until I reached a satisfying balance. While this process may appear quick and straightforward in retrospect, it actually required considerable time to refine the look. At certain points, I even returned to the modeling stage to adjust the displacement, antenna, and skull details of the creature. Additionally, the rock upon which it stood underwent several iterations to achieve the desired effect.
Custom Fingerprints
For the "sterile" scene I needed a simple and clean environment, so I added a chrome sphere with some breakup. For detail and story purposes I even made my own fingerprint-texture in Affinity Photo. I used the fingerprints of my creature and scattered them on the sphere, as if it had been wandering around a little.
Conclusion
I know a lot of aspects still need revision. I want to rework some aspects and transitions on the fins and skin, and also the inner organs need more love. For this project I want to thank, from the bottom of my heart, my teachers and mentors at PIXL VISN. Especially I want to thank Renato Gregorio Scicchitano and Tom Herzig, who helped me not to get lost along this project. And I want to thank The Rookies for this amazing opportunity and for giving me the chance to present my work! Check out my Rookies profile here.