Making of a 3D Environment Inspired by "The Last Of Us"
Camilla Marinelli, former student at Skyup Academy, shares how she created a 3D environment starting from a concept art inspired by the video game "The Last Of Us".
Camilla Marinelli, former student at Skyup Academy, shares how she created a 3D environment starting from a concept art inspired by the video game "The Last Of Us".

Camilla Marinelli, a former student at Skyup Academy, shares how she created a 3D environment starting from a concept art inspired by the video game "The Last Of Us". Below you will find the making of the project, where she shares her creative process step by step and learnings along the way.
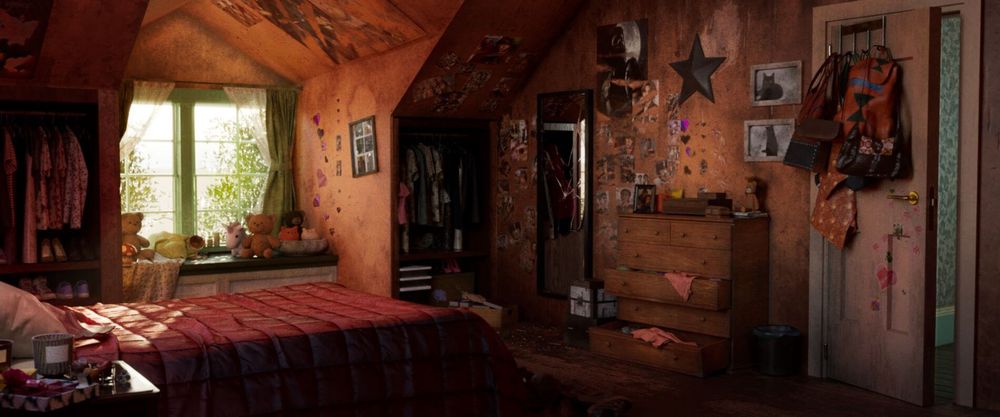
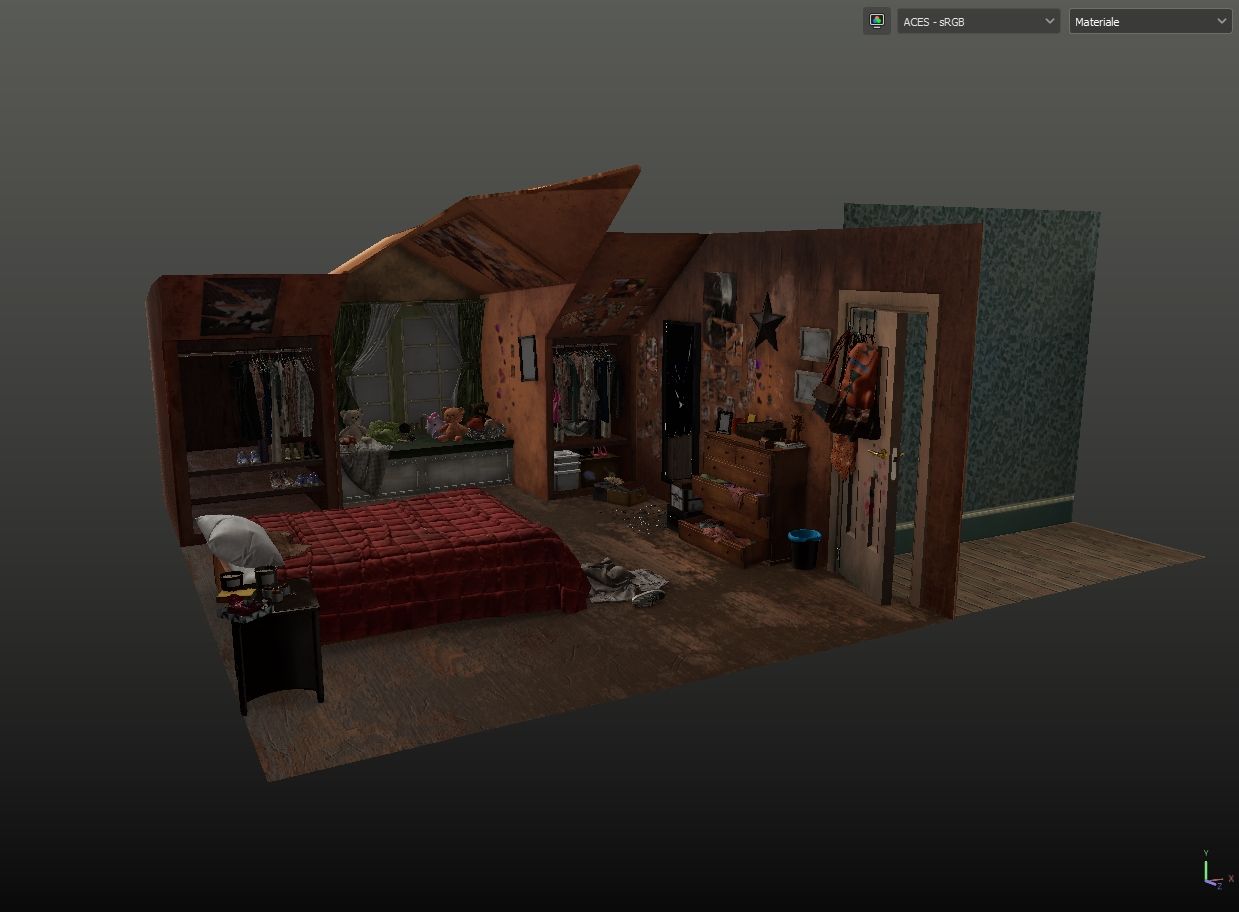
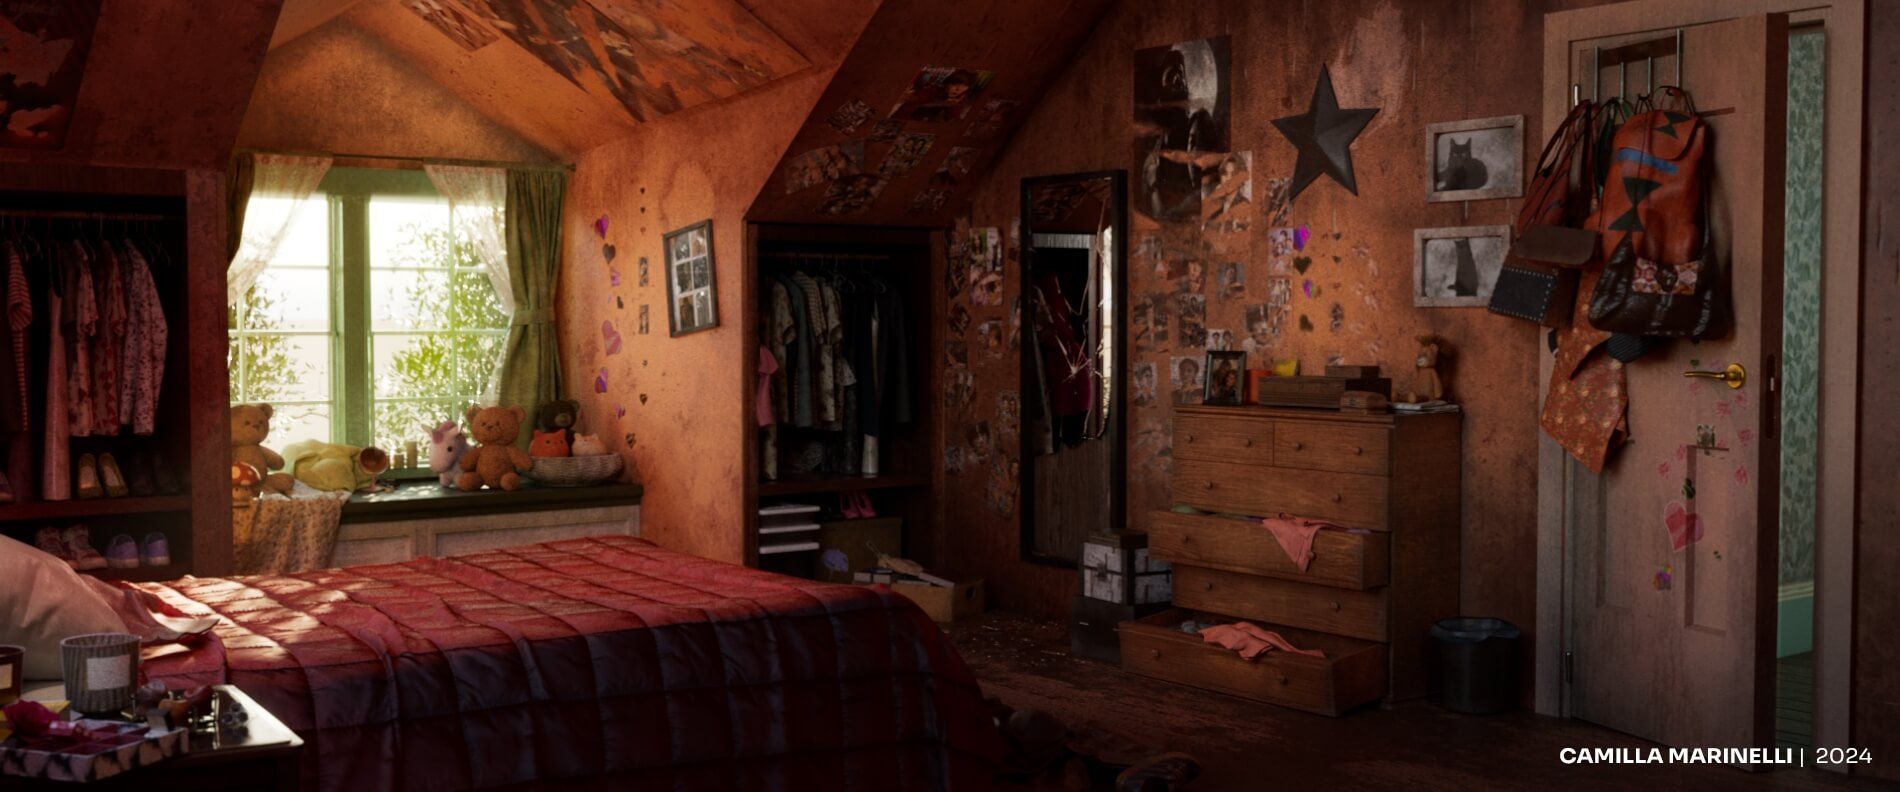
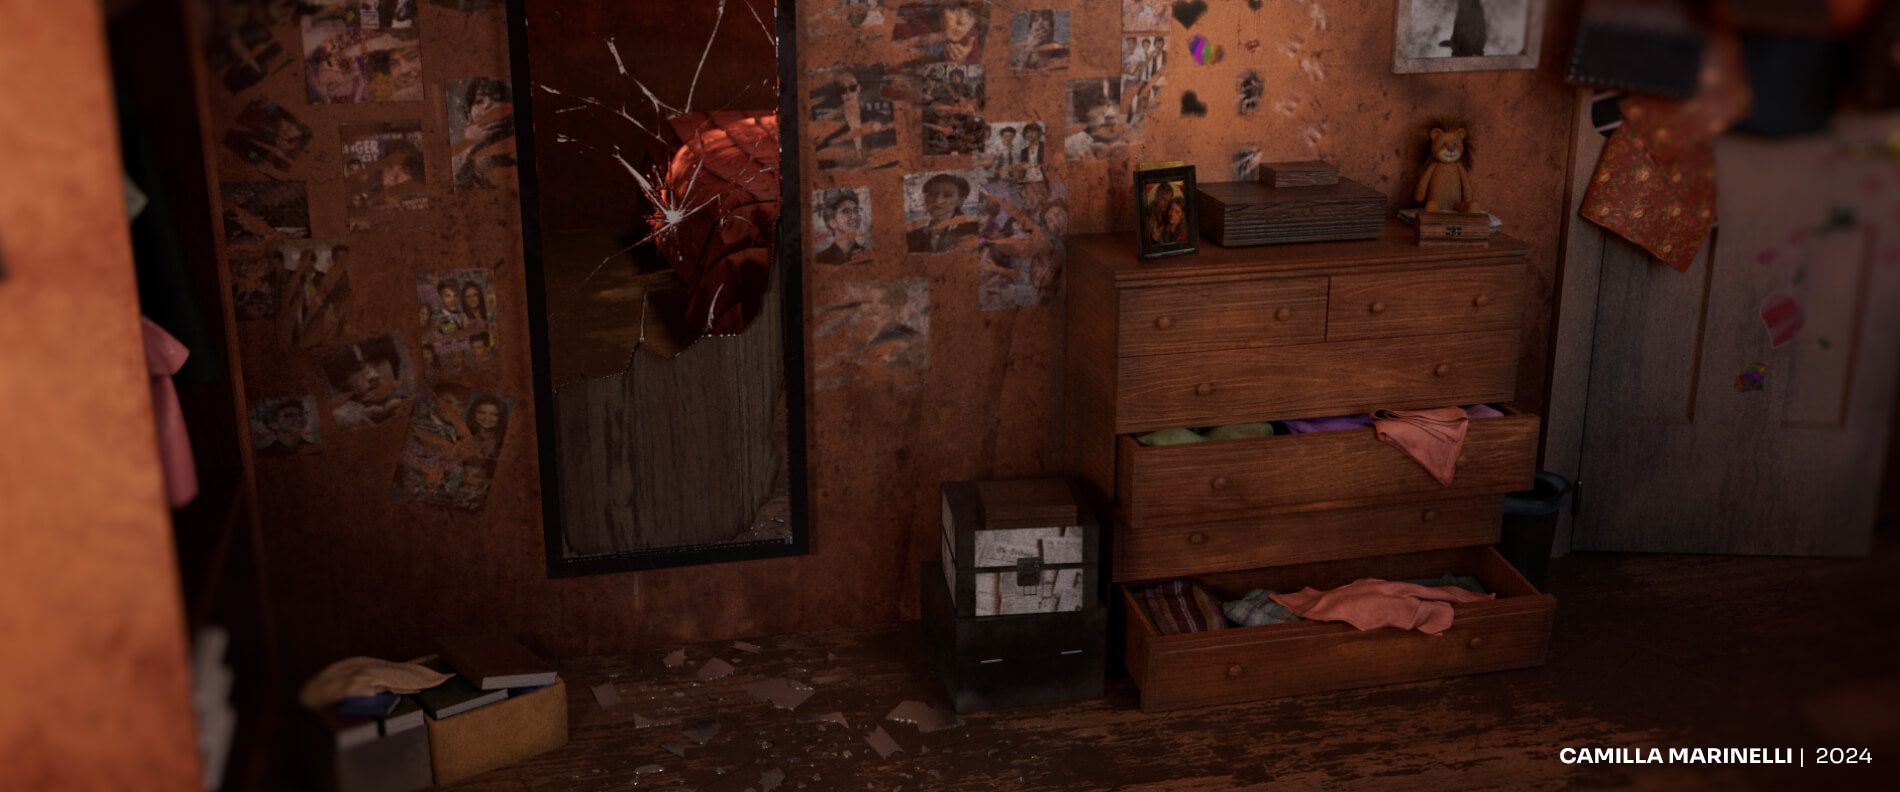
The project I will talk about in this article is "Abandoned Bedroom".
I started working on this project shortly after the end of the Computer Graphics masterclass I attended at Skyup Academy. I am honoured to have received an invitation from The Rookies to share the process behind one of my latest projects with you all!
This is one of the three works I featured in my showreel. Of all of them, this has been the hardest to make, but also the most satisfying to finish. "Abandoned Bedroom" draws inspiration from a concept art that John Sweeney created for "The Last Of Us". The game, which came out in 2013, is an action-adventure game made by Naughty Dog and published by Sony Computer Entertainment.
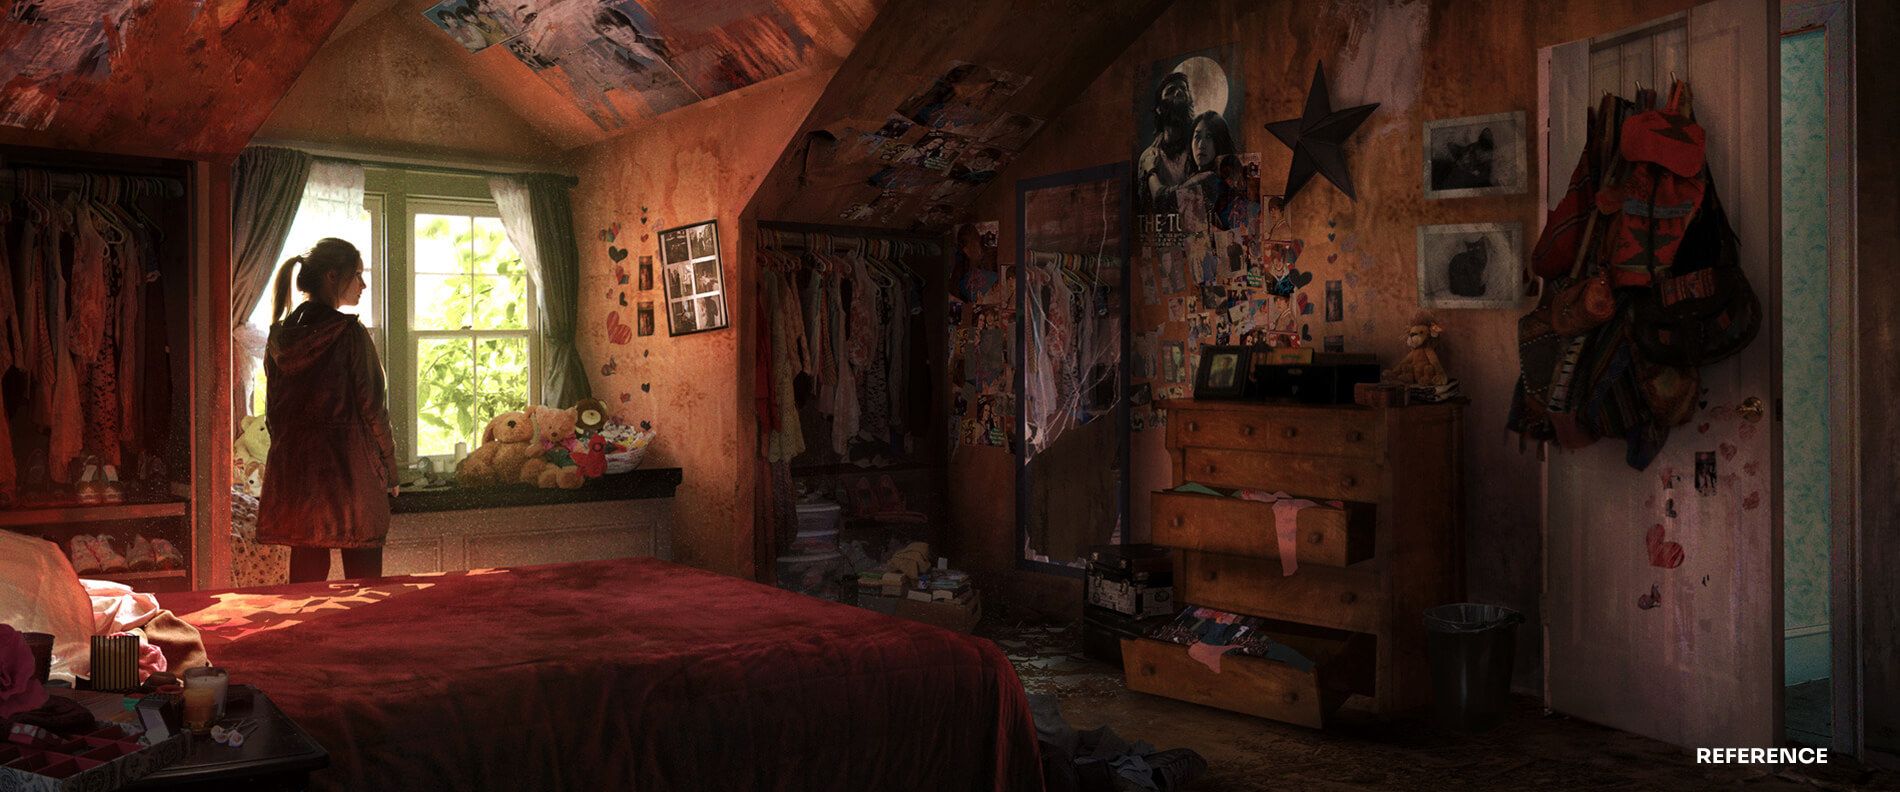
“Lighting played a huge role throughout the creative process on “The Last of Us”. In this piece, I wanted the lighting to feel inviting and illustrate Ellie remembering what life could have been like before the pandemic.”
– John Sweeney, Concept Artist
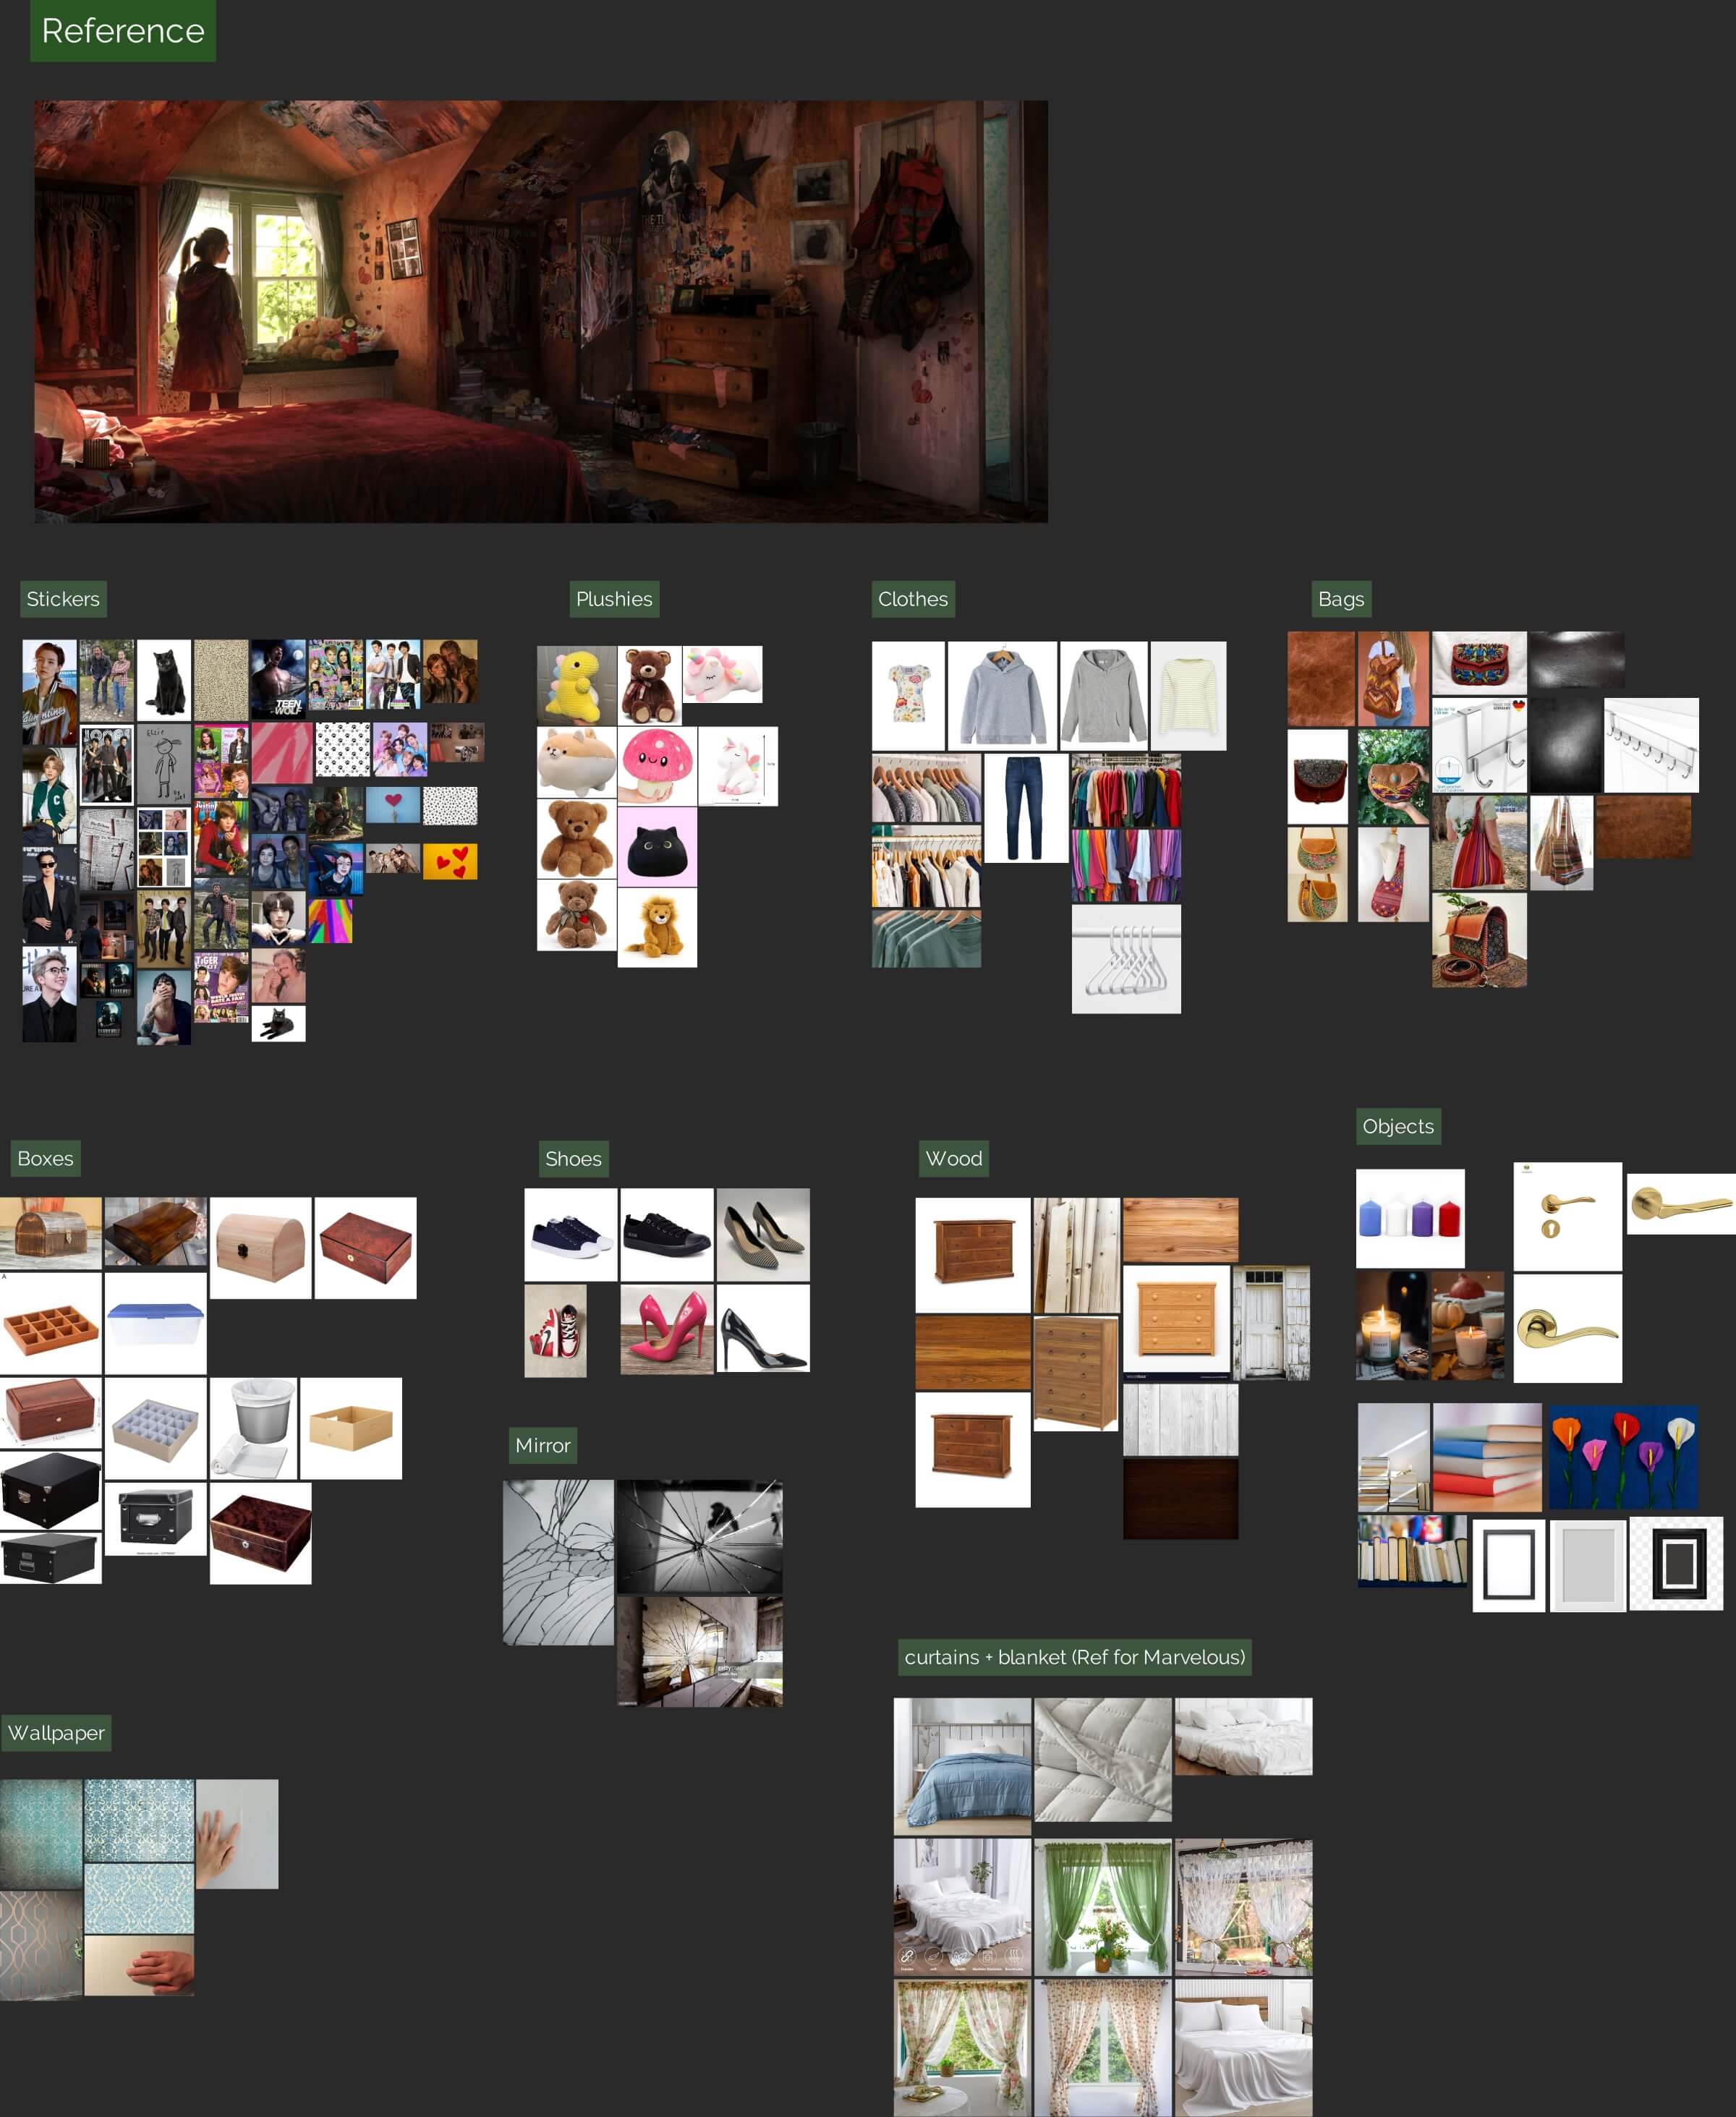
My work process always begins with studying references and collecting images through the use of PureRef.
The source concept was quite complex, as it was full of small details, all of which were fundamental for the final result of the work.
First, I focused on the most relevant objects (e.g., the bed, the drawer, the bags...) and the various materials (e.g., fabrics, wood...). Then I proceeded to collect all the references I needed of the different objects scattered around the room, such as soft toys, frames, containers, books, and much more.
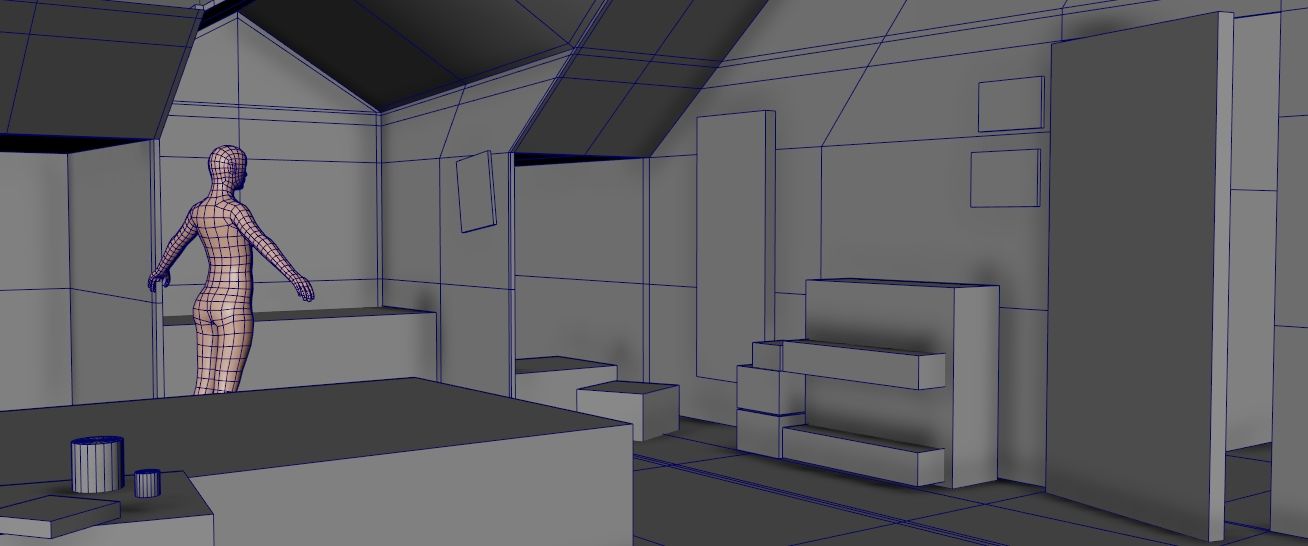
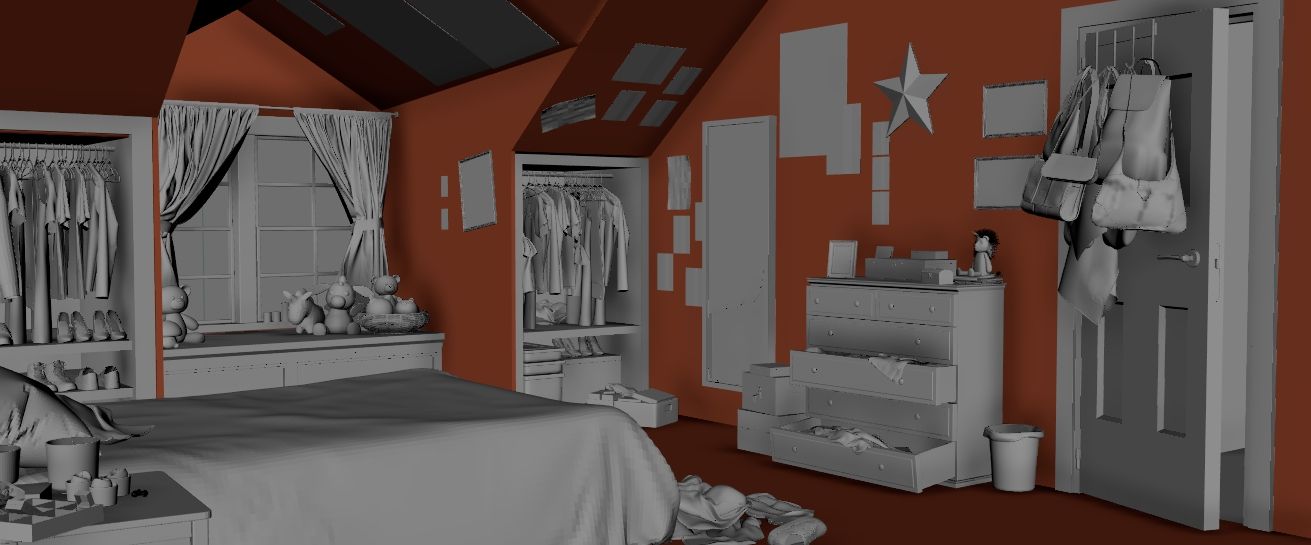
After gathering all the necessary material, I created the scene in Maya.
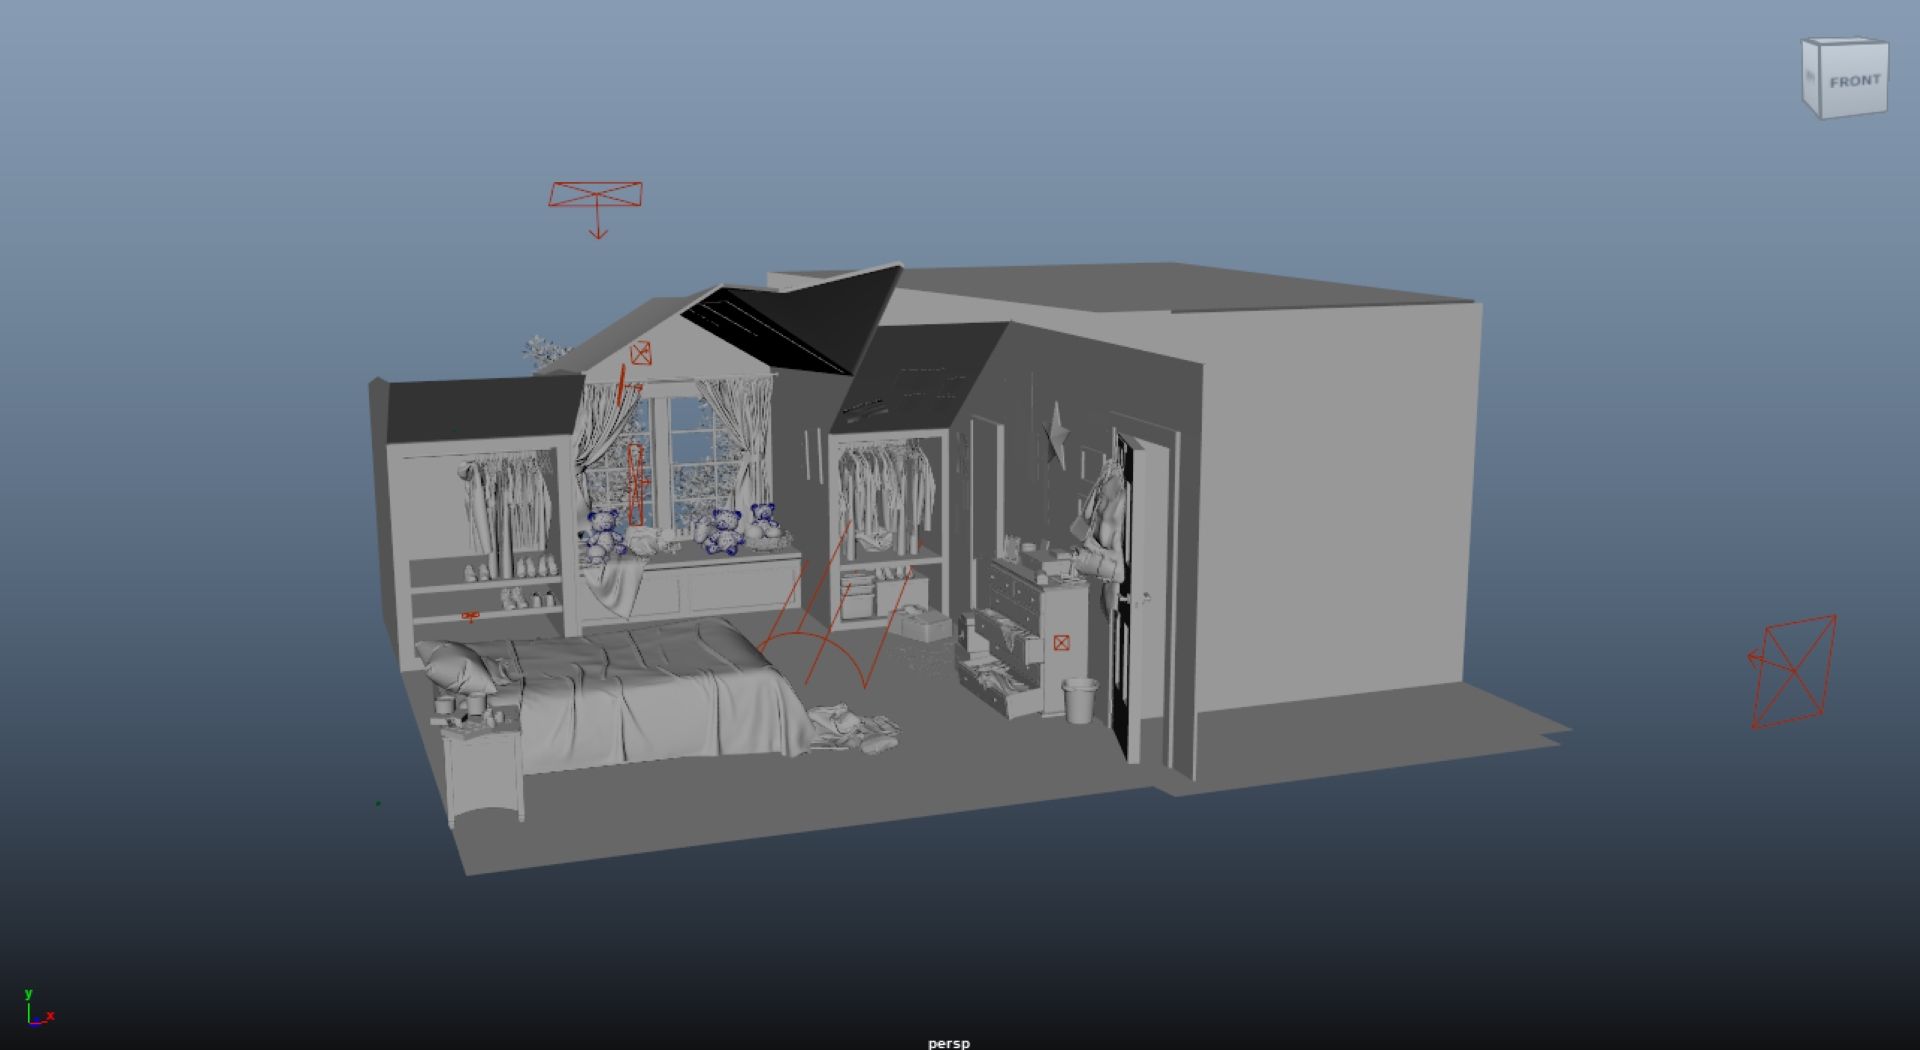
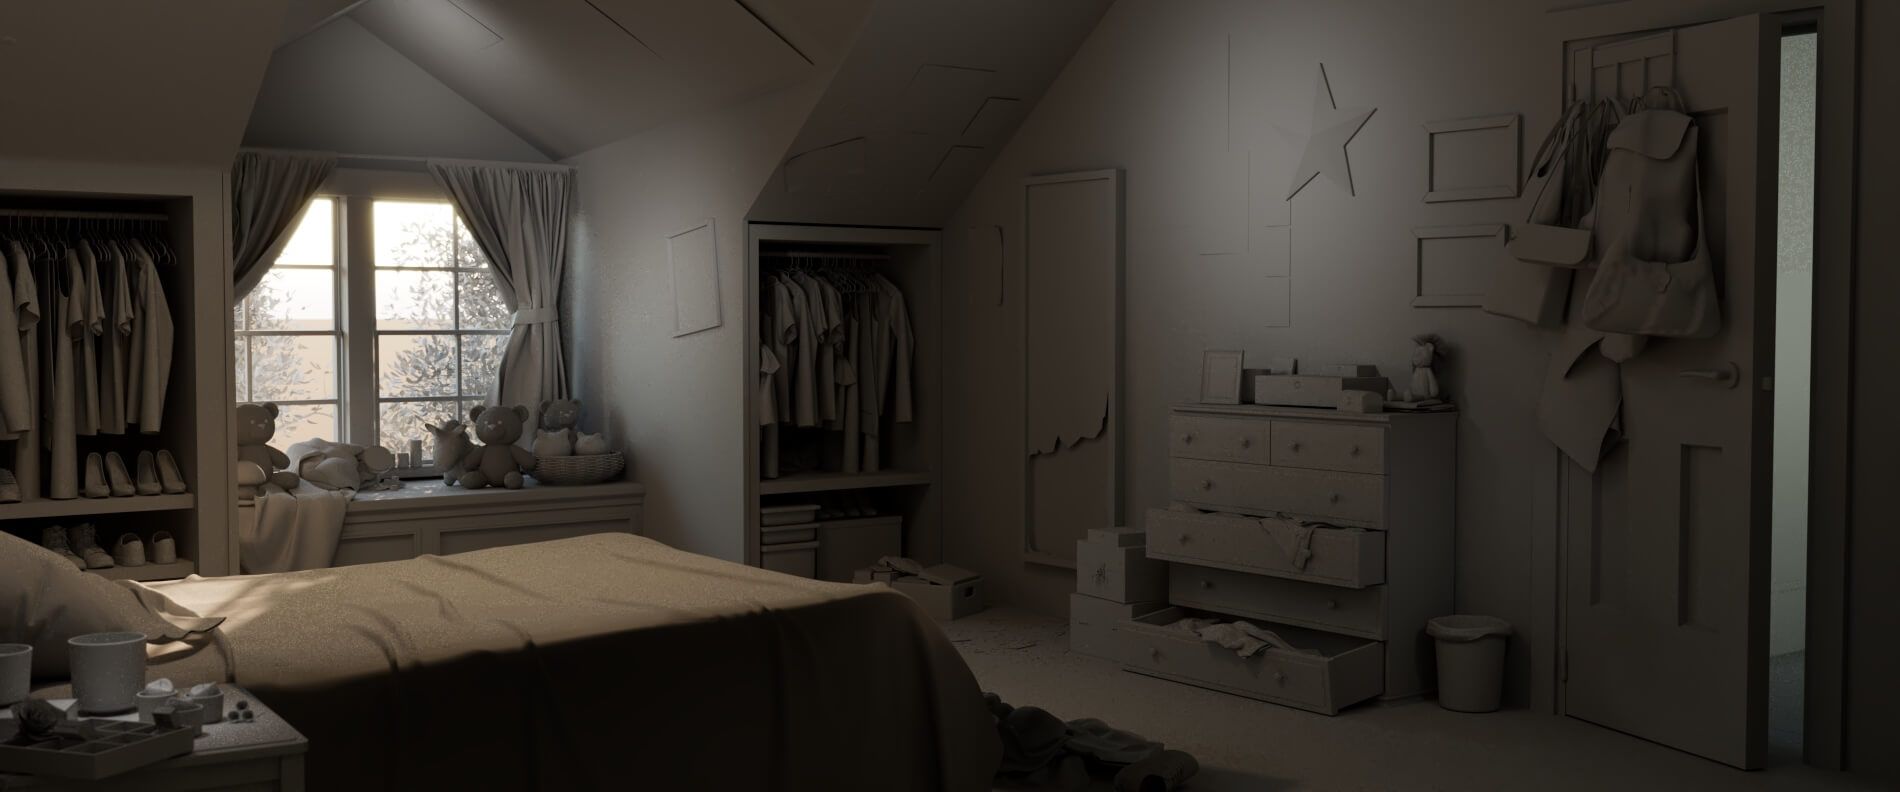
The first thing I did was set up a physical camera, trying to recreate the same perspective and framing as the initial concept. Then I moved on to creating the main structure of the room—the floor and walls. To see if the camera was set up correctly, and to make the set dressing phase easier, I did a quick block out of the scene. Having done that, I moved on to downloading all the assets of the various objects that I would need to assemble the bedroom.
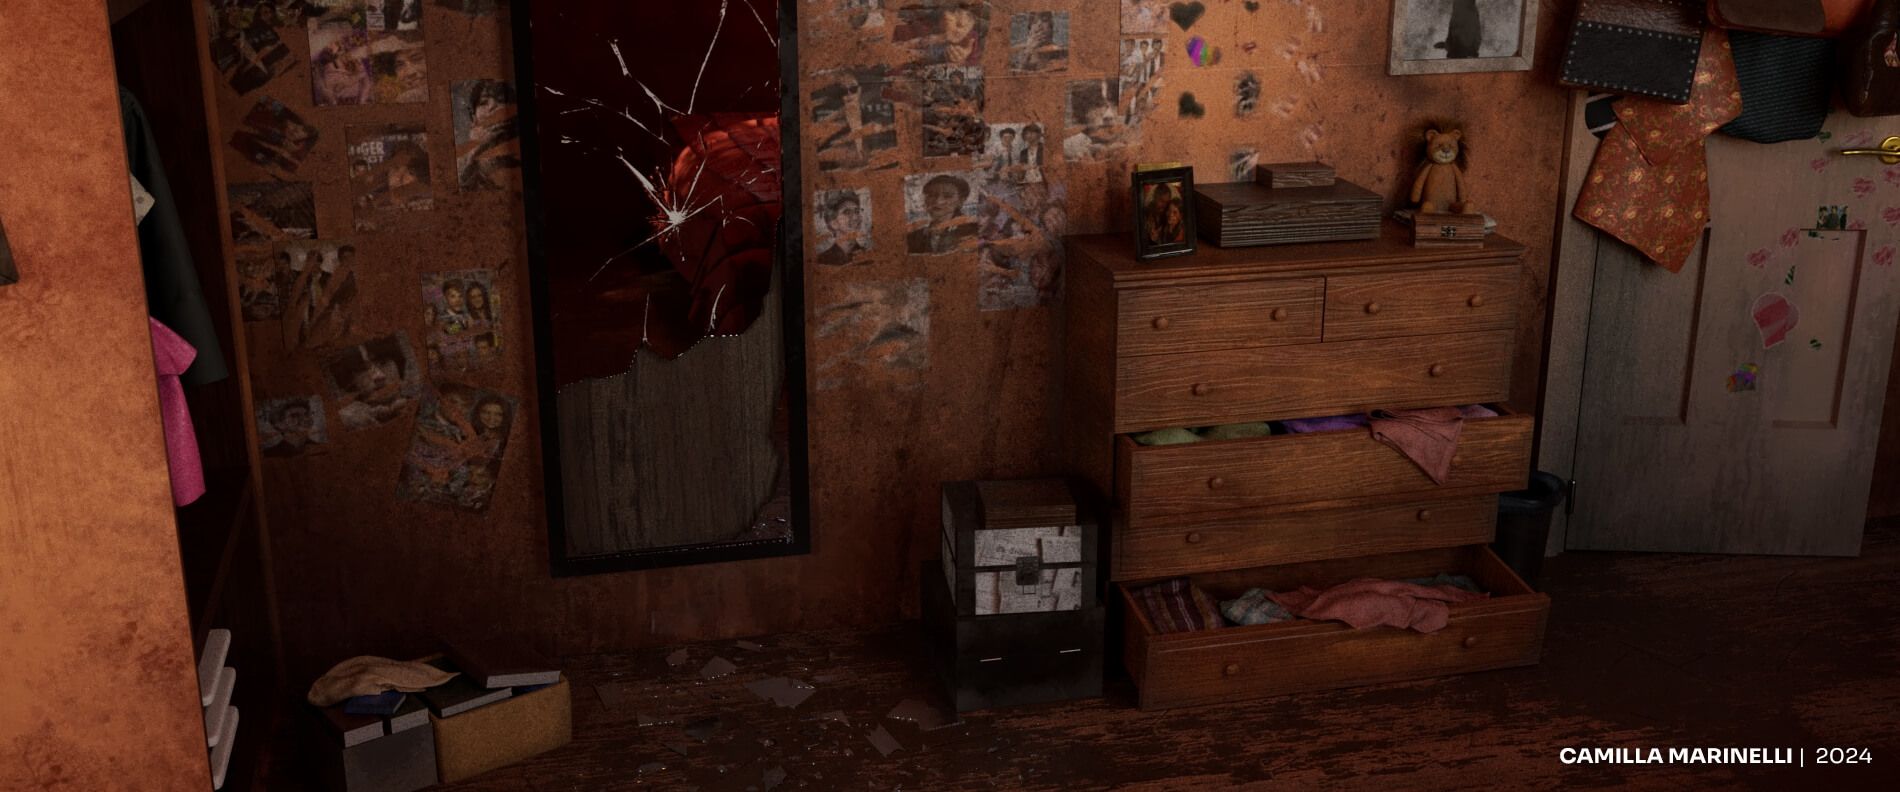
Afterwards, if necessary, I have modified them in Maya to make them as similar as possible to those present in the concept art, for example, the drawer.

Once the room was set up, I started working on the lighting, which I had finalised after putting together all the materials on the scene.
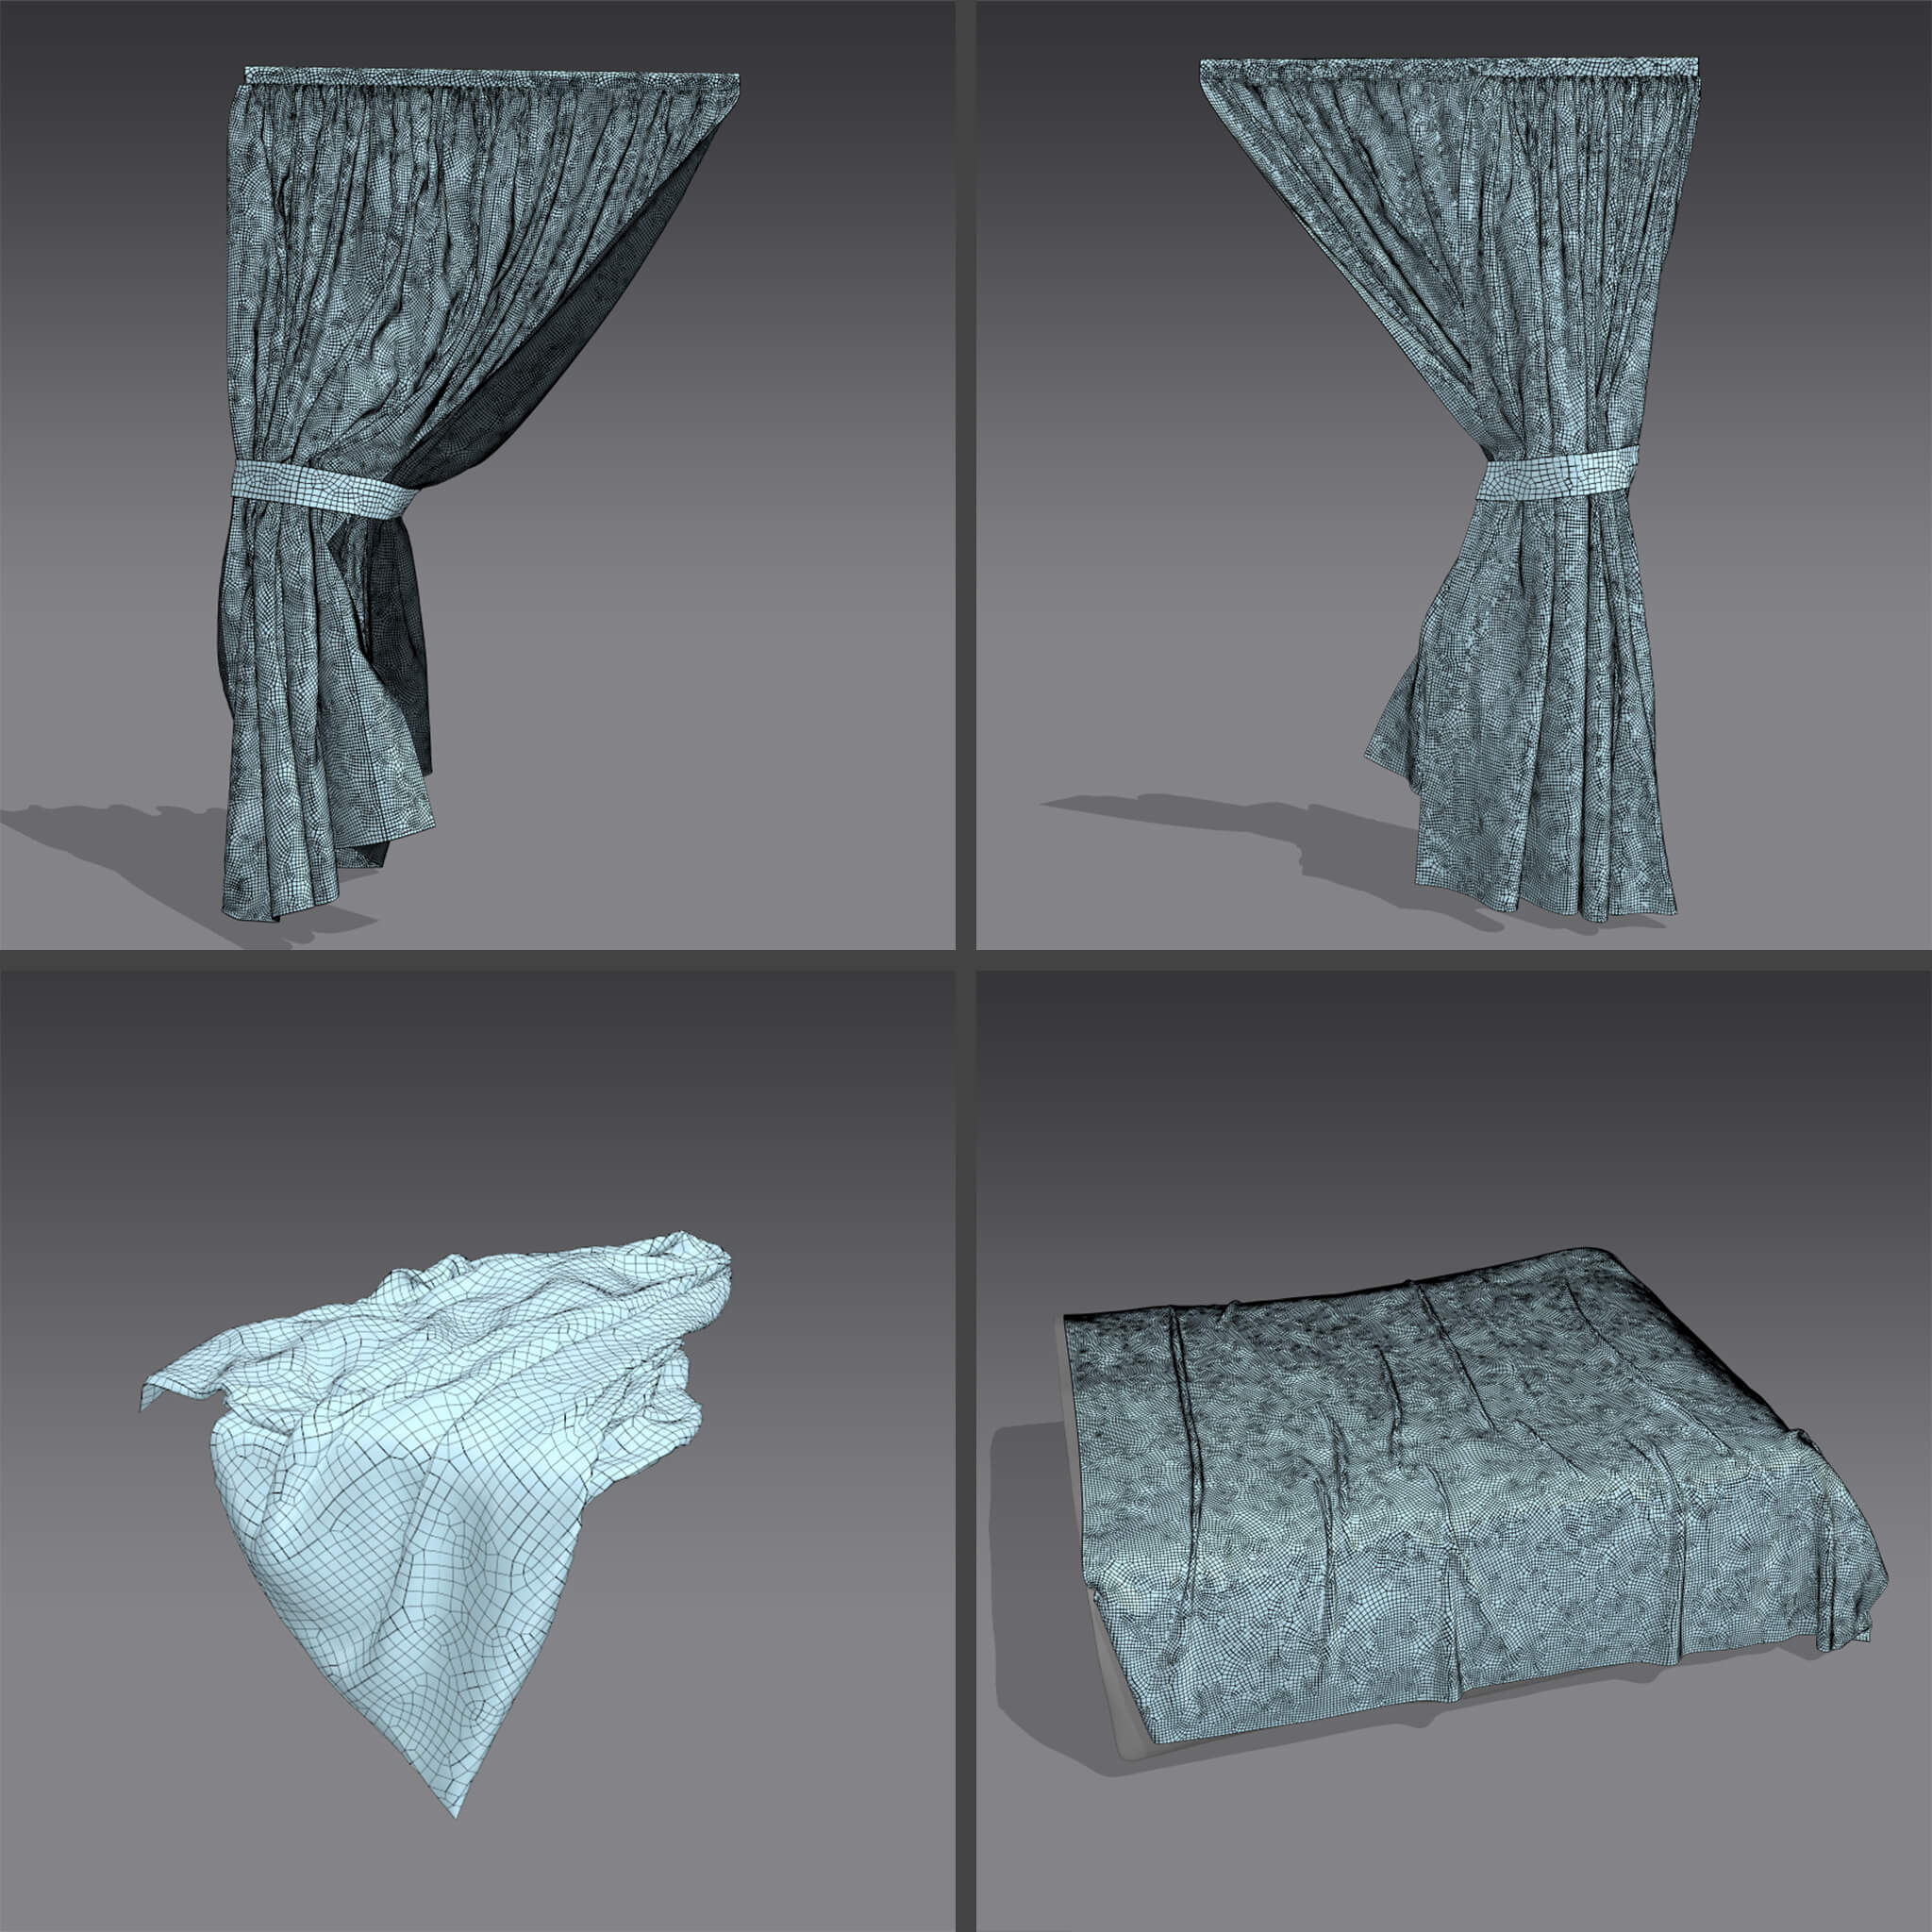
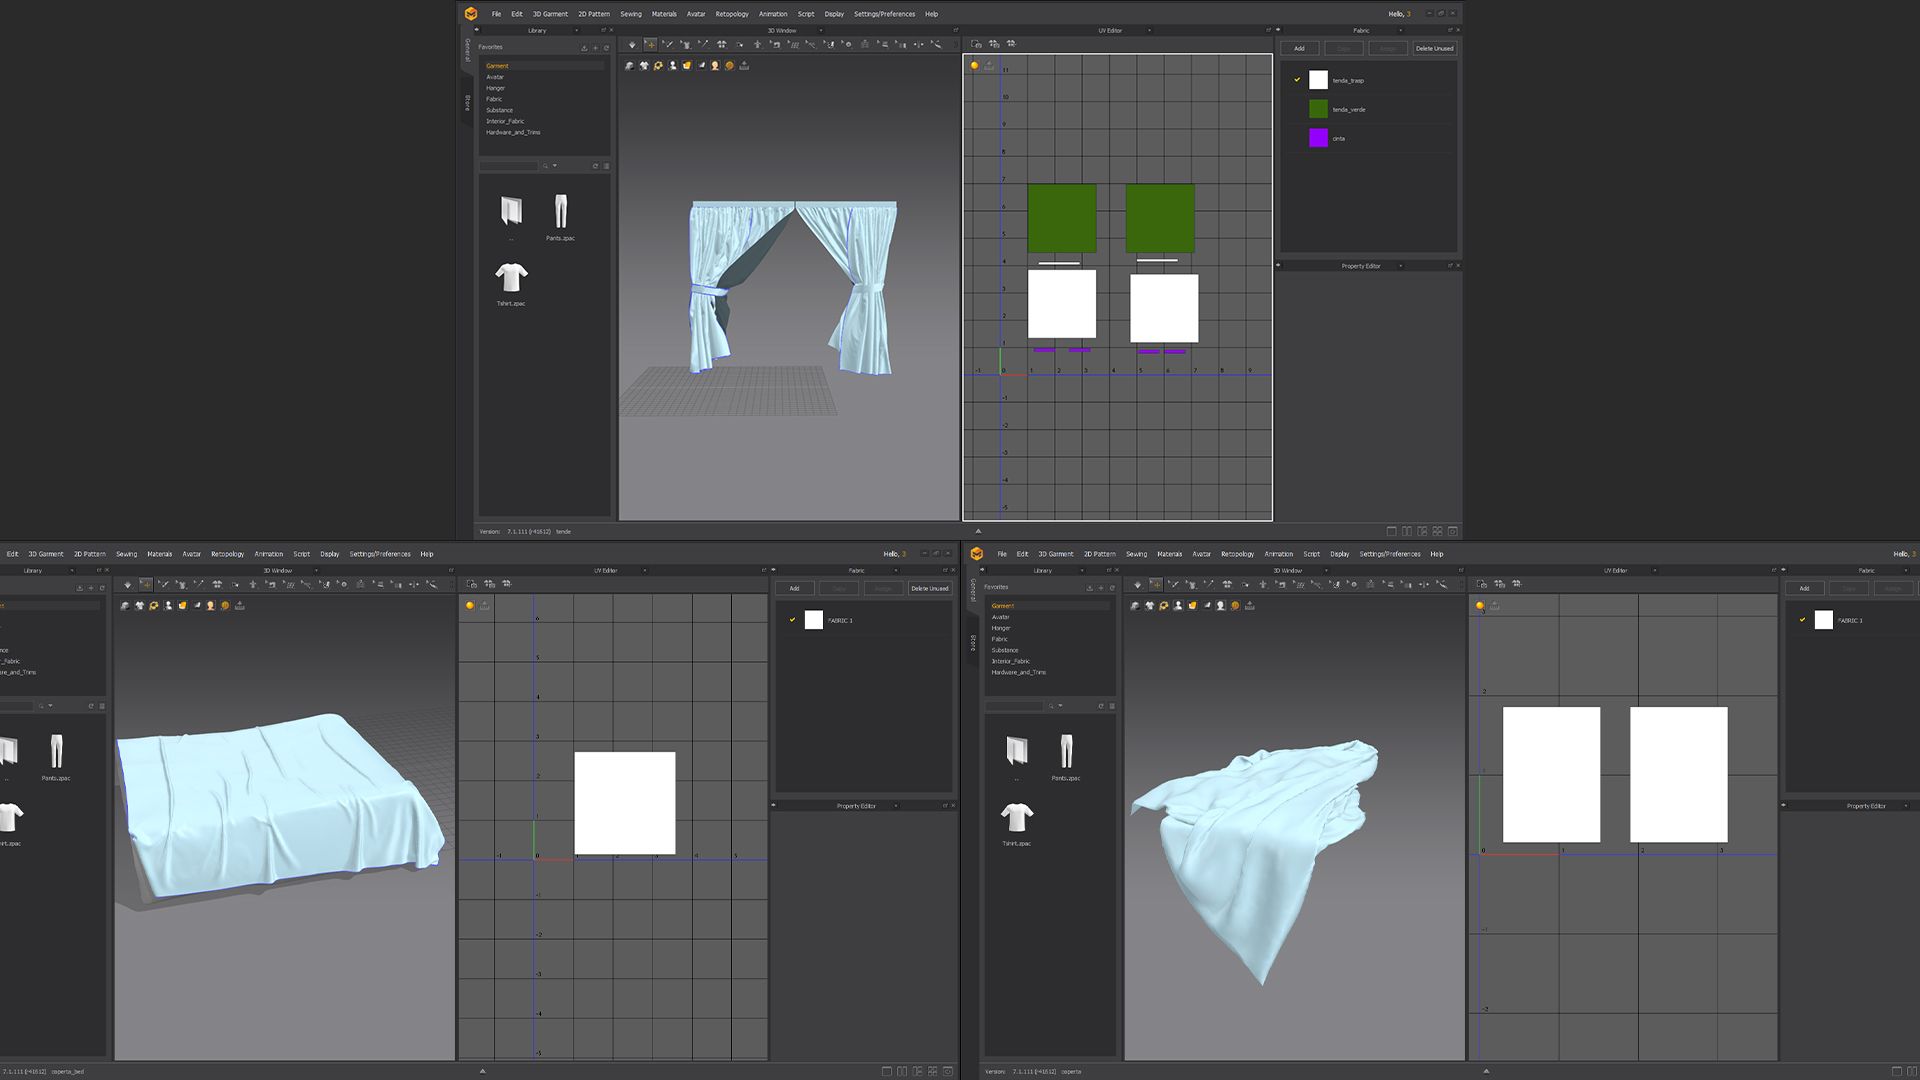
I realised that I could not find any curtains or blankets that I liked. They did not match the reference. So, I decided to recreate them myself. I went to Marvelous Designer and modeled the curtains, the blanket on the bed, and the one near the windows.
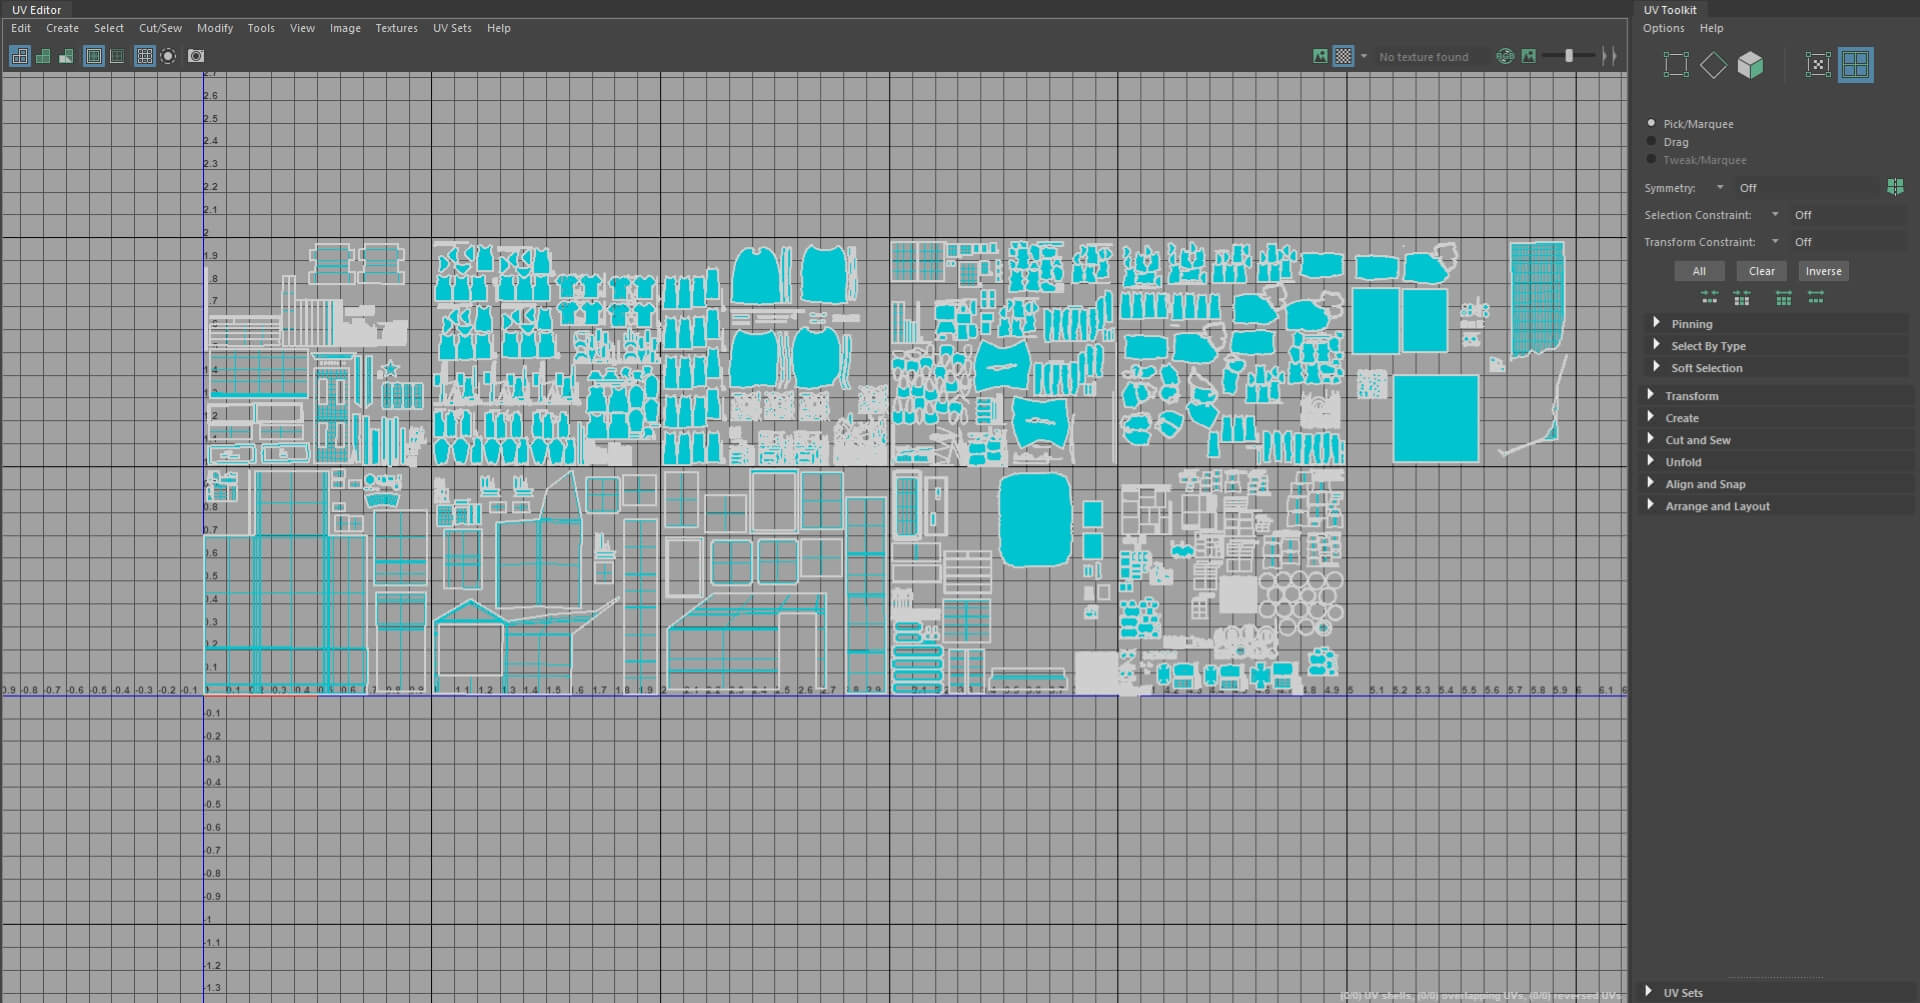
After completing the modeling changes of some of the downloaded assets, I worked on the UVs. UV mapping is a crucial step in the 3D modeling process, as it determines the correct application of textures on the model's surface.
As for the models I created in Marvelous Designer, I made the UVs and organised them directly in the aforementioned software. The others were made or optimised directly in Maya using the "UV Editor" tool.
To guarantee a homogeneous and realistic final result, it is necessary to have a constant and adequate UV density. If some parts have a different UV density, they could look less detailed in the final rendering. If the UV density is too low, they may also be blurry.
For this reason, I tried to keep this aspect constant for all the assets in the scene, increasing or decreasing it only where necessary. I tried to distribute the UVs in the various UDIMs based on the materials I had created before to simplify the texturing phase.
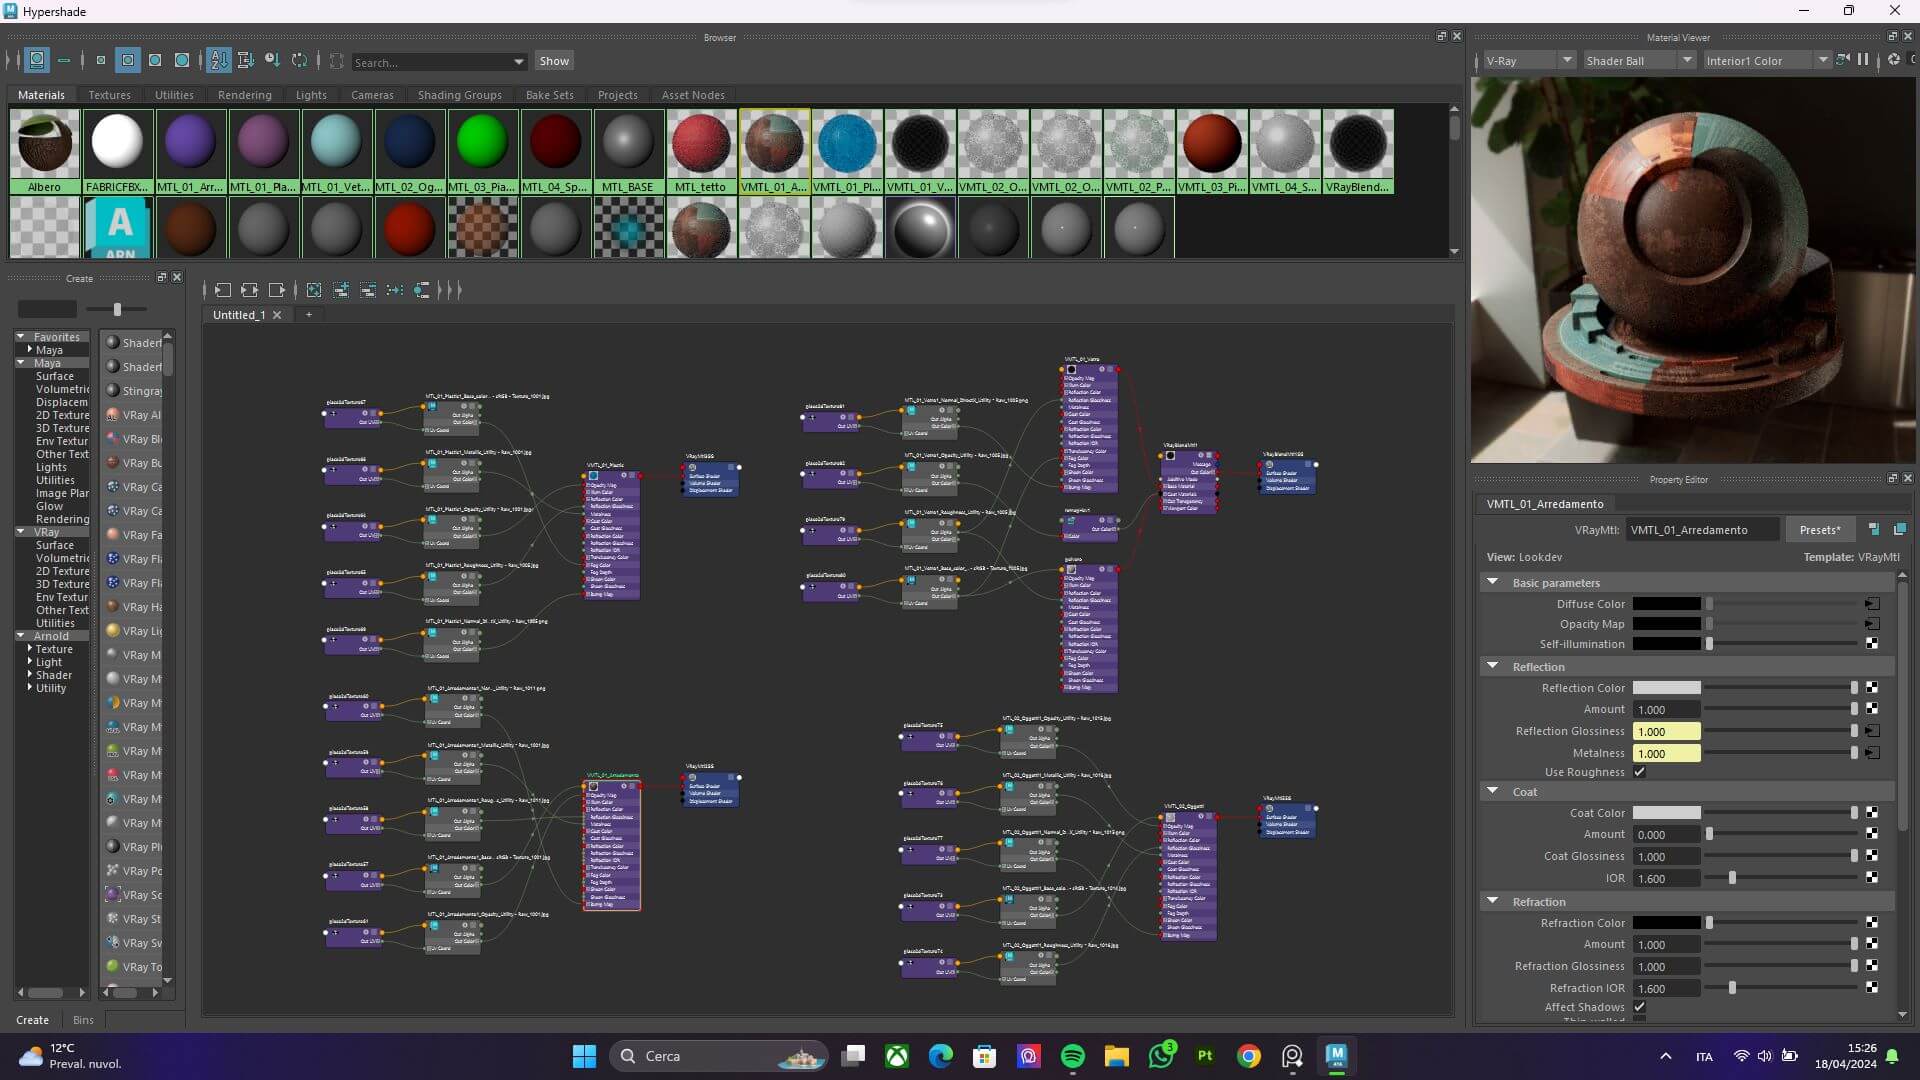
To create the textures, I used Substance 3D Painter. As I already said, before exporting the scene to Maya, I made four main materials (named: Furniture, Objects, Plastic, and Glass). I then assigned them to the various objects. I did this to simplify the texturing process. It also helps to reproduce the look of materials, like glass and plastic.
When you import a model with distinct materials, the software creates a set of textures for each of them. This is helpful because it lets you work on each one alone. You can make specific changes without affecting the other materials. The channels I used were: Base Color, Roughness, Metallic, Normal, Height, and Opacity.
During the texturing process, I created the concept's effects using masks and filters. For each asset, I made a folder and selected the UVs of the object in question. This let me apply effects and masks without changing the other assets. Some posters serve as real assets in the scene, while others, the thinner and more damaged ones, were created directly on Substance.
From there, I then moved on to Maya, where I imported all the textures that had been created and then assembled the previously made materials. For the glass, I realised a blend material between clear glass and dust, to recreate the effect of dirty glass.
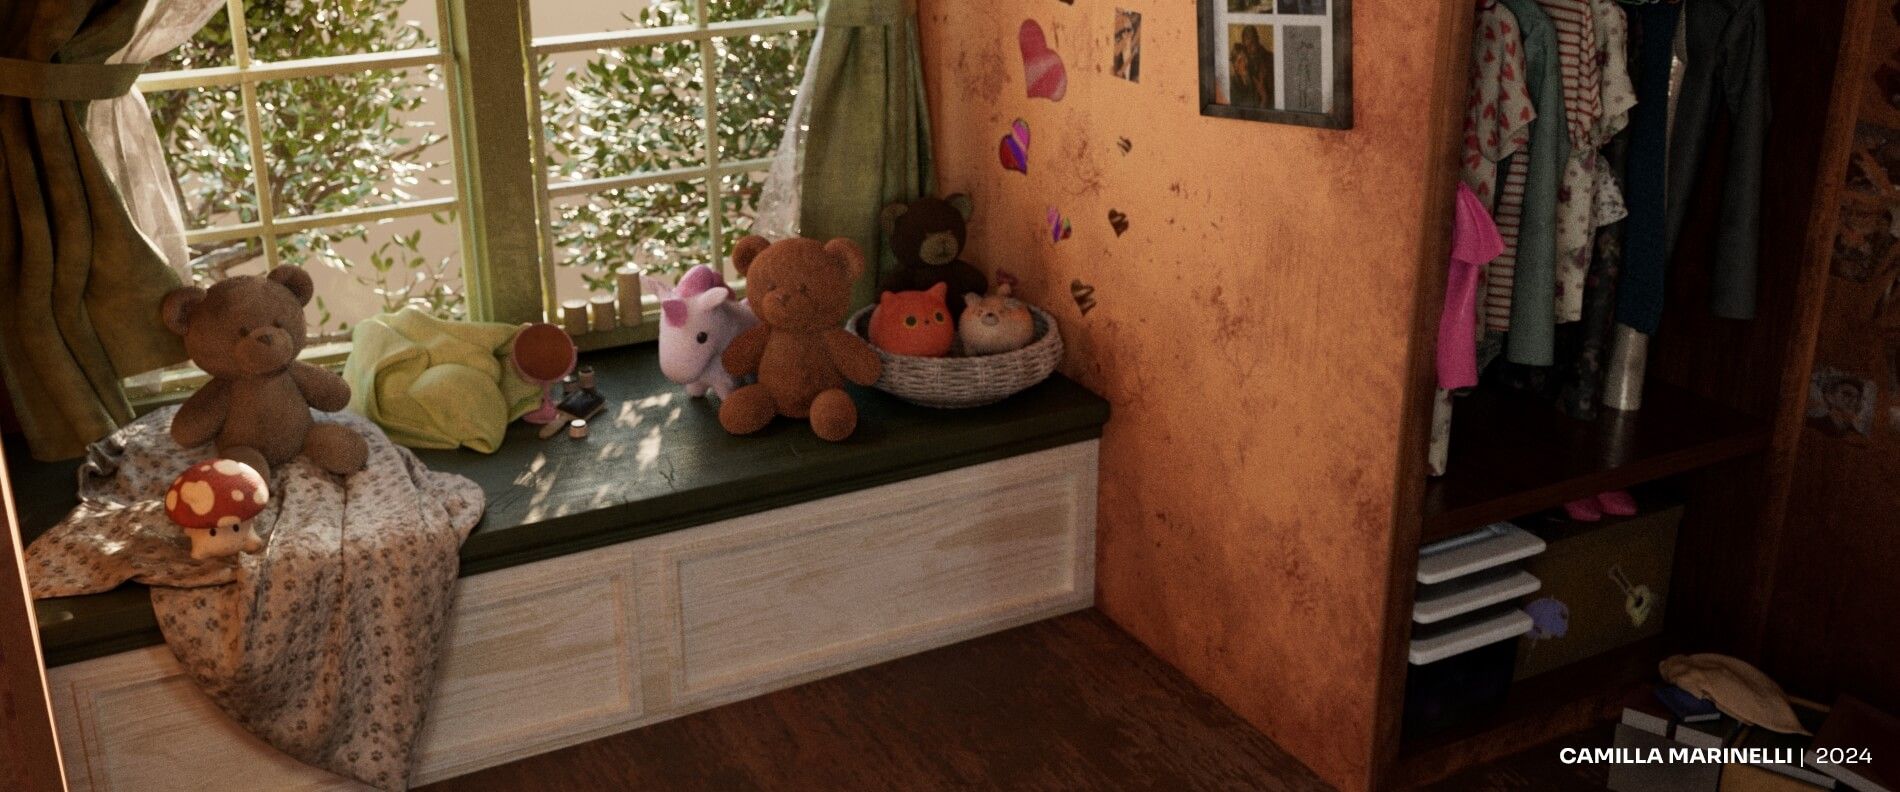
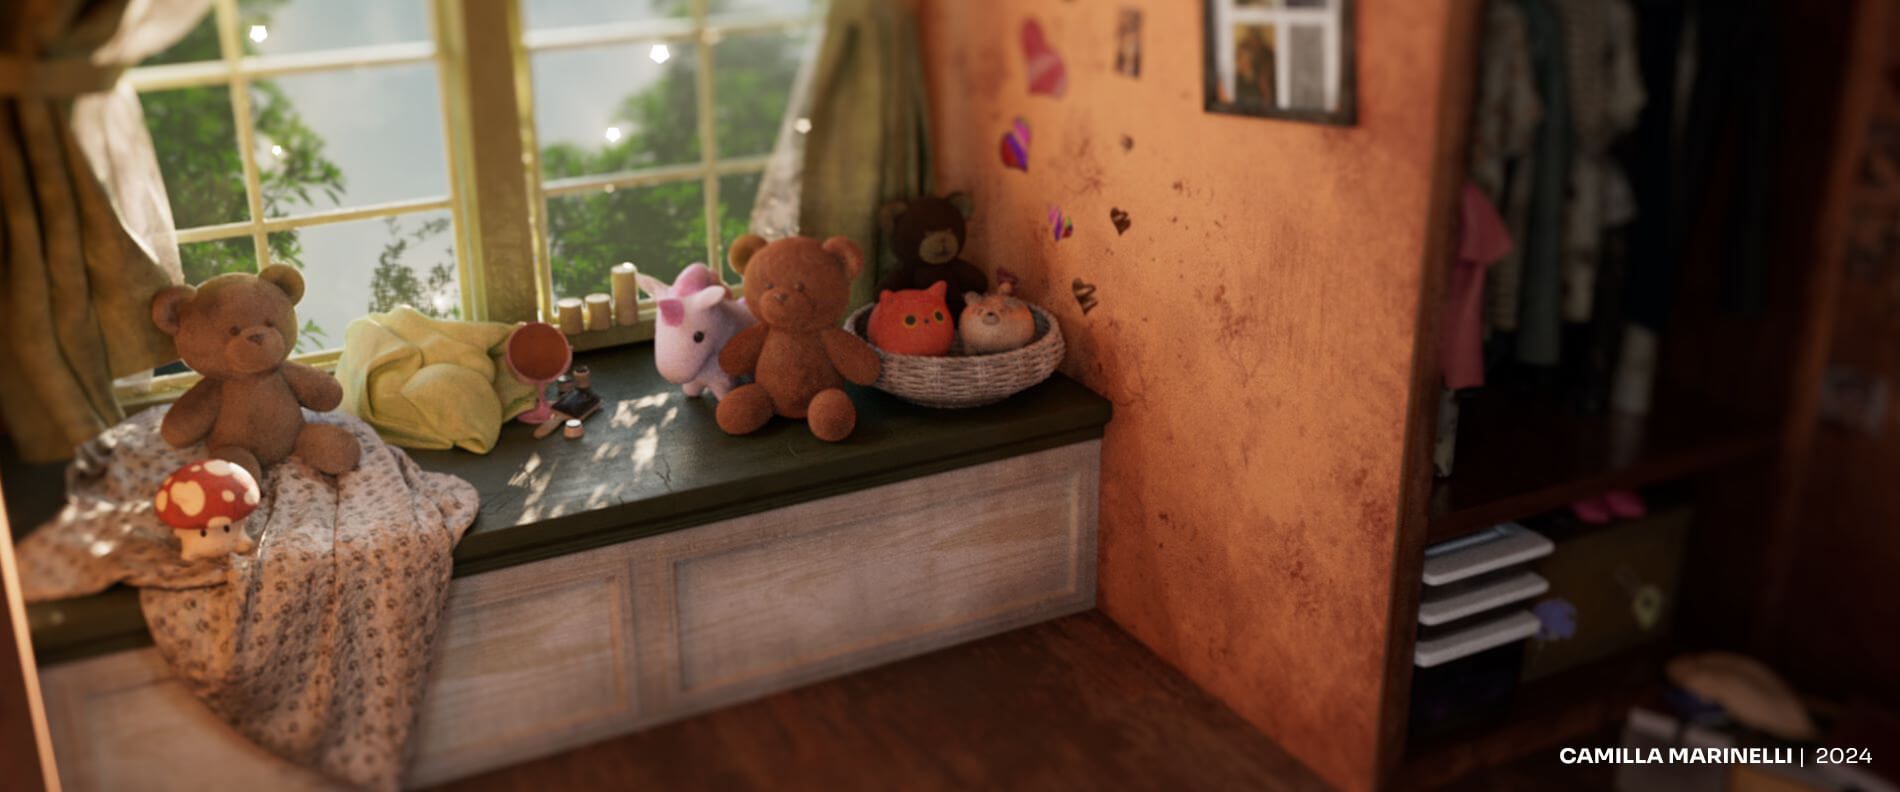
After completing the textures, I took care of the grooming of the plush toys near the window of the room. To do this, I used Maya's VrayFur. Having different types of plushies, I created two main furs. One for the teddy bears, who have richer, denser fur, and one for the other stuffed animals, who have thinner, shorter fur.
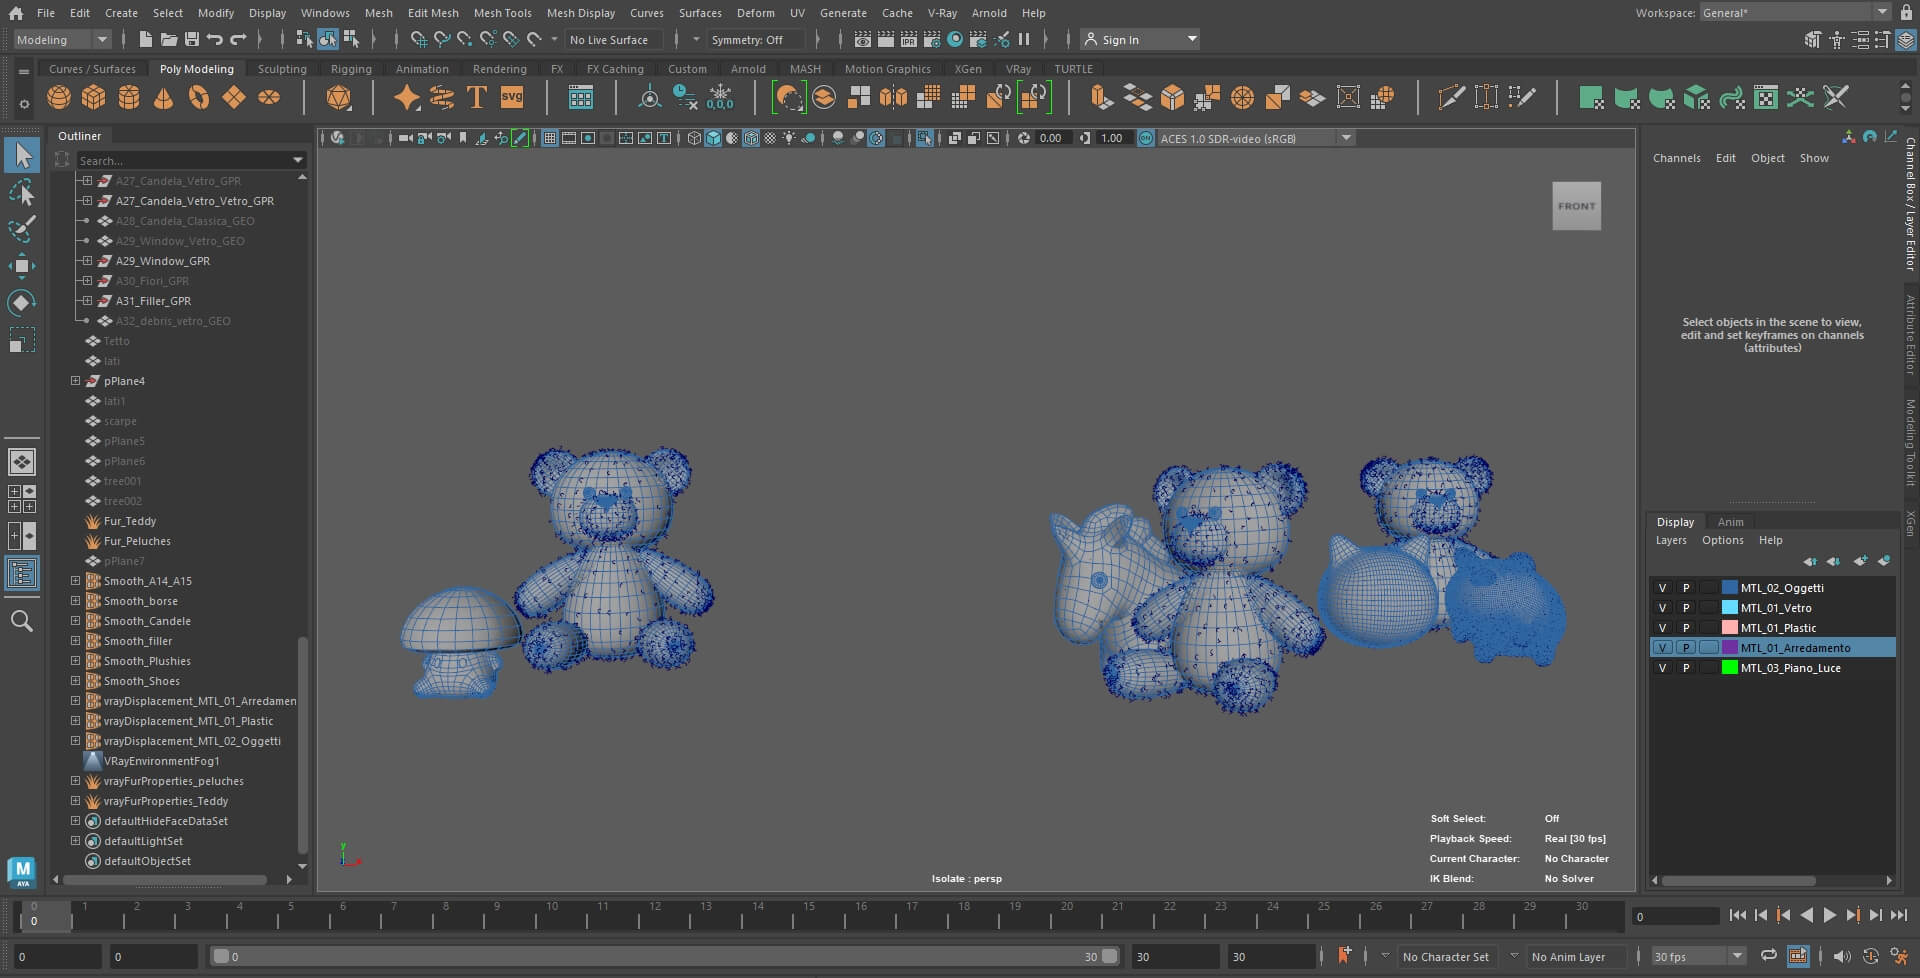
For both types, I started by setting the "basic parameters" (e.g., length, thickness, gravity...) that I considered appropriate for the final result I wanted to obtain. To make everything more realistic, I then moved on to modify the "variance" parameters (e.g., direction variance, length variance...). Finally I set the "distribution" ones. As for the fur of the teddy bears, I also changed the parameters of "curl".
For lighting and rendering, I used VRay in Maya. Vray offers different types of lights. Since mine is a room illuminated by sunlight, to recreate the same lighting as the initial concept I had two choices.
The first option was to use a VrayDomeLight. This provides global illumination and simulates the light of the sky and the surrounding environment thanks to the use of HDRI.
The second option instead was to use the VraySunLight. This works together with VRaySky and reproduces the real-life Sun and Sky environment of the Earth. These are coded to change appearance depending on the direction of the VRaySun.
After several tests with both methods, I opted to use the VraySun and as the sky model I chose the PRG Clear Sky.
Besides the sunlight, I recreated the interior lighting with various RectLights.
I added the VRayEnvironmentFog to make the scene more realistic. It is an atmospheric effect that allows the simulation of participating media like fog and dust. With the correct final lighting, I returned to Substance to change the texturing where needed and then moved onto the rendering phase.
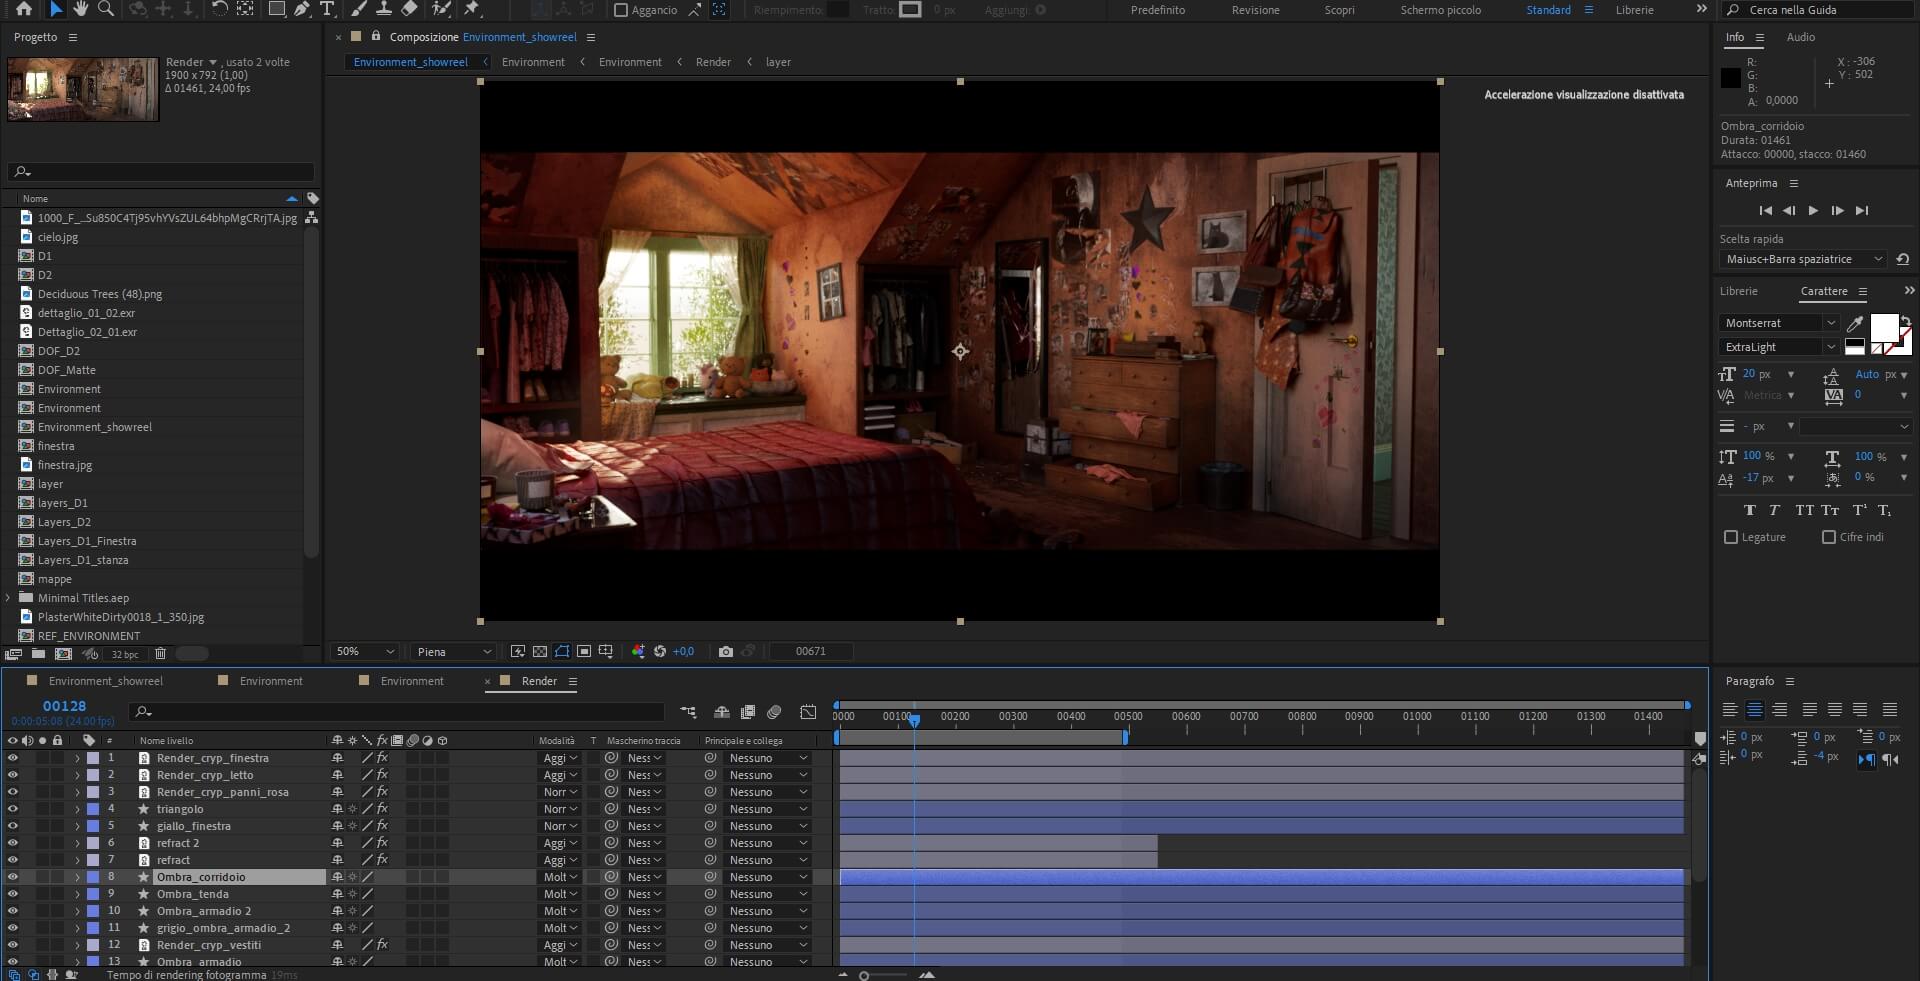
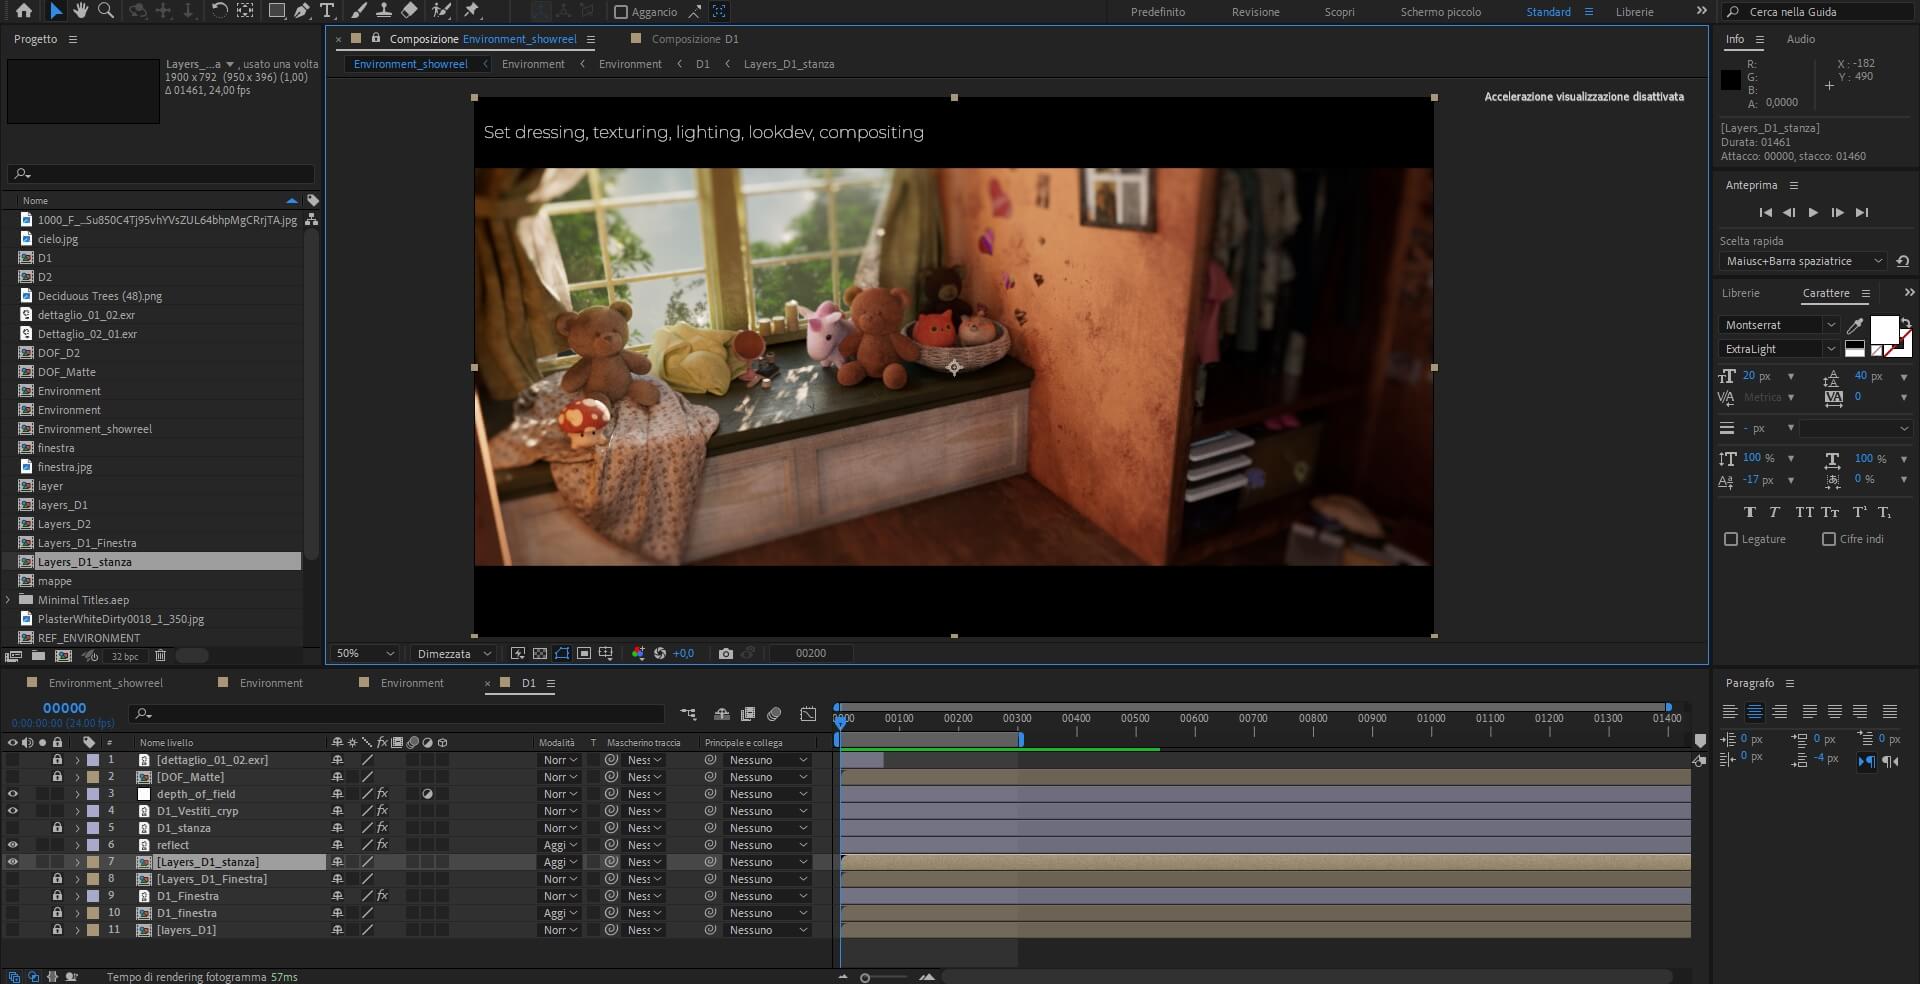
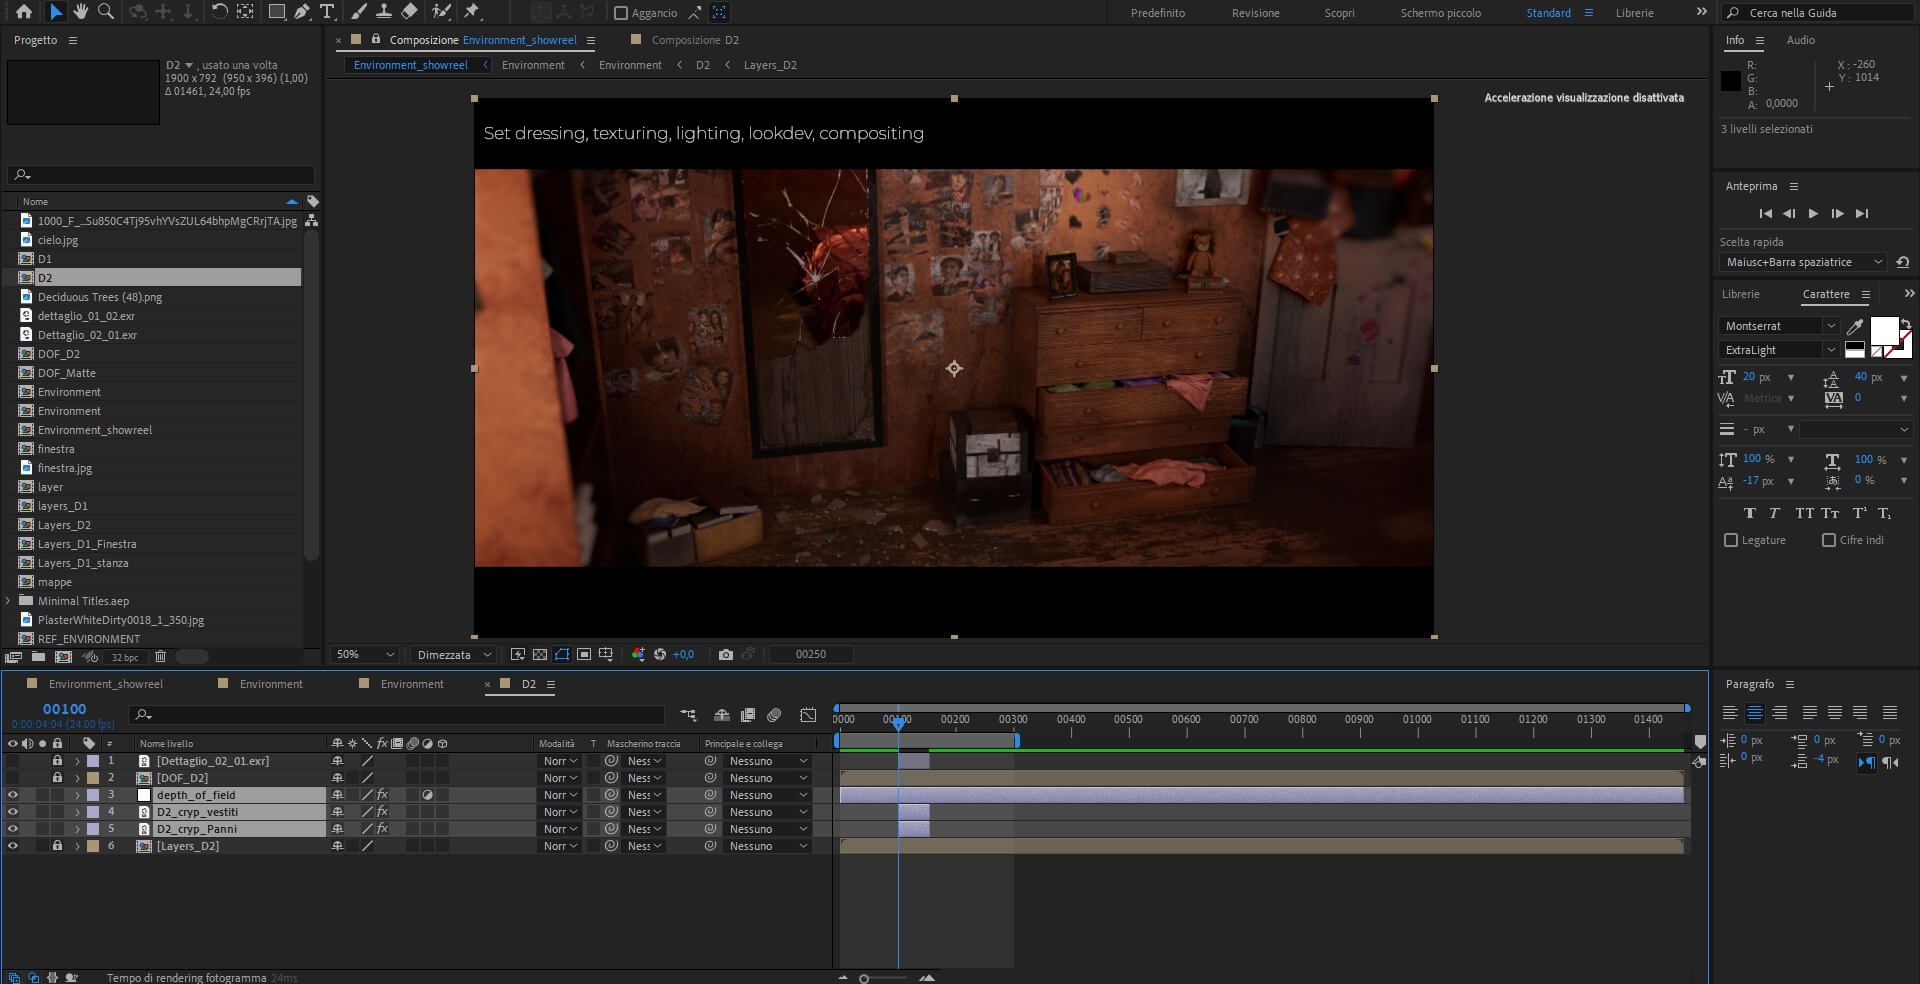
After finishing rendering, I moved on to the compositing phase, all done in Adobe After Effects.
I made some small changes to arrive at a final result that was as similar as possible to the original concept.

As I said at the start, among the many projects I have made, this was the most complex. But, it was also the most satisfying to see finished.
This project had many challenges. But it gave me valuable insights. They helped me grow technically and artistically. I stepped out of my comfort zone and put myself to the test. It was a long but very fun journey!
I thank those who supported and assisted me. I also thank The Rookies' staff for this great opportunity. I also thank everyone who took the time to read this article. I hope you liked it!
If you are curious to see my other projects, feel free to check out my Rookies profile! Here you can also find my Instagram and my ArtStation profile!