
This project started as one of my negotiated assignments where I aimed to develop my generalist skills. This was an individual project where I aimed to produce a 25-30 second video that would realistically integrate CG elements into a live action plate.
Planning / Research
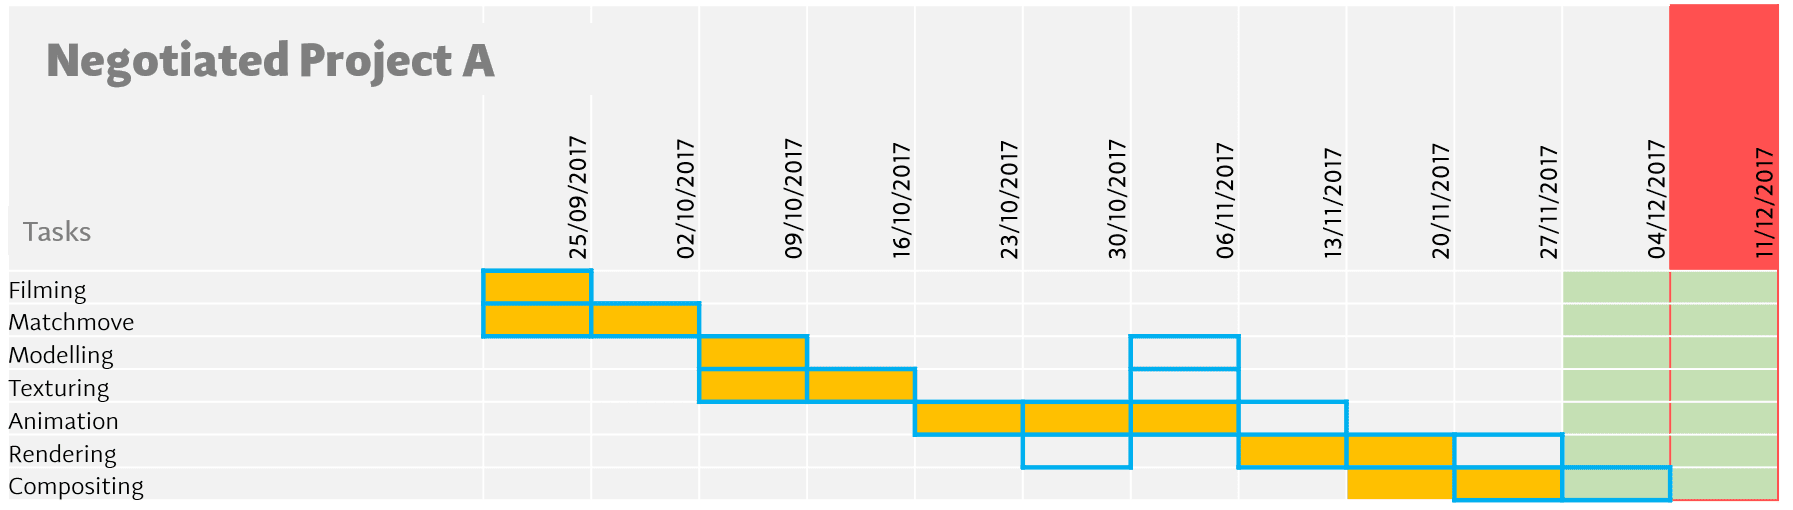
I broke the project down into the key pipeline areas: Matchmove, Modelling, Texturing, Animation, Lighting & Rendering, and Compositing. This allowed me to create a Gantt Chart to keep on track and manage my time efficiently.
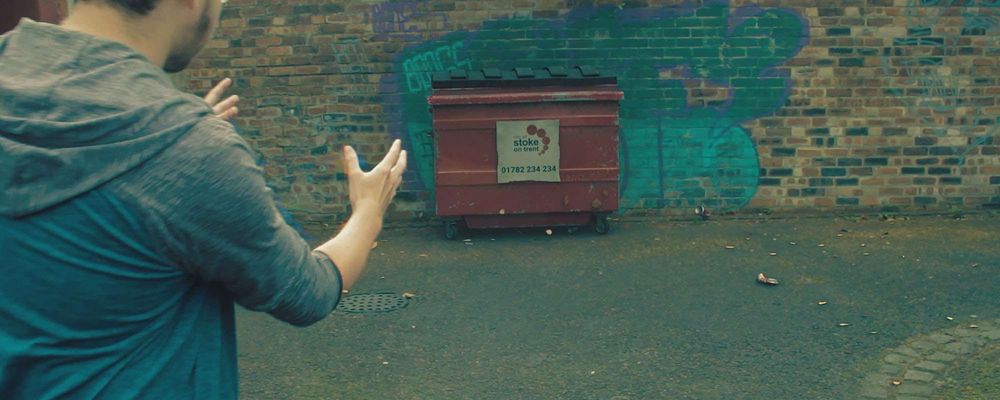
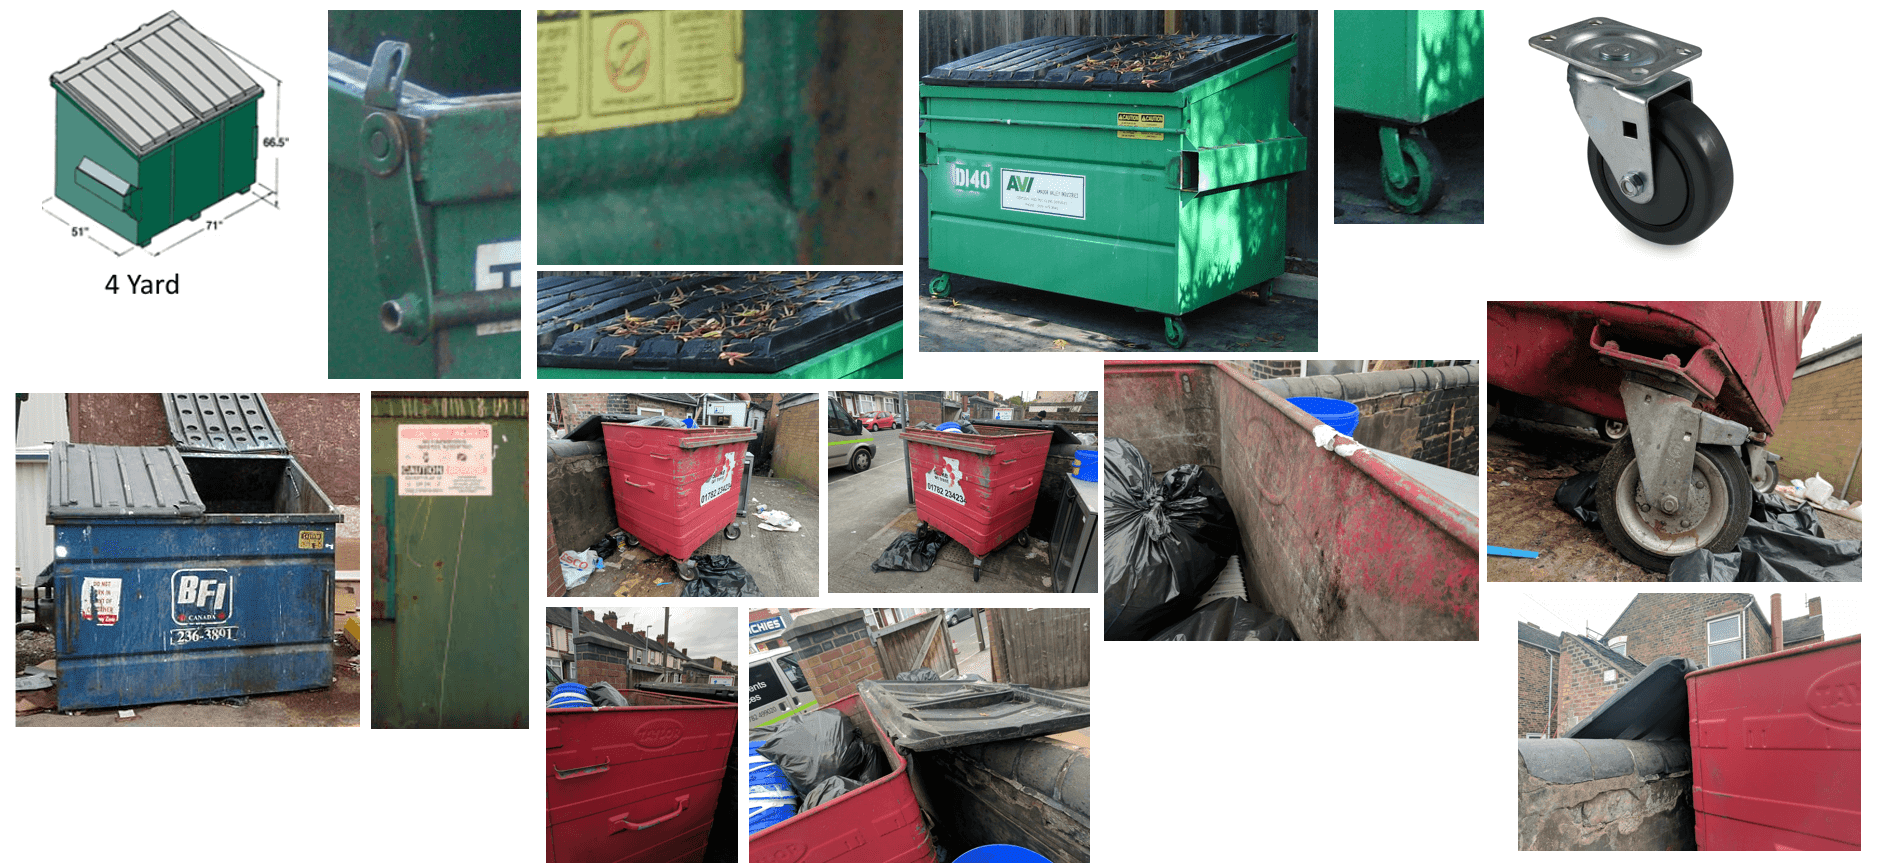
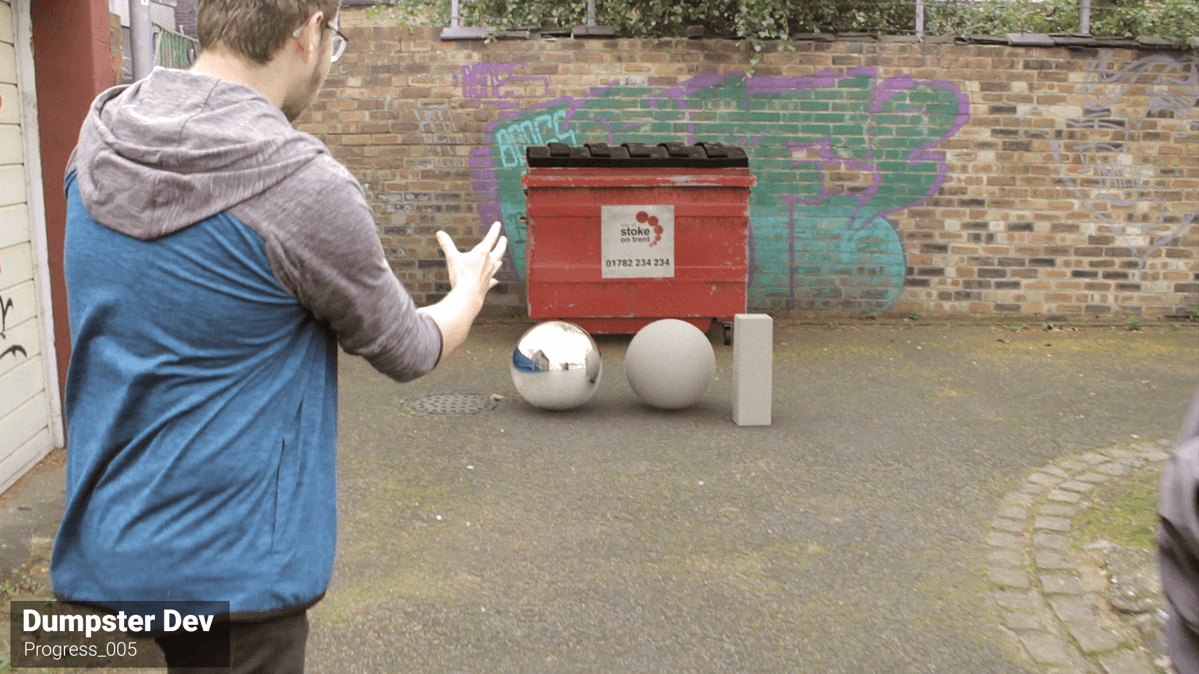
The idea I came up with was a video of a guy with telekinesis powers showing off to his friend by crushing a dumpster with his mind. A simple concept, however, this would allow me to focus on learning the new skills required to pull this off, without being over-ambitious.To understand the shape and texture qualities of Dumpsters before I began to model I gathered a bunch of references from different angles
Matchmove
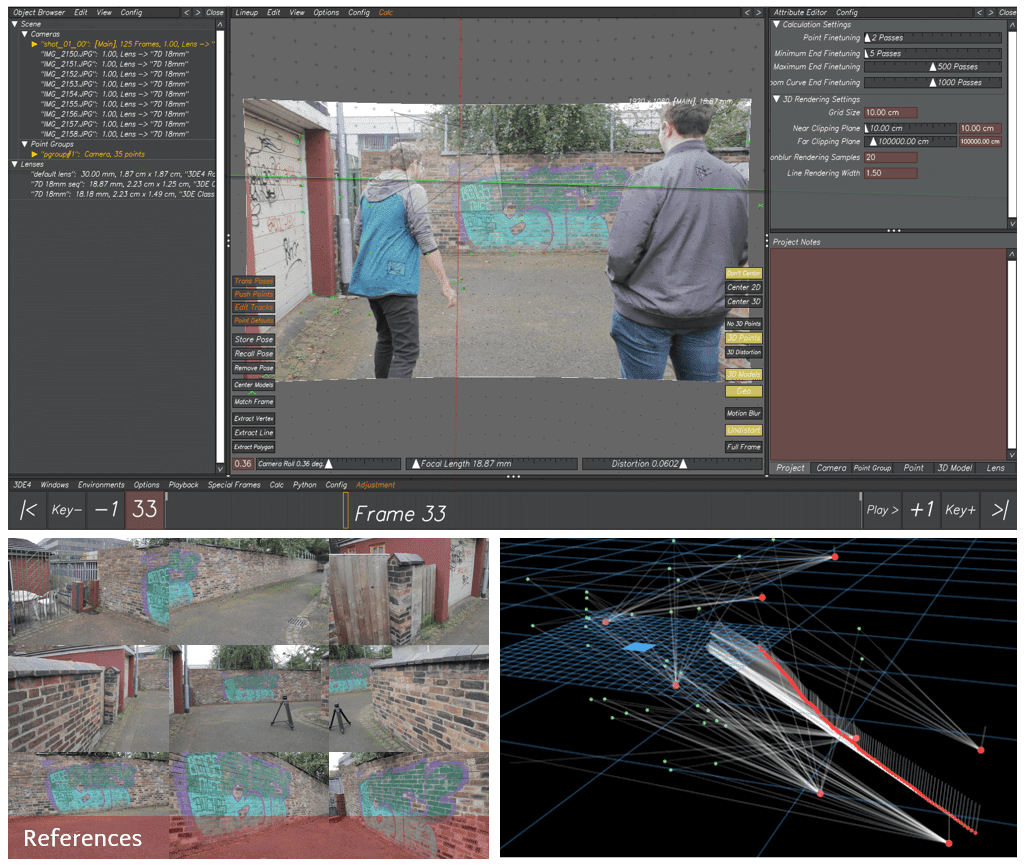
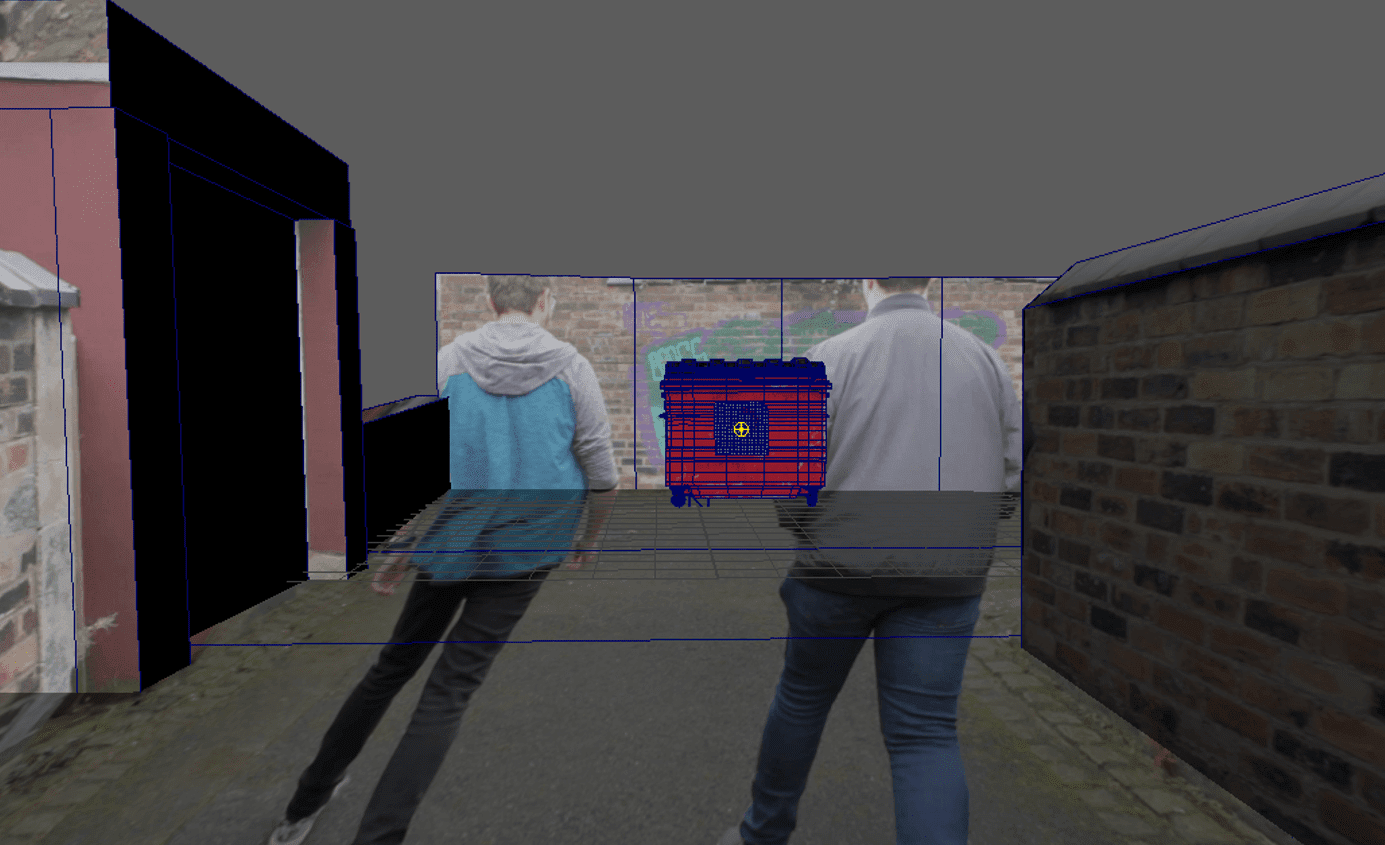
Matchmoving was one of the areas in the pipeline which I wasn’t so confident with. Because of this, I ensured I started this before modelling, an area I feel more competent with. For this process I used 3DEqualizer.
Using reference photos along with the filmed footage I was able to accurately build up the scene in 3D. It took a few attempts but after a few re-tracks and solves, I finally got there.
For those that want a more in-depth explanation, here’s my process:
- Take the reference photos and import them into the project.
- Place trackers on points of similarity across all references, and then do a quick solve to build the scene in 3D.
- On the sequence-camera find points that match with the references and track them with the moving footage, once a few have been done, do another solve.
- Repeat this until the scene is aligned and solved perfectly.
- Using the current solve remove the distortion from the footage and reference photos and resolve, everything should be the same. This will be better for when working inside of Maya as there is no distortion.
- Like with the distortion, adjust the camera focal length to ensure it is exact. (I filmed at 18mm but the software worked it out more precisely at 18.23mm which makes the solve better).
- Export the undistorted footage for use as an image plane inside of Maya.
- Export the solve points and cameras into Maya and start to block out the scene with rough geometry.
Asset Development
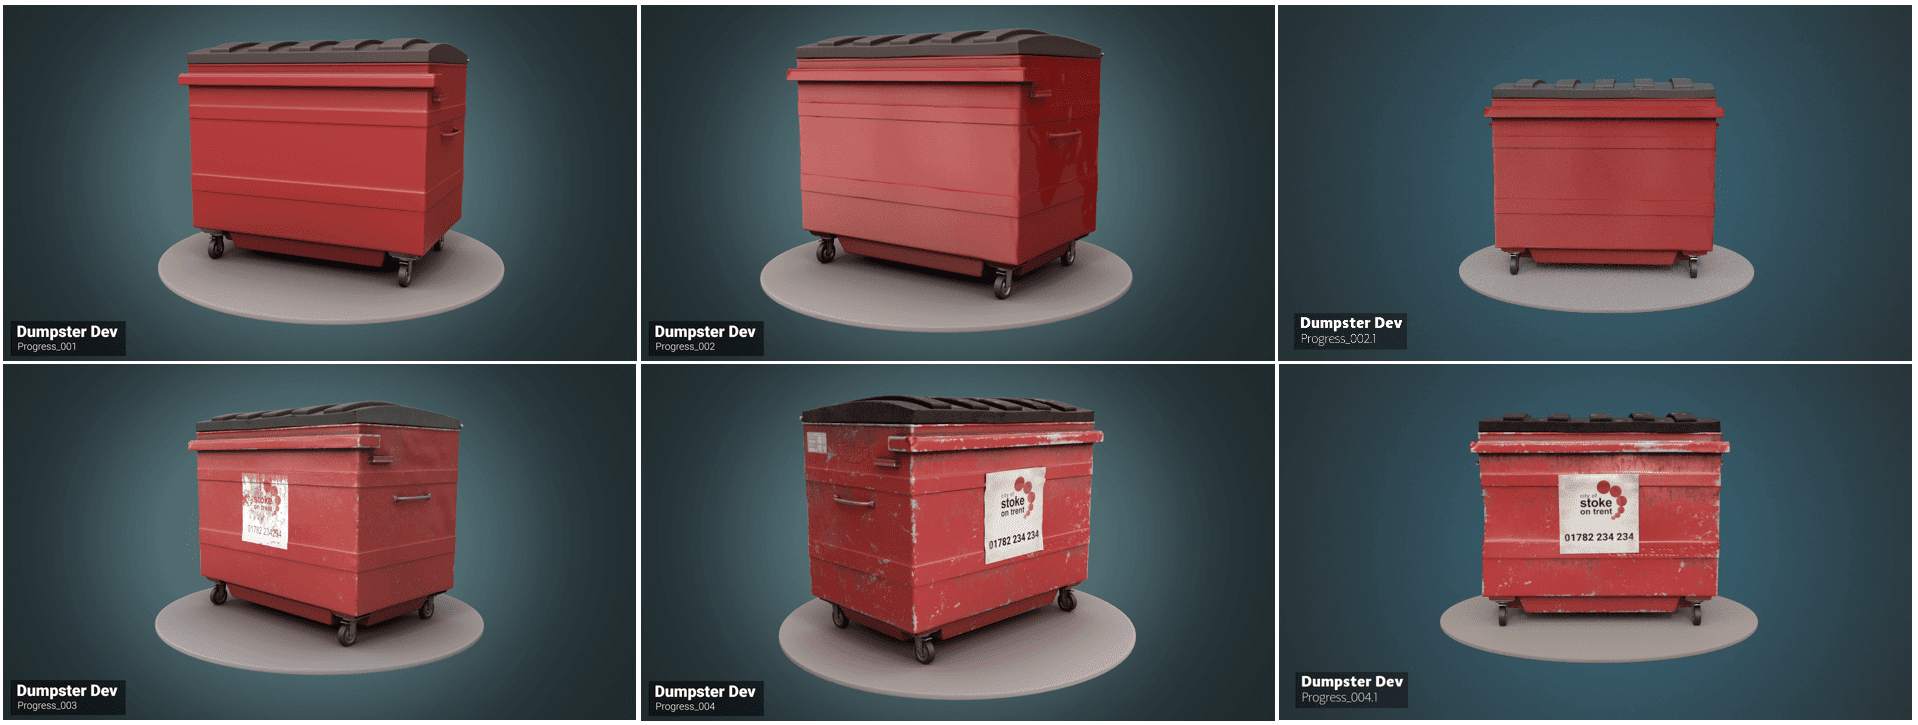
The modelling of the Dumpster was not very complex at all, so I won’t really cover it here. But I will mention that I modelled multiple variations of the Dumpster with different levels of crush, as the way the effect was achieved with blend shapes.
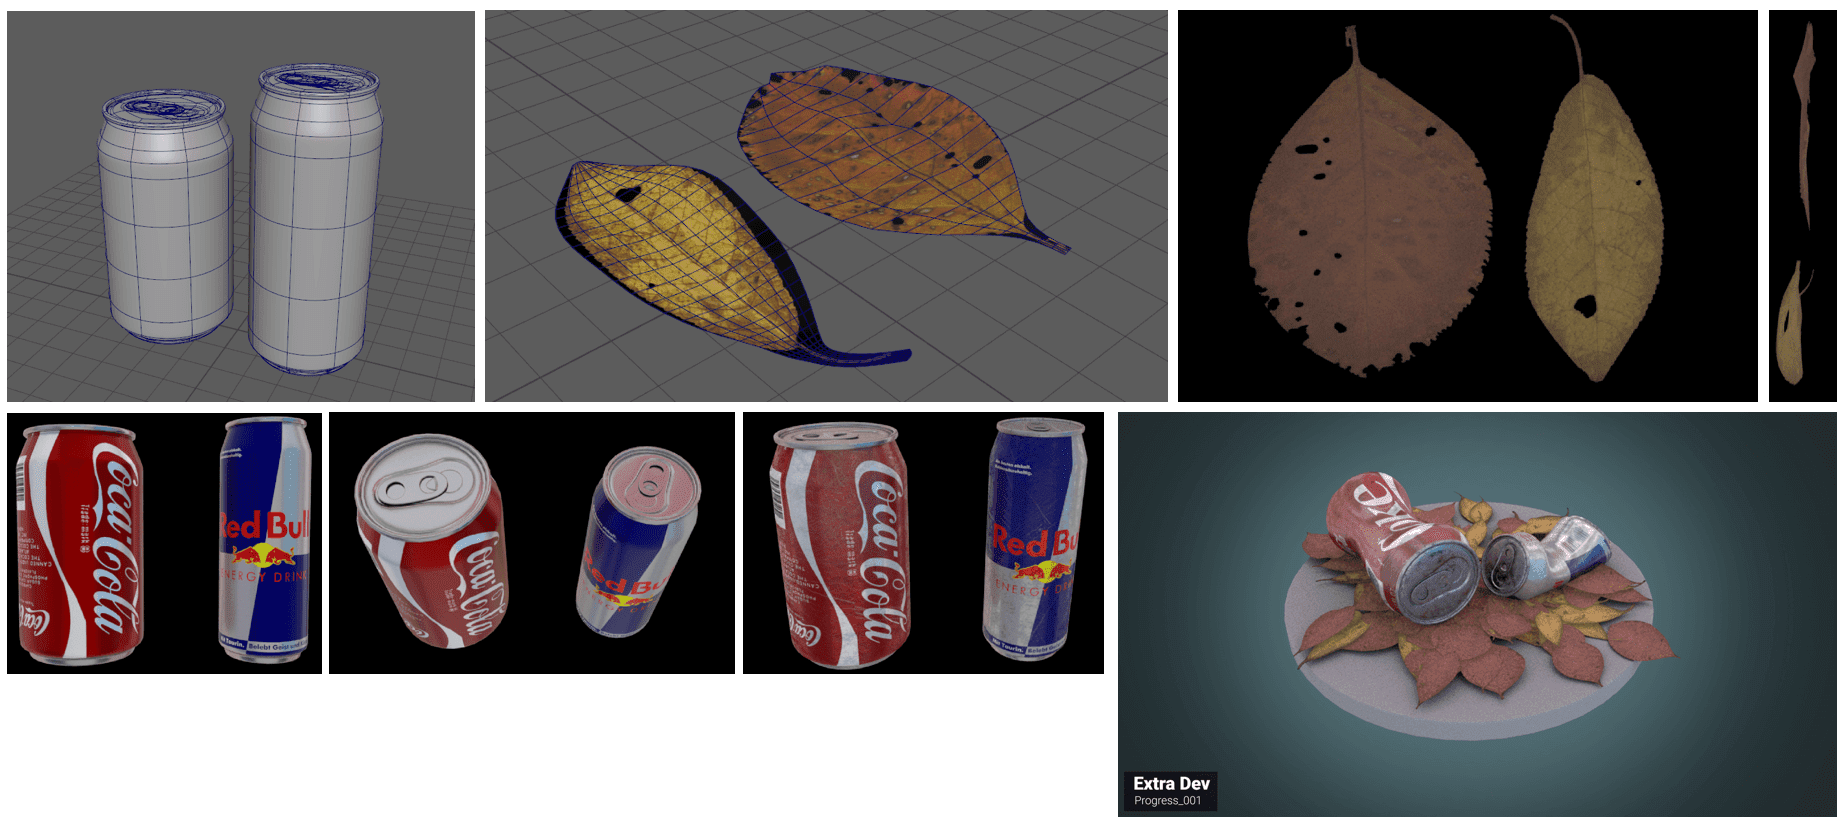
Along with the Dumpster asset I also created some cans and leaves to place around the scene to add more movement to the simulations and to add to the overall final effect. These were textured quickly using procedural methods to layer up dirt and grime.
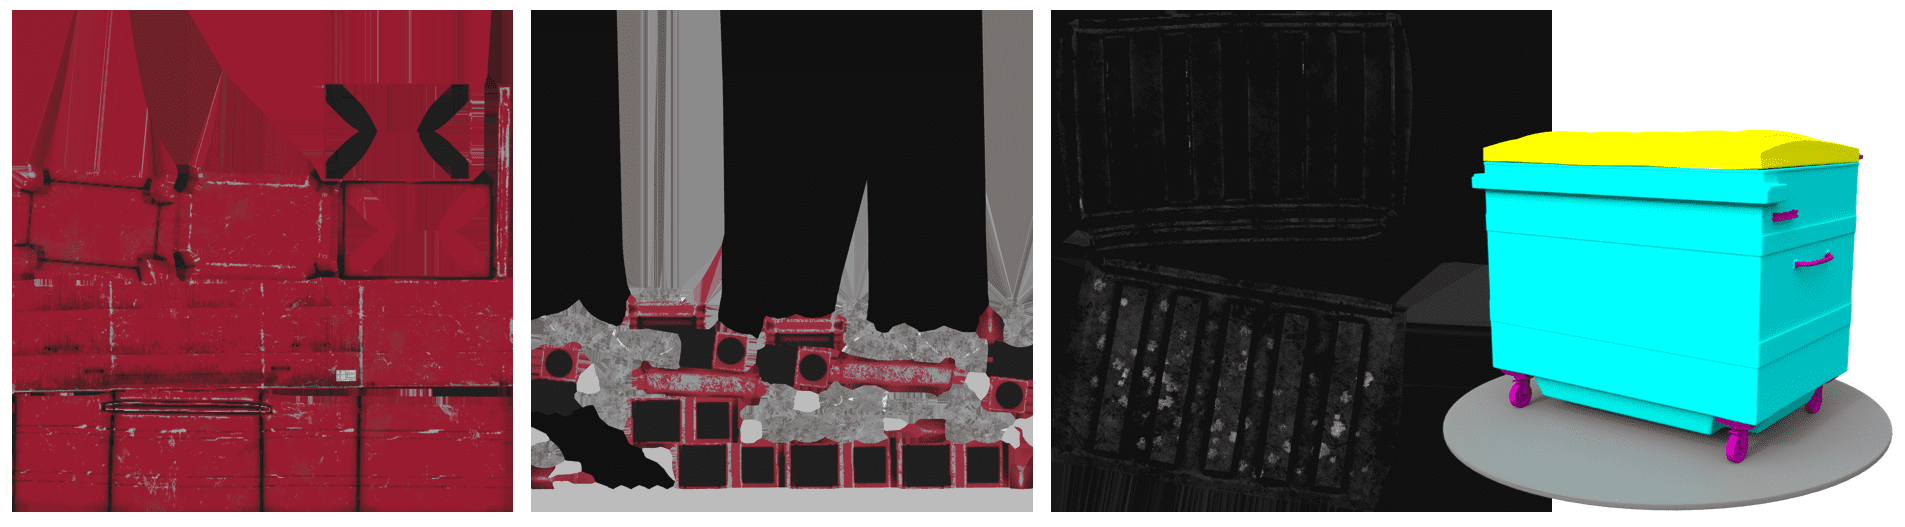
Bellow, you can see the Dumpster asset and how it went from being clean like new, to being beaten up and textured. Texturing was done inside of Substance Painter, which I opted to use as I didn’t have much time and I wanted a lot of detail quickly.
I used 3 Texture Sets: Main Dumpster, Dumpster Lid and then all the small components. The sticker was initially textured, although, I opted to use actual geometry so that it could be animated with nCloth.
After creating my assets, I created a quick render test to ensure that everything was coming together and would work nicely in the final comping stage.
Animation
Similarly, to Matchmoving, Animation was an area I hadn’t explored in any detail prior to this project. After a lot of trial and error, using a mixture of simulations and keyed animation methods I eventually got the shot to work.
If you’re interested have a watch of the video bellow to see how the animations progressed and to see some of the stuff that worked and the stuff that didn't.
Rendering
The lighting setup for this scene didn’t end up being very complicated as it just didn’t need to be. Although the scene is overcast I found it to be more visually appealing to have an additional directional light with the HDRi to give the light in the scene a subtle of a sense of direction and to help the CG Objects seem more grounded with the shadows.
To cut down on time wasted waiting for renders to complete, I used cloud rendering for this project. The renders on my computer would have taken 8hrs and using the Ranch service all my renders were done in 25 minutes. This allowed me to move into compositing much quicker and allowed for re-renders to be done quickly when required. This was the first time I used cloud rendering, and I have since used it for other projects in my showreel.
Compositing
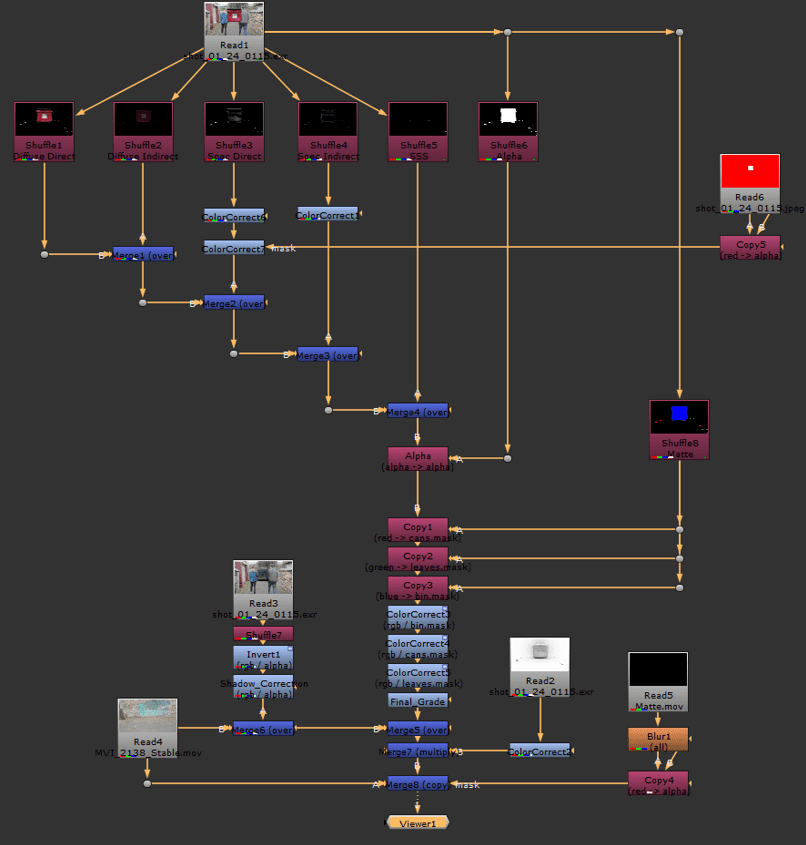
Coming from an Adobe After Effects background, learning Nuke was one of the biggest challenges I faced during this project. Bellow, you can see my Node Tree which is compiled of the main Multi-Layered EXR and a few extra render layers mixed in.
Finishing Touches
The super-short film was edited in Premiere Pro and right at the beginning of the project I created a locked-down edit of the short, so I knew I was only adding VFX to the shots I needed to.
I gave the short a teal and orange colour grade to bring the CG and Plates together and give them a cinematic Hollywood feel.
Finally, as a bit of fun, I used Filmstro to create an over the top background music to emphasize the drama.