
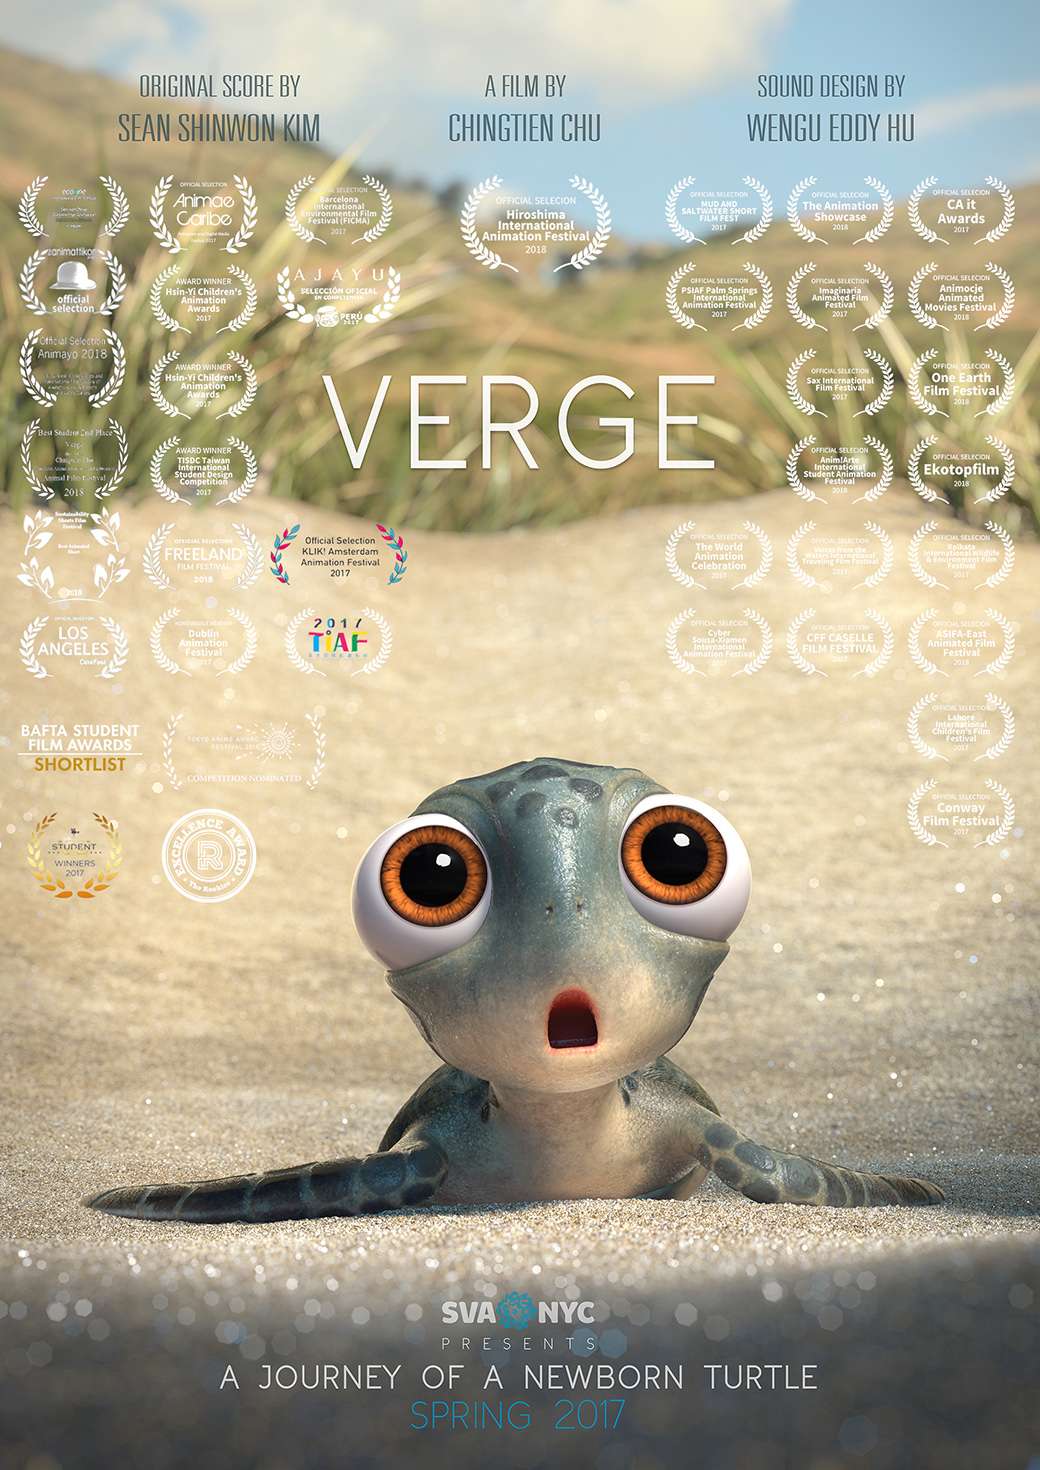
Chingtien Chu–a Lighting and CG Generalist at Framestore and ex-Rookie–walks us through the process of creating his first ever animated short film VERGE. The film served as his independent thesis project at the School of Visual Arts MFA Computer Art program.
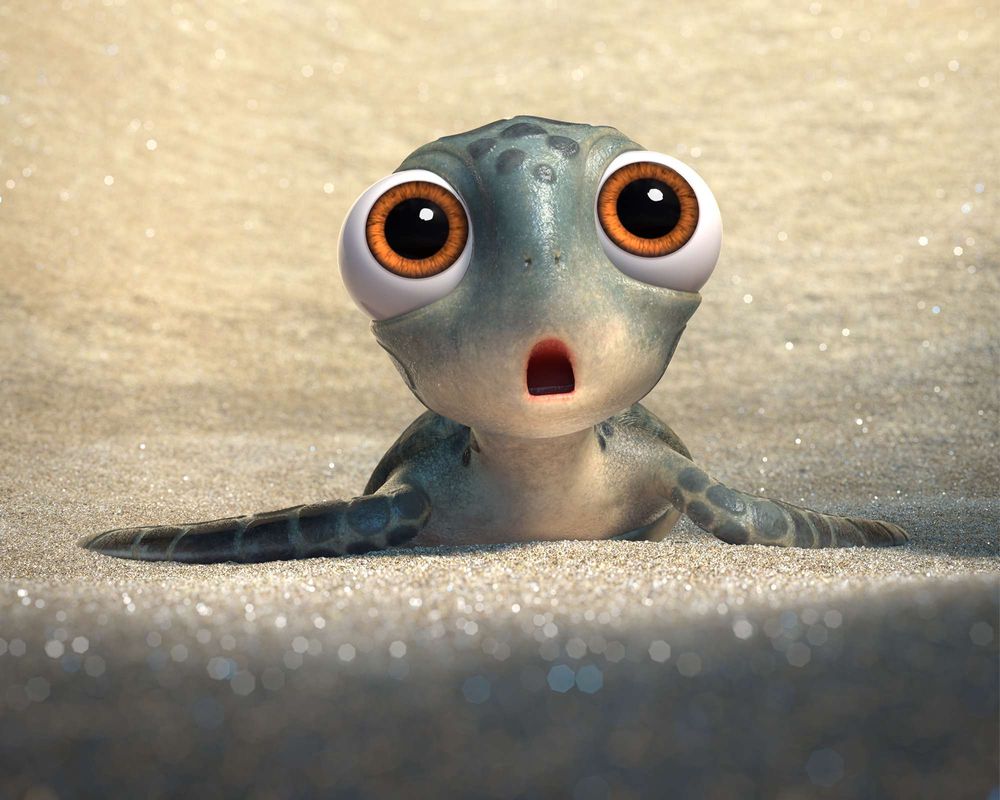
The film expresses my feeling of turtle species and environment. The short is about a small, gawky, newly born green sea turtle, who falls behind his siblings on his voyage to the sea. As he arduously tries to scramble to the ocean, a massive wave and trash smack him back to the shore, stimulating a series of challenges. The short explores how navigating a very short distance can be the hardest part of a newborn turtle’s life.
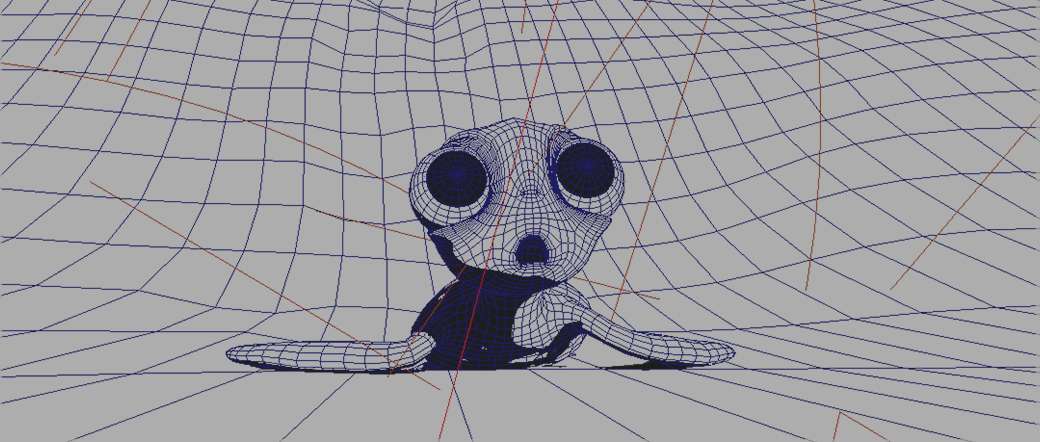
MODELING
I used Maya for modeling process and usually with some little support from ZBrush. I start modeling with some basic shape. It's like drawing. For example, when you start to sketch an object, you paint broad and primitive shape to get basic lighting and shadow, defining the basic shape. Once the model was been blocked out then I start to add detail layer by layer.


TEXTURING & LOOK DEVELOPMENT
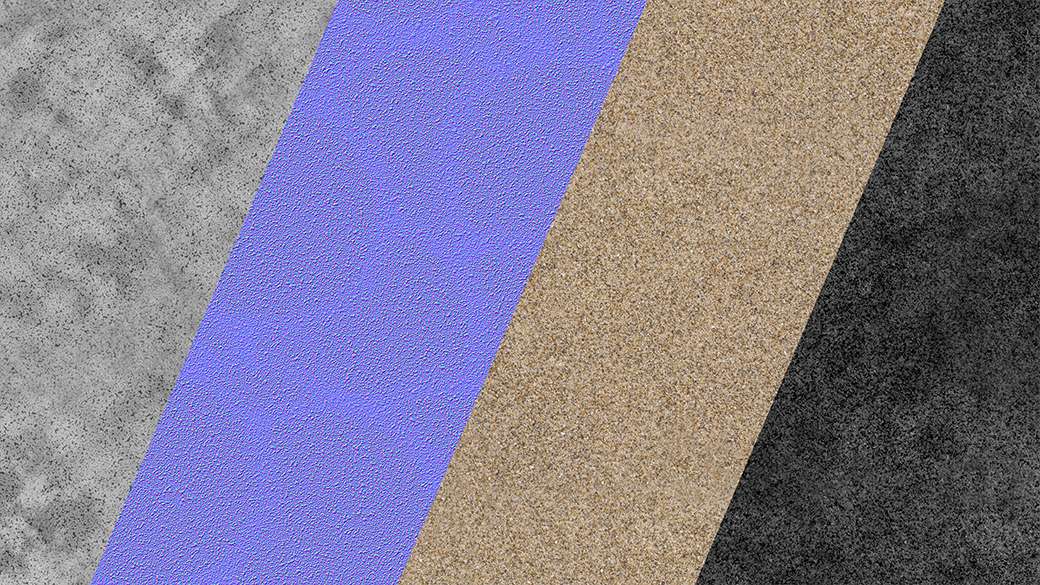
I use Substance Painter and Photoshop to do the most of texture work for this project except sand. It is very handy to use because you have all the procedural noise at the same time you still can paint.
The model I had was all very simple, so I paint all the diffuse detail, displacement map and so on. For instance, I had procedural skin detail for the first layer of the turtle and I paint a specific shape of the turtle shell and skin pattern. I also re-use my substance setup a lot. You can change your model and bake the texture on the new model. This was used a lot for the environment and set assets.
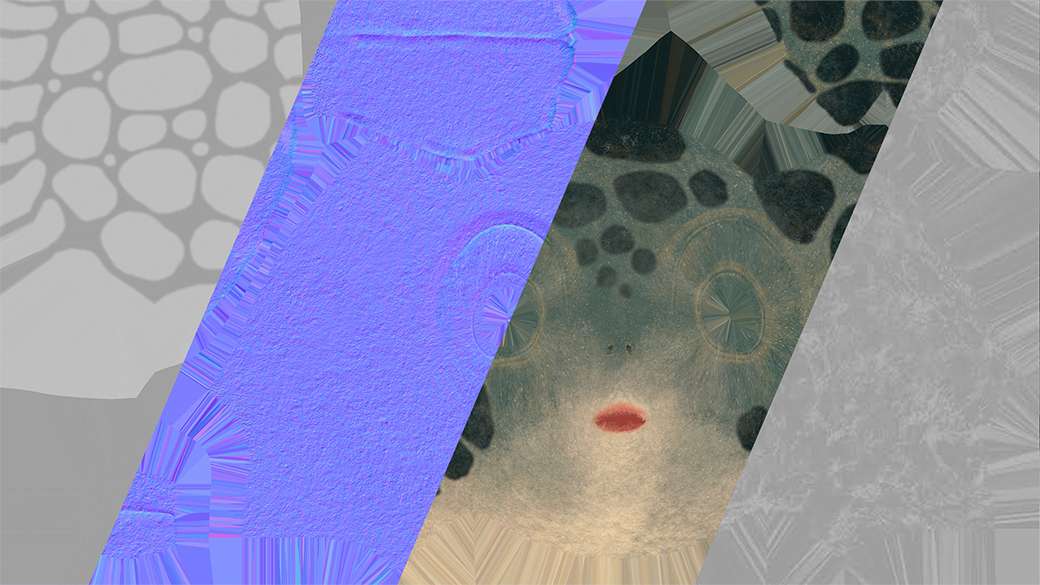
Sand is the only texture that I used Substance Designer in this project. I had a real world texture for the diffuse layer and I created a procedural bump and displacement map from Substance Designer.
Anold 4 was the version that I used when I was in the school. AiStandard is good for the majority of the assets and AiSkin for the turtle. AiNoise is very useful to break the texture or add extra detail to the shader inside Maya.
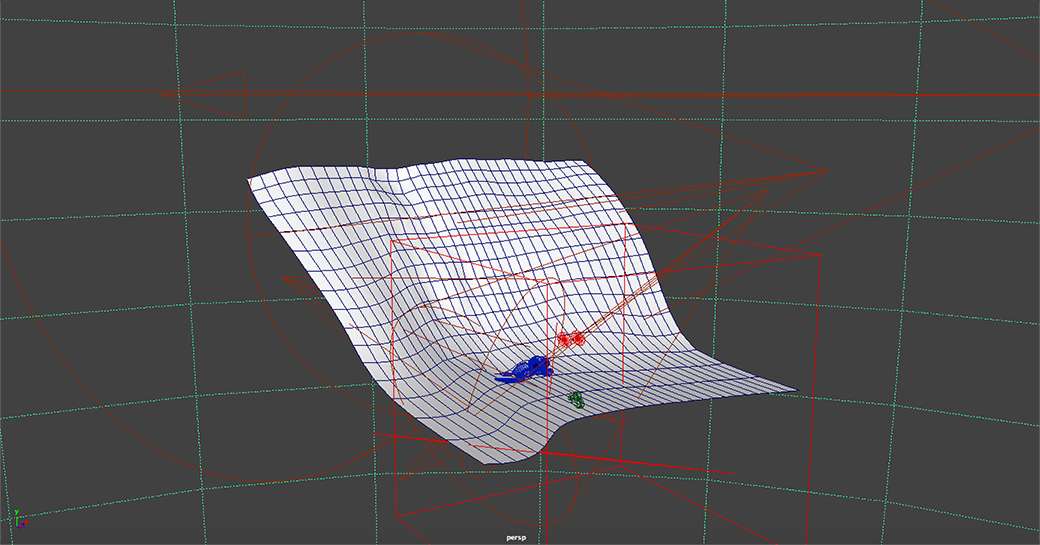
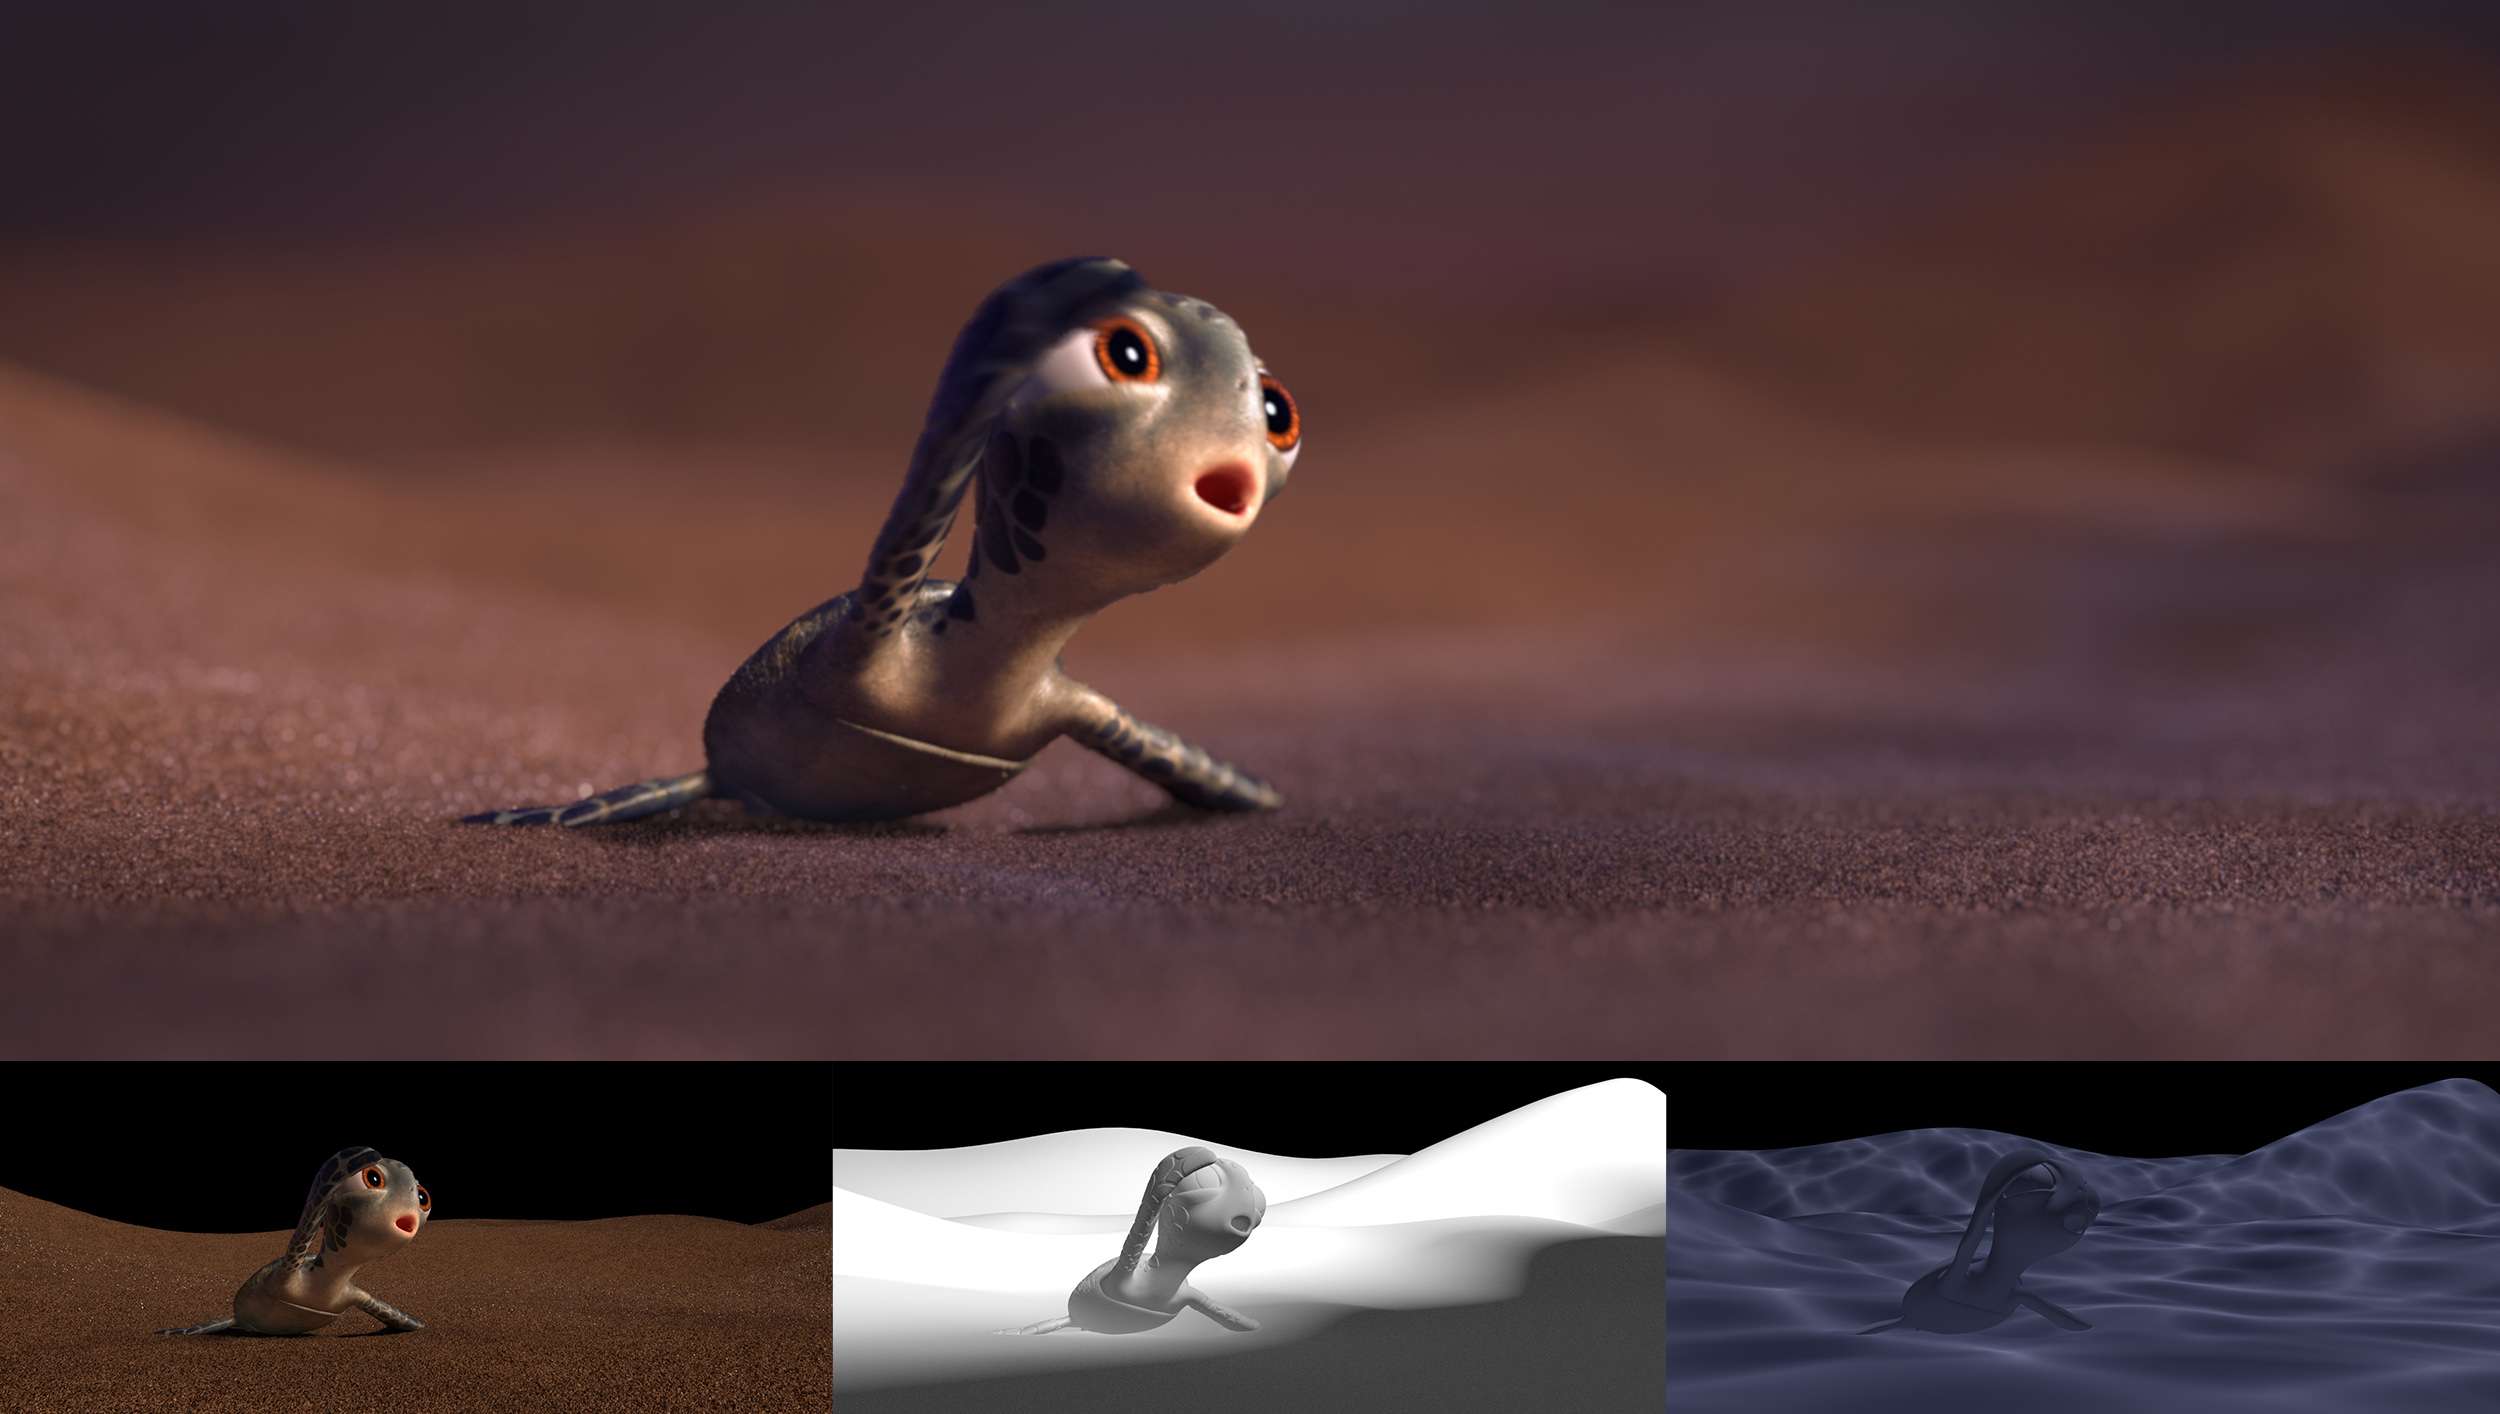
LIGHTING & COMPOSITING
Lighting is the most interesting part to me. The artist must be keenly sensitive to the relationship between light, shadow and color, which evokes a vast range of emotional nuances, enhancing an image’s narrative depth and atmosphere.
I had my sequence lighting rig setup first, this usually contains key light, dome light, fill light, etc. Then in each shot, I added rim light, dim light or any light if that is necessary depending on the shot, camera and emotion. I usually have specific eye dim light for the character, adding a dim light will completely turn your character to life.
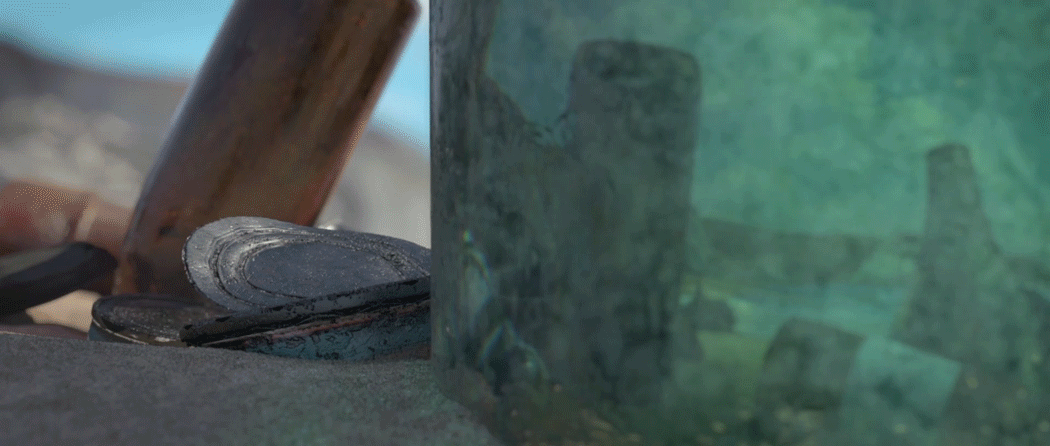
Refraction is very expensive to render. Due to the render power and time that we have in school. There were a few shots I separate the render to multiple parts.
I render out a furthest part first, then project the sequence back to the Maya and render the other layer. There was one shot that the turtle walks across to the trash and passes the bottle. Instead of rendering it directly, I used the normal pass to refract and reflect the background sequence in Nuke. Those methods actually saved me a lot of rendering time.
Caustics are a very interesting part of water and give CG underwater world an extra dose of realism. Due to reflection and refraction both underwater or above water, you usually see the subtle caustic effect. I created a sequence caustic map by using Maya’s ocean shader and used it as my lighting gobo. Another crucial part for underwater is the volumetric layer. This also helps a lot to recreate realism and feeling of dusty and mysterious part of the ocean.
Nuke has been heavily used in a lot of shots. I rendered out many render pass and layer, allowing me to have the ability to control it in the compositing stage. The comp was not only used for color correction, motion blur, depth of field, merge layers and particle, but also the removed firefly, add 2D refraction, matte painting and fix all kinds of render artifact and issues.
CONCLUSION
The whole film took about 8 months to finish. Although there are still a lot of issues and incomplete remained to tweak and fix, I tried my best to finish it at that moment. It was a very challenge, but also a fun moment in my life and I really enjoy it. Special thanks to all the teacher, friends and family who helped and supported me to finish the film.
Thanks to The Rookies invited me to share my process. Hope you learn something and enjoy the article.