
Angelina Bayer - a German 3D artist based in Belgium - walks us through the process and challenges of creating a modular scene in Unreal Engine 4.
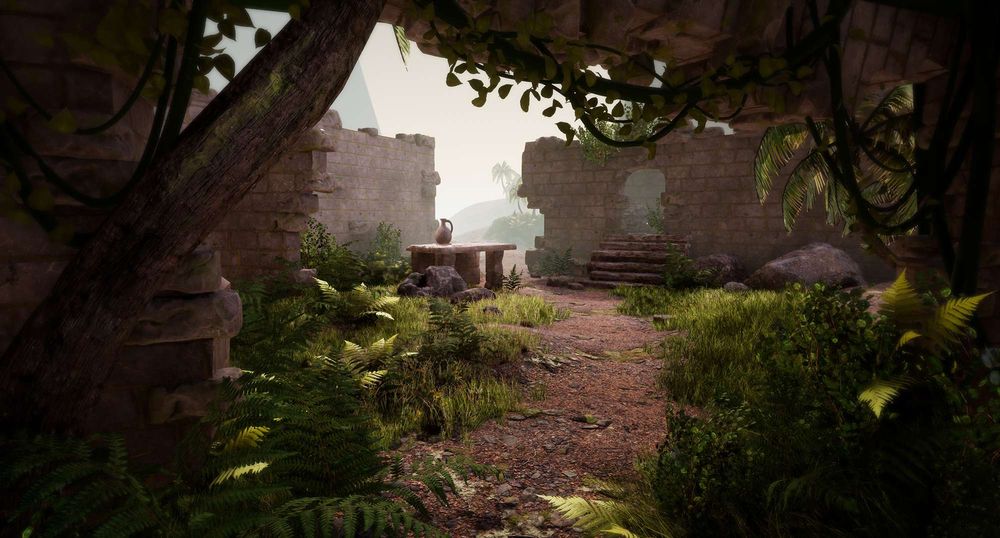
My goal for this scene was to create a moody shot of a ruin in the Unreal Engine 4, using modular assets. The focus of the project was not on asset creation, but rather light, composition and mood. I wanted to go about the project in an efficient manner that enabled me to come up with a great result on a tight schedule.
Research: The Concept
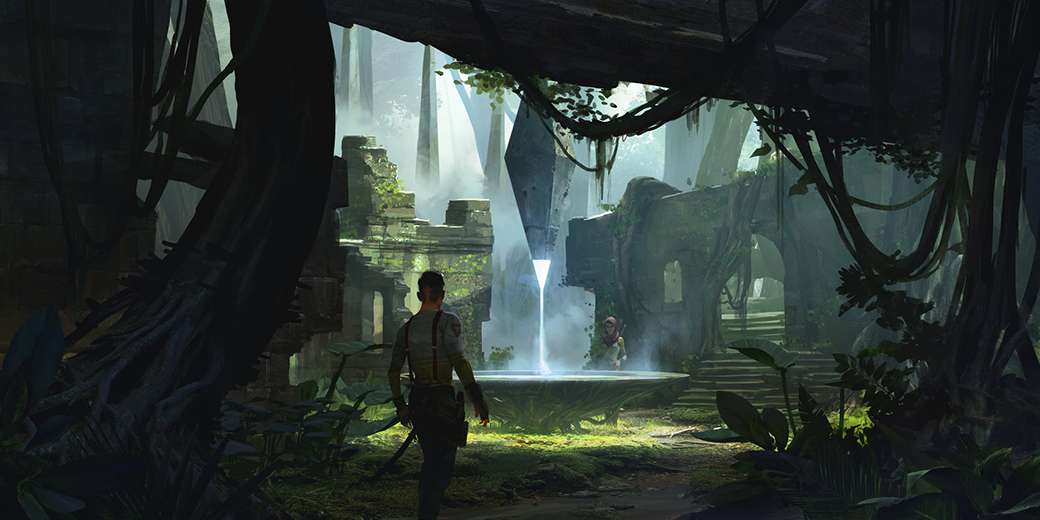
At first, I took some time figuring out what kind of ruin I wanted to create. Eventually, I found inspiration in the form of Ryan Gitter’s concept art.
I decided to only use the illustration as a lose reference, as I had my own vision, too. Giving the concept an own spin made for a nice change and was good fun!
Blockout
Once I had a clear idea of what I wanted, I created a blockout in 3ds max. Always keep your focal point in mind. Leading lines should support it and help the viewer understand what’s going on. If you show your scene to someone and they are not sure what is your focal point, it’s time to fix that.
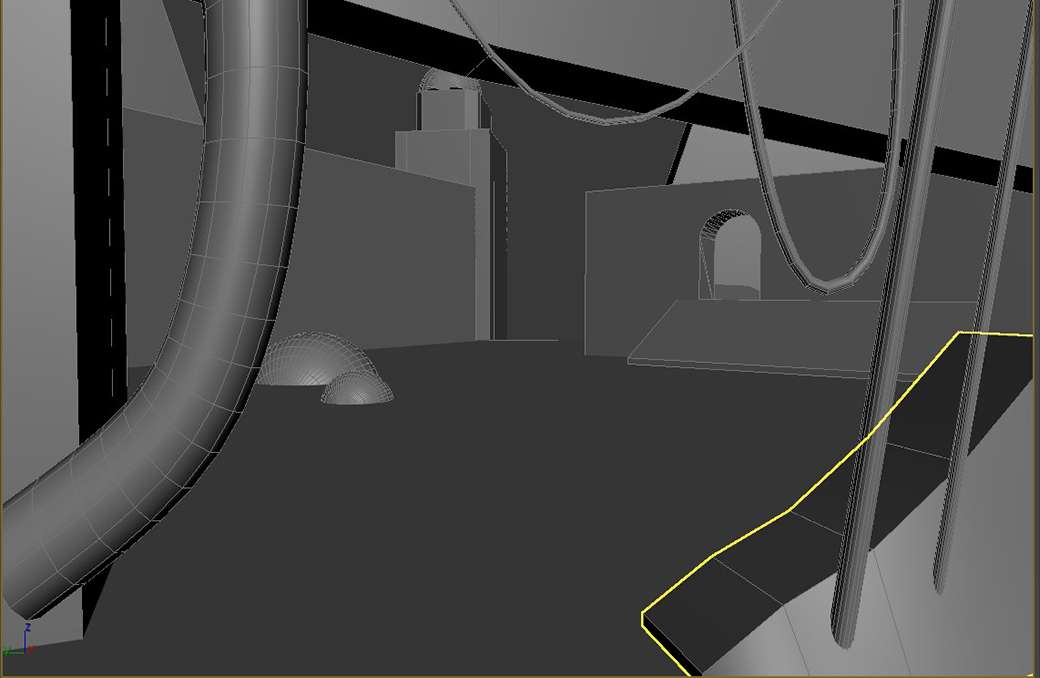
When working on the final arrangement of my assets, I always kept an eye on meaningful negative space, areas of rest, avoiding tangents.
Once I imported the block out into UE4, I created several bookmarks for my main camera and potential beauty shots. This way, I only had to press the respective number on my keyboard to jump from one view to another.
Creating assets
It is always a helpful to create a list of assets you want to create. This way you get an impression of your workload and can estimate how much time you will need to finish the project. Decide when it makes sense to create your own assets and when not to. I used grass, trees and bushes from Epic’s Kite demo and Speedtree. These are great sources for projects in which you want to focus on things other than asset creation.
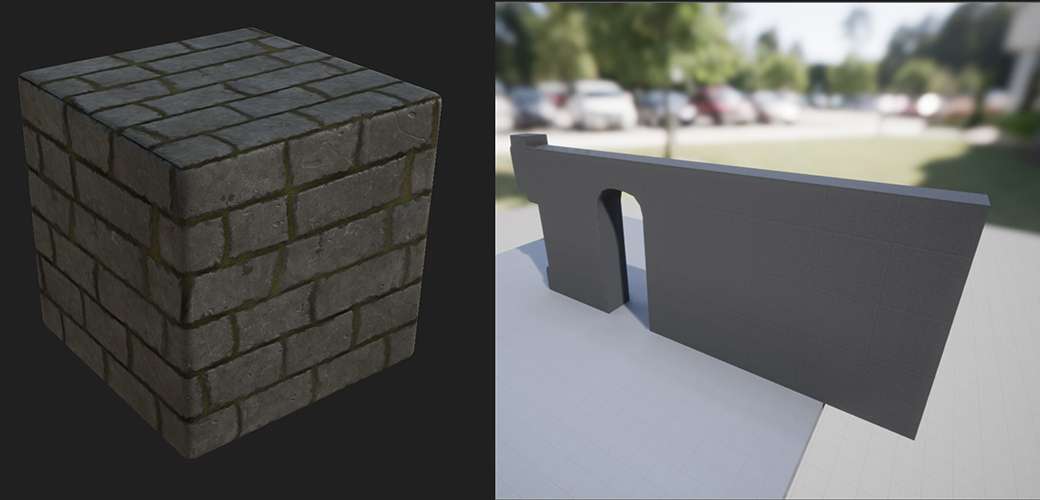
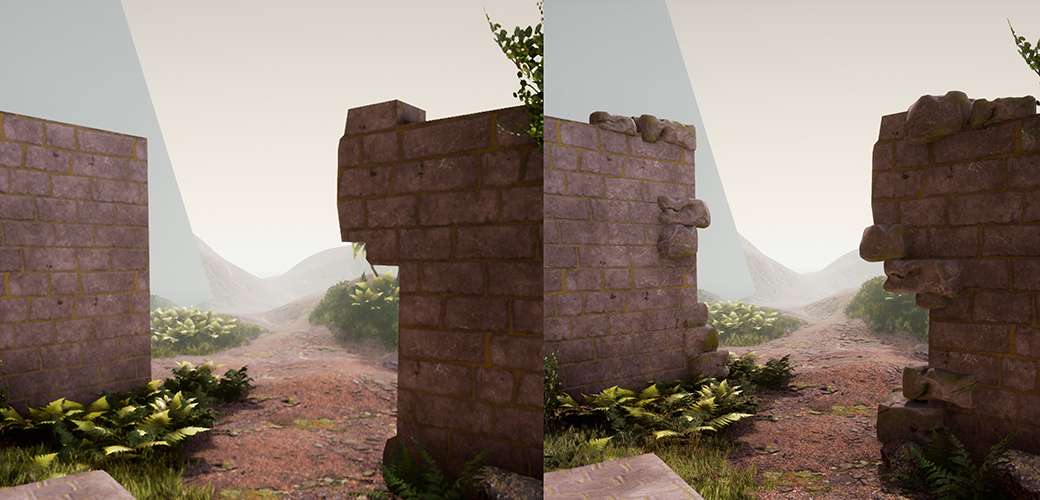
To work efficiently, I was also considering if a prop is far in the background. In some cases, I decided I didn’t need to go through the whole pipeline of creating low and high poly versions. The stone walls, for instance, are merely low poly models with a brick material applied to them.
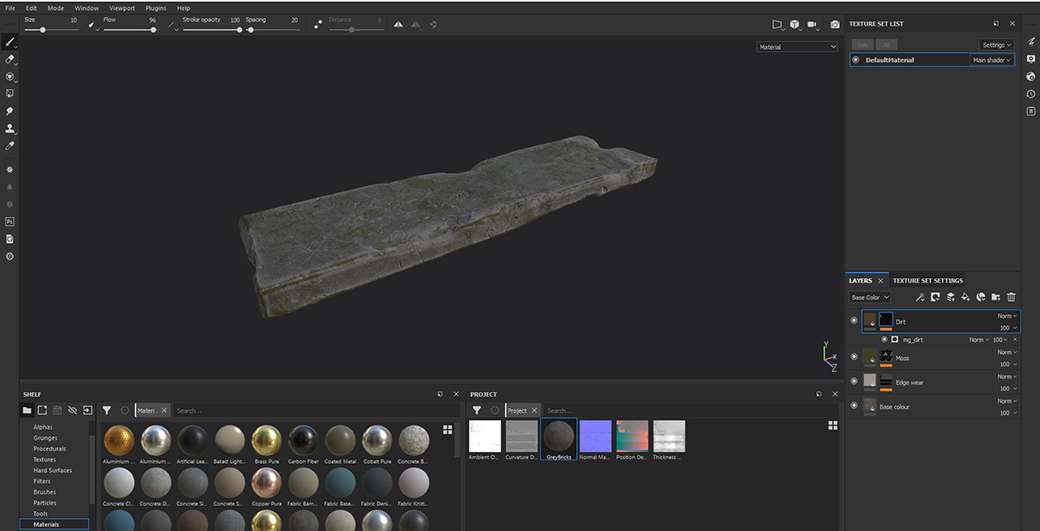
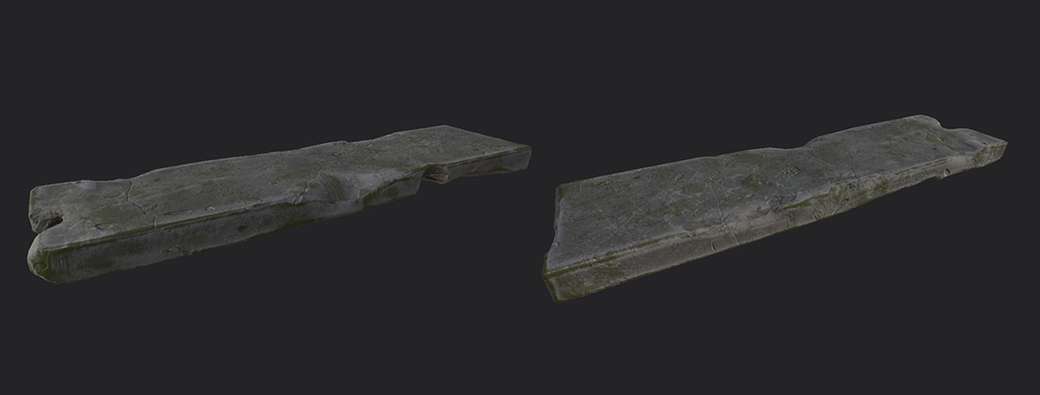
For boulders, separate bricks and altar, I first sculpted some basic meshes in Zbrush. Then, I optimised them in 3ds max, creating high and low poly versions. Eventually, I took the unwrapped assets to Substance Painter to texture them. The textures were partly based on materials I had created in Substance Designer.
When modelling and sculpting modular assets, I always try to give them a different look from each perspective. Squinting your eyes, the silhouette should feel different from each angle. Rotate your view frequently. This way, you can use your assets modularly without problems.
Filling your scene
For this step, it was important to me to create a feeling of randomness. If things are too clean, the scene will look sterile rather than overgrown and abandoned.
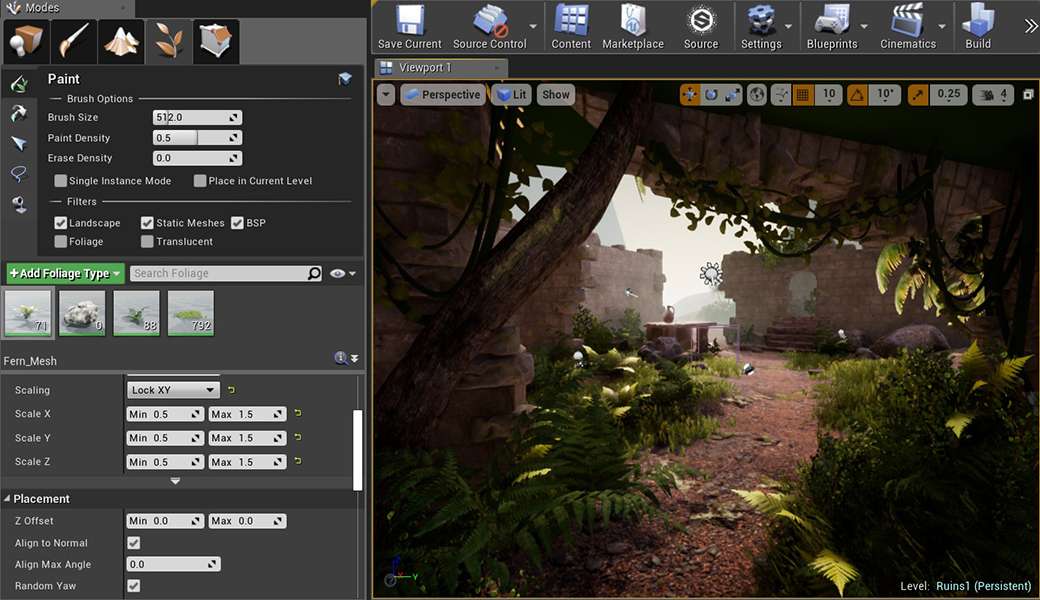
I placed some bushes, ferns or palm trees by hand, to make sure they supported the composition. During this step, I constantly checked my scene for harsh “laser lines”.
Lights! Camera! Action!
This step is for me the most difficult but also interesting step, cause there’s so many ways to light a scene. I wanted the lights to create readable contrast between the scene’s elements, while the area of highest contrast should be the focal point. I used points lights to help guide the viewer’s eye. Use them purposefully and play around with it before settling on the first best thing.
I continued playing around with the lights throughout the project. I took many screenshots of various options and compared them to each other, before I made a final decision.
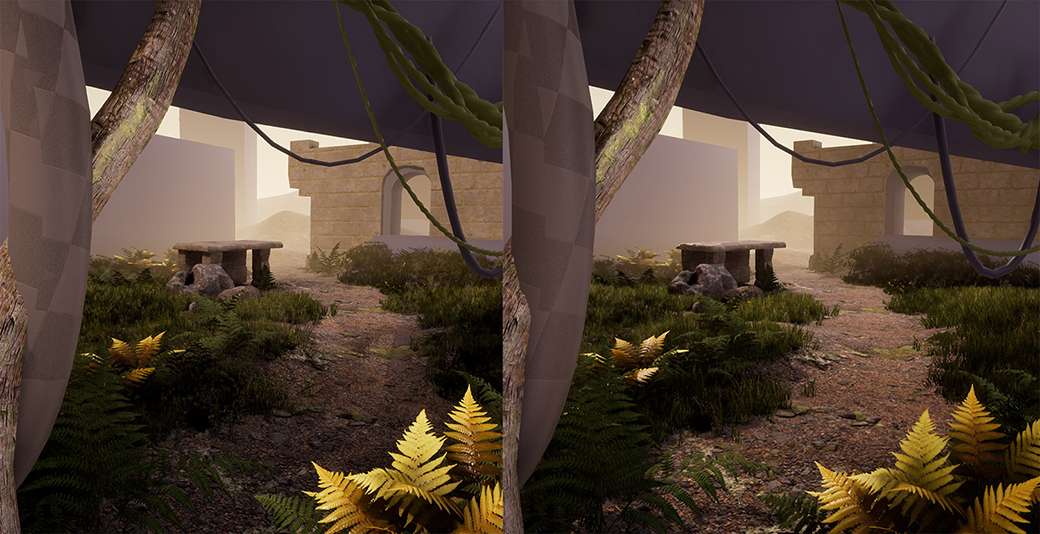
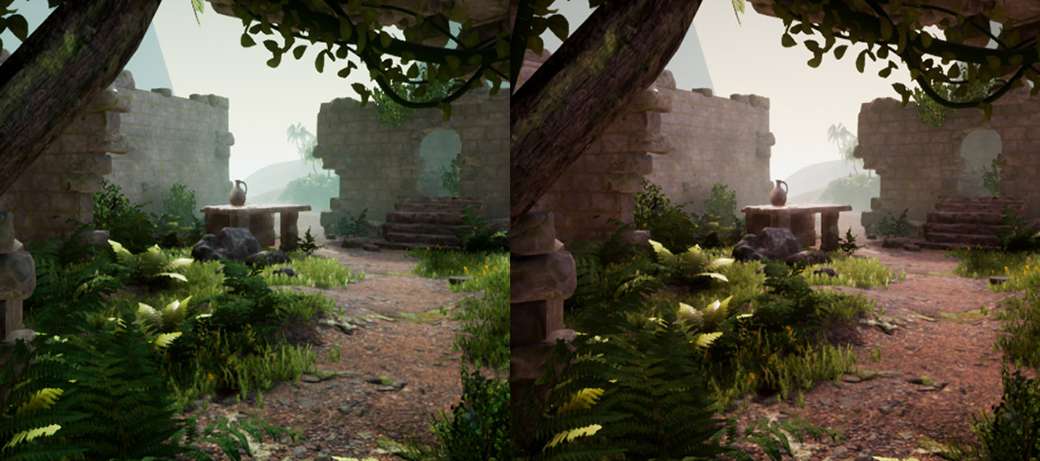
Post-processing
As you can see, my scene is different from the concept in more than one way. In this case, I used post-processing to make the scene look warmer, with more diffuse light. This was in line with my vision to make the scene look like a serene, inviting place, evoking the viewer’s curiosity. Adding exponential height fog, color grading, among other things, contributed to this look.

Conclusion
Working modularly, in a non-destructive way, enabled me to pull this project off in a comparatively small amount of time. It also helps if you have a clear vision of what you want to achieve. Given that I did not create all assets myself, I was able to focus on other aspects I wanted to practice. After all, composition and light are important parts of an appealing environment and it takes time to learn the ropes.