
In this article I will take you through my process of creating demolition effects. You will learn how to plan a project from concept to completion and create complex fracture simulations while working under a deadline. I’ve broken this lesson down into 4 steps and my reference project was completed in Maya, Fracture FX, Phoenix FD, rendered in V-Ray and composited in Nuke.
In the early stages of your own destruction effects, pre- planning and gathering live action references are the key to executing the simulation.
Inspiration
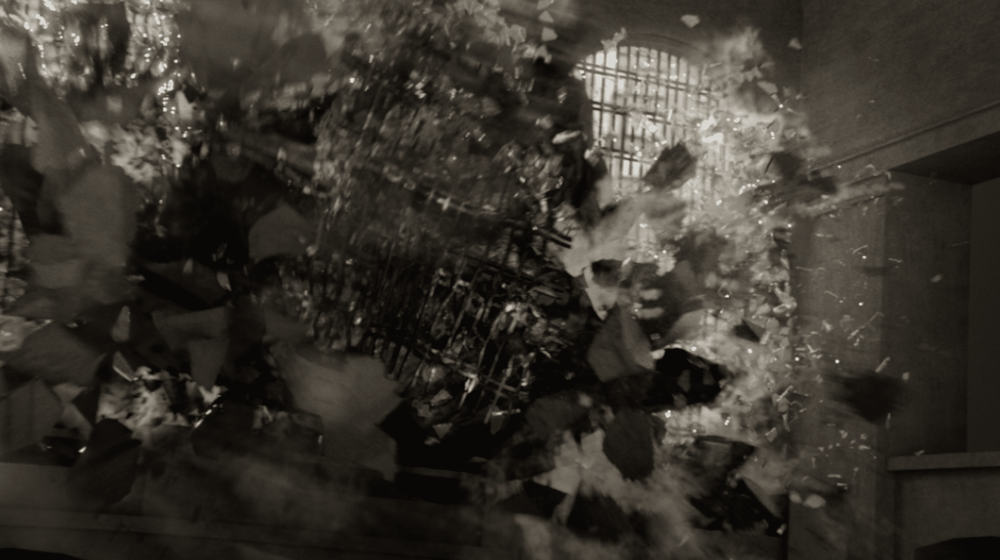
I’ve always been fascinated by the big visual effects in Hollywood blockbuster movies. This project was heavily influenced by one of the main VFX shots in the first Avengers movie, specifically the scene where the alien ship “Chitauri” crashes into a building. I liked that there were so many different layers of complexity in the shot and that it gave me a heavy and explosive feeling when I first saw it.
In the early stages of your own destruction effects, pre- planning and gathering live action references are the key to executing the simulation. It helps to lay down a good foundation first and then find references to guide you as you work. I often find references from real destruction footage and I take my inspiration from movies and TV commercials.
1) Pre-visualization, Locking Down the Camera Movement and Building the Asset
In a studio environment, you will be handed over assets and a shot camera that have already been created by other departments. For this project, I didn’t have other departments to work with so I spent time building my own assets while I figured out the pre-visualization of the shot. I started blocking everything out with very simple shapes and rough geometry and I manually key framed the animation to pre-visualize the sequences.
Locking down the overall timing and animation early on helps to streamline the process and ensures that you’ll meet your deadlines. It’s important to focus only on simulating what’s inside the frame and leave anything outside the frame aside.
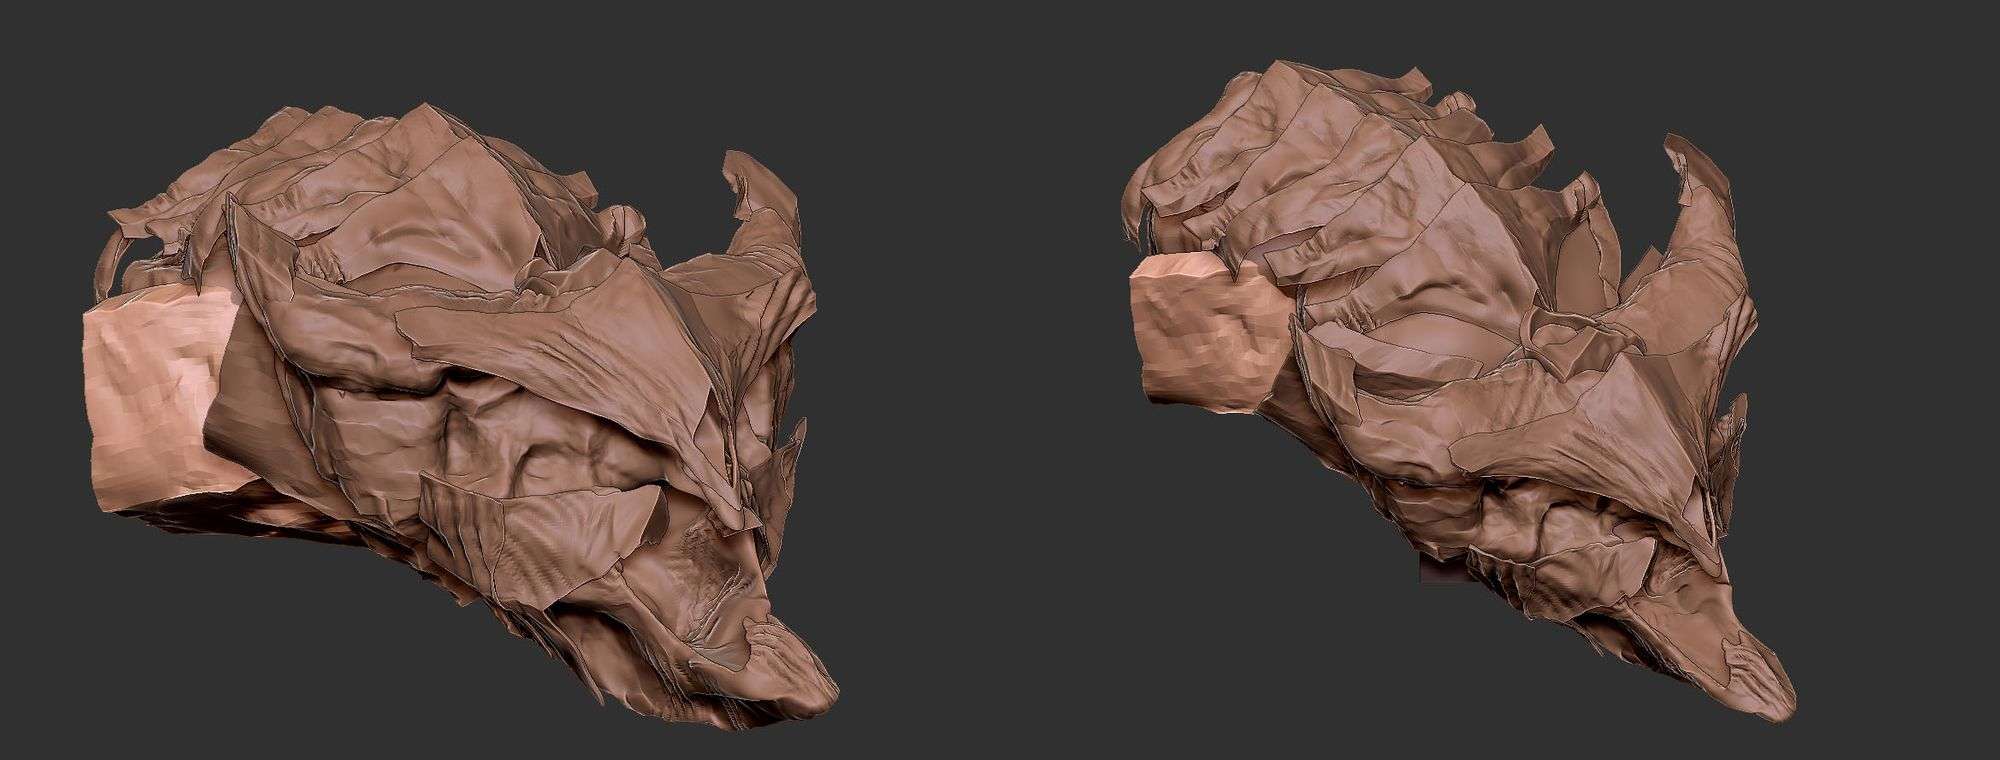
Time management is key. While my simulation is caching I will jump over to ZBrush and spend that time further sculpting and polishing my model.
2) Fracture Simulation Level Breakdown
A good FX artist knows that planning is the key to getting a FX task done on time. After I’m finished with pre-vis and I have my camera and animation locked, I will then break the fracture simulation down into three levels of destruction. This way I can lock down my main simulation and not worry about going back and forth to re-simulate. In the industry, we are always given deadlines and daily / weekly WIP (work in progress) meetings to check in on the progress. Similarly, this is a good habit to practice when you’re working on your own projects.
Level 1: Core of the simulation, First pass of fracture
The first level of simulation is often focused on the larger pieces of geometry (small amounts of mid to small size pieces) and the main collisions that interact with the hero object. During this stage you will simulate a good amount of fractured pieces, adjust the weight and figure out the constraints of the object.
Level 2: Art direct the Secondary fractures and increase the fractured pieces (between mid size to small)
In the second level, I increase the amount of fractured pieces and the amount of secondary fractures.
Since you already have a first level of simulation, you can now art direct where and when the secondary fractures will happen. Sometimes these secondary fractures or “secondaries” can happen when the larger pieces hit the ground or if they collide with another object. Don’t forget to go back and check your simulations against your real world references. As an FX artist you need to understand the physics of the real world so your simulation is accurate, but you also need to art direct the scene to make your simulations more interesting.
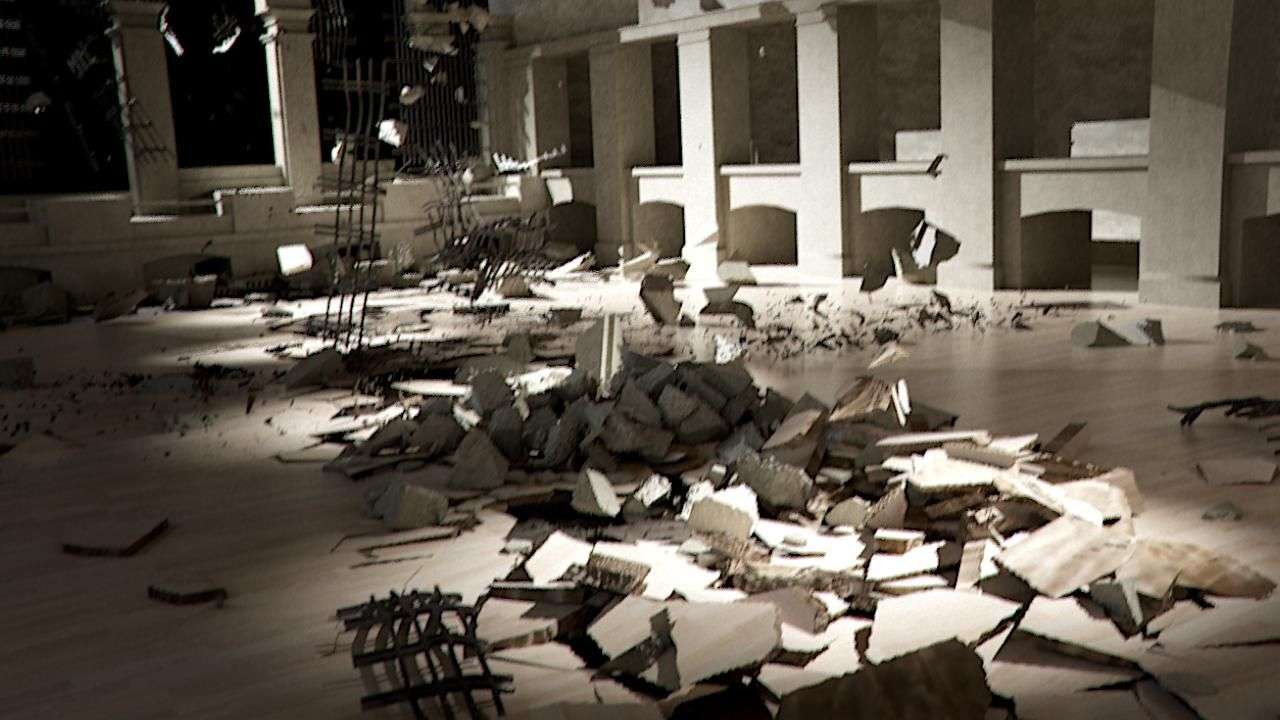
Level 3: Emitting Debris particles and Dust Pyro simulation to polish the effect and shot
Lastly, we will add the debris elements and dust to further enhance the overall simulation. Since I have already locked down the simulation, I use the inside faces of the fractured pieces to emit particles. There are two uses for these particles: the first use is to instance the debris and the second is to use them as a source to emit dust and trail effects. For this project the dust simulation happens later because I wanted to use the fractured pieces as a collision object to interact with the dust.
3) Render and Look development (applying motion blur)
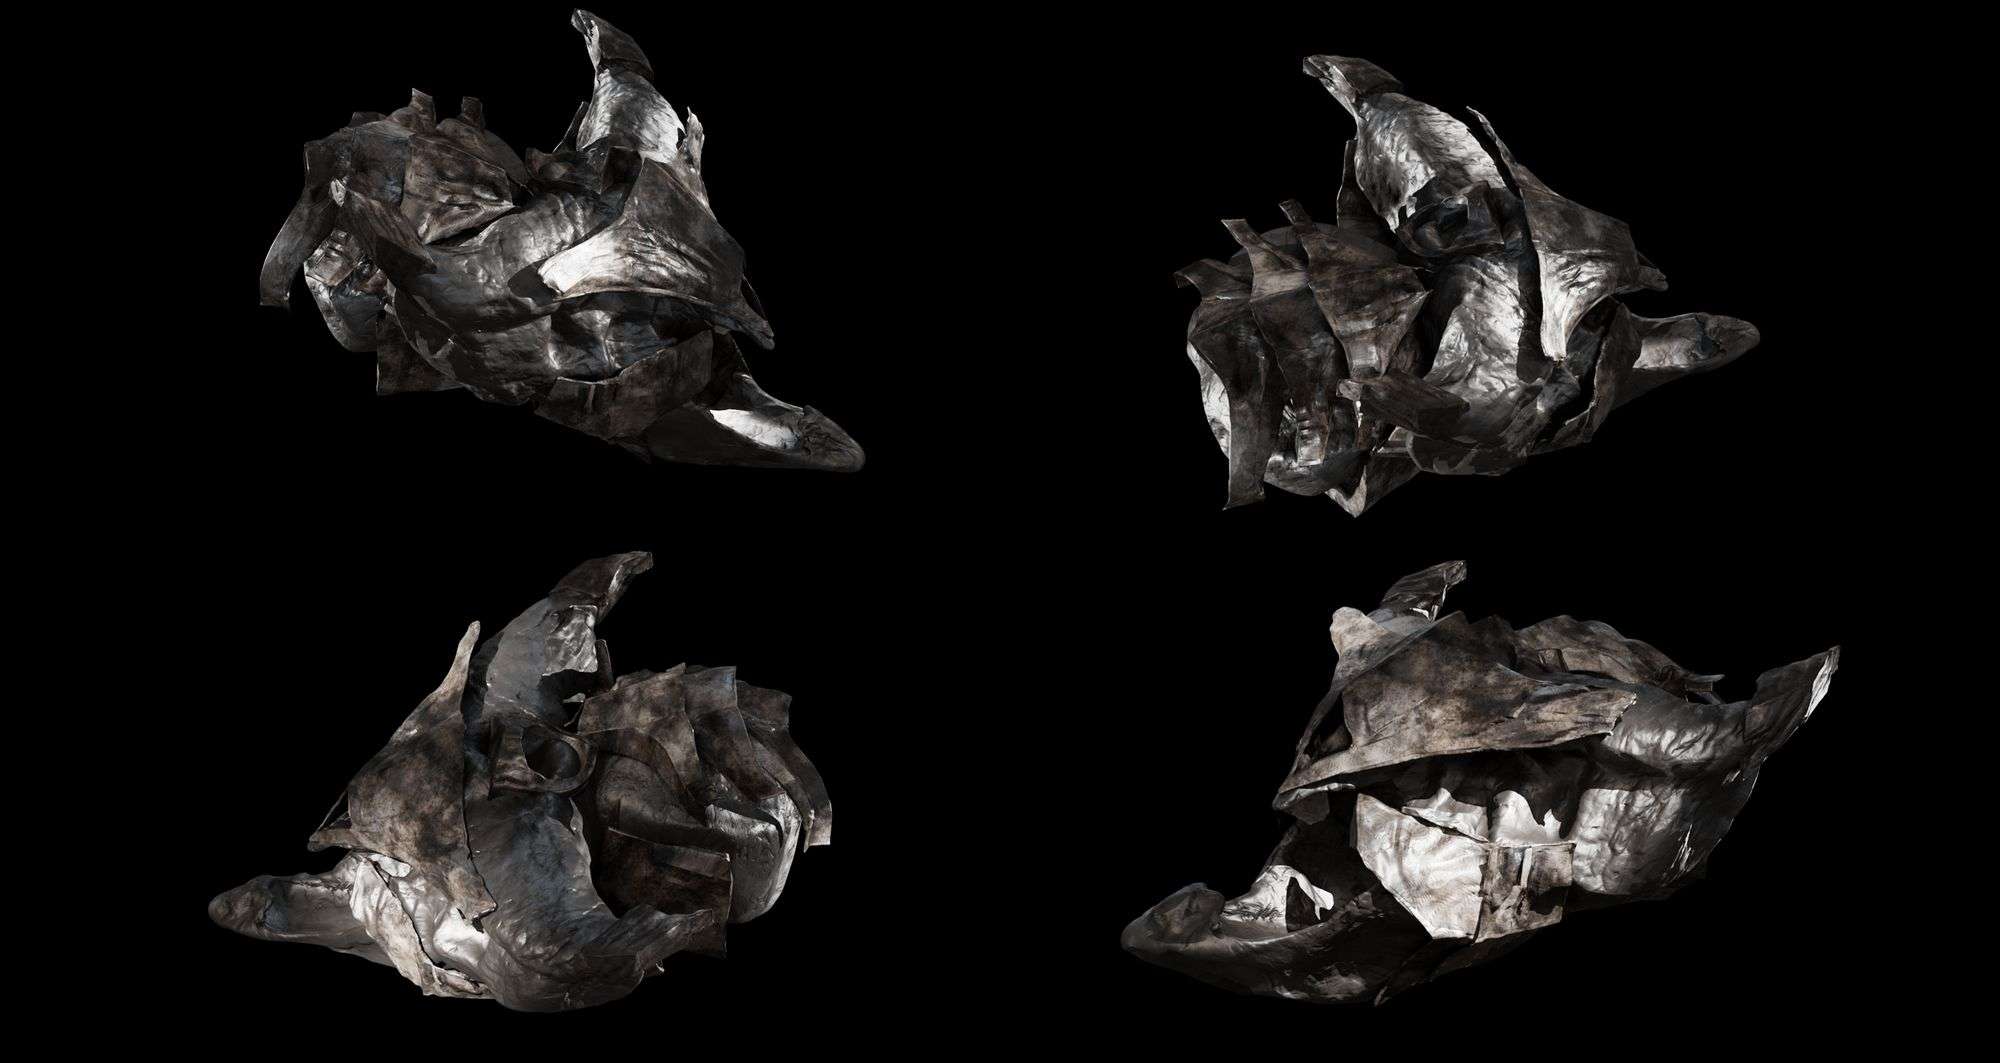
After the simulation is complete, I jump into rendering. This is where I finally apply my textures and visualize how the motion blur and the edge displacement will push my simulation to the next level. Motion blur plays a key role in this. In my experience, I found that it’s really important to render the 3D motion blur instead of using 2D motion blur in the compositing stages of FX simulations. Although 3D motion blur increases the render time, the result is much more realistic and beautiful. Because rendering motion blur is a very expensive process, I always output a low-resolution render first to quickly visualize how the overall motion blur is affecting the scene.
For the edge displacement in my model, I have a large-scale displacement over the entire surface and I used texture displacement to get the details in the inside faces. Aside from that, I also spent some time texturing my environment.
4) Render Passes and Compositing
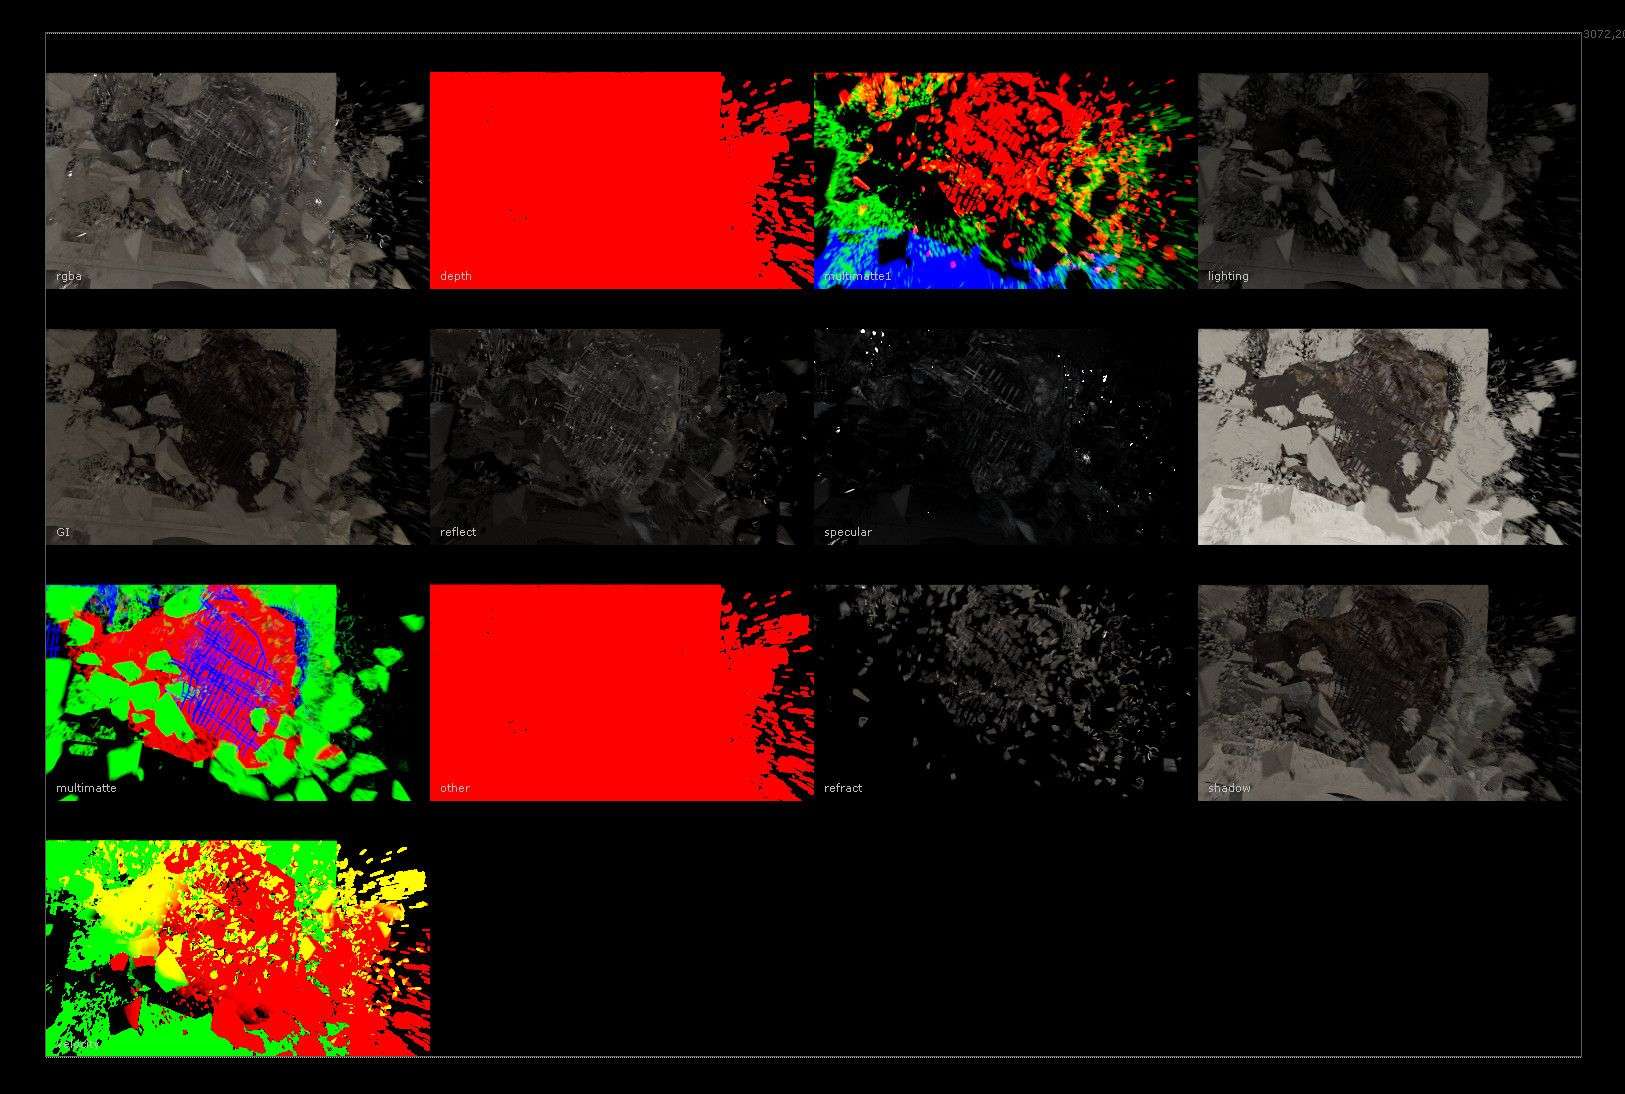
A good FX Artist should familiarize themselves with rendering and composting because you may need to create a custom AOV or make a slap comp to present your effects.
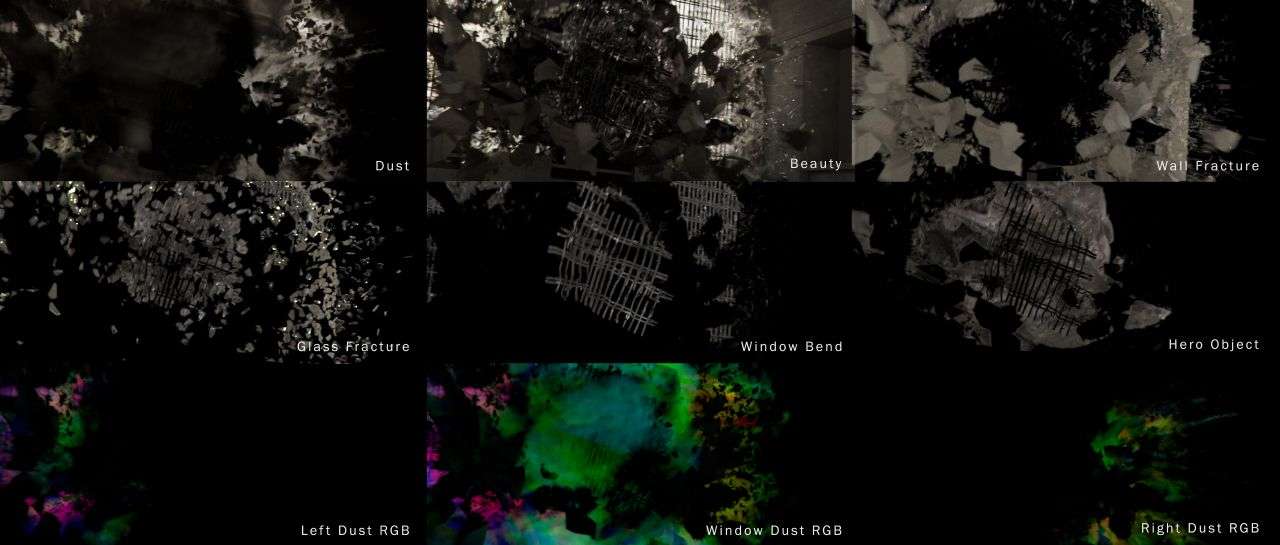
In this project, I rendered multi-passes for my geometry and I also created RGB & GI passes for my dust. With these RGB passes a compositor can isolate the dust, control the focus with Zdepth and control the lighting. These passes allow for maximum control in the compositing stages because you can make adjustments without having to render another simulation.
I love using Nuke for compositing because it has a user-friendly interface and the node based layout just makes it easier to organize my multi-passes.
In the compositing stage, I always add lens distortion, chromatic aberration, a vignette and subtle grain over everything. These little details will help your render get closer to the footage that was shot by a camera because these imperfections are what make the footage look more realistic and less cg. I also added the rays of light that shine from outside into the building when the wall and glass are being fractured. Having a good range of multi-passes for compositing is only going to benefit the project and save you from re-rendering your scenes.
