Hello, my name is Kylian Zannettacci. I'm going to show you a simplified breakdown of one of the creatures of my demo reel, the velociraptor, which will run on three levels, modelling, texturing and rendering.
All that I show you in this breakdown is the result of two years of hard work in my school "Aries Grenoble" with the help of Thierry Avelange, Nicolas Valle and Philippe Metral my teachers who transmitted me all that I know today.
Research of Shapes
Anatomy and references
As soon as I knew which raptor I wanted to do, the first step was to look for stylistic and anatomical references on this one.
The raptor I had in my head was more like those seen in movies than a realistic raptor. So we see the difference with a realistic raptor skeleton (which is really very small, with feathers) that a raptor such as Park Jurassic who is the size of a human.
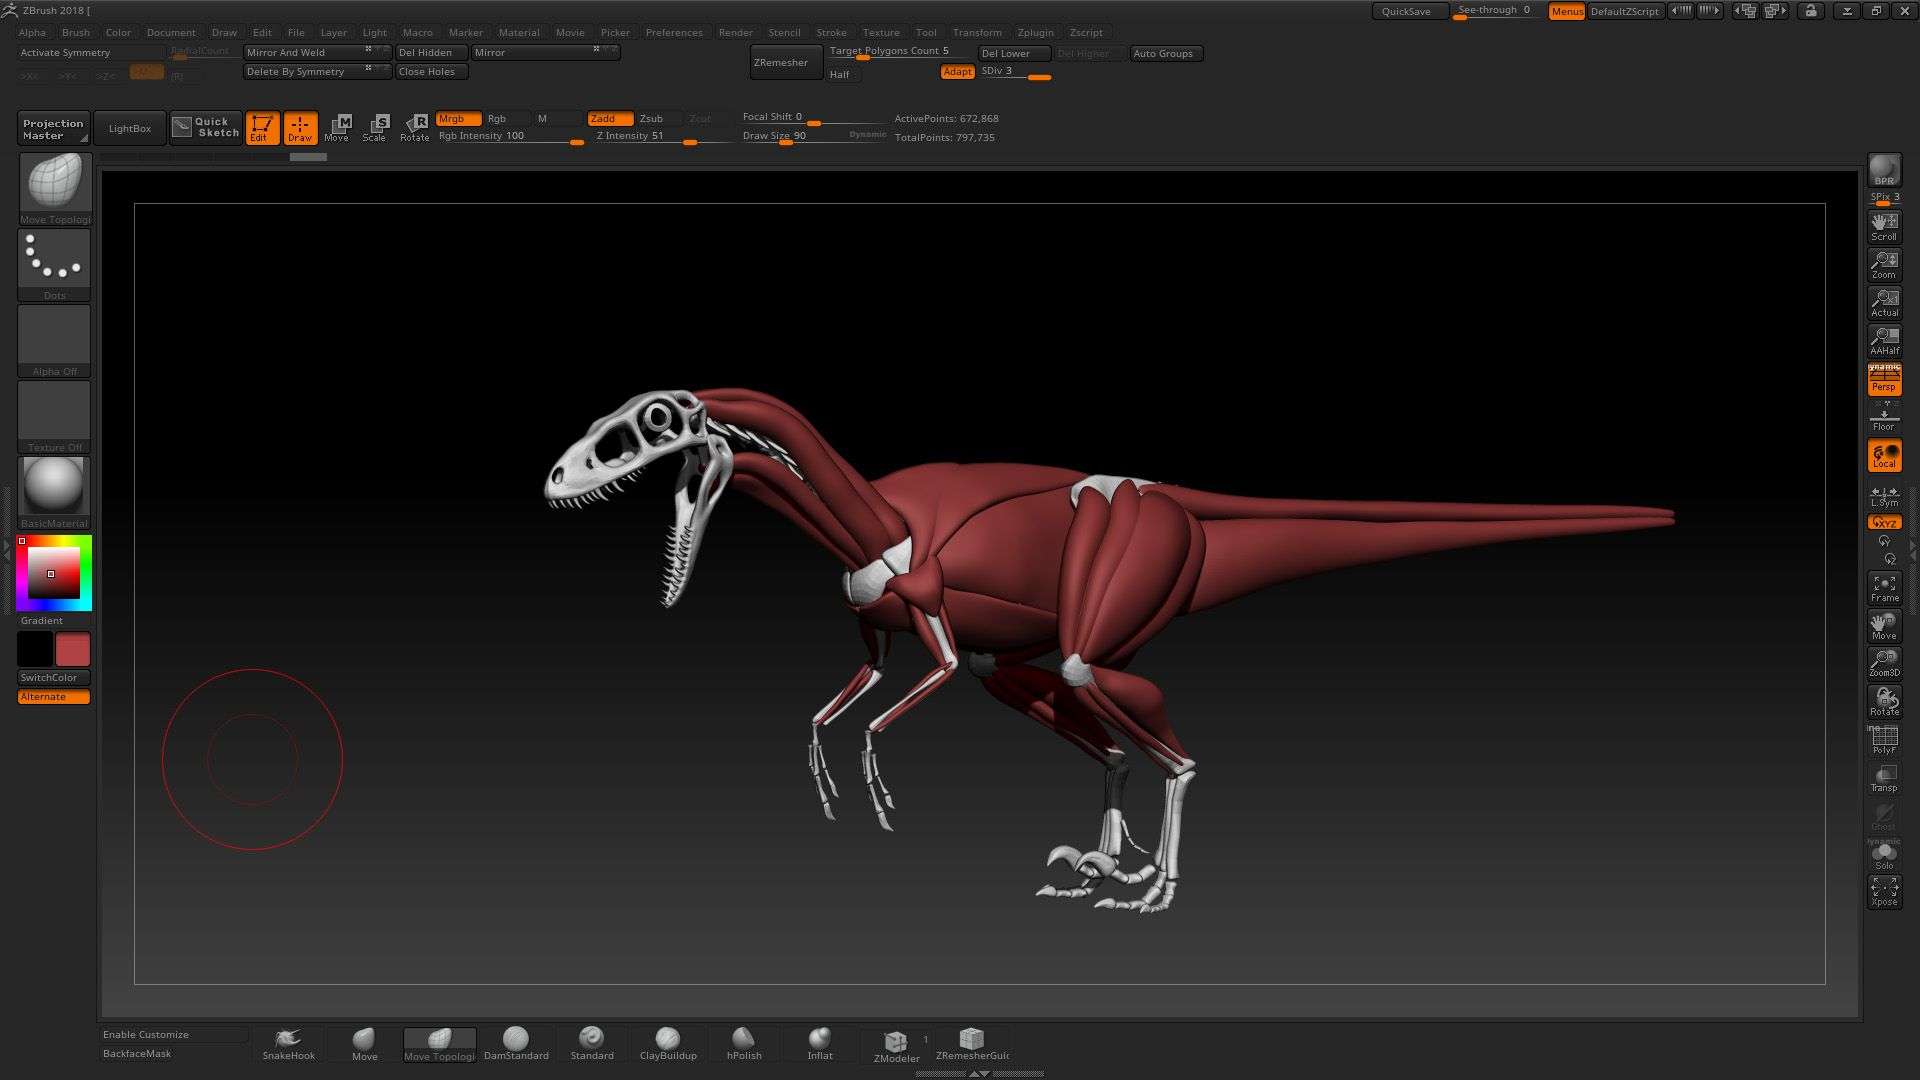
The choice being made I took the real skeleton of a raptor scaled that I wanted (about 1m80) and then I had to look at the musculature of the beast.
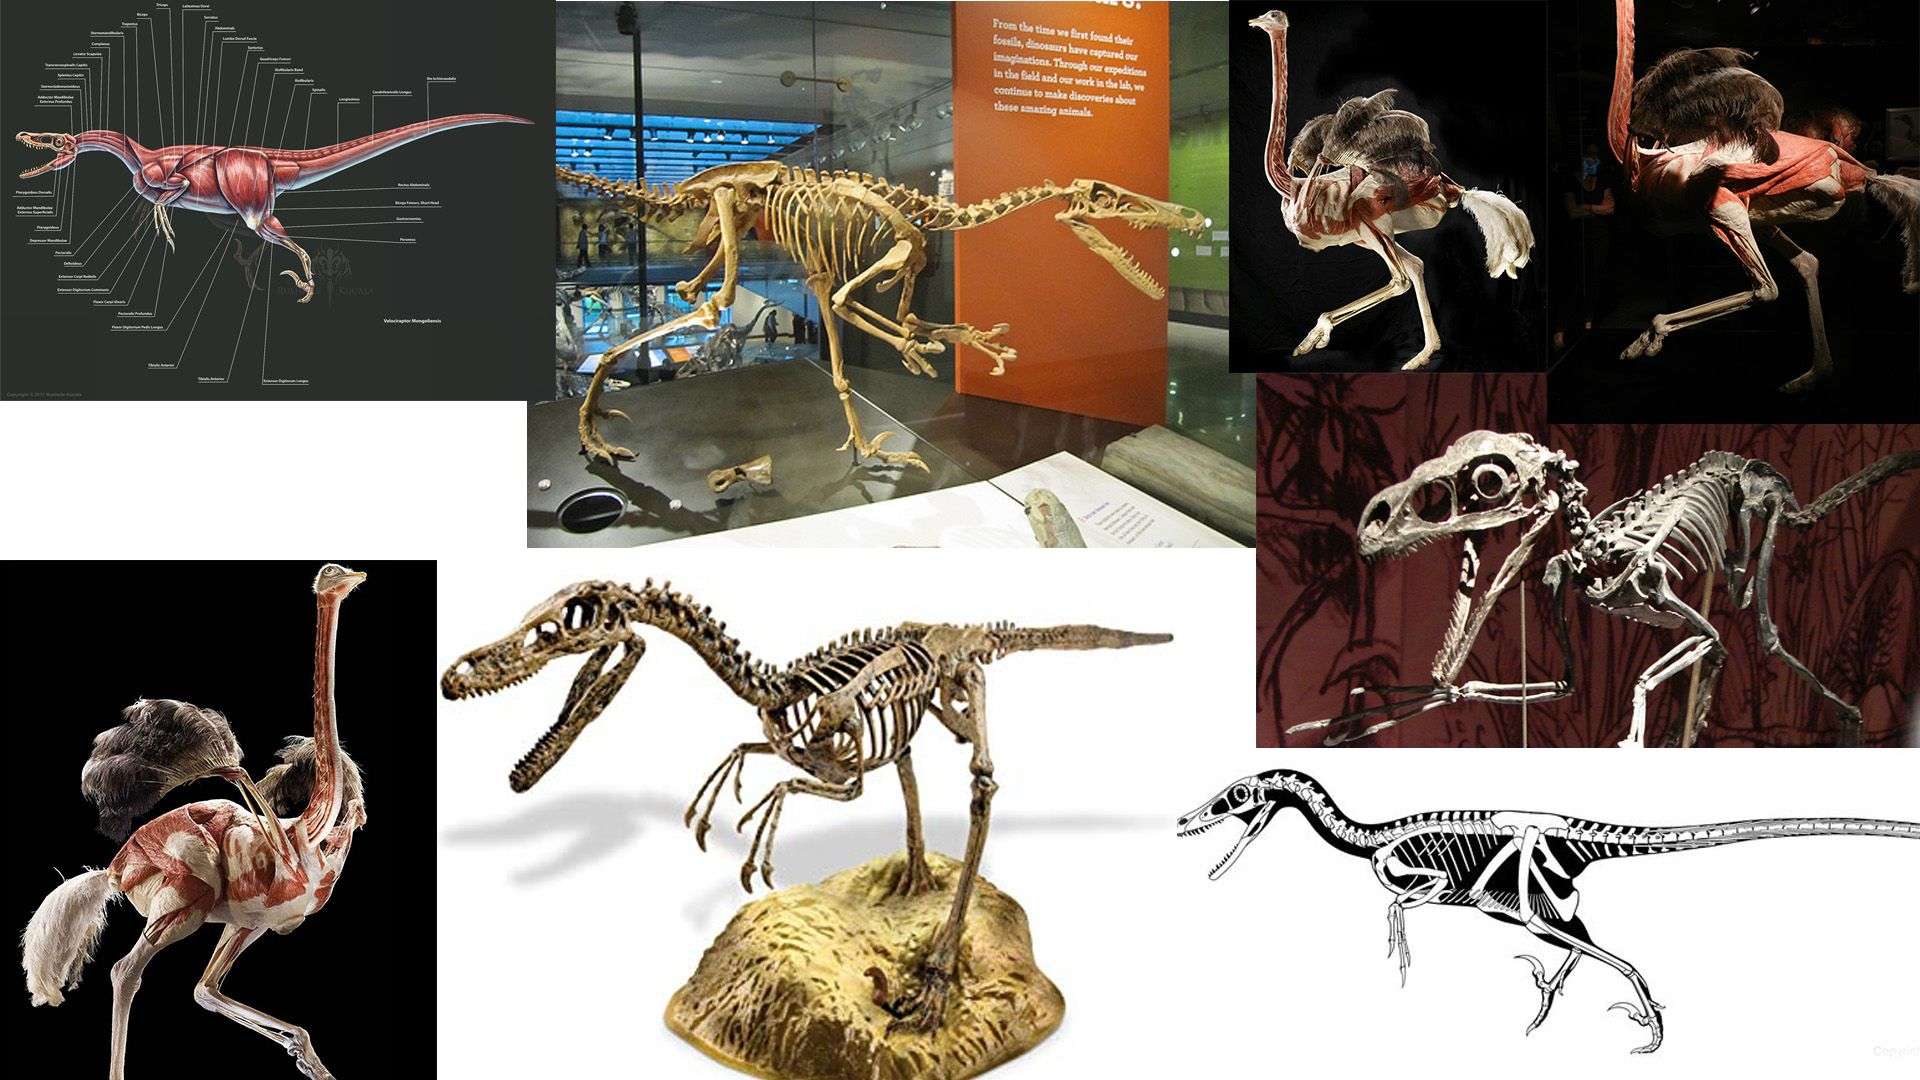
Based on almost the same skeleton, I could not leave the same musculature because otherwise it would have had problems to run so fast. It was, therefore, necessary to increase the muscles of the thighs so that they become powerful!
This is where the references of an ostrich were for me the most logical because their anatomy is close to that of the dinosaurs and their strong thighs allow them to run very fast.
This done, it remains for me more than to decide the style of the scales of the skin and the colour that will come later. So I looked for images that come close to what I wanted
Modelling
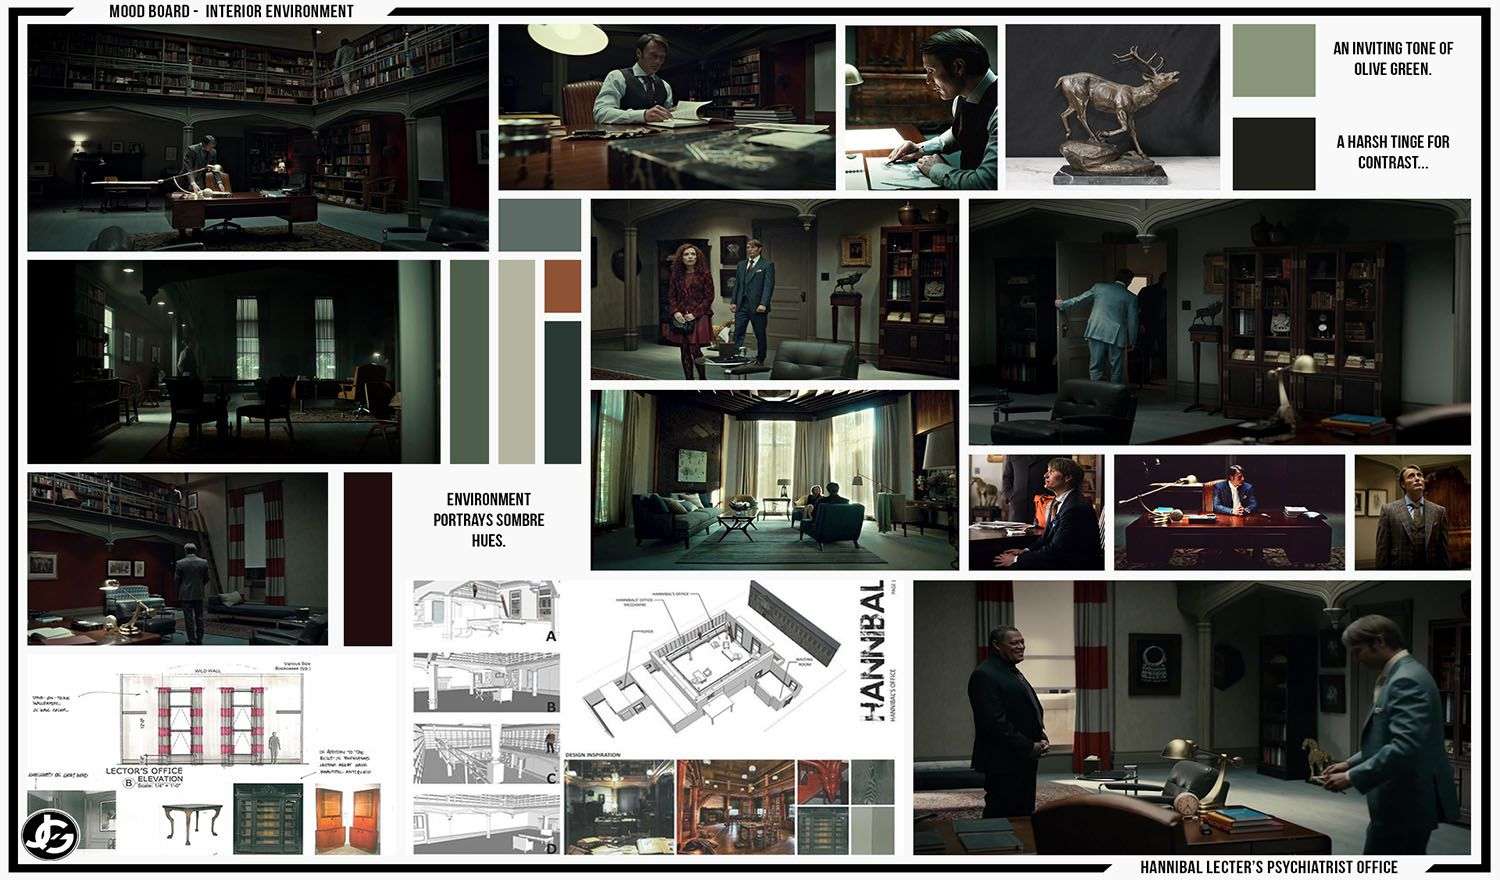
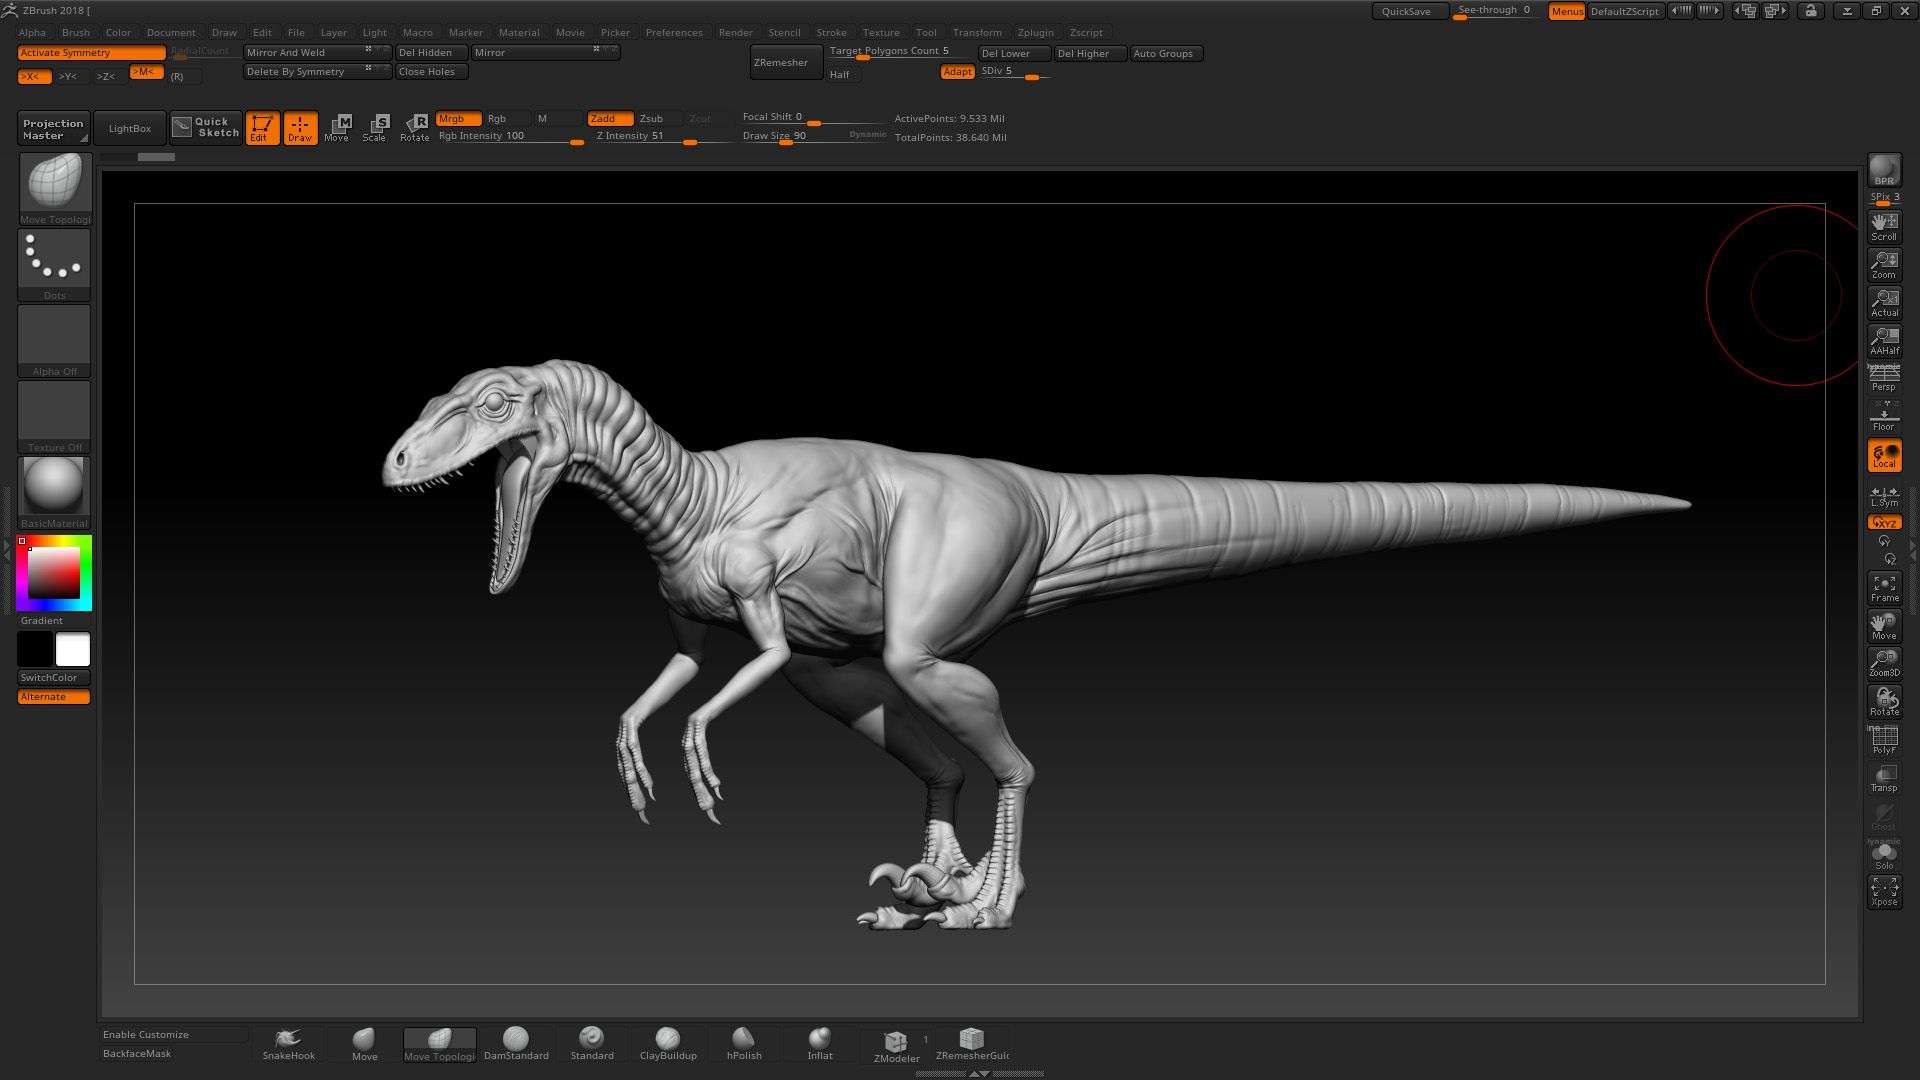
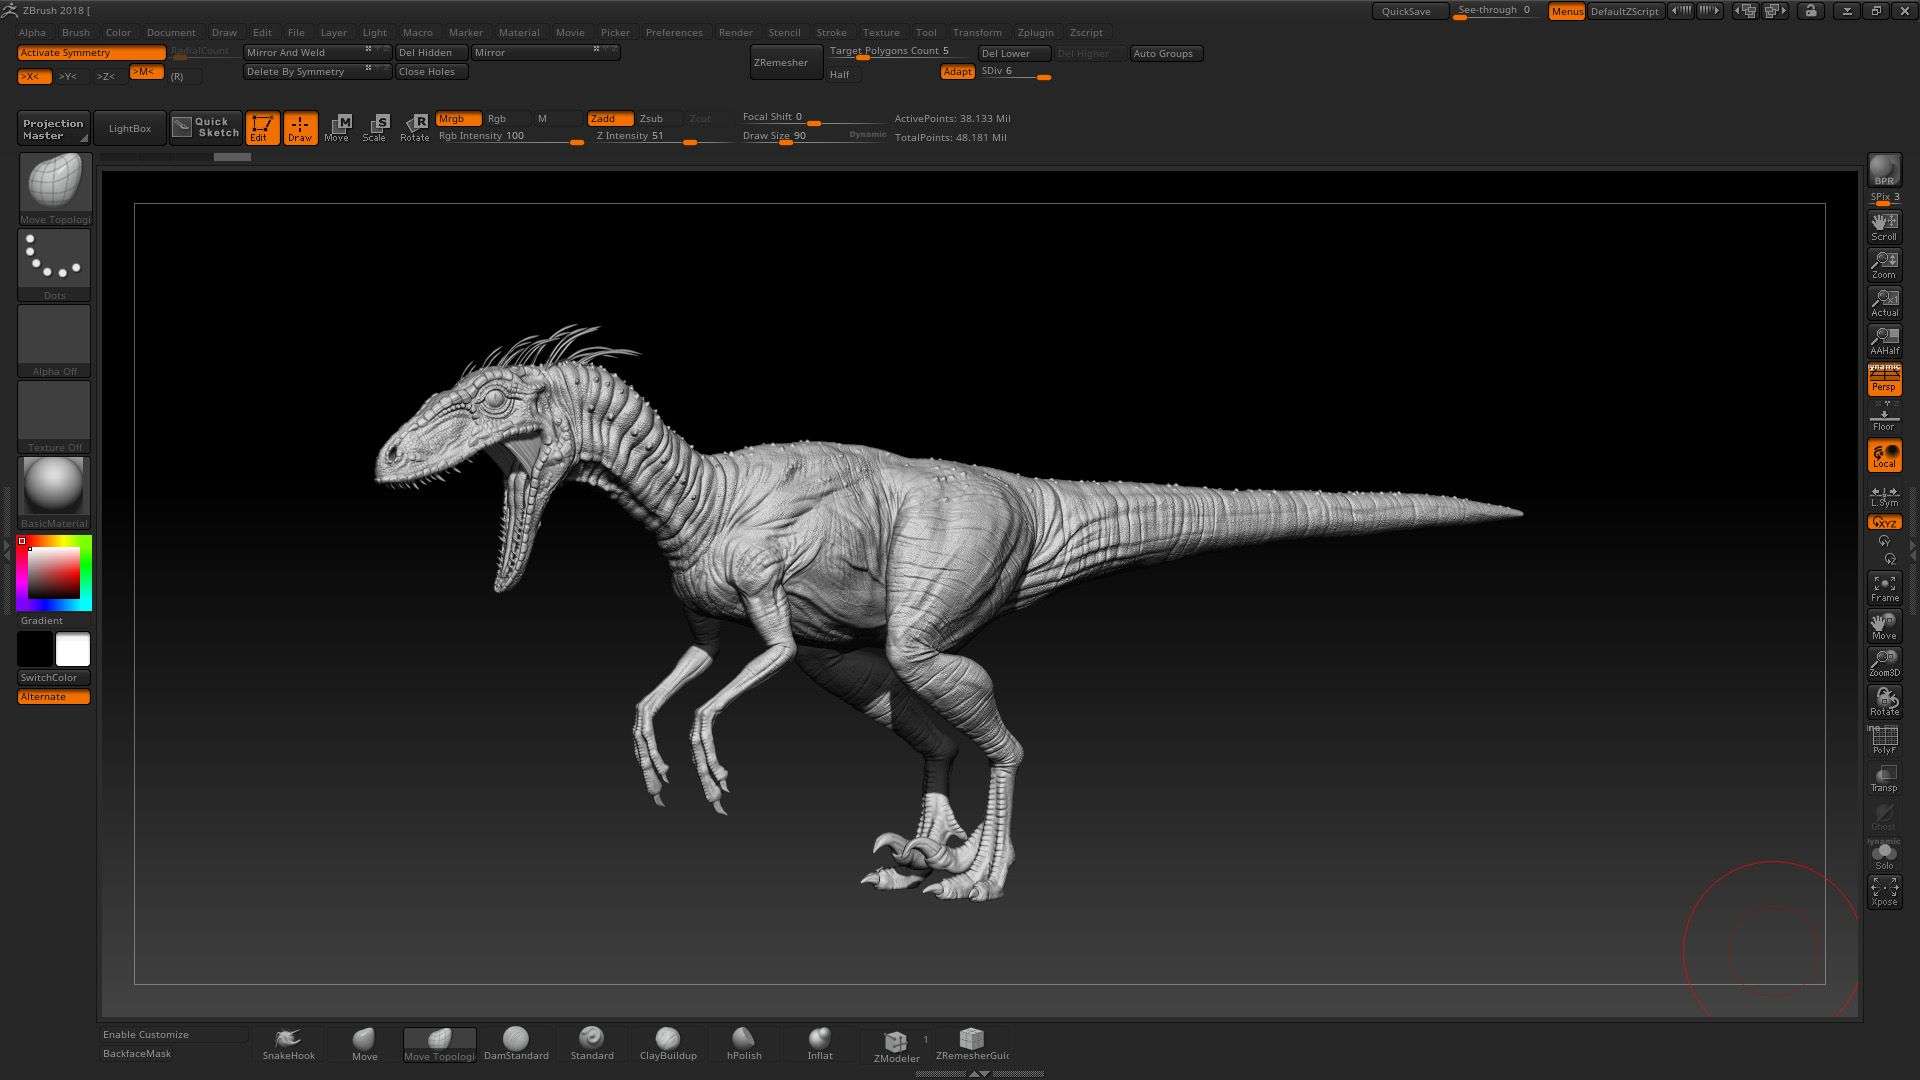
For the modelization, I started directly in ZBrush, and I started by modelling the skeleton then the large muscular group in order to obtain the desired anatomical accuracy
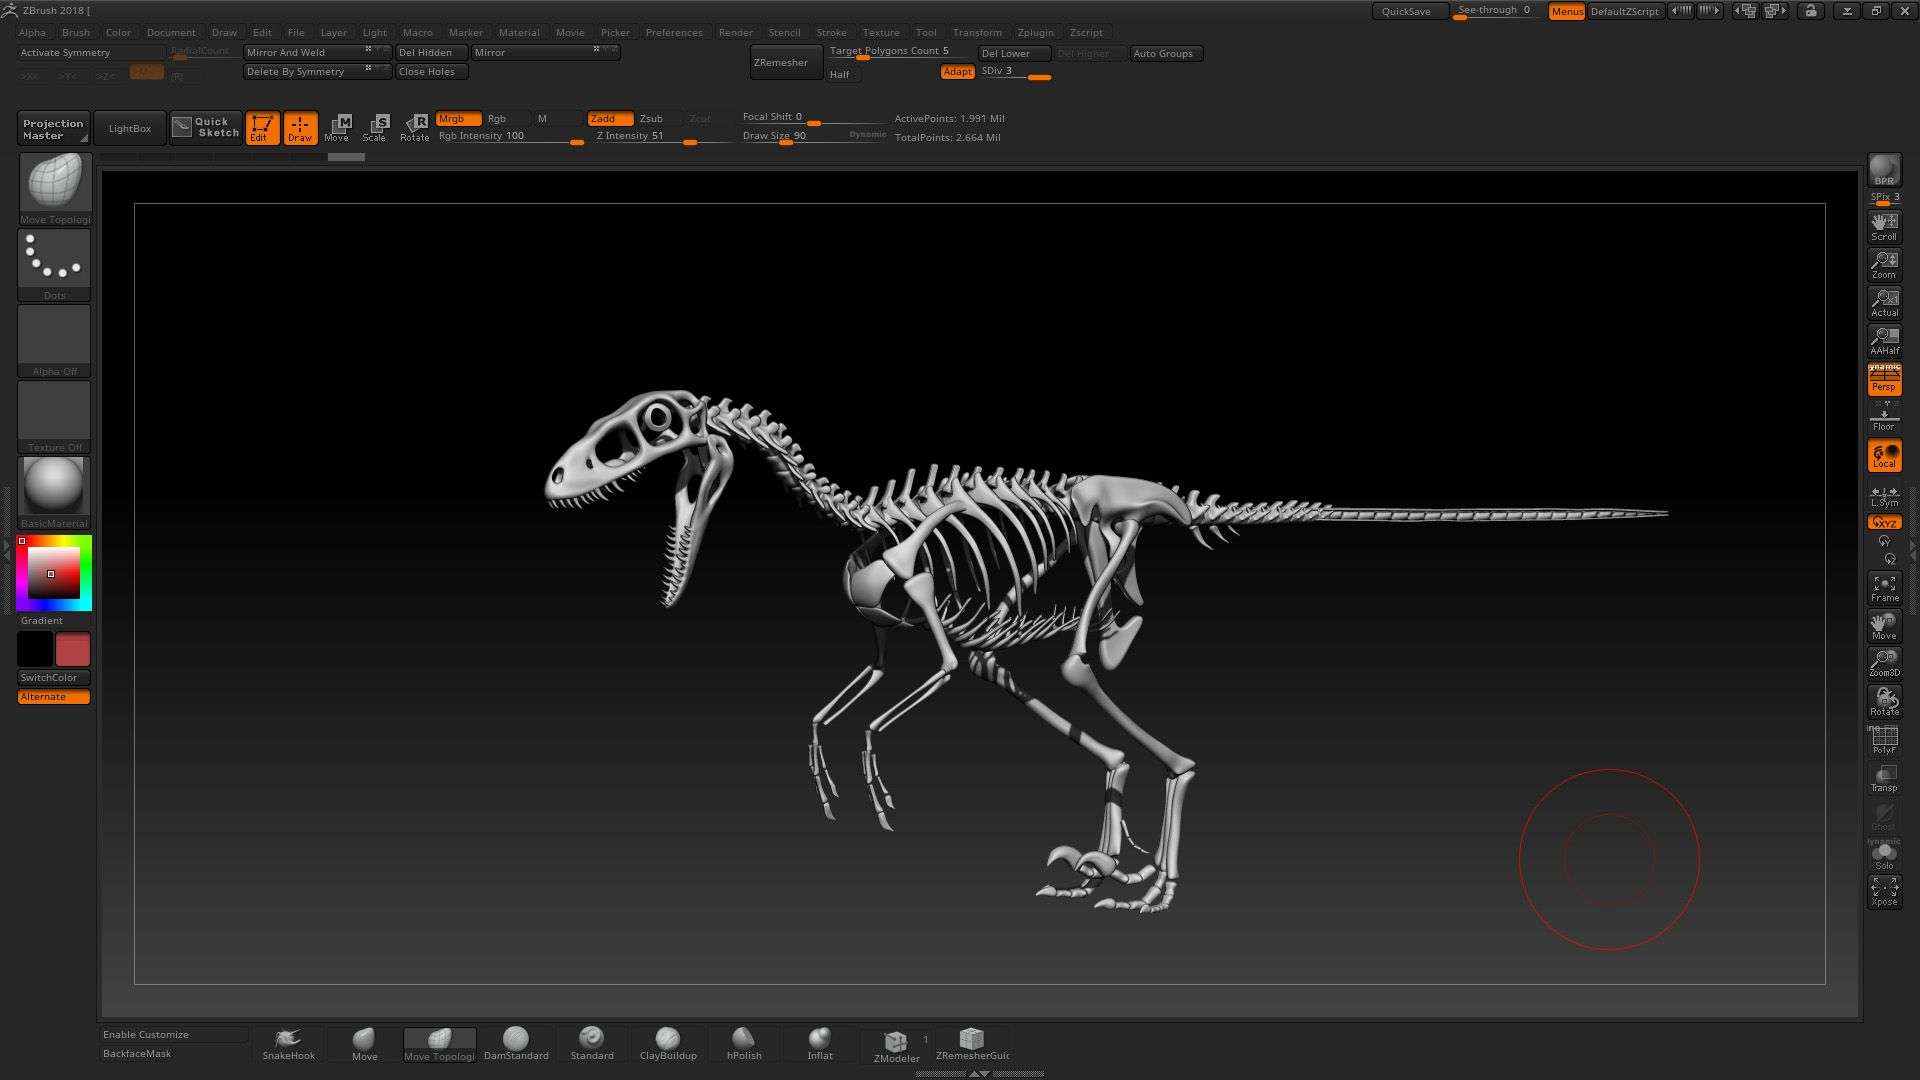
Once the skeleton and muscles were set I could start carving the skin. So I started by doing the global shape of the raptor using a sphere in dynamesh that I stretched along the skeleton with the snakehook tools and the move tools.
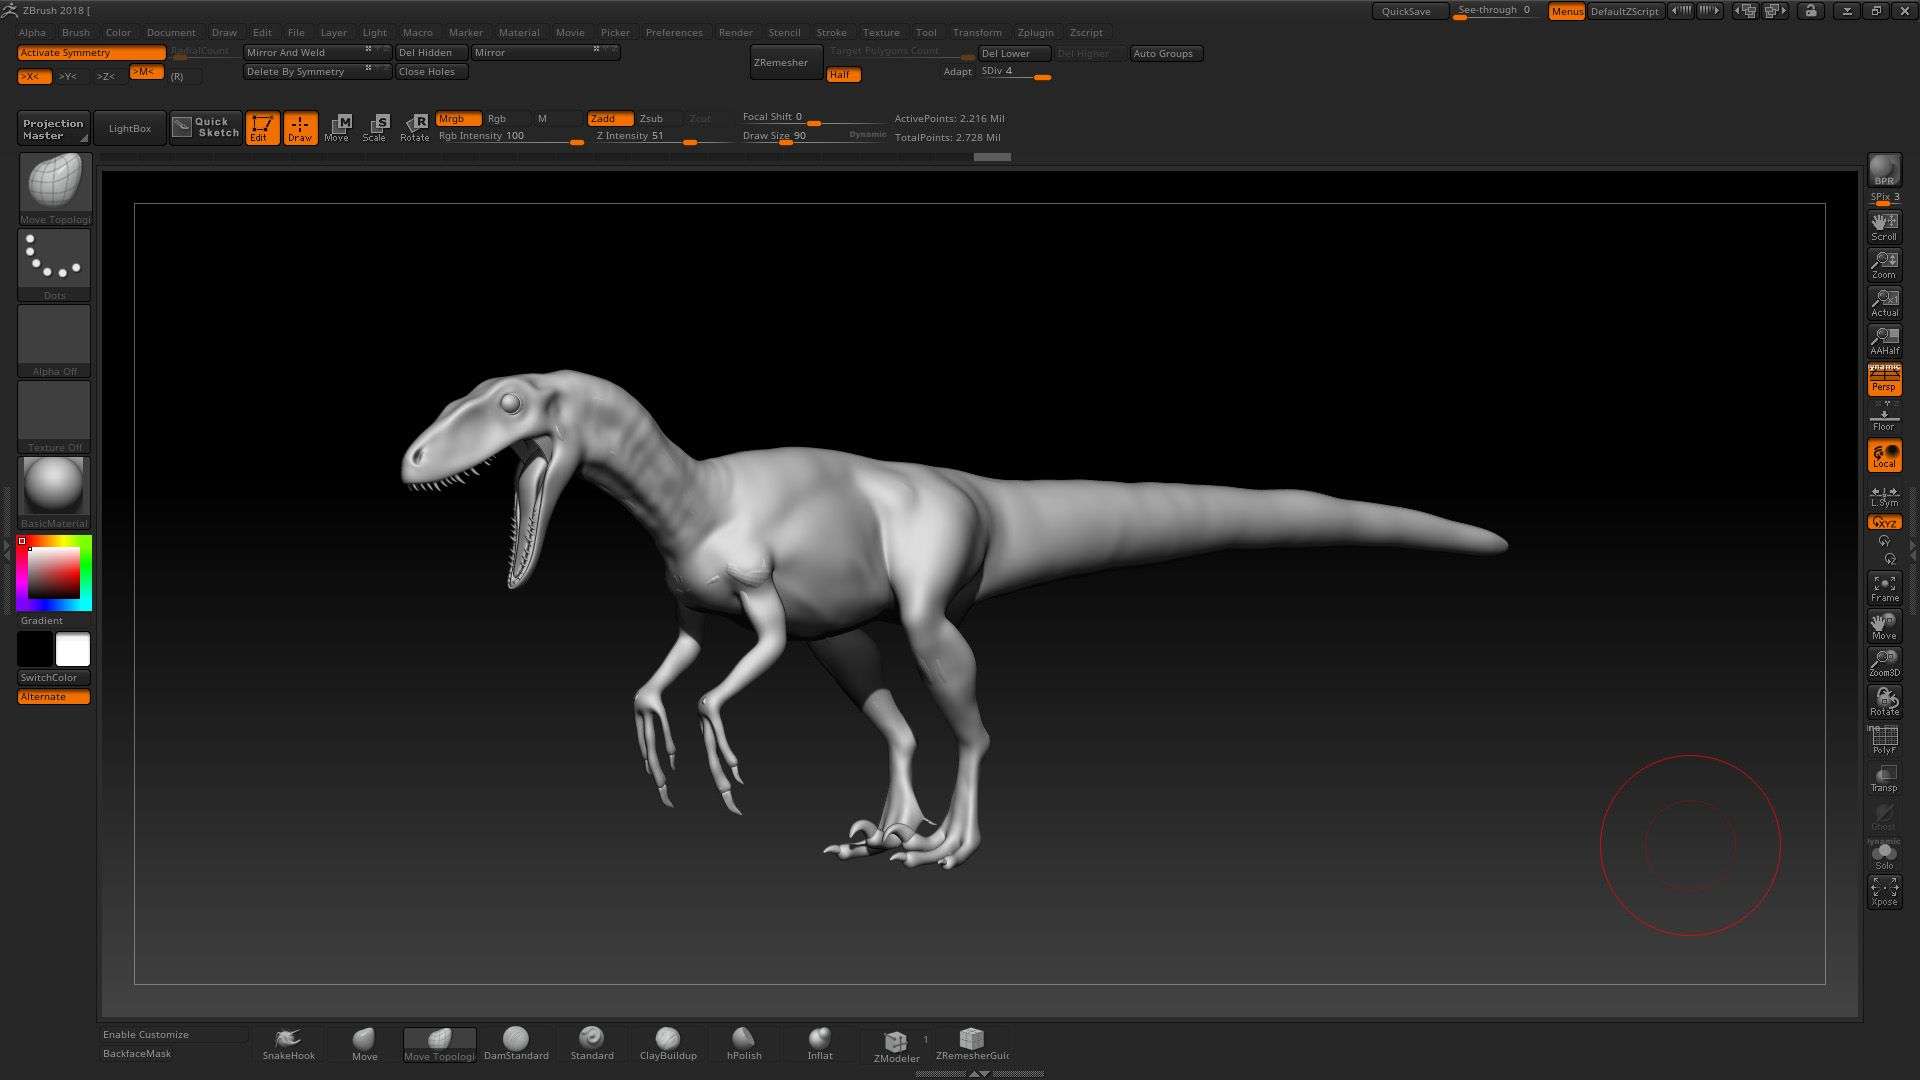
The second step of the sculpt of the skin is to make the secondary shapes, I come here to give all the folds of the skin which are the most marked without using alphas.
So I come and draw all the folds of the legs or mark the places where there is not a lot of fat. To do that I used my favourite brush set (move tools + claybuildup + dammstandard brush).
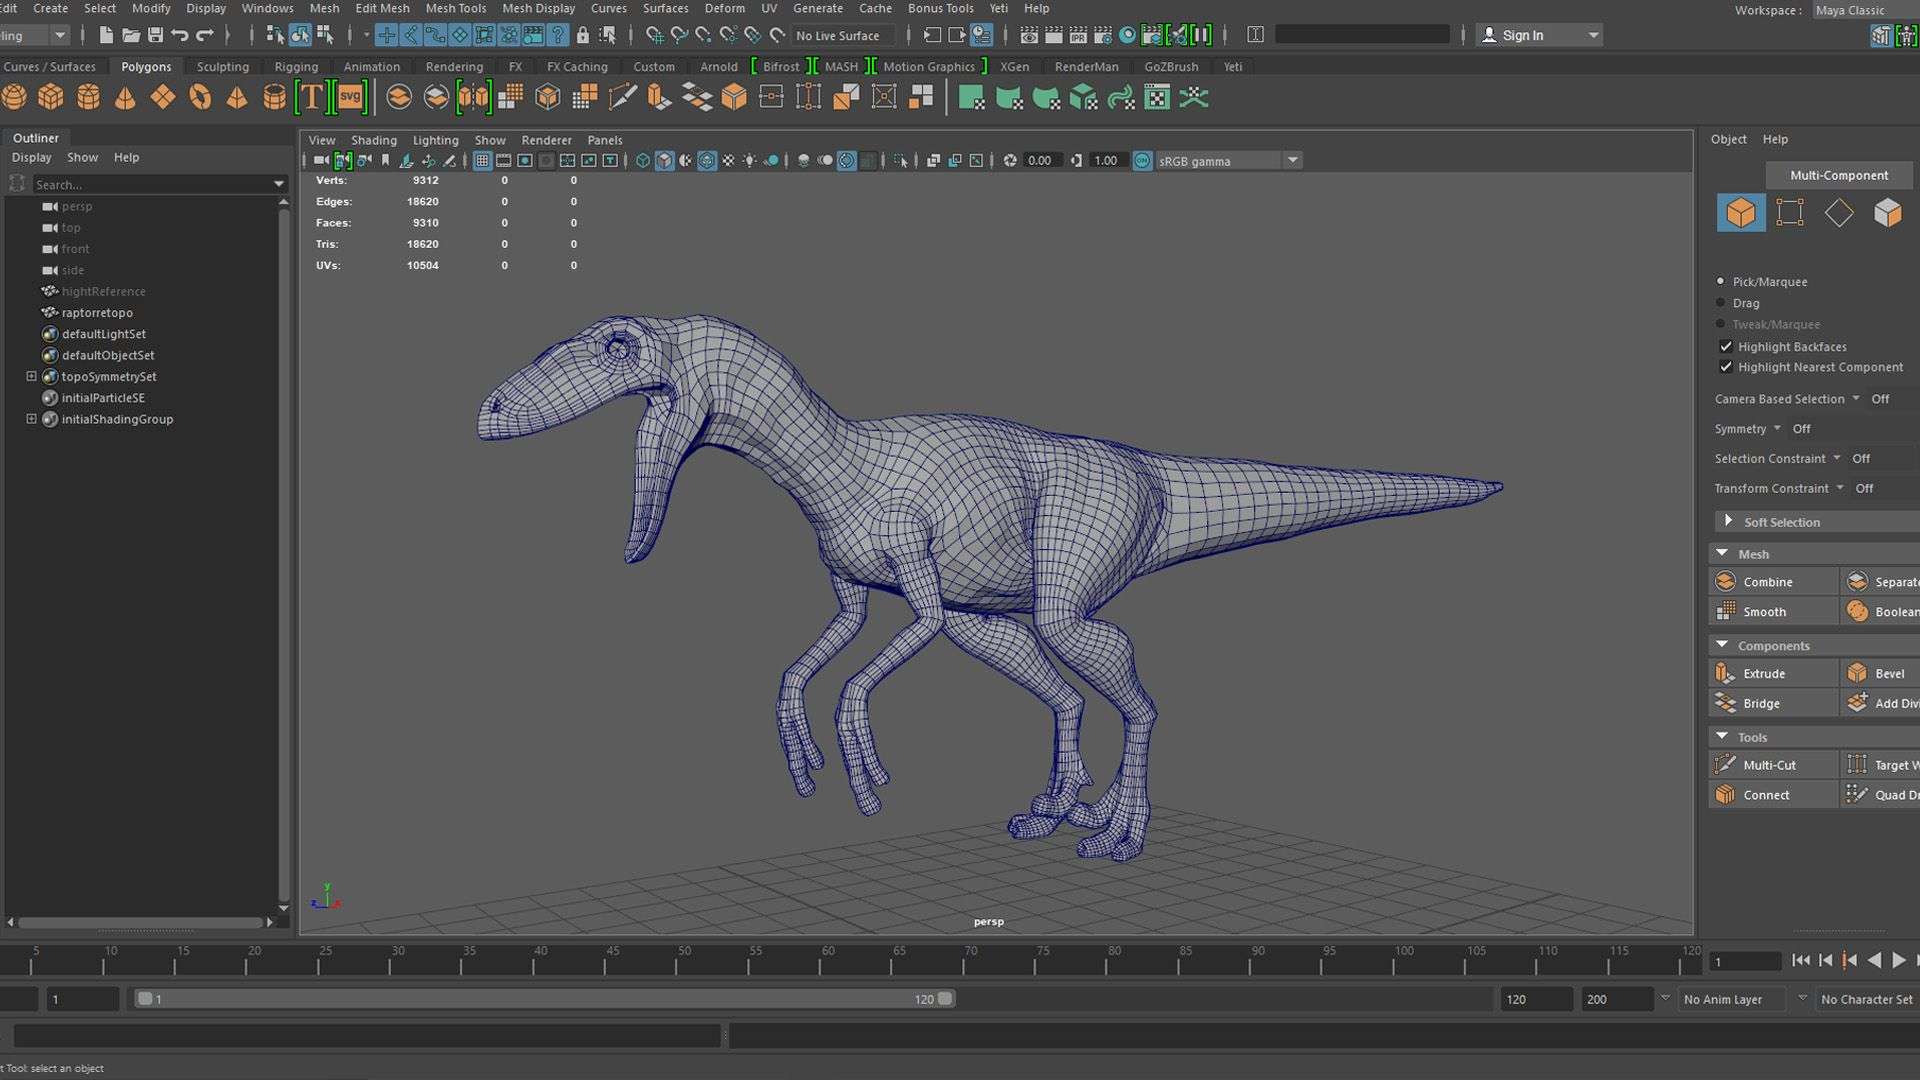
Then, before going to the finer details of the raptor, I had to retopo the mesh to have a more accurate mesh and to be able to climb in a level of details better thanks to a good distribution of the polygons.
The retopology would also serve me for a future rig on this model if it ever has to be animated. So I used the master decimation plugin to lower my model around 600 000 polygons without losing details to be able to import it into Maya.
I went into Maya and I used the quad draw to retopology.
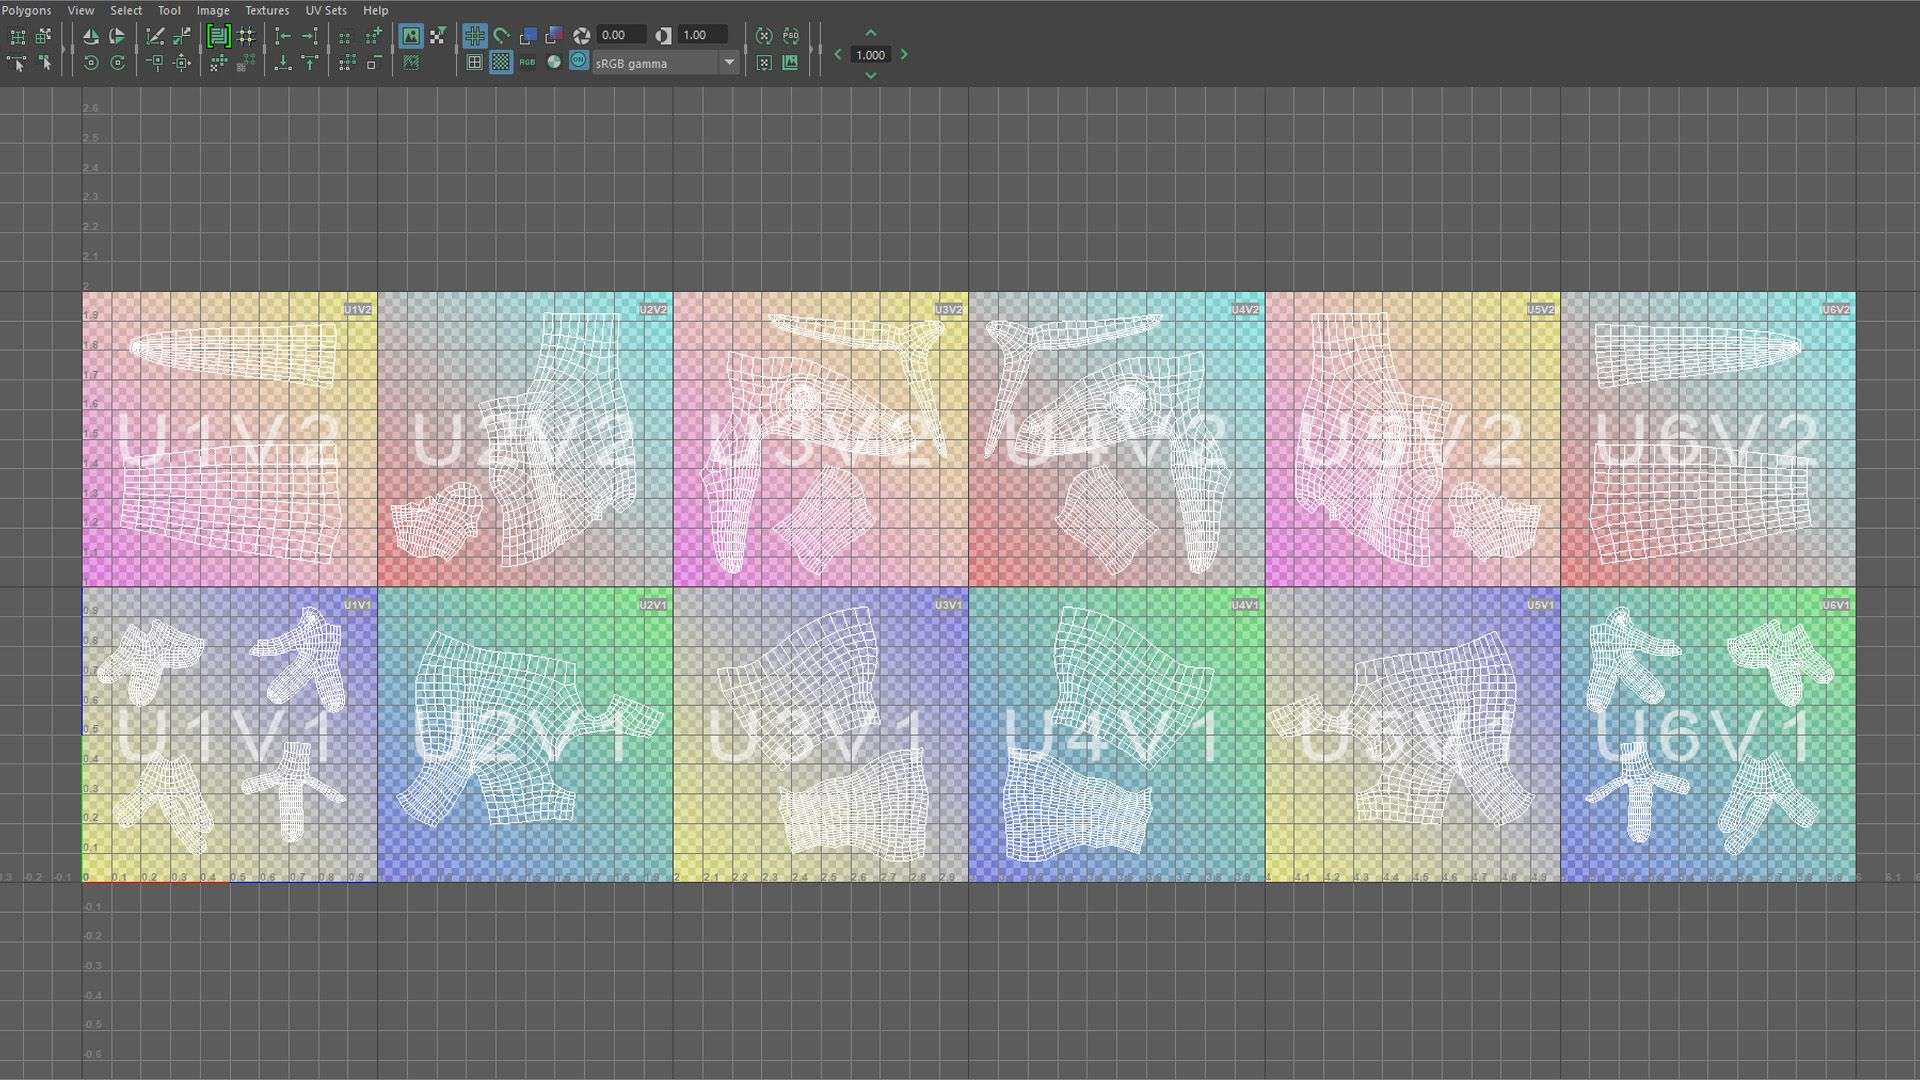
Once finished I unfolded the UVs of the raptor also in Maya. I had to be sure to have UVs big enough to get the level of detail that I want.
So I made 12 tiles. It was also important here to think about mirroring UVs because Husband (for textures) uses mirror only on UVs.
Once the retopo and the UVs finished I imported my new mesh in ZBrush and made a projection of the old top to recover my levels of details and to be able to start to sculpt the scales and put the alphas.
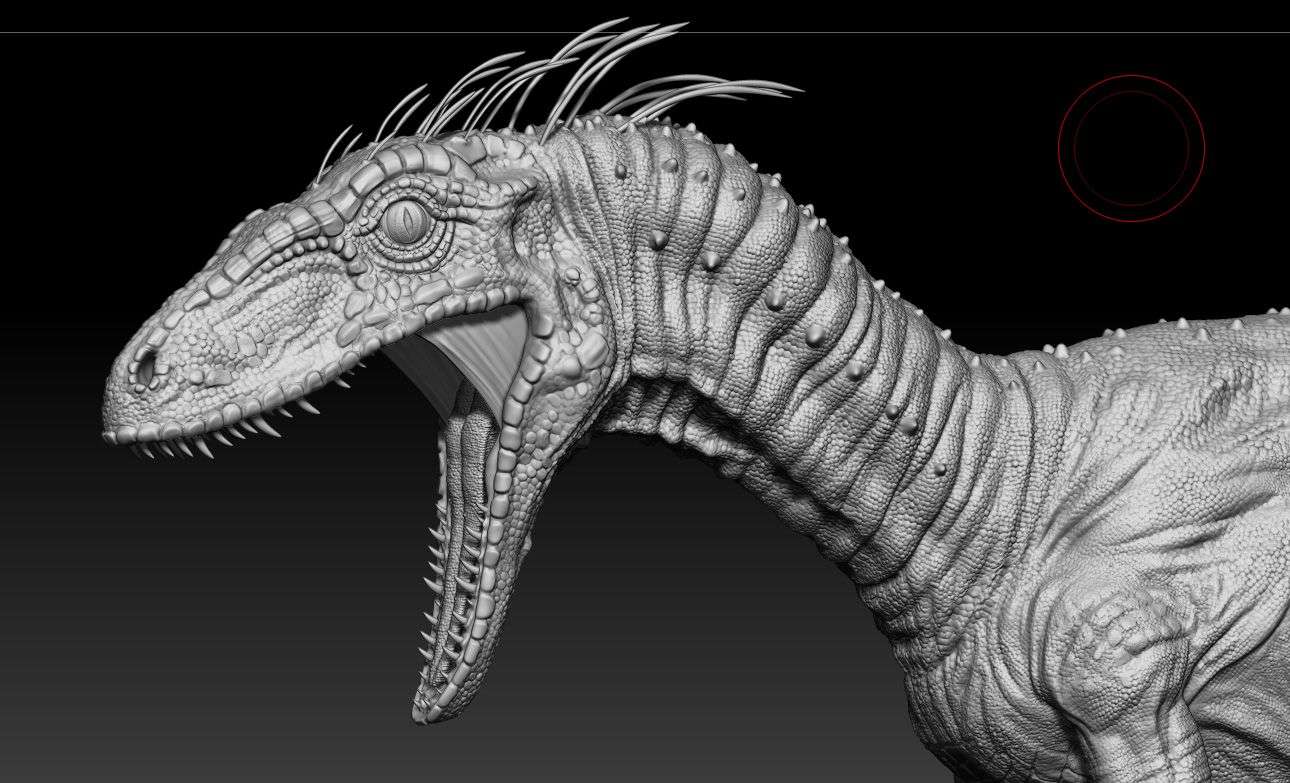
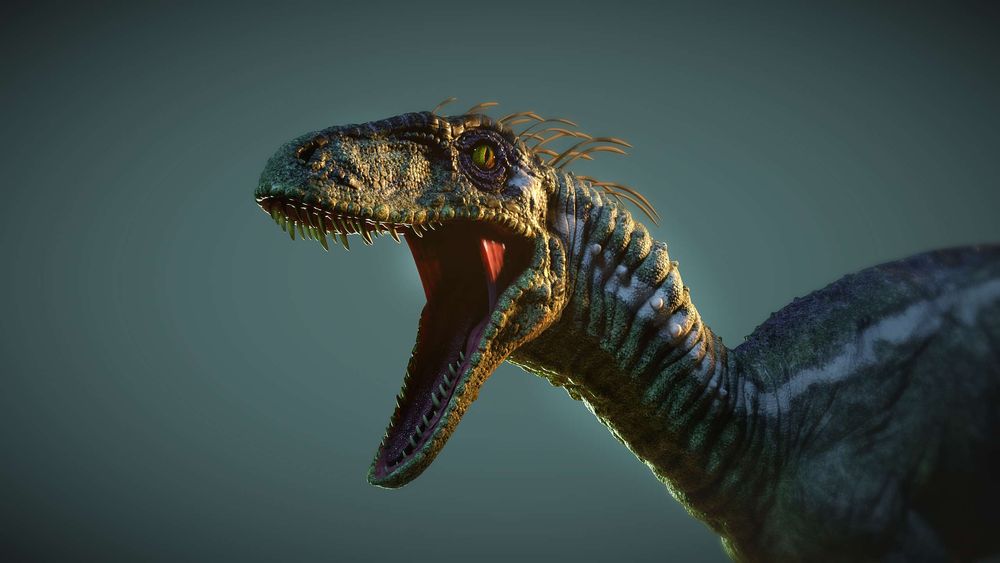
To detail the raptor I used the clay tools for large scales and the standard drag with alpha for small. I have used scans of lizard skin or frog or crocodile because it is closest to the aspect I wanted to give.
For most of the alphas that I used, some of them asked to be re-sculpted over with a rake or a damstandard to mark well the curvature.
Texturing
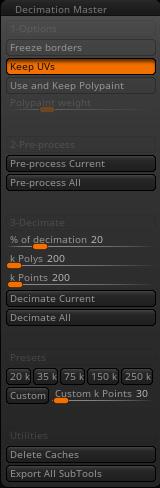
In order to be able to texture easily under Mari I decimated the mesh of the raptor with master decimation by ticking the option "keep UVs" which allows me to stay at a very high level of detail while keeping the UVs and have between 500 K and 2 M of polygons.
Then I went to look at the reference images I selected at the front to see how to texture my raptor. As with sculpted scales, my main references are the crocodile and the lizard.
This will allow me to stay in a realistic colour, we always observe that the belly is lighter than the back for example.
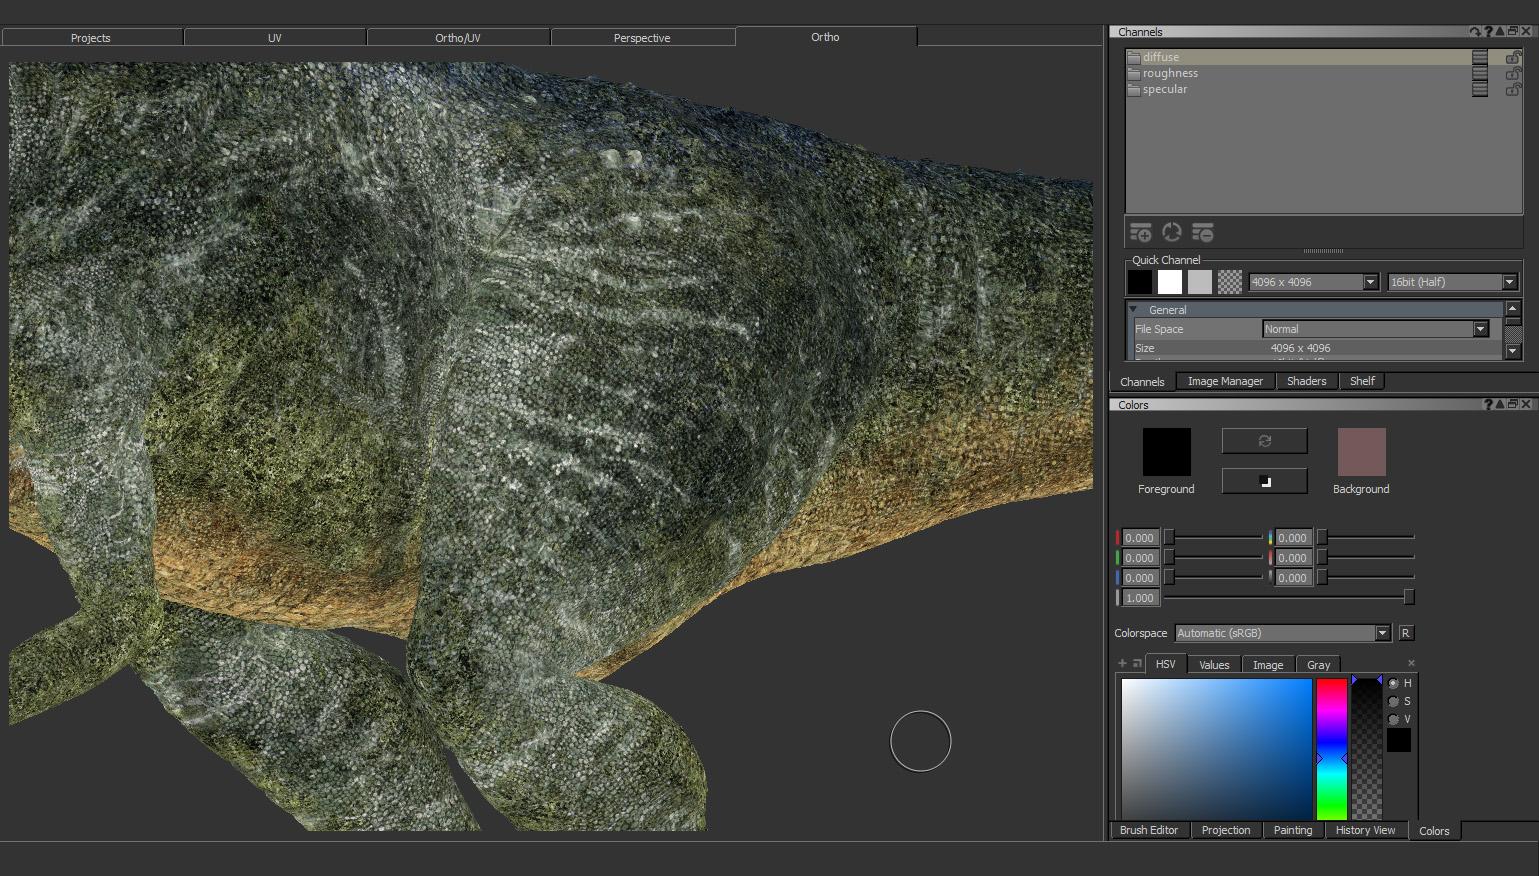
In Mari I started by making a colour base by painting the colour by hand then I used Mirror patches tool for symmetry on UVs to save time.
Then I used the paint through to paint images of the chosen animals, over my basic colour to give a more realistic look.
I used stain and marble images to get the colour and shape that I want.
To mark the scales I sculpted in ZBrush I exported a cavity map that I made with the masking tool by pics and valley or by smoothness.
Then I made a polypaint by making a colour file object with the mask and I exported it as a texture from polypaint and finally import into a new channel for use as a mask.
I then made my maps of glossiness and specular using diffuse as a base and retouching it with levels and saturation.

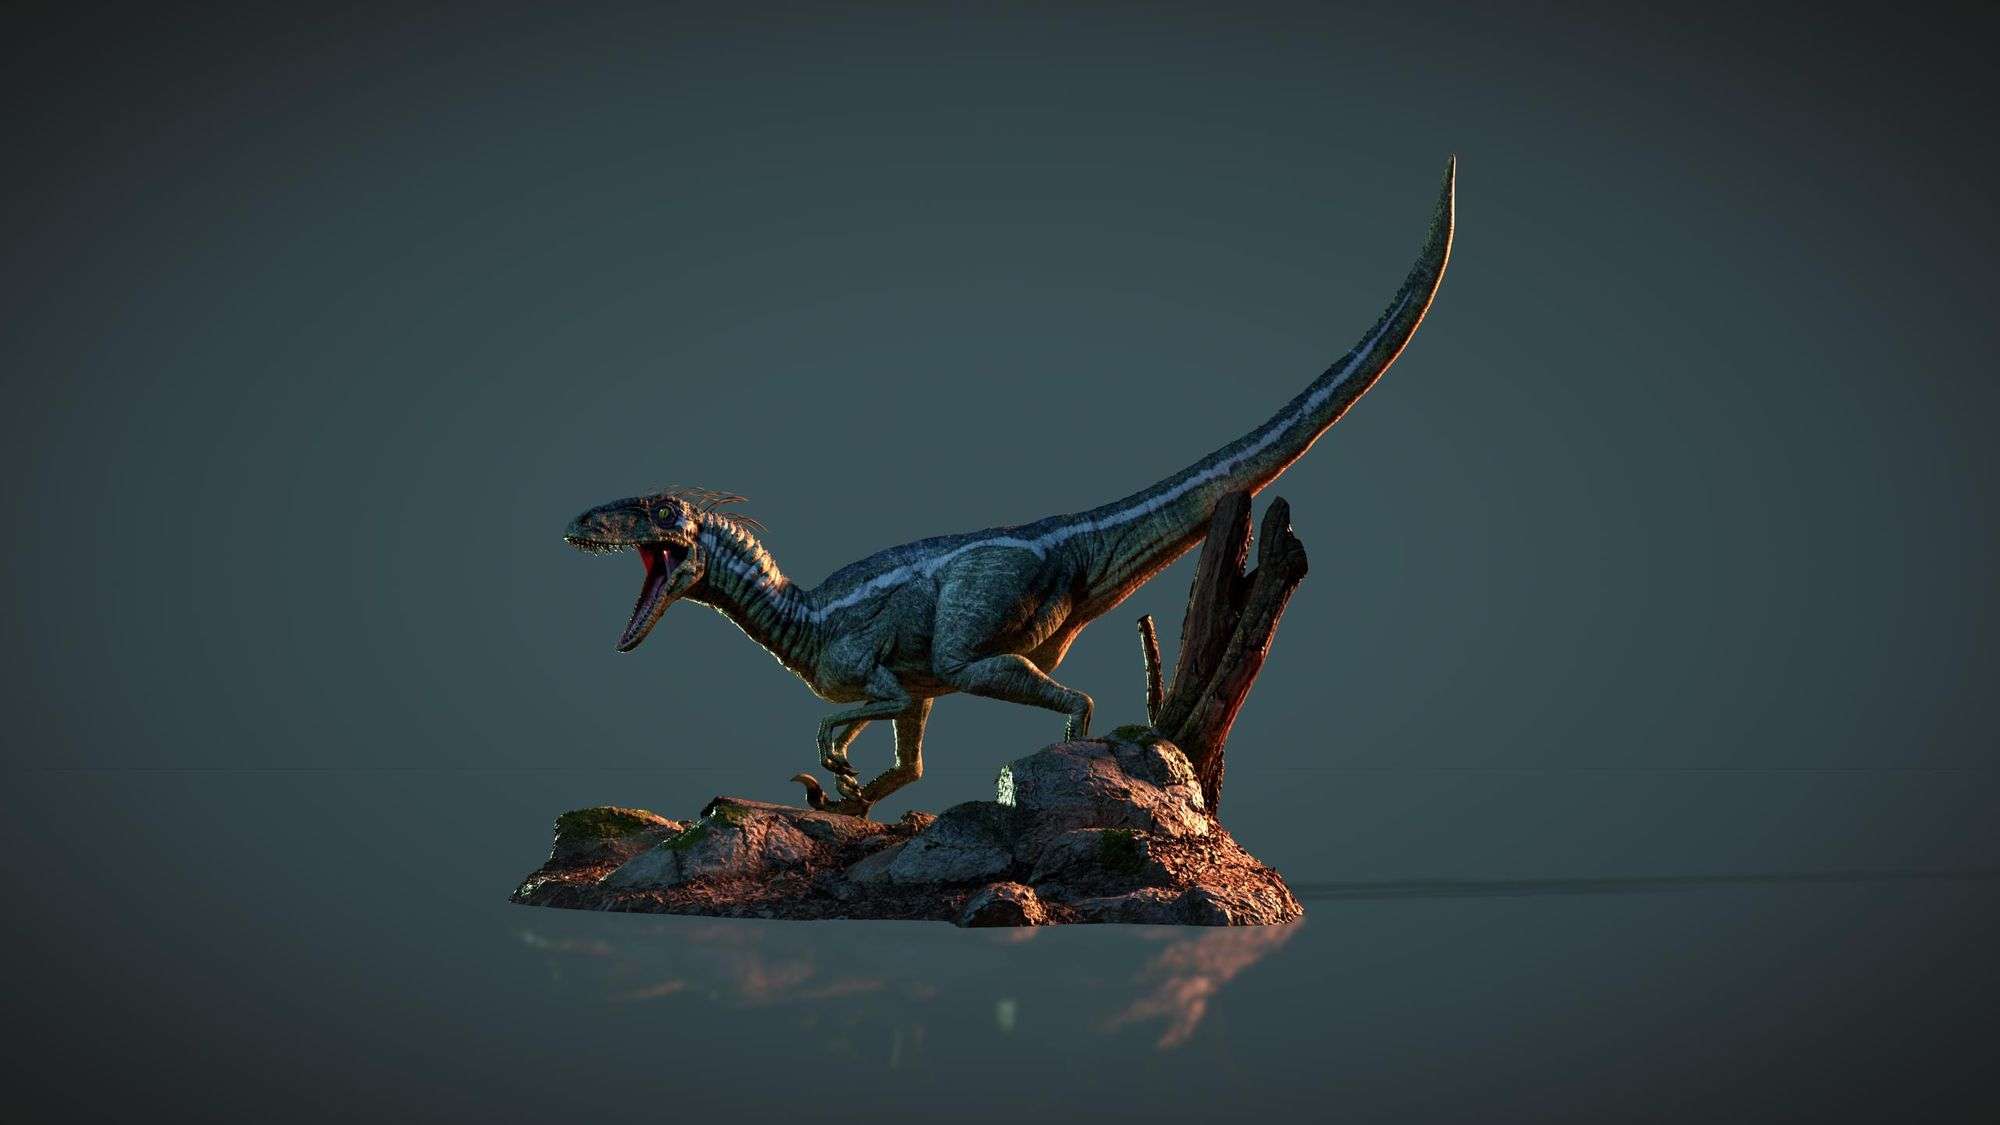
Rendering
Before I could render the raptor I had to prepare the mesh. First of all, I had to put it in pose to give it more interesting.
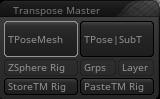
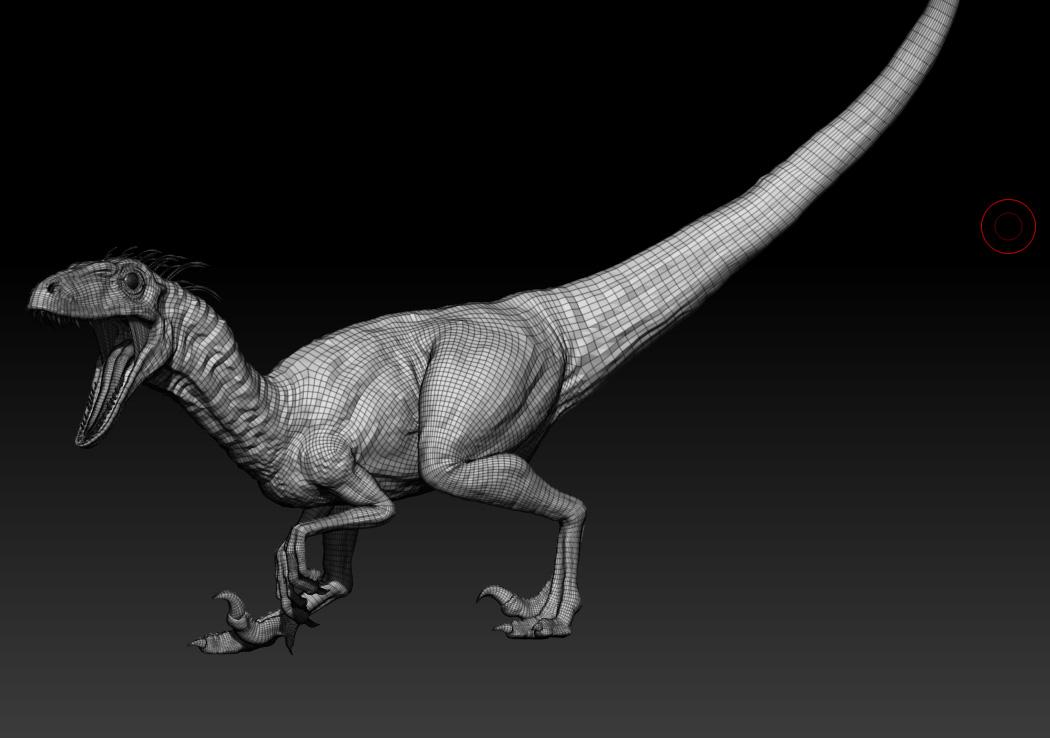
I used the transpose master tool for that because I only wanted a fix the render, but it would have been quite possible to rig it and put it in pose since I had made a retopo. I imported a megascan object as the base of the raptor to better present it.
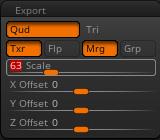
It is also important to have a good scale for the rendering and export of displacement maps and ZBrush is not often at a good scale. So I imported a low version of the raptor in Maya then 'freeze transform'.

Then I took the measure tools and I measured 1m80 to scale the raptor to the size I wanted.
So I copied the scale values once finished and I added it in the export tab of ZBrush. Then I exported my displacement map and my final low res mesh.

Back in Maya with the right scale, I created basic lighting to see if my displacement worked properly. I linked the map to a surface aiStandard shader.
Then I removed the specular to have a grey lambert rendering to better see the details. I then created the lighting that I was going to use for the final rendering to see the light start working on my shader.
Then I started to create the links of my shader with the maps I made in my husband.
Once I finished my settings I connected the map of the base, then I did some rendering tests to refine the settings of the raptor shader.