Modelling & Texturing a Car Engine for Visual Effects
Since my teens, I am fascinated by the amazing world of Video Games, which was the main attraction to get me into this industry.
Since my teens, I am fascinated by the amazing world of Video Games, which was the main attraction to get me into this industry.

Since my teens, I am fascinated by the amazing world of Video Games, which was the main attraction to get me into this industry. Along the way I grew more fond and interested in Visual Effects for film which is my current path. I am inspired everyday, by how much talent I am surrounded by and want to continue to be a growing part of this amazing community.
As a student this would be my first demo reel that I created for Film.
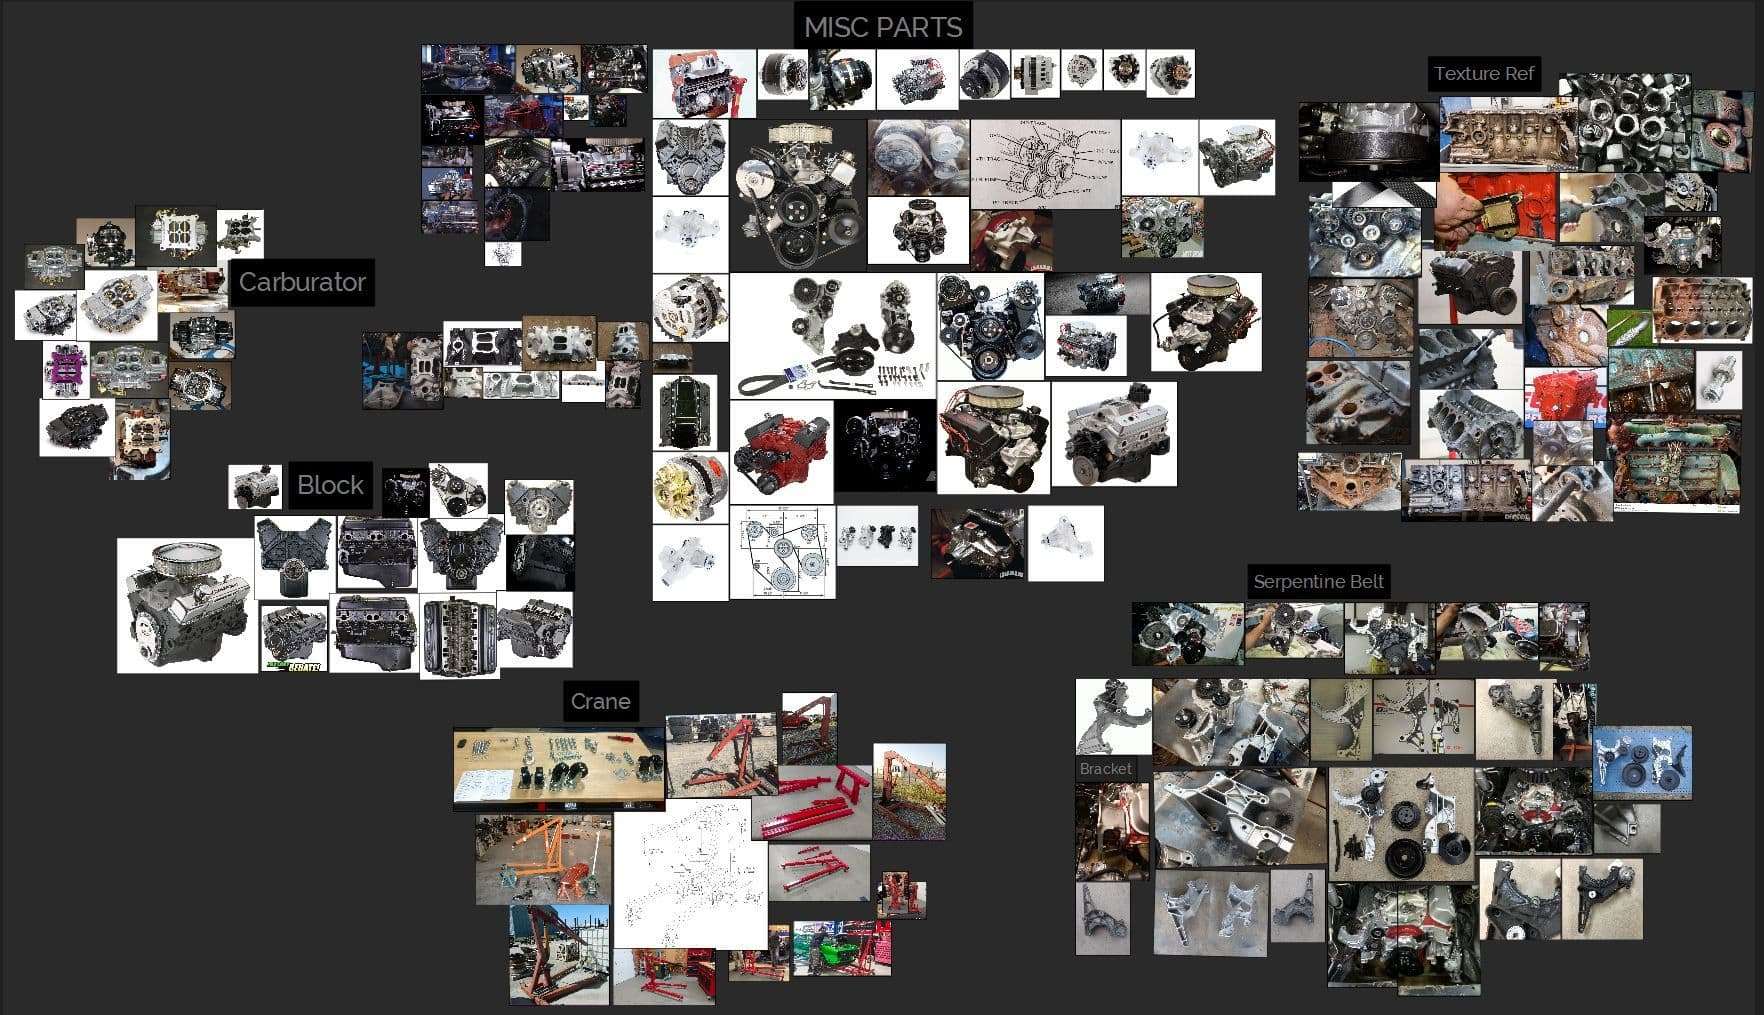
You may have heard this countless times and it isn't enough to emphasize the importance of references. Reference images for your modeling, the kind of texturing and look you are going for. PureRef is a free image referencing tool which is extremely useful to have all your images in one place
Project Image Board
A Disclaimer, that the approach I have used isn't the best or the only way. There are a lot more ways for approaching modeling, which is why it is so enjoyable and meditative at times.
Starting off was difficult, got stuck on this stage for hours where all I thought was “Where do I start?”. Just going for it, making mistakes as soon as possible so I can fix and re-approach elements worked out for me.
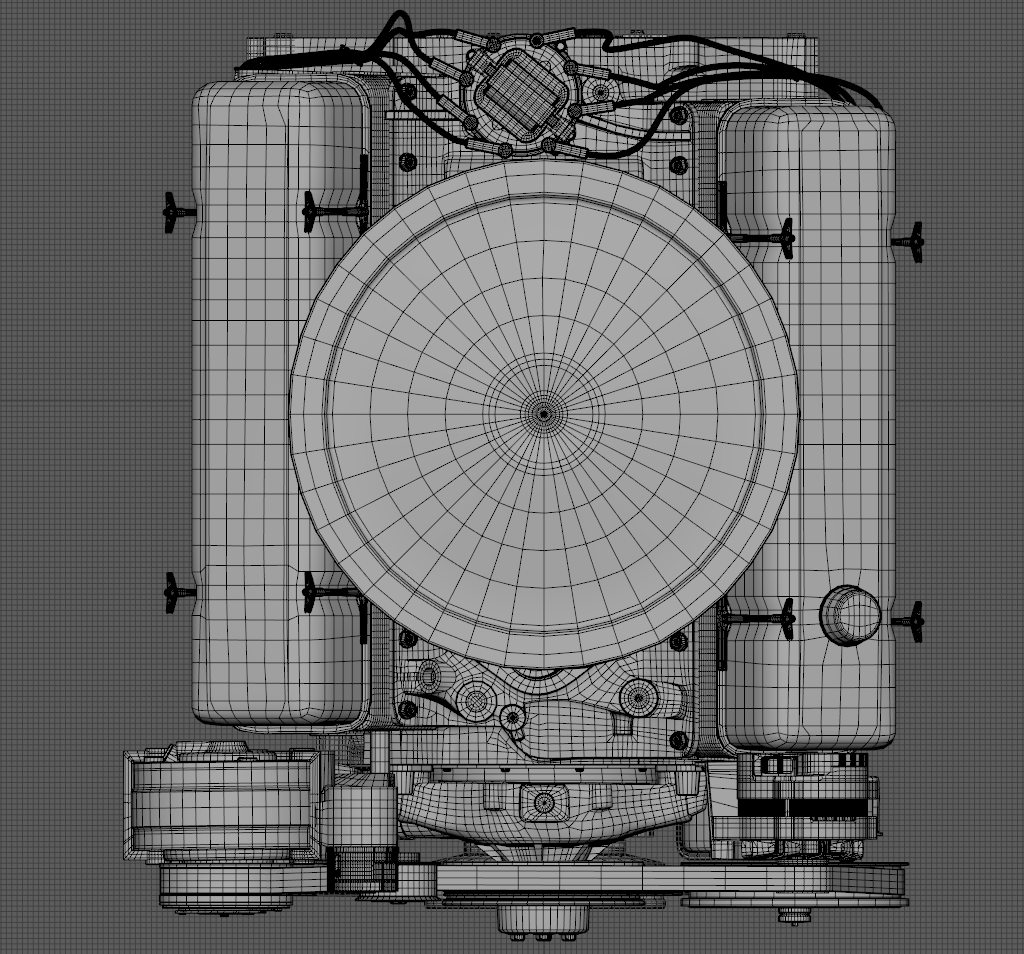
Using orthographic reference images, I like to block each separable element of my model using primitives and get an idea of the volume and scale of the assets. I run a first pass of modeling on it, where get the basic shapes and crash the meshes to get an idea how the final shape should look.

Once all elements are in place, I began to combine the objects using Maya Booleans to combine and subtract meshes to get shapes required. Even though very useful, booleans can be frustrating at times as you have to clean after it and maya will crash on you a number of times.
A few pointers on Maya Booleans;
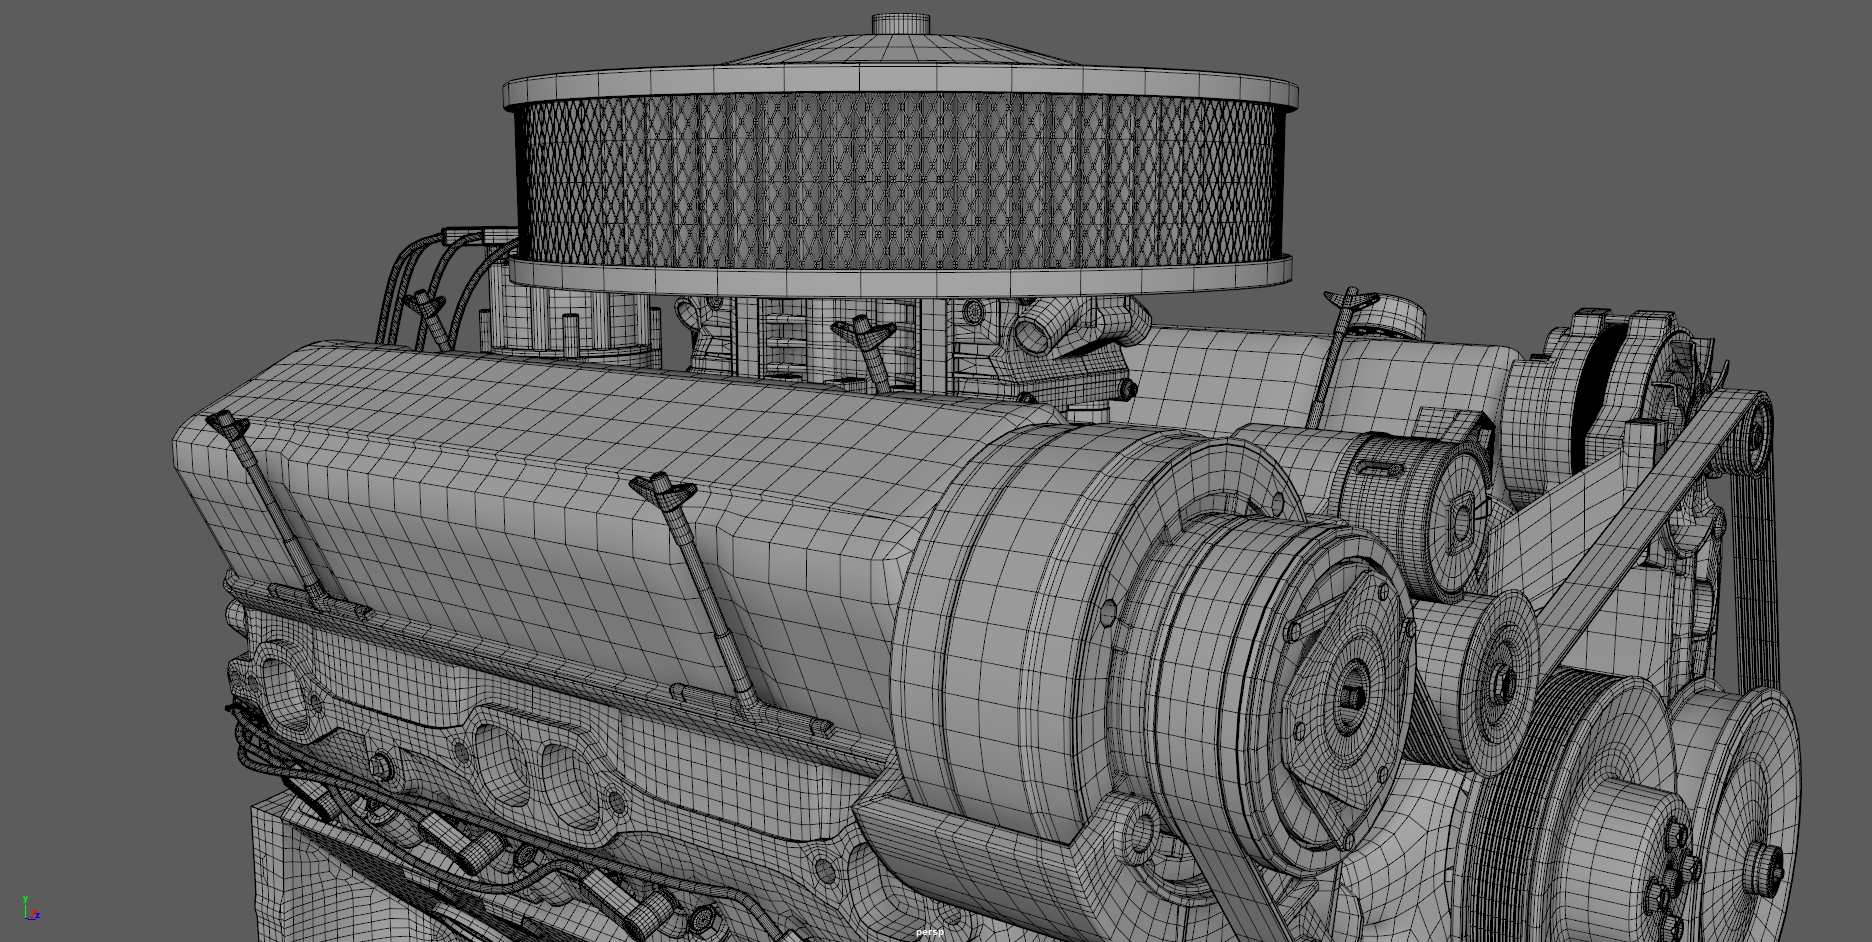
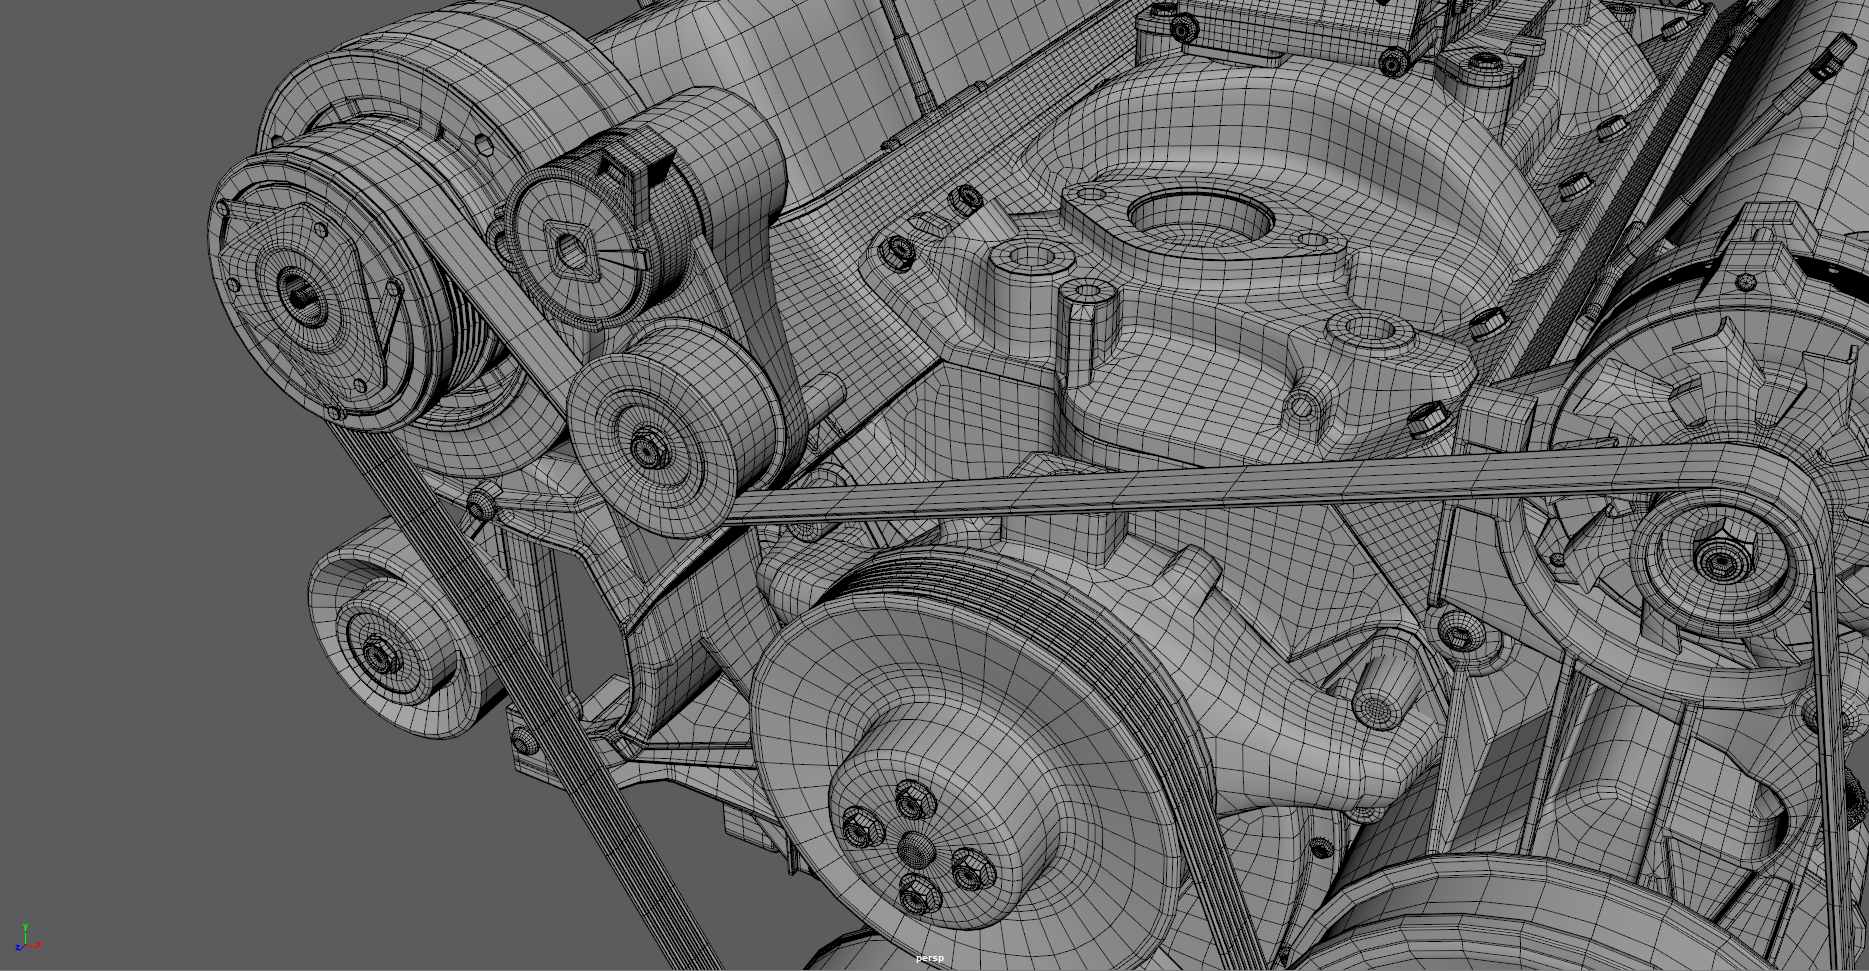
After weeks of fixing topology and multiple changes I got something looking like this.
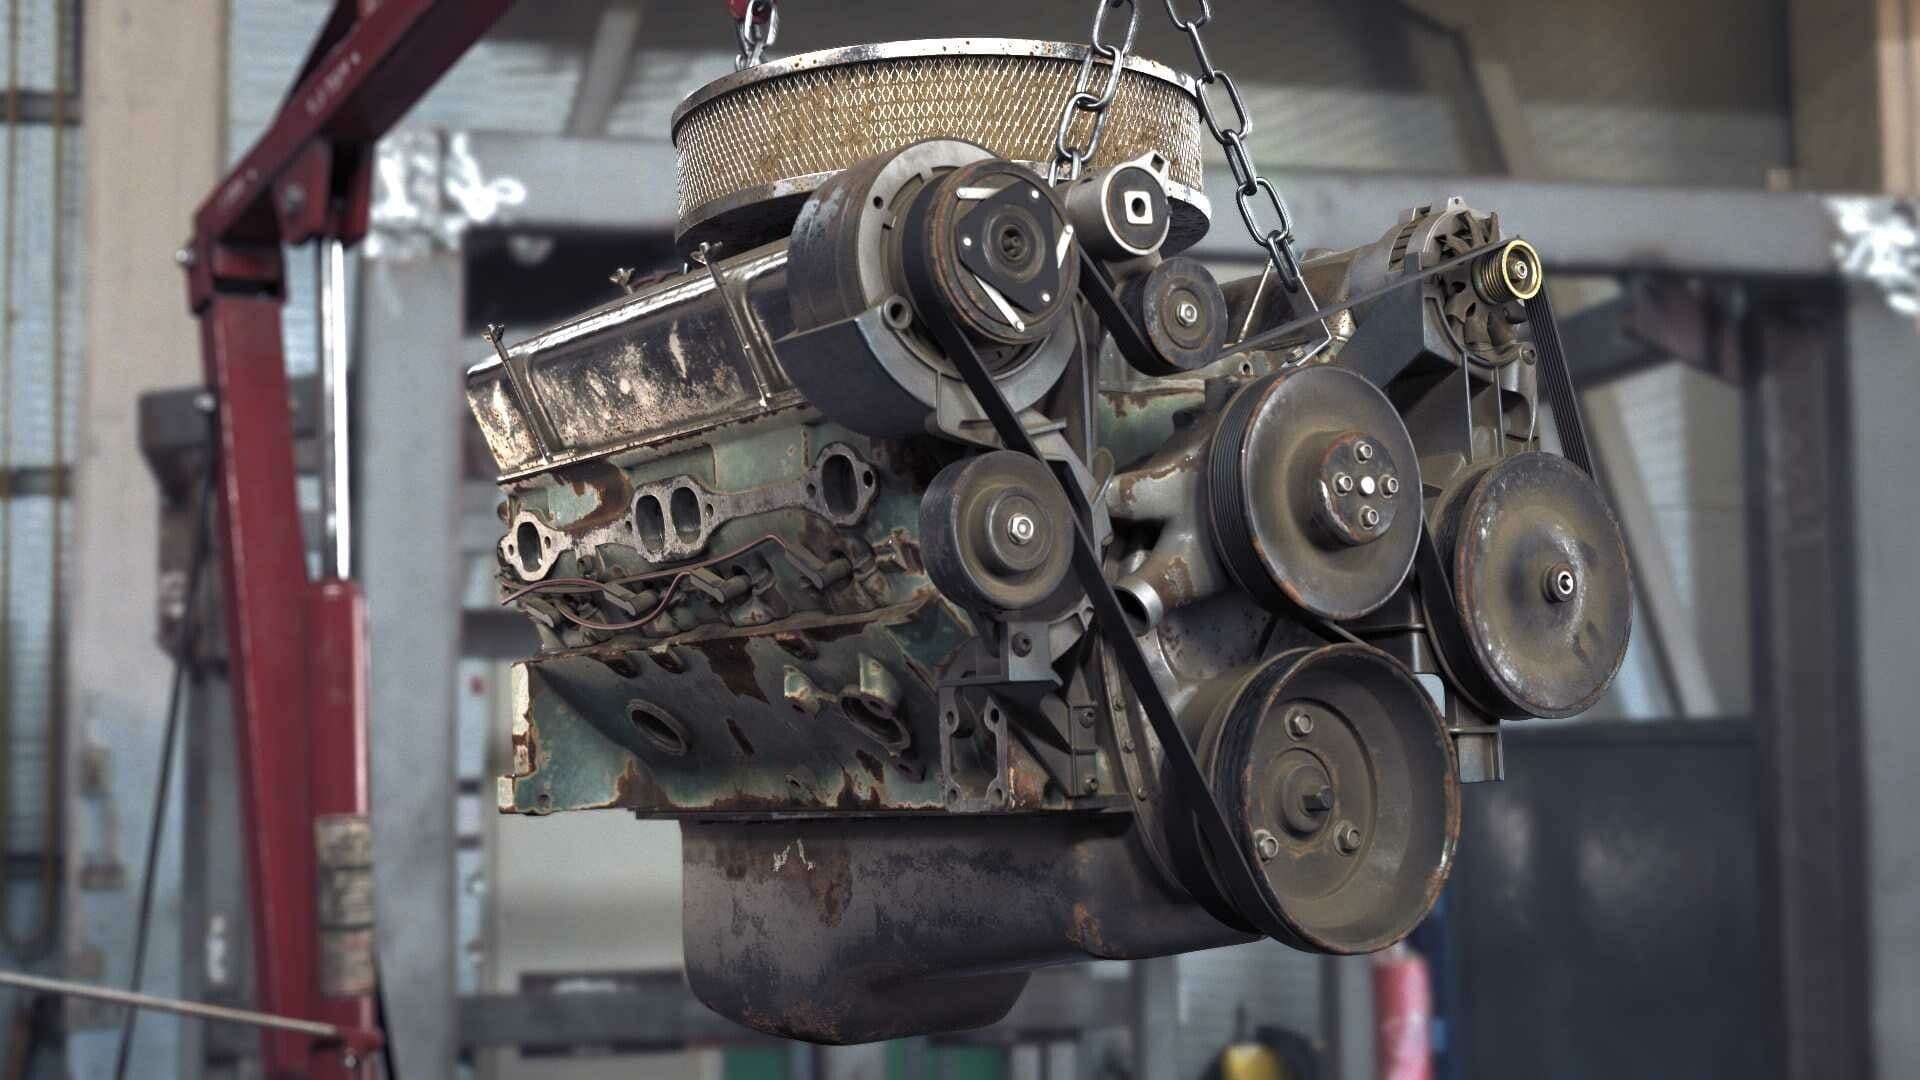
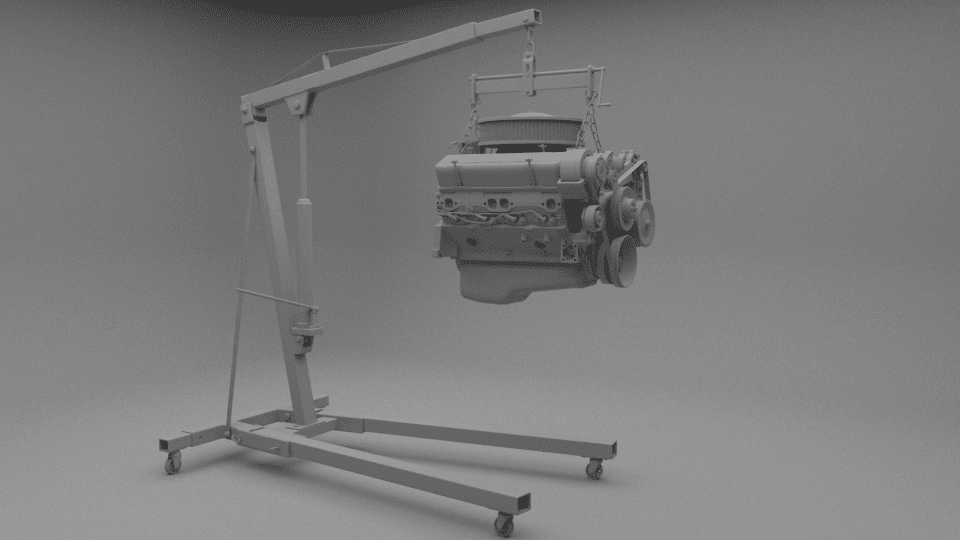
I went through couple of iterations with the ‘crane’ because of relatability and believability purposes. Where I ended up with what you see in the reel. More on it below.
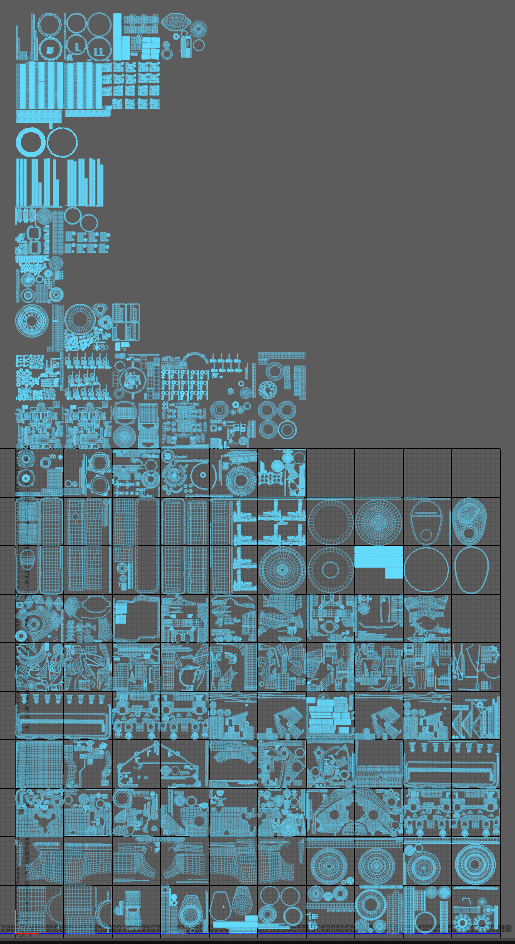
So here we are at everyone's favorite part of the process, doing your UVs.
I wanted super close shots of my asset and also wanted to show a lot of detail on it. To achieve that, setting up your closest shot to the camera is of most importance. The way I dealt with it was I would double the resolution of the of the map, with regard to how much screen space your asset takes on your closest shot.
While UVing my asset -
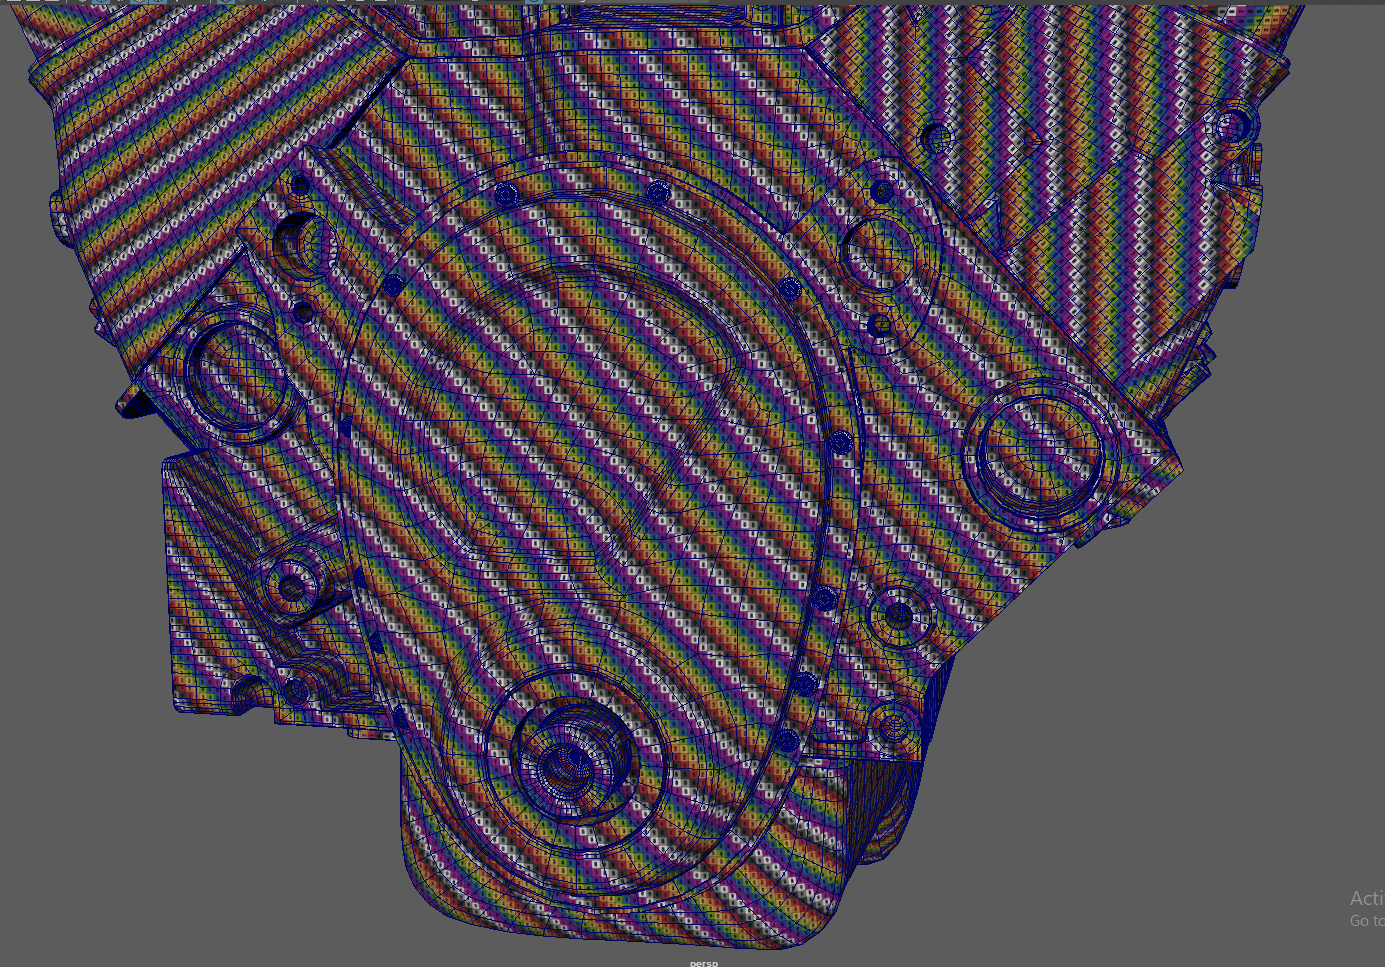
After unwrapping it, I layed out UVs in an organized manner, so anyone can find it easy to texture it.
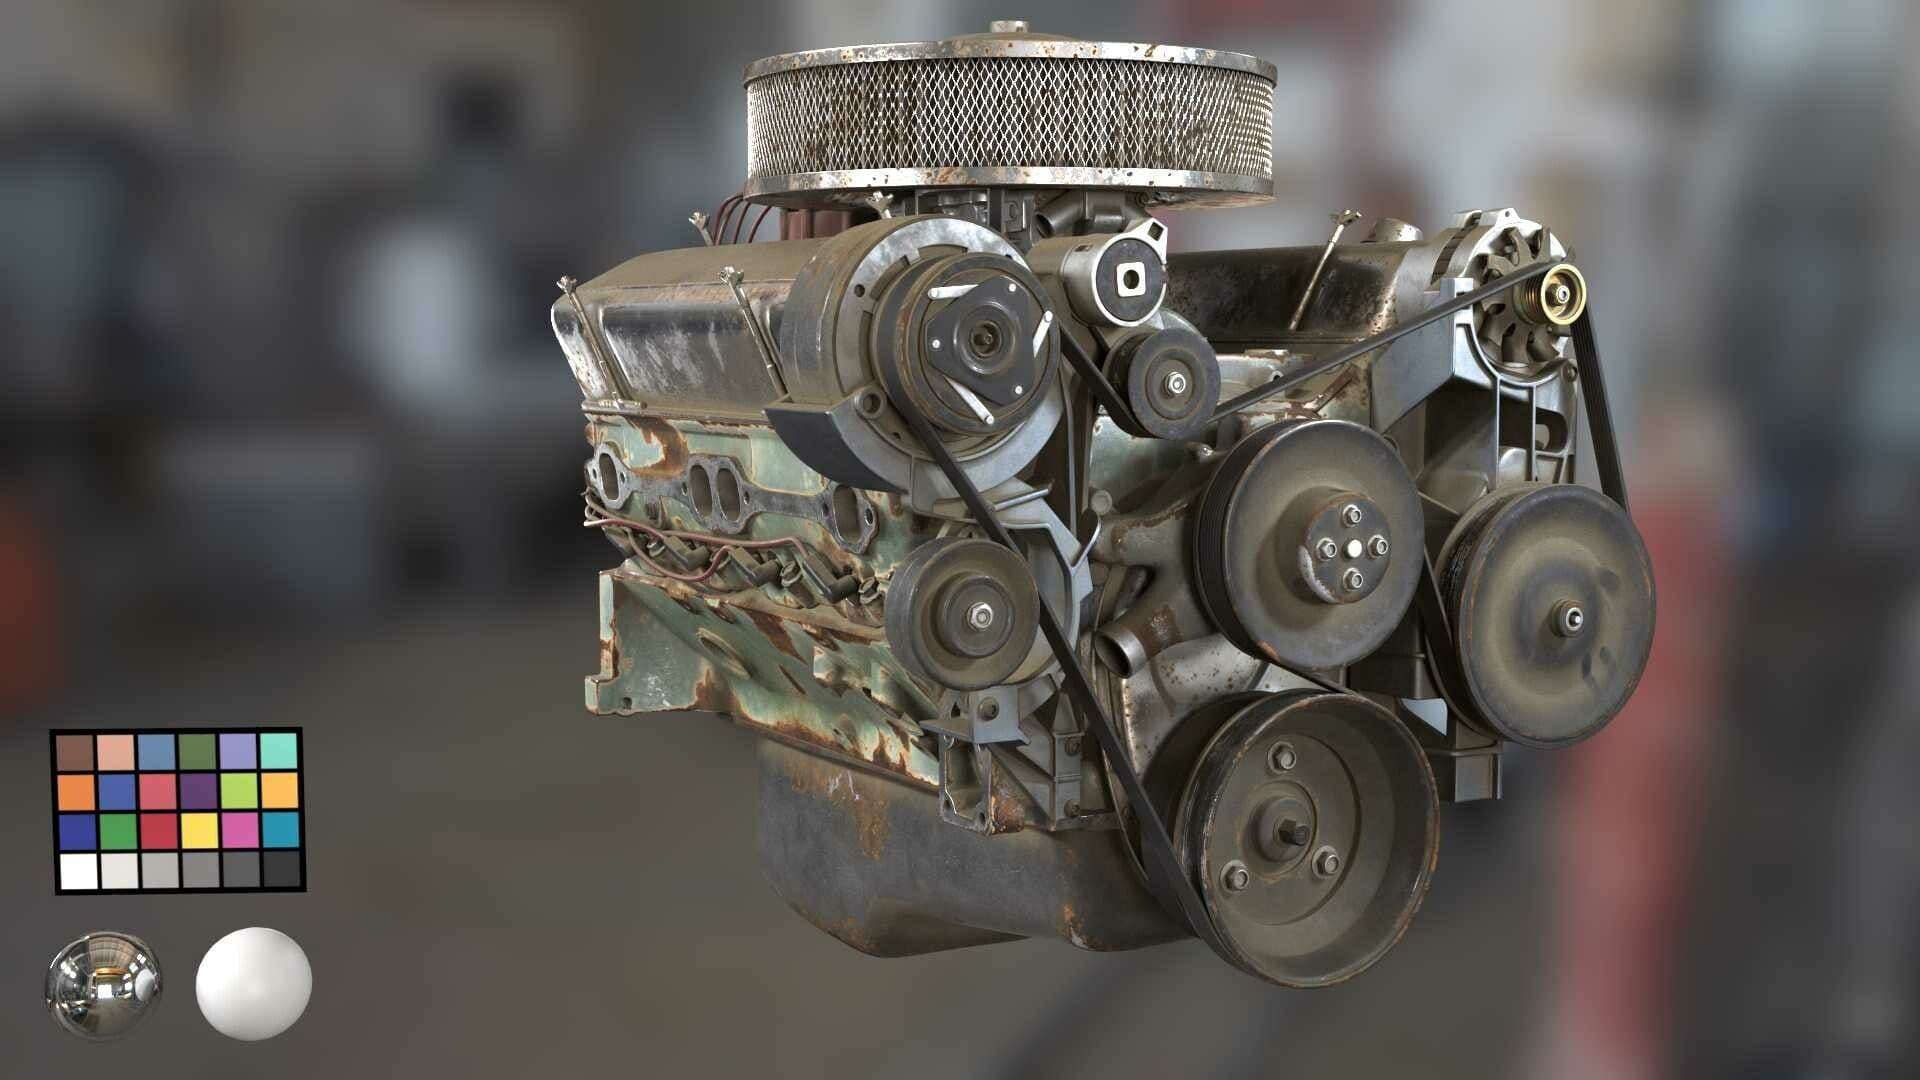
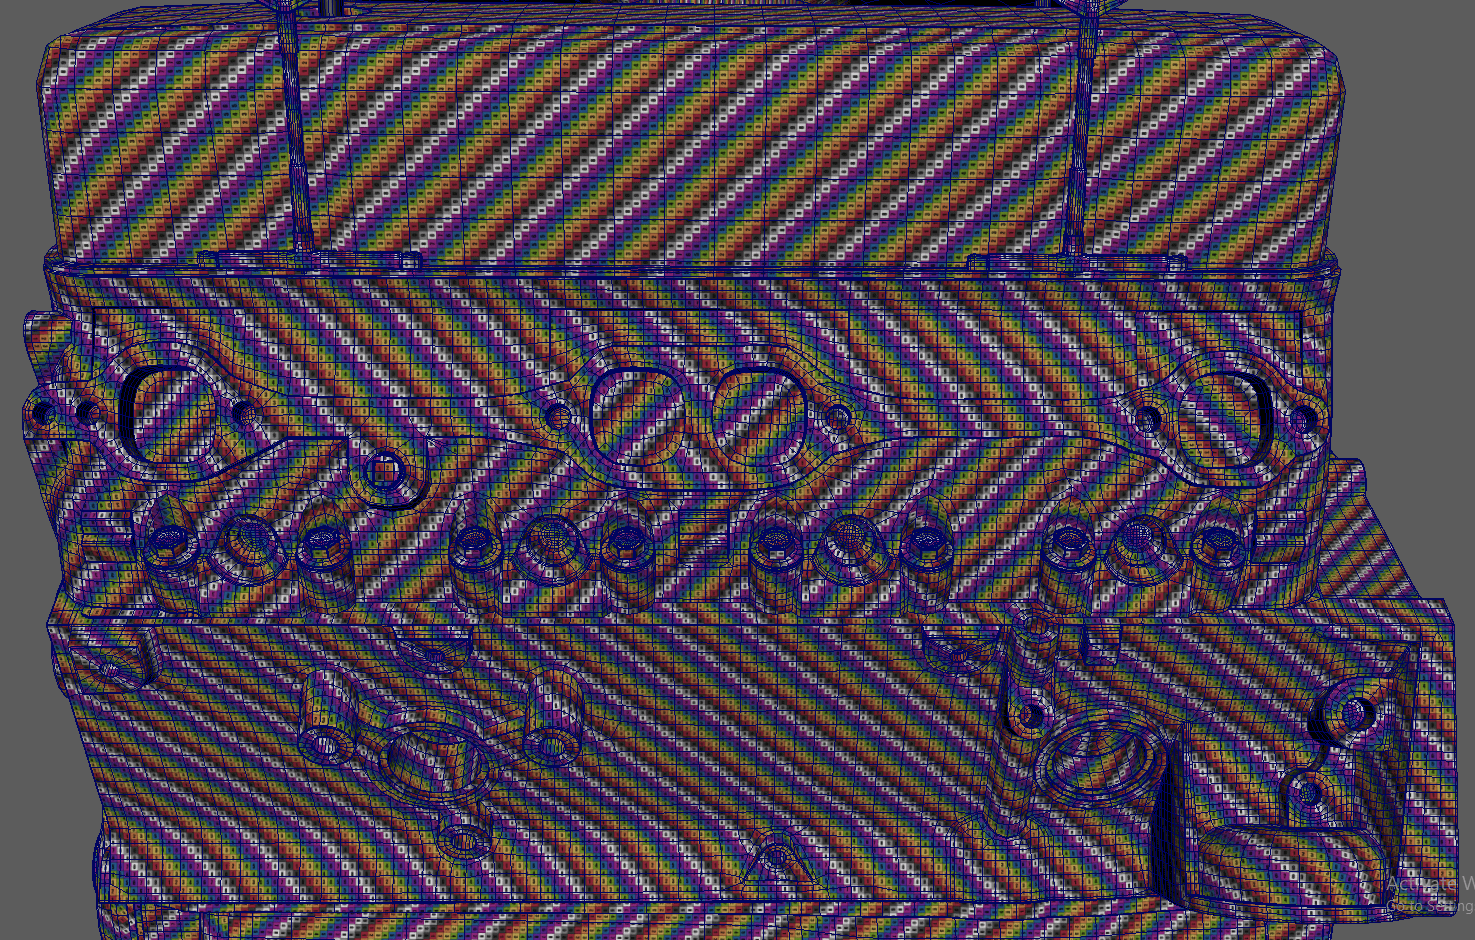
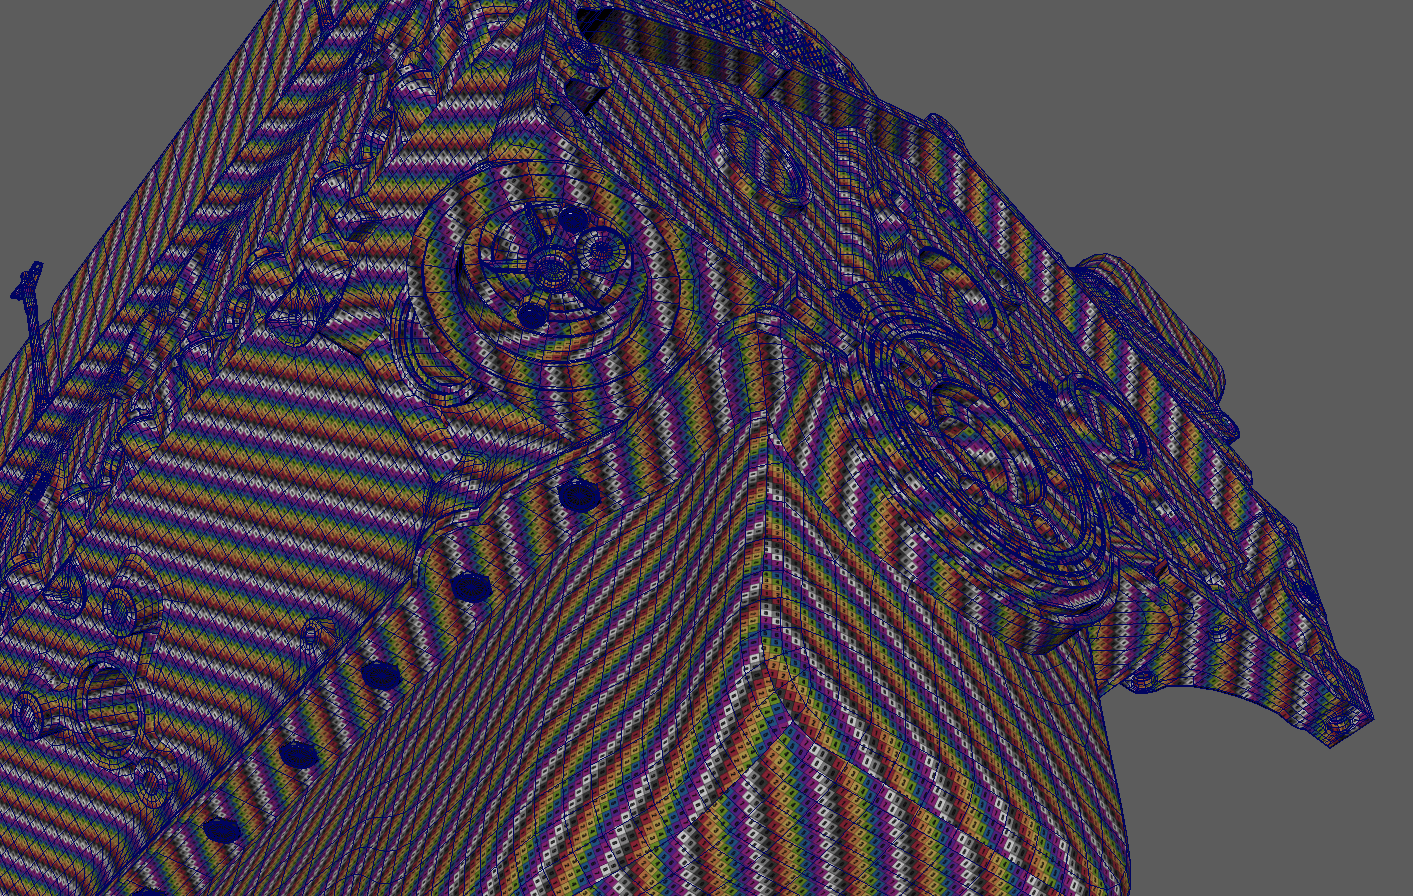
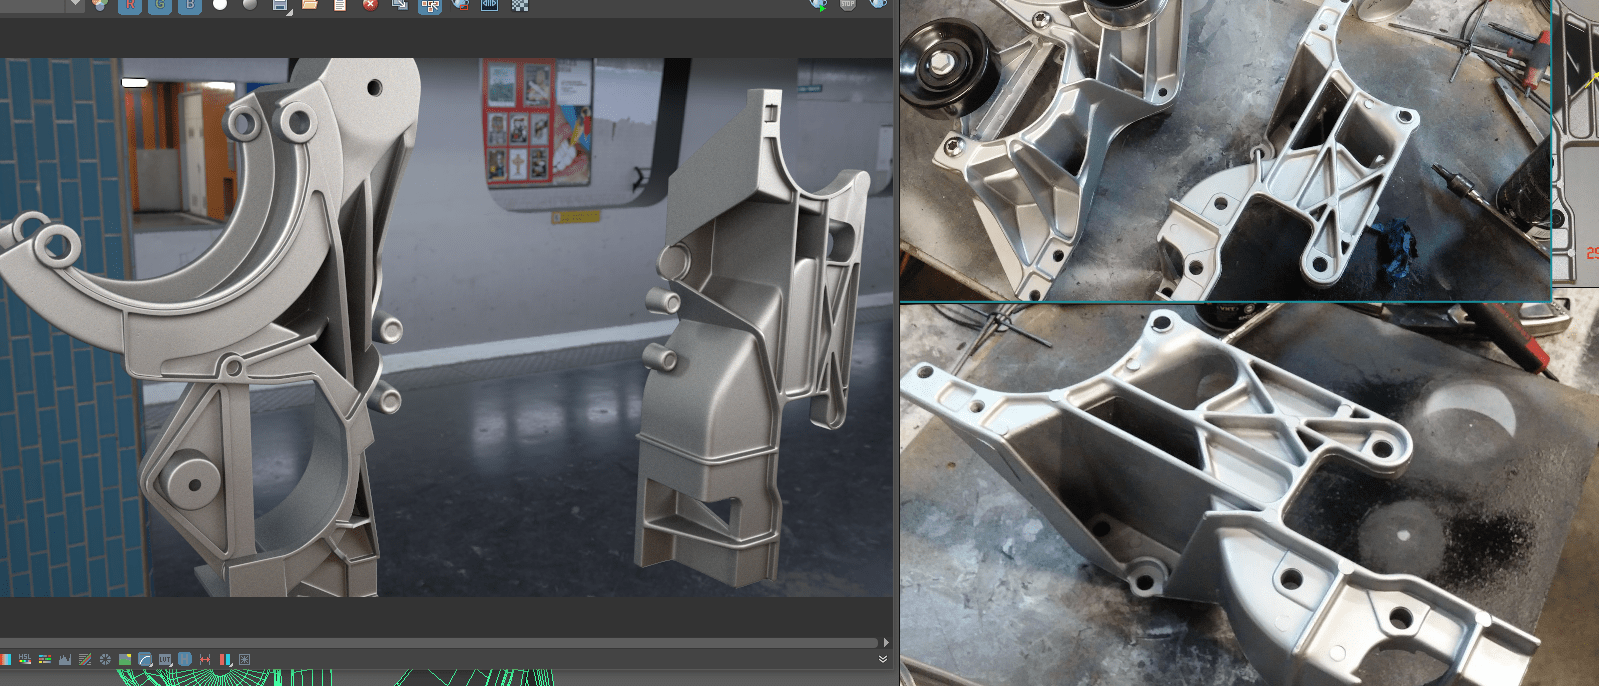
I chose to define my shader look using Vray in Maya. I enjoy this process a lot as I am trying to make them look realistic and matching them to real life materials. Overlaying some roughness and bump break up can give you a good feel for your shaders and also test how your UVs hold up with textures on them. Some examples below.
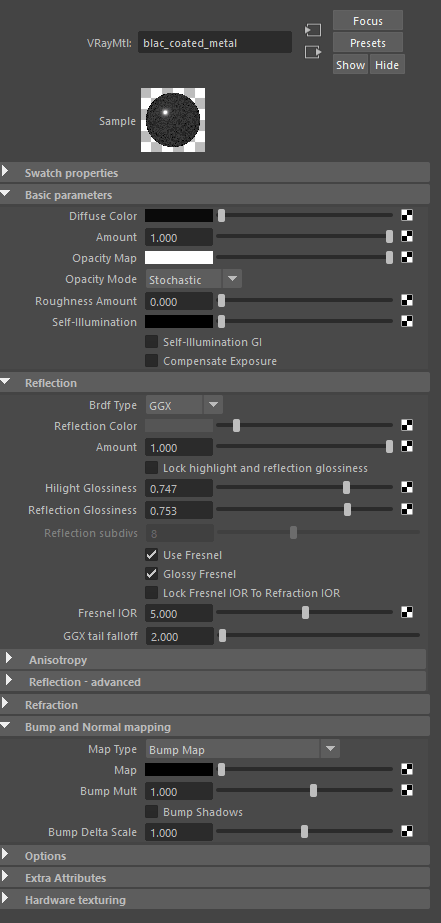
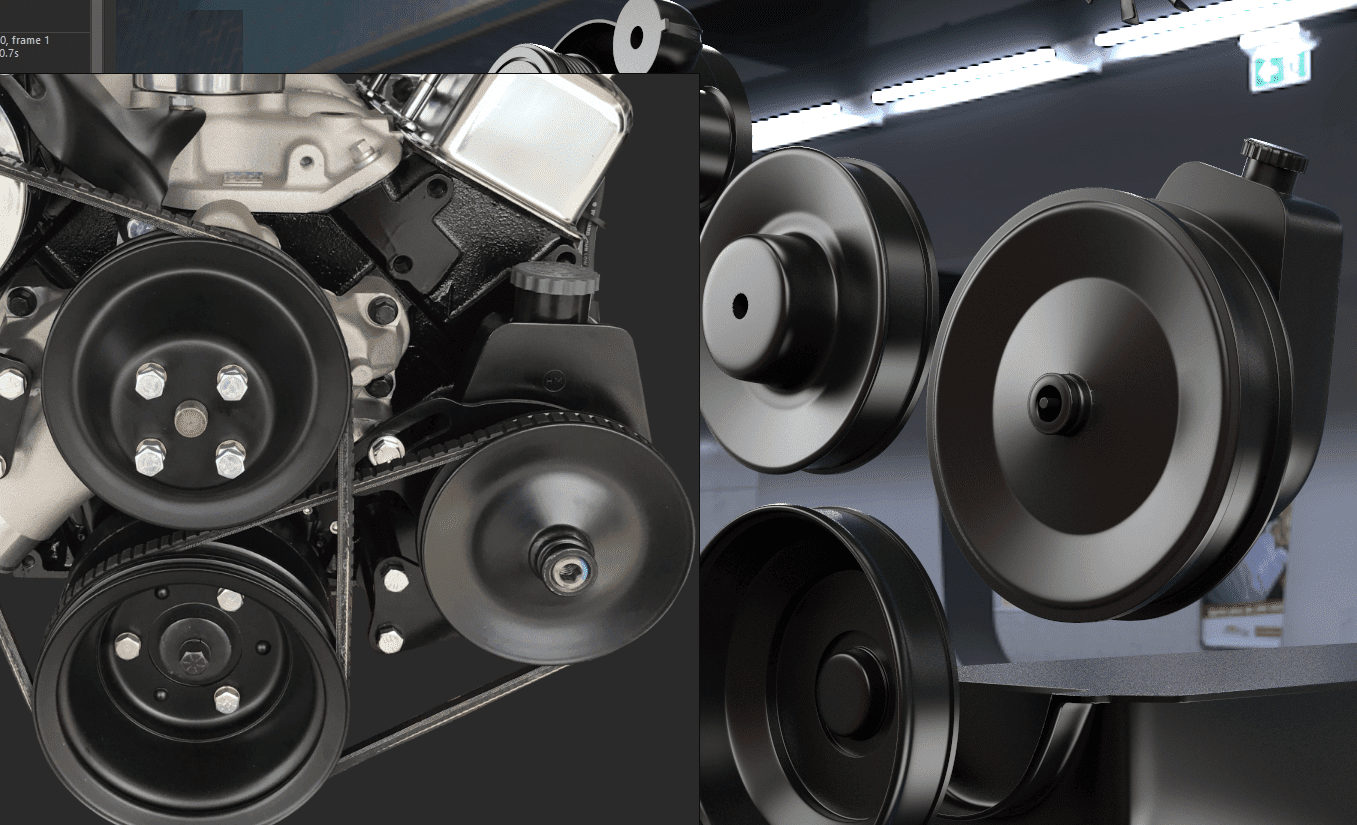
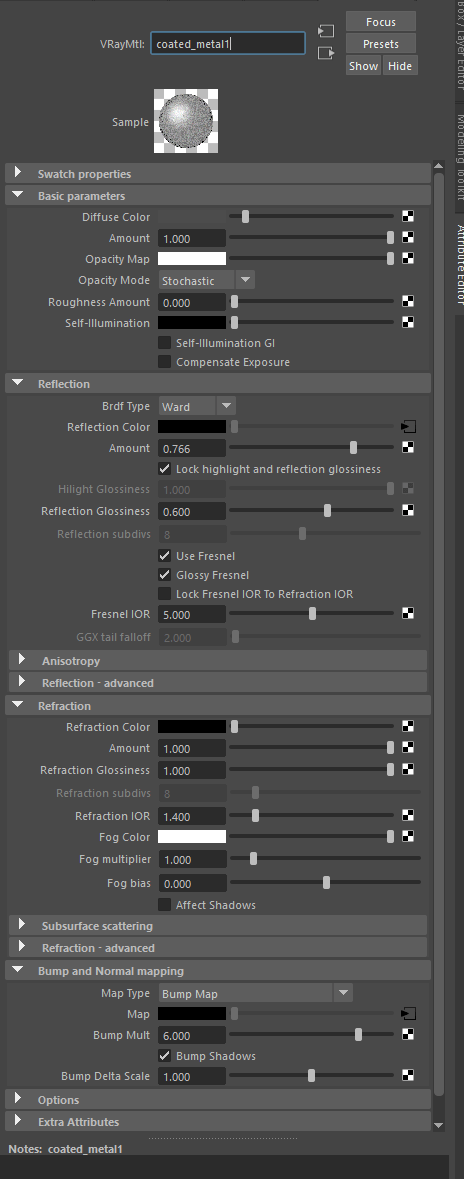
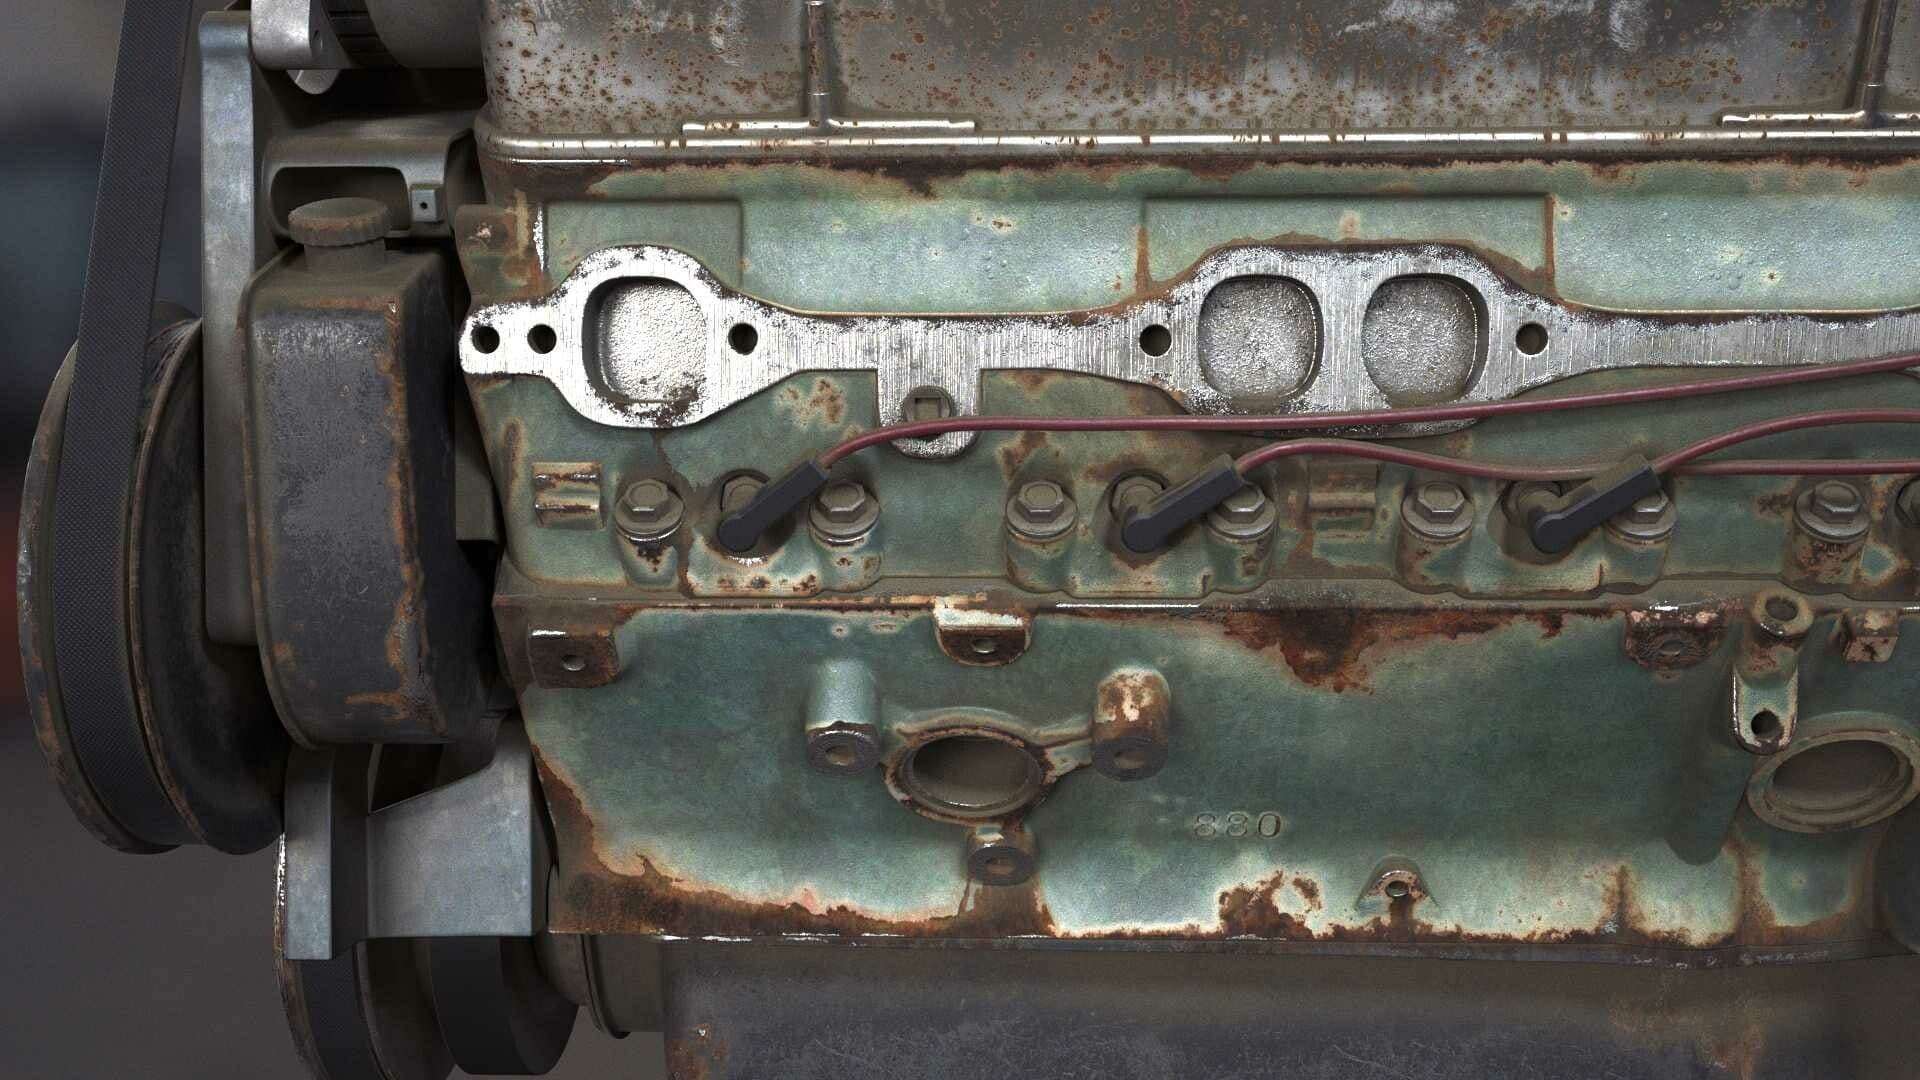
Along with defining the shaders for the different metals of the asset, getting materials like rust, paint, chipped paint and dust to look realistic was quite challenging and fun. After I am happy with how the materials looked. I make a note of the gloss, reflectance, and diffuse values which I would work with in Mari.
I textured the Engine in Mari, where I took the time to plan and set up my Channels. I baked utility maps such as curvature, ambient occlusion maps with multiple range and intensity .
After which I set up RGB masks for all elements of the Engine, that would later help me set up my “Blend material” in Maya.
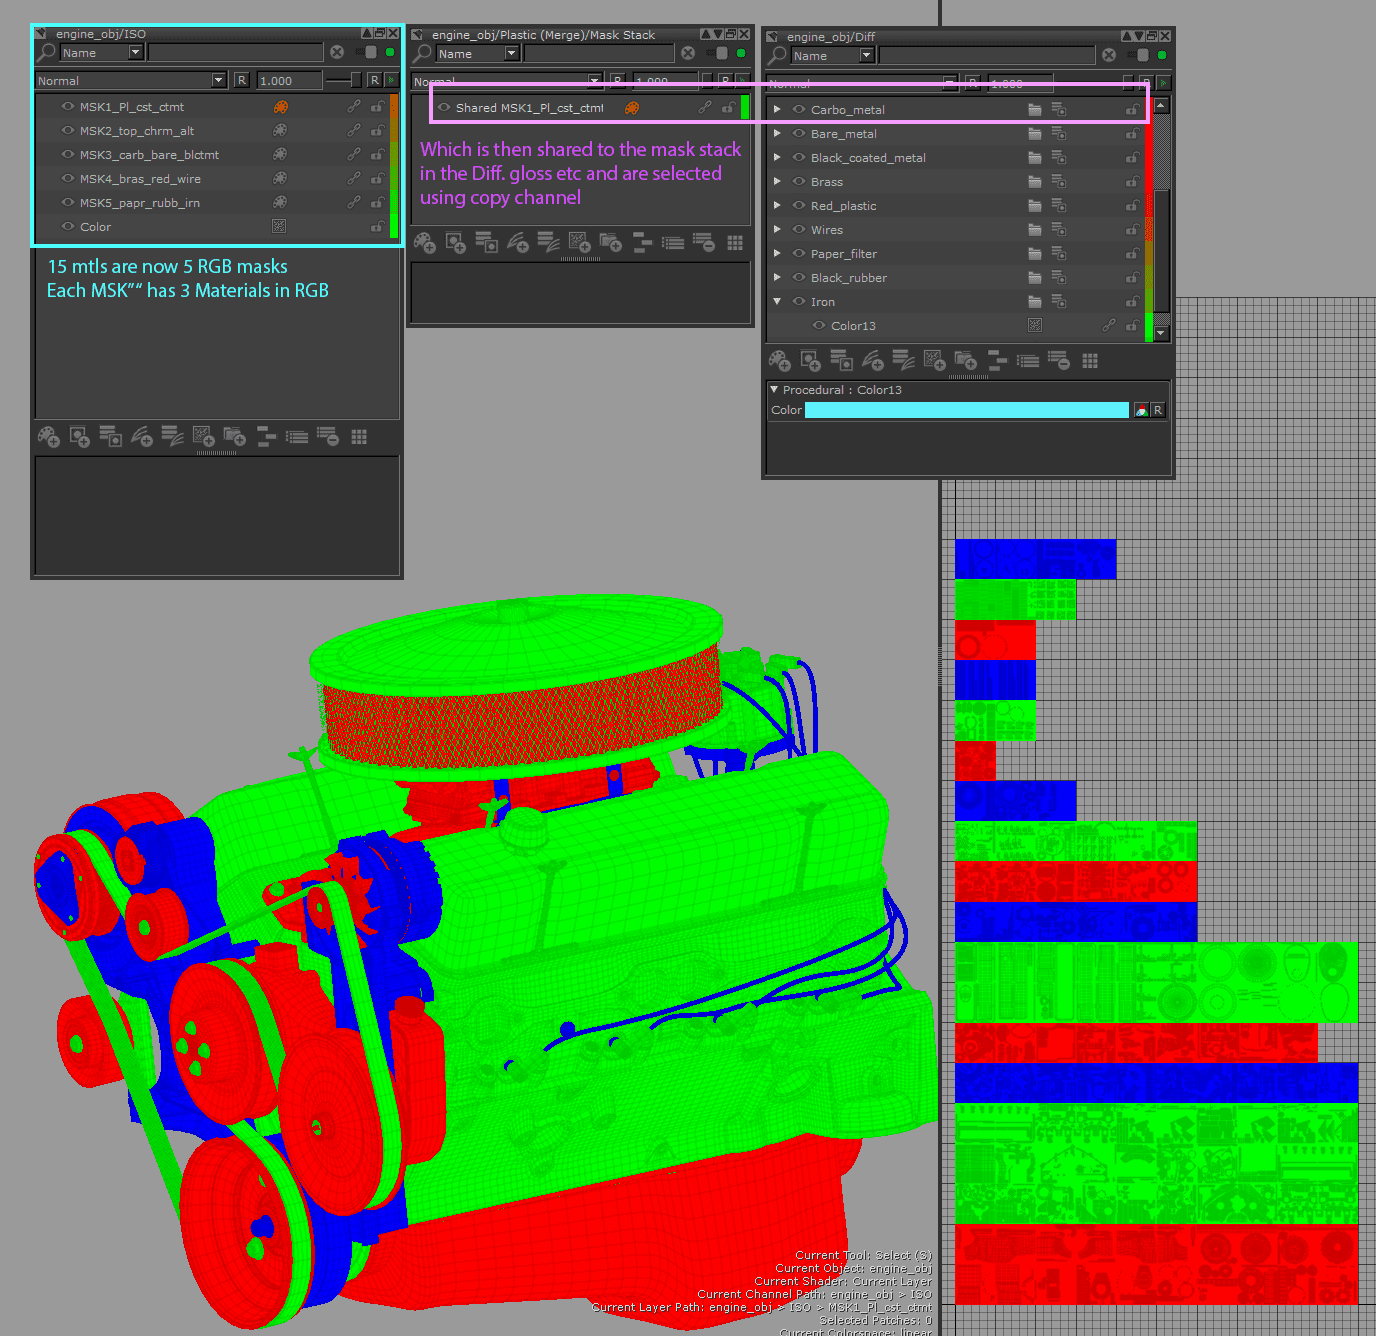
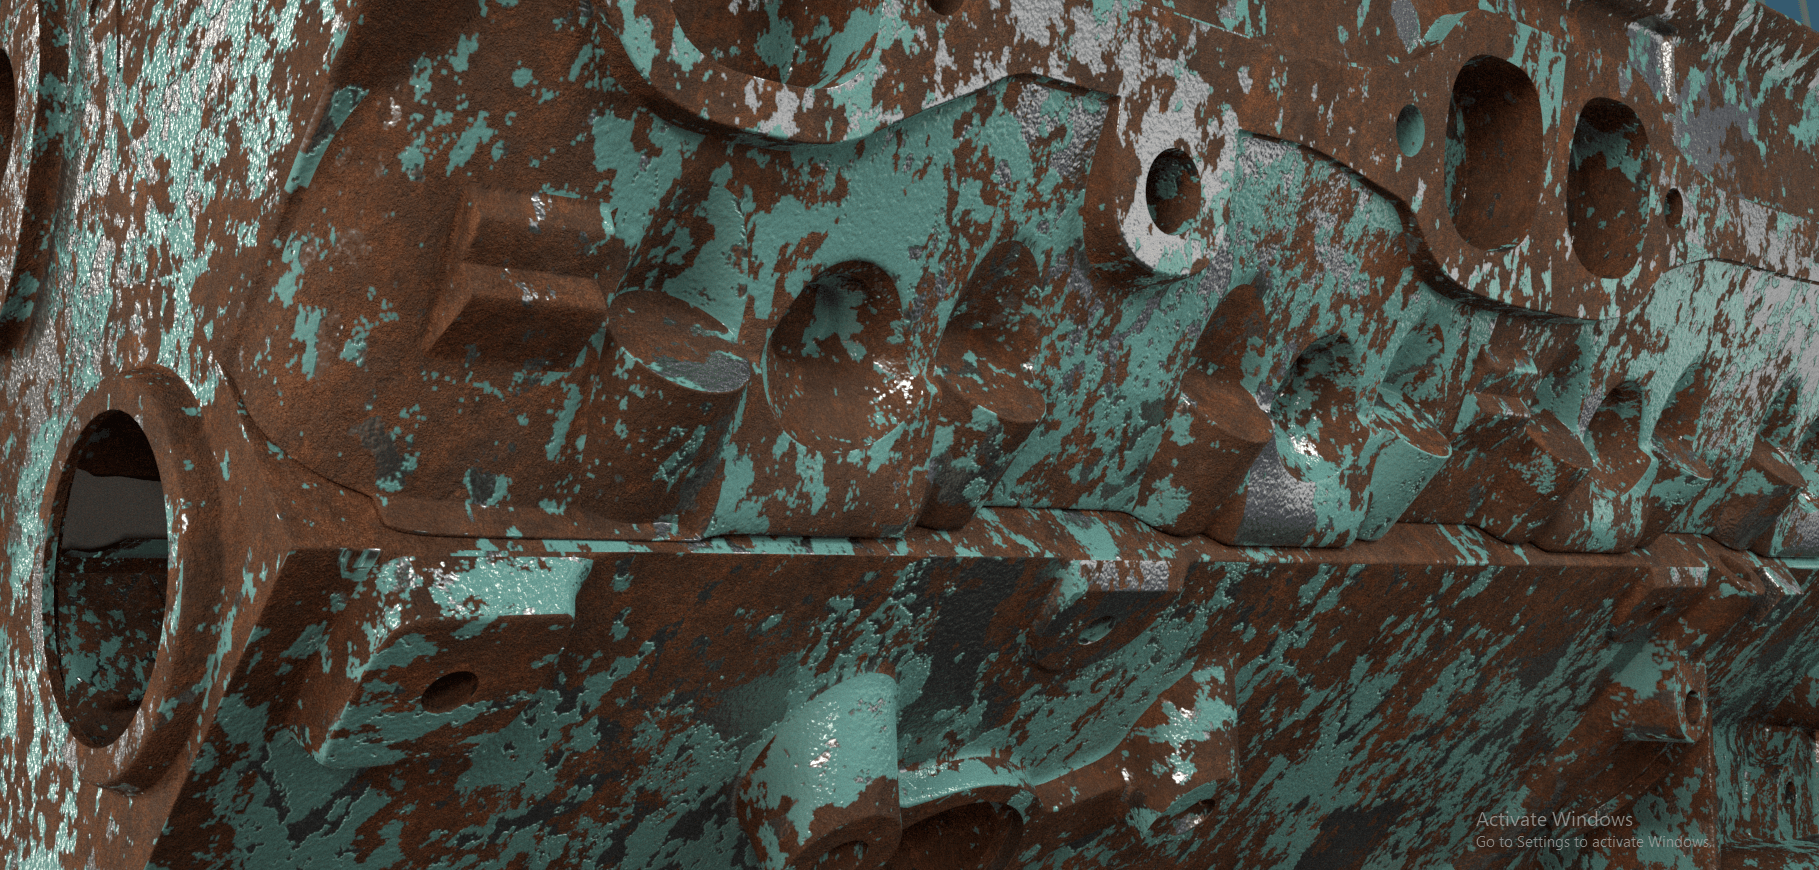
I created RGB Damage Mask Channel in Mari and shared it between all my channels where
Red = rust
Green = bare metals
Blue = layered materials (painted objects)
So when I made a change in one of these masks, the changes carried on to all my other channels such as Diffuse, Gloss, Specular and Bump.
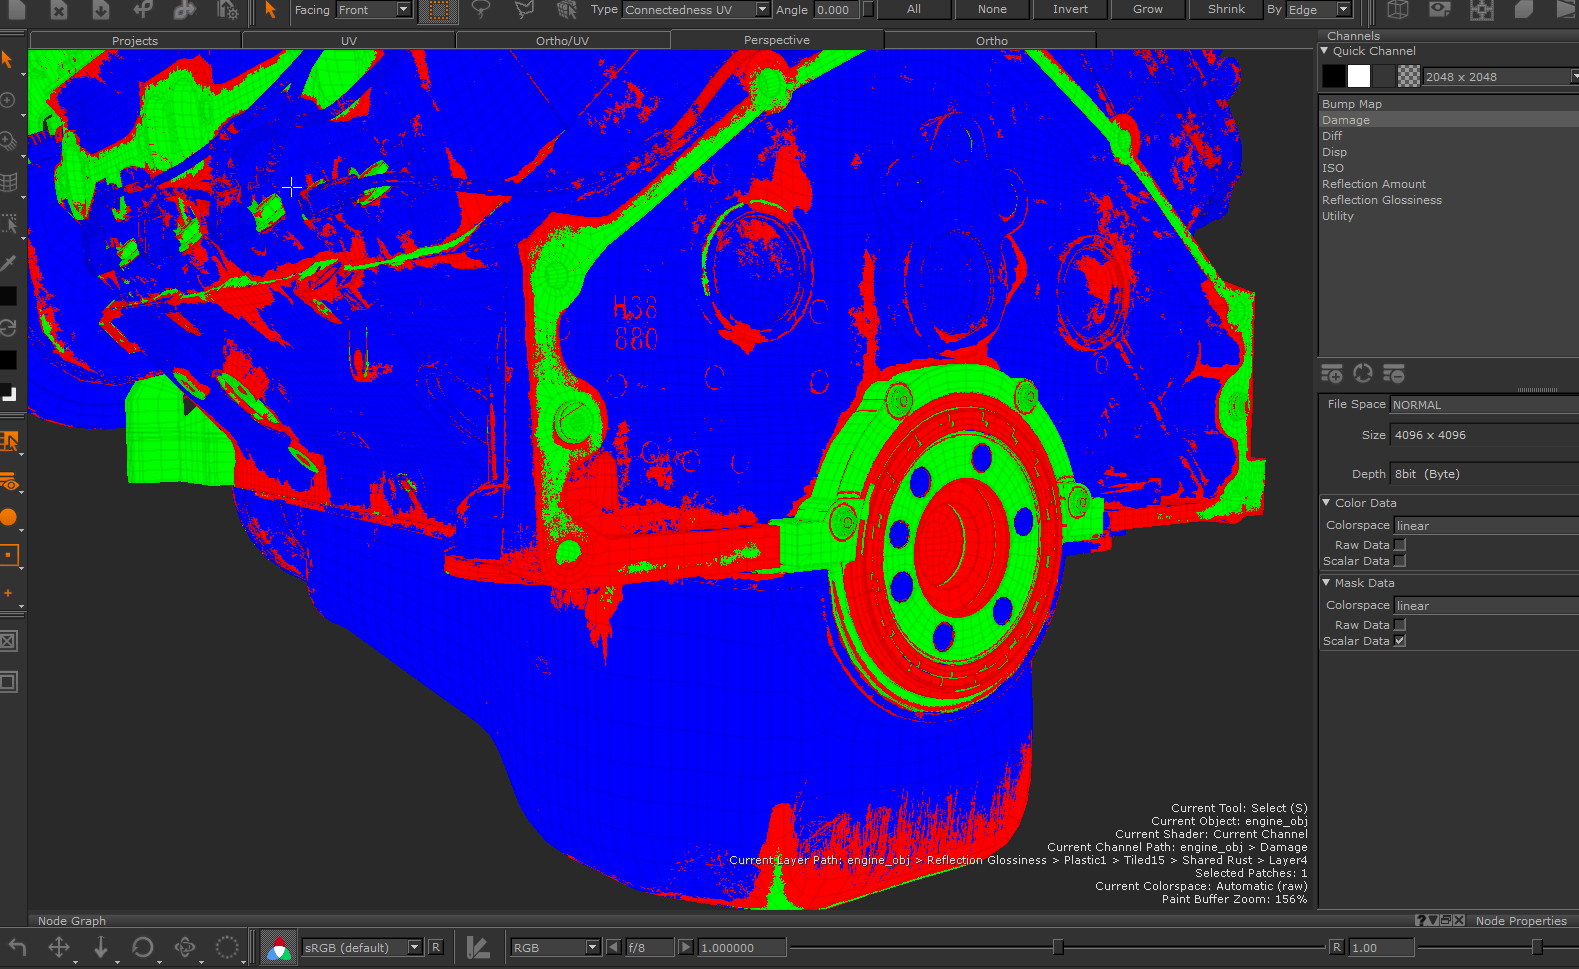

I spent most of my time working on the damage mask to make it look like natural corrosion. I used procedural nodes to get most of the wear and further refined it by hand painting the mask.
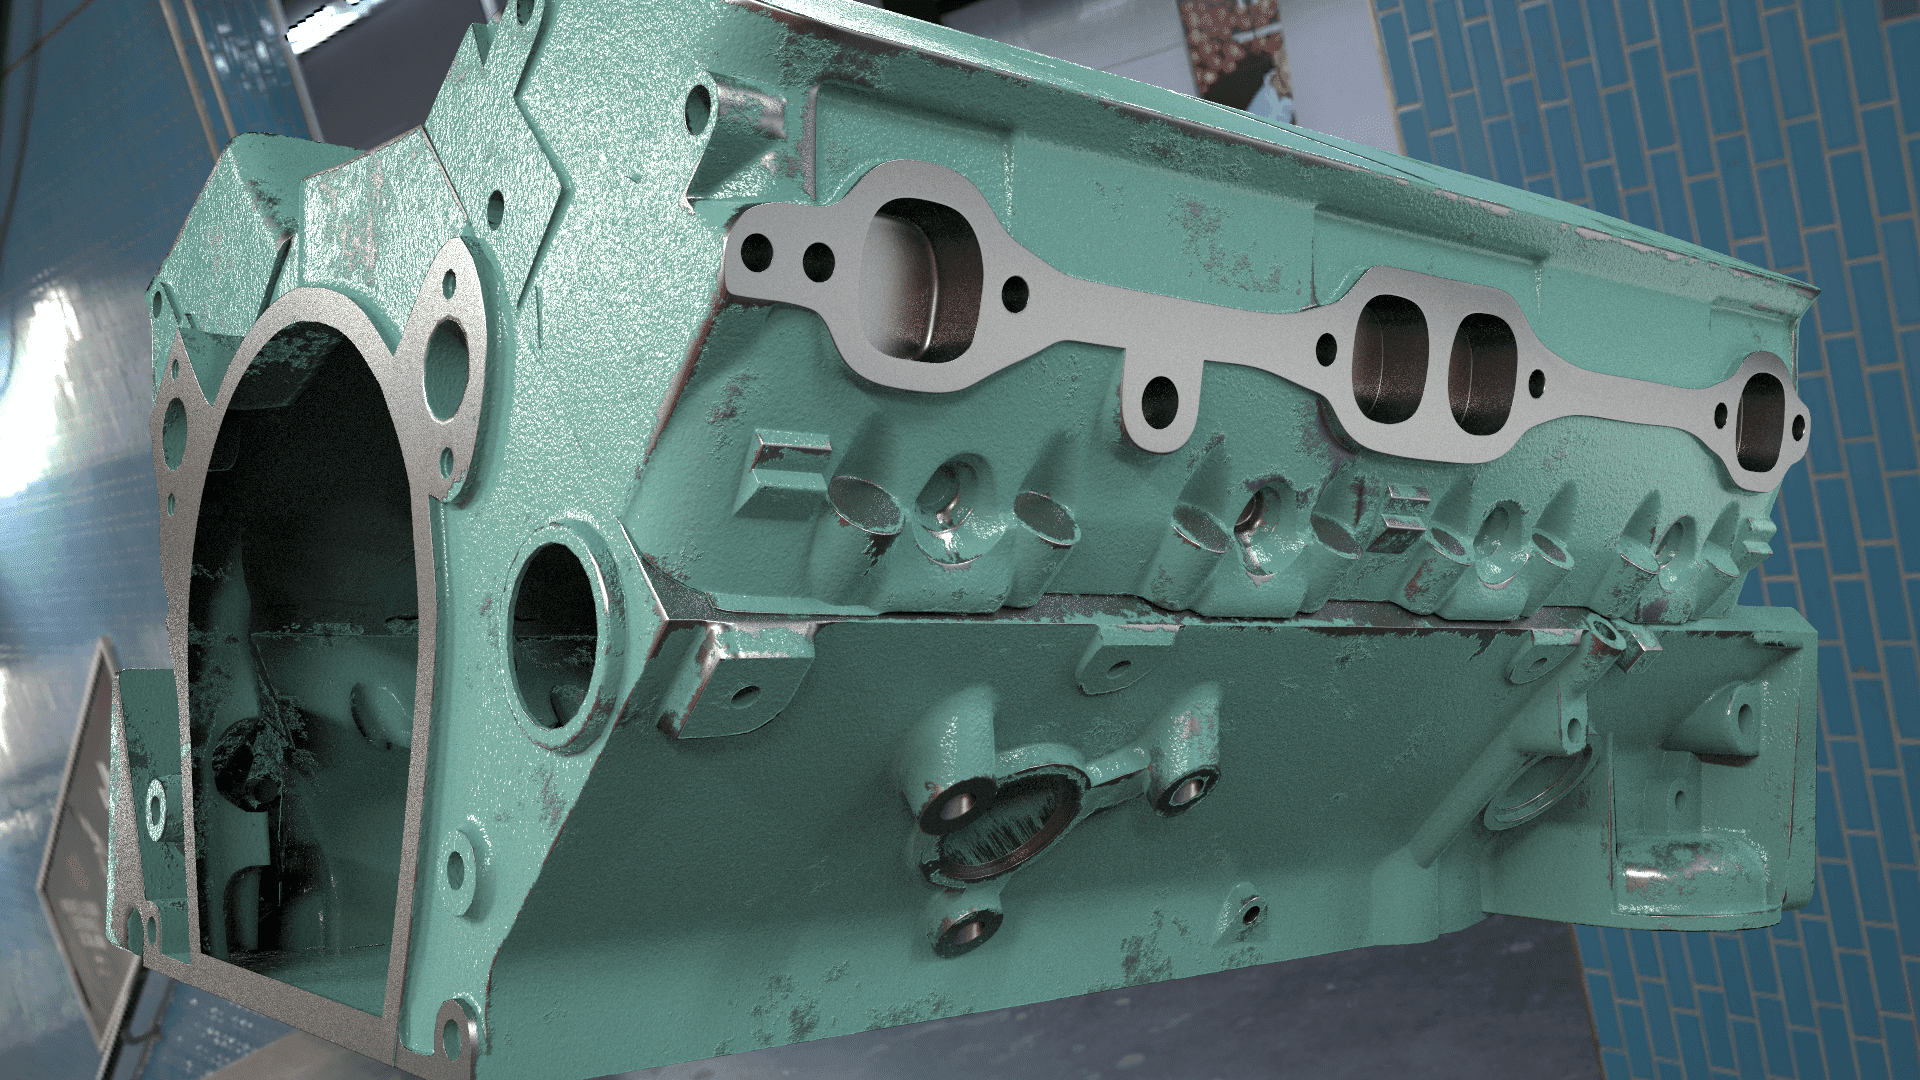
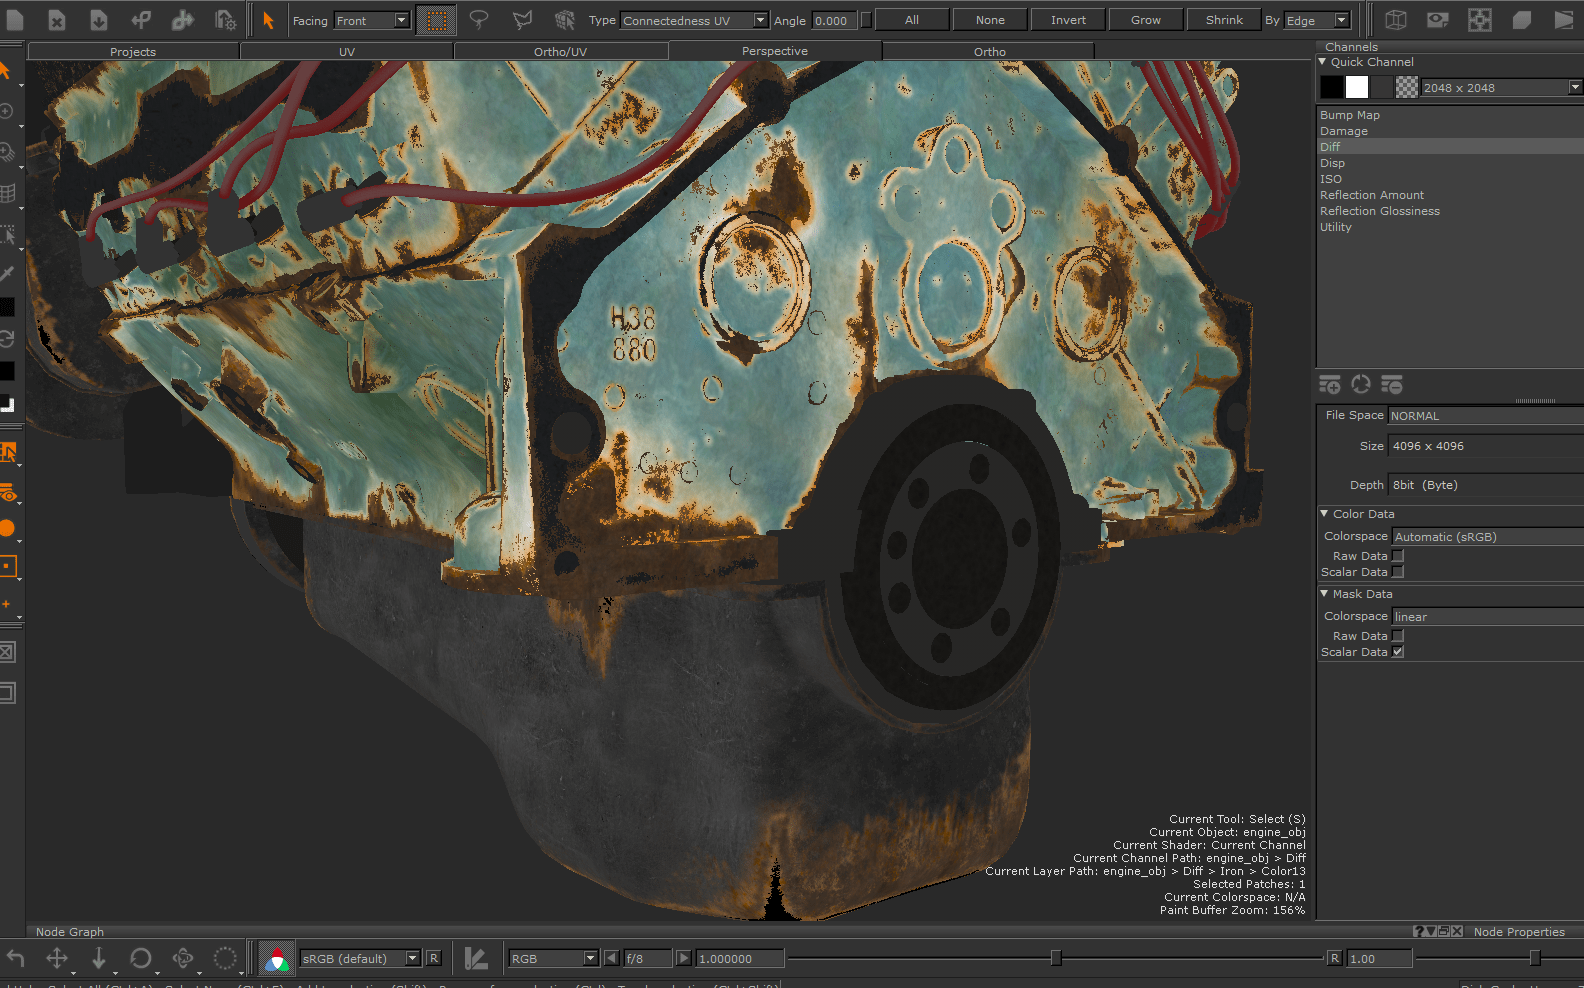
Diffuse
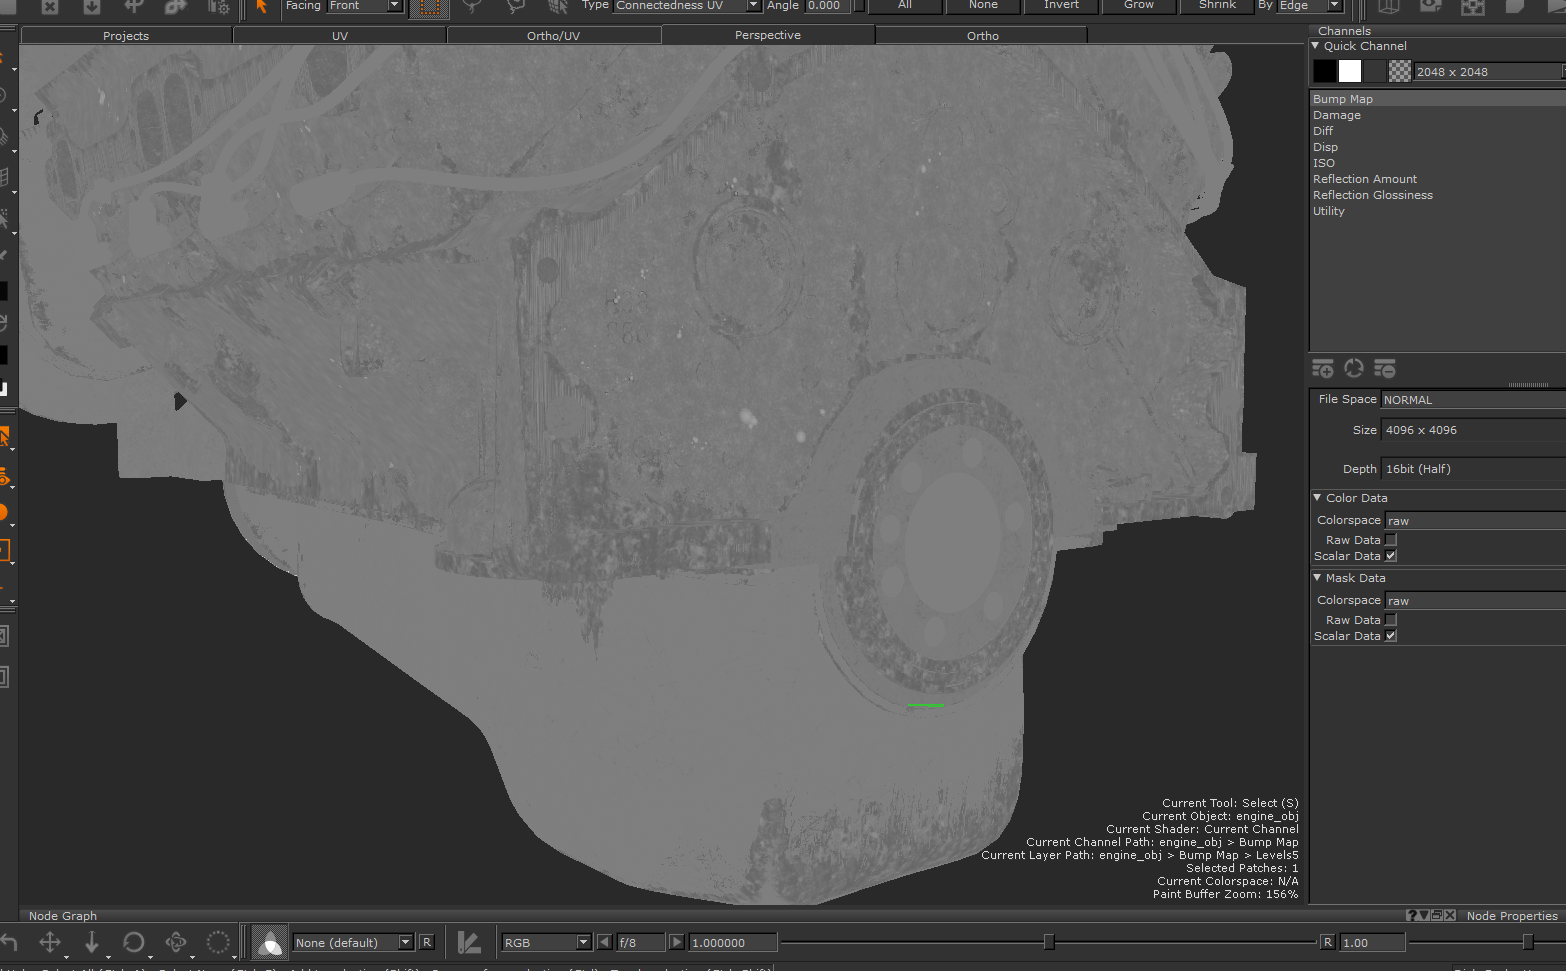
Bump
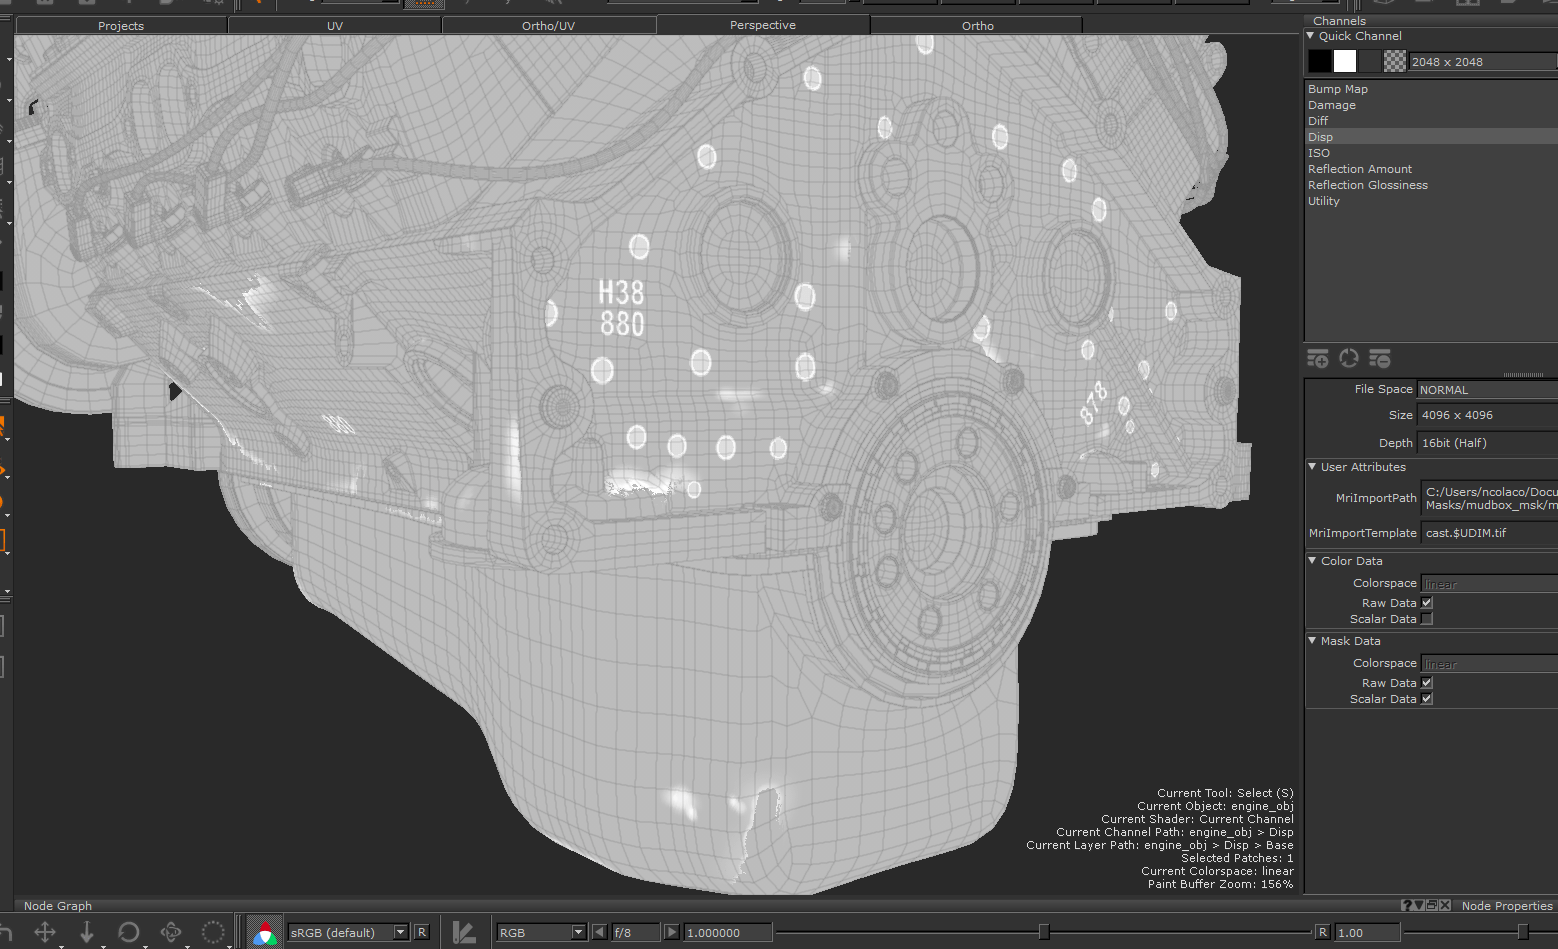
Displacement
Here I used 16bit tiffs as I found myself needing to merge maps together in MARI also didn't need the extra range, they were also lighter than 32bit EXRs for faster render time, as they are lighter and use less RAM while rendering.
Also both these kinds of displacement maps have different utility and should be used accordingly.
Gloss
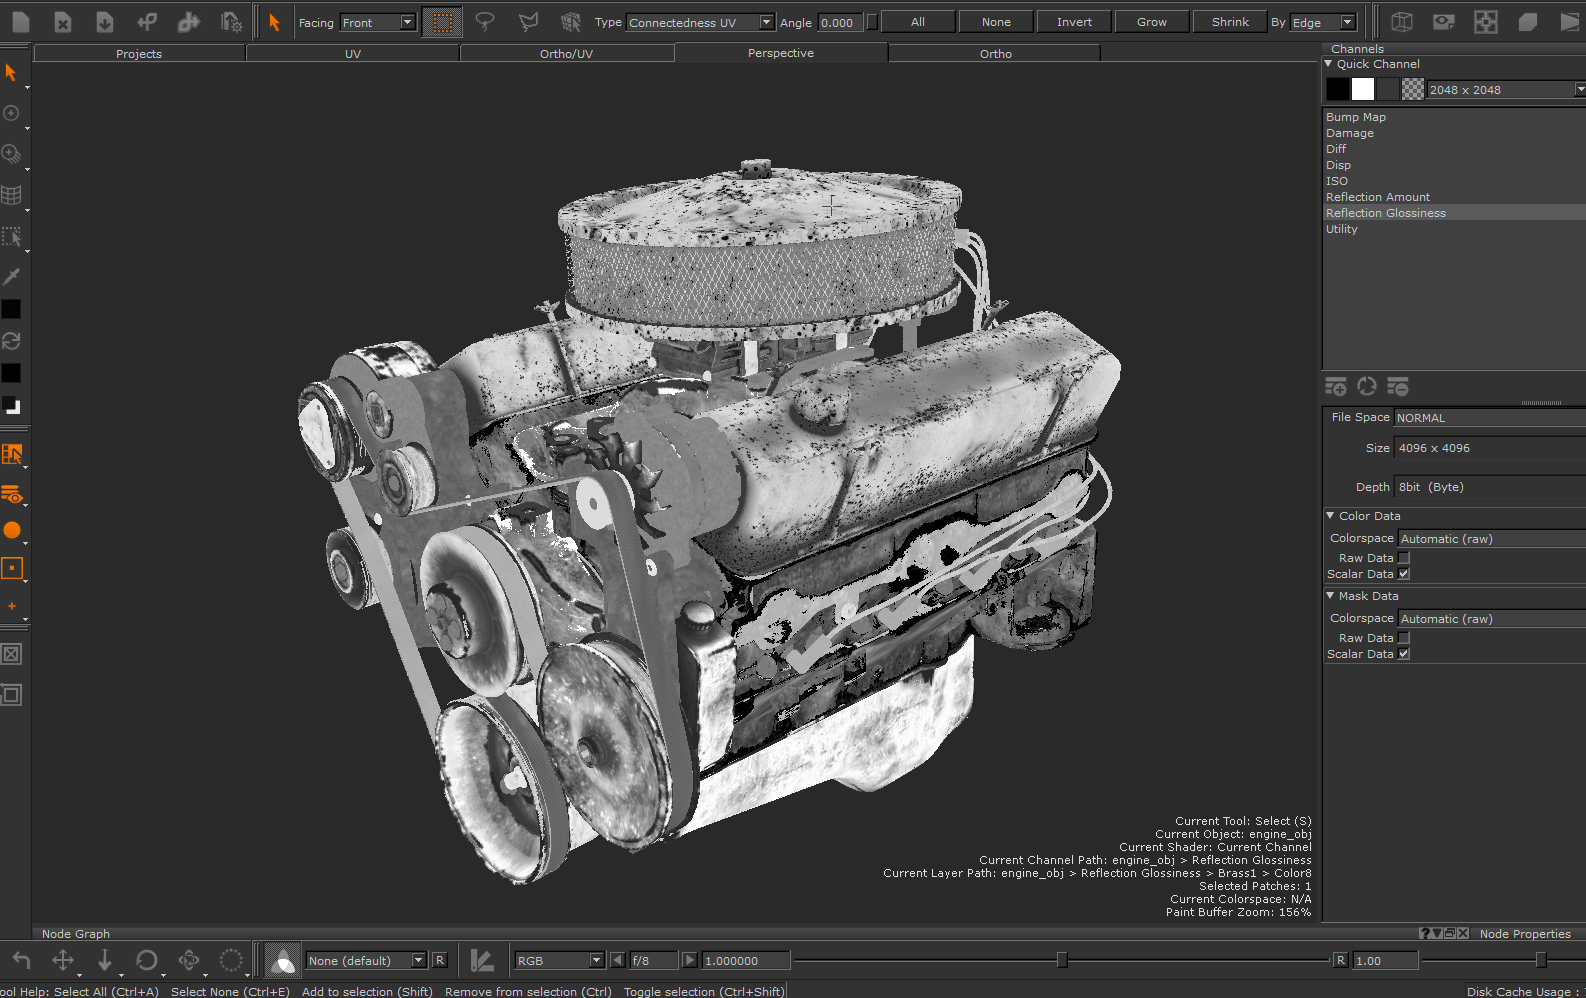
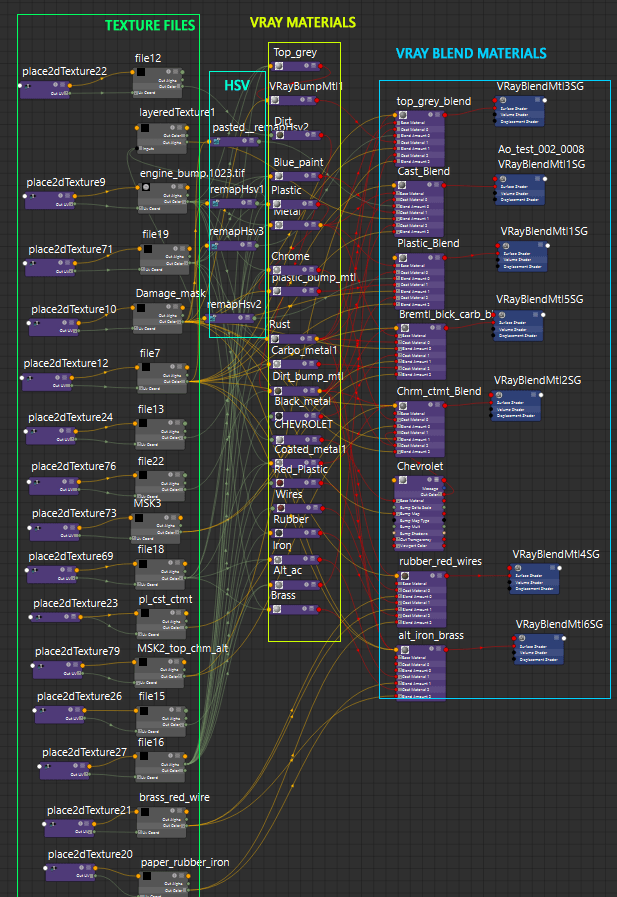
After exporting the textures, I then combine them with the shaders in Maya.
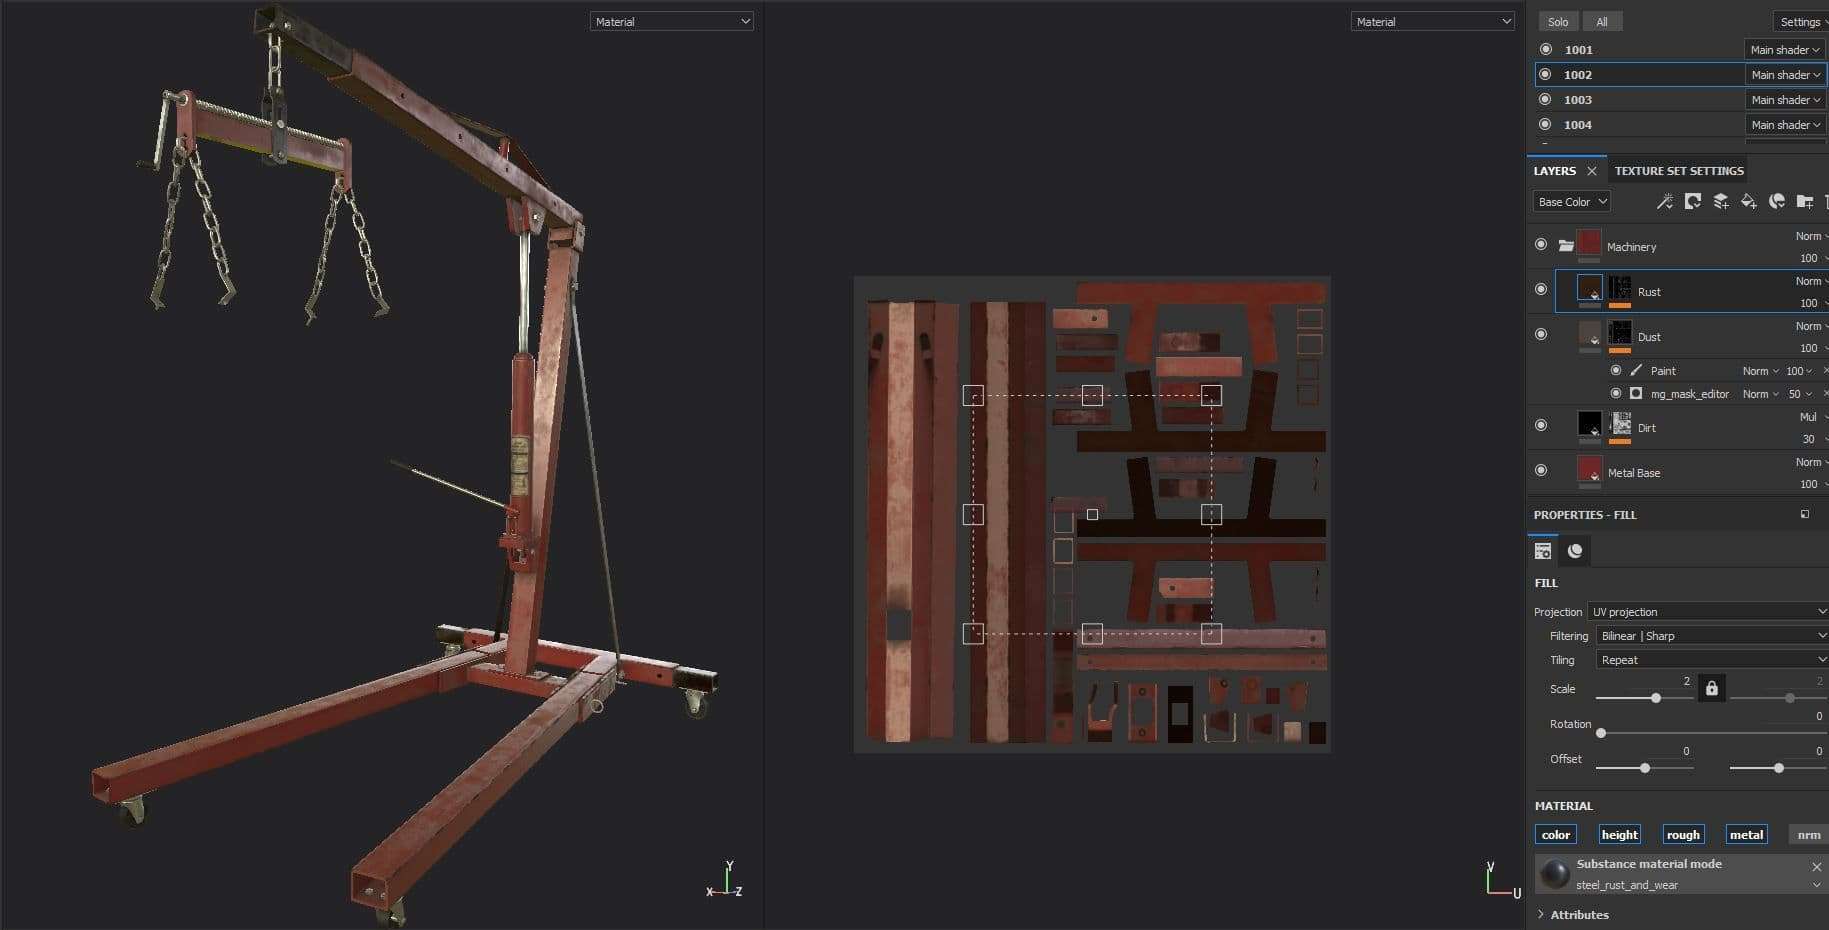
Texturing the Crane
As the Crane was a later addition I did not have a lot of time to give to it. Therefore I decided to use Substance Painter as I could lookdev and get quick feedback on my masks on all.
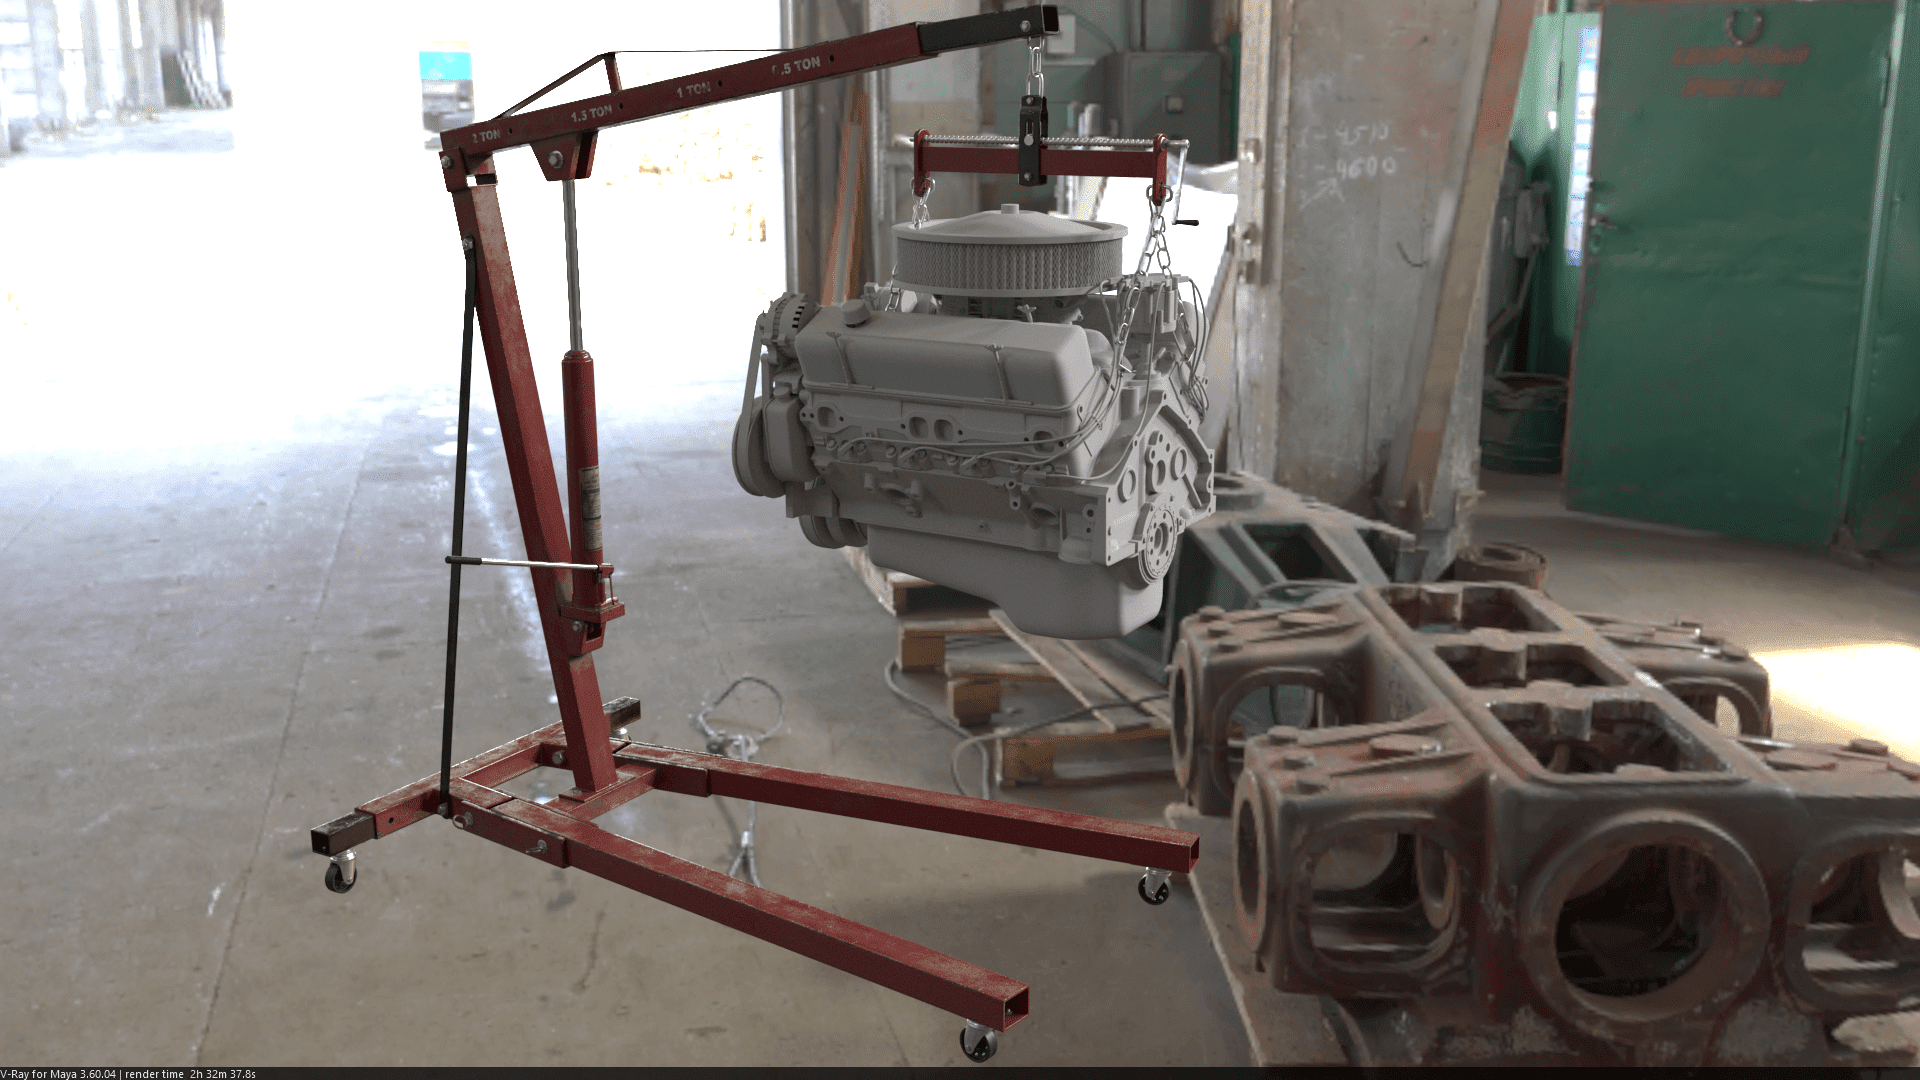
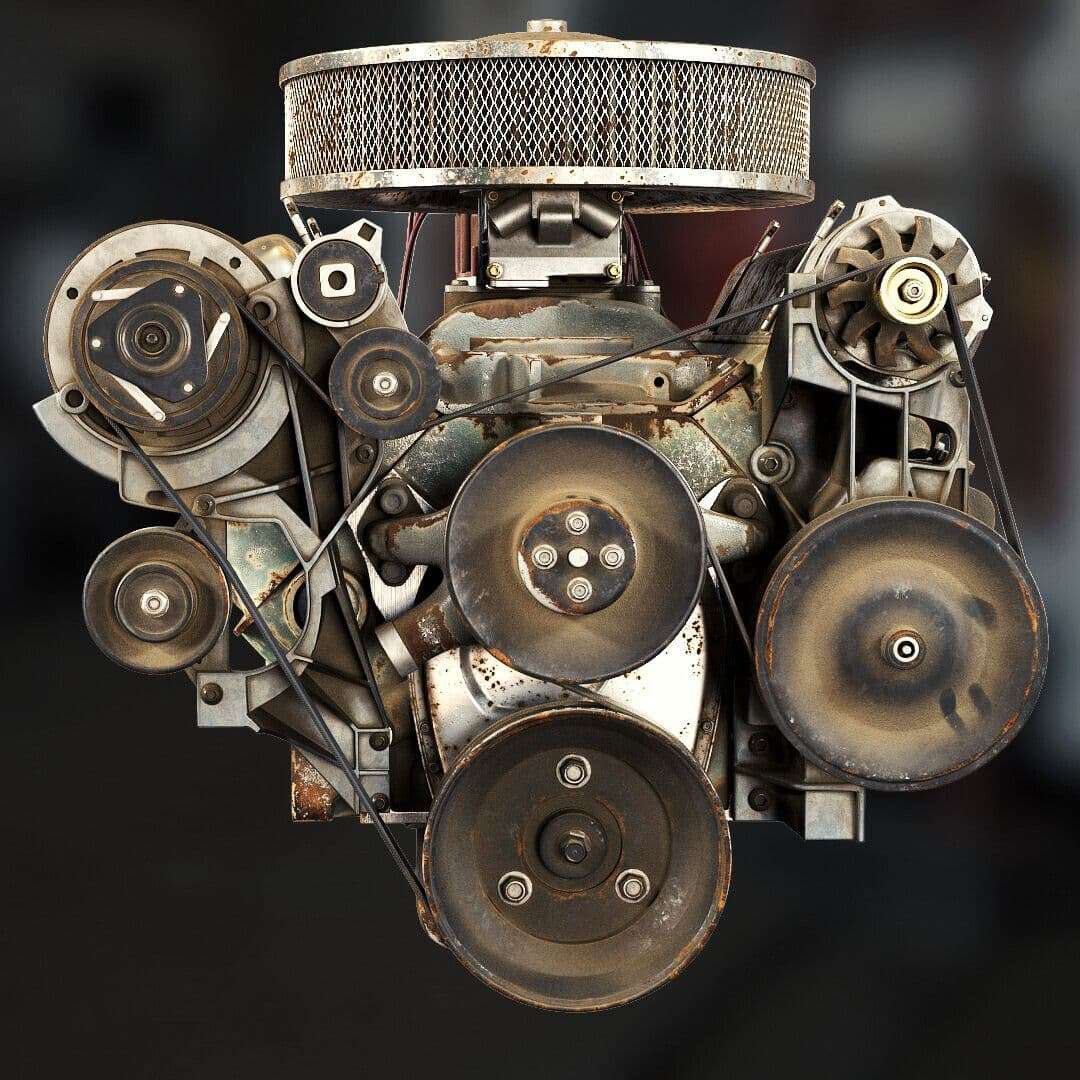
The turntable shot was lit using a mechanic workshop HDRI in a Lookdev environment.
The garage sequence was lit using multiple lights to match the lighting in the plate (video). I used a frame from the video to also contribute some light as different HDRIs changed lighting

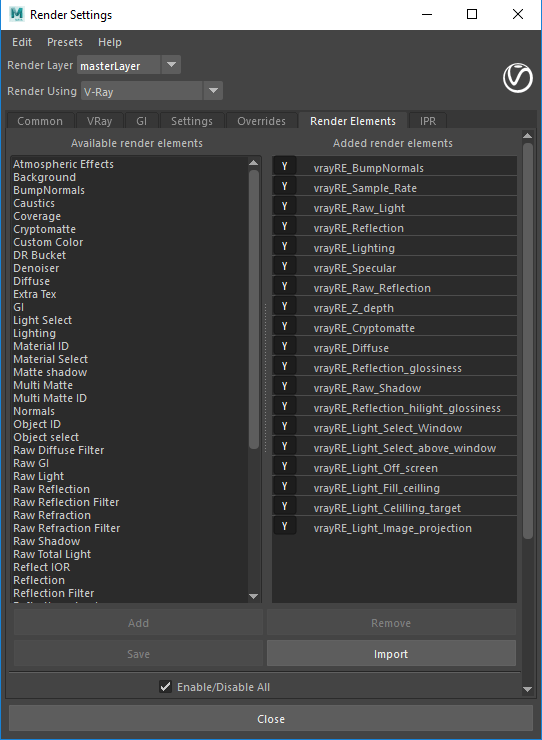
Rendering out AOVs (Arbitrary Output Variables) also known as render passes can be important if you want to have more control and make changes in post. Some examples of AOVs are Diffuse, reflection, highlight gloss, light selects, lighting, Zdepth, ID/Cryptomatte passes.
I exported all these AOVs to multi-channel EXRs so each file would hold all the passes in them.
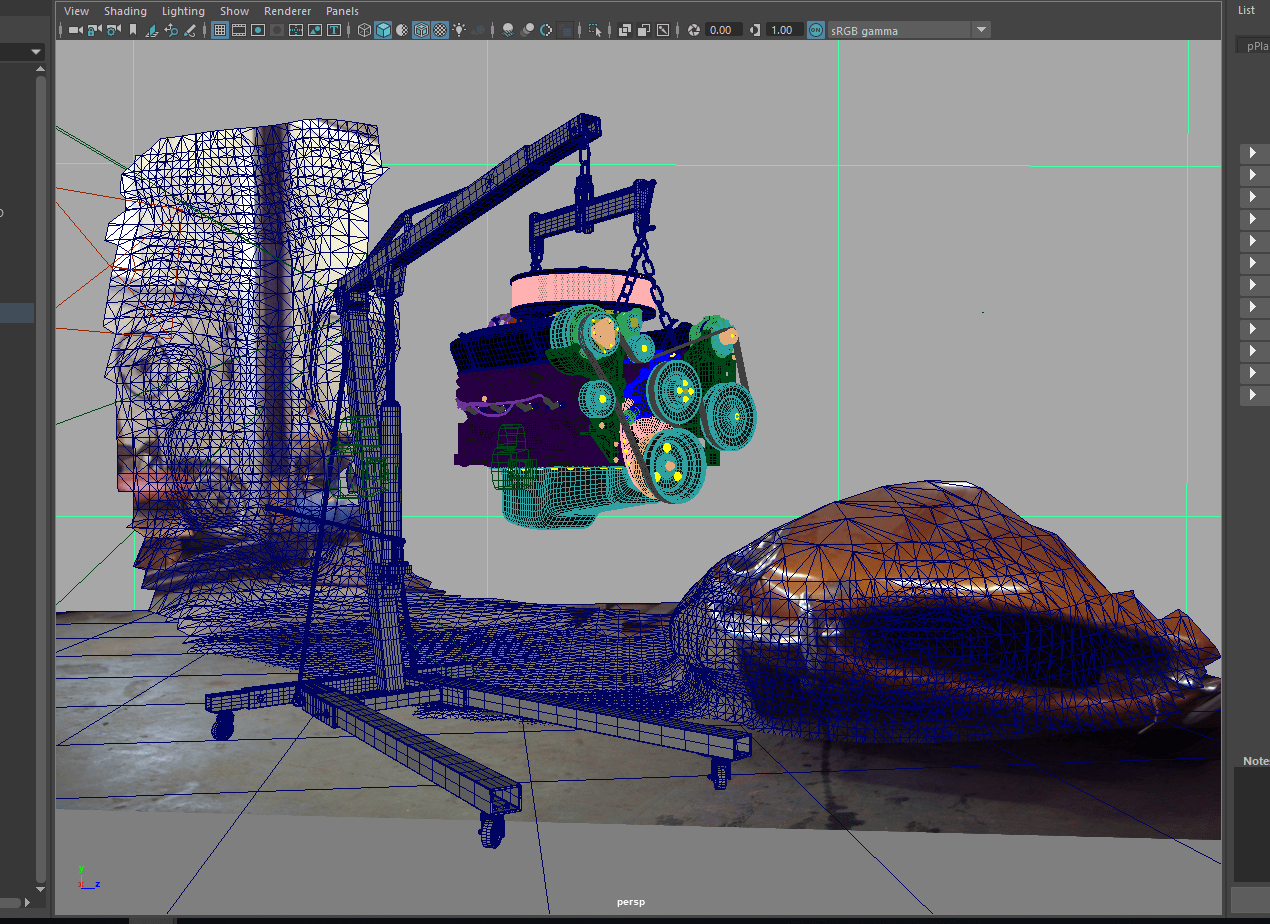
Tracking
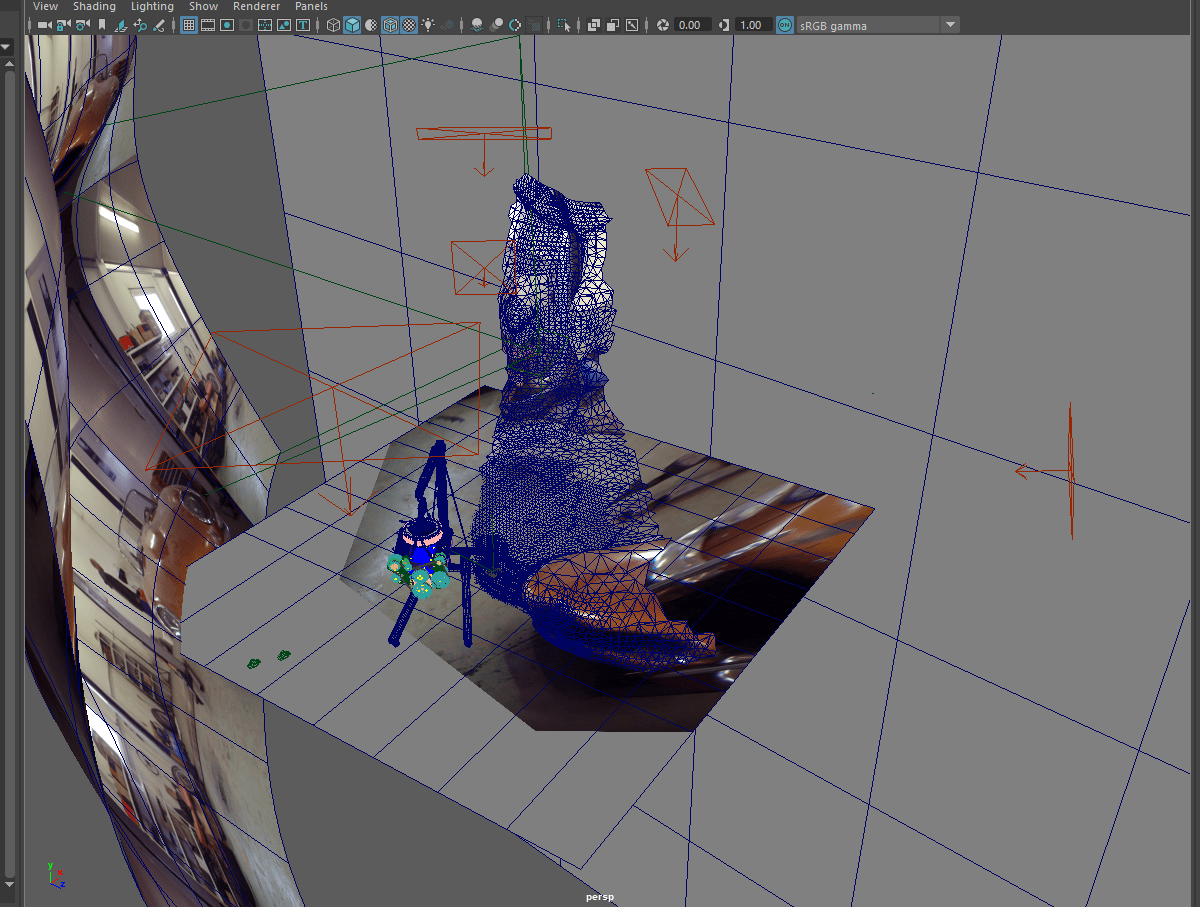
I did a 3D track on the plate(video) in Nuke, through which i generated a Point Cloud where I placed my ground plane card and generated a mesh from the point cloud. This would help me to understand where I should place my assets in 3D space.
Compositing
After rendering out the sequence out of Maya into multi channel EXRs which i imported into Nuke;
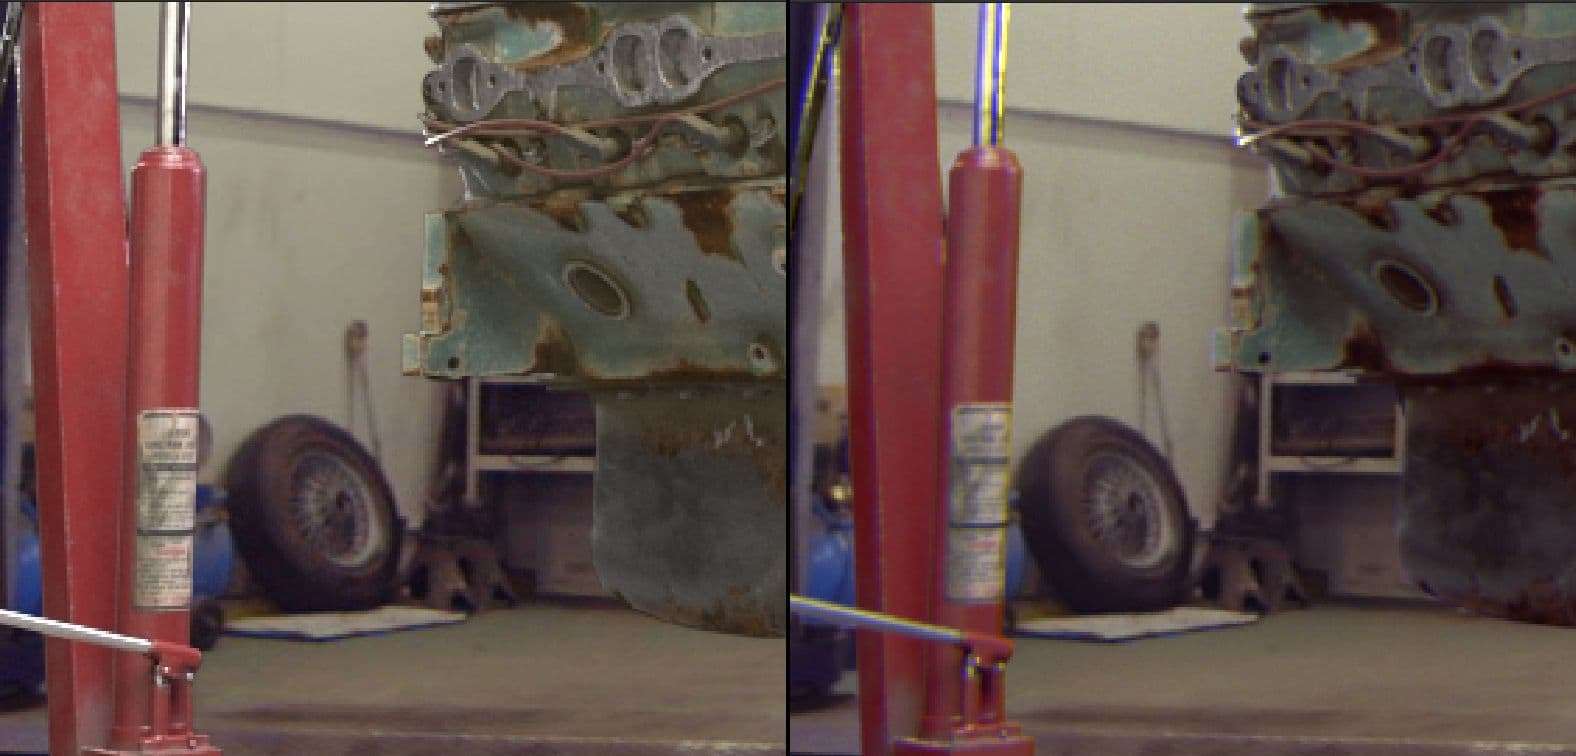
6. I didn't have all the camera information and also couldn't get the exact plate lens deformation so it was done using a grid warp.
7. Adding a subtle Light Wrap around the asset helped it blend in better.
8. After denoising the plate I merged it behind my asset.(The image above has been already merged.
9. I used a Grade Node with the Shadow pass as an alpha so I don't lose details on the ground.
10. After merging the plate with the assets I encountered a few edging issues which I fixed using different methods
11. To the end I was running on a tight deadline and I didn't have time to render a reflection of the engine on the car so I decided to try and comp it in. I took a copy of a frame where I warped, burred, blended and connected it to the track.

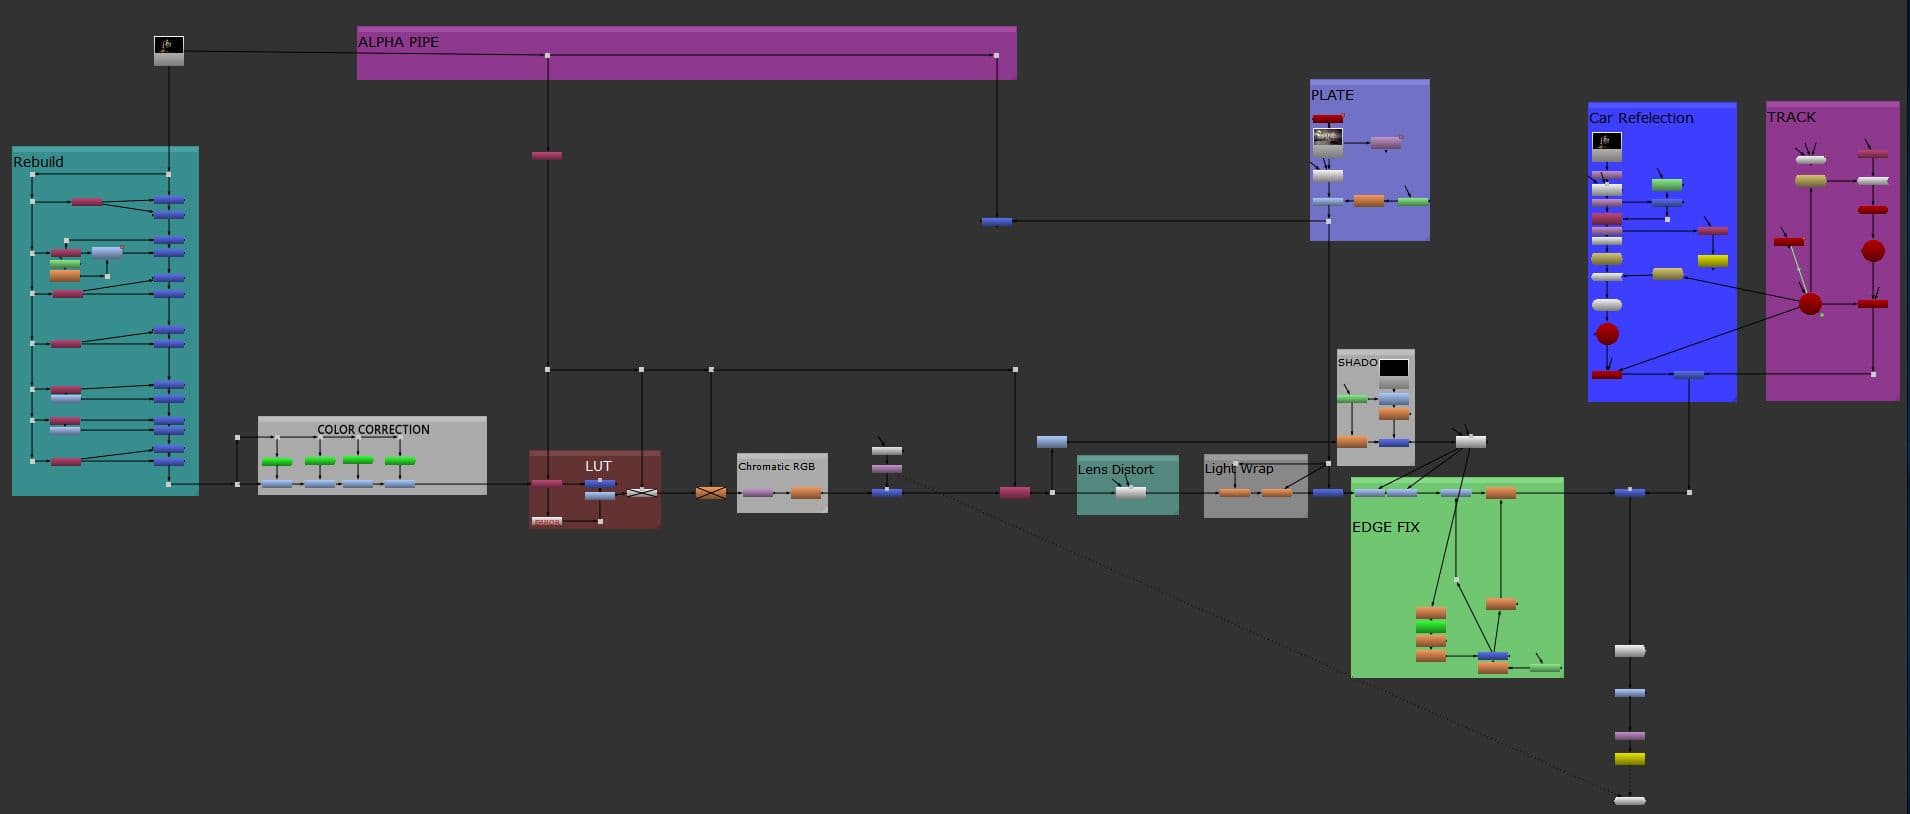
Nuke Script snapshot
That's about it, I am happy how far this project came and it was a lot of fun as I love solving problems and this project had surely had many challenges.
Also I could have my “Garage Scene”. It feels awesome to share the process with and give back to the community in a small way.