
Hi everyone My name is Pierrick Le Texier, I’m a French student at New3dge Art School and I would like to become a Character Artist.
Today I’m going to talk about one of my project that I did few months ago: The Butcher.
I will talk about why and how I did this. During this article I will refer to other projects that I have realized and put forward some elements that seem important to the creation of this character.
The Origin:
I've always been a fan of the Sci-fi universe, I like all kinds of stuff in regards to this. This includes everything related to Mecha of course !
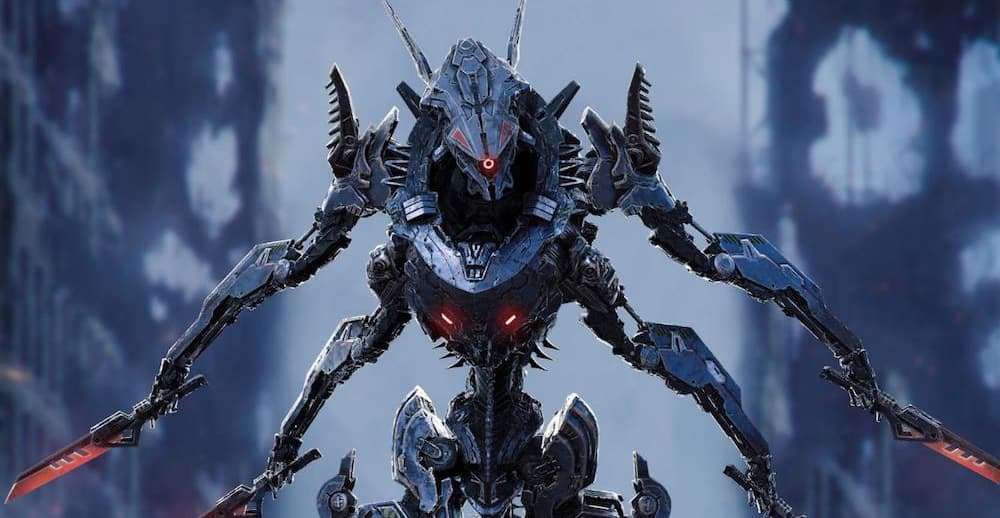
I like to find artists on ArtStation. I found a talented concept artist by the name of Dmitry Lyapin and I fell in love with one of his works called “Butcher” and I decided to remake it in 3D.
At the same time Marco Plouffe was my ZBrush professor at New3dge and he taught me many things about hard surface sculpting.
After this course I had to sculpt a hard surface character of my choice and I obviously decided to take the Dmitry Lyapin’s Butcher Concept.
How I did this work ?
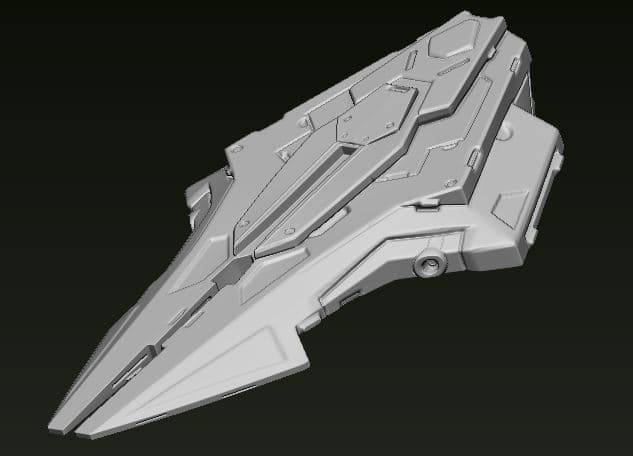
This sculpt was made 80% in ZBrush. Some hard surface parts were made in blender because I find that it allows me to have a little more control over angular geometric shapes.
When I start a model (even an hard surface one) I like to start with Dynamesh in ZBrush for doing a block out of the model. It allow me to have good control of my shapes without worrying about hard surface right now.
For this I use basic ZBrush’s Brushes like the DamStandard, Clay, hPolish and Move. The sculpt will look a little bit “flabby” but it’s the shape that is the most important. If it work here it will work with hard surface details.
I do this step for every character I make. It works particularly well for organic models.
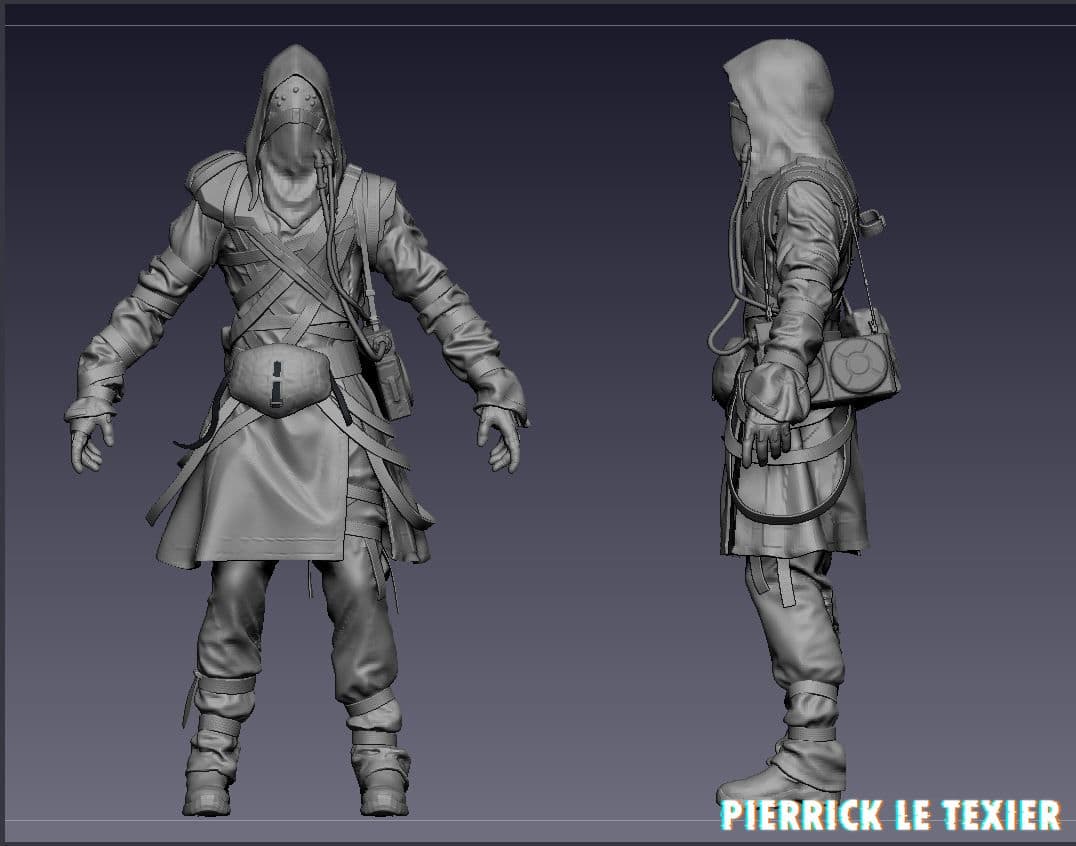
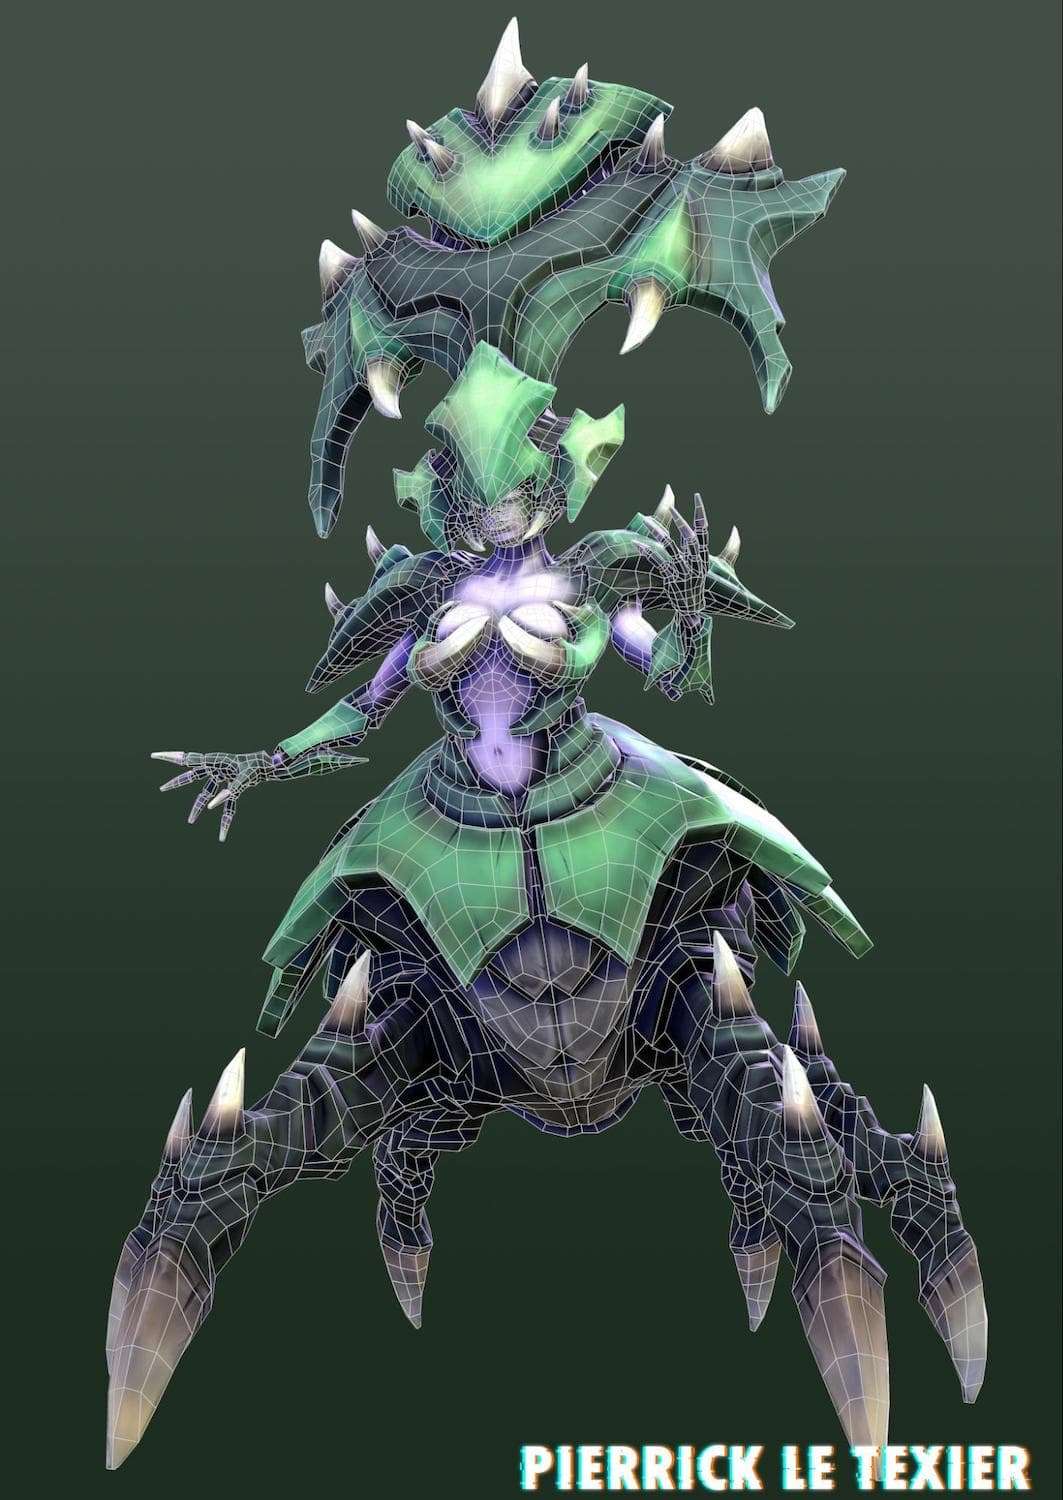
At this step if you have fabric on your model don’t hesitate to us Marvelous Designer. It’s a good software to simulate fabric. Here’s an example of a character that I made with some fabric on it.
It’s still a block out model but the shape and the folds work well.
When I like the shape of the model at all angles, I start to make one clean subtool for all the different elements with good topology which allows a cool division in ZBrush. The most important thing is to try to keep the hard surface of the low poly.
In others words what is straight / angular / flat in the low should stay straight / angular / flat when dividing into ZBrush. For making this I use PolyGroups and grease PG.
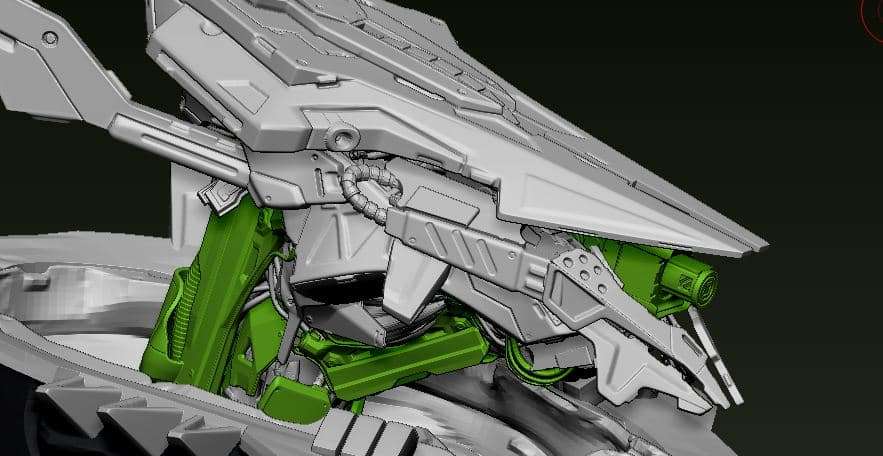
Here’s an example with the metal part on the top of the head.

Thanks to the grease the hard surface is still there but the division allows me to add many more details. When I do this for all parts (which is very long) I add some IMM or 3D Kitbash to fill the gaps and add visual noises. Here in green.
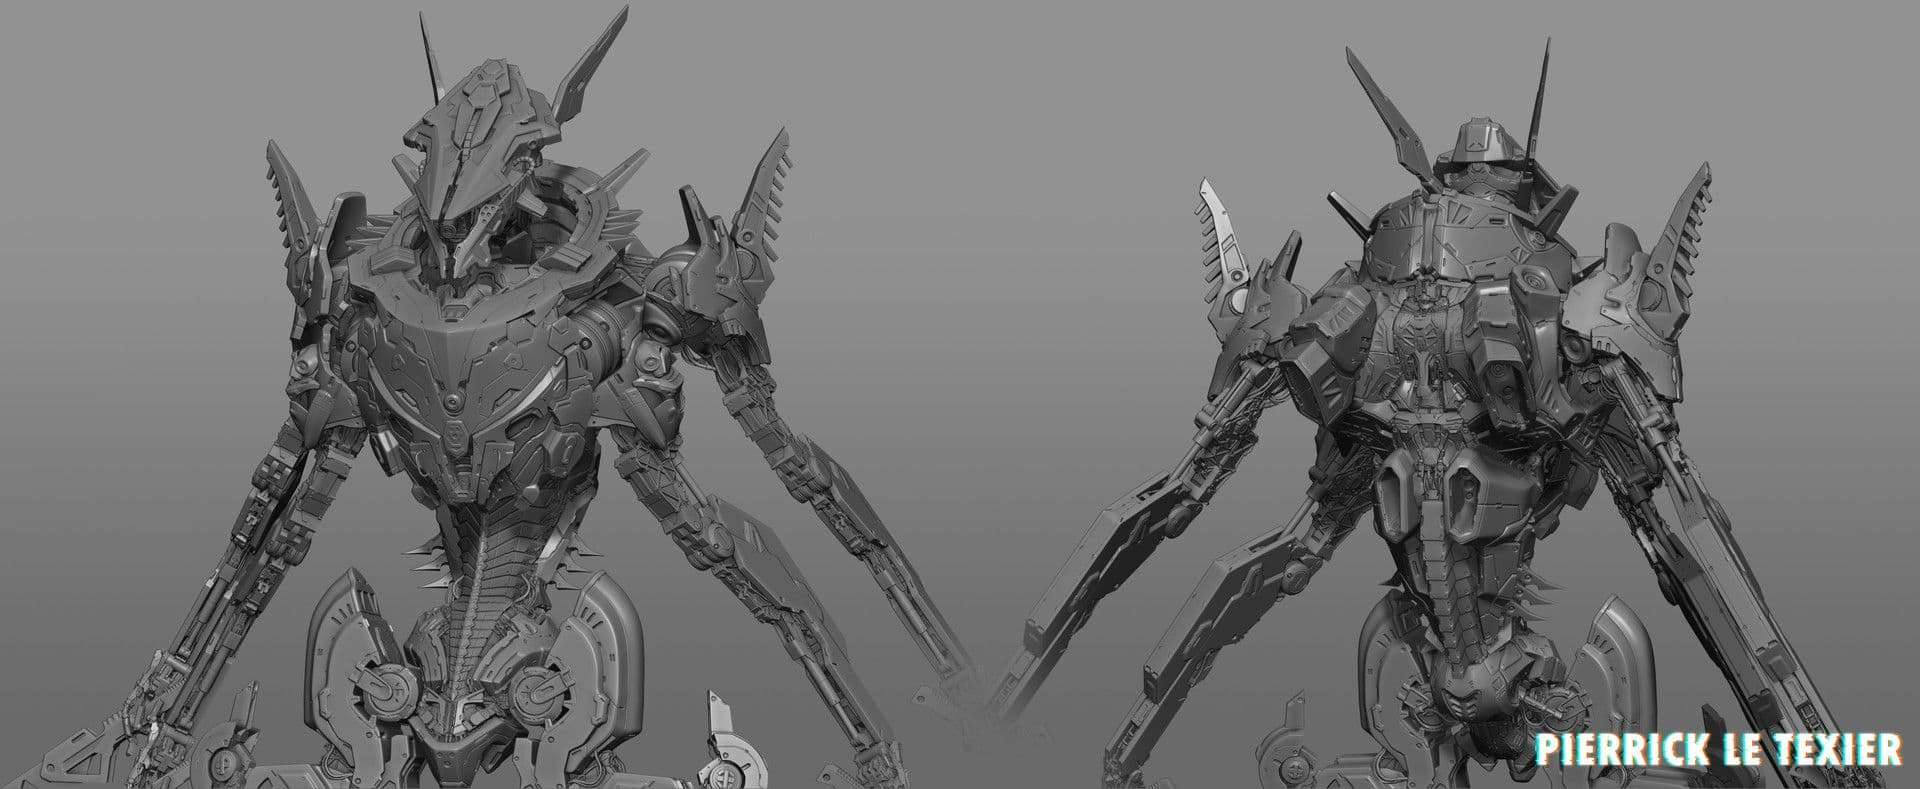
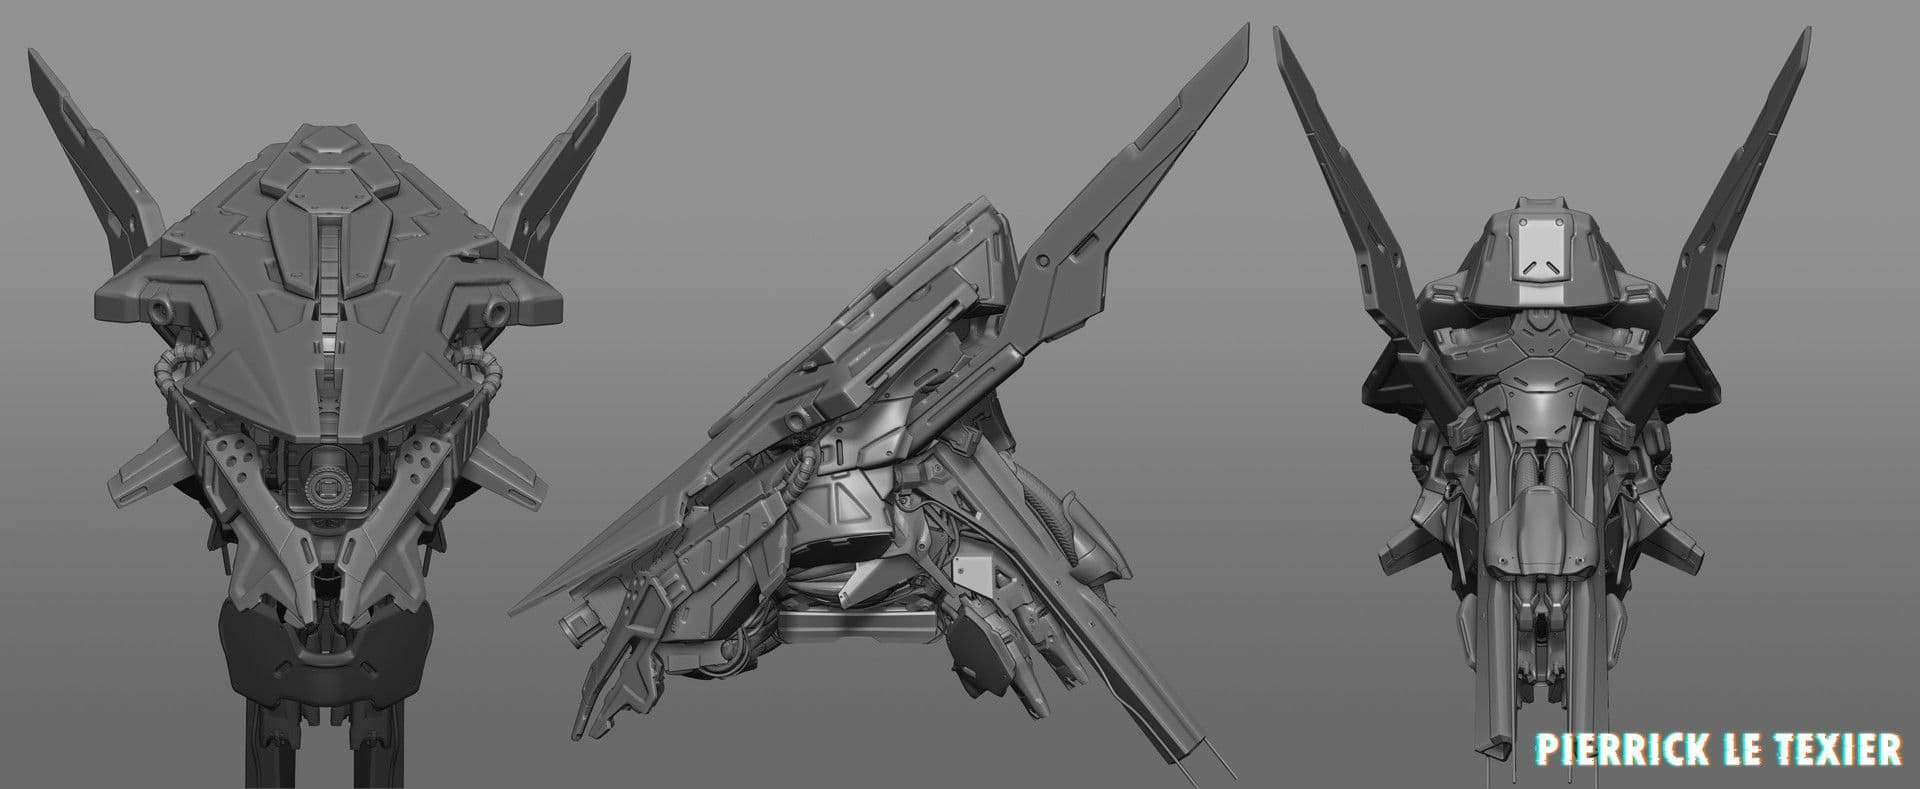
When everything is finish it look like this.

At this step 80% of this work is done.
In this exercise, only the sculpt was asked of me, however my objective was to remake the original concept and include the textures.
To save time I decide decimate it instead of making a new retopology.
Decimating a model is a good alternative if you want to add textures quickly on a project. (It’s not the cleanest way, however if you don’t have animation and your objective is to make only a screenshot, then it’s ok).
However, if you have the time and if it’s requested you should retopologize your model before continuing. Don’t underestimate the time it takes to retopologize an asset.
The most important thing about your retopology is to have an homogeneous model while being careful of edge loops (for the animation) and wireframe (to not mess with baking maps).
Personally, I use Blender for retopologize my models but feel free to use your favorite 3D software.
In Marmoset Toolbag, using the high poly mesh and the low mesh, I bake all the important maps (AO, Normal, WorldSpace Normal, Material ID and Curvature) and I import everything into Substance Painter (you could also bake on Substance Painter).
With the help of Substance materials and the map that I’ve created earlier you can have a good result quickly.

In Substance, I try to approach the render of the concept while adding a more realistic side that Substance allows me to do (dirt on the metal for example).
When all the textures are done I export all the map.
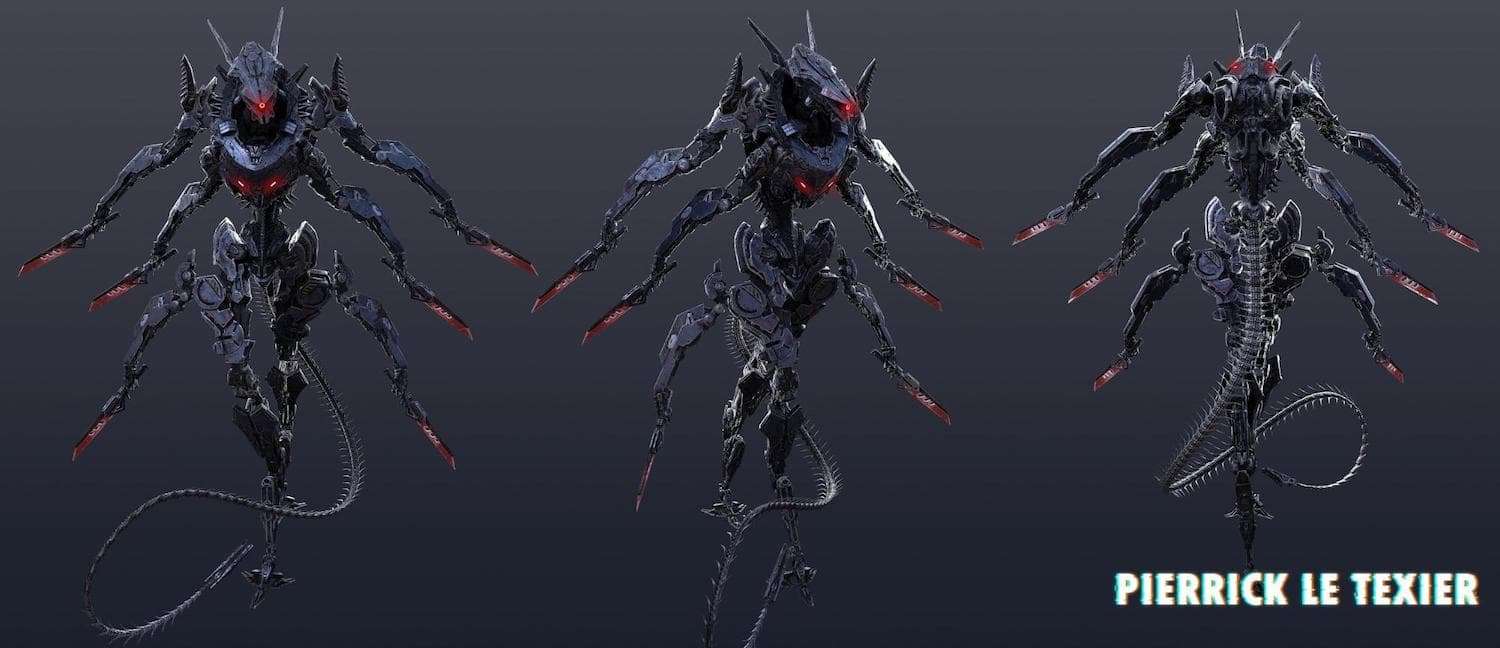
I move some parts of the decimated mesh in ZBrush to correspond to the original concept’s posing (without deforming anything).
If you have made a new topology you can also rig your character for create a new posing. The rig allows you to animate which is a good thing to make bring your model to life and have more impact.
I'm almost finished!
I load my decimated mesh (or my new retopologized one) with all this textures into Marmoset. I’m not very good at lighting but it’s one of the most important things to give your some dynamic effects.
If your model is very clean with good texture, but you have bad lightning then you will loss at the hard work you've put in.
Here’s an example of 'Butcher'.
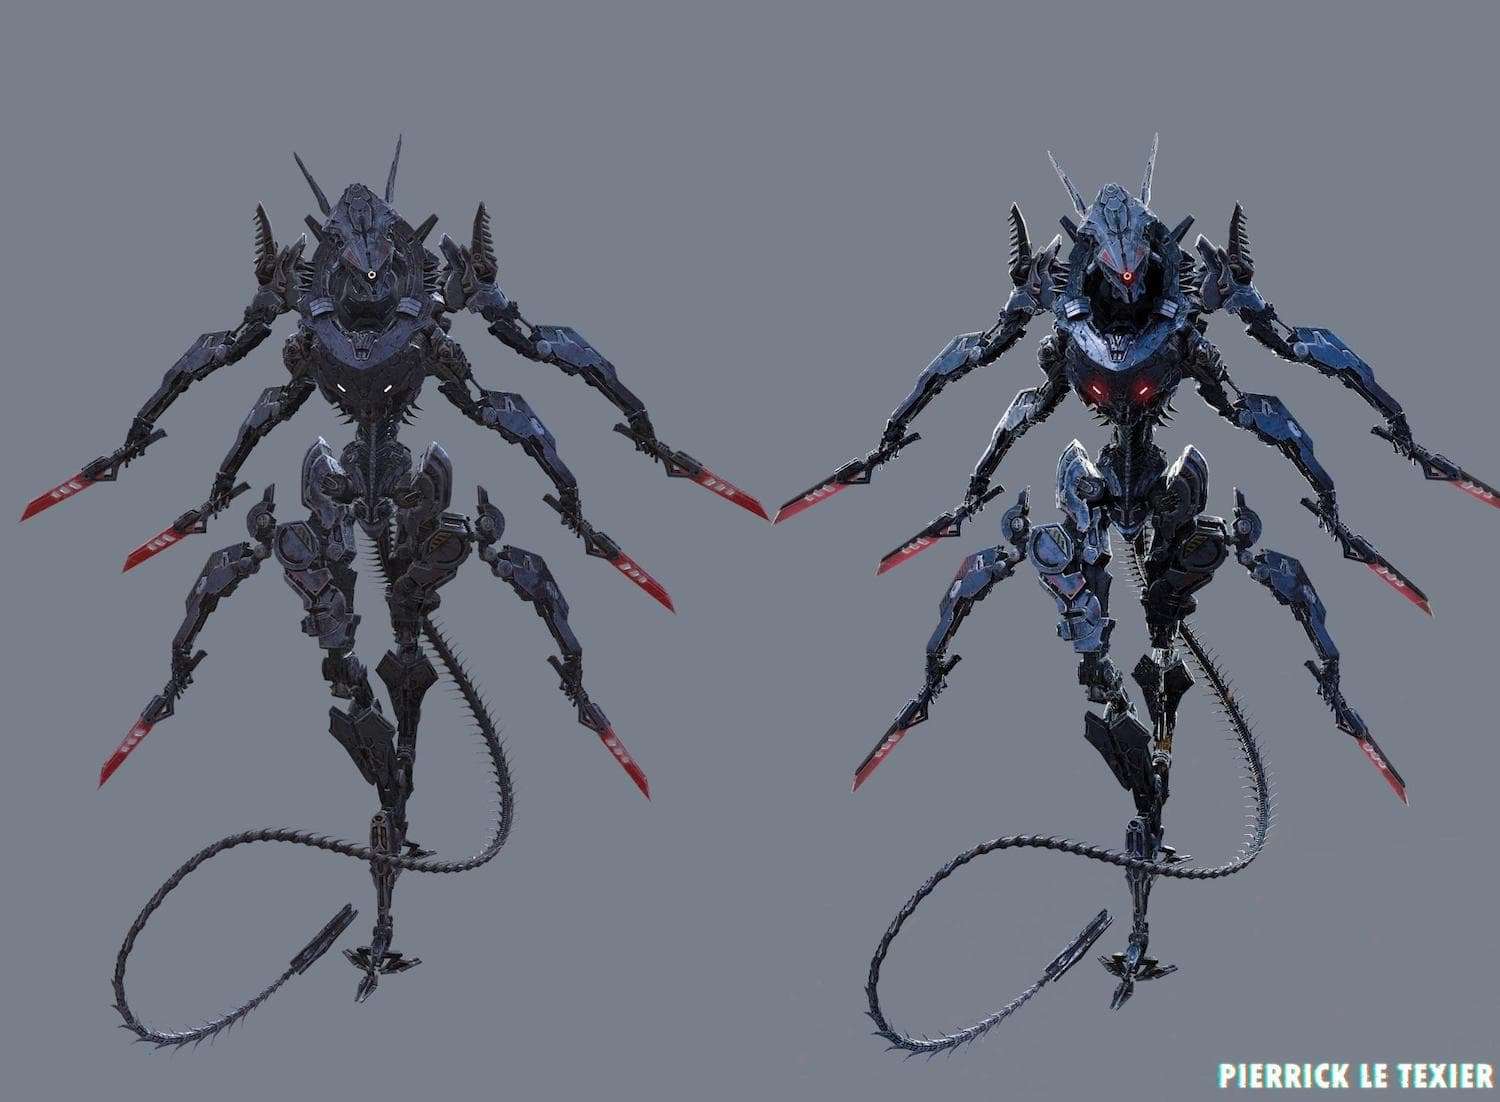
On the left you have a simple render on Marmoset with just an HDRI map.
And on the right have the same scene with 3 light and some retouching on photoshop.
It’s not the same render at all!
Generally I follow the same process when I light an simple scene for my character on Marmoset. (Here I use marmoset but the logic it’s the same whatever the software you use).
1) I load all my map on the material shader. (Here I have diffuse, AO, roughness, metalness, normal and you can have other map like emissive etc).
I place my camera for a good angle and I lock it.
I choose an HDRI map that fit on my model (generally I use a basic Hdri to not influence the lighting too much. If you chose a Forest HDRI all you model will be green.. It’s not what we want.) Try to start with basic and simple color. You will have a render like the left picture above. It’s work but it’s not very good.
2) I do is to add a rim light this will bring out your character from the bottom.
After that try to place a light who will simulate the lighting of a sun or a bulb generally I place it on the top (right or left) of the character.
3) I add another light to take away the black space on my model (if you have it and if your objective is to don’t have black space of course).
When your lighting is good you can change the intensity, the color of your light etc. If you want you can add some post effect like Bloom, Chromatic aberration etc. Try to test a maximum of possibility to find the one that suits you best. Add some ambient occlusion and GI et make some renders.
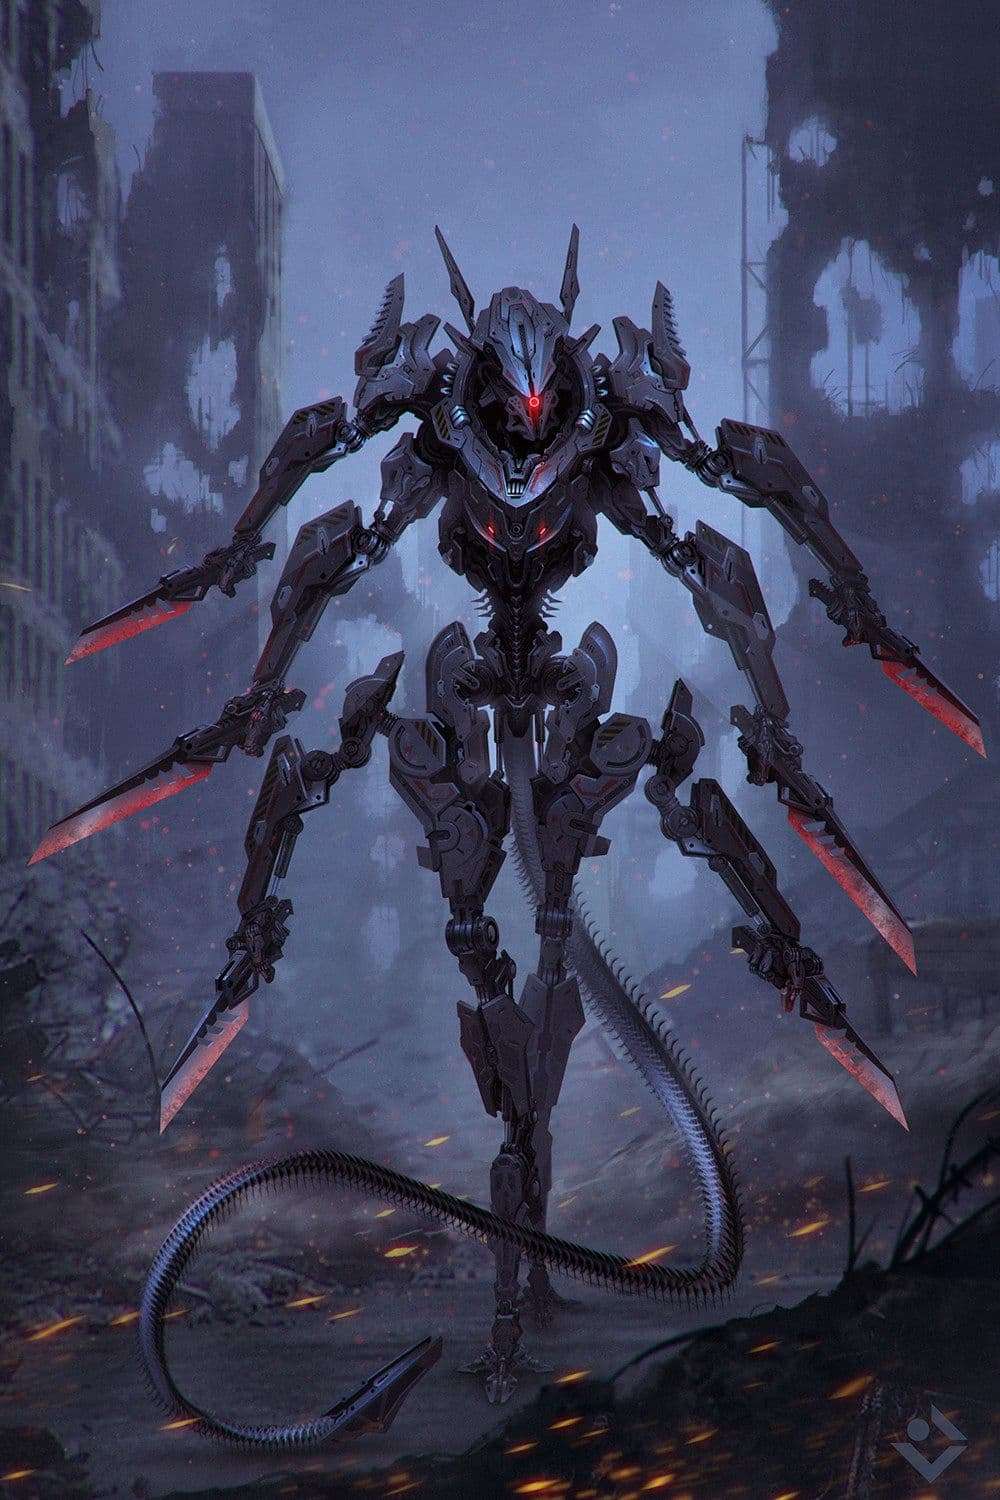
Like I said above In Photoshop I do some retouching and I add the original background for the concept and here is the result!
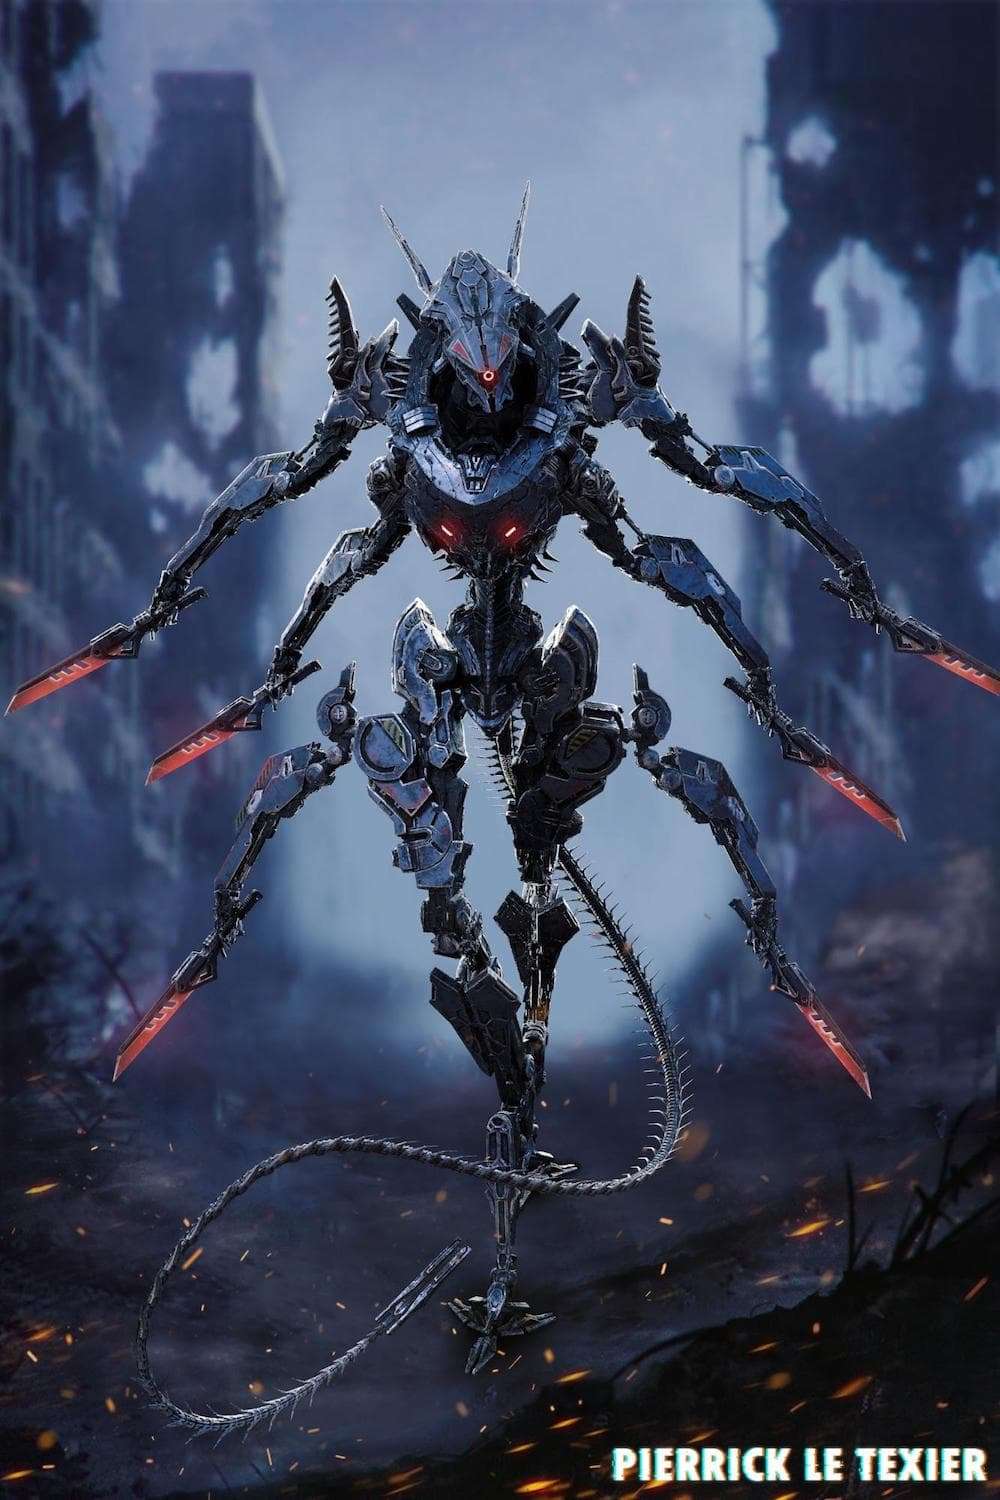
Generally I play with the color lookup option and other adjustment option of photoshop for having a good result. Here again try many things and if something work keep it ! ^^
After all these steps I wanted to share my work directly in 3D I decided to upload my model on Sketchfab for this!
If your model is retopologized or not to big in file size you can easily upload to this site. It’s allow you also to make some post processing for making a good visual like on Marmoset.
https://sketchfab.com/models/5cbec38703cd4491a9effd24fcbbb0a0
There you go !
I hope you find this article interesting and that it made you want to see more
If you want you can see my Artstation (https://www.artstation.com/pick94) or my Sketchfab profile (https://sketchfab.com/pick94)
Thanks to the Rookies team for this opportunity of making an article.