
Hi my name is Timothée Maron, I was a 4th year (final year) student at ESMA Montpellier (France) when doing this project. I am very happy to have the chance to share with you how I made my “Harrison Ford likeness study” project and what I've learned from it.
Modeling : references, references and anatomy
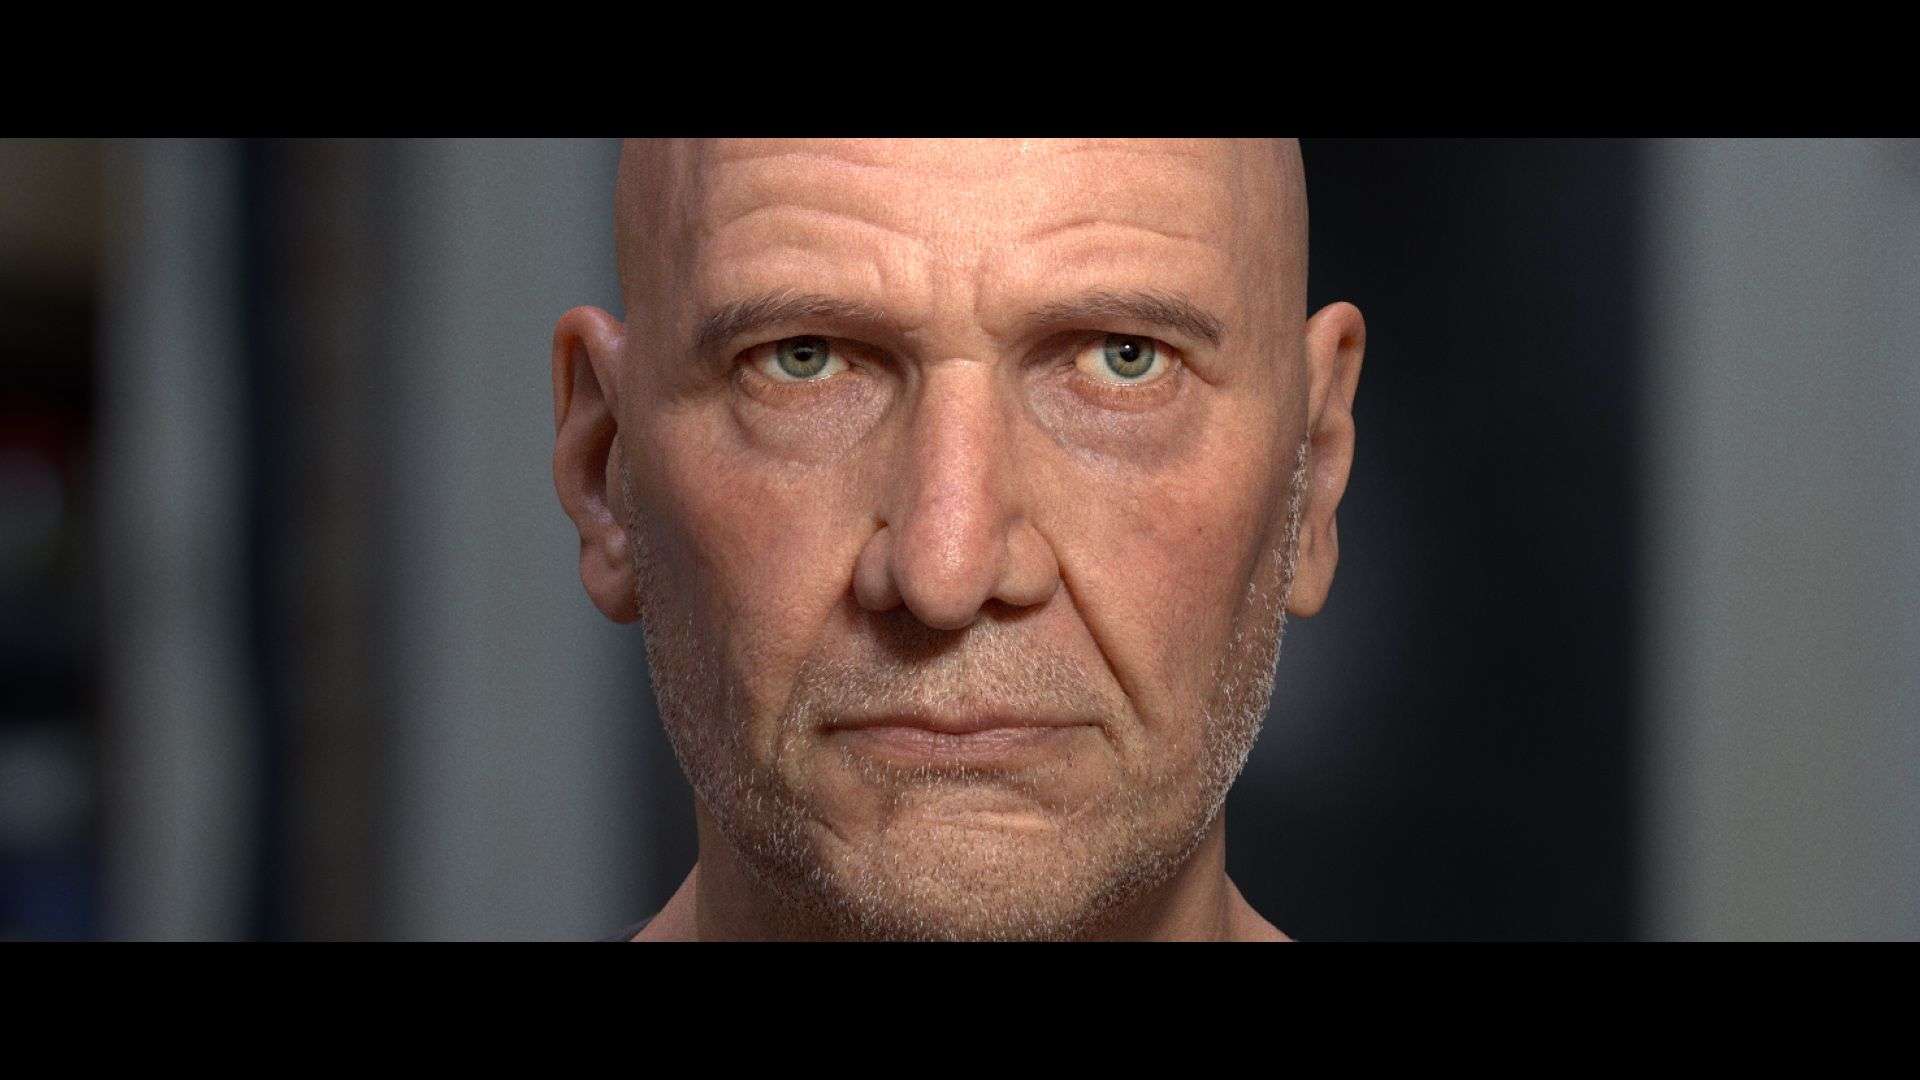
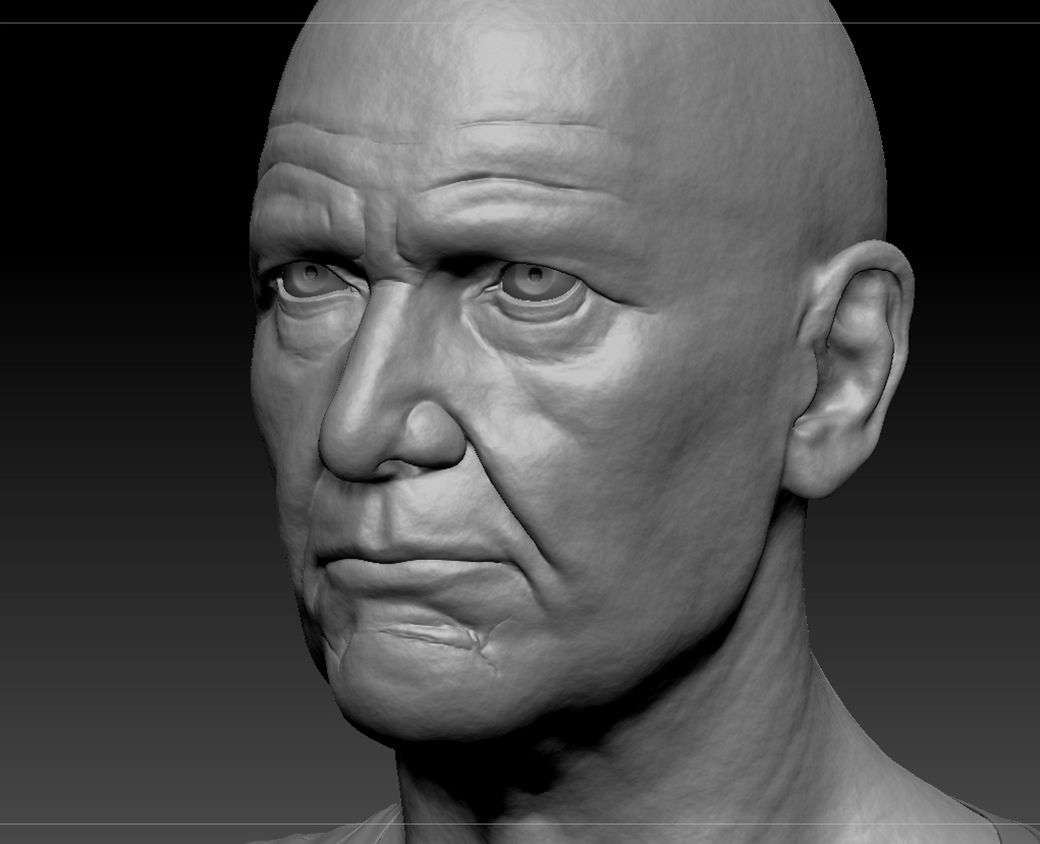
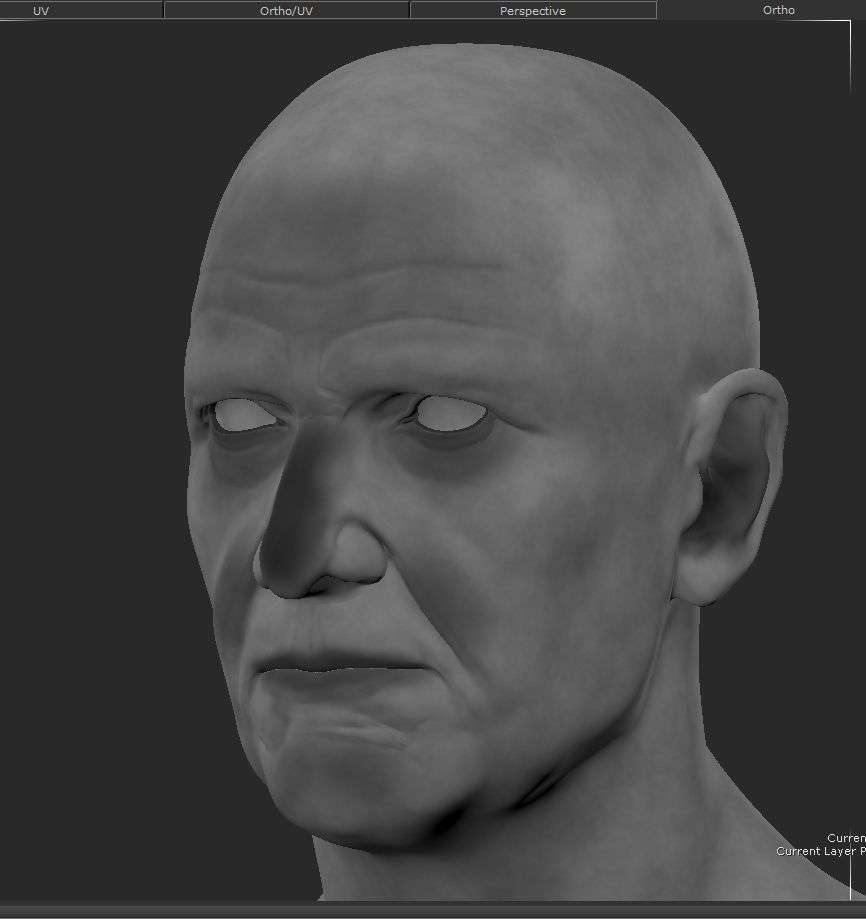
At the beginning of this project my goal was to make a human face as realistic as possible in order to improve my texture/lookdev skills. I started modeling a human face from scratch with a lot of anatomy references, however I was stuck in place where my model wasn't realistic enough.
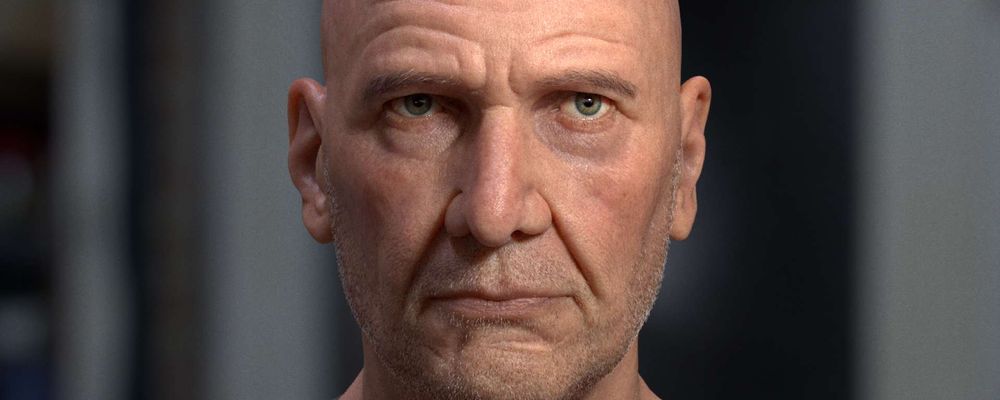
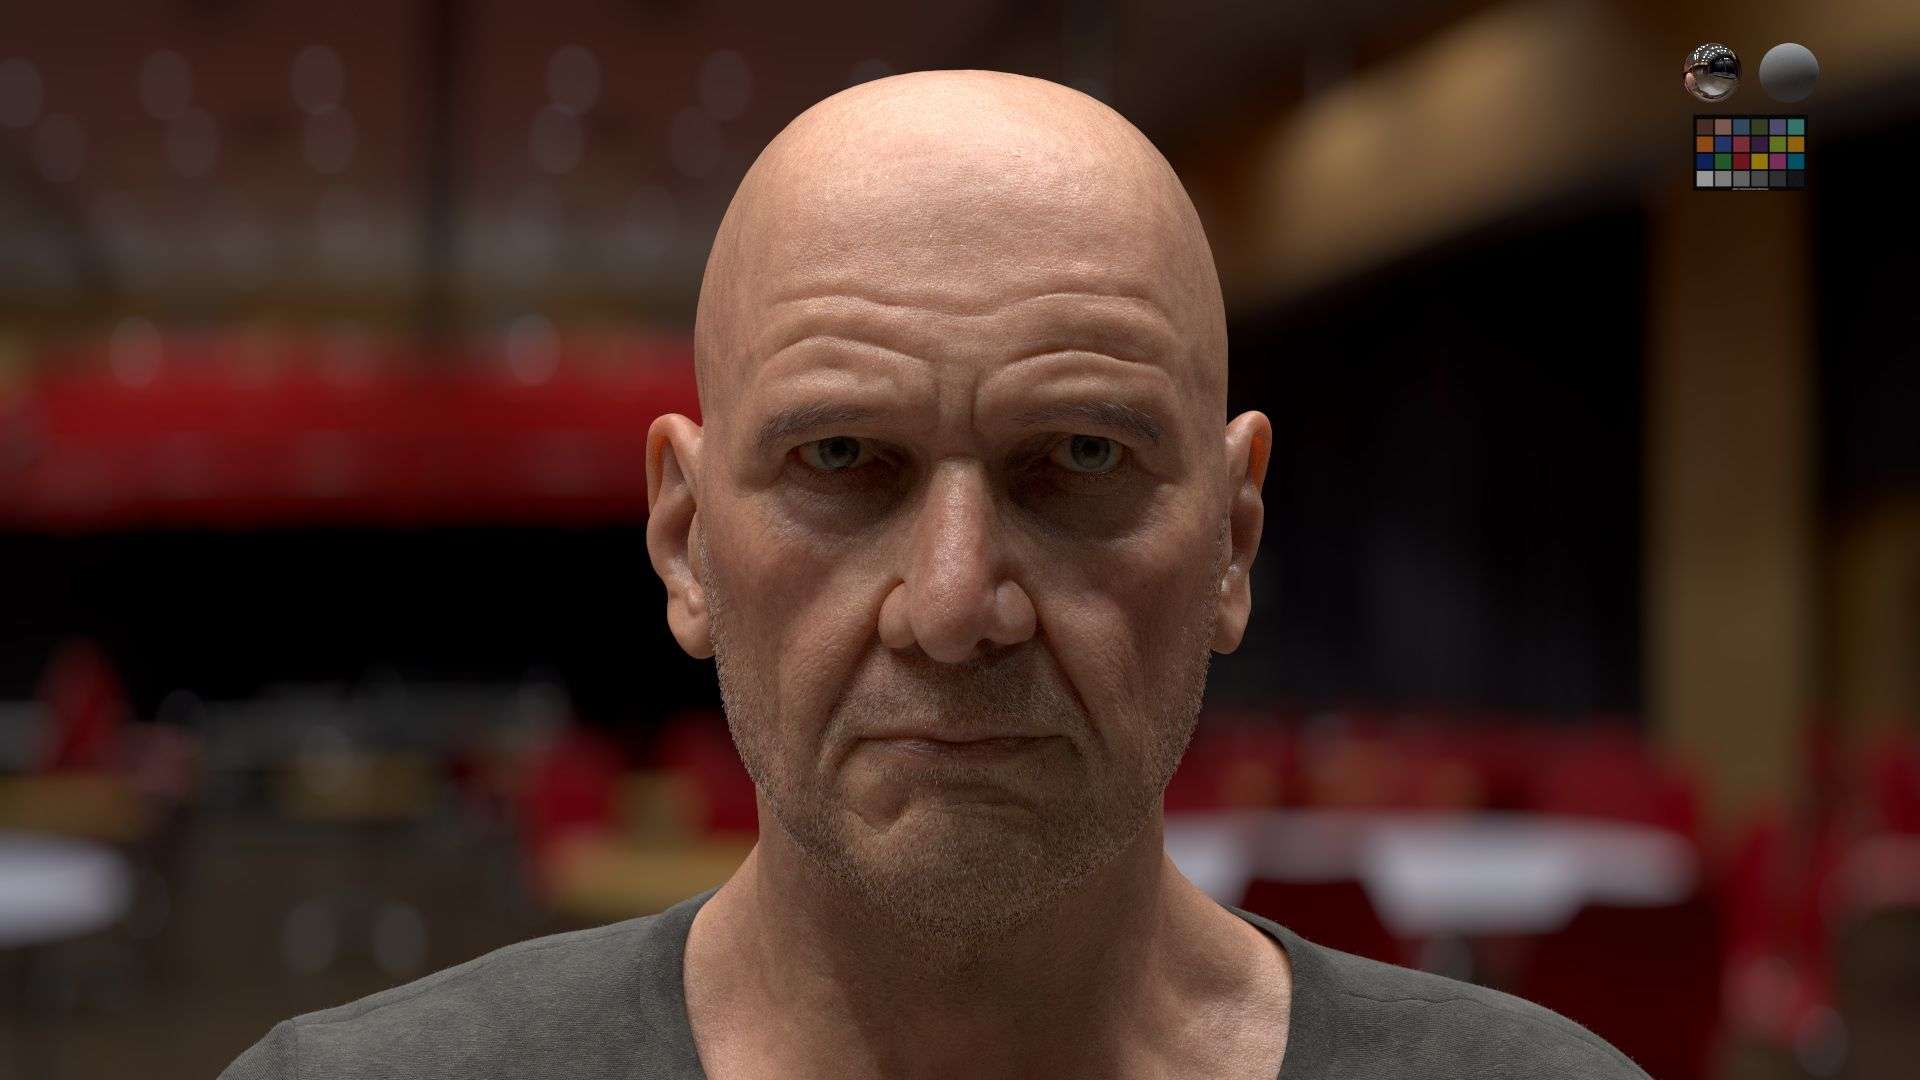
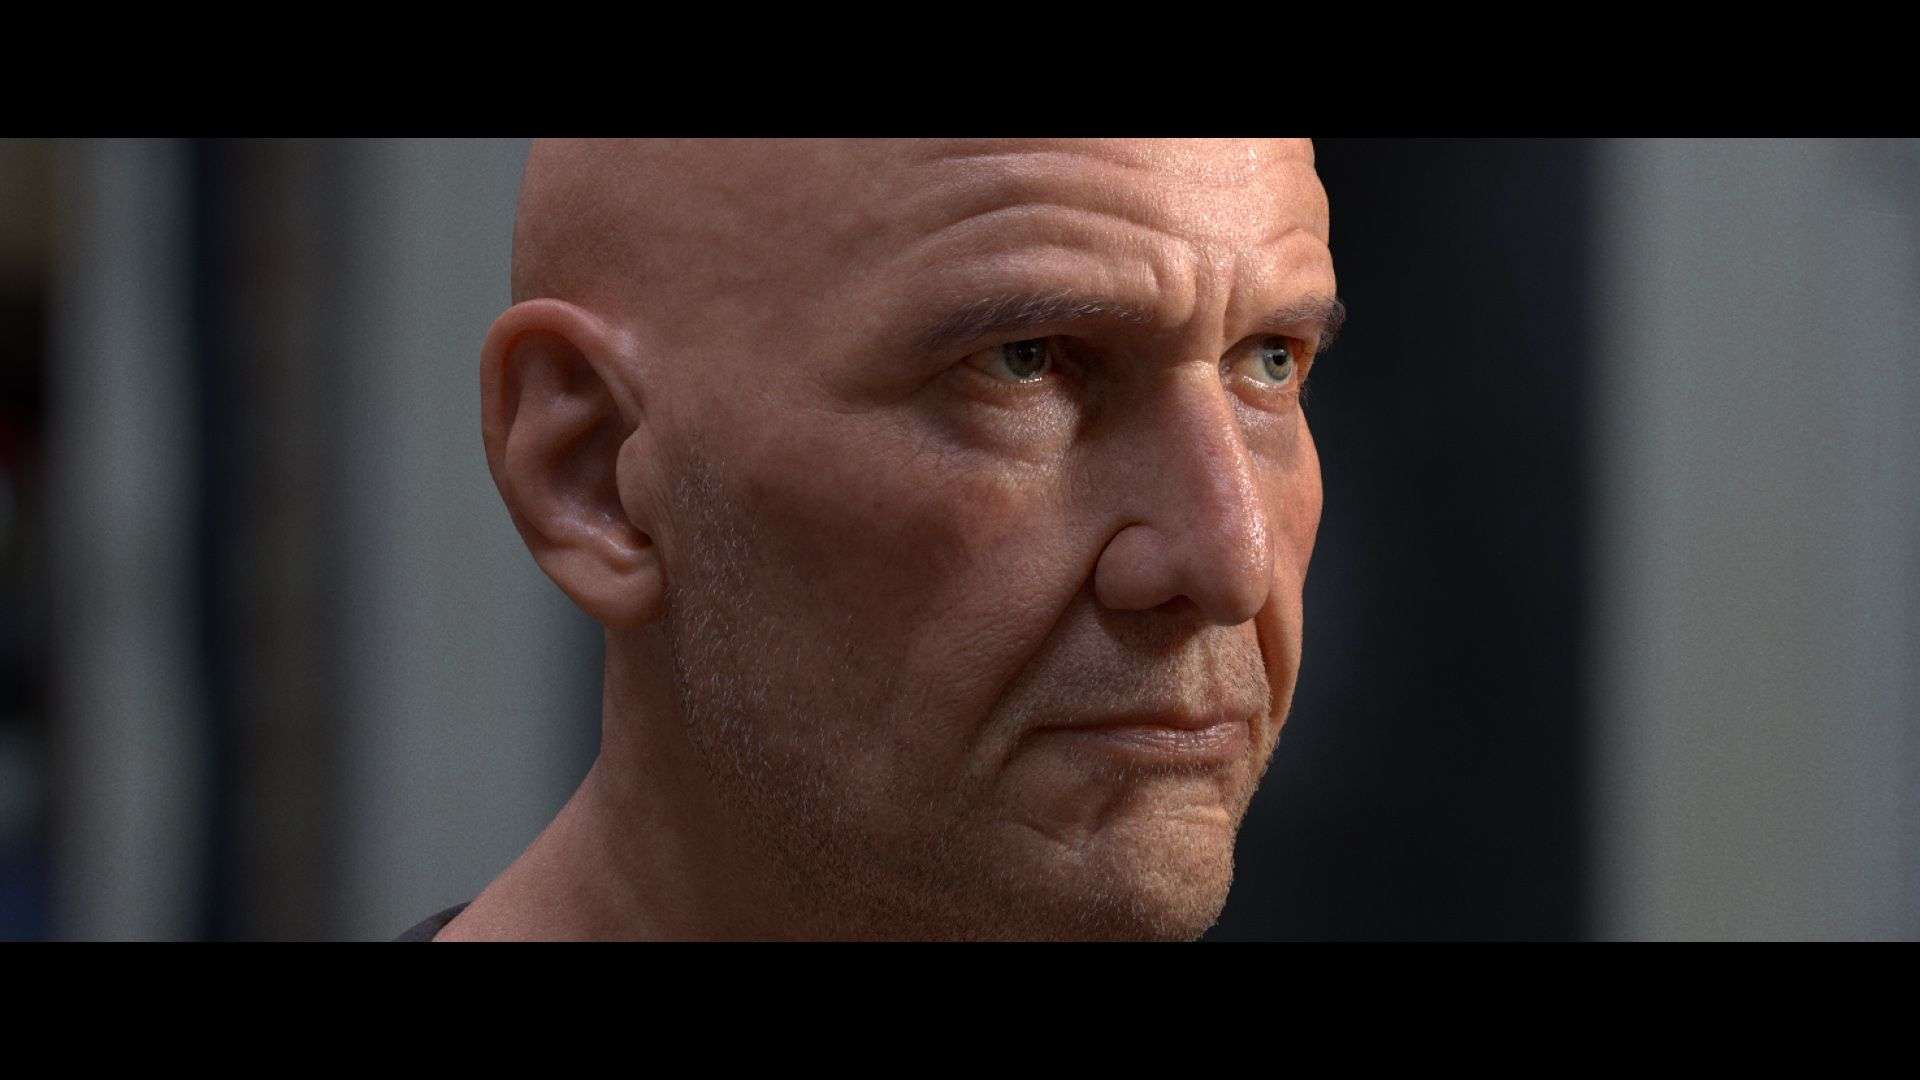
I ended up matching as much as possible one specific reference : Harrison Ford face from Blade Runner 2049 and it helped me a lot. I started from a sphere, retopo in Maya, reproject in ZBrush and then re-sculpting, adding details.
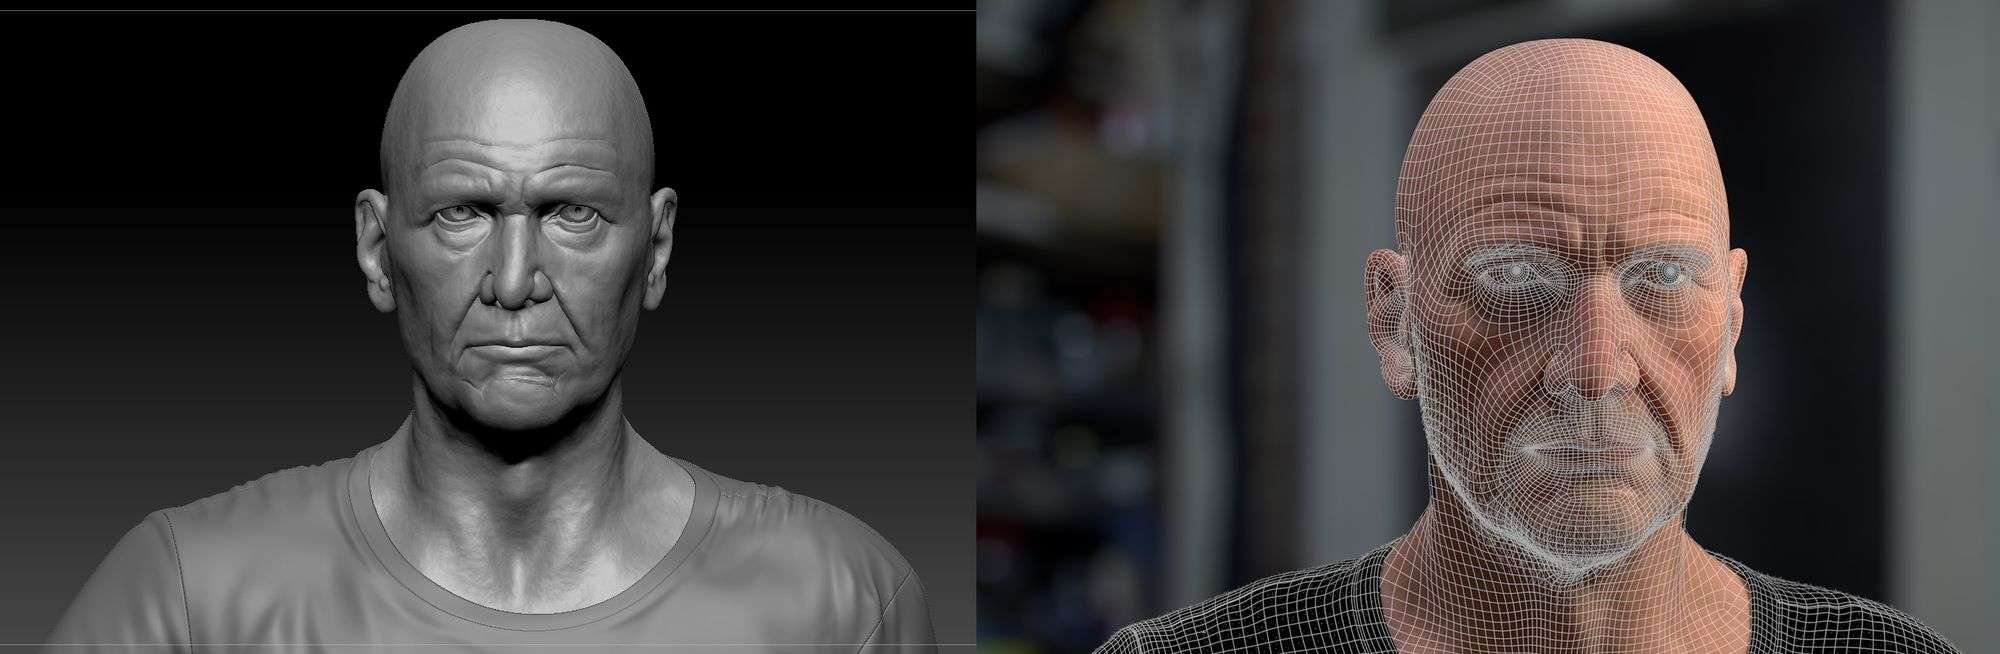
Modeling will have a big impact on each other departments later. It is really important to take time to make it right. A good model is like 50% of the work done.
Modeling Advice
- Reference is the most important part in almost every departments. In modeling make sure to find references from different angles and lighting. It will help you understand the shapes correctly and not be fool by the camera.
- Faces change a lot during aging, try to choose a specific moment in the life of the person you're trying to create.
- Try to keep the lowest amount of polygons as long as possible, it will help you to not focus too much on details.
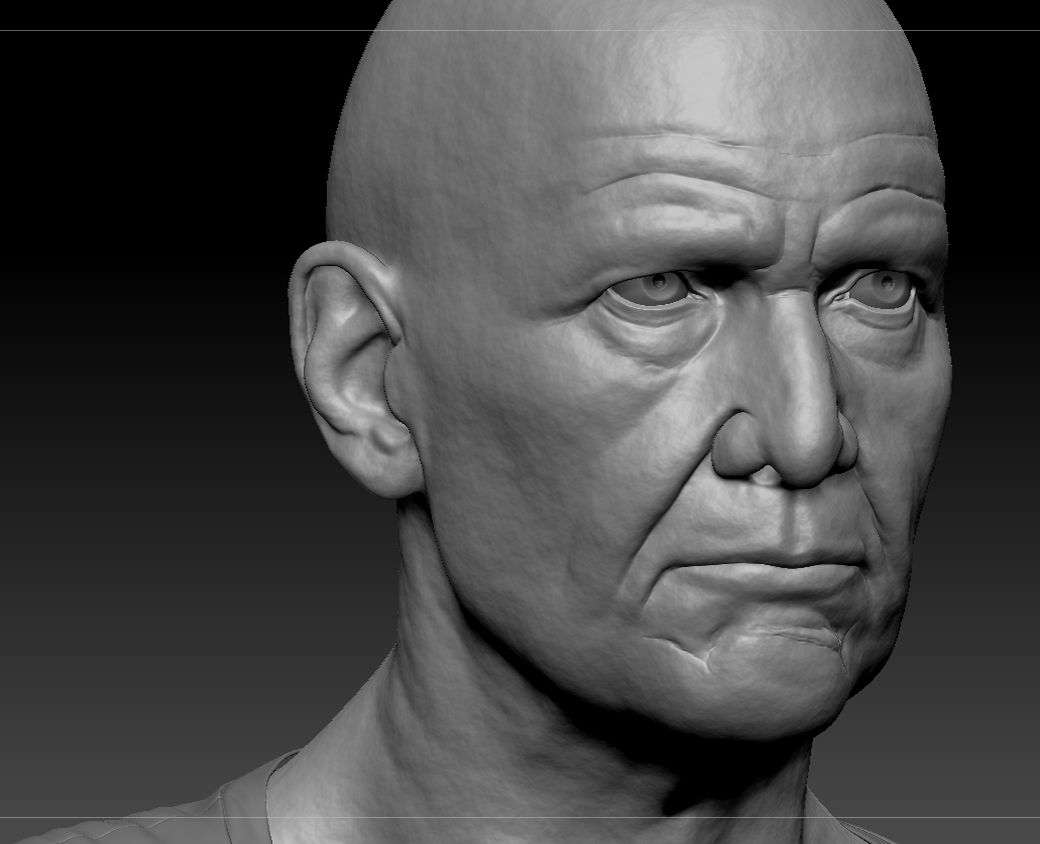
- Primary form is the most important part, so take time and don't rush into details.
- Sometimes take a break and come back to your sculpt in 1 or 2 days. It helps to get a fresh eye of your sculpt.
- Get other people to review your work.
- When you've got a solid first sculpt pass, go on retopo it will help you solve some areas like inner mouth, eyelid thickness, etc.
- The Eye area is probably the most important one.
- Likeness is a very hard exercise but really rewarding in term of knowledge and skills and even if my likeness is not still there, I can recommend to everyone who is interested in organic modeling to try it out. You will learn a lot !
- If you have trouble with exporting displacement from ZBrush, check this !
Useful Modeling Resources
- “Portraiture and facial anatomy for Artists” by Scott Eaton
- Steve Lord tutorials
- Anatomy for 3D artists (book)
- https://texturing.xyz/blogs/all/darren-pattenden-21-tips-on-capturing-a-human-likeness
Great Modelers to Follow
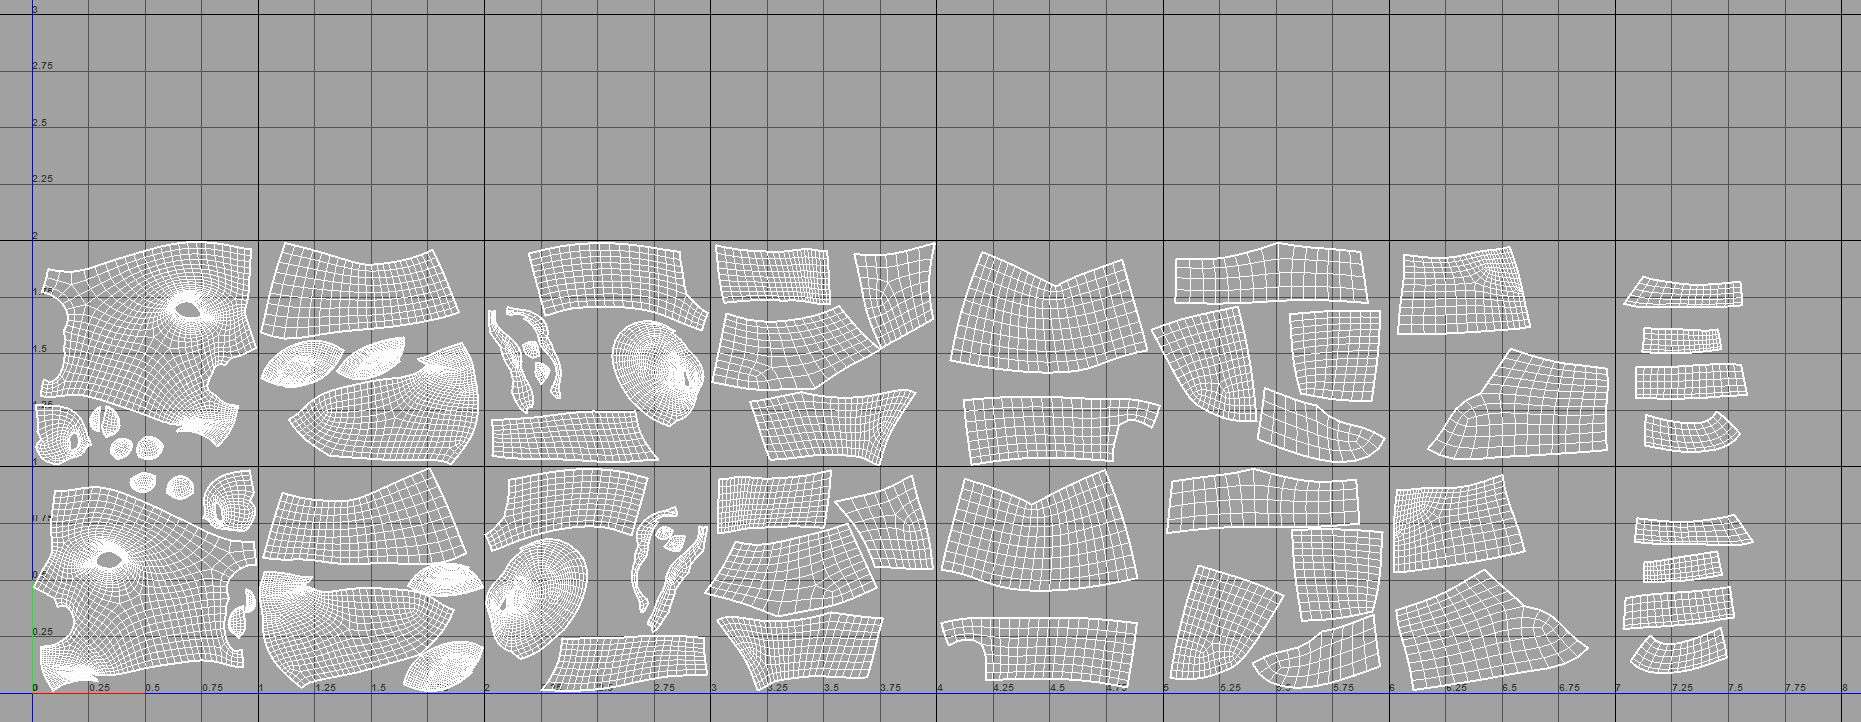
Then it’s time for UV. An also very important part which can be very pleasant if you are understanding why and how it can really help you a lot for texturing. For this project, as I was planning to do some close up I started by creating a camera inside Maya and tried to find the closer shot that I was aiming. With that you can now find what size your UVs will be and then double it.
When doing cut and layout I always start by making symmetrical UVs because it can save you so much time in texturing. If the model is very asymmetrical I can re-unfold the part which needs it. I try to keep my UVs very organised. It’s way more easier when you will need to create a lot of masks for look-dev.
If your UVs are unfolded correctly you don’t need to be afraid about seems.
As I was using UDIMS it was easier for me to cut the face in multiple parts and remove all the stretching instead of trying to unfold the face into the minimum of shell.
Texturing : texturing.xyz
If you’re interested in human texturing/look-dev or even in human in cg in general there is one best place : texturing.xyz website!
There is a ton of information in there, tutorials, study case, spotlight etc. A very big part of what I learned comes from here and other information you can find on the internet. Here is the texturing process I used for this project.
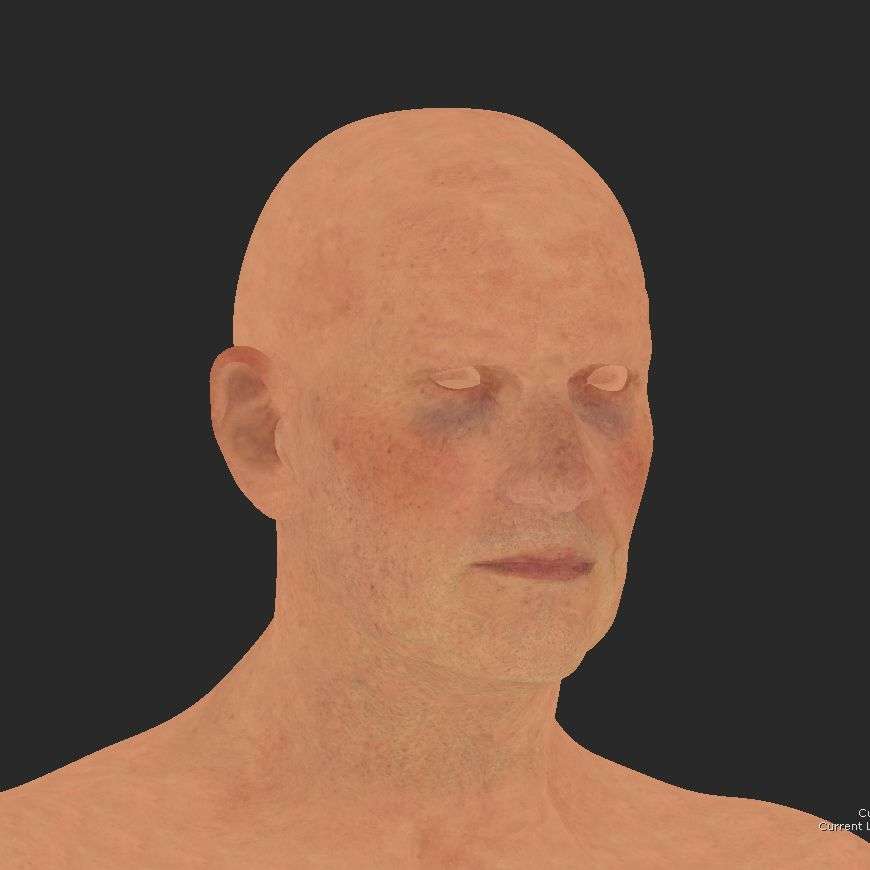
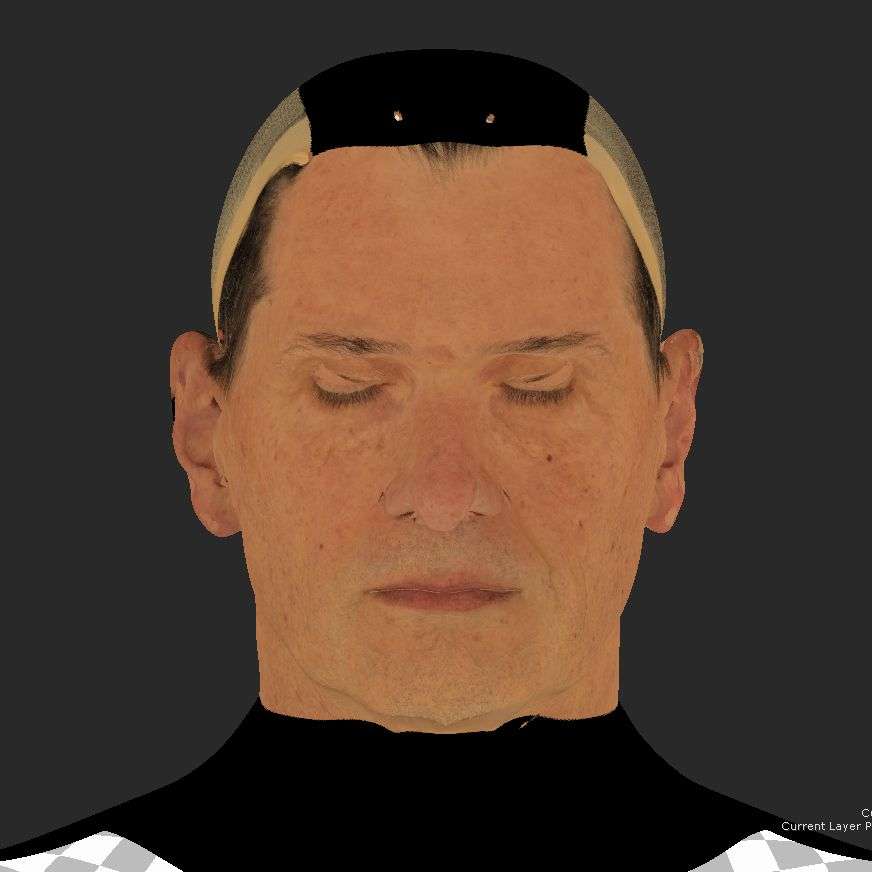
Albedo/Displacement
- I chose to use xyz multichannel maps which gives you a base texture way more faster than other workflows. You can find a very detailed tutorial on this workflow here. So I started by projecting a plane on my model face (The plane needs to be the exact size of your texture) and used Wrap to project it on my model.
- Using Xnormal I projected the texture from the plane UV to the model UV. Each udim at a time because Xnormal can’t project multiple udims. I created a simple python script in Maya to move each udim shell to 1001 and then export it in .obj instead of doing that for each one by hand. If you are interested by Python check this great article from Kim Strandli on The Rookies Blog.
Before using Xnormal, I tried few other methods like directly inside Mari. But this one gave me way better results in term of quality and speed. - Same process for displacement and I got a matching albedo/displacement thanks to xyz multichannel maps.
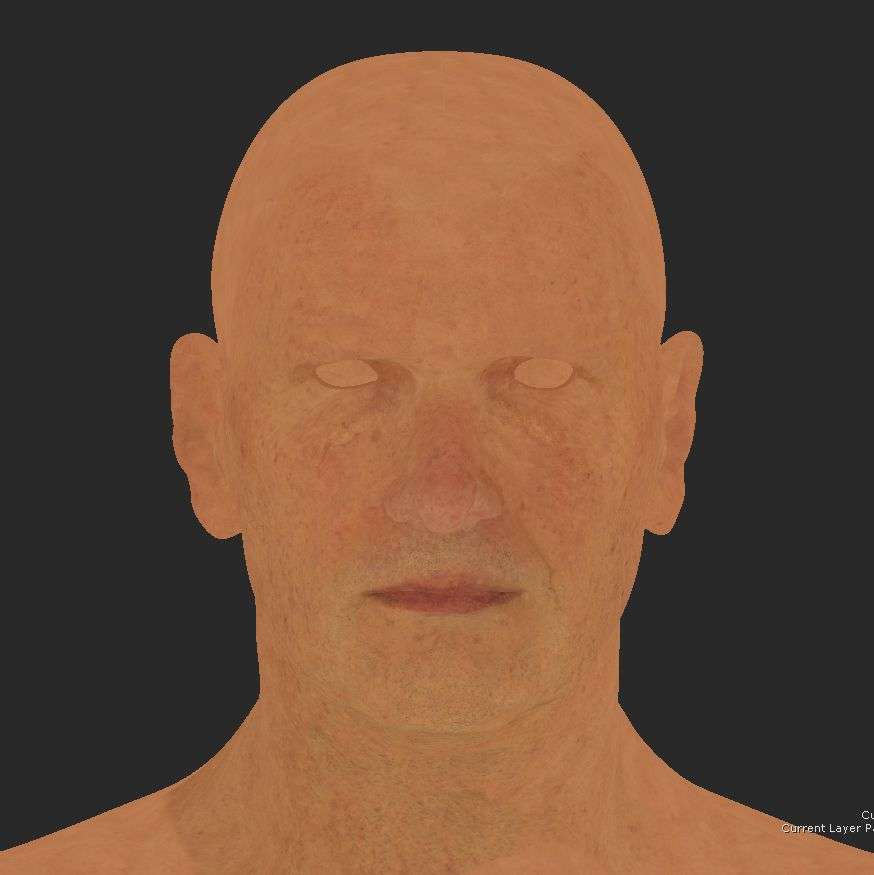
- Once I’ve got these base textures, I imported them in Mari. Then cleaned and projected the parts I didn’t have using my original xyz texture (before projecting) or other map/photo.
- I then hand painted some areas on the albedo to add details and to give him the look I wanted.
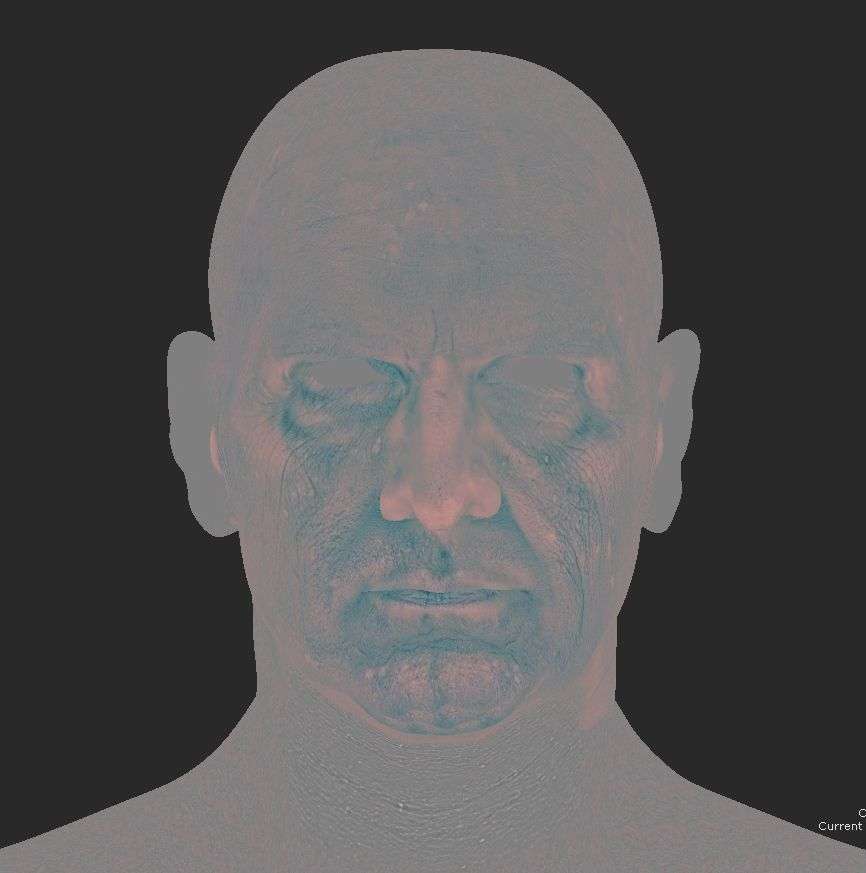
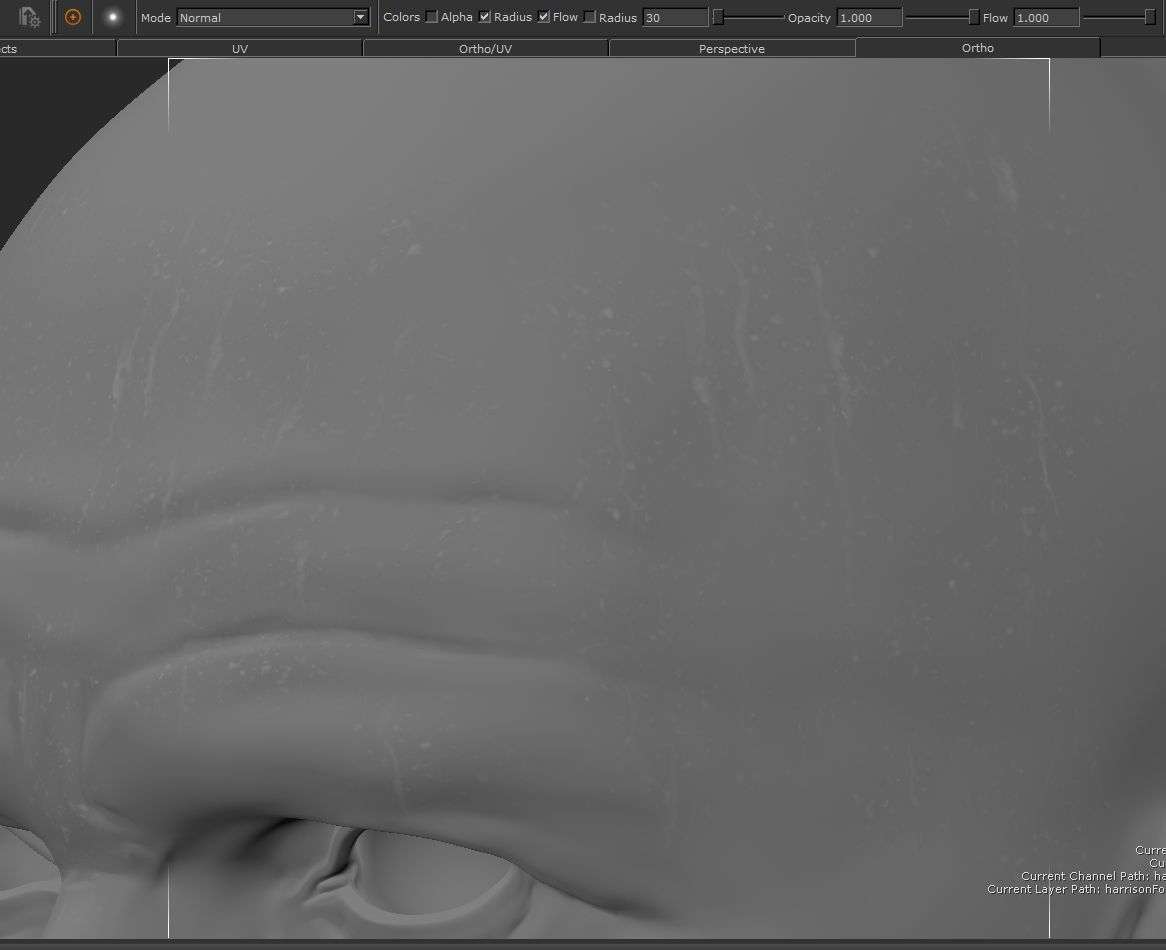
- For the displacement I created 3 new channels in Mari linked to my displacement channel. But each one has a copy channel node to isolate red, green and blue channel (these are the 3 differents details layer that xyz maps provide you).
I only used the secondary details layer and plugged the corresponding Mari channel into the bump slot in Mari (using Ai Standard shader). It helped me to better visualize and clean my displacement map.
Roughness
After that I started painting my specular roughness map. There is a lot of different ways/workflow to use them or not use them (control roughness only with micro bump or displacement). I don’t think mine is the absolute best way, but it’s the workflow I’ve learned and found the most useful for doing look-dev on this project.
For the roughness I used this amazingly interesting paper : “Measurement_Based_Synthesis_of_Facial_Microgeometry” for value reference. The idea is to paint different area like ears, nose, cheek, etc and play with the luminance of each of them. For example nose will be darker because it is less rough, following the paper it should be around 0.35 roughness, I used this value as a base and then tweaked it when doing look-dev.
When each area has it’s own value, I overlay some subtle procedural noise inside Mari to give them more variation and interest.
Look-dev / Lighting : Add variation!
For the look-dev/lighting part I used Pixar's Renderman as I am really used to it and wanted to try to push myself to my maximum. However if you are using Arnold or Vray, they are also very great and are pretty similar to what I will explain. Again there is many different workflows about skin look-dev and this one is the one I am the more used too.
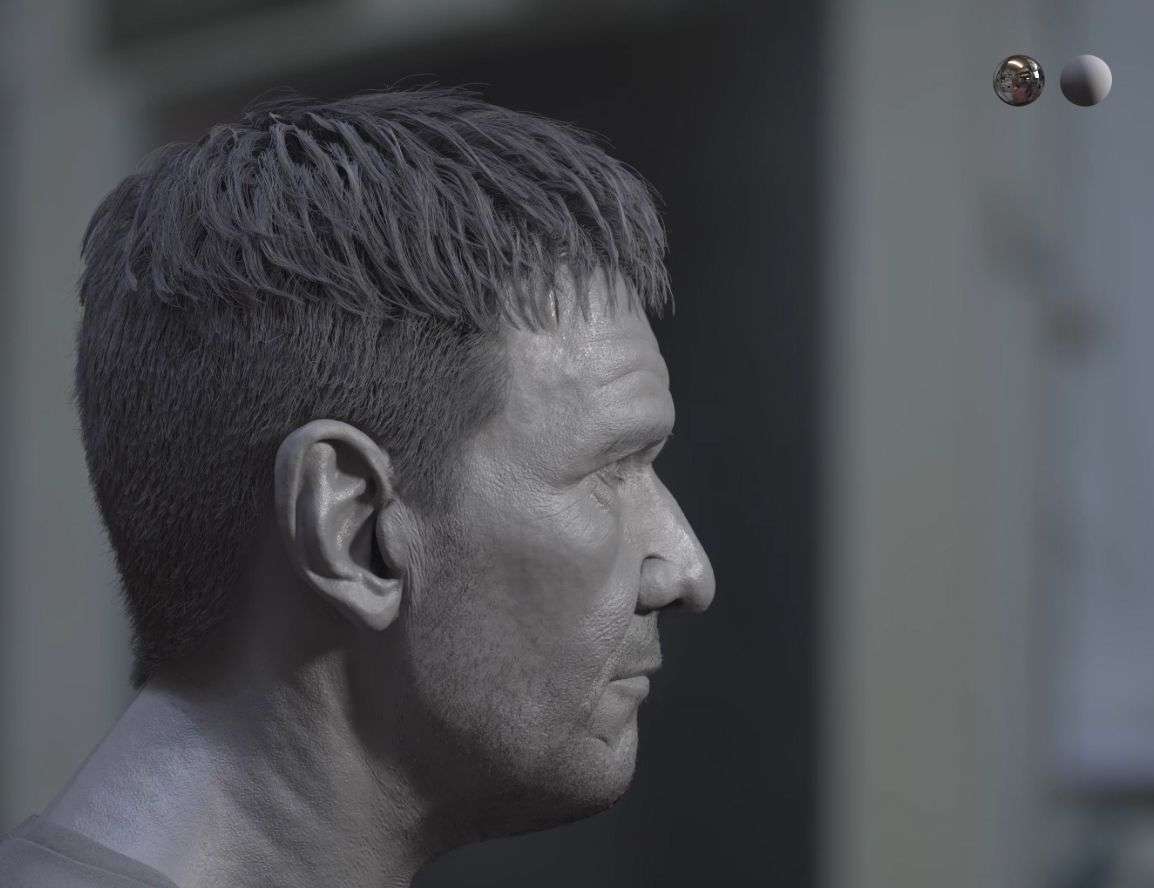
When doing look-dev it’s always great to start by using a neutral environment, you can find great studio HDRI on the internet (like this one) or even make you own CG studio with simple 3 points lighting. HDRI is better for look-dev because it gives you more variation and real world information but it is less tweakable and depends on the quality of the HDRI. The goal with a neutral lighting environment is to get something without color dominant and with an average lighting at mid grey (in a linear workflow 0.18 grey). That is why we are using a grey ball always at 0.18 grey, it is our reference point.
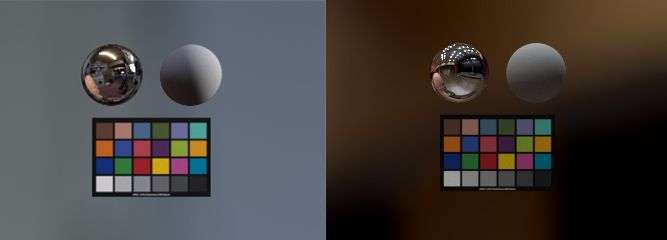
With that workflow you can look-dev your asset within a controlled environment and then test it in different lighting situation to give it the final tweaks. If you are interested by look-dev or lighting it is really important that your asset works with different lighting situation, and not with only one very specific lighting or still.
Back to Maya, I started by plugin my displacements. Primary/secondary are coming from ZBrush and an other secondary one from Mari (texturing.xyz). Then tweaked the intensity of each of them.
For the specular of the skin I used 2 specular lobes. One more glossy than the other, it helps to create that oily effect on skin and gives you more control. When using 2 specular it’s important to think about energy conservation. If you started with one specular at 1 intensity and decide to split it, don’t forget to set your two speculars at 0.5.
In the specular intensity of the two lobes I usually plug my displacement (the one from mari) with a “remap” node to remove spec into pores.
My roughness map from Mari is plugged into the two roughness lobes but with multiply/divide nodes to create the two different values. (one more glossy than the other)
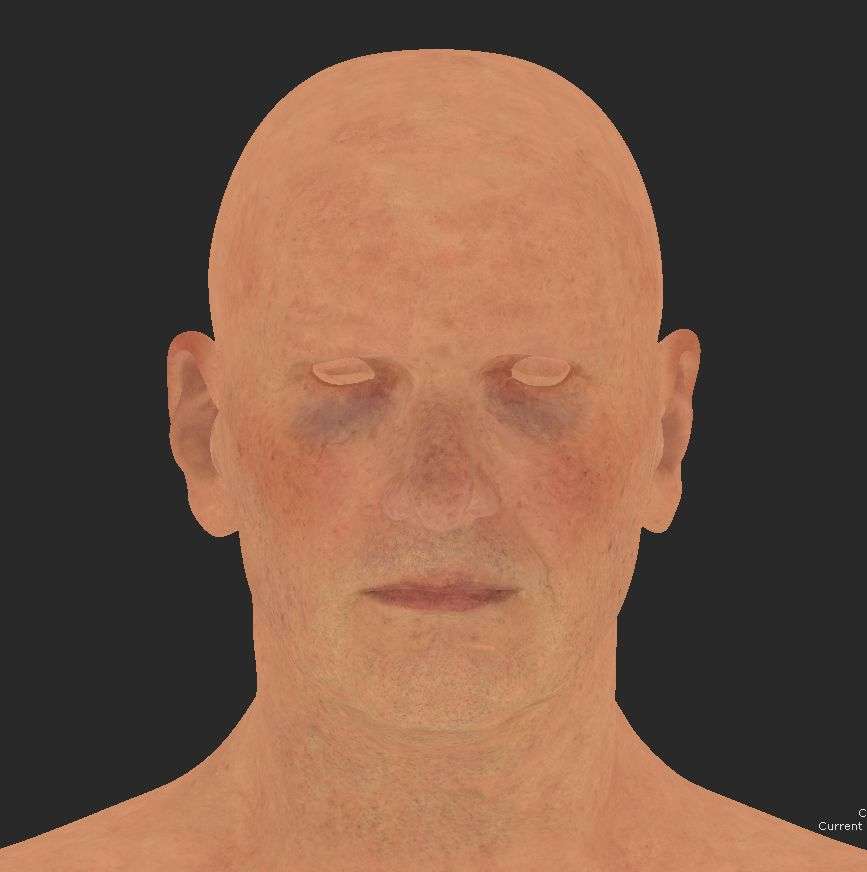
For the SSS part, it’s very simple now in Renderman, I chose to use the Non Exponential Path-traced mode and I plugged my albedo map from Mari into SSS color. It’s important that your model is a the right scale because it will influence your SSS intensity.
Some of the other parameters are too specific to Renderman to explain it but if you are interested about that they’ve got a very great documentation and an in-depth tutorial about skin shader ! Then it’s only back and forth between Mari and Renderman to tweak the color.
I then added a micro displacement tileable map (like the one below) into my specular bump slot. These very fine levels of details really help to break the specular and give a more skinny look to your surface. Be careful with the scale of the pores!
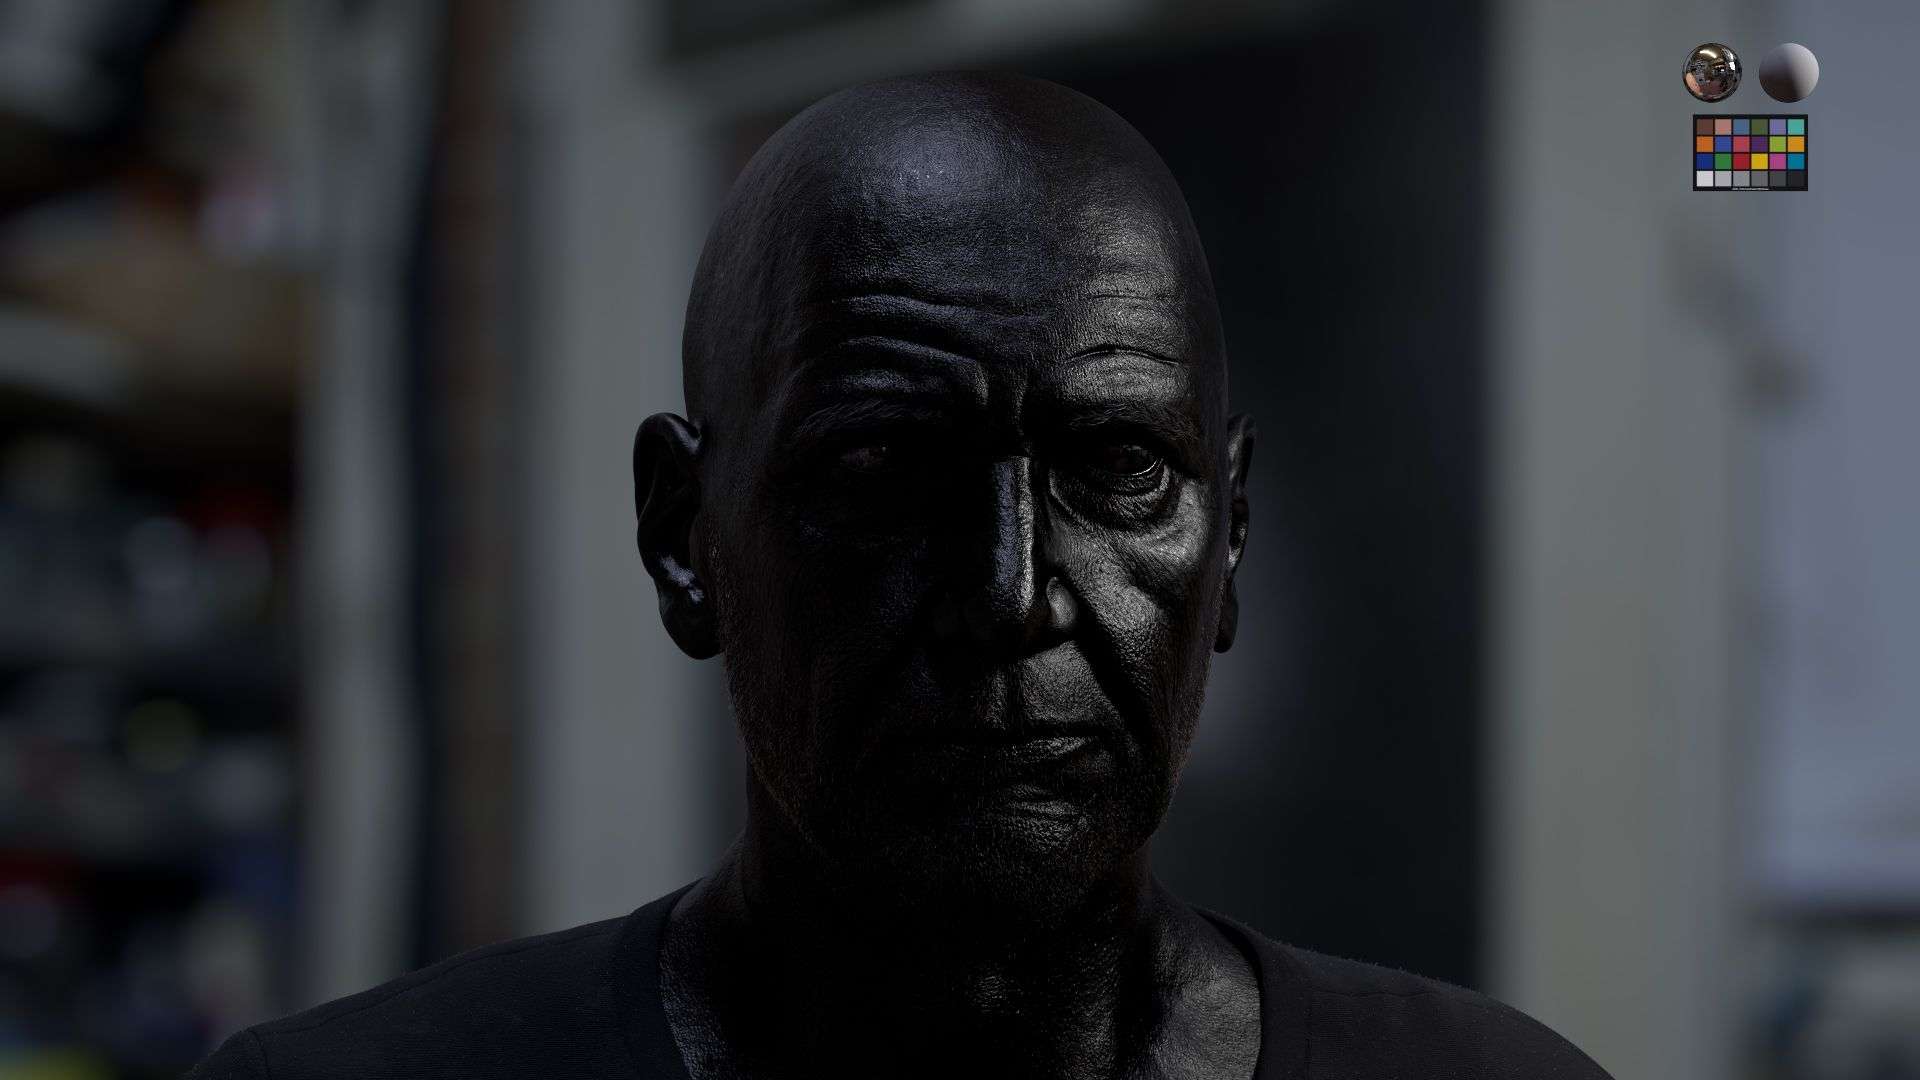
When your shader seems to be good in your neutral environment it’s now time to test it out with different lighting and tweak everything ! I personally really enjoy this part as it's the moment when all is less physical and mathematical but more artistic choice, “is it feeling like skin?”.
When doing everything that I mentioned, always keep your references with you ! You will notice so many things that you can’t invent by yourself.
For this project, as I was following some very specific references from "Blade Runner 2049" I also did some matching lighting with the reference to help me tweak the final look-dev. If you are making your own intentional lighting don’t forget to add variations to your lights. (No joke, add variations !)
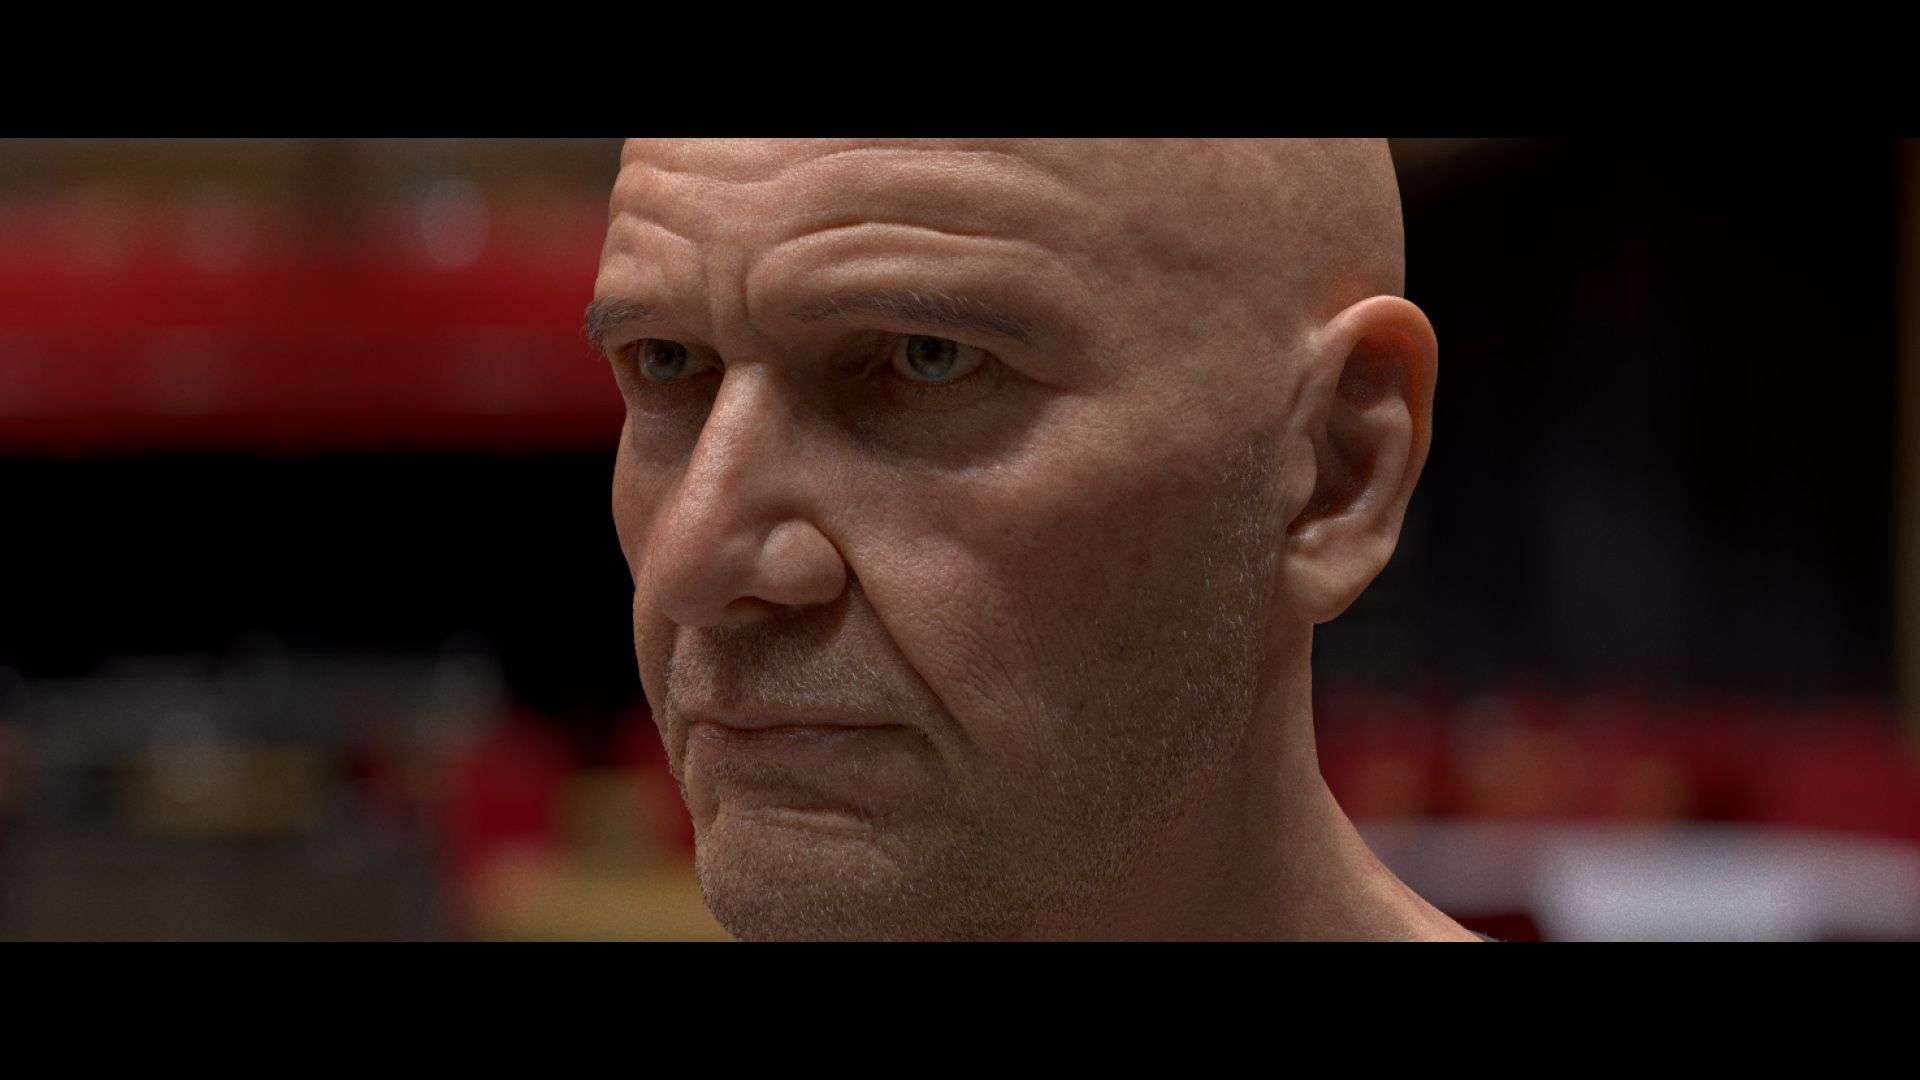
To create my final lighting for my presentation I used many references from movies trying to understand how and why they choose to light the actors like that.
I then went back to texturing to create some masks like sweat, dirt etc to help break the surface of the skin but kept it very subtle.
Grooming
The grooming part was made with Xgen Interactive Grooming, but it was really straight forward as I only did beard, eyelashes, eyebrows and peachfuzz.
The Haircut grooming was made by the very talented Linda Dussine! And it was another big challenge, trying to match a very specific haircut.

Thanks a lot for reading this article, I really hope it could have helped you in any ways or even motivate you to create your own likeness !