
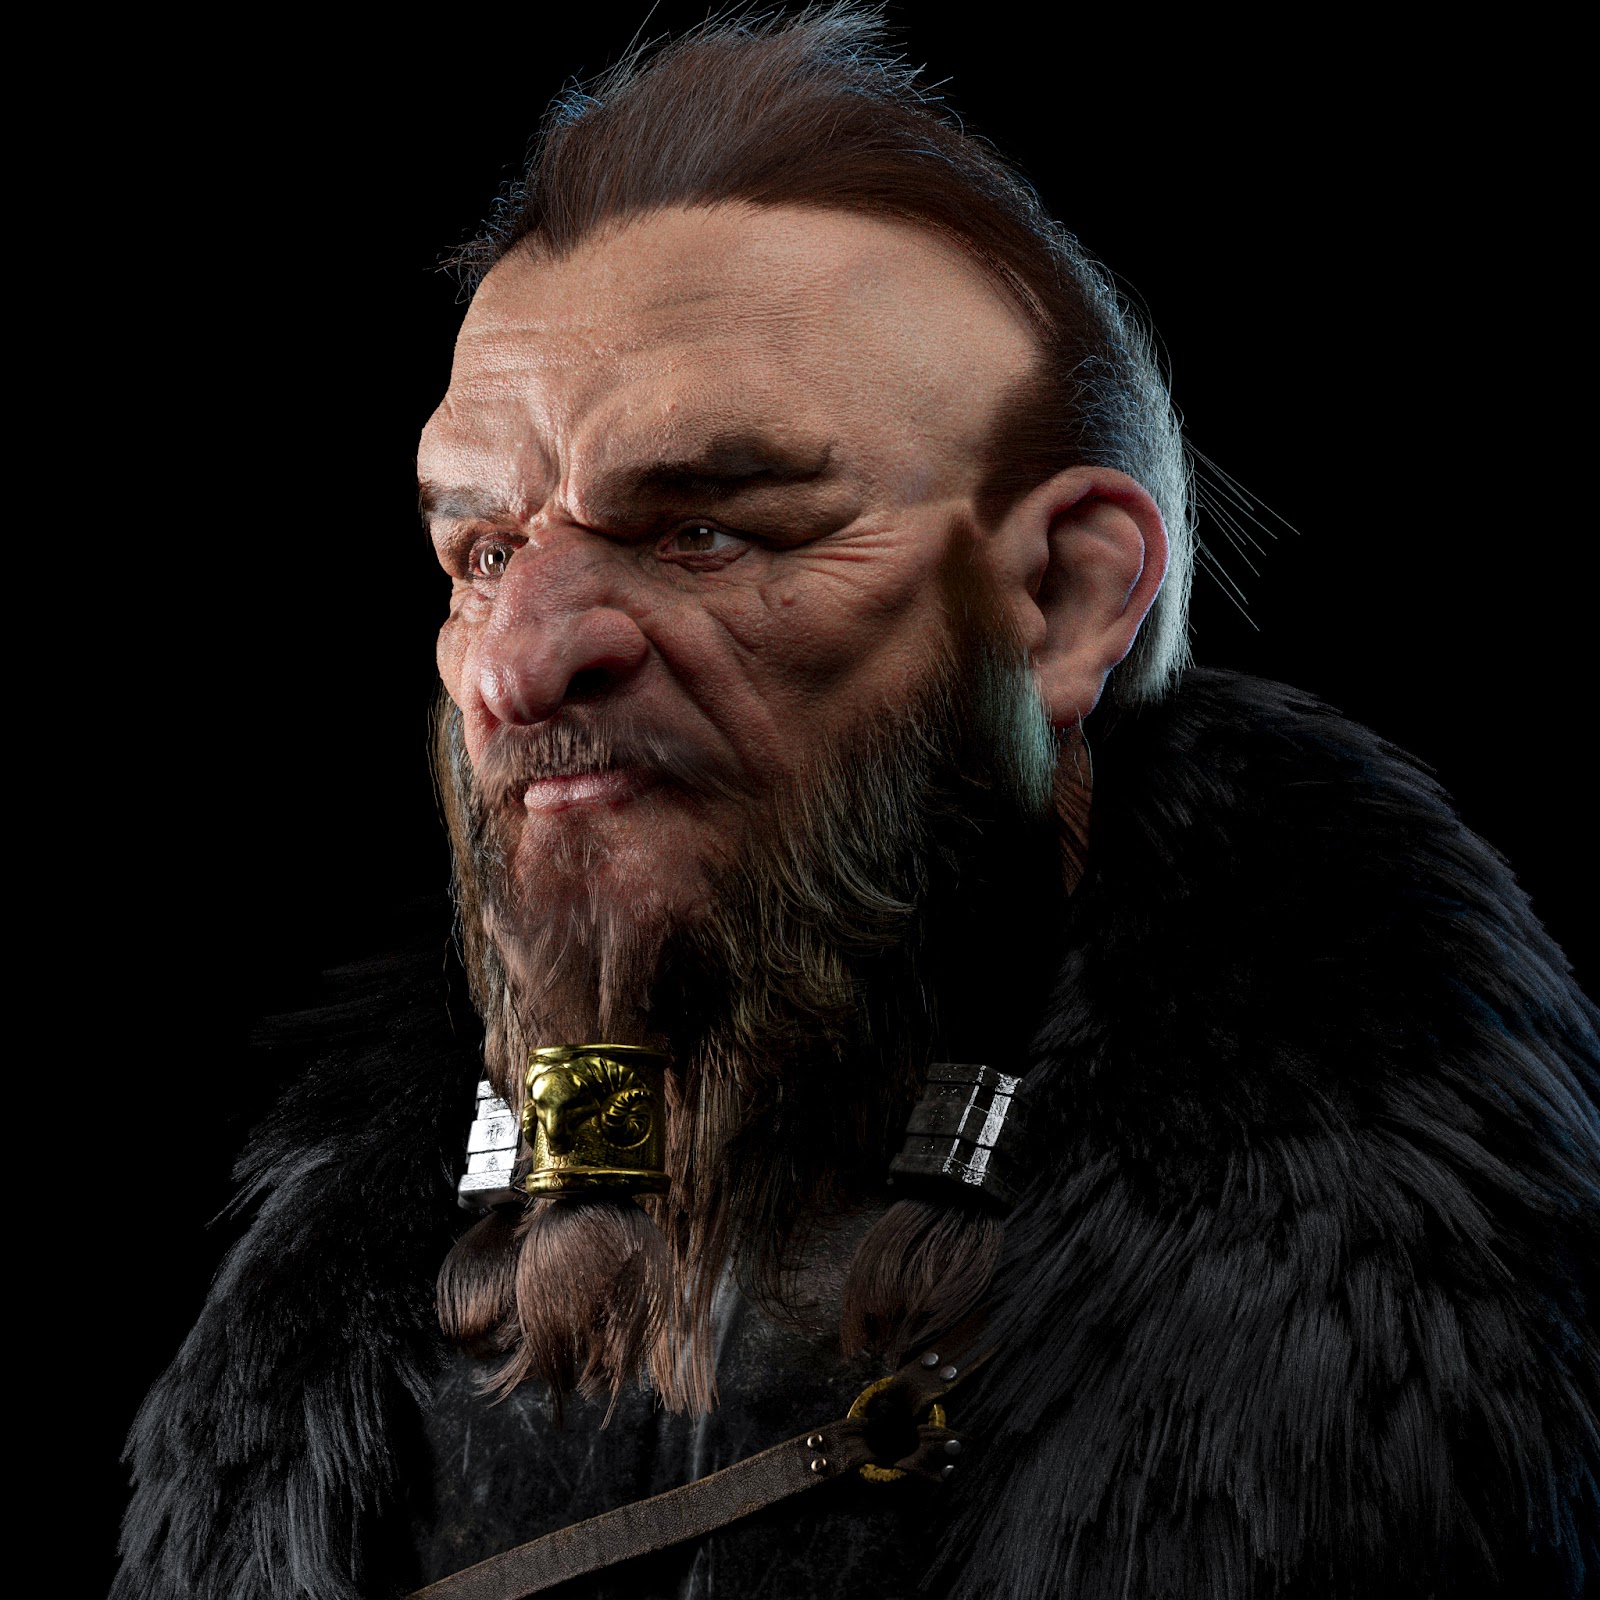
Hi, my name is Evandro Miguel, I live in Brazil and I am studying 3D modeling being self-thought. So in this article, I will explore the Traveling Dwarf Project and how to develop projects without teacher guidance and mentors.
Concept
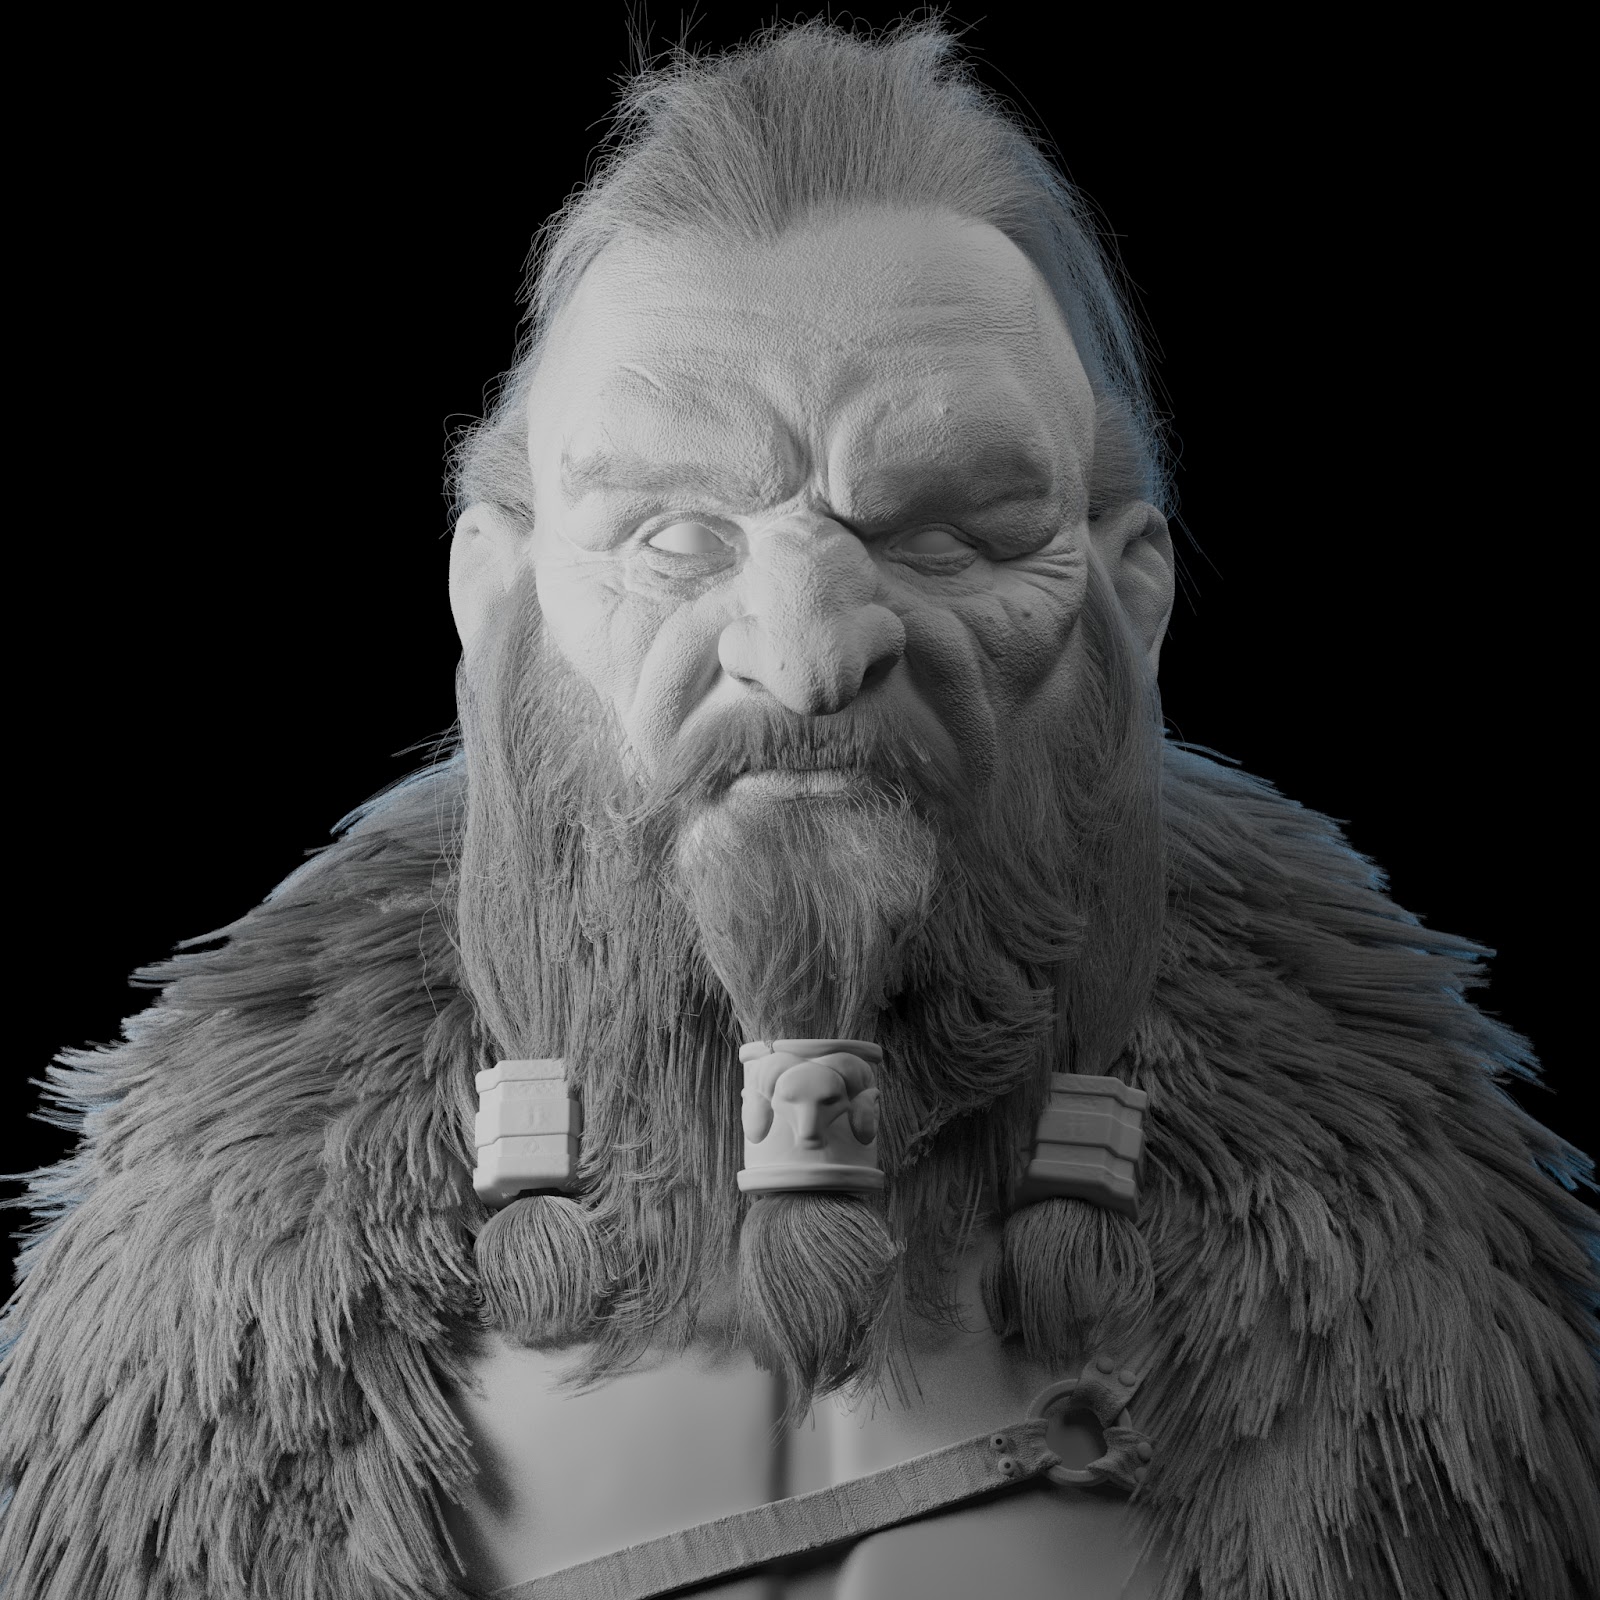
At first, I wanted to make a model so that I could explore and learn new tools. So I thought of trying to make a realism of a magical creature, like the dwarves of the Lord of the Rings.
It is important to say that this is my first project of the genre and it was the first time I used Xgen, Arnold, and Mari as production tools. Because of that, some parts will not be in the best way that they should be.
Let's go to the Beginning of the Project
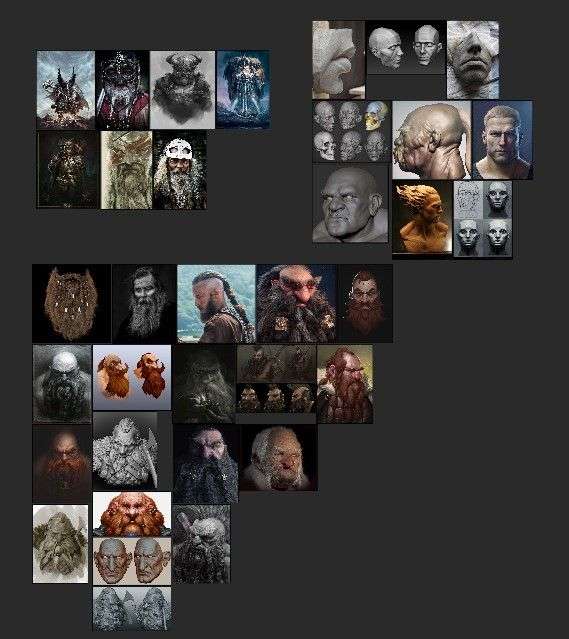
I usually spend many hours just looking at images and modeling inside my mind trying to find the way I want to go, it's a practice that I learned by watching traditional sculptors.
Having a path in mind, I follow this path and change it according to what I see that works or does not work.
First, I usually separate my references as you can see on my Pureref board, which is an exclusive tool for controlling references.
Modeling
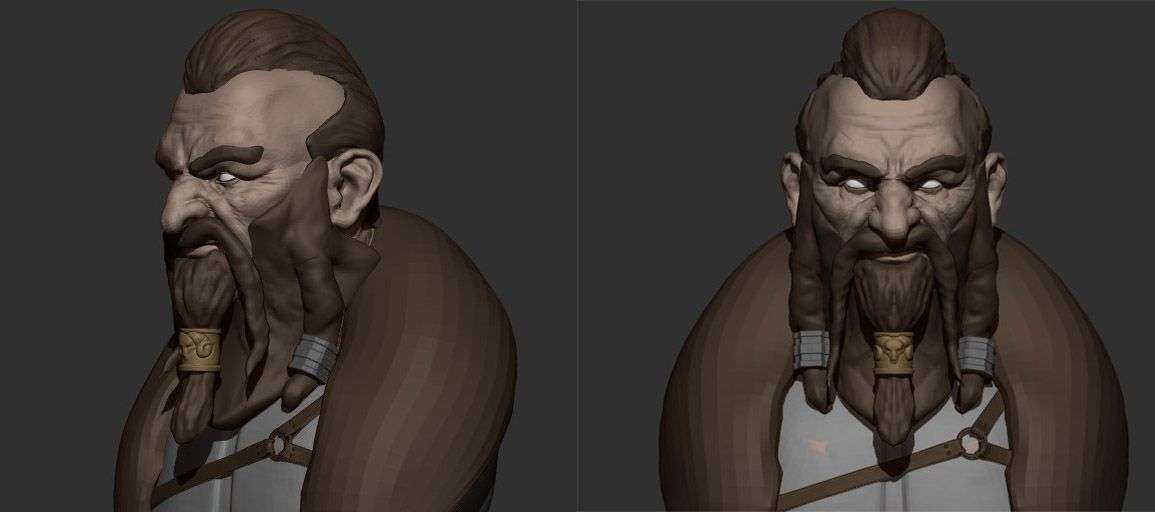
With the references in hand, I can already start the sculpture part. Usually, I start with a sphere and block the formats until I get to what I want. Remember that even being a dwarf, that is, a creature, it is impossible to model him without knowing the human anatomy of the face previously.
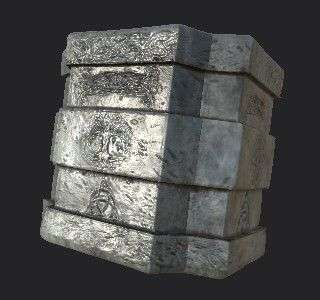
I modeled the face, armor, and parts that make up your armor. I also styled the hair volumes, which will be a great help when it comes to creating the hair in Xgen and also to see if they will look interesting.
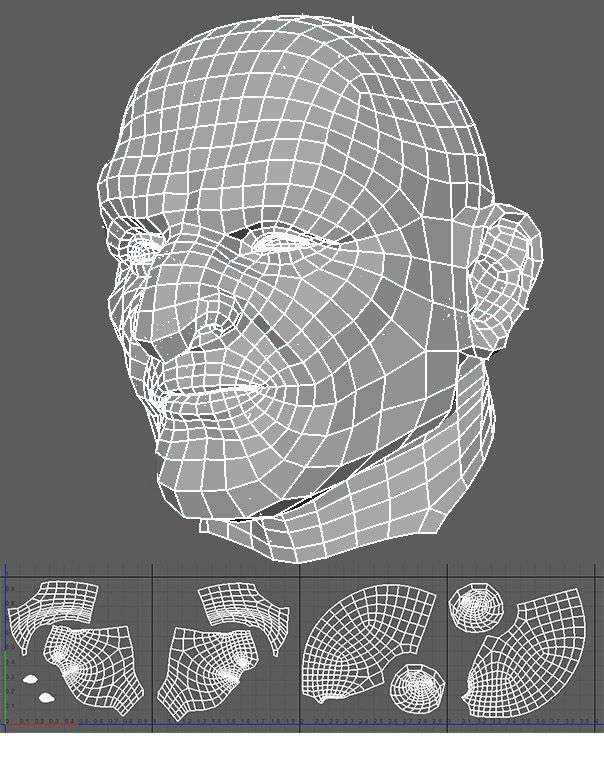
After modeling, I use decimation master to make a basis for retopology within Maya, after retopology, I already produce the UV's for the model.
As it is a personal project, in this model I made a UDIM with 4 Uv's just for the face. to ensure the highest quality possible in the final render. And 1 UV for each object in the scene.
After that, I export the mesh with these UV's and use ZBrush's UV master to copy and paste the UV's into the high-resolution model.
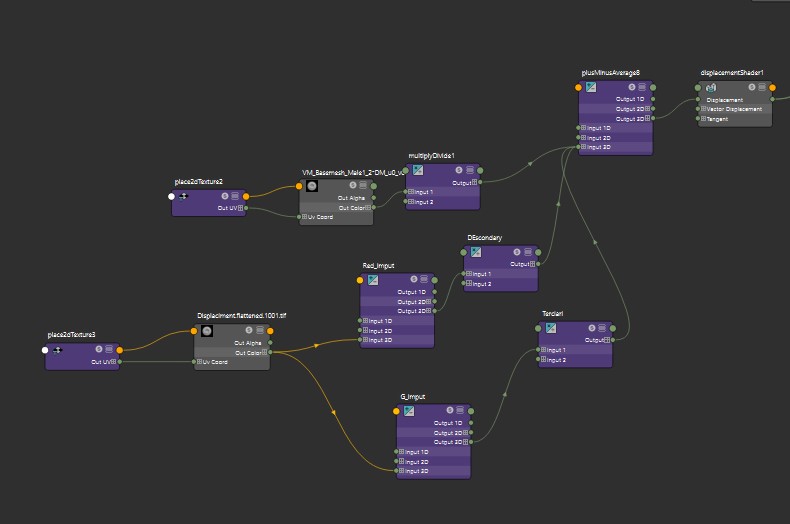
With the Uv's ready, it's time to take Mari to produce the displacement map using XYZ textures.
To save on map quantities, we use one map on each color channel. As such, the red channel has more apparent details and green and blue have more subtle details such as small breaks and an interesting noise for micro details.

We can separate these channels within the renderer as we will see later. However, I exported the red channel to be used in ZBrush so that in ZBrush I could define areas that I wanted to have more details.
I reinforced some wrinkles that I wanted to highlight, made more apparent details and created a new model with a high resolution.
With the most apparent wrinkles and some skin deformities, I produced one more displacement map using the multi-map exporter, as you can see in the following print.

Skin texture
With the displacement ready, I returned to Mari to produce the other maps, which are the diffuse, the first specular and the second specular. In this part, I tested various forms of work that some artists use. How to produce the diffuse map specular map, or produce a map for each skin subdivision level, such as deep SSS, mid-SSS, and so on.

Of all these ways of working, the one that worked the most on my model was producing the specular map using the displacement map, and using deep SSS which is a map I just used to give more variation in skin coloration in SSS. Which consists of just increasing the red a little in the diffuse map, the model might not use it, the result would not change much.


The reason for producing 2 specular maps is because human skin has a more global and more localized specular.
Armor texture
In the armor, I decided to make the texture of the metals in the Substance Painter and the texture of the leather in Mari, because in Mari I could have more control of where each deformation and color would go.
In this part I looked at a lot of references to understand how each material behaves, further understanding its most apparent deformities.
On the leather, I used a procedural with a leather texture and painted some damage to the edges of each strip. I also used one alpha to scratch the surface of the leather. I linked the layers in some channels so that what I modified in one would go to the other. So I produced 4 maps, diffuse, displacement, specular and glossiness.

In the metal part, I produced them all in Substance Painter. Which is a software with a more pleasant and deducible interface than Mari, but with less control and less optimized.
In it, I used several procedural to produce interesting realism. The logical form I used to produce is always to use 3 types of variations in color, on the intensity of the damage and so on. Always putting a variation with less intent, medium and very intense.
So I created this variation in the colors of the metal, using various mask procedures that are already in the Substance Painter, after that I produced surface deformities, using the damage procedure, and giving it height. After the damage to the metal, I used some dirt-like procedures to give the material more realism.
The big secret here is always to use color variations and mainly specular, knowing how to manage it well, we can create a material true to reality.
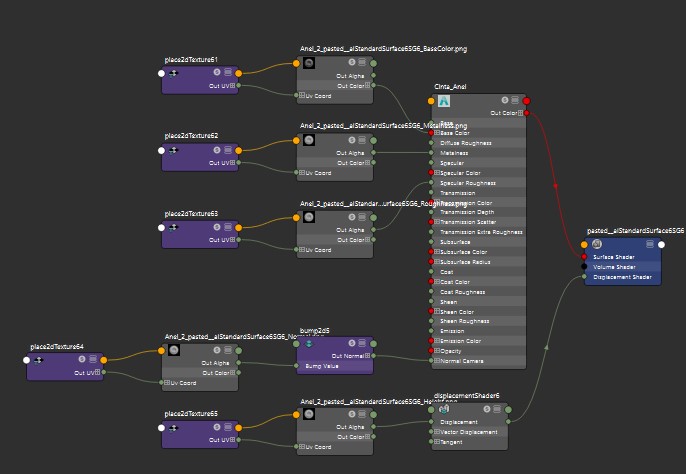
With the textures of the metals ready, we just need to organize the shaders to finish our textures in Arnold.
Hair
Hair was by far the hardest part, not because it's too complicated, but because Xgen has several bugs, and restrictions. If you are going to venture into it, remember to create the folder for your project, create basic geometries, place the Uv inside only the first space, create a lambert material for that geometry and clear the history.
As I said, the first step I took was to create the geometries to generate the hair in each part. Placing all base geometries within a layer for better control. I also used the reference geometries, the ones I showed you in the modeling part, with them I can have a reference of the volume I want.

With that done, we can go to the part where we produce the guides to guide the direction of the hair. A nice tip for this part is to use these volumes I made and make them alive in Maya, so we can use the curve tool to create the guidance wires that we can then convert to Xgen guides.

I created a total of 9 descriptions, and each one has a wide variety of modifiers. In general, I used 2 clumpings for each description, one bigger and other small, to give a variety in volumes, also using masks to ensure that the hair did not look weird. I also used in some parts the cut modifier to short too large strands, and the noise to give a variety of wires.
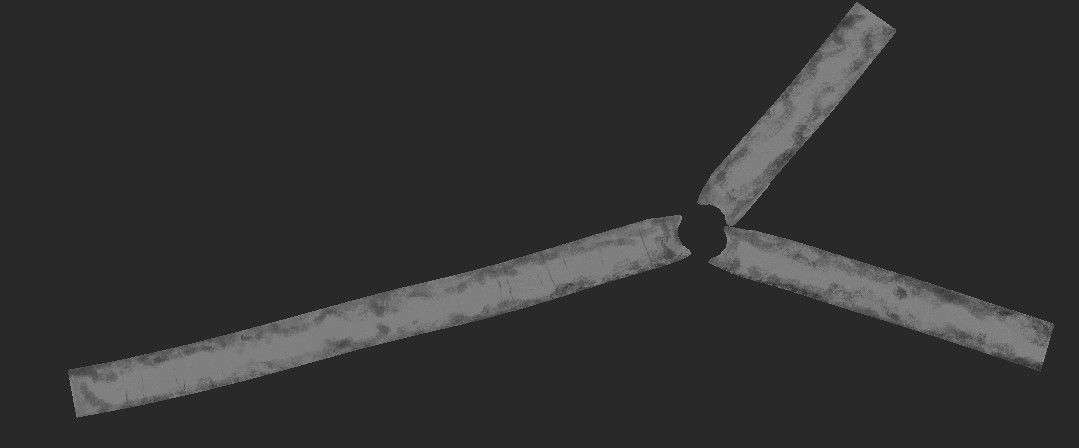
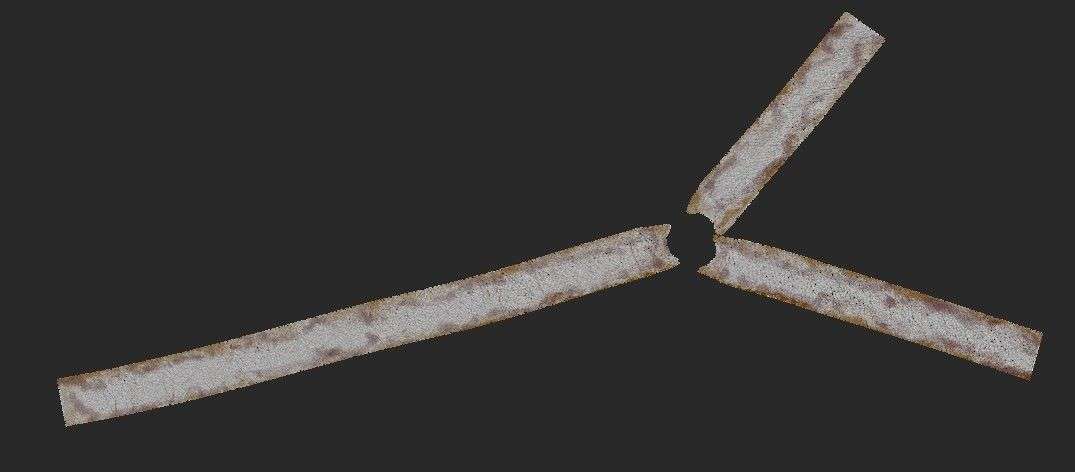
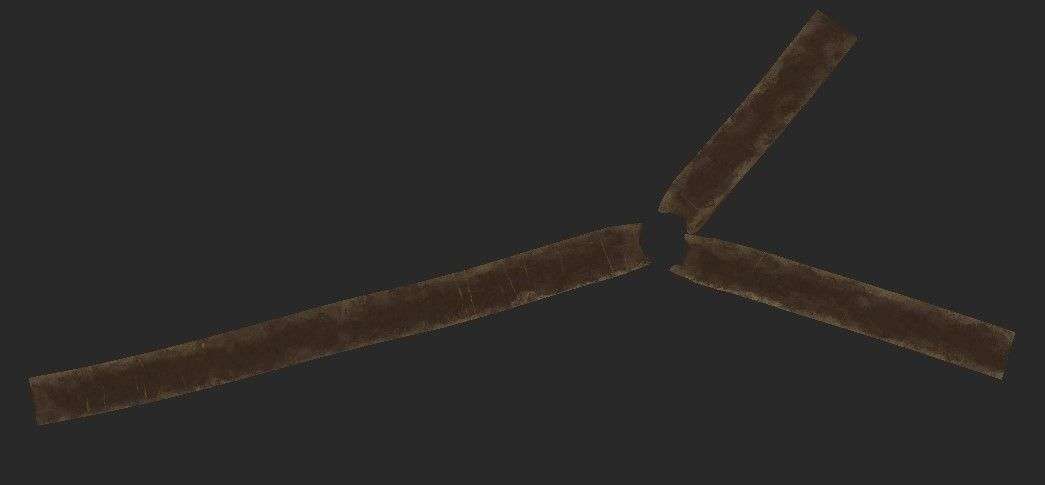
An interesting technique that I used was to generate hair after the metals that hold it. I tried to make the hair that came from the head, but it always got into the mesh or got weird, so I created a primitive geometry at the base of the metal and from it, I created the hair. As you can see in the following image.

Shaders
For the skin shader, I used the maps I already commented with you.
As you can see, I extracted the maps I needed from the color channels and added them with the displacement that I exported from Zbrush. Thus creating all the details in the model within Maya.
After that, I inserted the other maps to control color, specular and SSS.

An important point is that in Arnold, you cannot insert 2 quality speculars, despite having the option in Aishader. So I preferred to create another material with the second specular and blend it with the skin material that carried all the other information from other maps.
I tried other ways to do the skin shader here, they all got a little out of what I wanted. That was the simplest way I found in my research.
The shader organization for the materials didn't have much mystery, it was pretty much just playing and connecting. Remember to export to Arnold within Substance Painter, it will already deliver all the maps you need.
Lighting
In lighting, I did several tests. but I always considered a tip that Kris Costa gave me when I participated in a contest where he was the jury. Care must be taken with the size of the object transmitting the light, if it is too large it can generate a very scattered light, which can make your model lose the details.
So I organized the lights, with some very straightforward to ensure more detail and produce the volumes I wanted to show. and others to soften these volumes and ensure well-distributed lighting.
Always remembering to make the rim light to better demonstrate the contours of your model, I usually apply a light color in this light, thus giving a nice stylization to render.

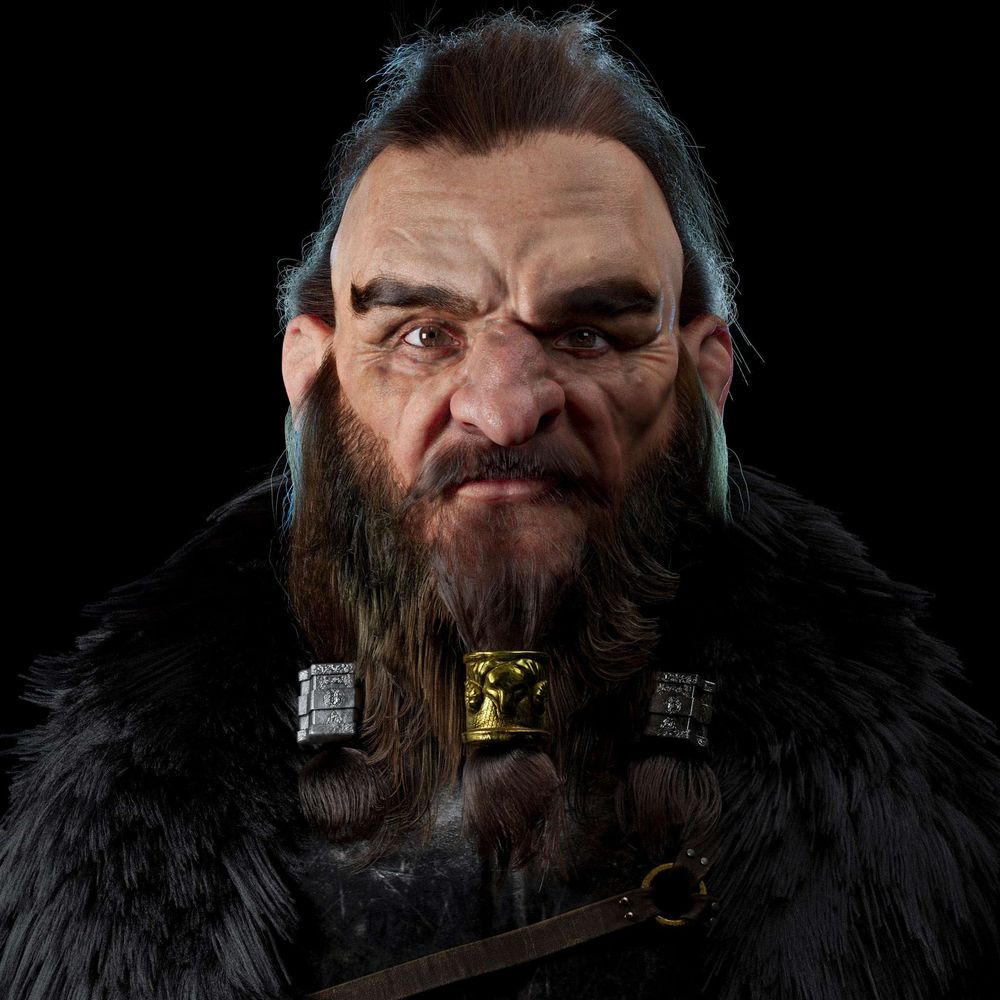
Final Renders

The Journey of the Lonely Artist
It was very challenging to do this project by being self-taught and not having a good computer. Some people have asked me how to learn to make models like this without having a mentor or teacher.
I learned on my own because I never had the money to pay for a course, I barely had money to buy an ordinary computer so remember that nothing is better than a good teacher to teach what you have to do to achieve a great work, so good luck on your walk if you wanted to go the same way as me.
If you will do something, do it with passion.
Today there is a plethora of information on the internet for free. Always try to look at the website of the developers of programs such as Mari, Substance Painter, Zbrush. They all have a wide range of tutorials on how to use their tools. Besides, of course, the documentation of the software itself.
There are also several breakdown sites for artists' projects, such as The Rookies. You find a lot of generous people on the internet, willing to spread the knowledge they have gained with such difficulty.
On youtube there are a lot of videos about almost everything, I learned to use much of the software just looking at what other artists were doing, in lectures or demonstrations. Like the eye, which I learned to do here. And here I learned how to take my Substance Painter textures to Arnold.
And remember that there are a vast amount of books available for free download on the internet, where you'll find almost everything you need to get along with the human anatomy.
That's it guys, thank you so much for reading this far. And a special thanks to Alwyn and The Rookies folks for giving me the opportunity to repay the community that has helped me so much.