
Hello, my name is Anthony Pacicca, I just finished my 3rd year (last year) at ARIES Annecy (France). I am very happy to share with you the steps of the project "With great power comes great responsibility" and what I have learned from it.
Workflow
Overall I used
- ZBrush, for anatomy shapes and some Uv
- Maya, for hard surface props and their Uv
- Substance Painter, for textures
- Keyshot, for rendering
- Photoshop, for compositing
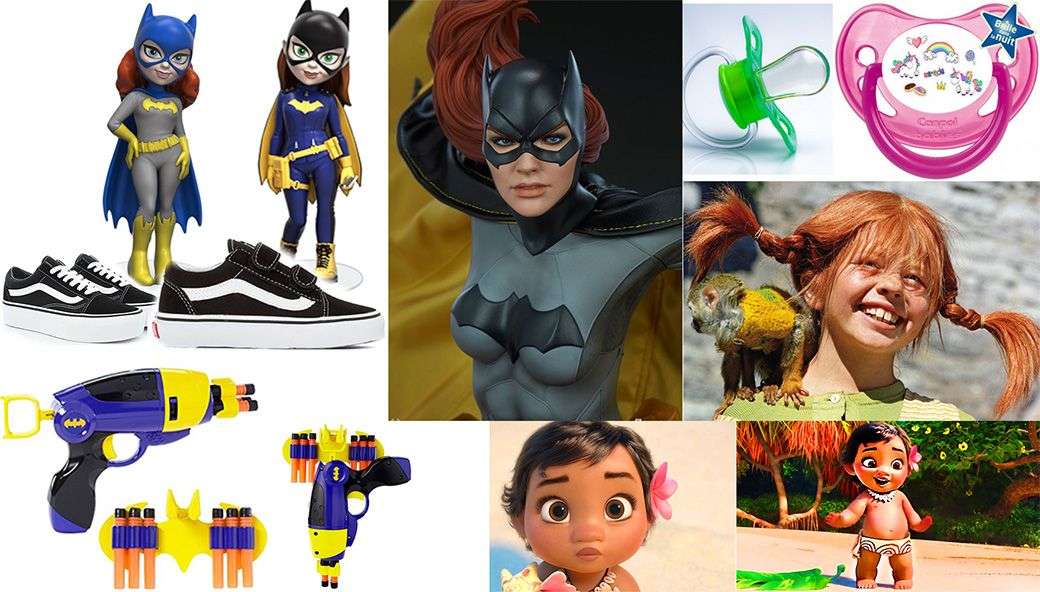
Concept and References
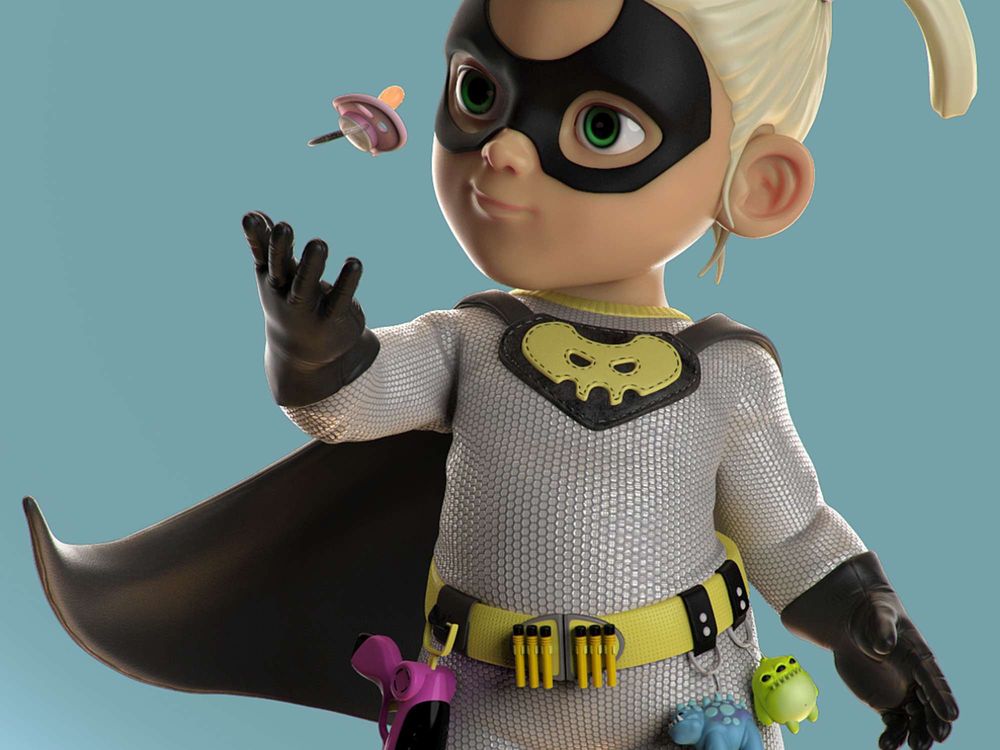
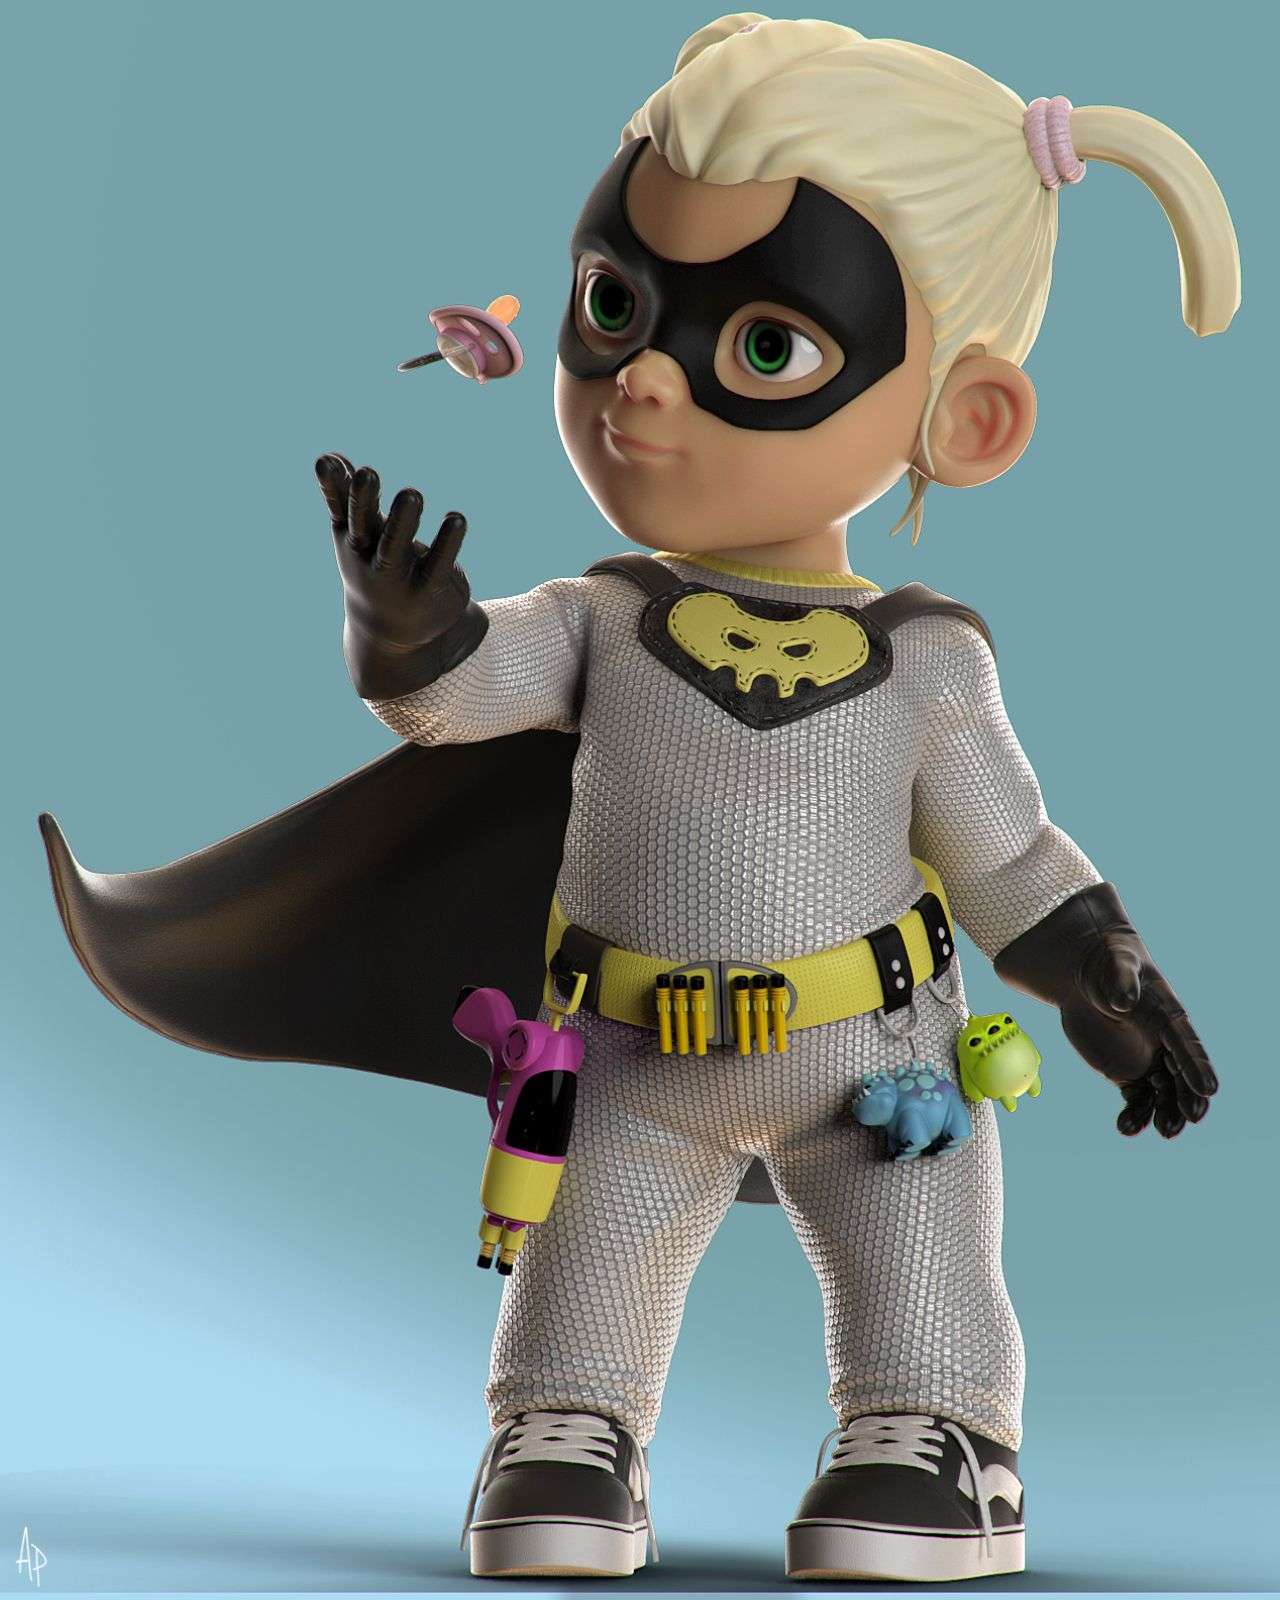
My mother often told me about Fifi Brindacier, the little redhead with extraordinary power but who does not abuse it. I thought it was a good idea and started my research to make a little super-powered heroine.
For the style I wanted to make a character like a cartoon, a big head, big eyes, a little chubby to find the anatomy of a child.
References are important because they allow you not to ask yourself questions about the creation of different objects, there is nothing worse than not knowing what to put on a character, it can be very time-consuming.
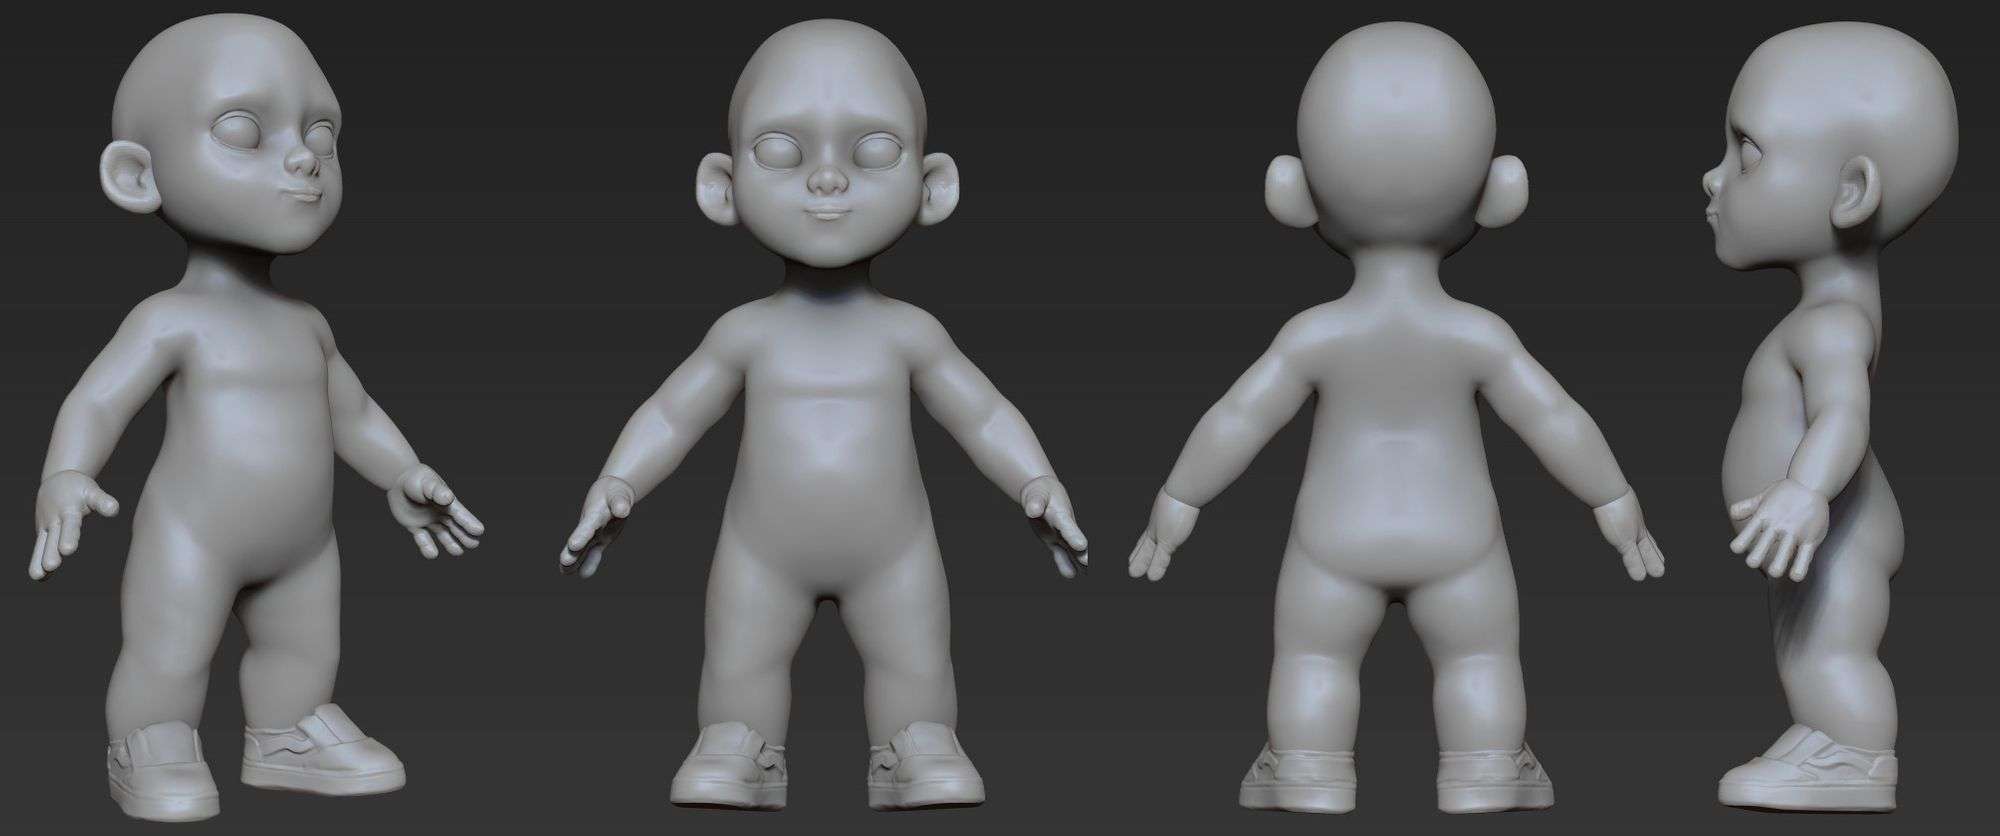
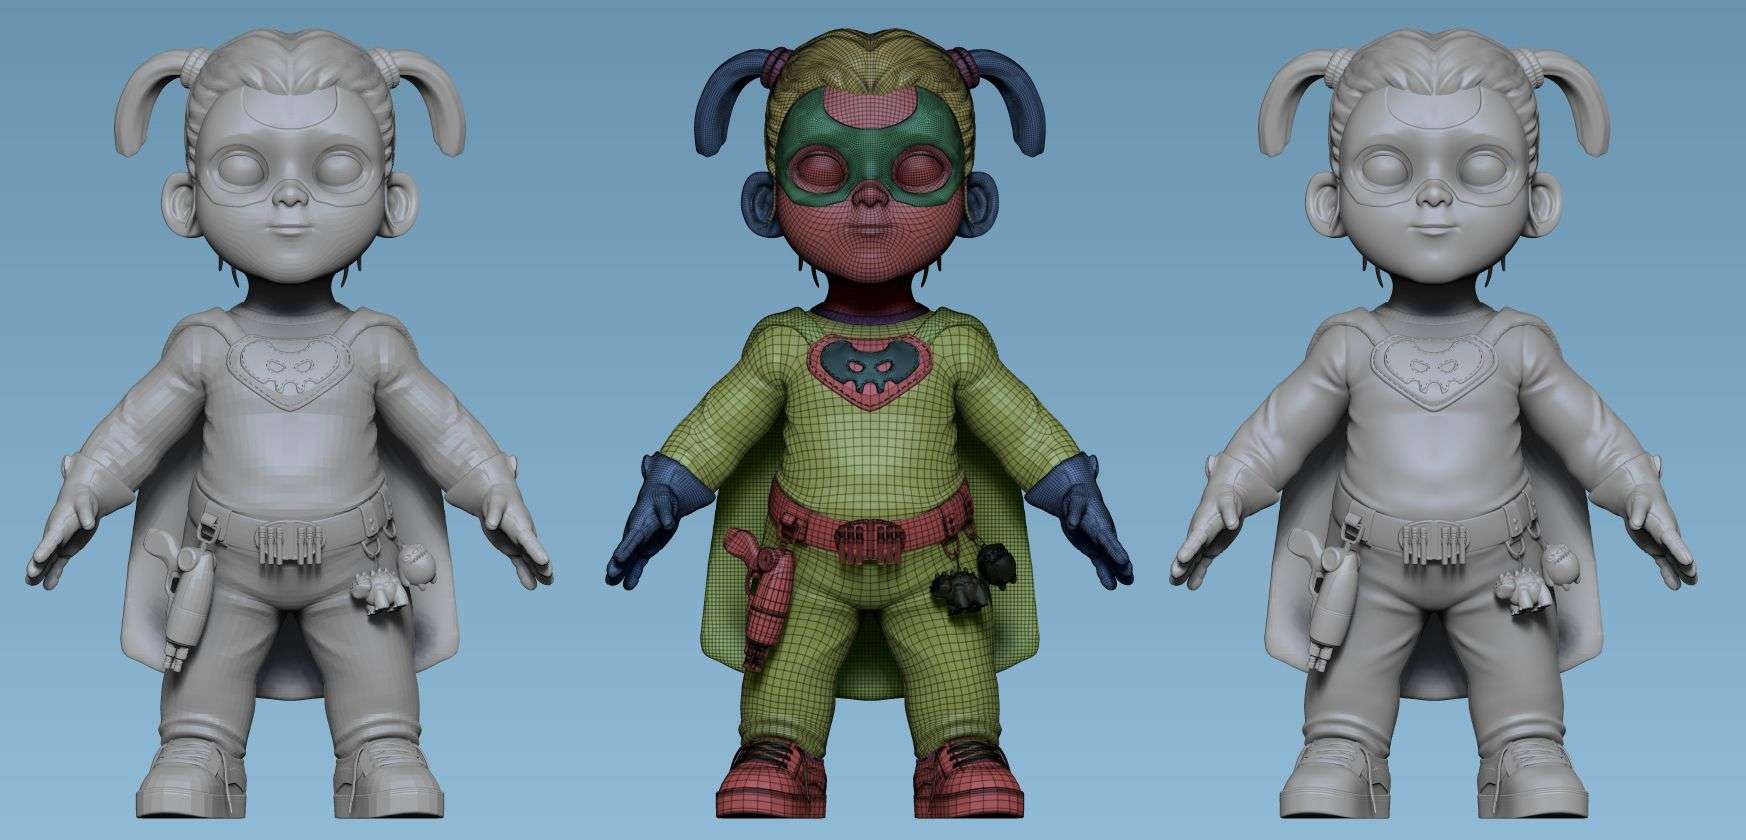
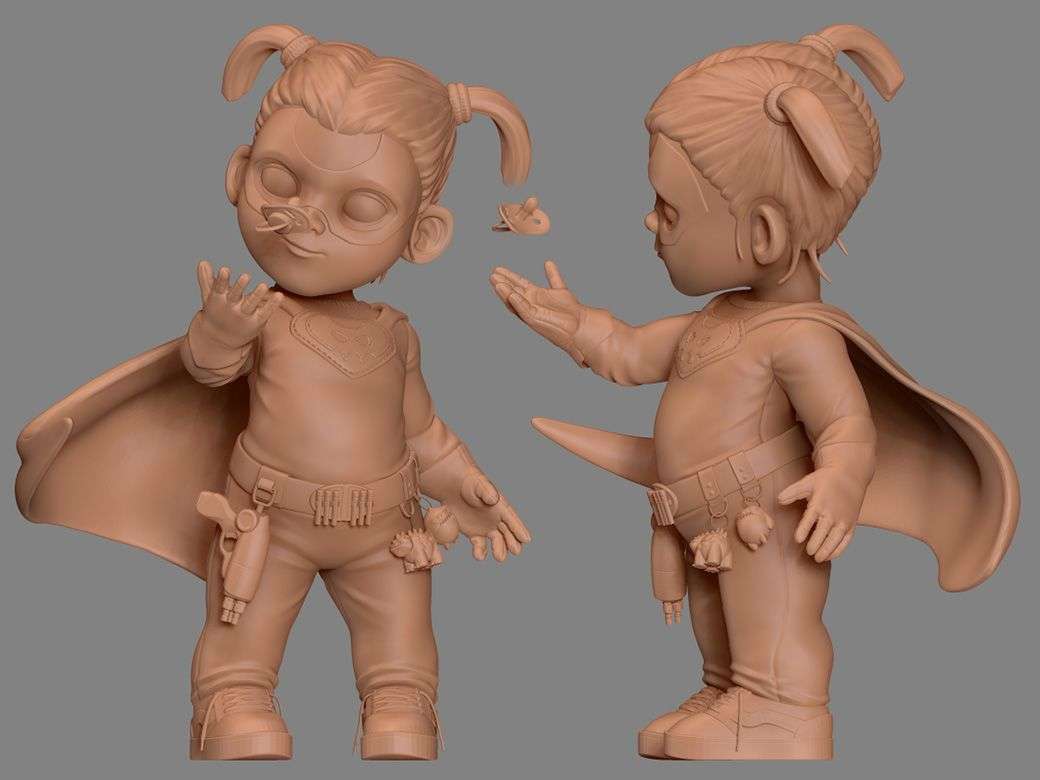
Basic shape
The anatomy and realization of the main shapes is one of the most important things when creating characters, use of references is important. Personally it is the part that takes me the most time, everything becomes easy when the base of a sculpt is straight.
I advise you to have as few polygons as possible during this step, it facilitates the understanding of the shapes, they also allow not to go into details too quickly.
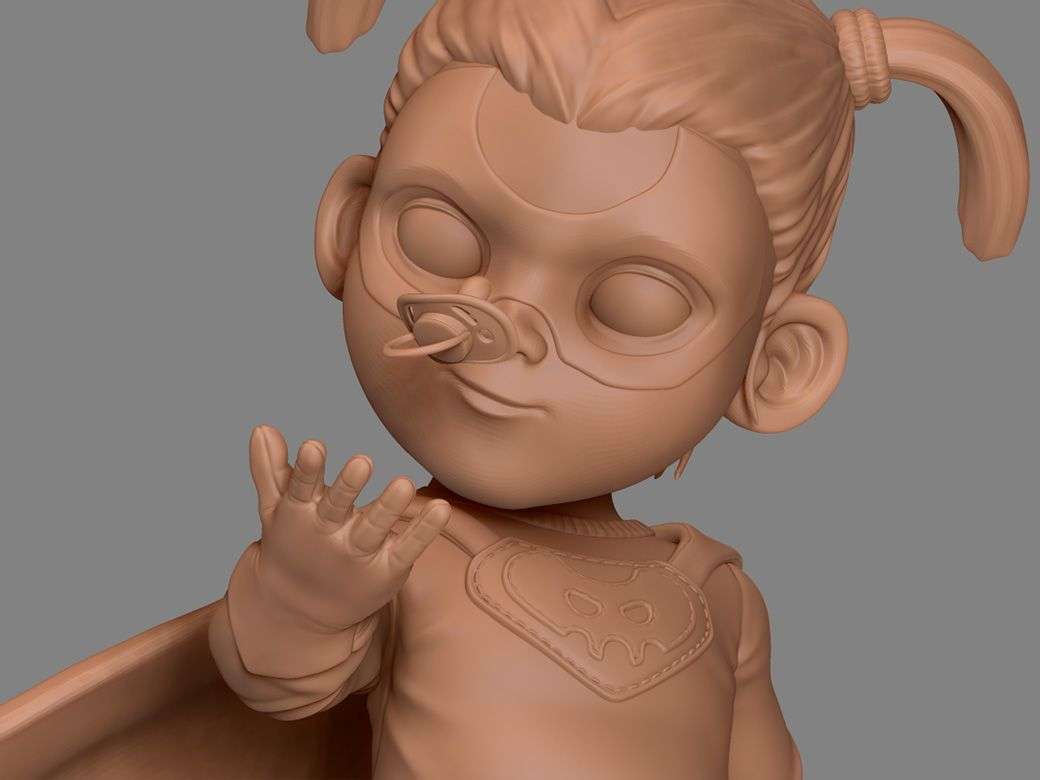
I started sculpting the body, the head, the hands, the shoes with the current tools of ZBrush, Clay build up, Move tool, and Smooth.
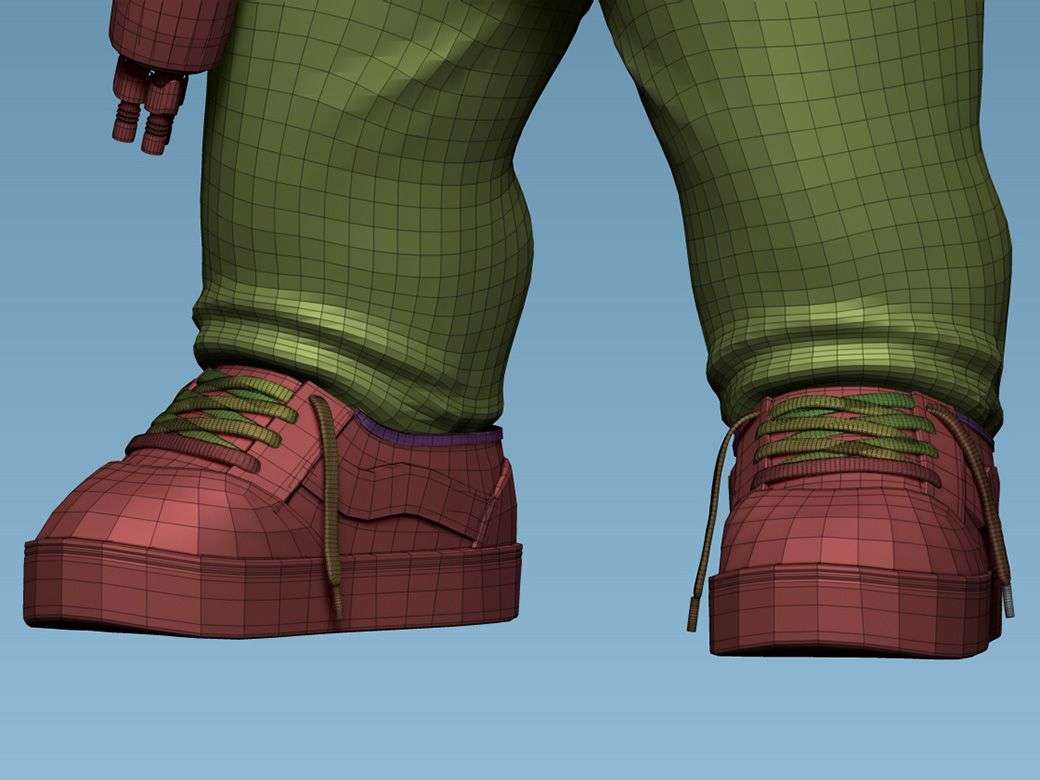
Once this step was completed, I started to make the folds on the suit and the gloves. For the main shape of the shoes, I started from a simple box. To make the thickness of the garment I used the Mesh Extract, I also used this tool for the hair.
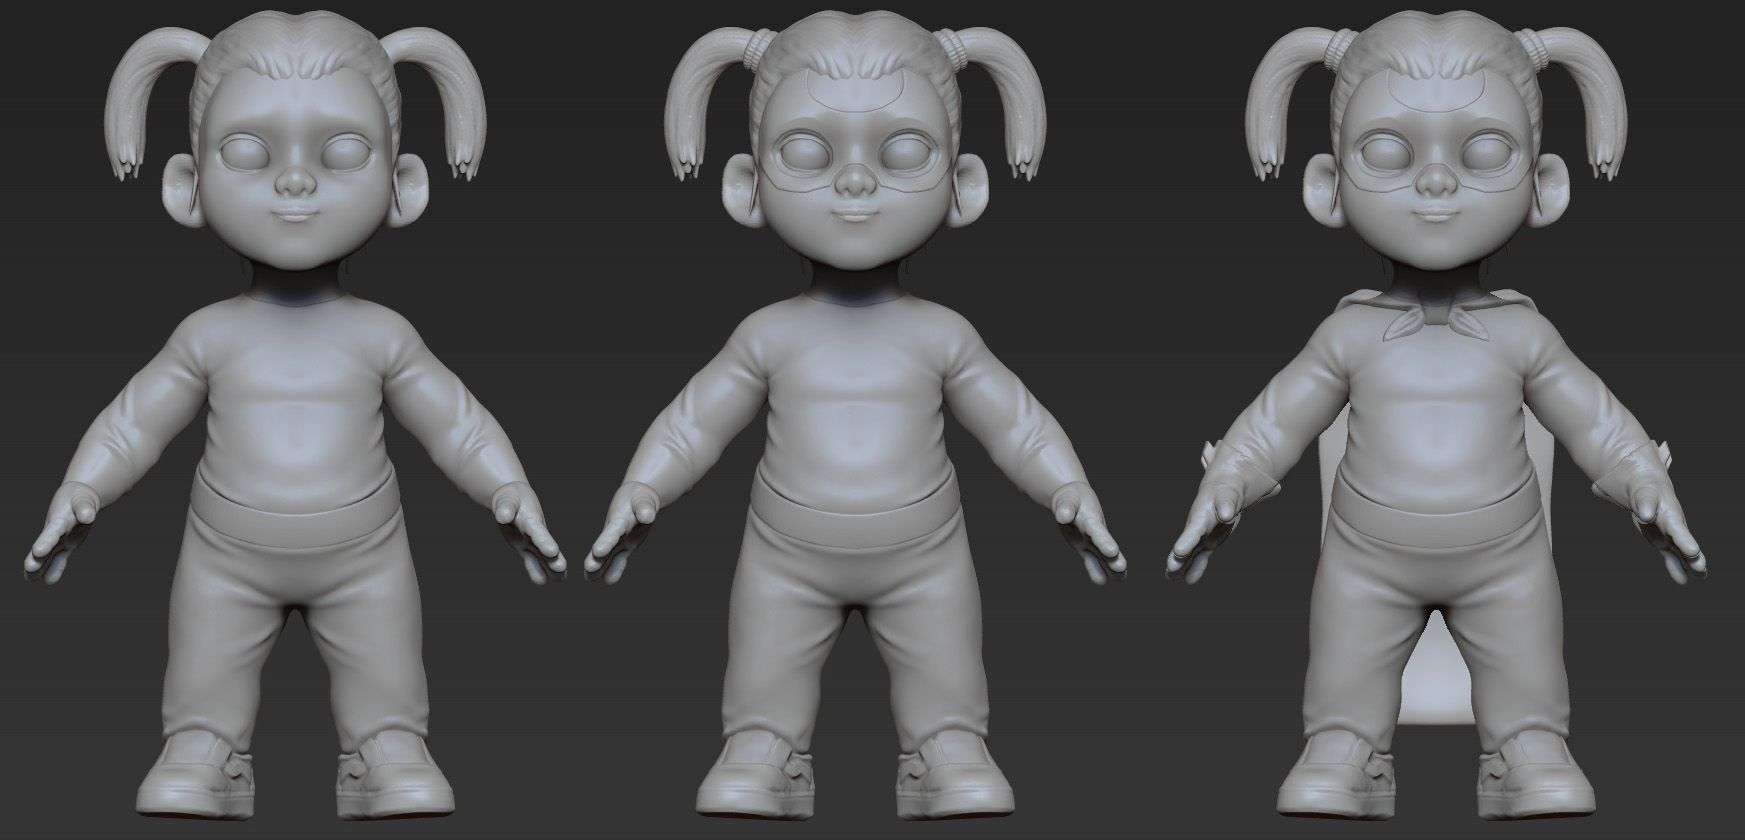
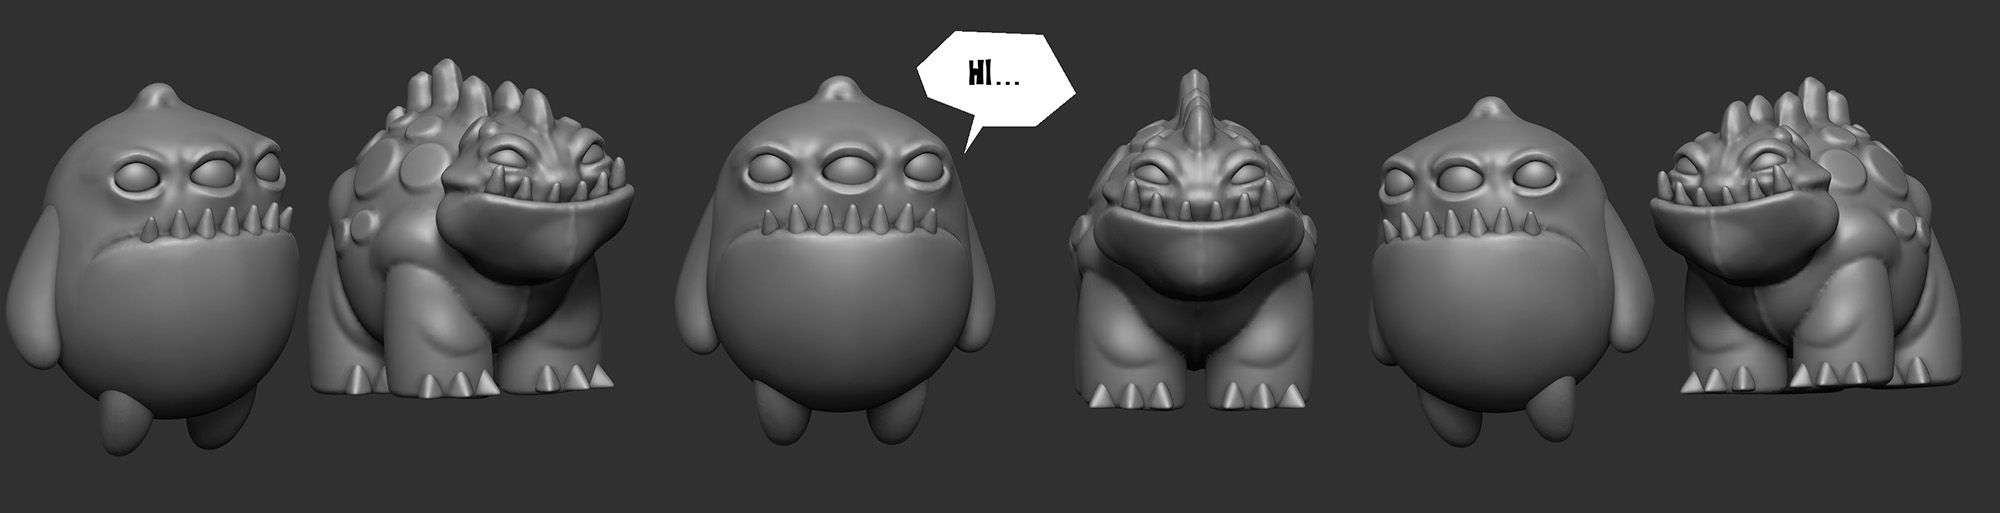
I then modelled the little dolls, simply using a sphere that I sculpted to give the desired shape. I wanted to have a funny shape to match the character's style.
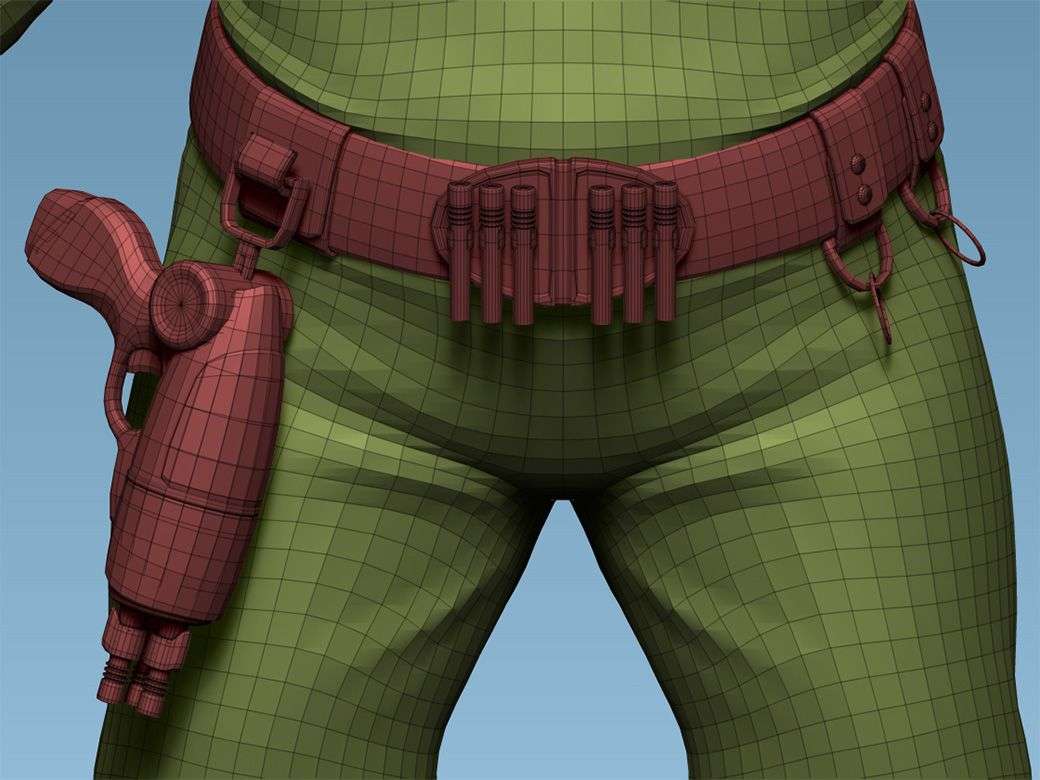
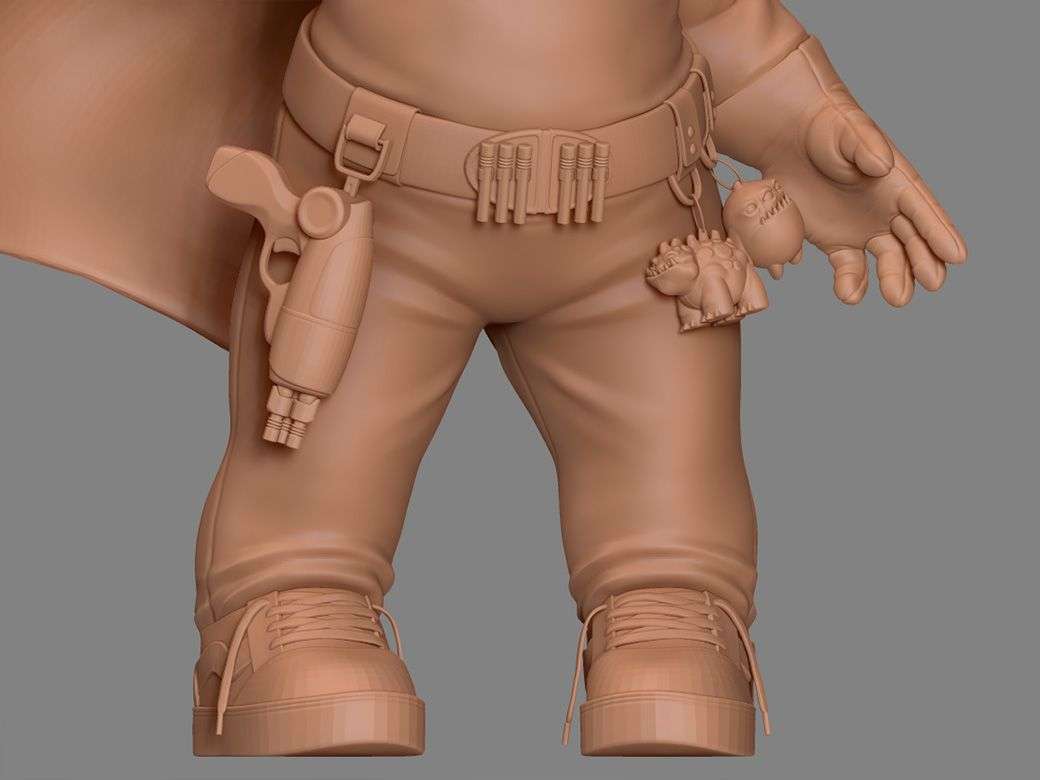
Props and Hard surface
Once my base was finished, I decided to import it to Maya to make the barrel, the belt, the key rings and make a retopology of the parts so that the final model would be clean and the uvs would be ready to use. To do the retopology I use the Quad draw tool which is very simple to use. I also made the shoes so that the shape is cleaner and I just need to add a few details about ZBrush.
Once my accessories were finished, I re-imported everything back into ZBrush. I wanted to reduce the number of polygons, head and body to make it cleaner. For this reason I decided to use the ZRemesher tool and Projection tool on the elements that contained too many polygons, it is a tool to do an automatic retopology, it is very effective to save time on this type of work.
When working on a model that needs to be edited and animated, it is very important to optimize the polygons as much as possible and to have a clean mesh.
This model is not for video games, polygon numbers are not a problem, except for your PC…
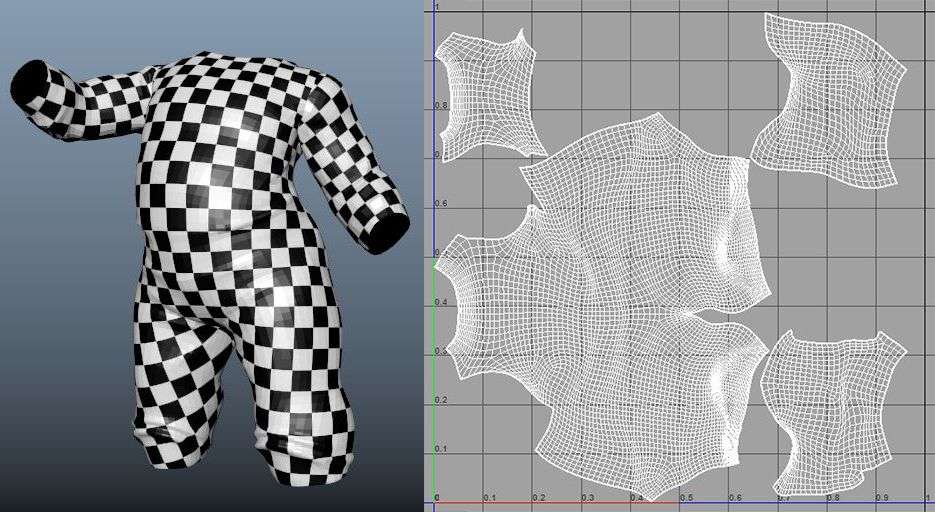
UV Unwrapping
I mainly used the UV Master tool for most parts, it is automatic and incredibly practical. For the parts on maya I made them with the camera based and the unfold.
To check that my UVs are correct, I use a Checker, if there is a problem, the squares will be distorted.

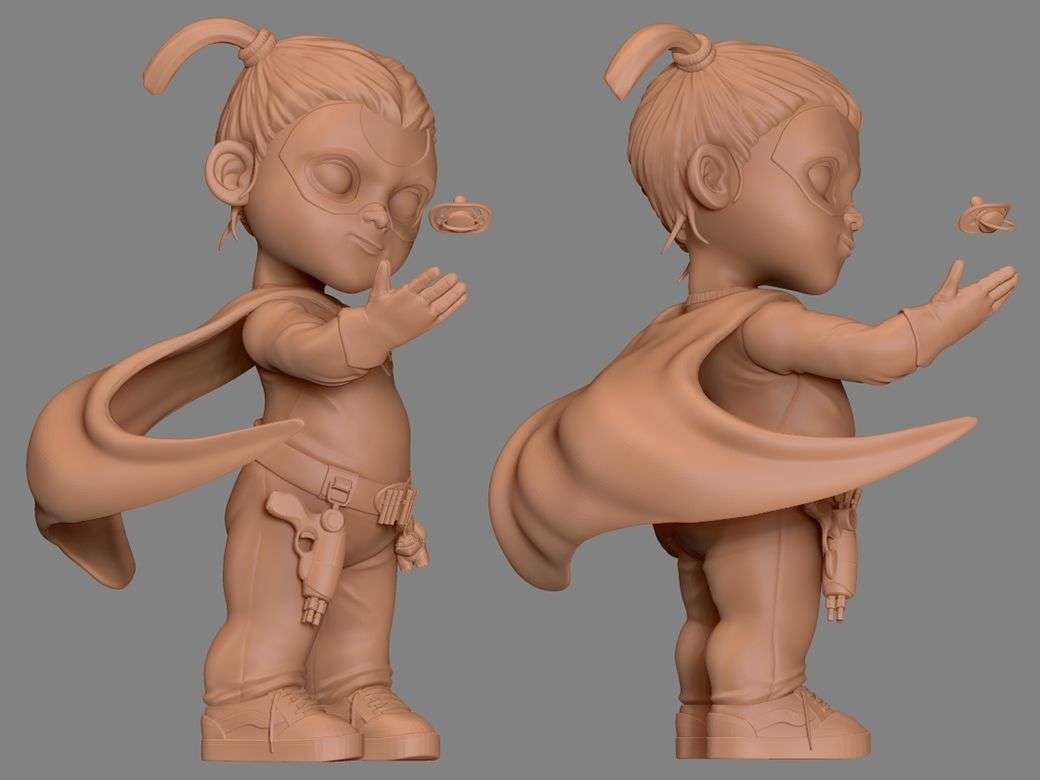
Texturing
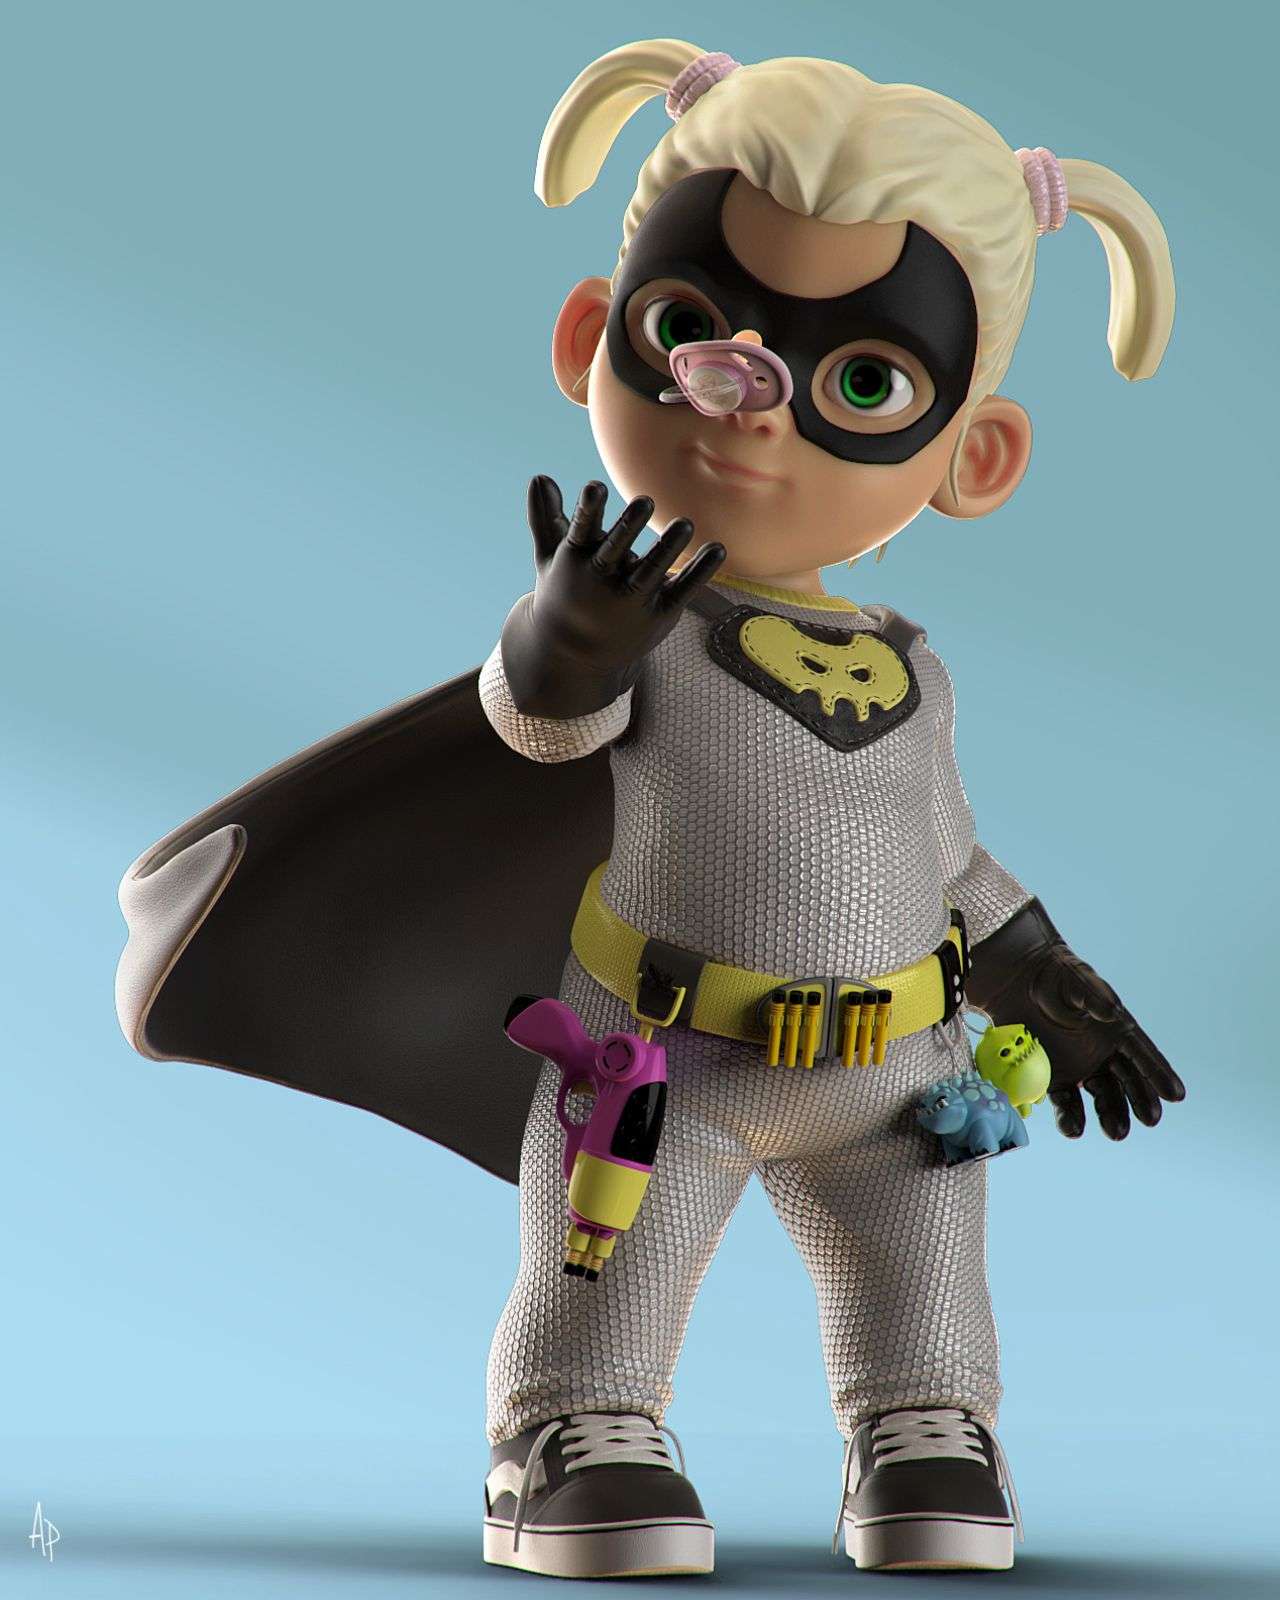
Before starting the textures, I put the character in pose, so that it is more interesting to look at, these feet are slightly turned inwards to accentuate the cute effect.
I thought it was a good idea to fly the pacifier, because everyone had one when they were kids, or almost.
To put my character in the final pose, I used ZBrush's Transpose Master
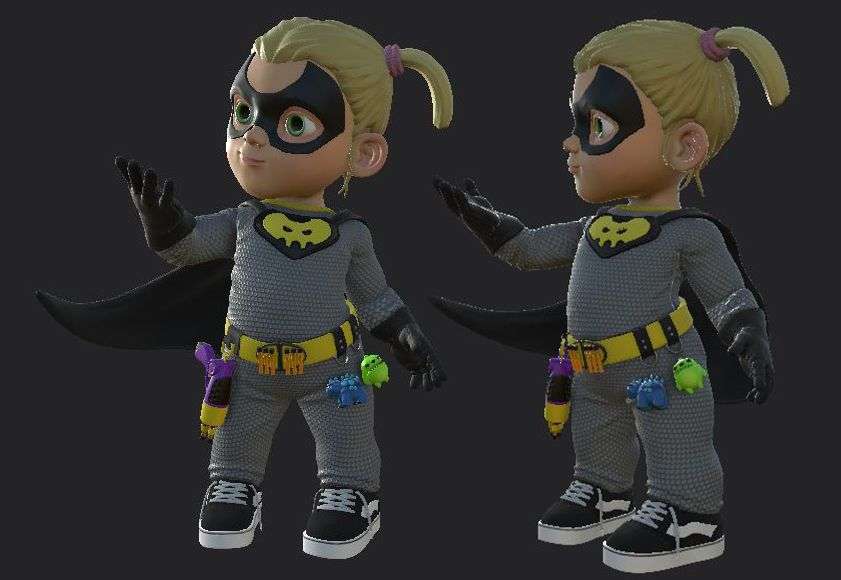
I imported my entire character to be able to texture it in Substance, the textures are simple to keep a cartoon style.
I don't use any particular procedure, I used Black Masks to combine textures and get what I wanted.
All my textures are in 2048 except for the smaller objects which are in 1024. I have about 70 textures in total
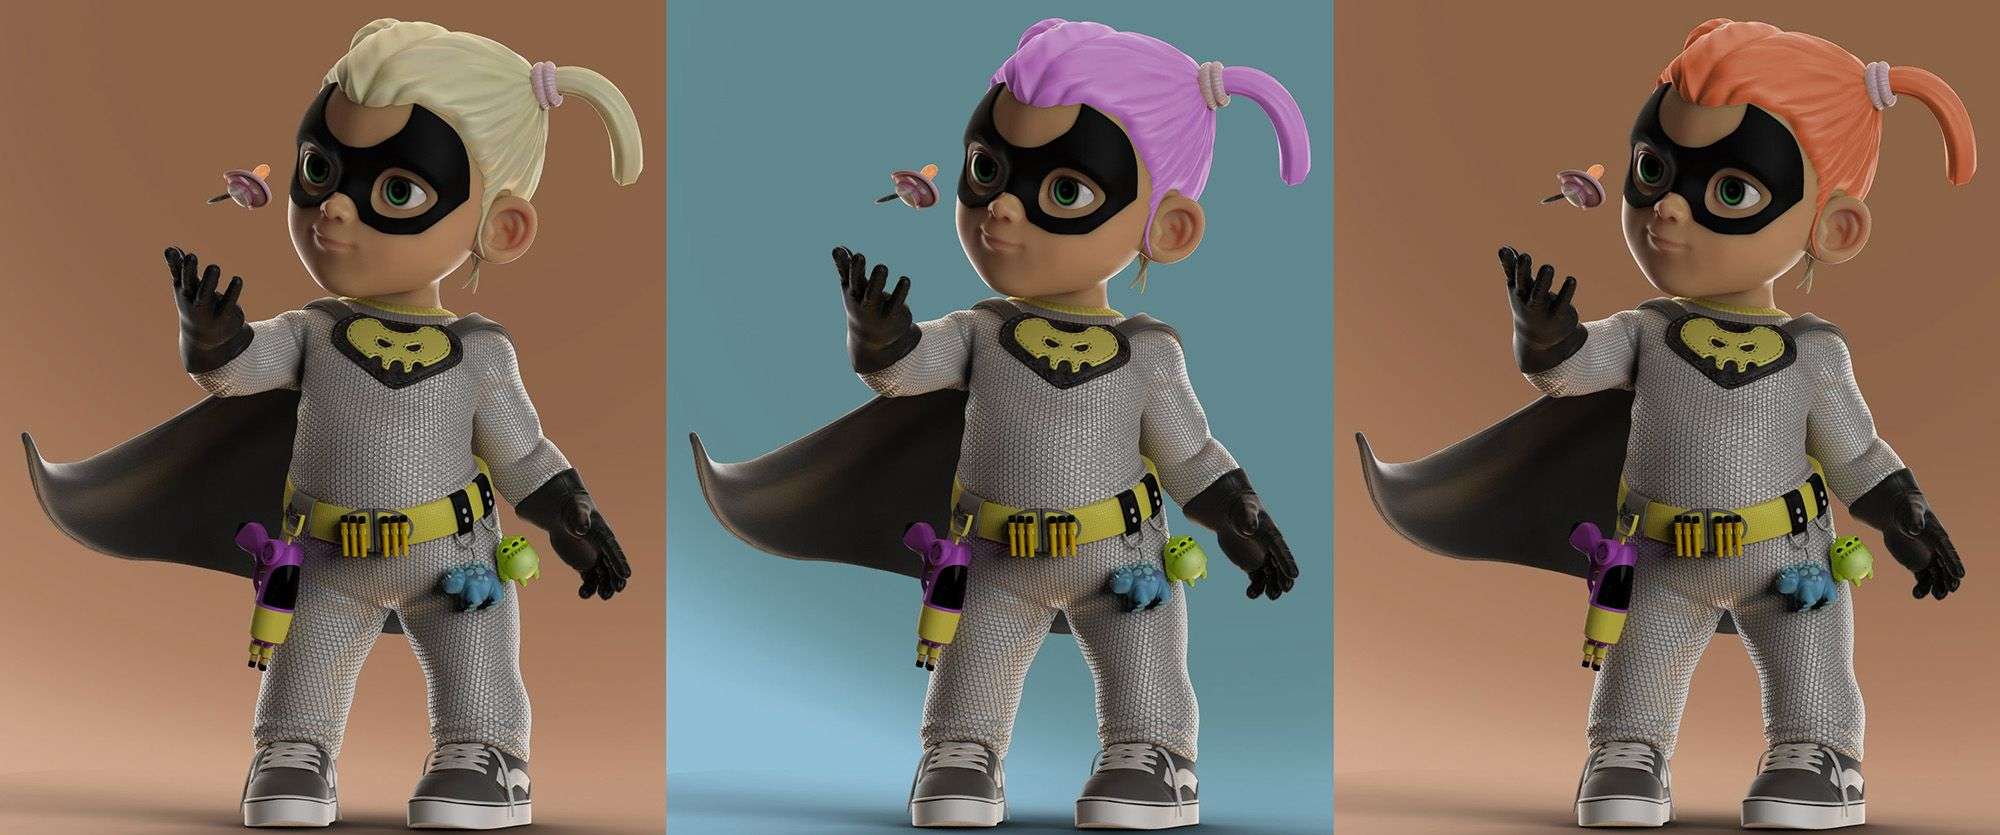
For the colors I was inspired by Batgirl with this yellow belt and his mask
Rendering and Lighting
I used Keyshot for rendering, it is very simple and fast to use to make efficient rendering.
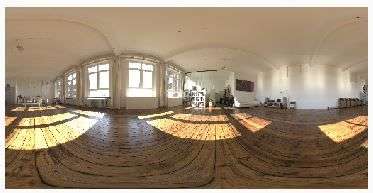
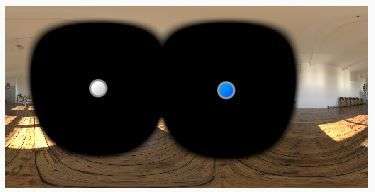
After importing my model and applying the textures I adjusted the lights. I used a light environment, then in the HDRI editor I add black lights in Alpha fusion mode to darken some parts of the character.
Then I add two normal lights, one for backlighting and the other for highlighting all the other details.
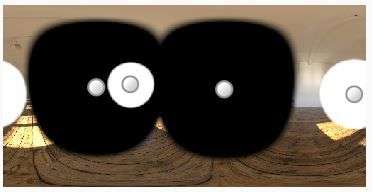
After this step I started rendering my passes.
Compositing and Final Render
I made two renderings with different camera angles, for each of them there are 5 passes.
The color base, matte color, specular, ambient occlusion and a clown pass.
All passes are used to highlight the character's details.
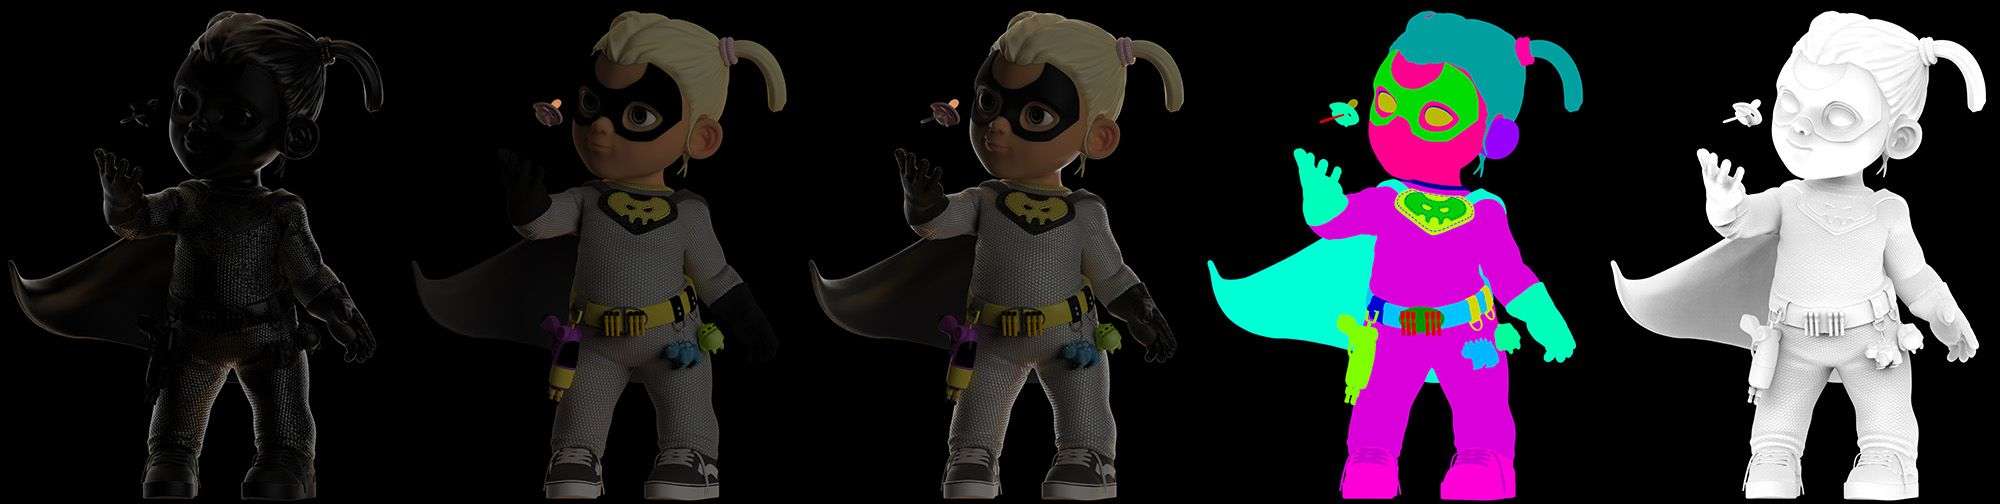
For compositing I used Photoshop, using fusion modes in the passes, I tried several colors.
I am excited to get to compositing and see what it will bring, combining the different passes, testing colors, adding shadows, bringing out details, etc....
Final renders
Thank you very much to the Rookies for giving me the chance to do an article. I hope this article has been useful to you and that you have learned something new. I had a lot of fun on this project. Feel free to contact me on my social media if you have any questions.