
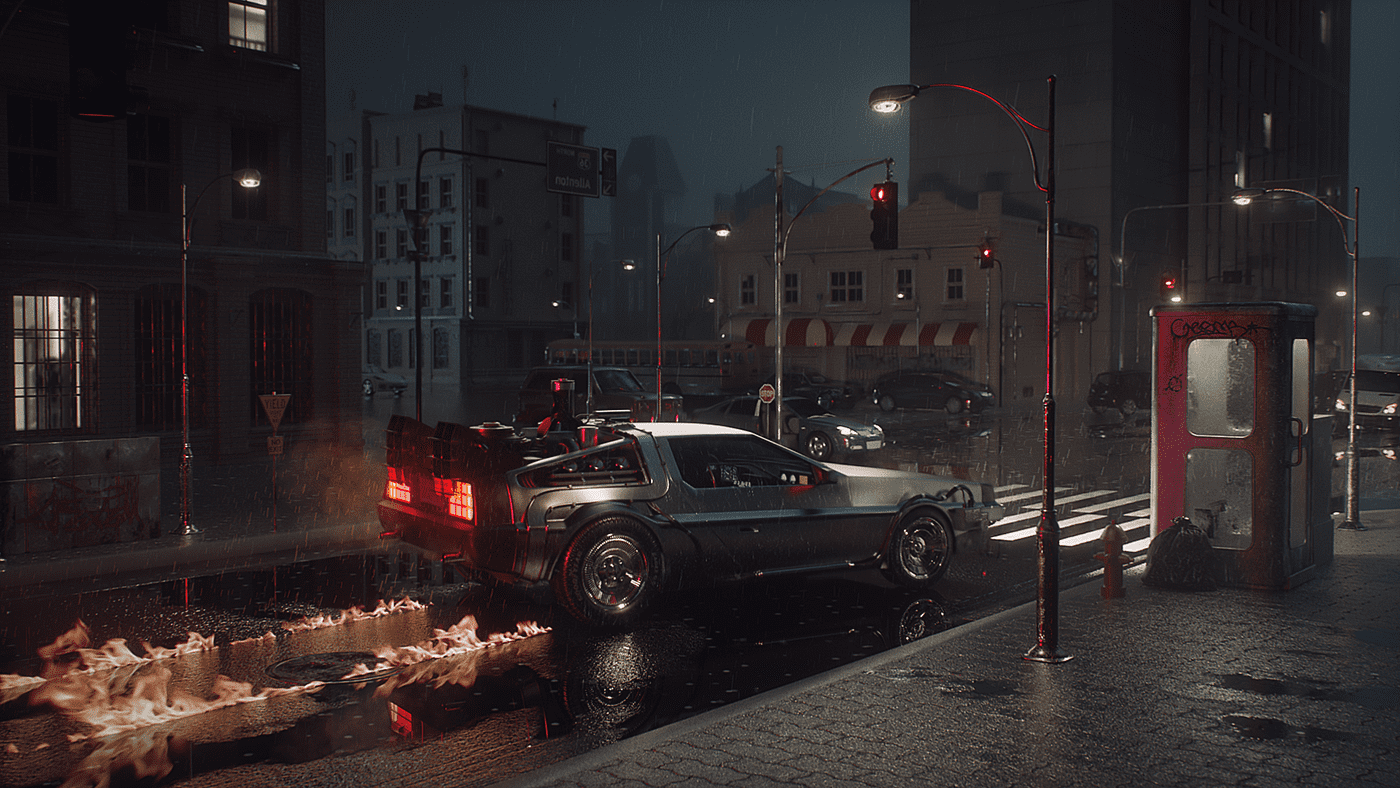
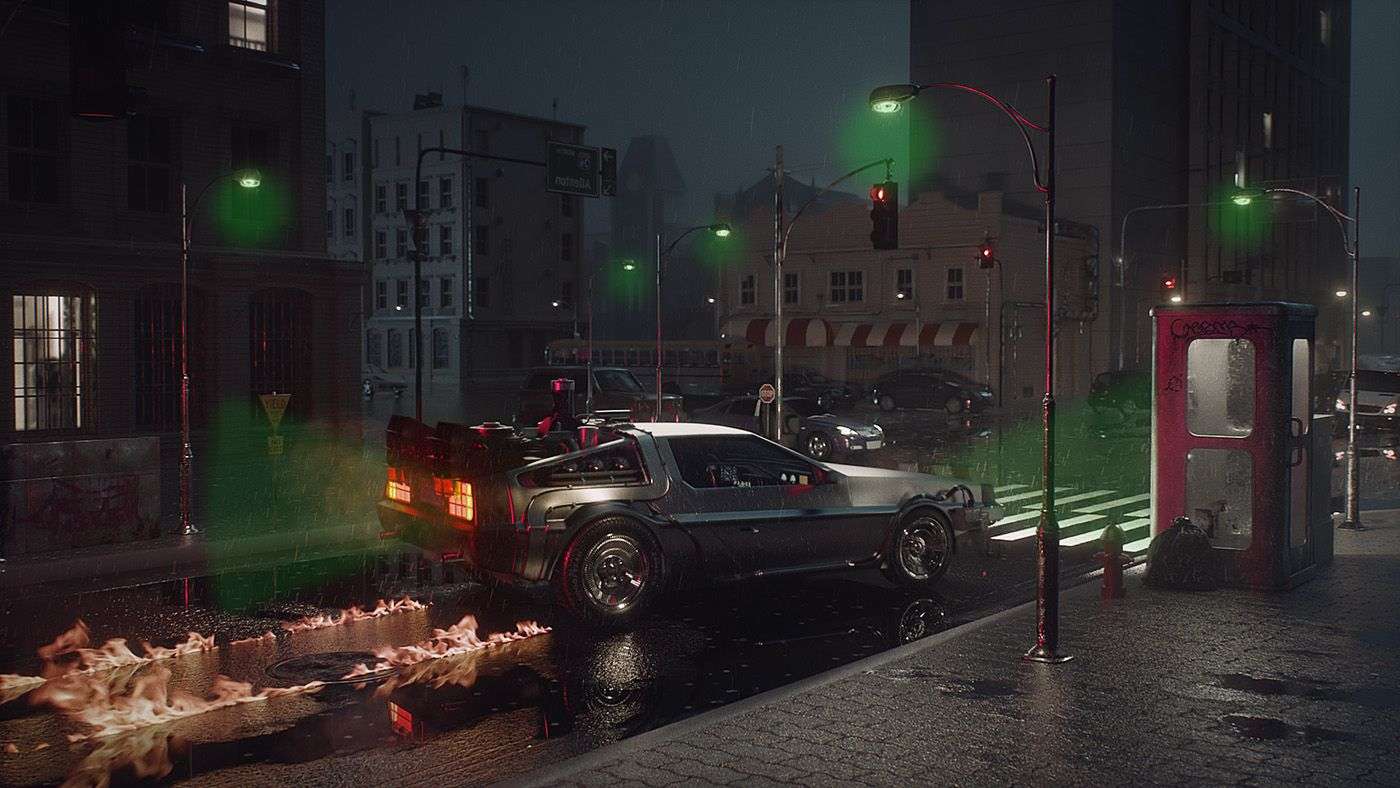
“Back to the Future” is one of my projects with the theme “Retro”. Retro was an attractive theme to me at that moment because “Newtro” is one of the hottest design trends. Also, I think Delorean (The car is illustrated as a time machine in the movie) is a great object to demonstrate retro mood with 90’s sci-fi mood.
Additionally, the movie “Back to the Future” was my favourite movie in my childhood, so always, I wanted to make artwork with that movie someday.
Let me explain how to I set-up the scene with the image below.
Fire path & Ripple effect
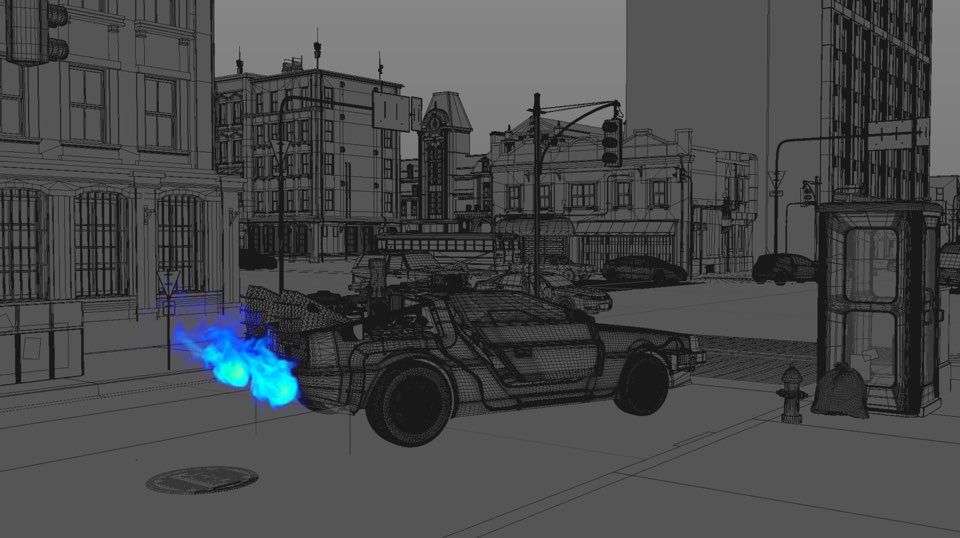
Fire path is the one of important effect when the DeLorean teleport to past or future in the movie. So, When I consider how to make the fire path using Cinema4D, I thought there was two way to make that effects. Using turbulence FD or image sequence mapping on the plane. I choose the image mapping way because I thought that way is more looks real and easy to control when I set the landing timing of the DeLorean.
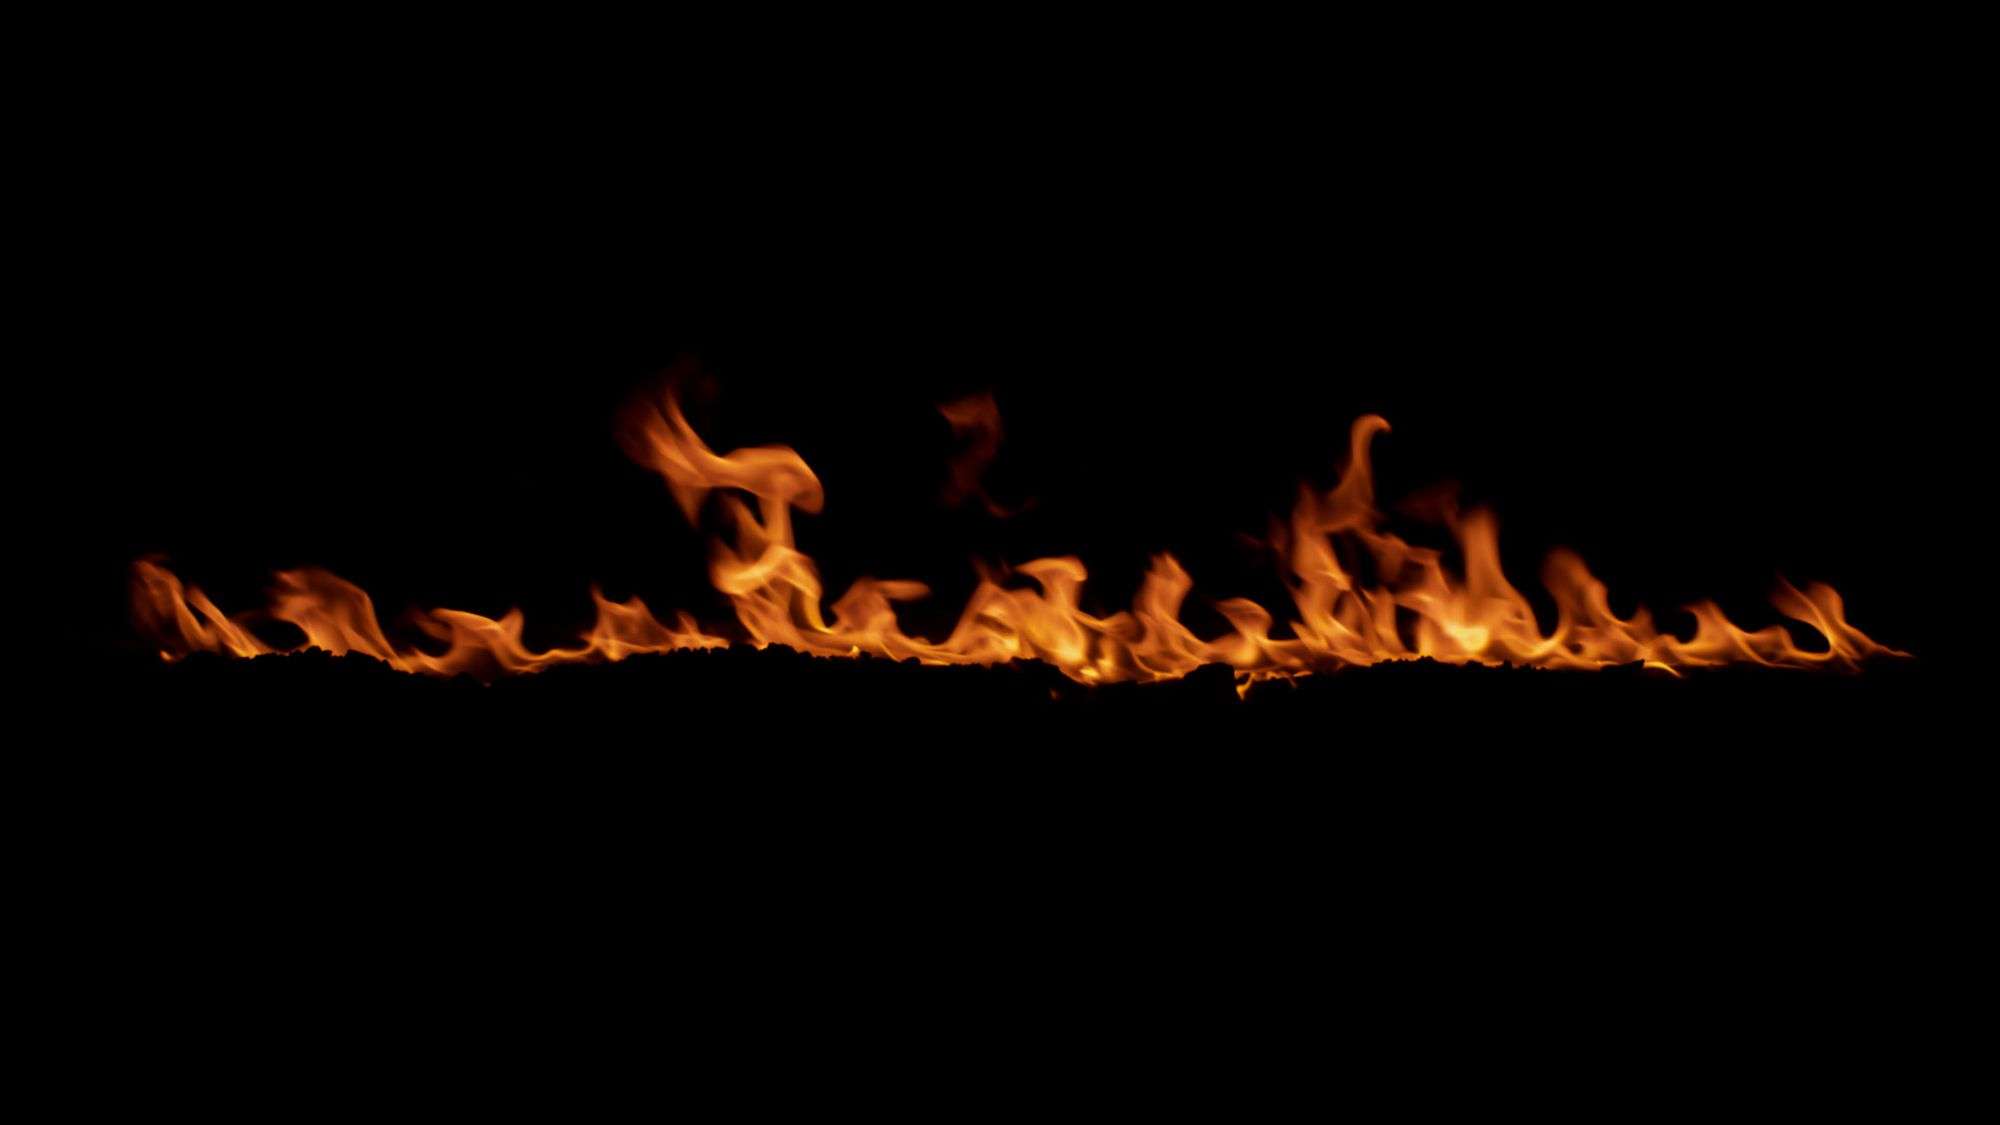
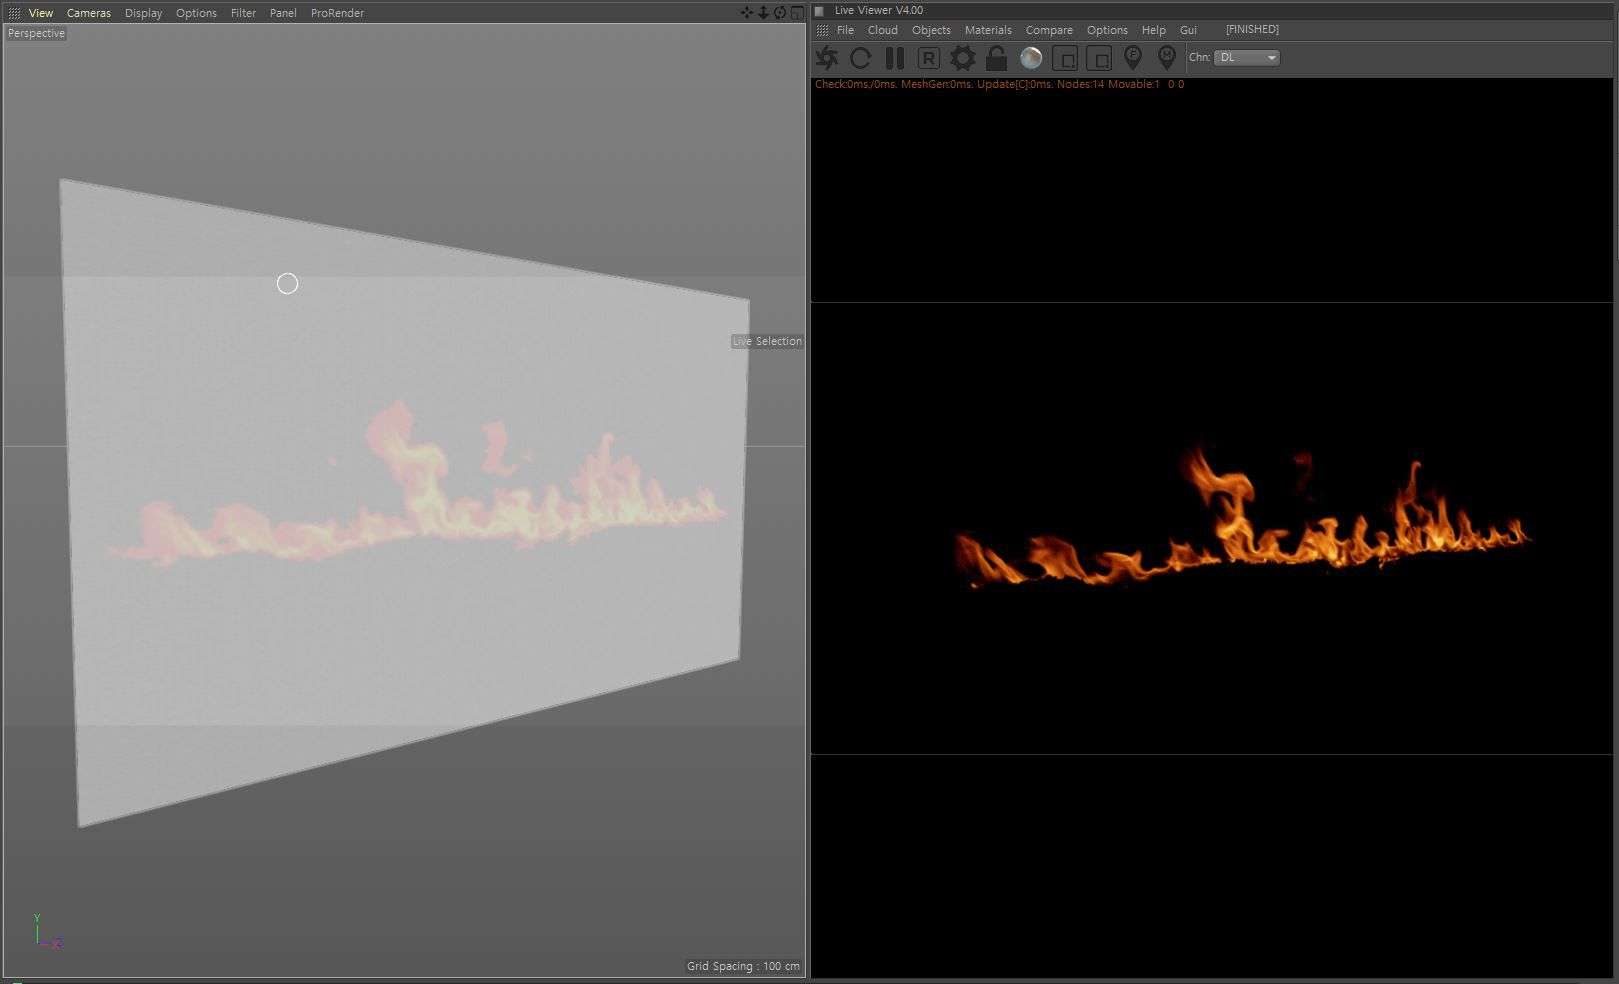

So, I’ve used real fire footage and made them as a PNG sequence with Alpha channel. After that, mapping the PNG sequence file on the plane object in 3D. I choose the way mapping sequence on the 3D rather than 2D compositing because fire is the emission object, so it makes illumination and could be affected by surroundings.
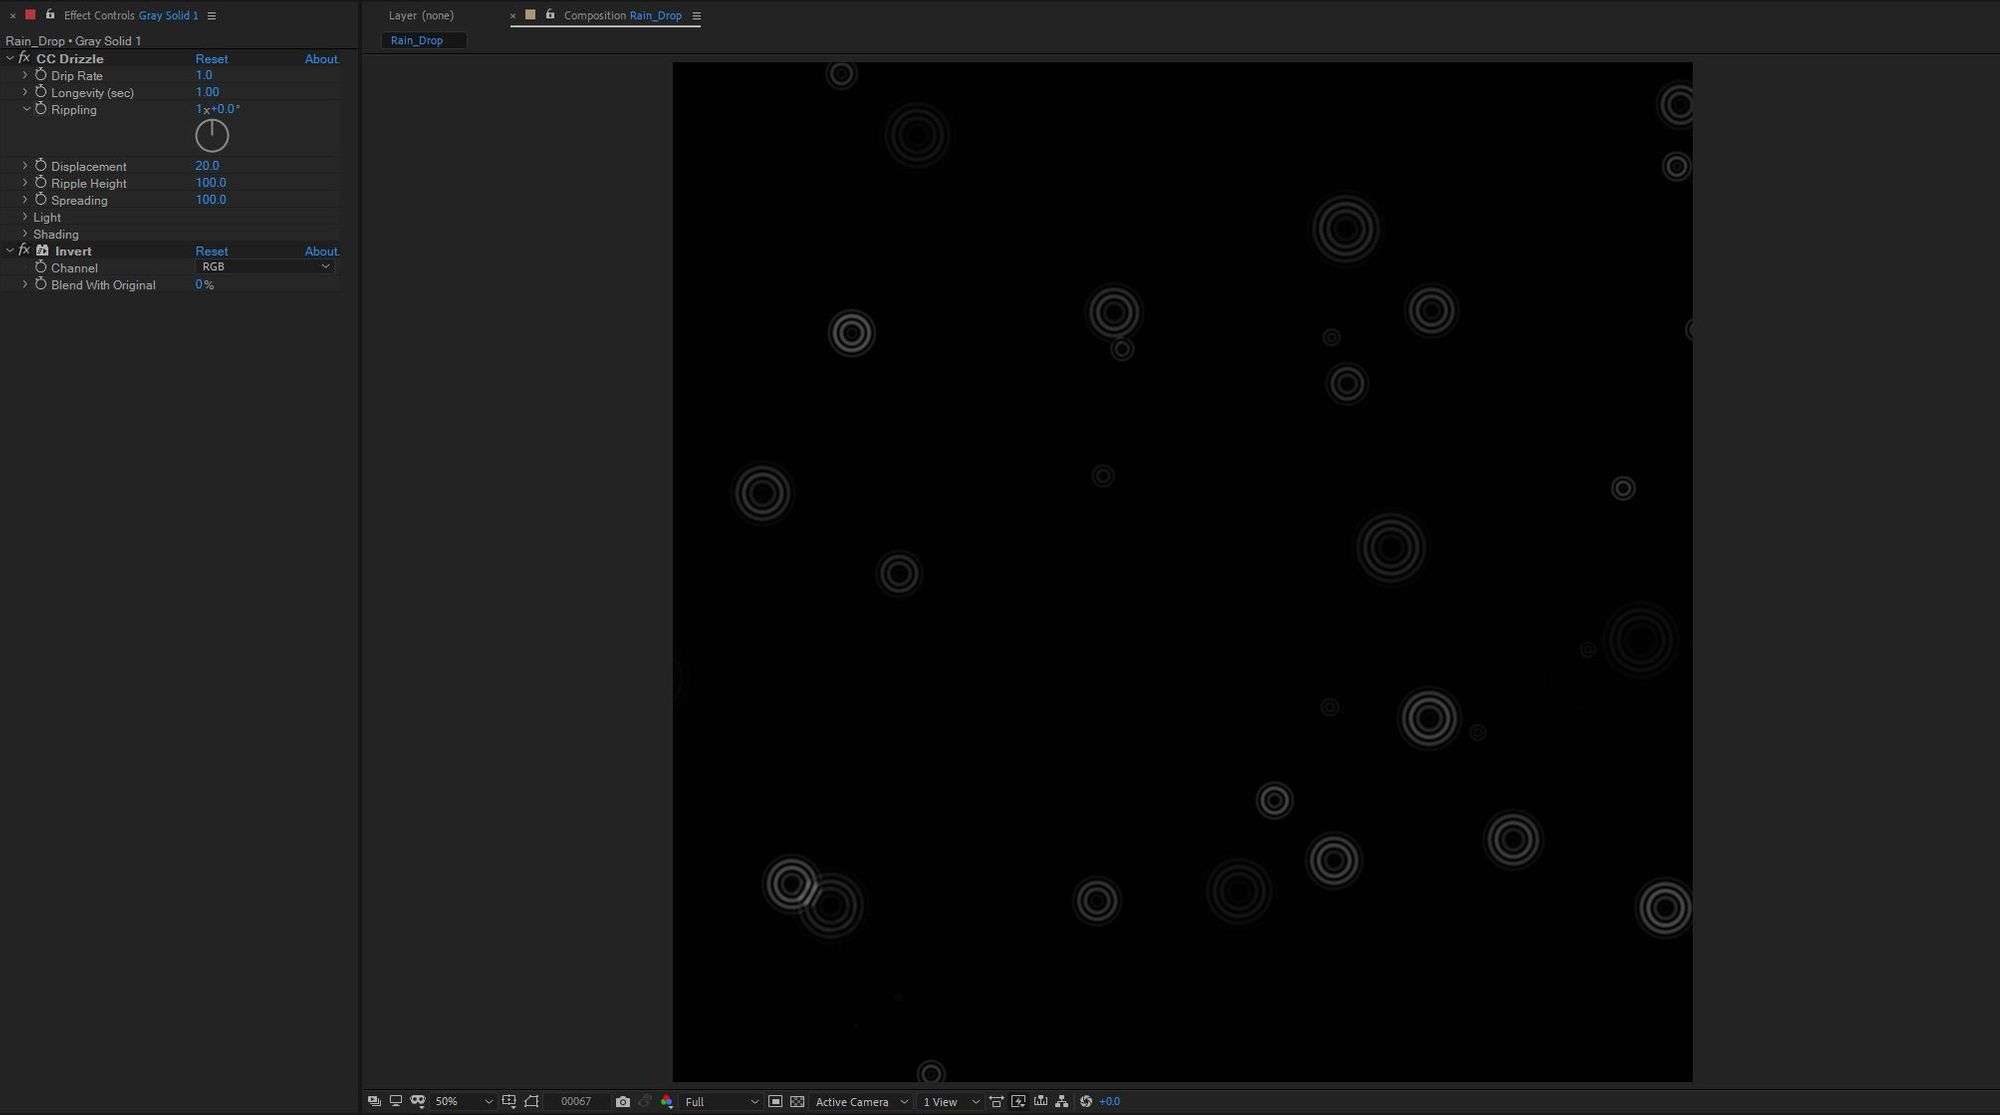
Ripple Effects also made in the same way, I made a raindrop sequence in After Effects CC Drizzle effect. After that, I imported the sequence on the bump channel of the puddle texture on 3D.
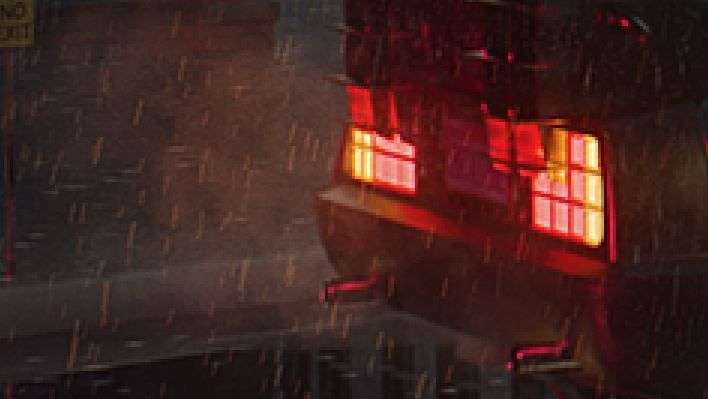
Wall Graphite Texture
For retro & vintage mood, I tried to add wall graphite on the phone booth and street trash can.
Although in the standard procedure, should make a UV map to mapping wall graphite texture, I don’t usually prefer to make a UV map. Let me introduce more simple and easier way to mapping wall graphite or sticker on the surface of the object.
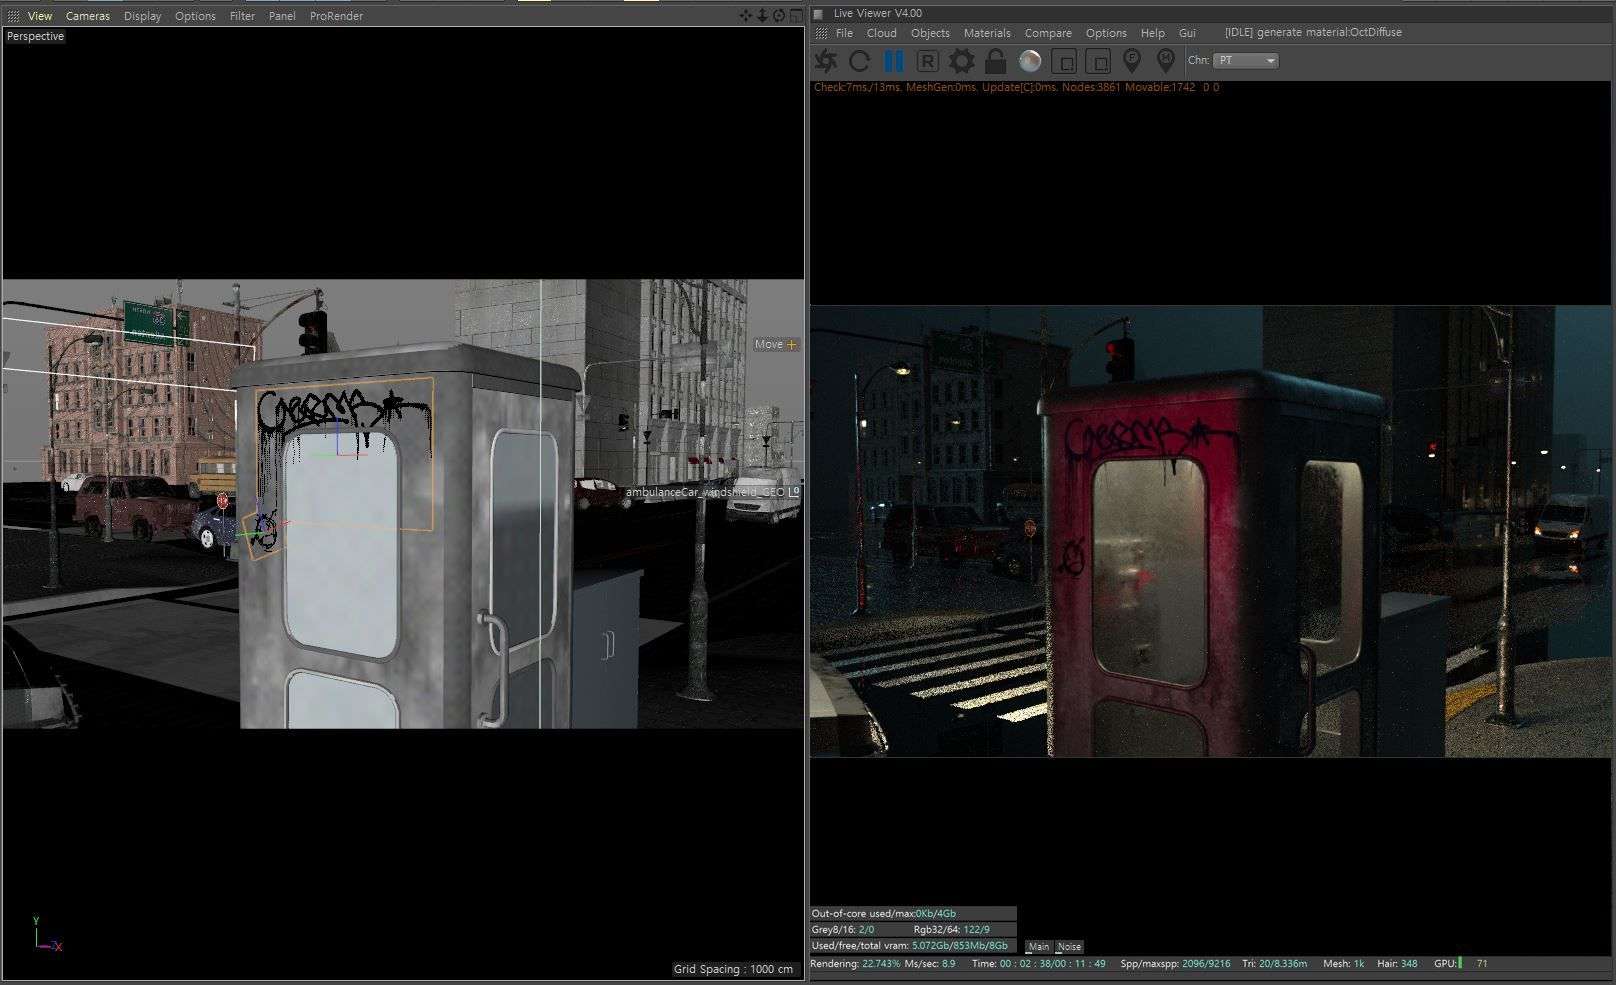
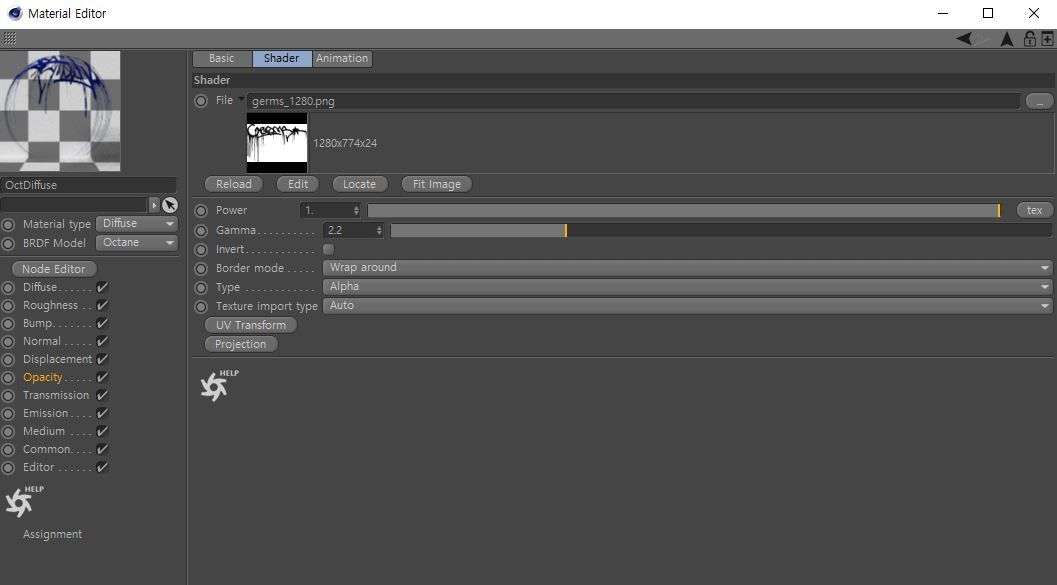
It is a similar way with fire path effect or ripple effect. just using an alpha channel of the image, and mapping on the plane object after that place the plane object wherever you want. In the curved surface, you can use the deformer such as surface or band deformer to stick on the surface of the object.
if you using this method, it could be not only easy to make change the layout but also more efficient to make a detail of the texture on your scene.
Exhaust emission Effect
I’ve made an exhaust gas effect using Turbulence FD plug-in in Cinema4D. I choose the simulation on 3D because the exhaust emitting from the exhaust pipe. So the gas should follow the position of the pipe and emitted gas should scatter away to the air.
For the reason, I using the simulation for realism.
Compositing the rain effect
Let’s take a look at how to make this. At first, I’ve made a rainfall with After Effects “CC Rainfall” it is easy to adjust the speed and shape of the rainfall.
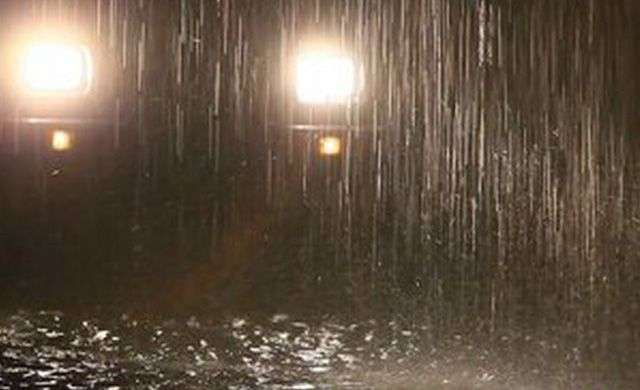
After that, I placed the rainfall layers in the foreground, middle, and background using a Z-depth pass. You can place the images using an exposure effect and luma matte.
In the raining situation at night, raindrops look brighter than others because of the refraction from the light. So, for this detail, select the place near the light which I marked with a green color on the image, and make brighter in After Effects.
That was a few tips what I prepared. I know, there is more standard procedure to make those effects but I introduced more efficient and easier way to illustrate artwork with Cinema4D and After Effects.
The Project “Back to the Future” is one of my favourite personal projects because when I’ve made this, not only I learn various things but also it was so fun to make every single scene.
Thank you for reading this article and I appreciate for the Rookies who gave those chance and 2019 Rookie Awards Finalist.
If you have a more question or want to watch my other works, please take a look links below.
https://haramjung.tv
https://www.behance.net/haramjung
https://vimeo.com/haramjung
https://www.instagram.com/haramjung_art/