From Comic Book to 3D - Creating an Animation Ready Character
Aly Farroukh is currently undertaking a masters at New3dge in Visual Effects thanks to a scholarship from The Rookies annual Rookie Awards contest. His passion in 3D stems from a curiosity about the world and and wanting to recreate it digitally.
Aly Farroukh is currently undertaking a masters at New3dge in Visual Effects thanks to a scholarship from The Rookies annual Rookie Awards contest. His passion in 3D stems from a curiosity about the world and and wanting to recreate it digitally.
Idea and References
I wanted to pay tribute to the main character of “Head Lopper”, a comic book by Andrew McLean and re-imagine him in my own style. This personal project allowed me to take my time to understand and research every part of the pipeline, explore forms and designs and stay loyal to the character’s essence of the comic book.
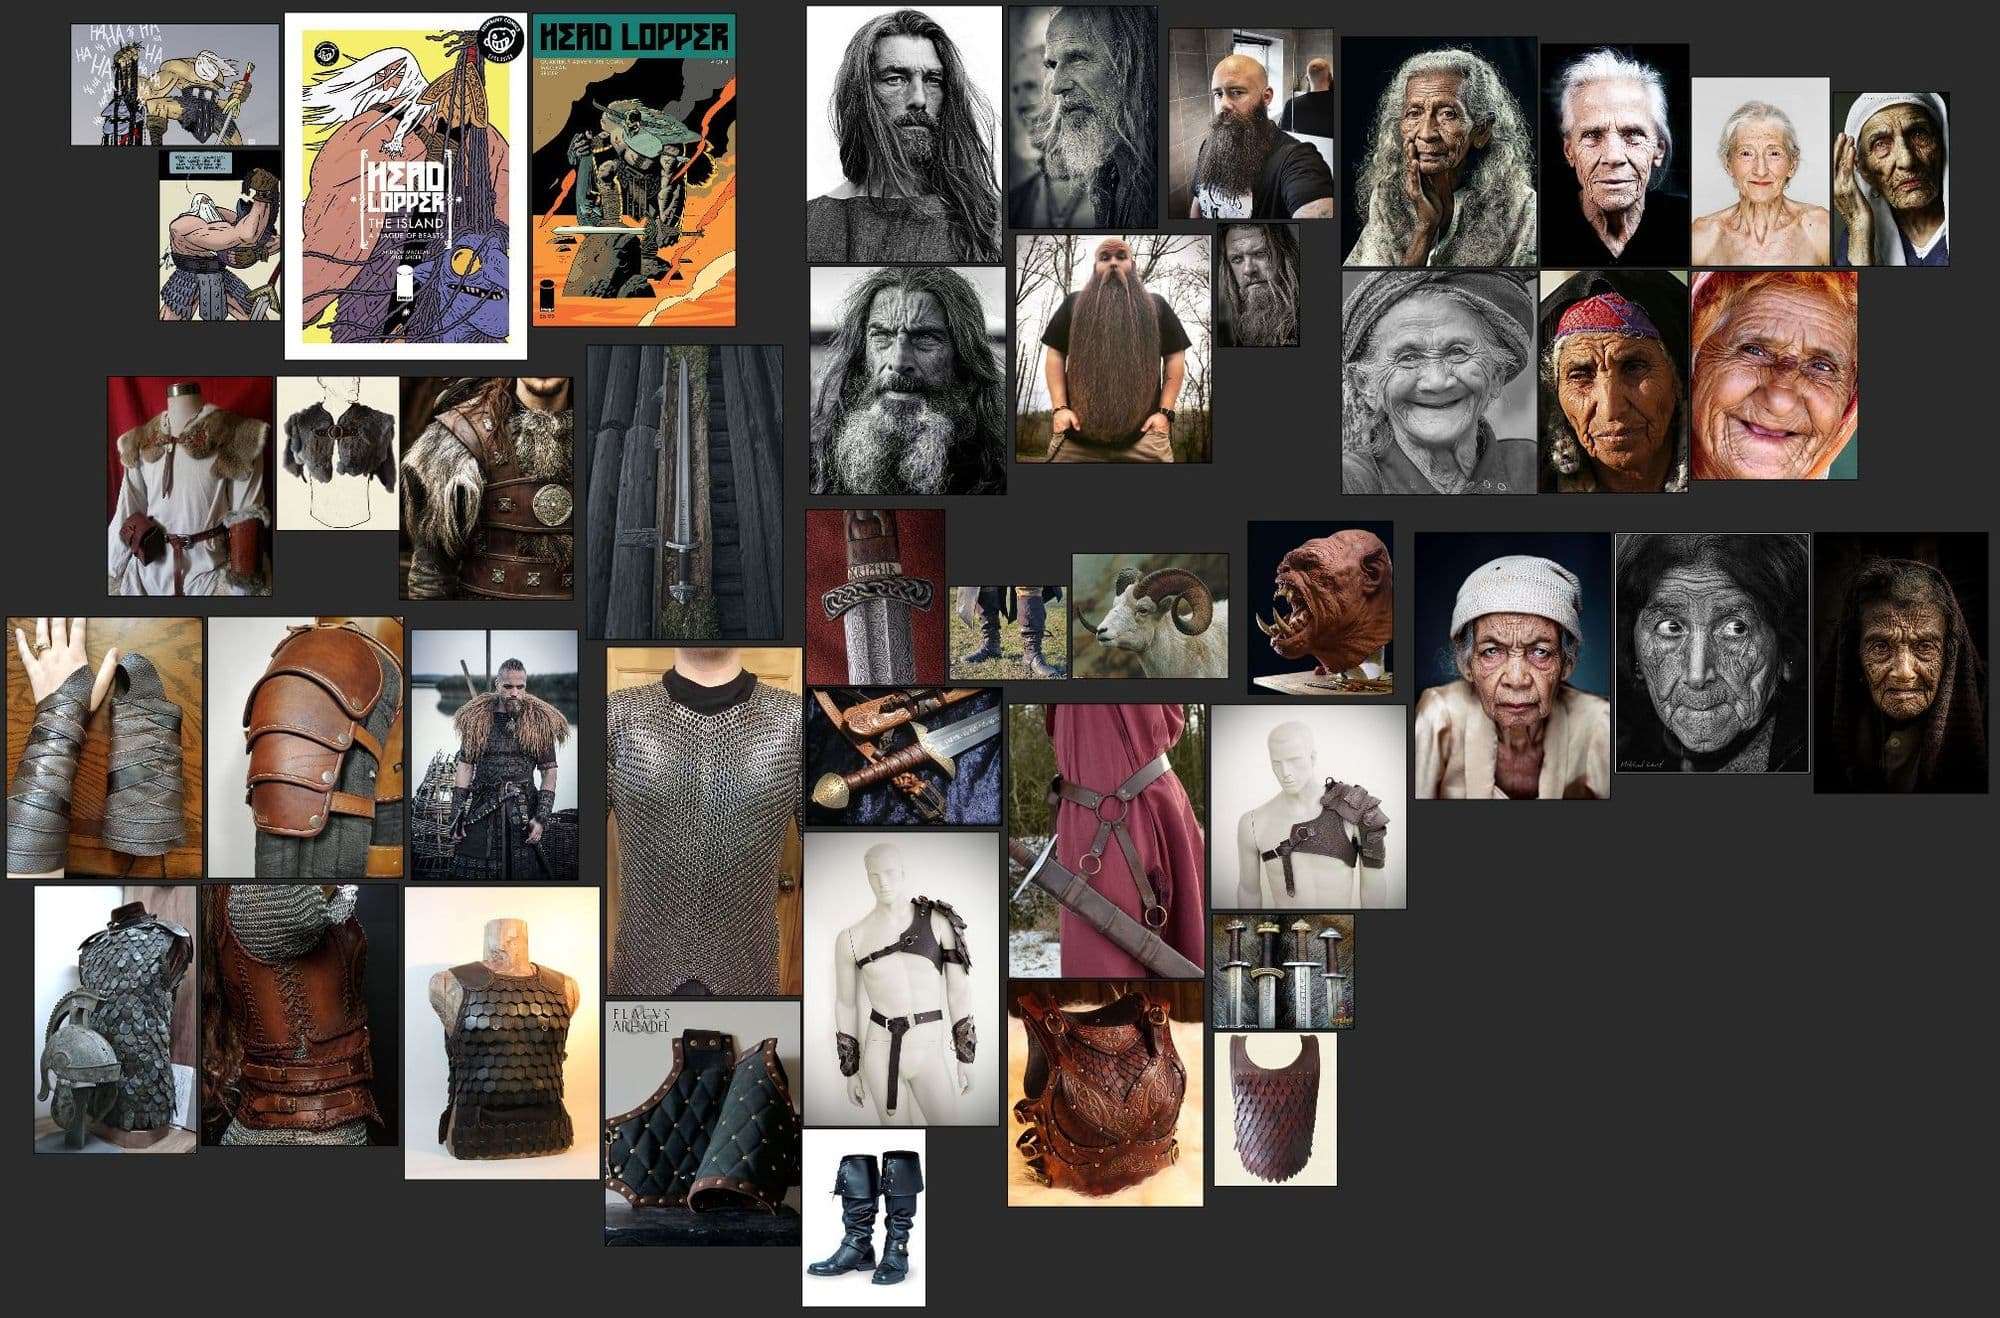
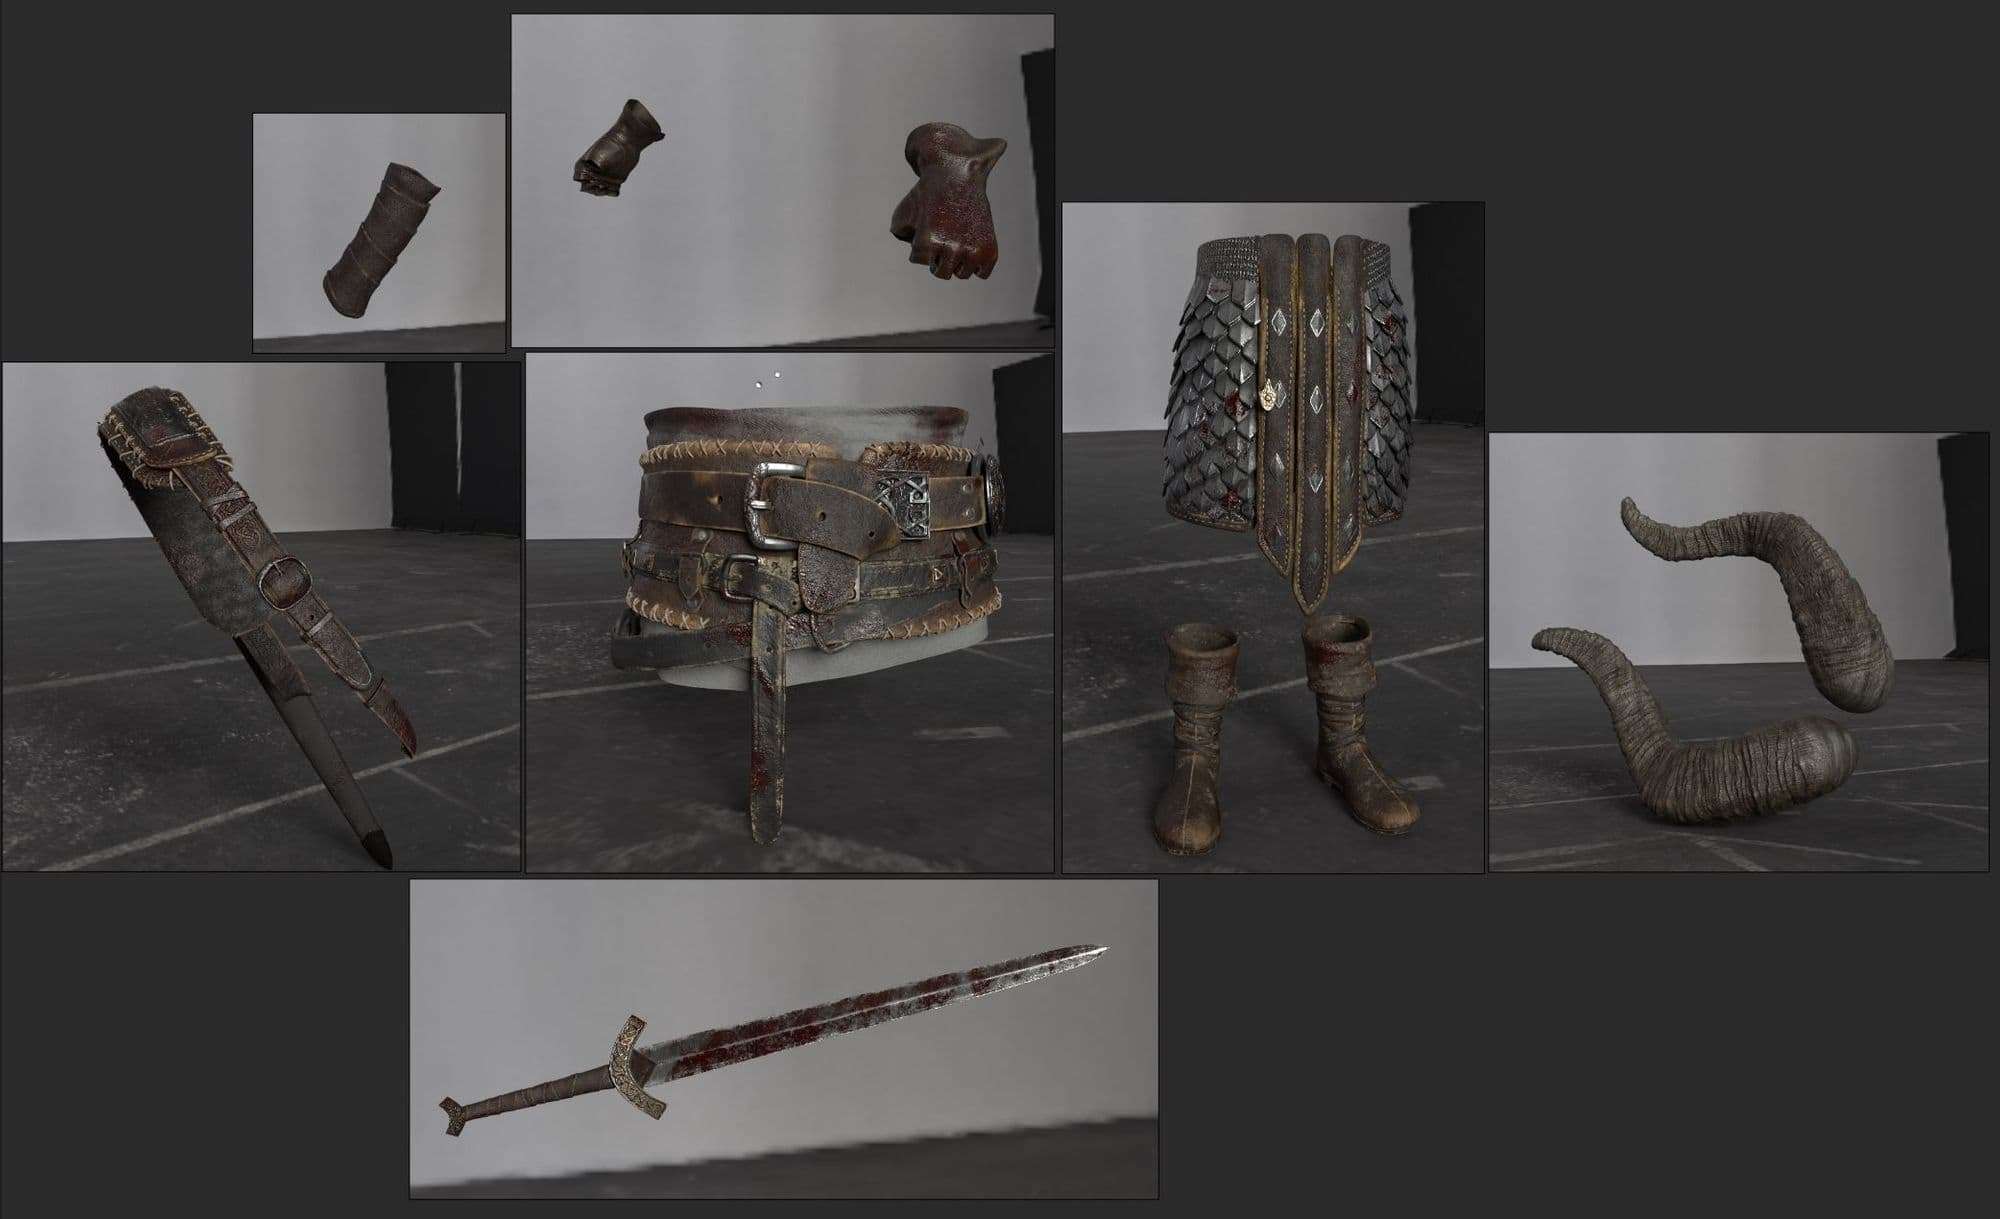
I spent a lot of time gathering images and references that would help me tackle this project well. For this I used Pureref to regroup my images and Pinterest to research and collect them. Here’s a small sample of what I had in my board:
Reference board
Modeling
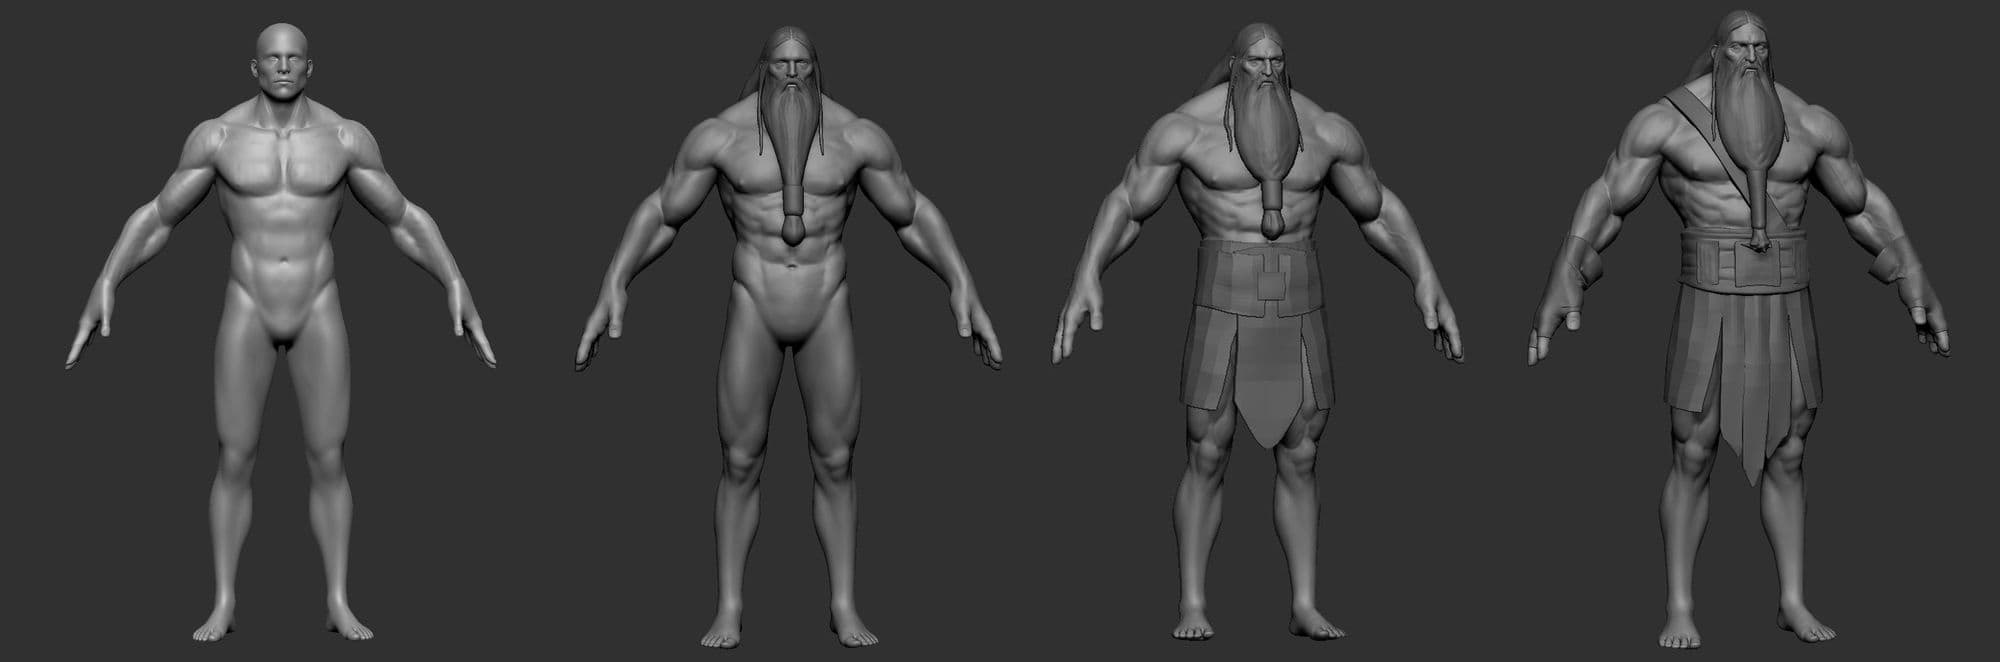
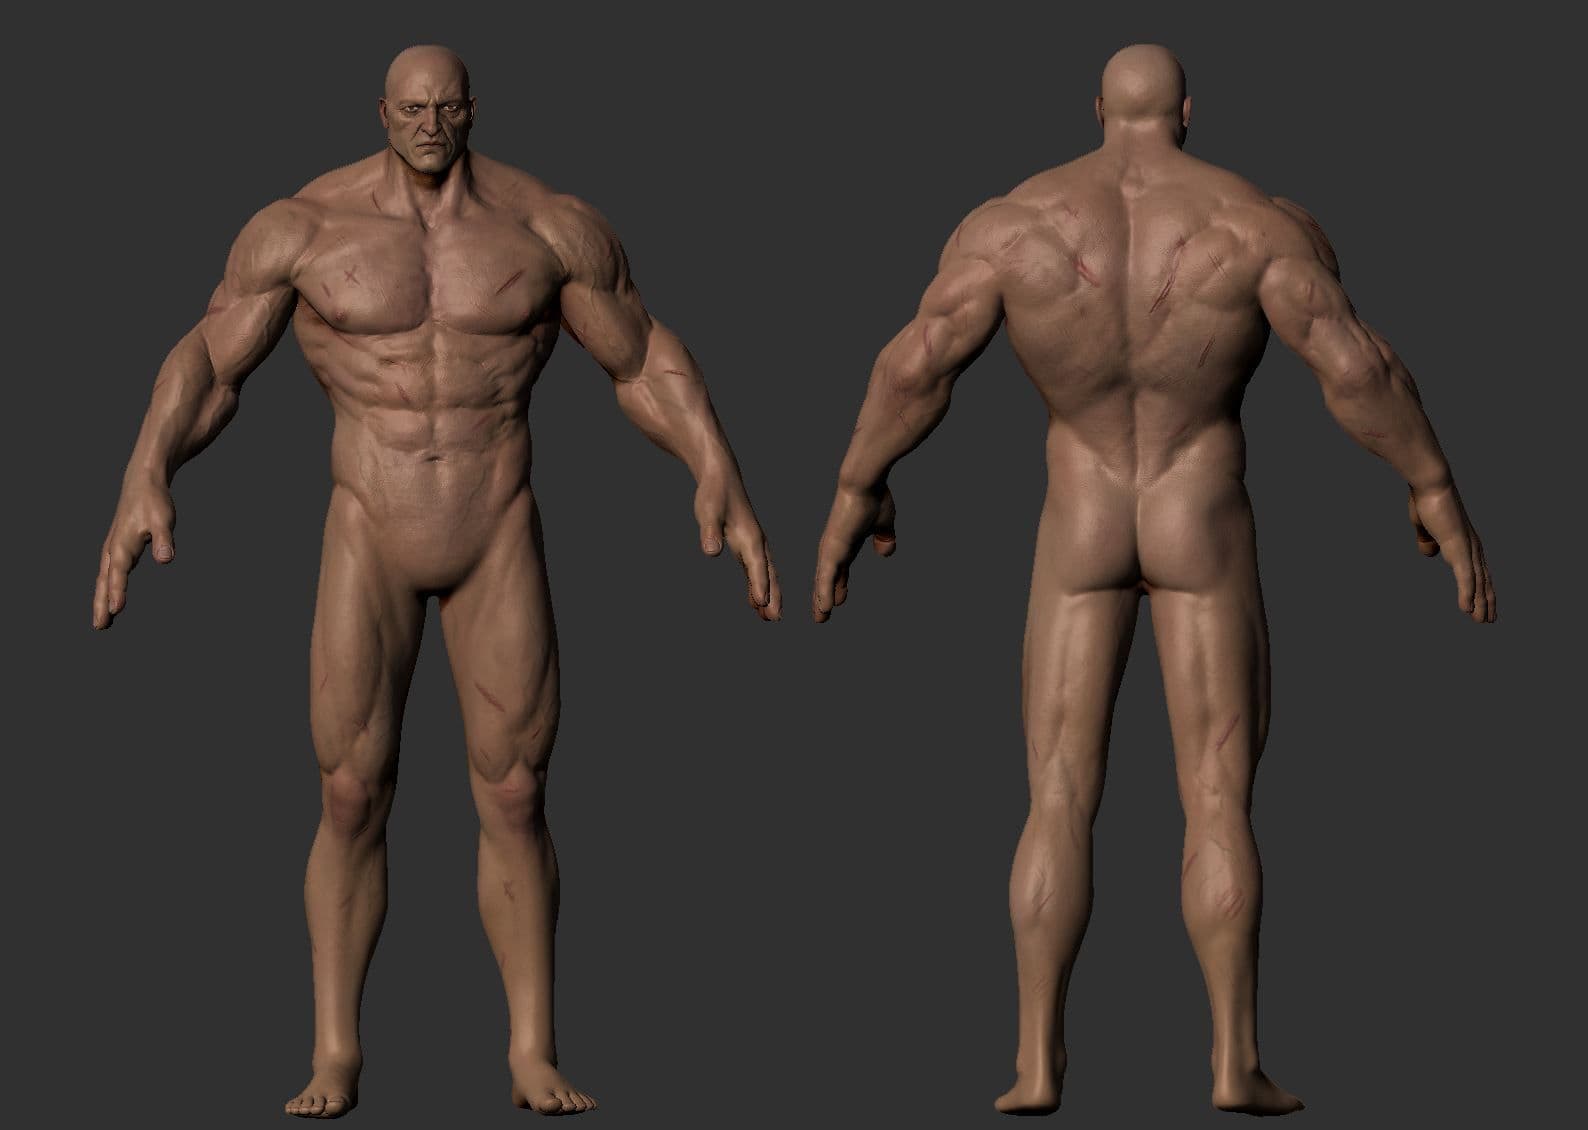
I started blocking out the character in Zbrush, making sure I get proportions, anatomy and silhouette right. It’s one of the many challenges of translating a 2D character into 3D. A good base and correct primary forms will go a long way, as a teacher once told me “from the root to the fruit”.
Blocking stageComic book version
Along with the body, I started blocking his clothes and armor following the comic books’ illustrations. Everything was sculpted in Zbrush, the armored kilt was done using Nanomesh.
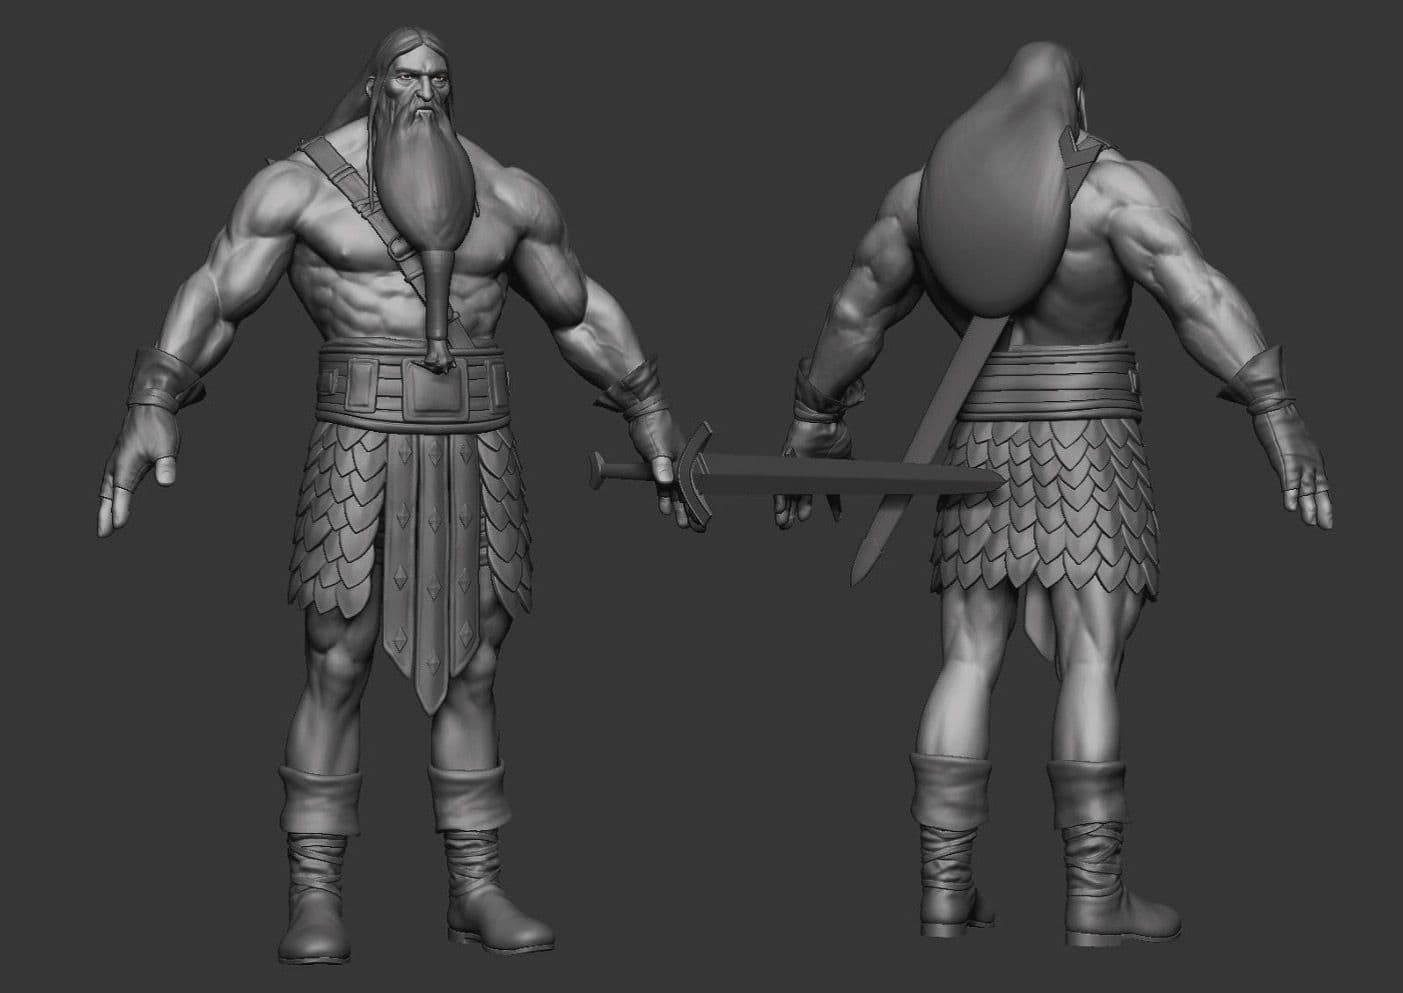
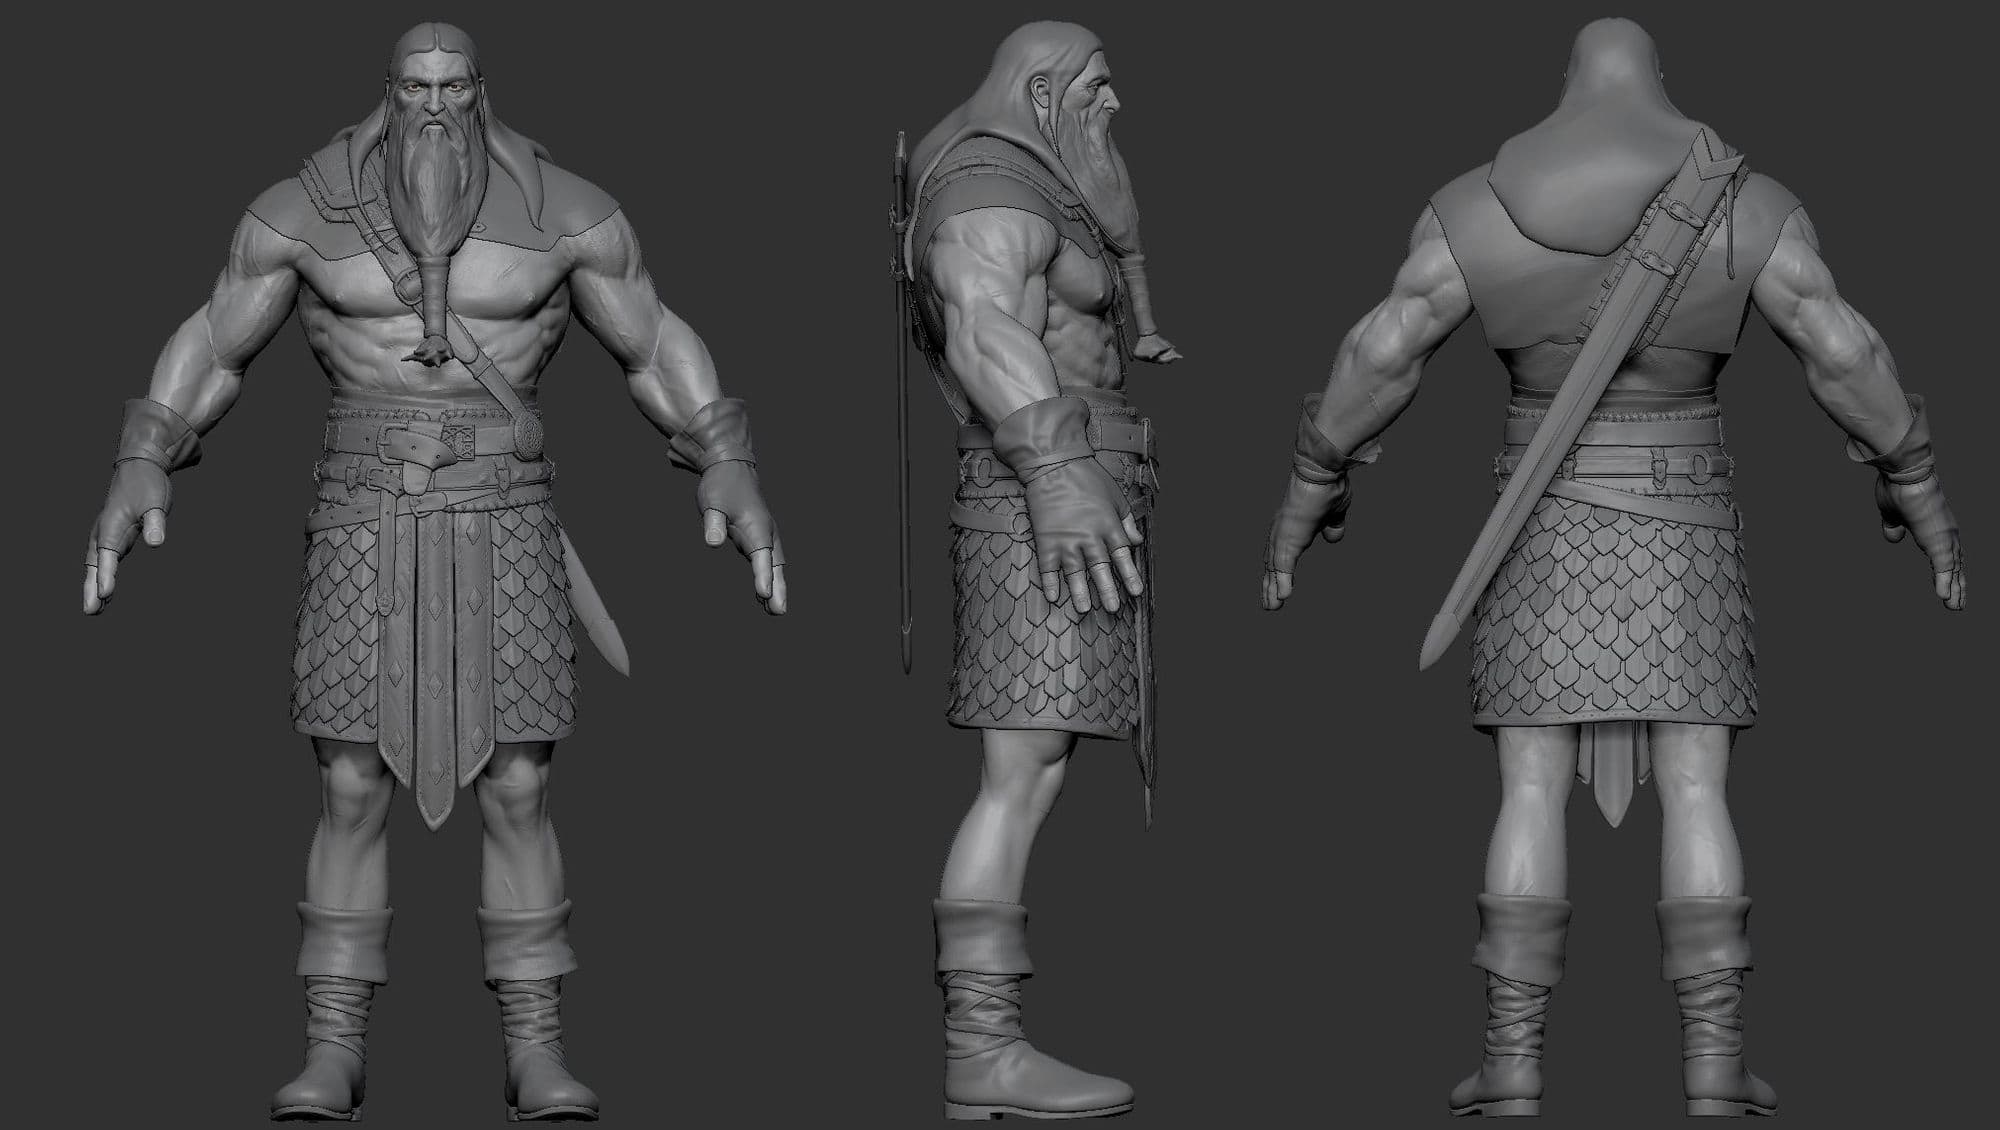
Final model
Once I was happy with the basic forms, making sure that the character is recognizable, I started pushing the design in my own style. Changing his gear from something cartoony to something that’s functional in real life. Since the character is Norse it was interesting to see how I could infuse elements of this culture in the design.
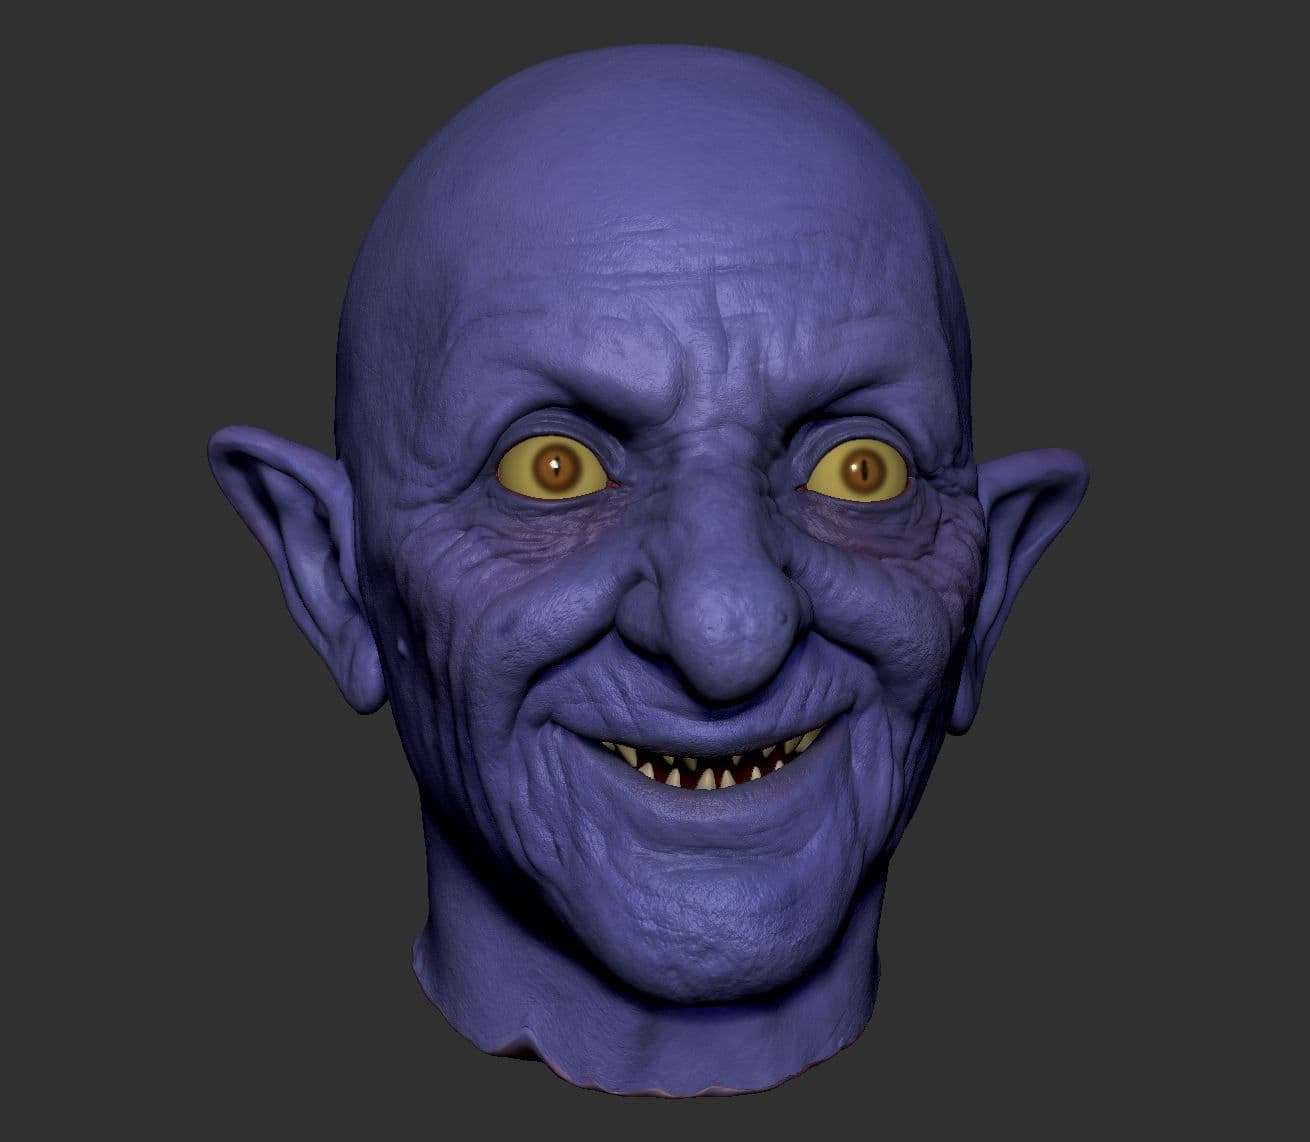
Detailed head
In the comic book series Lopper always carries around Agatha, a talking decapitated head of a witch.
Modeling progress of the witch Agatha
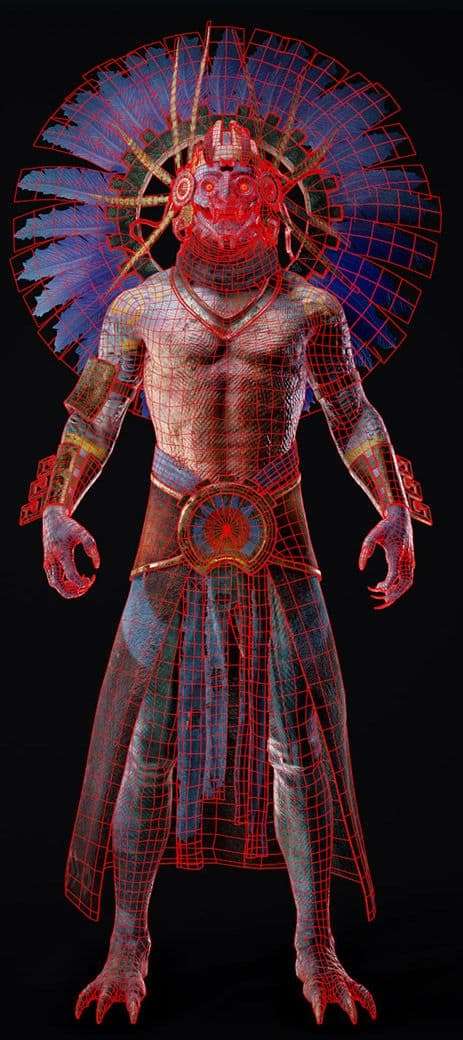
For the pores and the high frequency details on the character I projected multichannel displacement maps from TexturingXYZ in Mari. I then brought the maps back into Zbrush to work on the Mid frequency details.
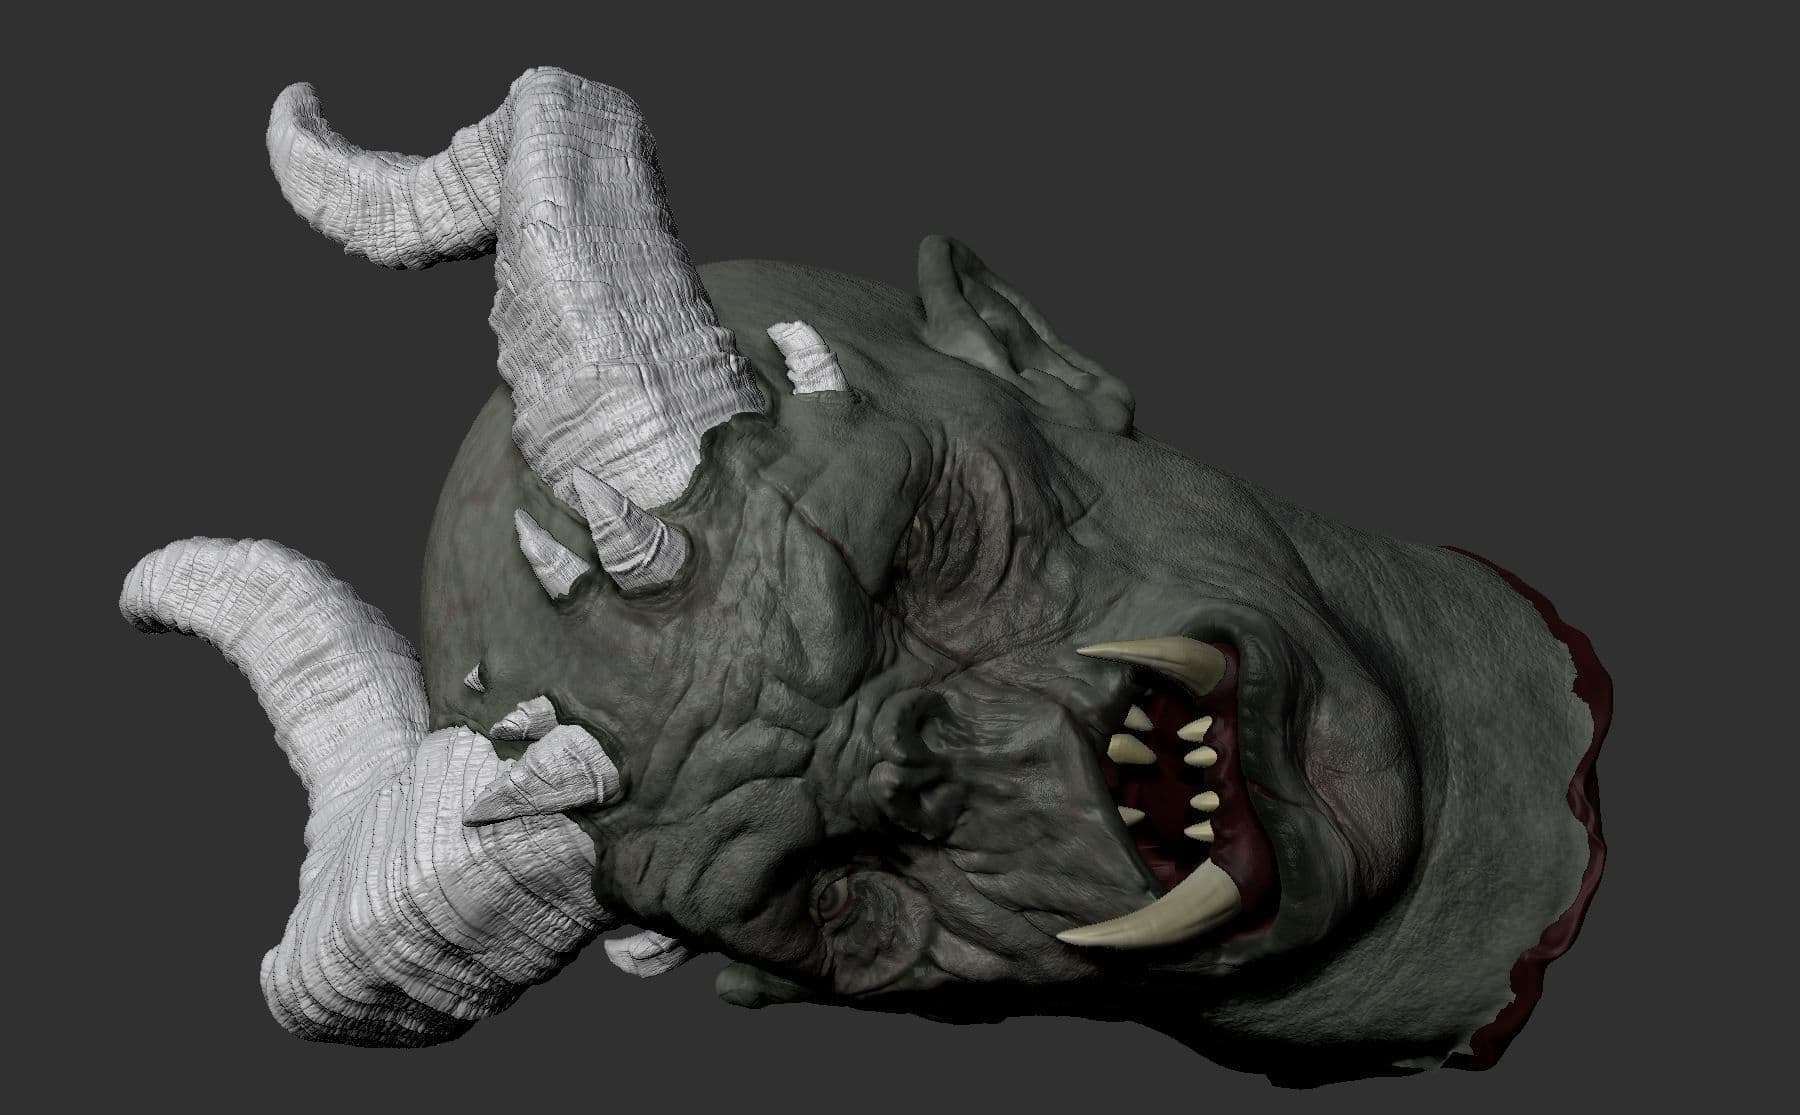
Horns iterationsSelected iteration
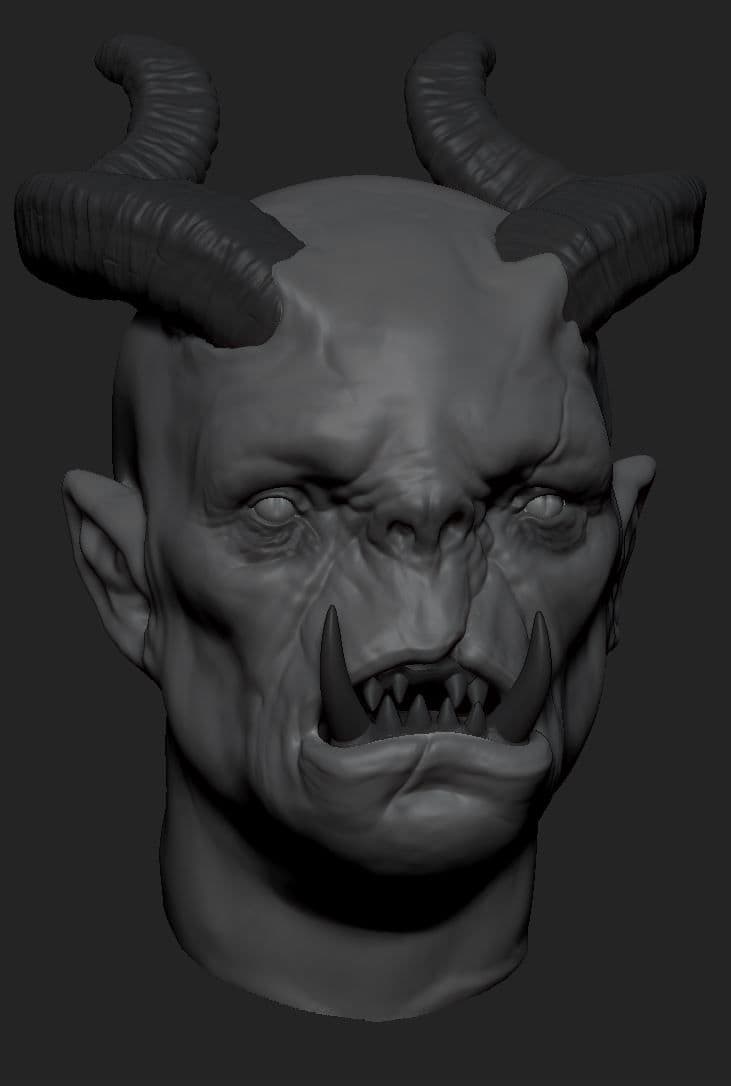
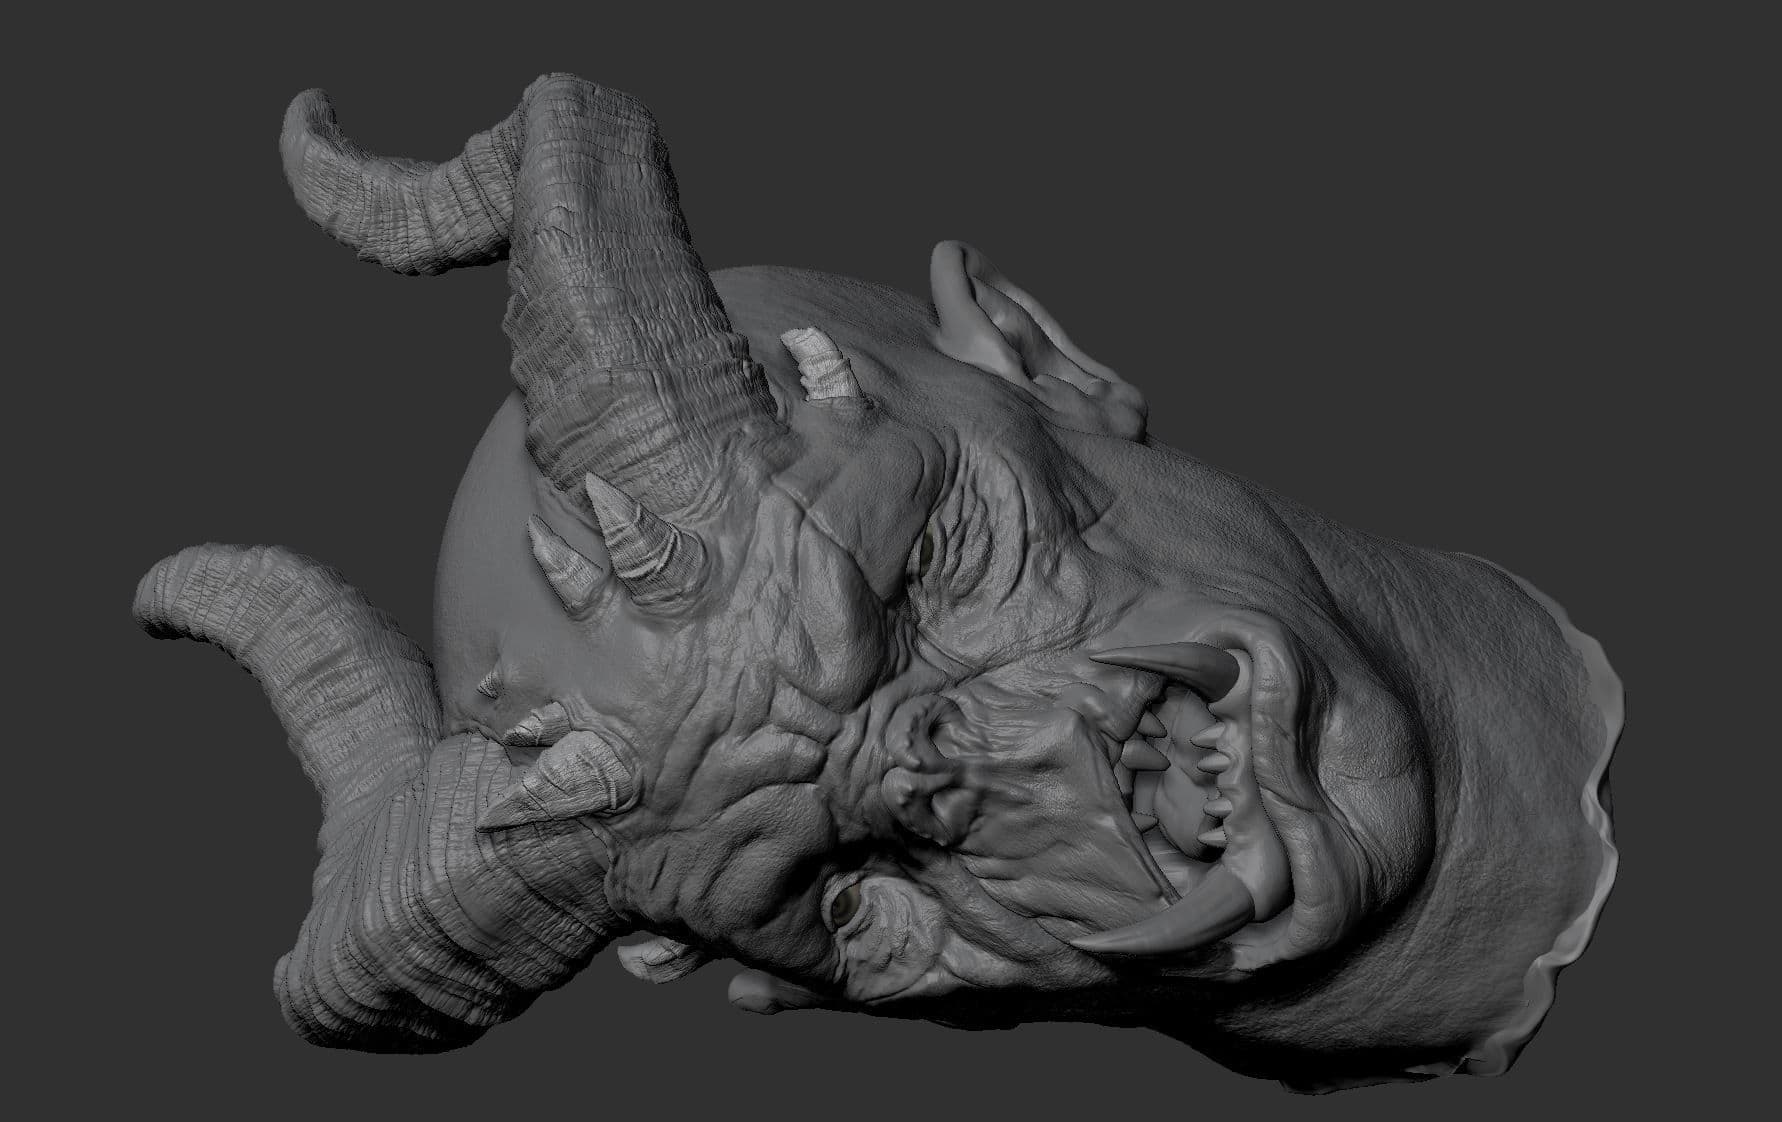
It wouldn’t be called “Head Lopper” if there was only one decapitated head, so I added a lopped orc’s head. It helps tell the story and express his personality. I explored different iterations of what the orc could look like. Placing the orc on the ground and seeing how it interacted with the environment helped me pick the version that worked best for the composition.
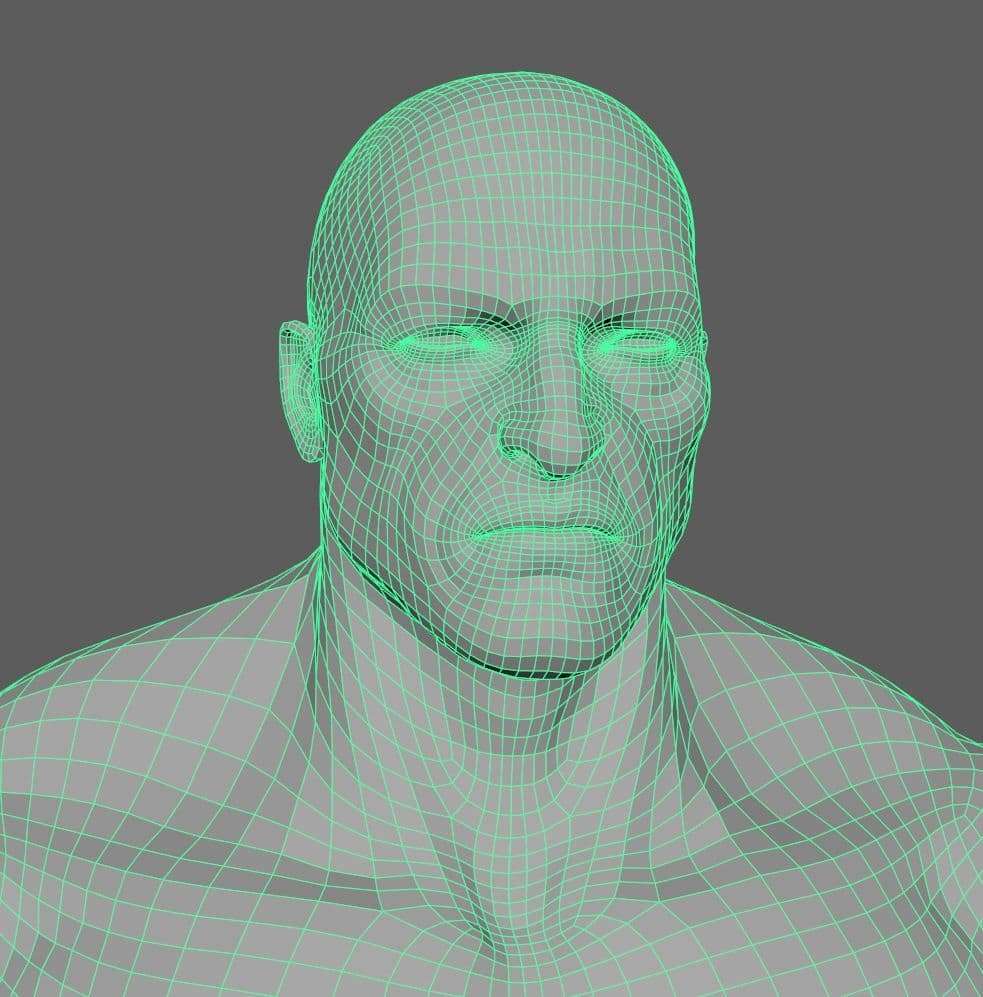
Topology and UVs
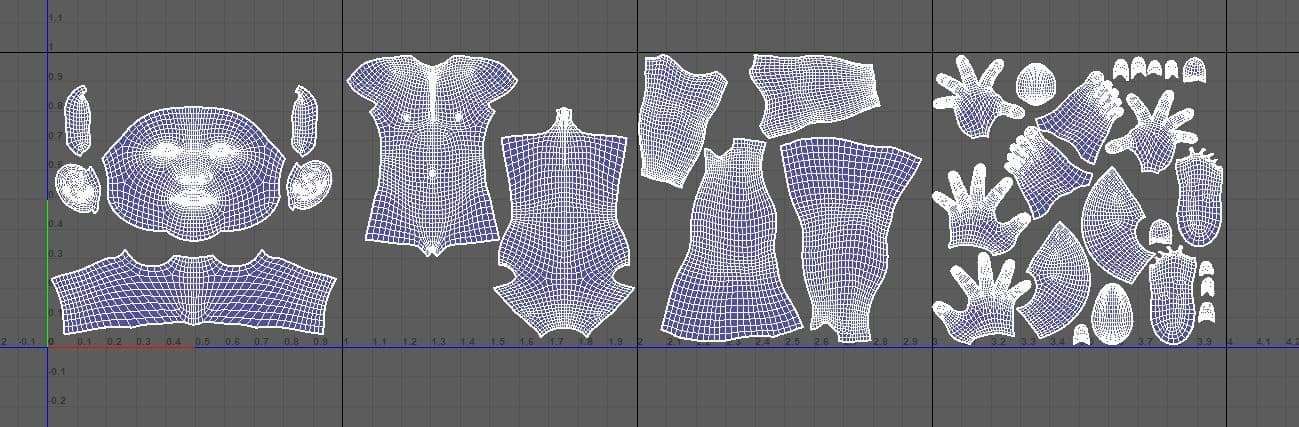
For the retopology I used Wrap 3 to create clean meshes and UVs for the body and heads. For the retopology of the gear and props I used Zremesher in Zbrush and Maya for the UVs.
Face topologyFull body topologyBody UVs
For the UVs of the clothes and gear I like to regroup every material type by line, for example a line for metal props, a line for leather etc…
Props UVs
Rigging
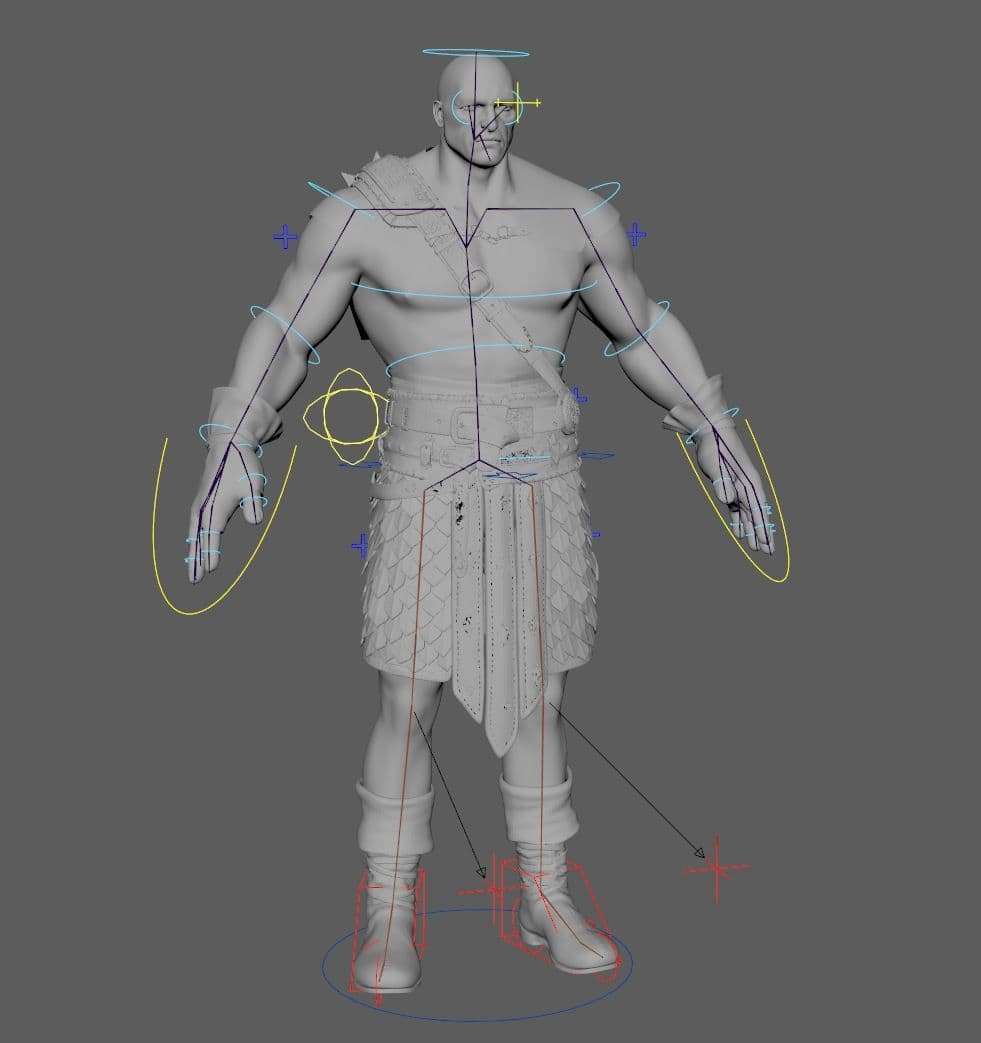
I rigged the character with a free autorigging script AdvancedSkeleton. Every character is unique so you always have to adapt the rig. To get clean deformations, some skinning still had to be done.
Rig in Maya
Posing
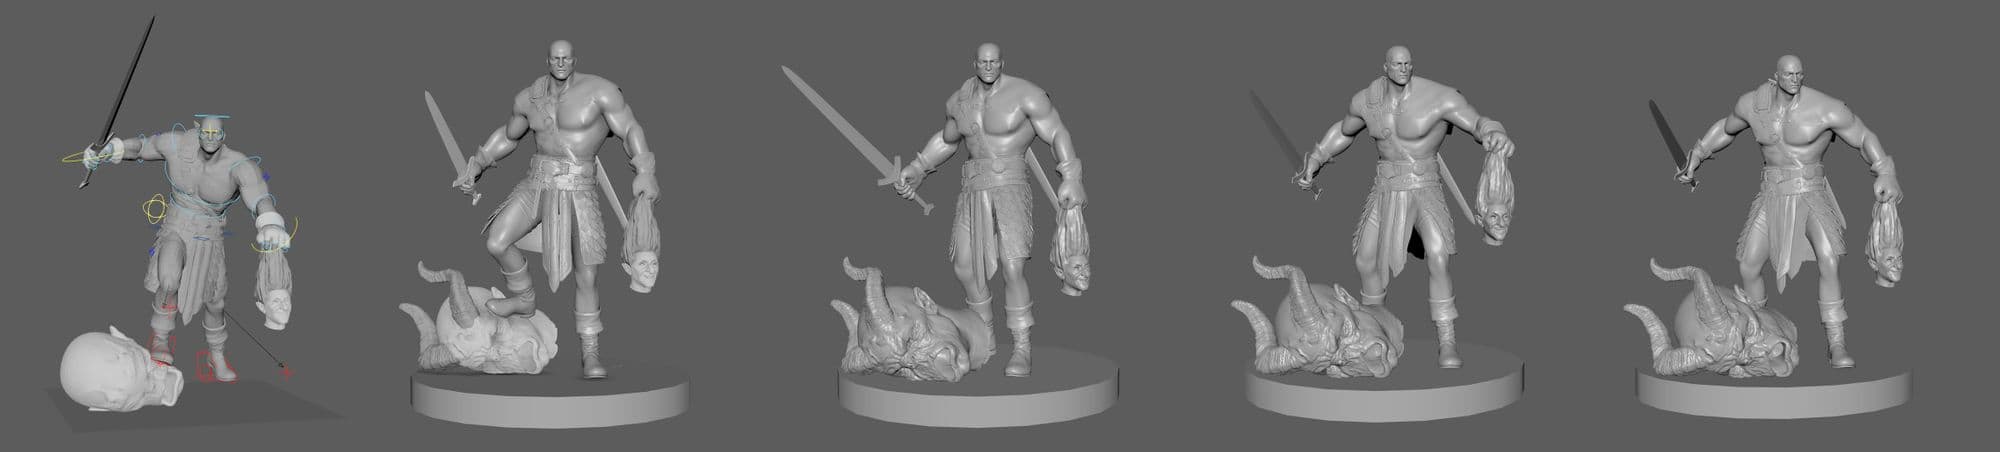
Having rigged the character allowed me to explore poses and look for the right silhouette. Developing a narrative allowed me to imagine the intention behind the pose.
Pose iterations
After multiple iterations I chose the pose I wanted for the final composition and exported the mesh to Zbrush to work on the deformations of the muscles in pose and correct the volumes.
Selected pose
Texturing
All body and organic textures were hand painted in Mari I wanted to challenge myself in order to understand the complexity and layering of the colors in the skin. And then re-imagining that same richness in unusual colors for the creatures.
Lopper's texturesAgatha's texturesOrc's textures
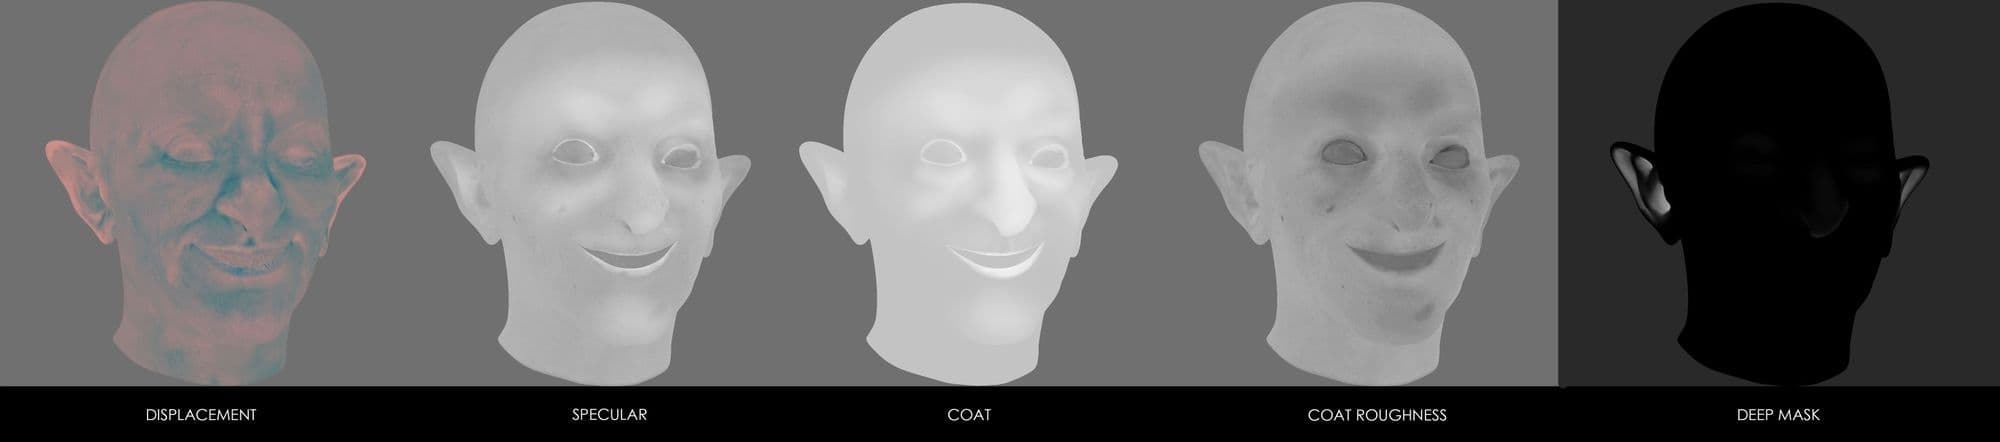
Working from the cavity map generated in Zbrush and the projected displacement map, I created the texture maps (specular, roughness and coat).
Texture maps
As for the props and the gear, it was all textured using Substance Painter. Seeing as I had a lot of objects, it was hard for me to get everything into the same scene in Substance so I divided everything into multiple groups. To keep a continuity from scene to scene, I created my own smart materials and applied them to different assets. This allowed me to stay consistent in terms of materials and colors.
Prop textures in Substance Painter
It’s very important to use the same neutral HDRi in all your scenes even in Maya so you make sure you get the same results in your render.
Lighting
Once I finished the textures it was time to set up my scene in Maya to start shading my character.
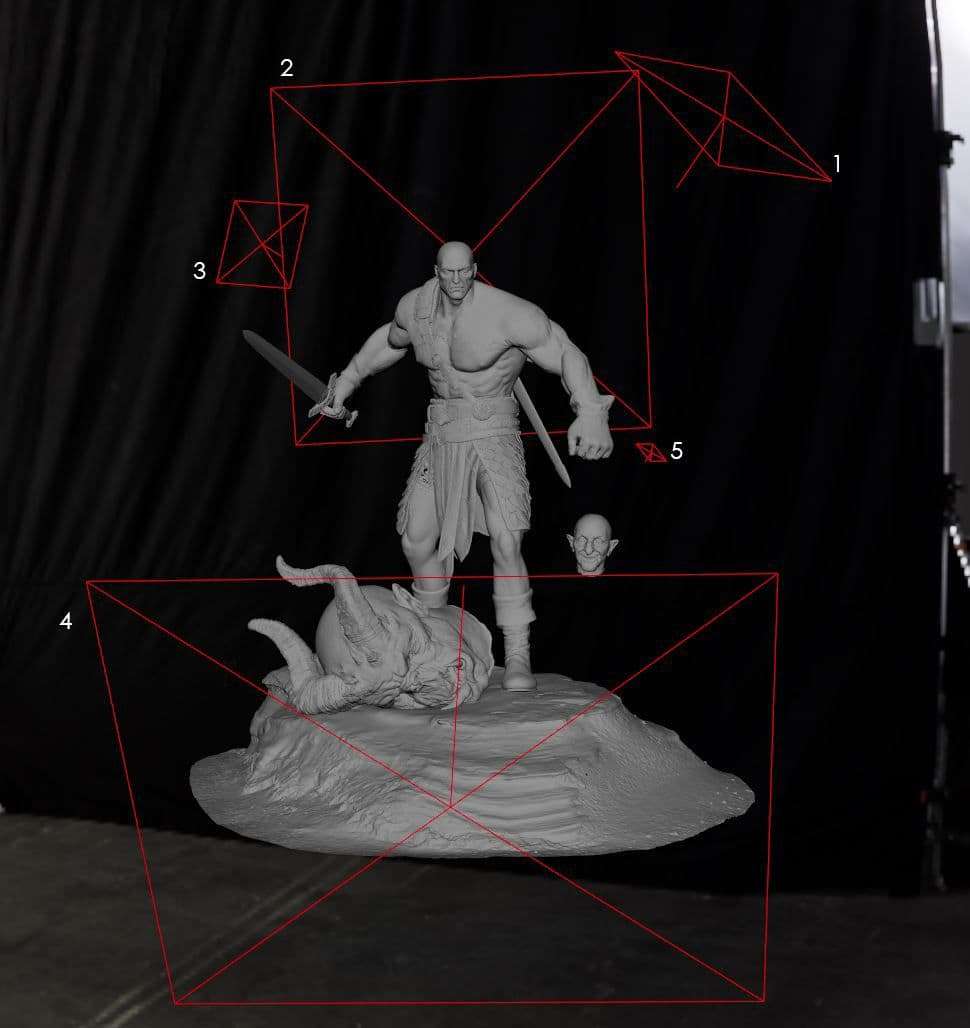
Lighting setup
I set up my light rig using Ai Area lights in Arnold that consists of a Key light (1), a Rim light (2), Fill light (3), Bounce light (4), a small light for Agatha (5) and an HDRi (the same one used in Substance Painter).
Shading
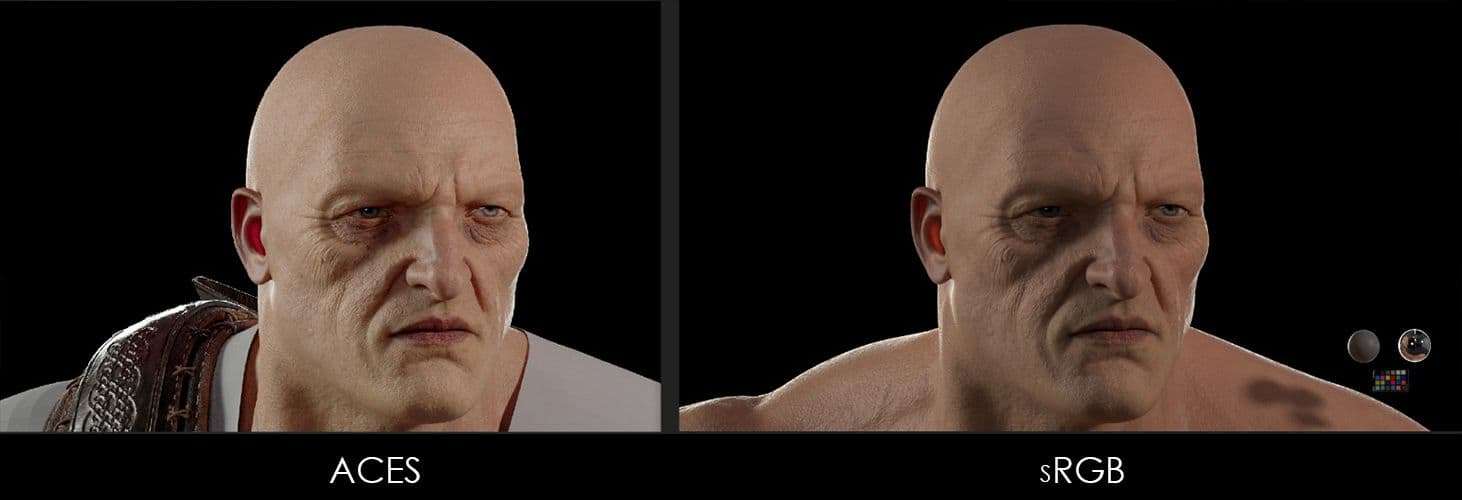
I started assigning my textures to aiStandardSurface Shaders and started Lookdev-ing my characters. As I was working a friend told me about ACES, a tool used in many big studios and becoming a standard. Intrigued, I found a great free resource written by Chris Brejon, “The CG cinematography book” that talks all about it in great detail. His book helped me with lighting and many other things, I really recommend it to anyone in the industry.
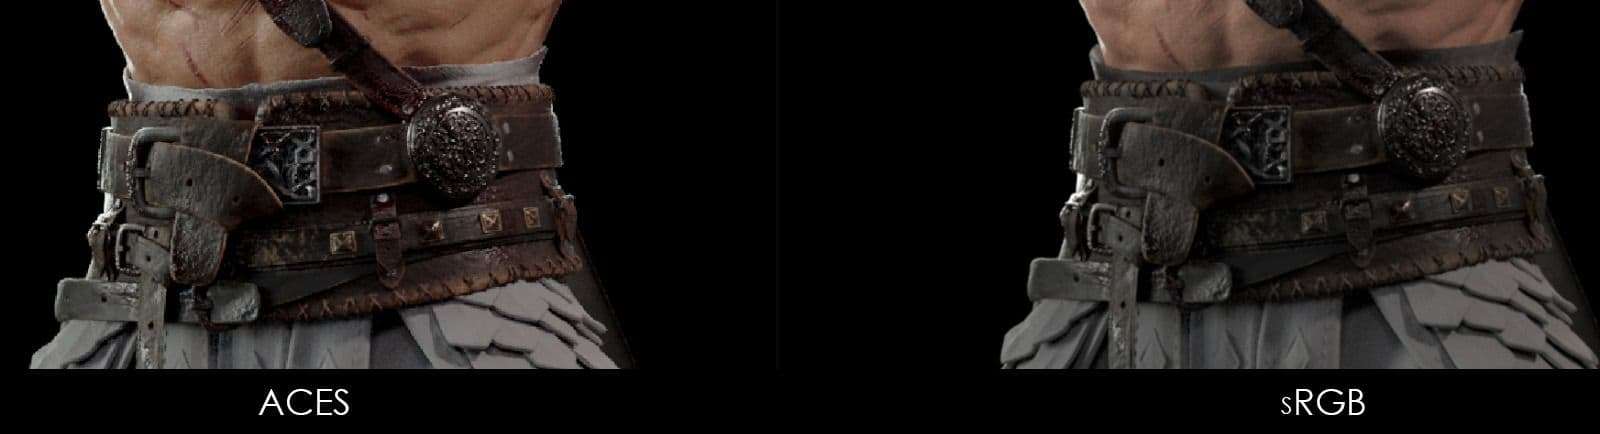
After my research I had converted all my textures to ACEScg in Nuke and switched completely from sRGB to ACES.
ACES and sRGB comparison on the skinACES and sRGB comparison on the propsShading progress on Lopper
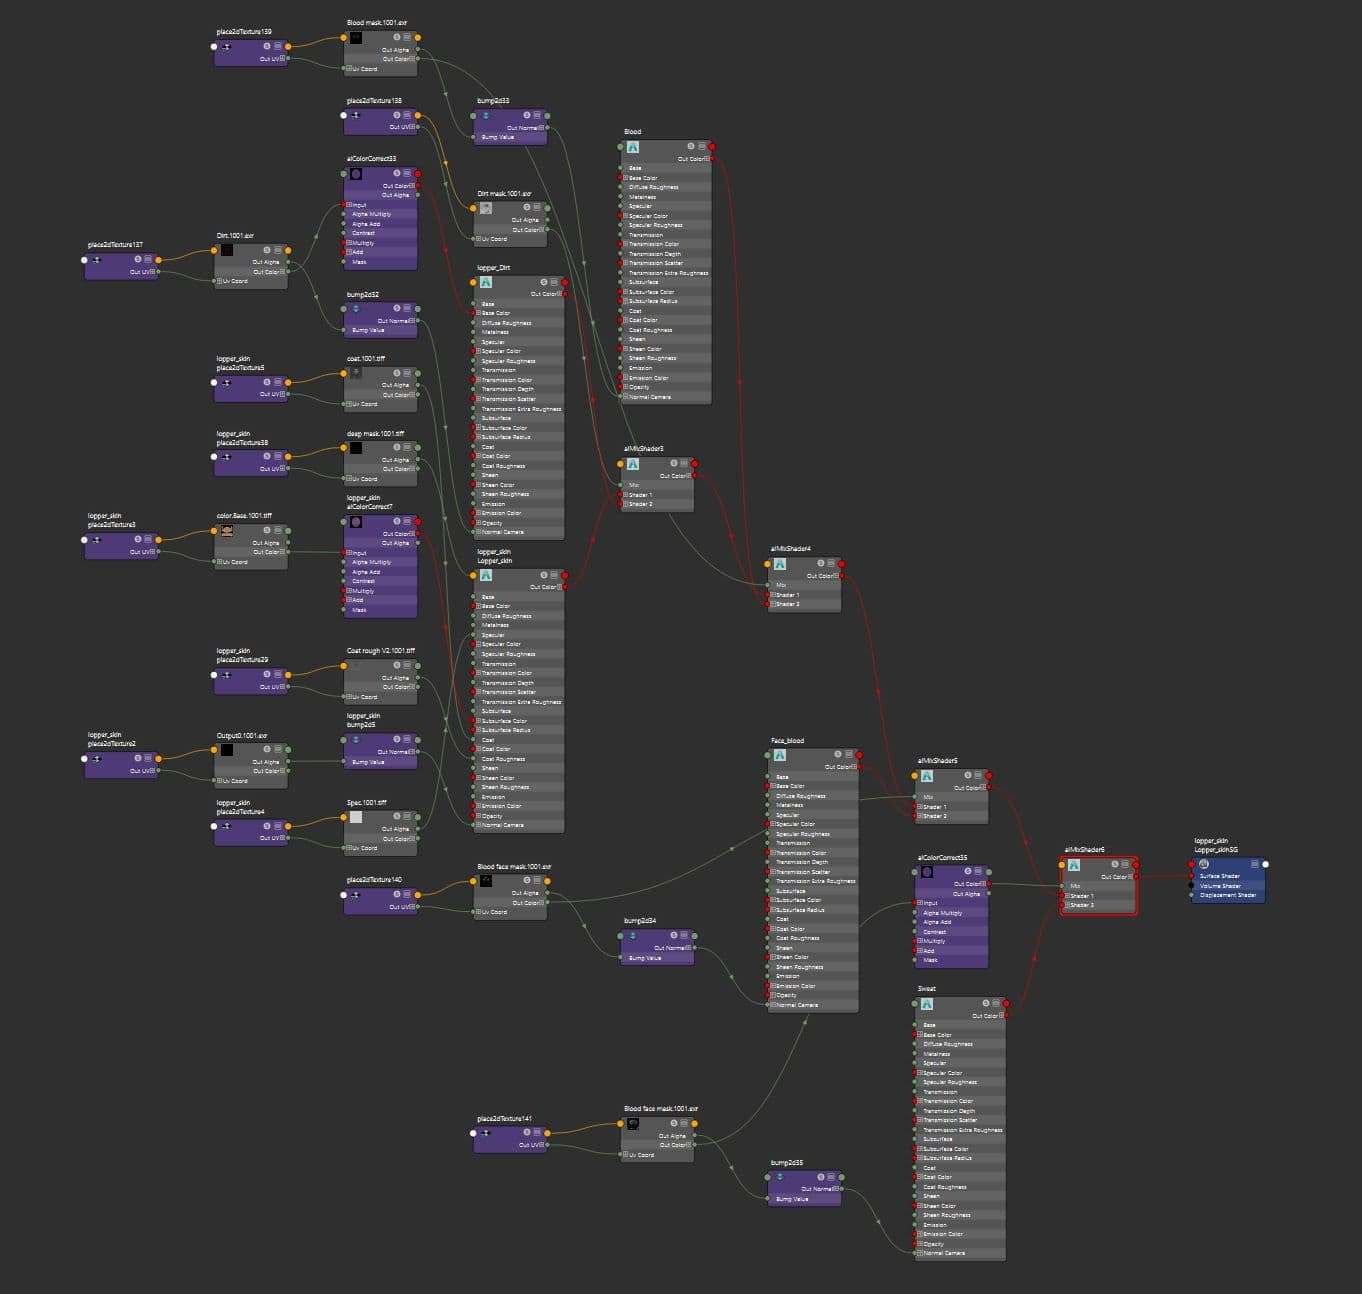
For the sweat, blood and dirt I had painted them in Mari, exported the masks and compiled shaders using the aiMix shader.
Shading treeShading progress on AgathaShading progress on the Orc
Grooming
For the hair and fur I started off by cutting the scalps in Zbrush and importing them into Maya to start grooming using Xgen.
Scalps
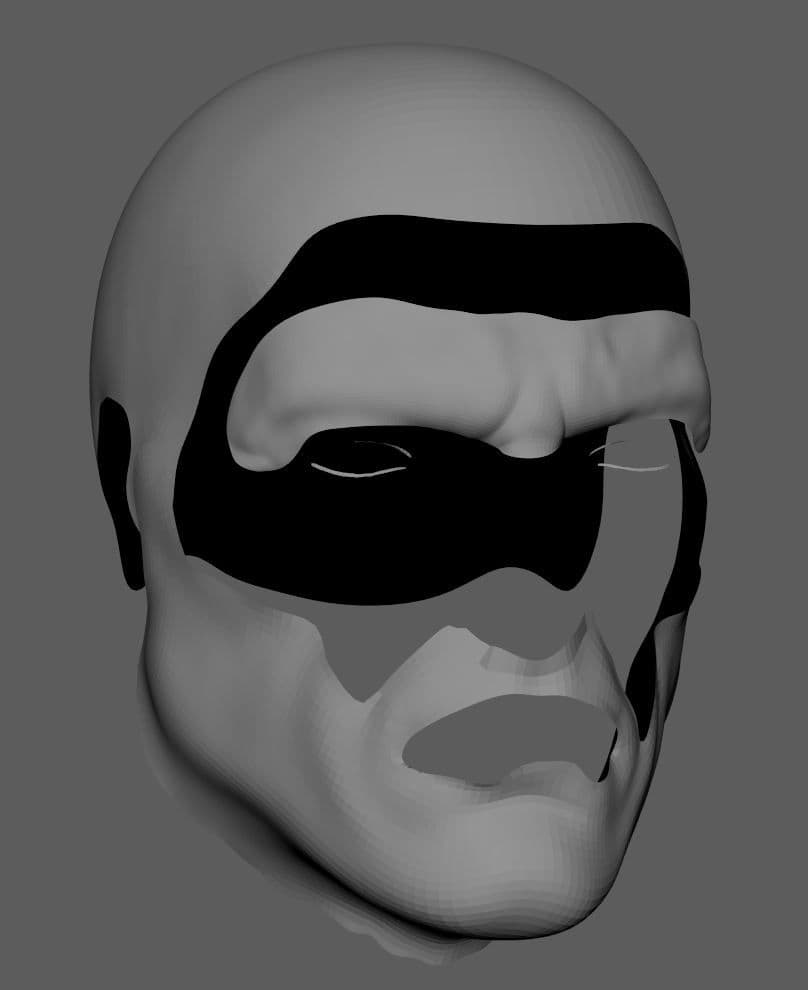
First, I created collections, each with multiple descriptions, for Lopper, Agatha and the Fur on Lopper’s back. For example, for the facial hair, I had the beard in a description and the mustache in another. I also split the hair into two descriptions, one pulled back at the front of the head and another for the rest. I learned a lot following the tutorials of Jesus Fernandez on Youtube and Patreon.
Grooming progress on Lopper
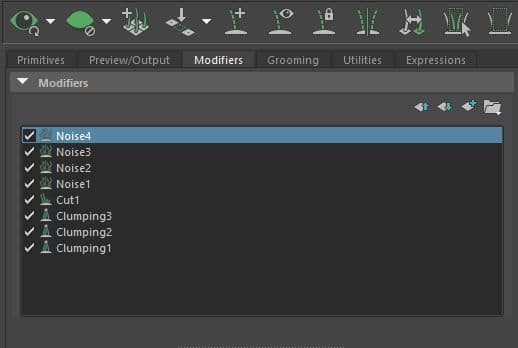
For every part of the grooming, I applied some modifiers to work the low, mid and high frequency details in terms of Clumping and Noise, adding more where needed.
Facial hair grooming progressModifiers
Agatha’s dreadlocks were really challenging, for this hair system I created Nurbs on her head to have control over the final look and then converted them into guides. From there, worked my way with modifiers to get the finished look.
Dreadlocks systemDreadlocks progress
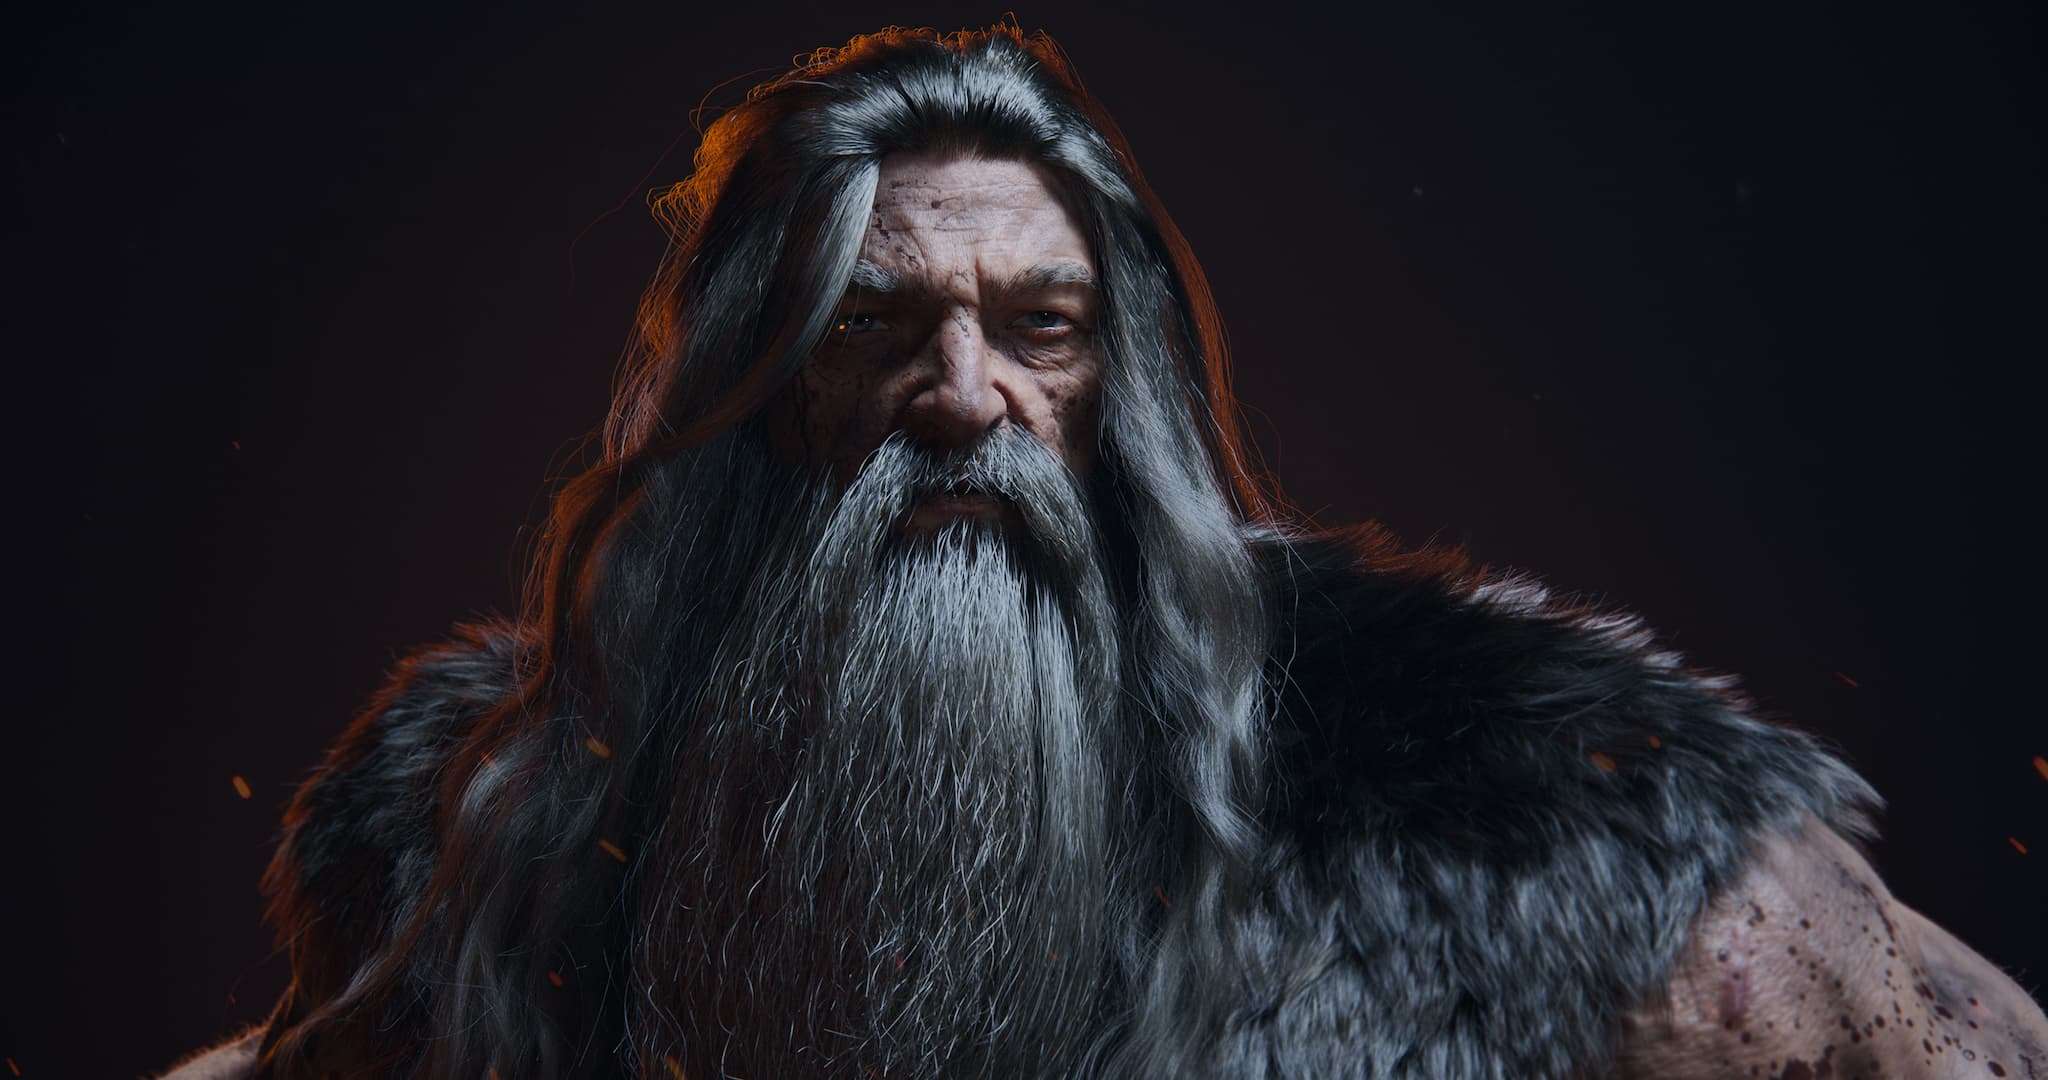
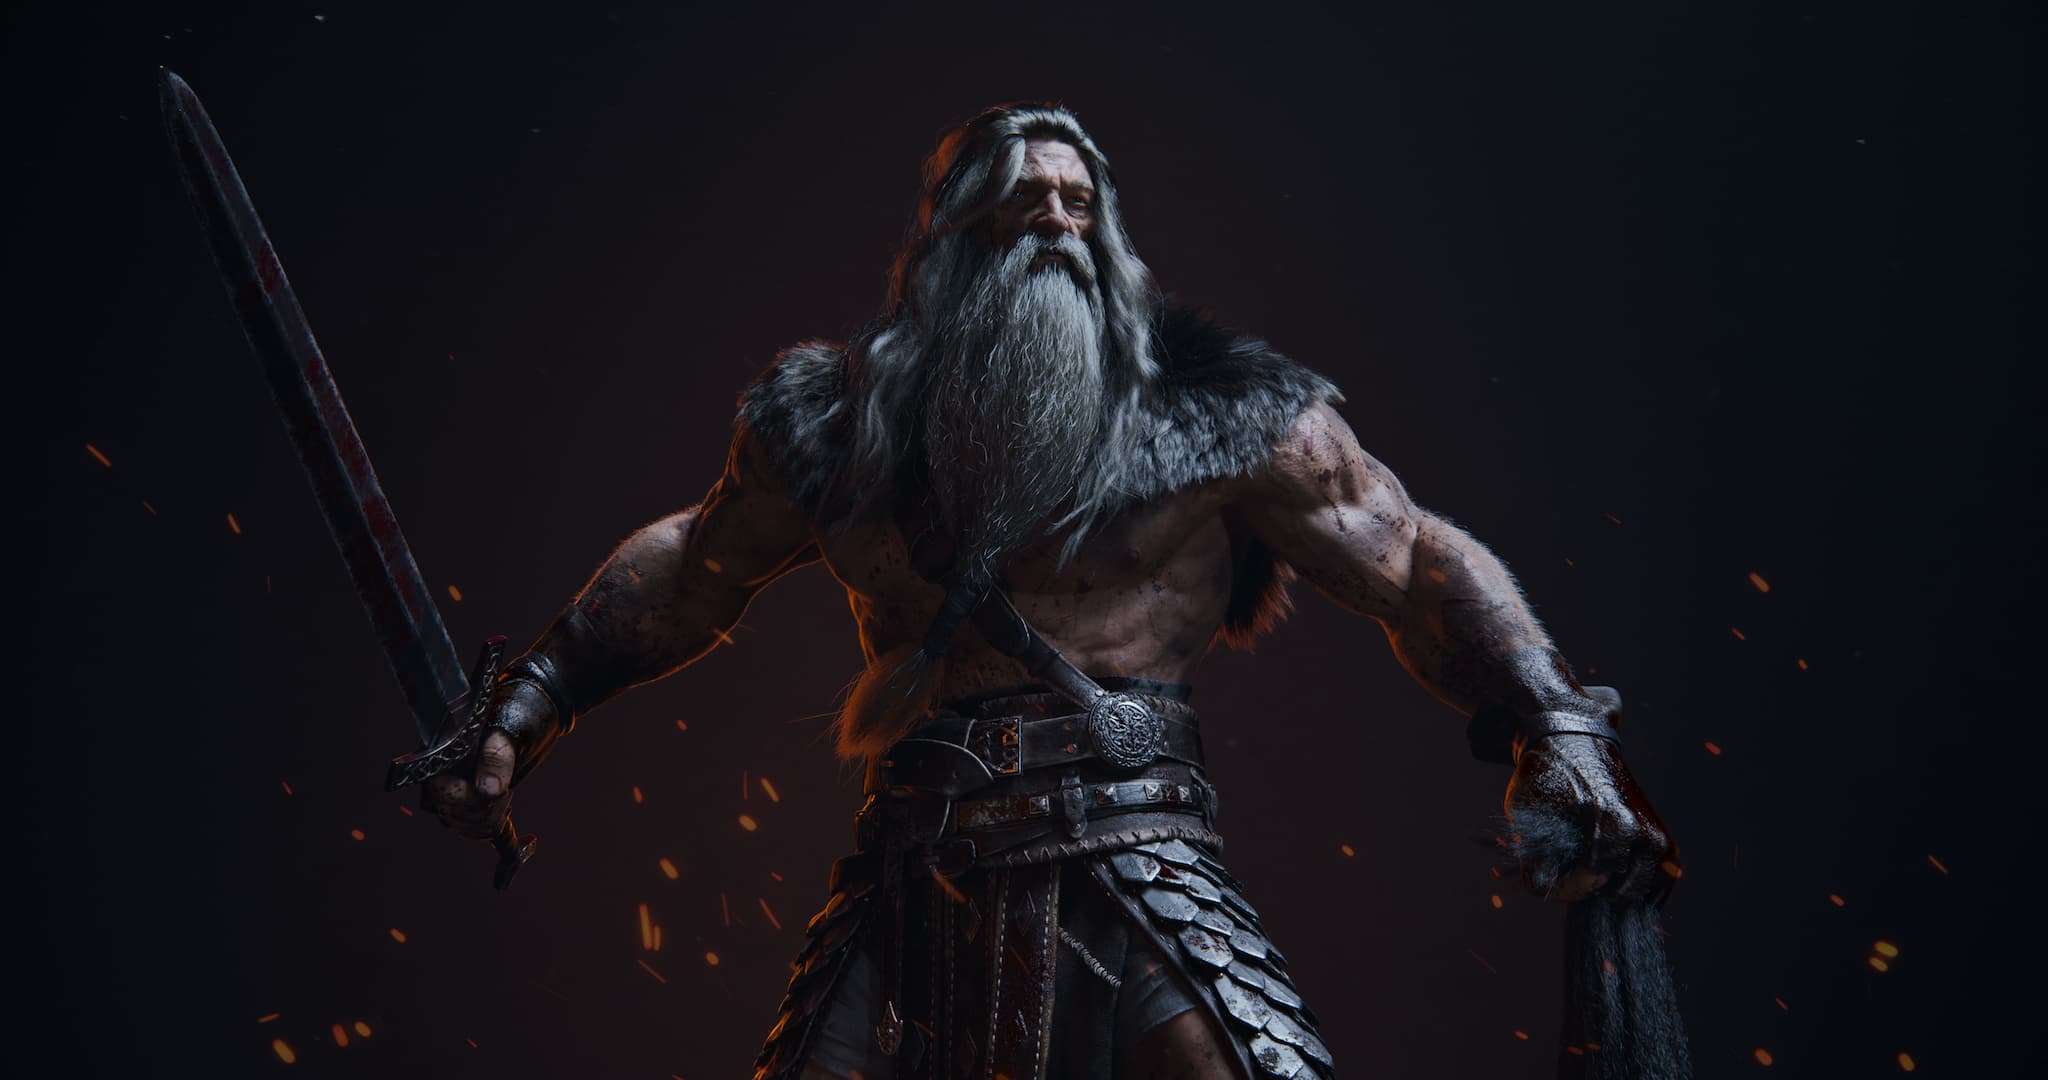
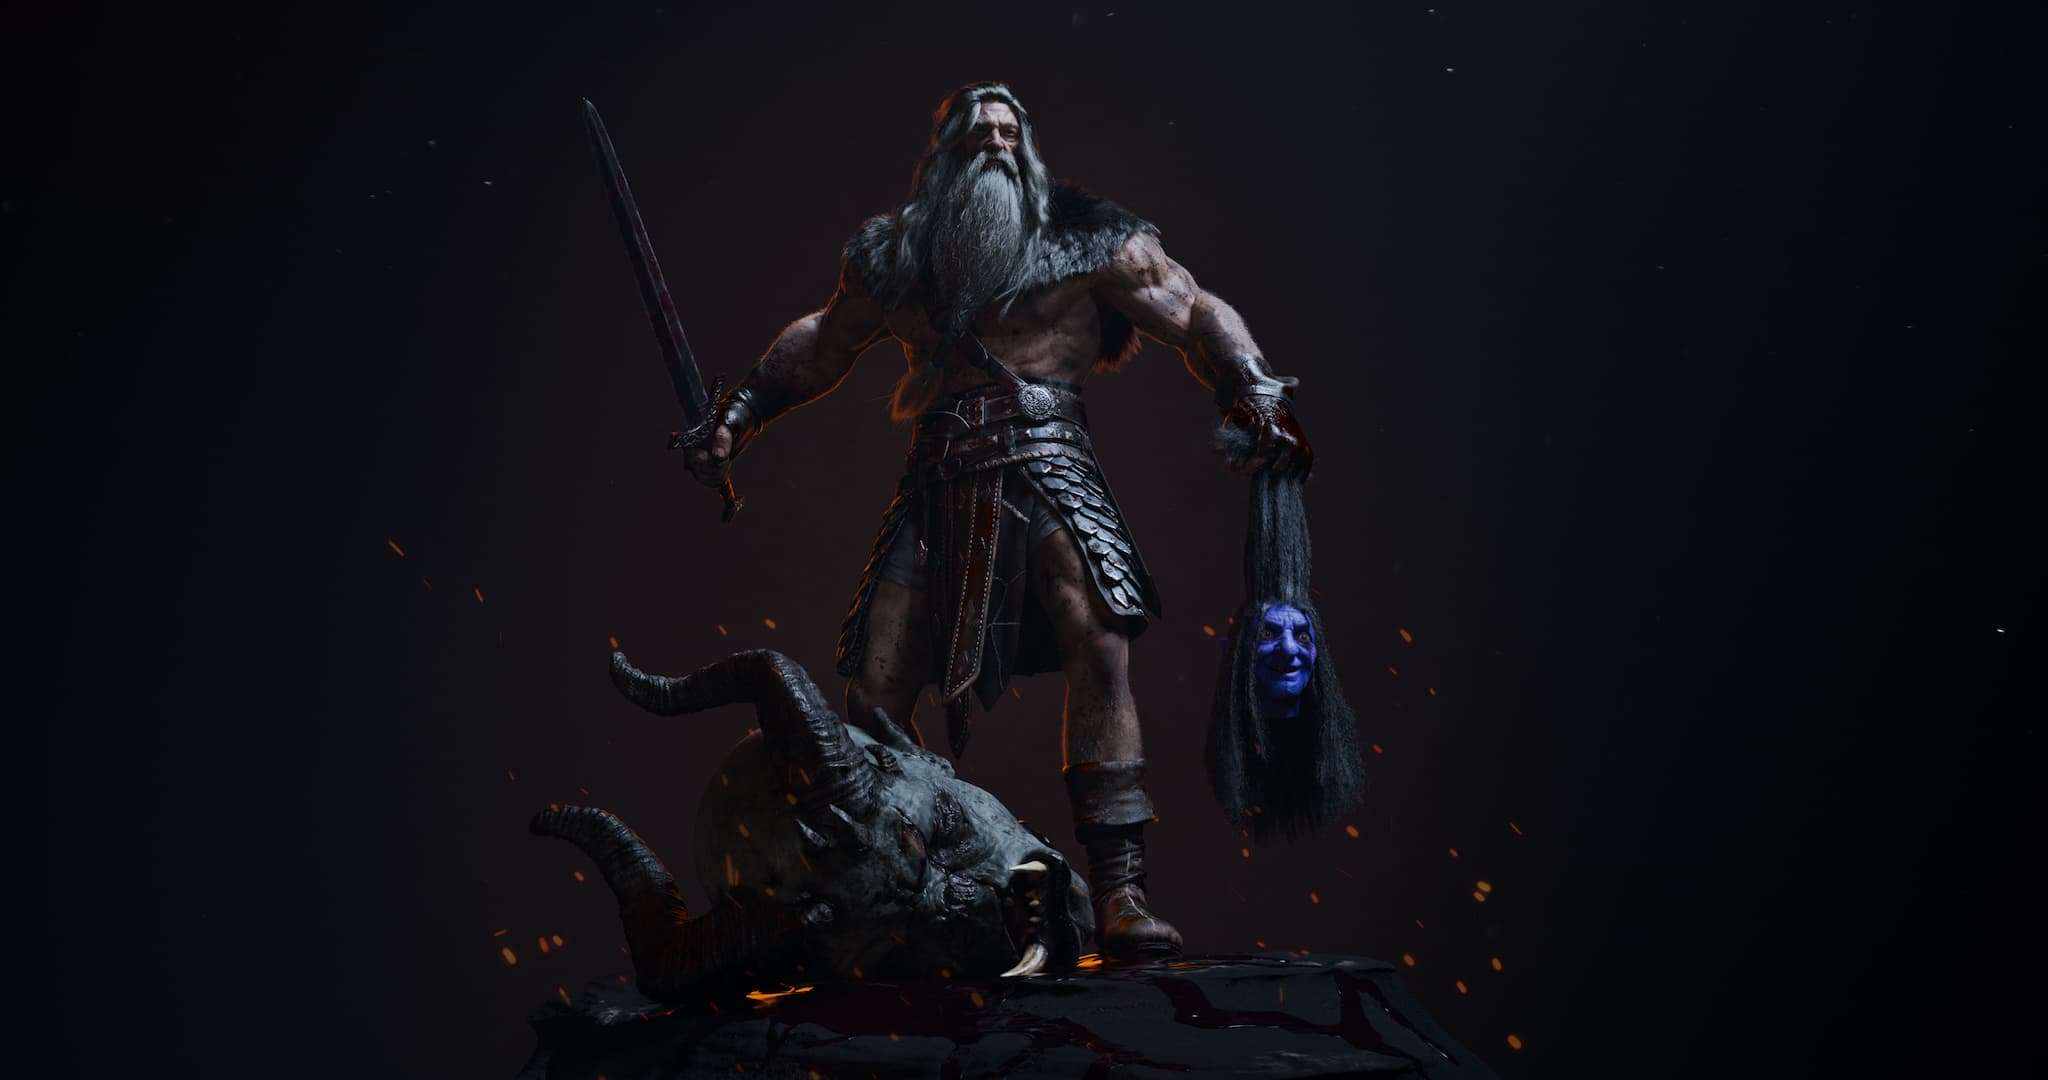
Final Renderings
For the final image I modified the lighting using the initial light rig. I changed the colors to give it more of a dramatic look and added some kick lights to make the forms pop more. After rendering the final images I took them into Adobe’s After Effects to composite my passes, add some camera effects and color grade.
ET VOILA!
You can check out more of my work here, here and here.