A Beginners Guide to Creating a 3D Deer
Recent grad Elena from Bournemouth University gives us a breakdown of her Ghost Deer project. She explains the tools, techniques and resources she used.
Recent grad Elena from Bournemouth University gives us a breakdown of her Ghost Deer project. She explains the tools, techniques and resources she used.

Recent grad Elena Distefano from Bournemouth University gives us a breakdown of her Ghost Deer project. She explains the tools, techniques and resources she used.
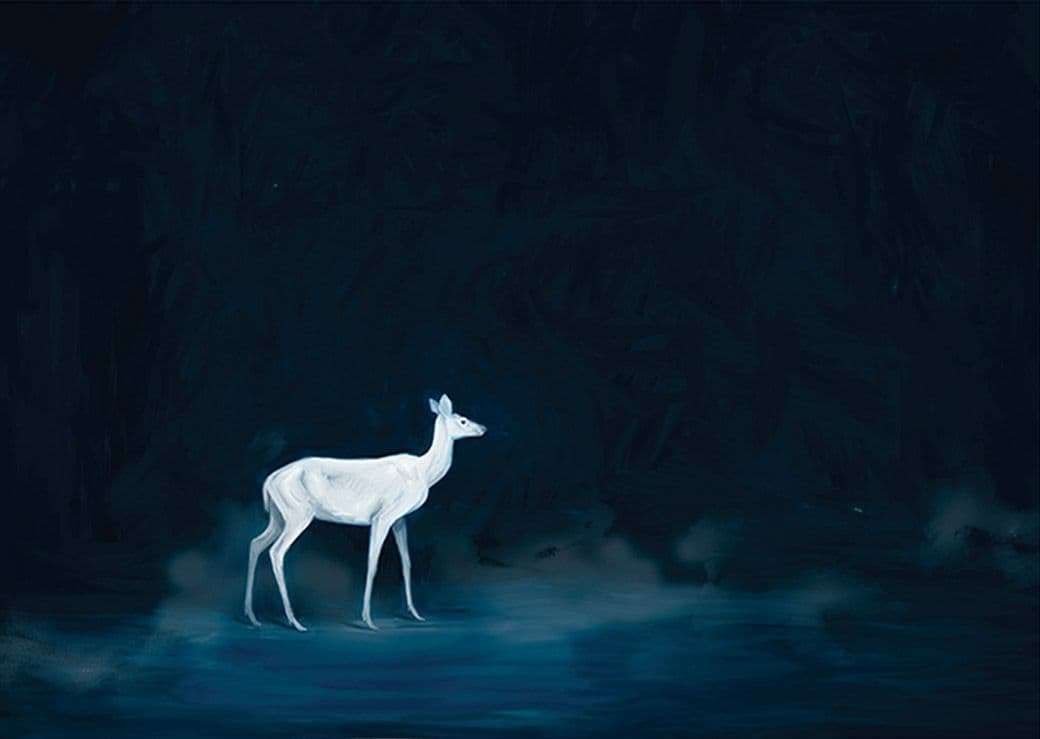
I created Ghost Deer as part of my Masters Degree. I began my Masters in September 2018 with no prior knowledge or experience in 3D before that point. Creating a project like this was a daunting challenge for me. Before studying animation, I had been working in children’s publishing for 2 years. Prior to that, I had completed an undergraduate in Illustration. I never felt quite right working in publishing. So I made the bold decision to go back to school in hopes of a career in animation and film. I created this project in the hopes of kick starting a career in the industry.
I particularly wanted to focus on creature modelling, texturing and groom. Going into my Masters, I knew that I wasn’t (and still am not) the most technically inclined person. This made learning new software scary and challenging for me. I knew I could draw and sculpt in traditional media so I had that aspect going for me. I had 10-9 weeks to complete this project so a strict schedule was also key to the success of this piece. In this blog I will run through how I personally achieved this final outcome. I made a tonne of mistakes and learnt so much in the process.
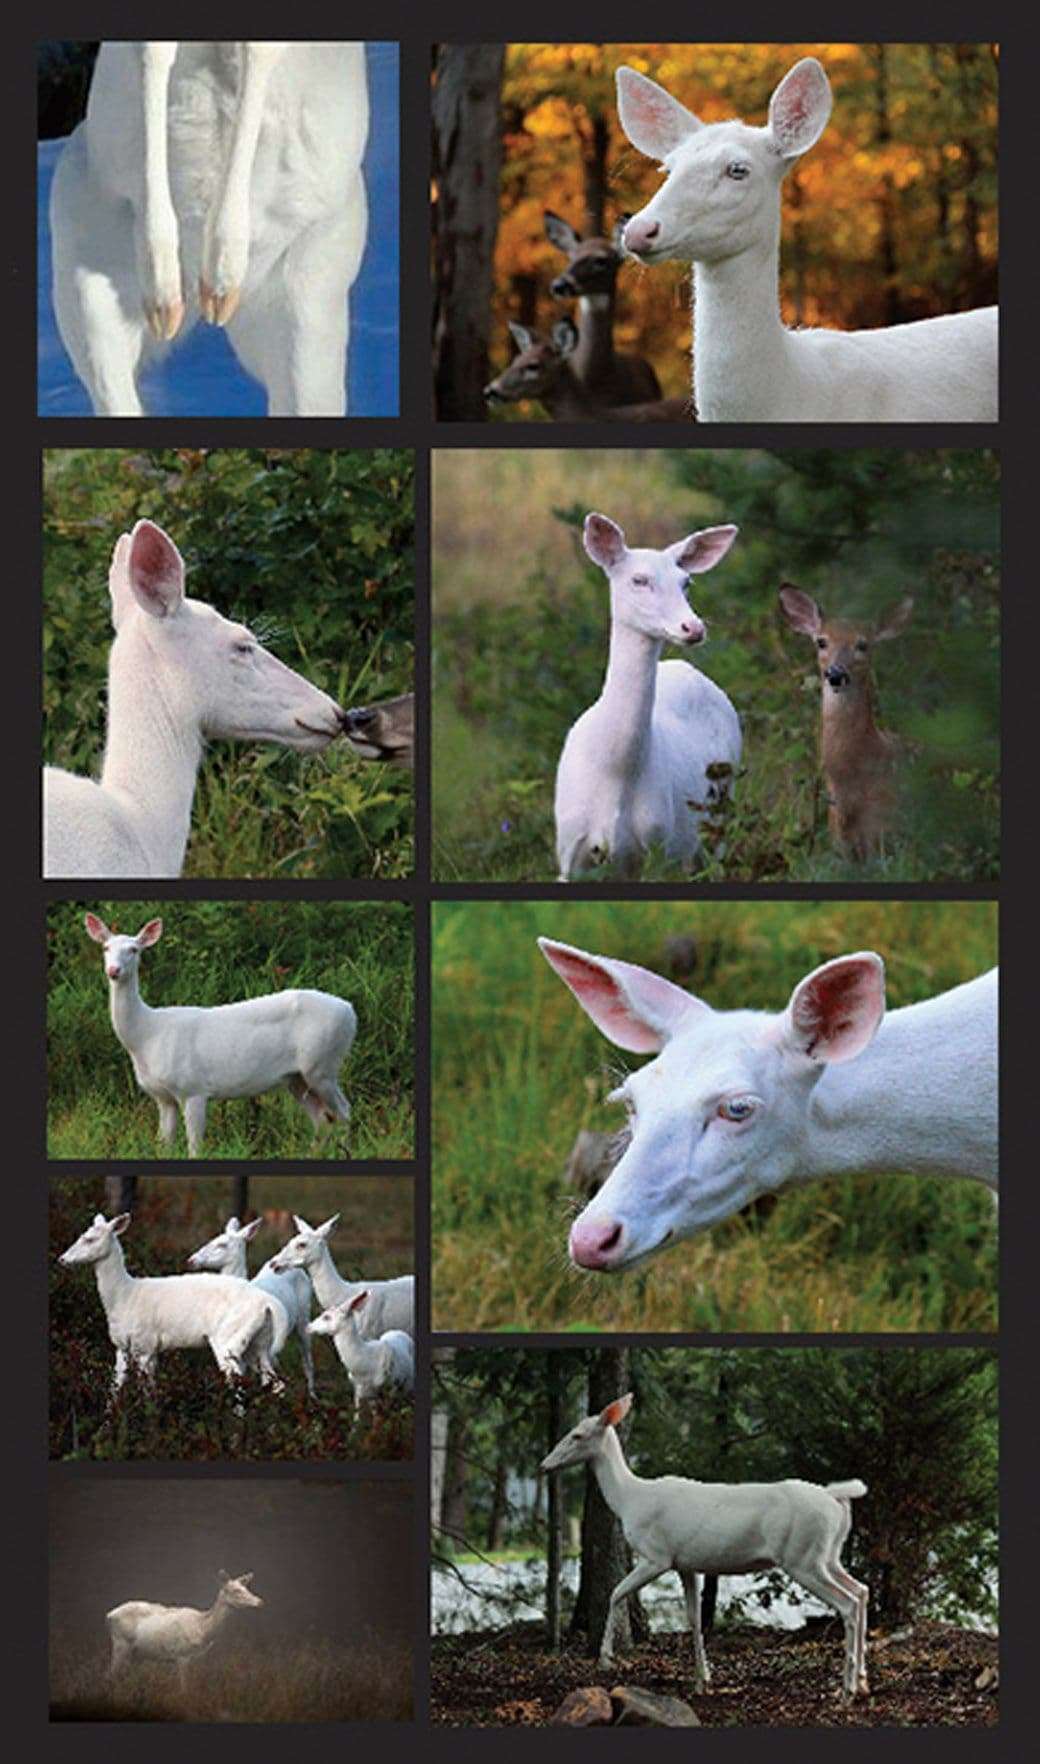
Before I did anything at all I tried to find out as much as possible about my subject matter. I read books and watched documentaries to understand as much as possible about deer. I tried to understand why a deer was built the way it. The book Animal Anatomy for Artists by Elliot Goldfinger was a very useful resource for me. I found gathering references quite difficult for this project.
Although animals in a species generally all look the same at a glance, they do each have subtle, unique differences. This can be quite frustrating me when trying to sculpt accurately. For example, some might have thinner faces, some may have bigger eyes. For that reason I chose only a couple of photographs to take reference from. Too many would have driven me slightly mad.
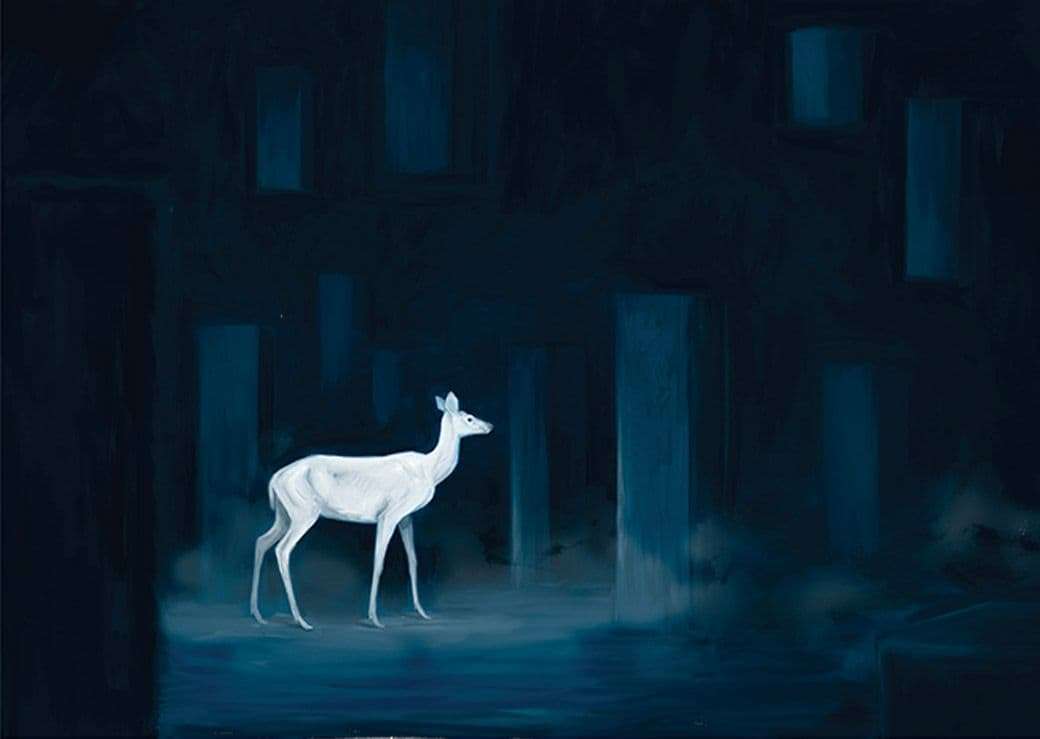
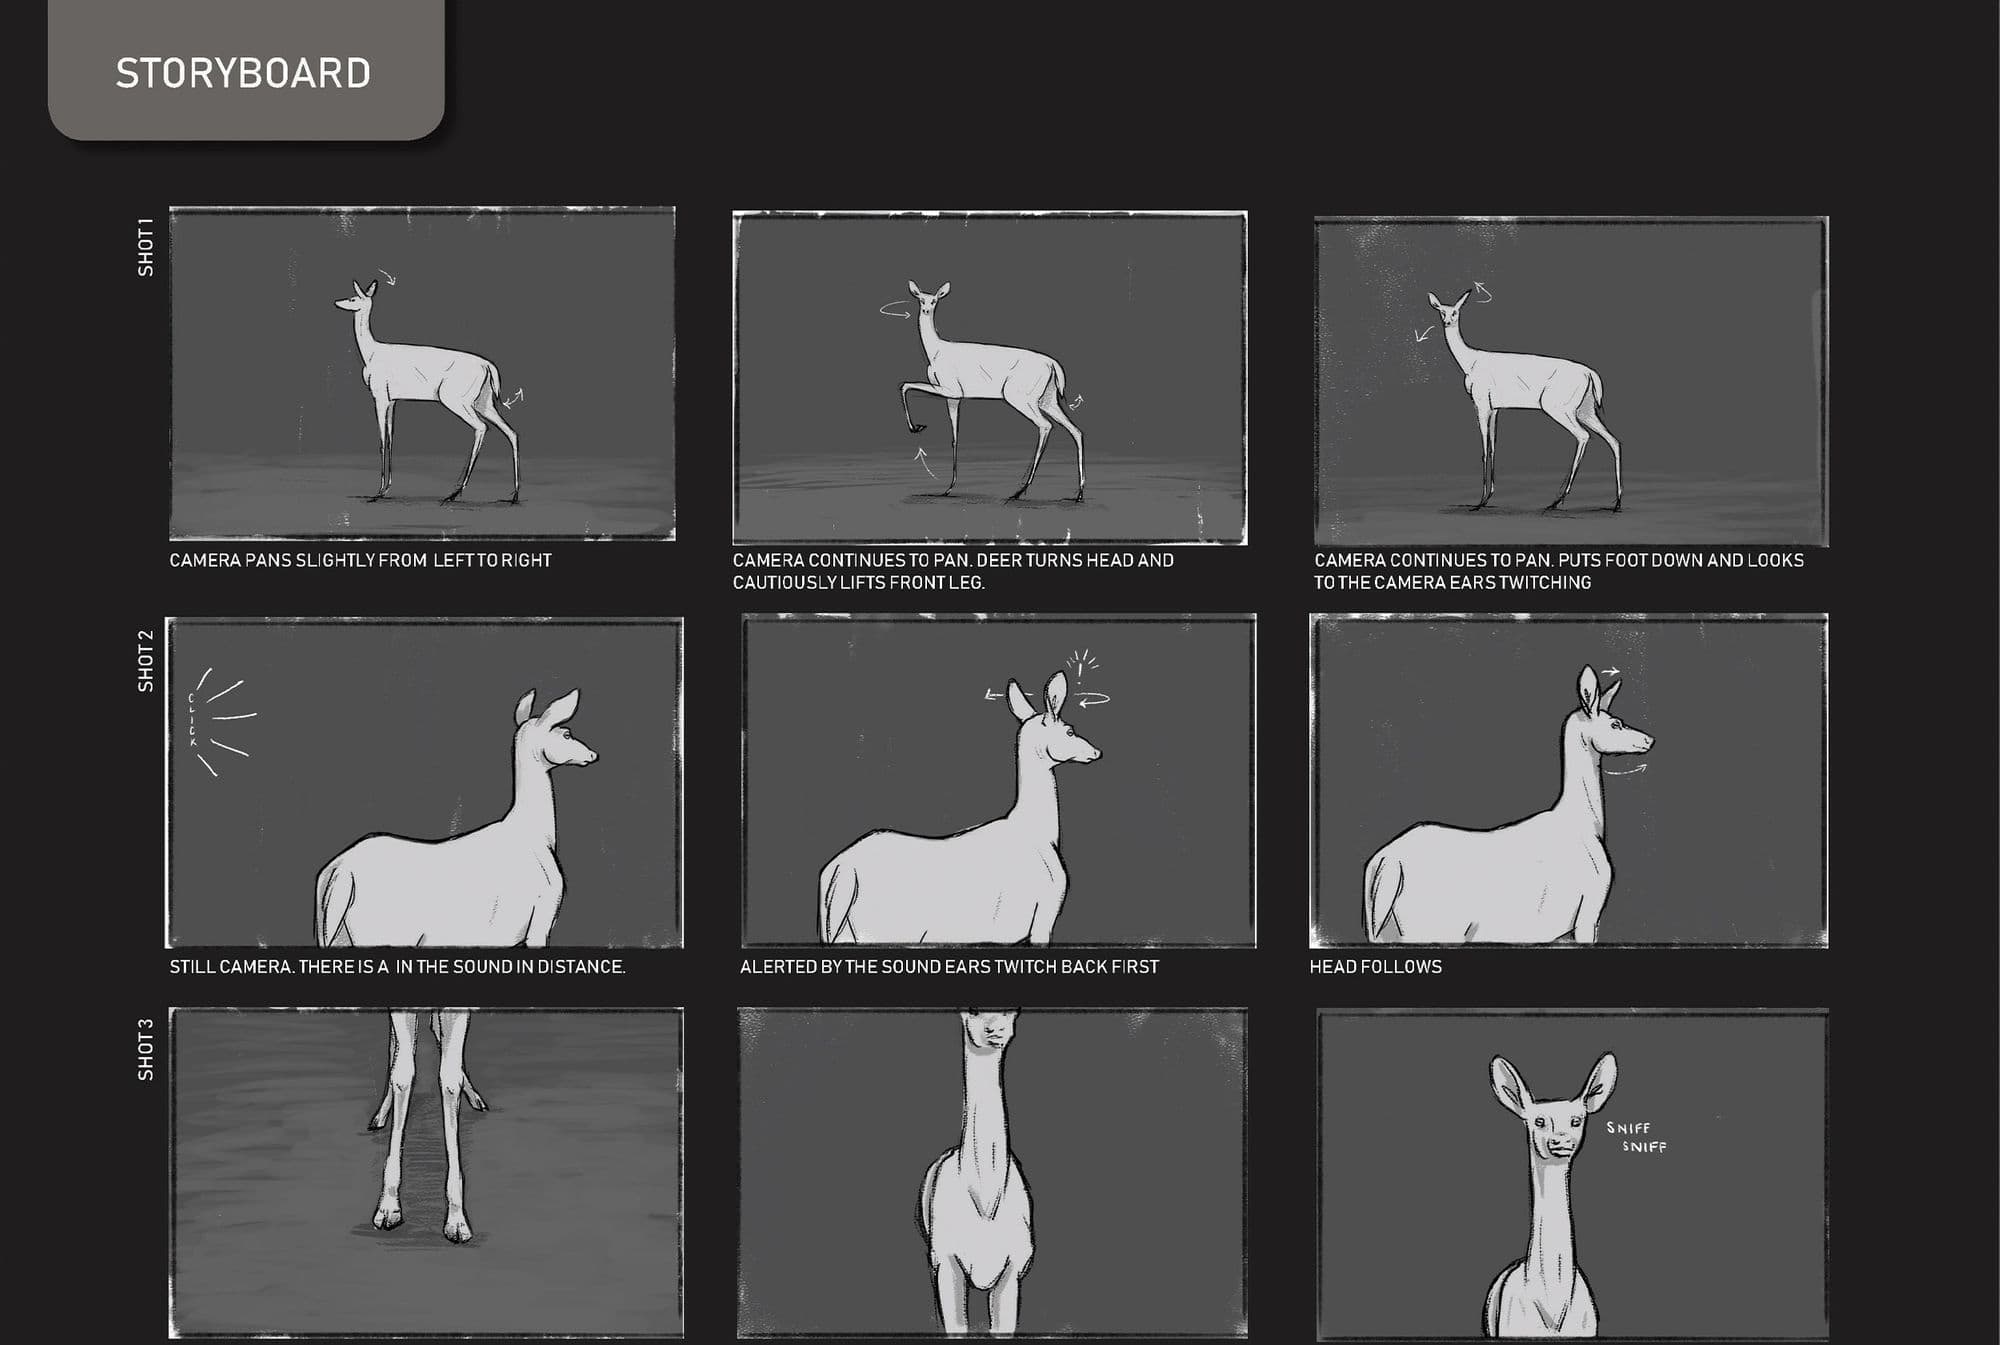
After conducting as much research as possible, I began analysing anatomy and creating concept art. Initially my idea for my final film was way too ambitious for one person to complete in the time that I had. My tutors at Bournemouth University were always stressed in every tutorial to keep it simple.
I therefore removed my super conceptual environment to make life easier for myself. The goal was to create a creature project for my reel so I needed to make the creature itself stand out. Removing the environment meant that I was then able to focus all my attention on the deer.
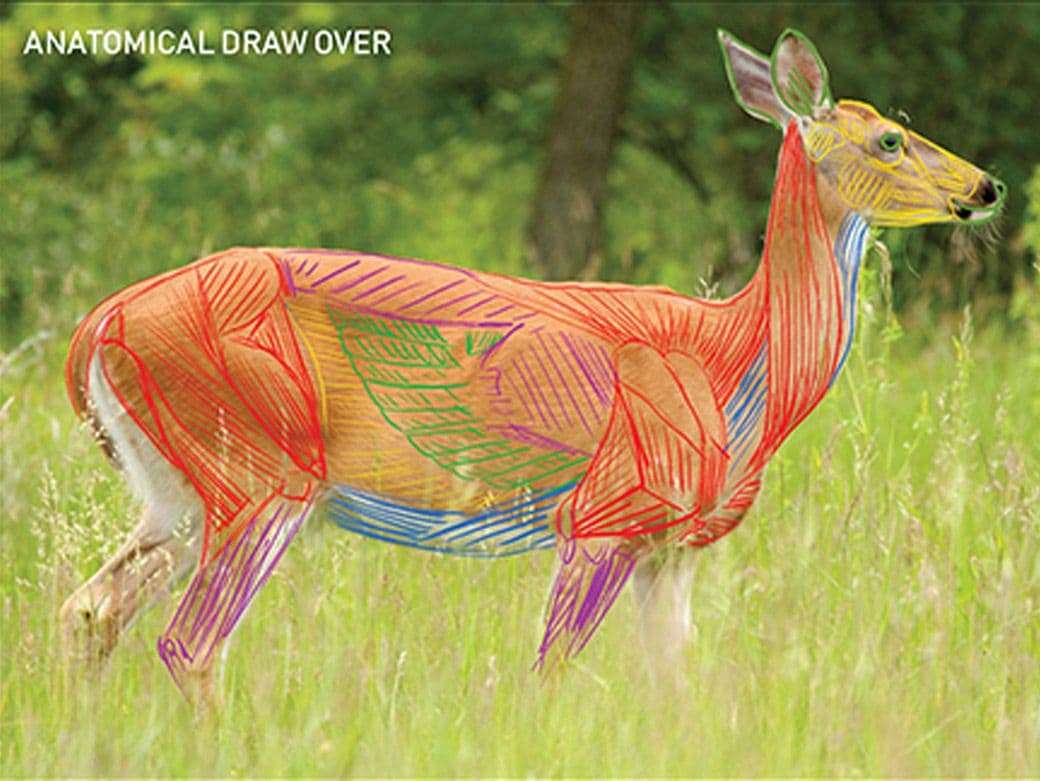
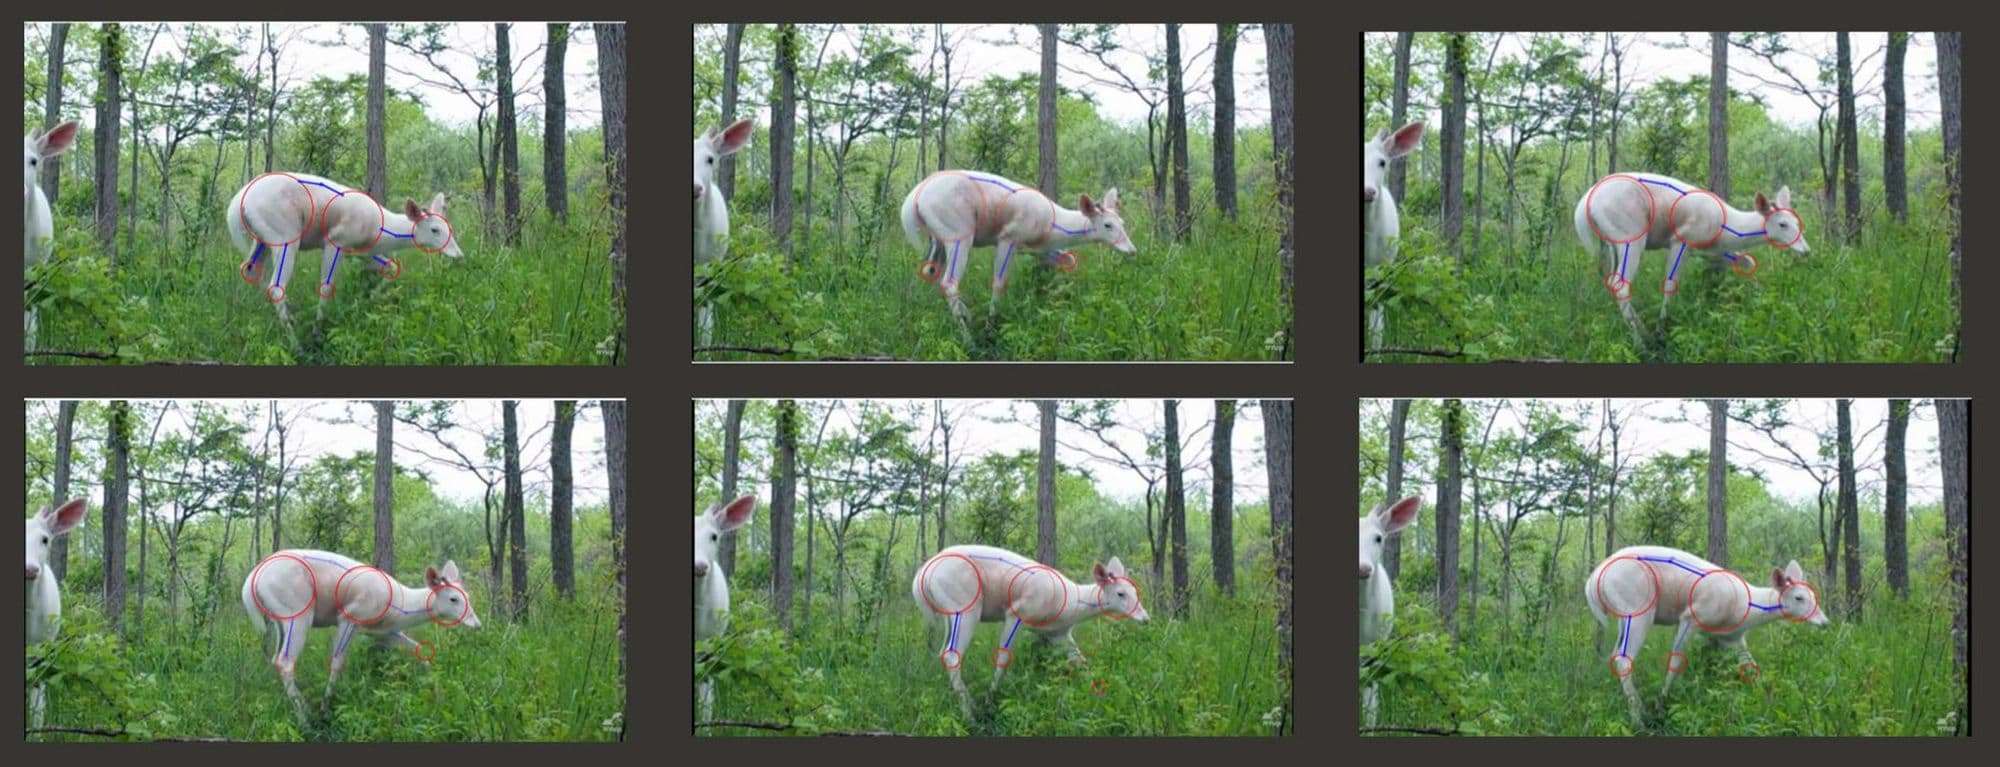
At this stage I also focused on breaking down the anatomy of a deer. I was lucky enough to attend Scott Eaton’s anatomy masterclass at BFX festival. He suggested creating paint overs over photographs in order to understand the placement of bones and muscles. This definitely helped me to map out where my landmarks and the layers of muscles would go in my final sculpt.
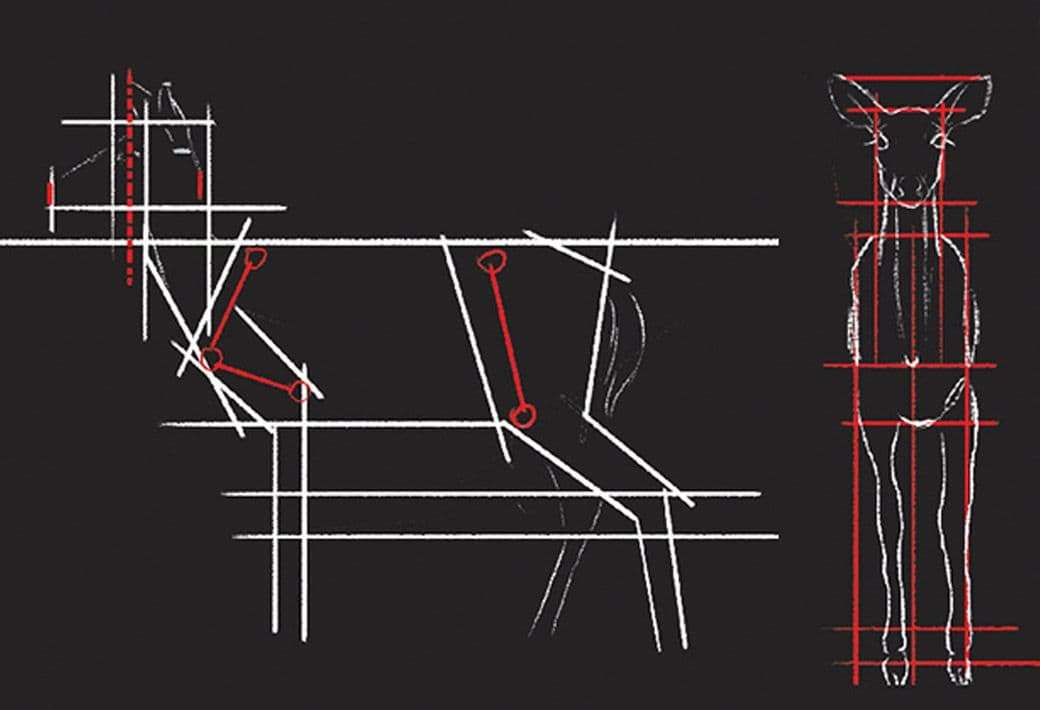
I started by blocking out my shapes and proportions with ZSpheres. Once I was happy with the proportions, I started building upon it with the clay build up brush. I blocked in the main muscle formations I had analysed in the image above. To learn sculpting techniques I found it useful to watch a lot of speed sculpting videos from artists that I admire. I also watched tutorials on sculpting techniques and processes.

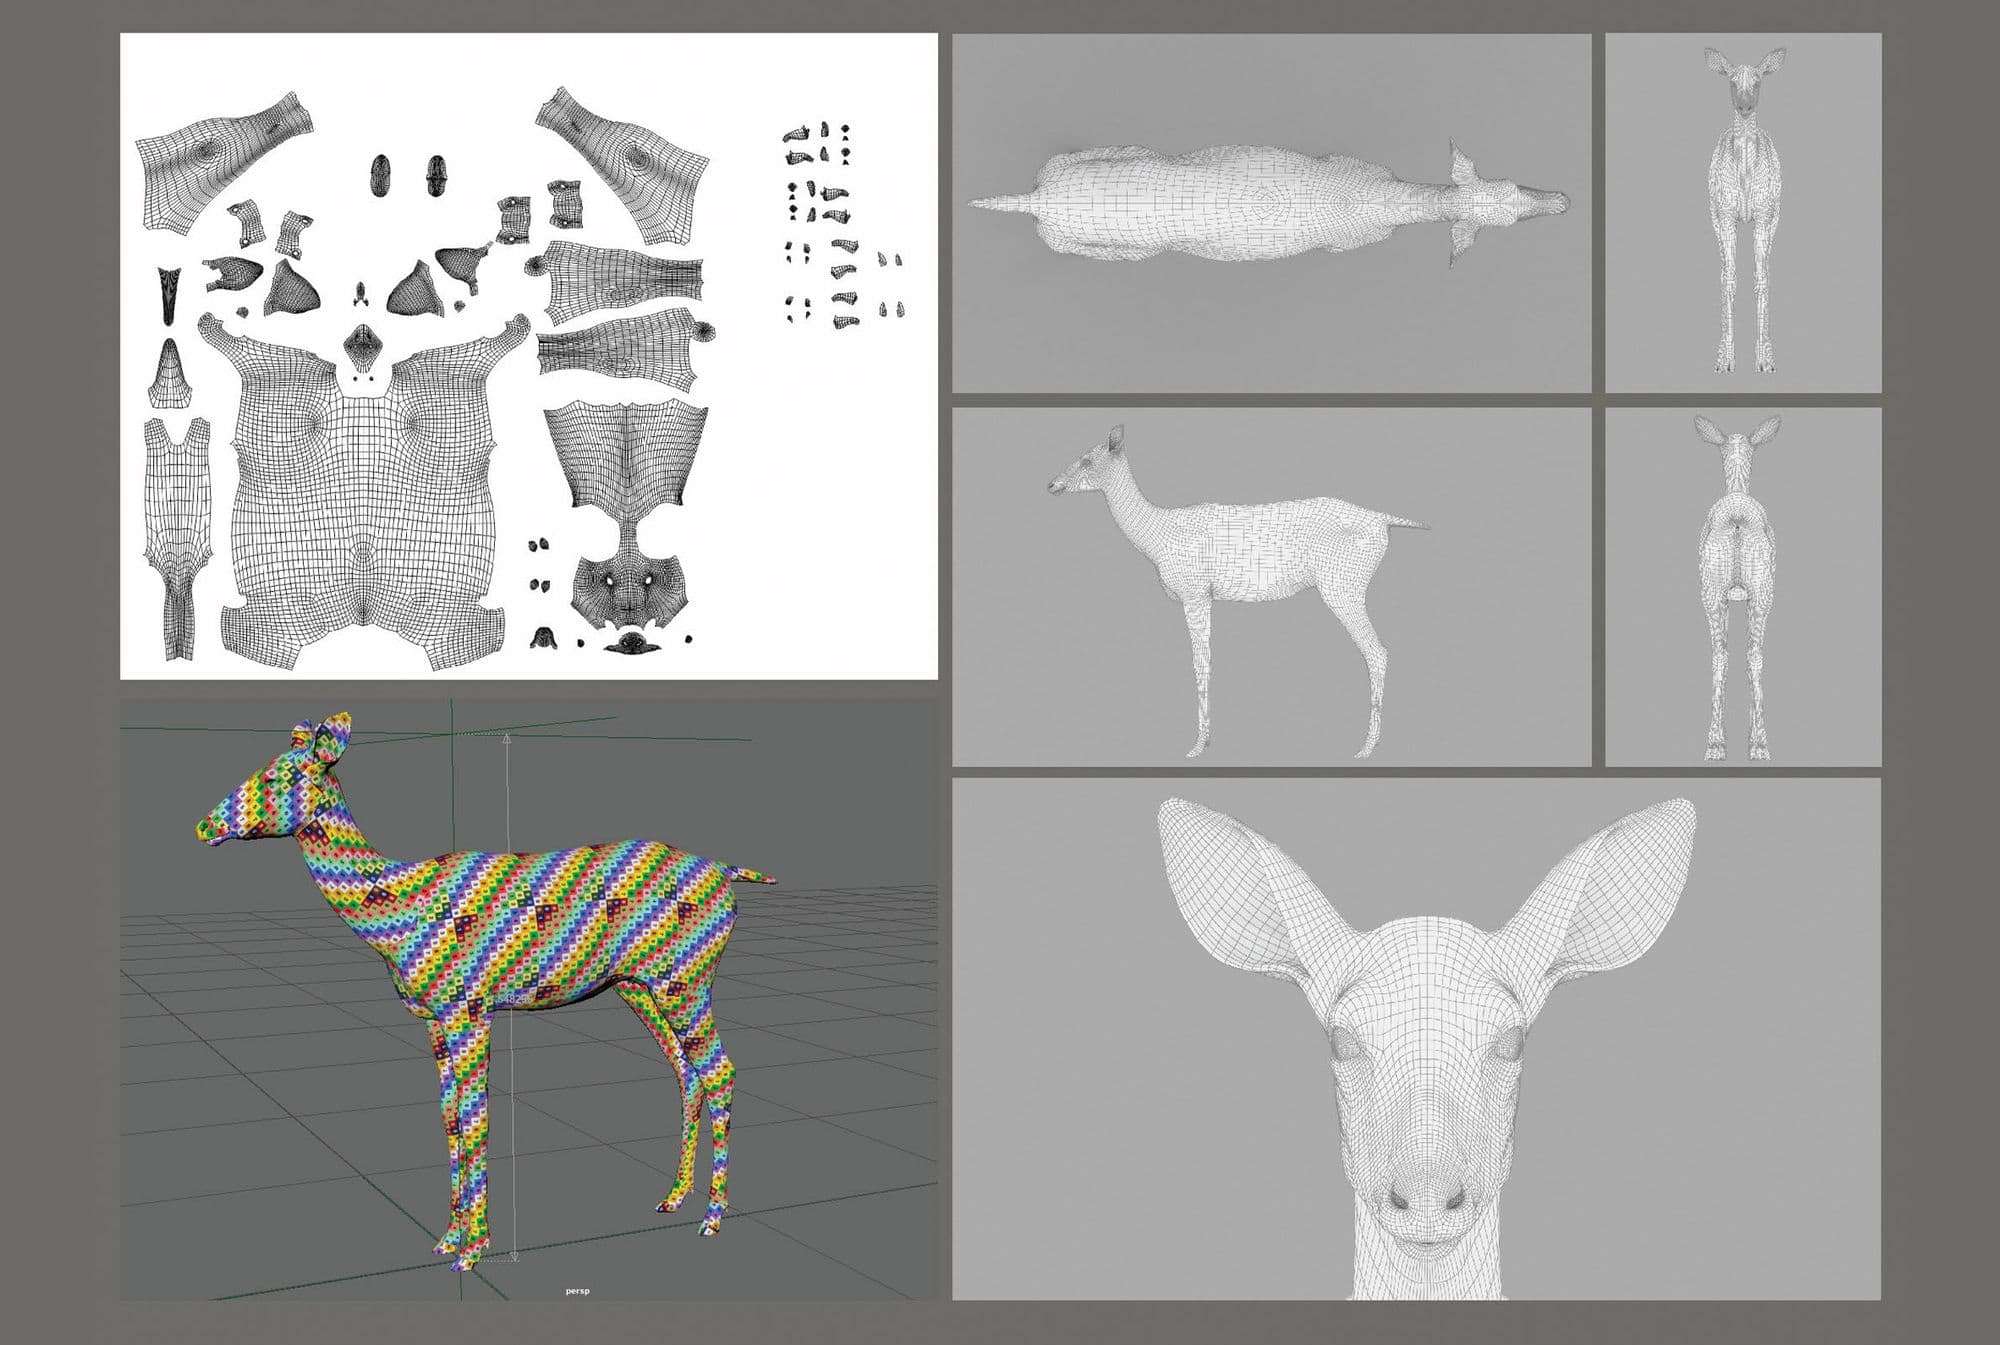
Once I had got the sculpt to around 80% done I took the model into Maya for retopology. Again I used youtube and a tutorial from FlippedNormals tutorials as my main guide on how to do this. I started big and divided into smaller quads. I made sure I had enough topology around joints and key features. I always kept in mind animation and rigging during this part of the modelling process. I also kept watching videos of deer to get a feel for where the joints bend and what parts of the body would need to deform.
UVs were the next aspect I tackled. Here is an area of this project that I now wish I would have done differently if I had had more knowledge at the time. For this project, I created UVs to fit on one UDIM per material. The way I split it was one UDIM for the body, one for the hooves and one for the eyes. In theory this isn't wrong. My logic at the time was to do it like this because I knew that for Groom I would need everything to be on one UDIM in order to generate hair. It would also be simple to work with in Substance Painter in this way.
For the purposes of this project the way I created them did not matter as much as I decided not to render close up shots. However, if I were to do this again in production I would have two sets of UDIMs. One for texturing where I would maximise the space on the tiles and have the body spread over multiple UDIMs. And another UDIM for Groom where all the areas I wanted to generate hair from would be in tile 1001. This is because hair cannot be generated on UVs outside the first UDIM tile.
Image 8 and 9. Of topology and UVs
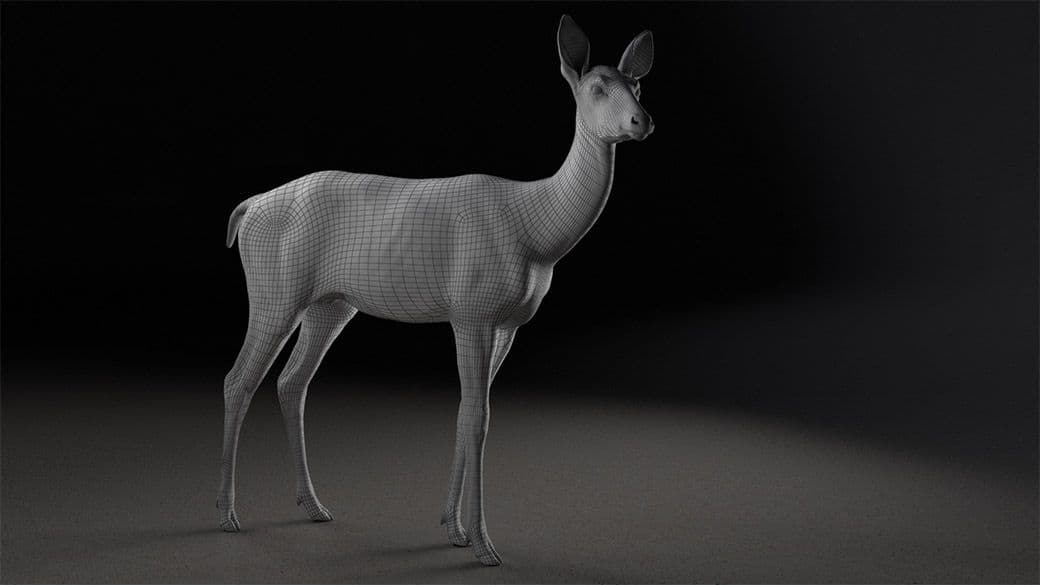
After retopology I brought the model back into ZBrush to create my displacement maps. Again, there are plenty of tutorials on YouTube on how to do this. I found the FlippedNormals tutorial on creating a displacement for V-ray useful for this project. I created 2 maps, the first being a 32 bit map for displacement on the model and an 16 bit map for my groom displacement. XGen displacement would not work on a 32 bit map. This drove me crazy for hours! I could not understand why my 32 bit map would not work for the best part of a day before figured this out. So if your geometry displacement is not working on your groom, then that's probably your problem and using a 16 bit map should do the trick!
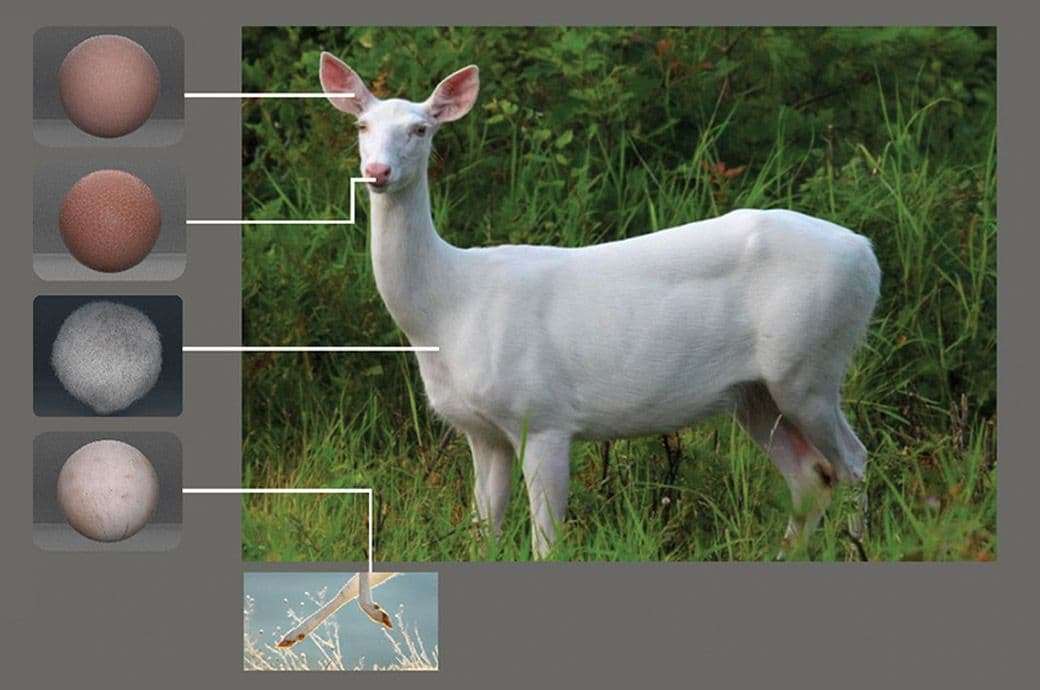
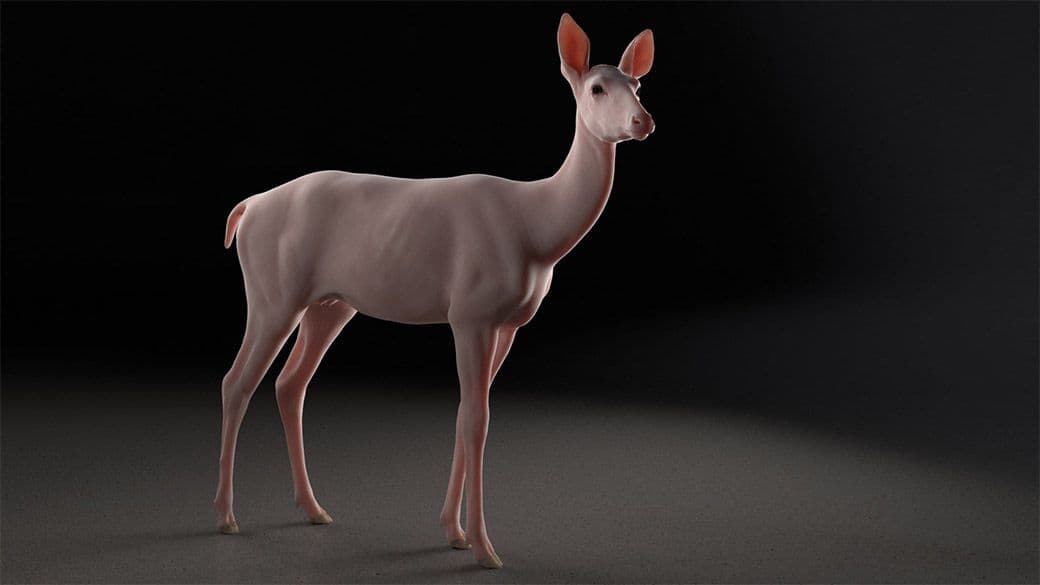
I Googled some strange things to find out what a deer without fur looked like. Ultimately, an albino deer has little to no pigmentation to their skin. I used a skin smart material and worked from there. I then hand painted my textures. In the end, most of the skin was covered by fur but I still wanted it to look as accurate as possible. Finding reference for what a hairless deer looks like proved to be quite difficult. I looked at hairless animals for the majority of skin reference.
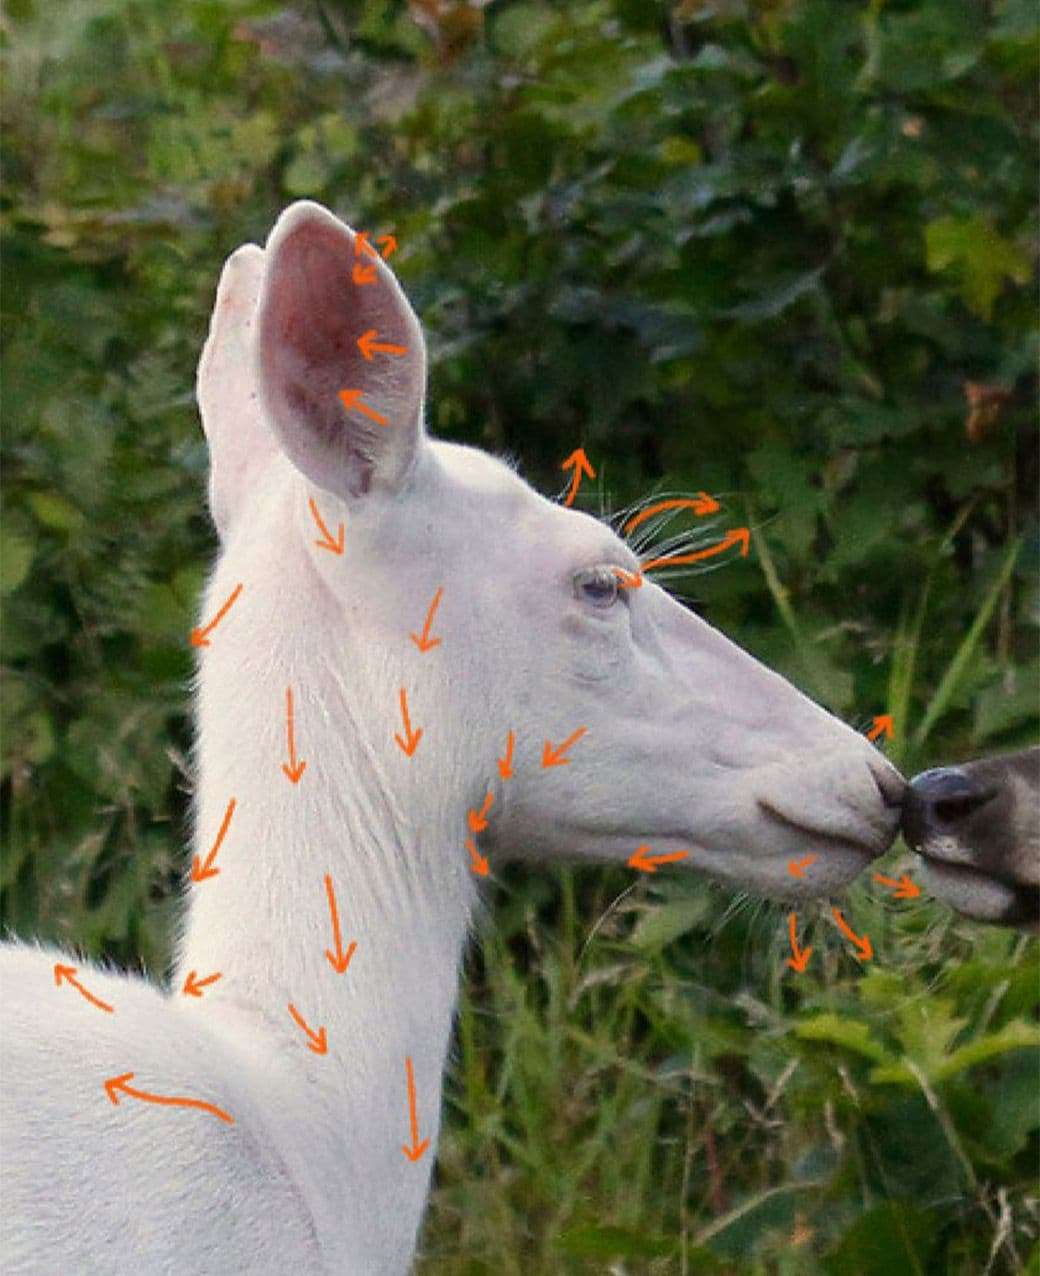
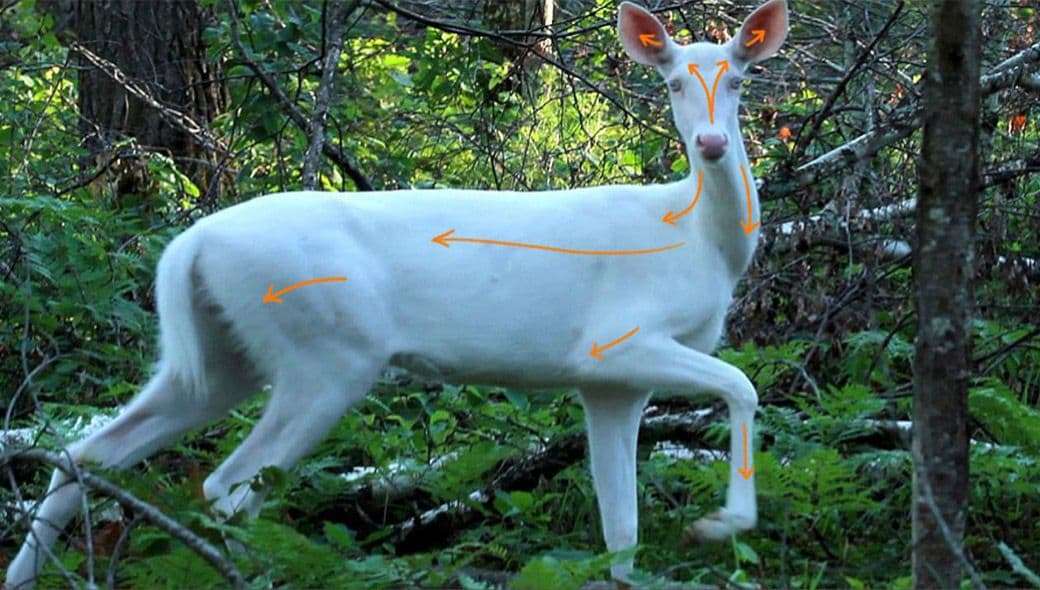
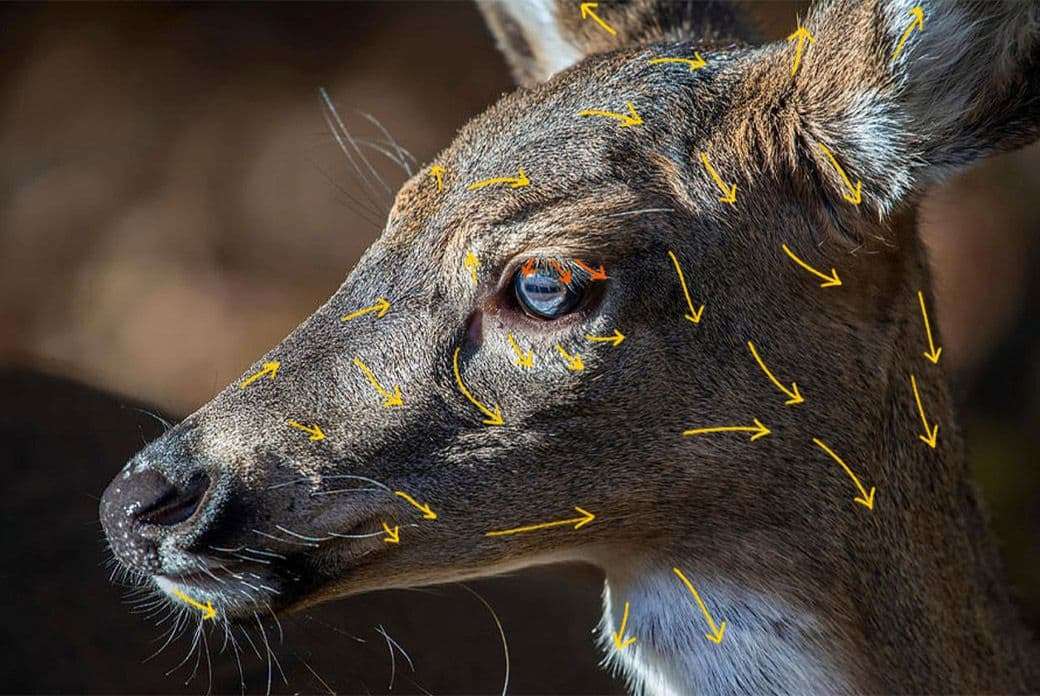
Before starting to plant my guides I wanted to study the way the hair behaved by creating paint overs. This helped me identify where there was a change in direction and consistency in the fur. Prior to completing this project, I had dedicated some time to search for tutorials and to practice suggested techniques. Groom is a hard thing to learn. To learn the basics of XGen I used tutorials from Michael Cauchi and Jesus F.C. and used the core version of XGen to create my grooms.
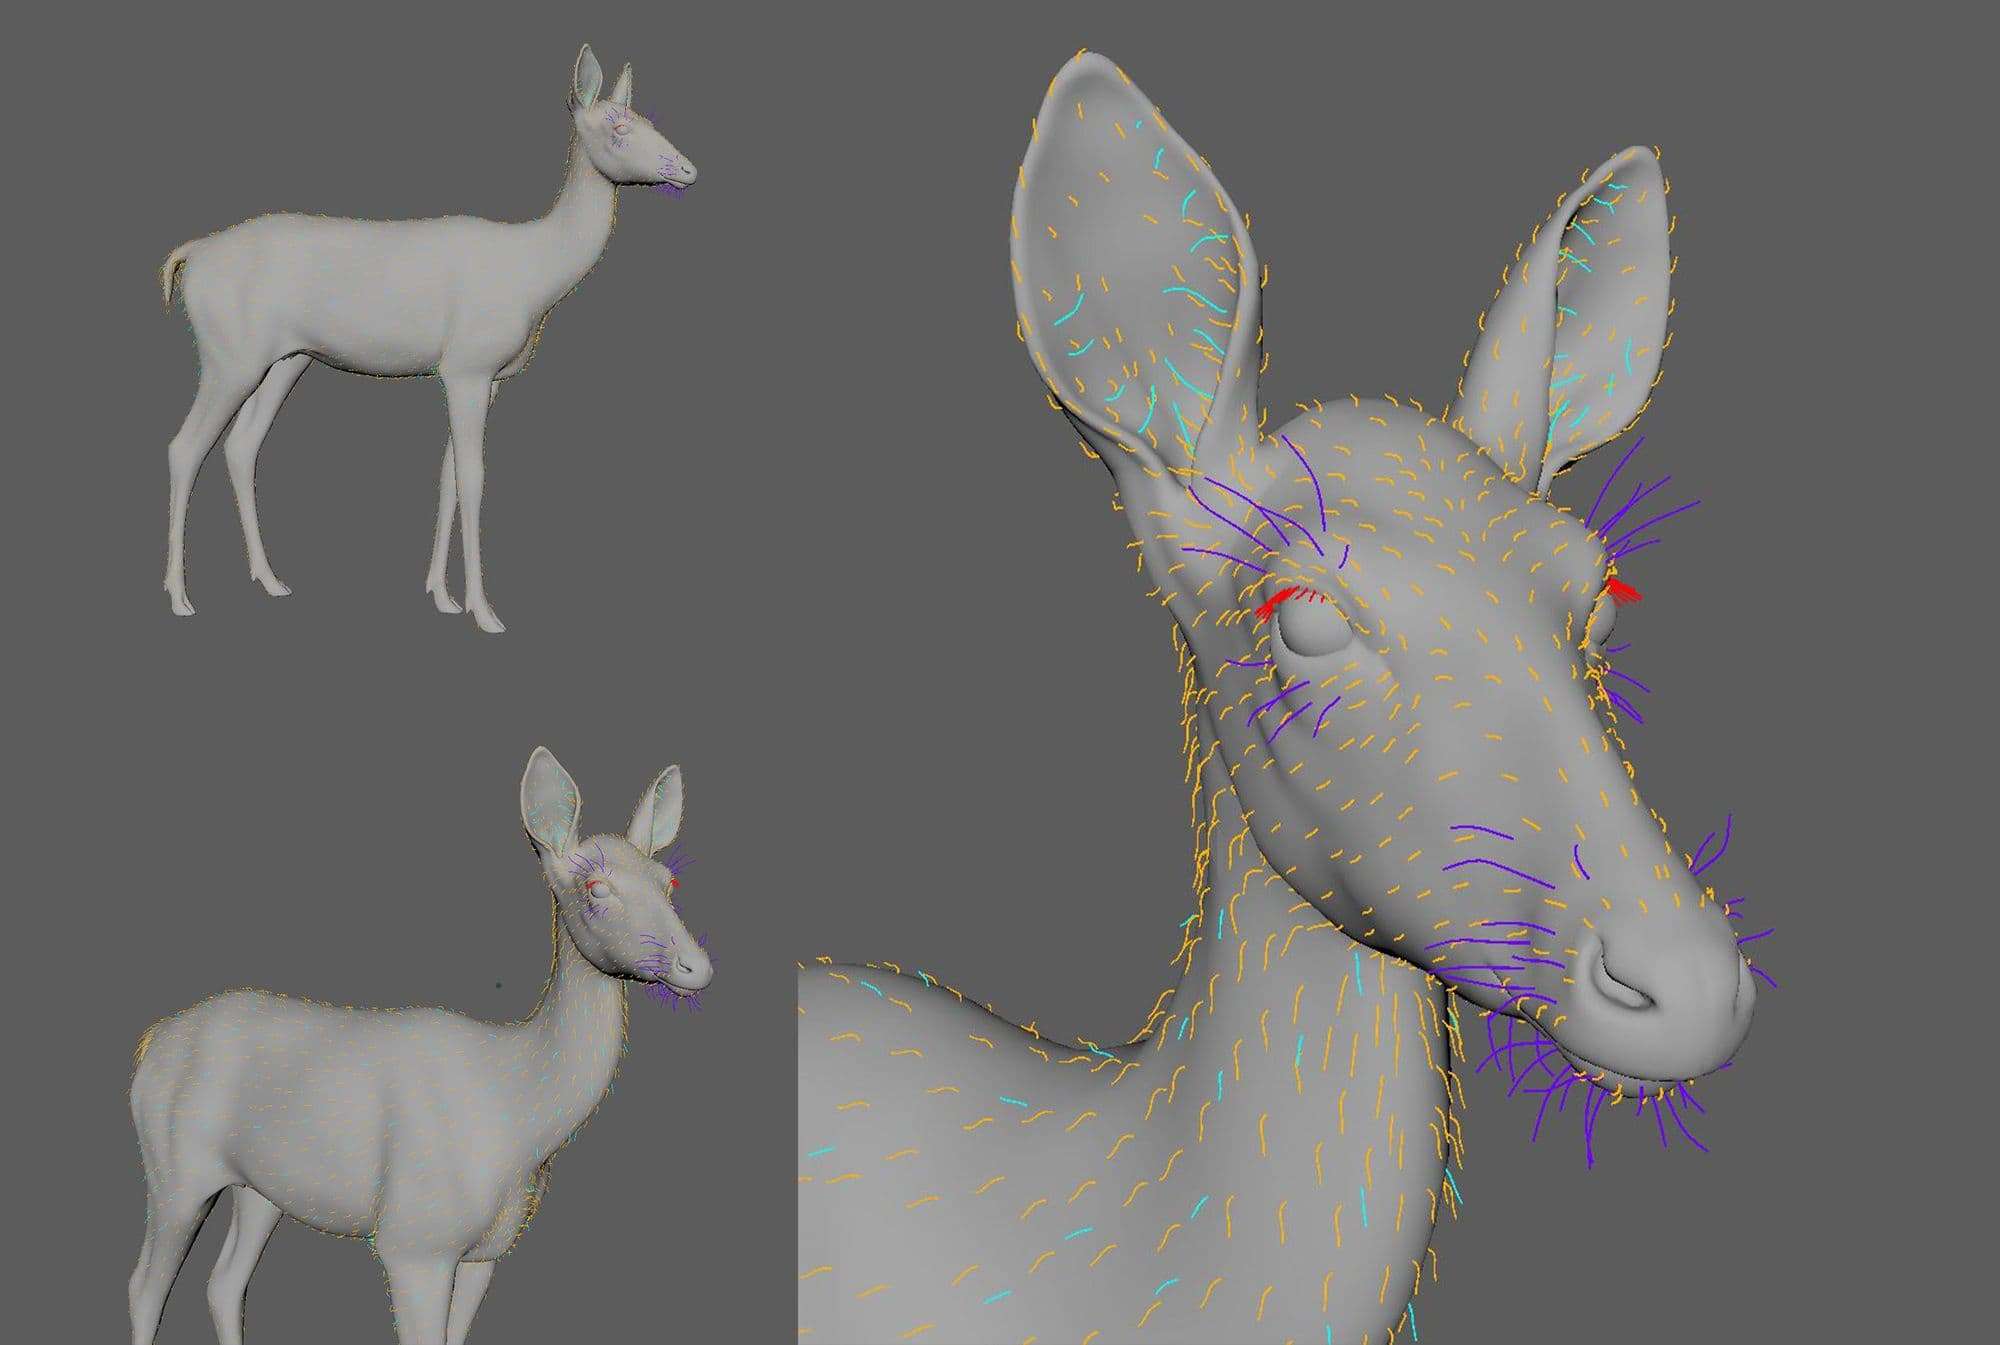
I spent the majority of my time making sure that my guides were as good as I could make them before adding any effects such as clumping or frizz. This was only my second attempt at grooming with XGen. Now that I have started to learn to groom in production, I realise I probably did things a bit too manually whereas I could have kept it more procedural. I ended up placing each guide on this creature by hand and shaping it to achieve the look that I wanted. Now that I look back, I would have even approached the way I clumped the fur differently. I would have probably made sure there is more breakup in the longer areas of the groom!

I’ll be the first to put my hands up and admit that I am really not one for rigging. It is an interesting area to learn about. However due to time constraints, there was no shame in using Advanced Skeleton as a starting point. At the end of the day I personally did not want to direct my career towards that area of the pipeline. Despite saying this, I did have a baseline understanding on how to construct a very basic rig. This meant I was able to add parts to the rigs that I needed such as the ears. All I wanted from this model was for it to look alive and fit for animation. I made sure to weight paint my mesh carefully in order to get smooth deformation in the areas I needed the model to move. This meant there was little need to correct the geometry for this project.
I did some quick analysis of footage of deer from documentaries and wildlife footage. Again, the best way for me to analyse footage is to create paint overs. I did this to roughly understand the pacing and timing of the movement. I found that deer make quite quick small movements when they are still. Their ears are always moving and listening for noises. This is an aspect I really wanted to incorporate in this piece. Ideally I wanted the frame rate of my reference to match my frame rate of 25 frames per second. But this is always a little challenging when using found footage.
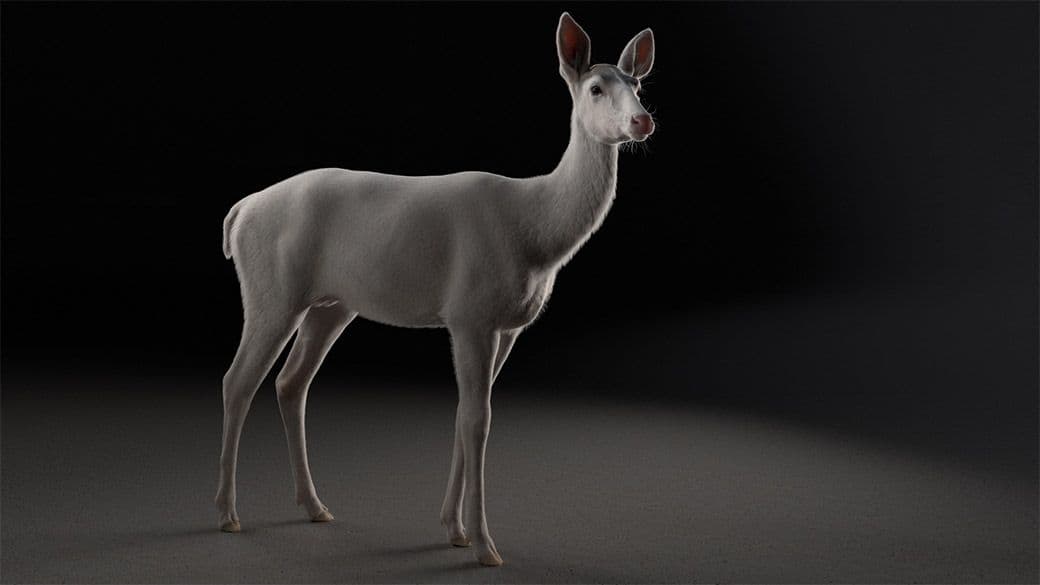
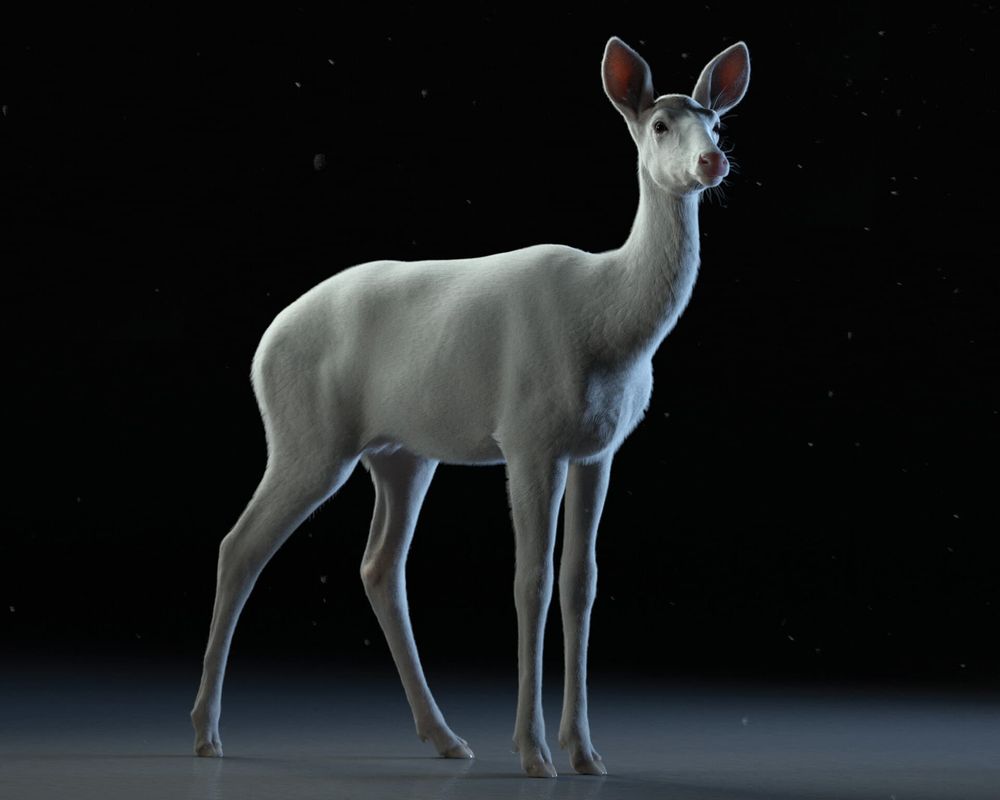
I rendered the animation from Maya with V-Ray at 1080p. I knew that fur with a displacement map would mean long render times so I tried to optimise as much as possible. I had kept everything relatively simple in terms of environment but I still made use of V-Rays render layers to speed things up. This meant I was able to separate the deer from the background. I could render the background quickly whilst other machines the deer. In total, this project required 45 to 1 hour of render time per frame for a 10 second piece. I basically took over a lab at university when the undergraduates were off on their summer holidays to render this deer!
Due to the simplicity of my image there was not a huge amount to do in post. I added some dust particles and did some very simple grading to push my renders that little extra mile in Nuke. I then brought my images from Nuke into premiere pro and added a LUT to finish the piece off and to give it a cooler tone.
In retrospect, it is easy to look back at my project and think “if only I knew that at the time…”. And I'm sure most people would say this is normal. I know that I have become a better artist for having done this project. I have learnt that having a good artistic eye and practice is key when creating an asset in CG. Good observational skills is also a skill I value and continuously work to improve. Having years of technical experience is great.
However these scary things can be learnt and are surprisingly quite fun. I am still learning about the technical areas of 3D to this day. But I can now say they seem slightly less daunting now than they did before I completed this project. There are plenty of great tutorials to learn from thanks to more senior artists in the industry. I sure am grateful to those people for putting those resources out there. Thank you.