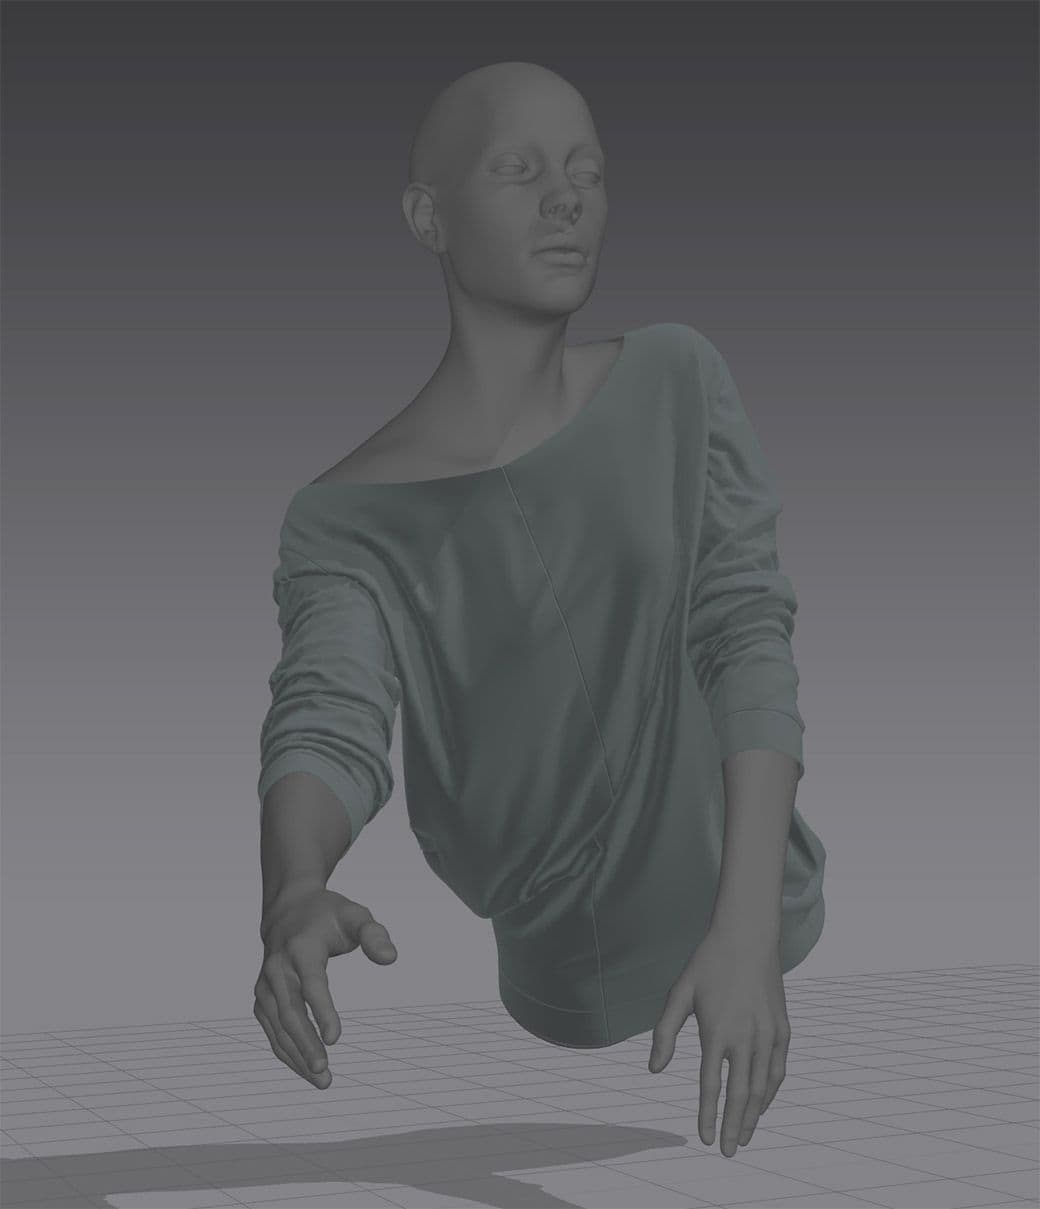
Since I decided not to include elbows in the composition anyway and was short on time I cheated by duplicating her arms and just posing shoulders. I imported the posed version to Marvelous designer to simulate the folds of the tunic.
Elvira Trofimova studied the art of video games. Even though that track was mostly focused on real-time applications she wanted to push her texturing skills to the next level and decided to take 'Texturing and Shading 4' class as her elective while studying at Gnomon School of Visual effects. We think she did a pretty good job!
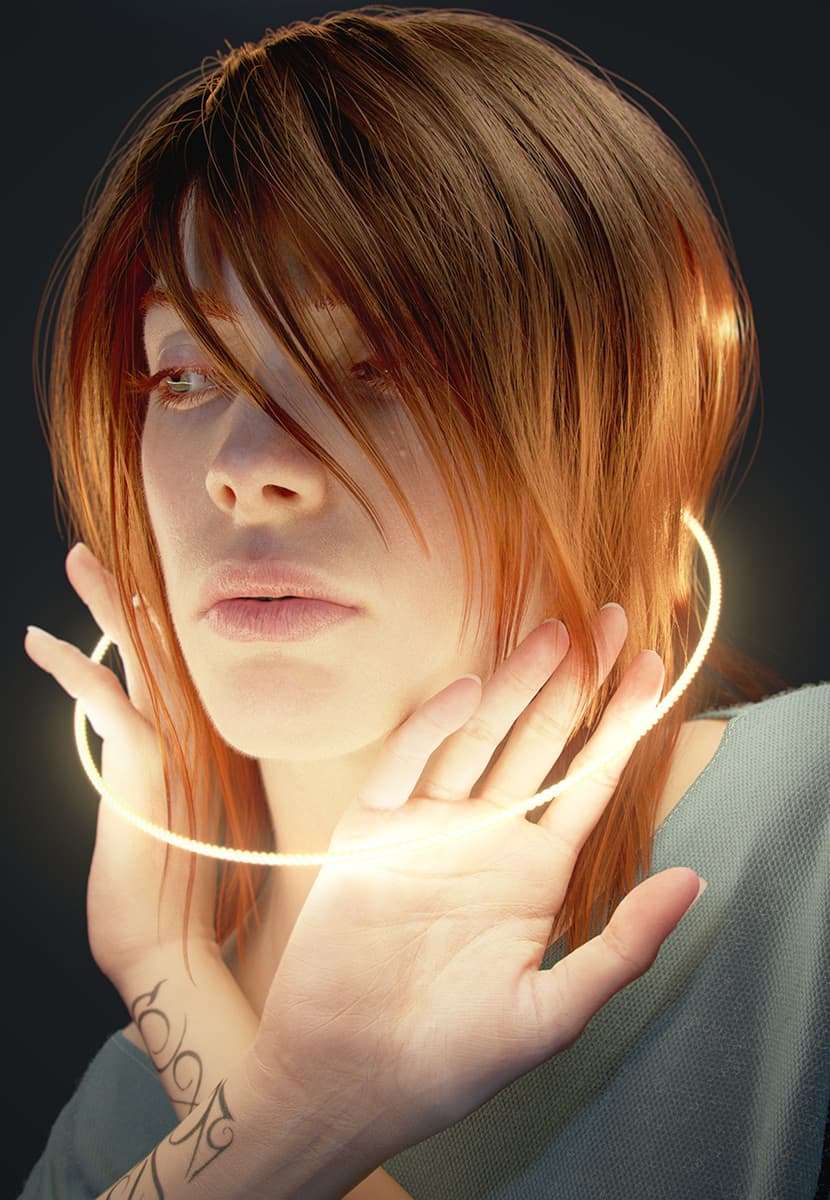
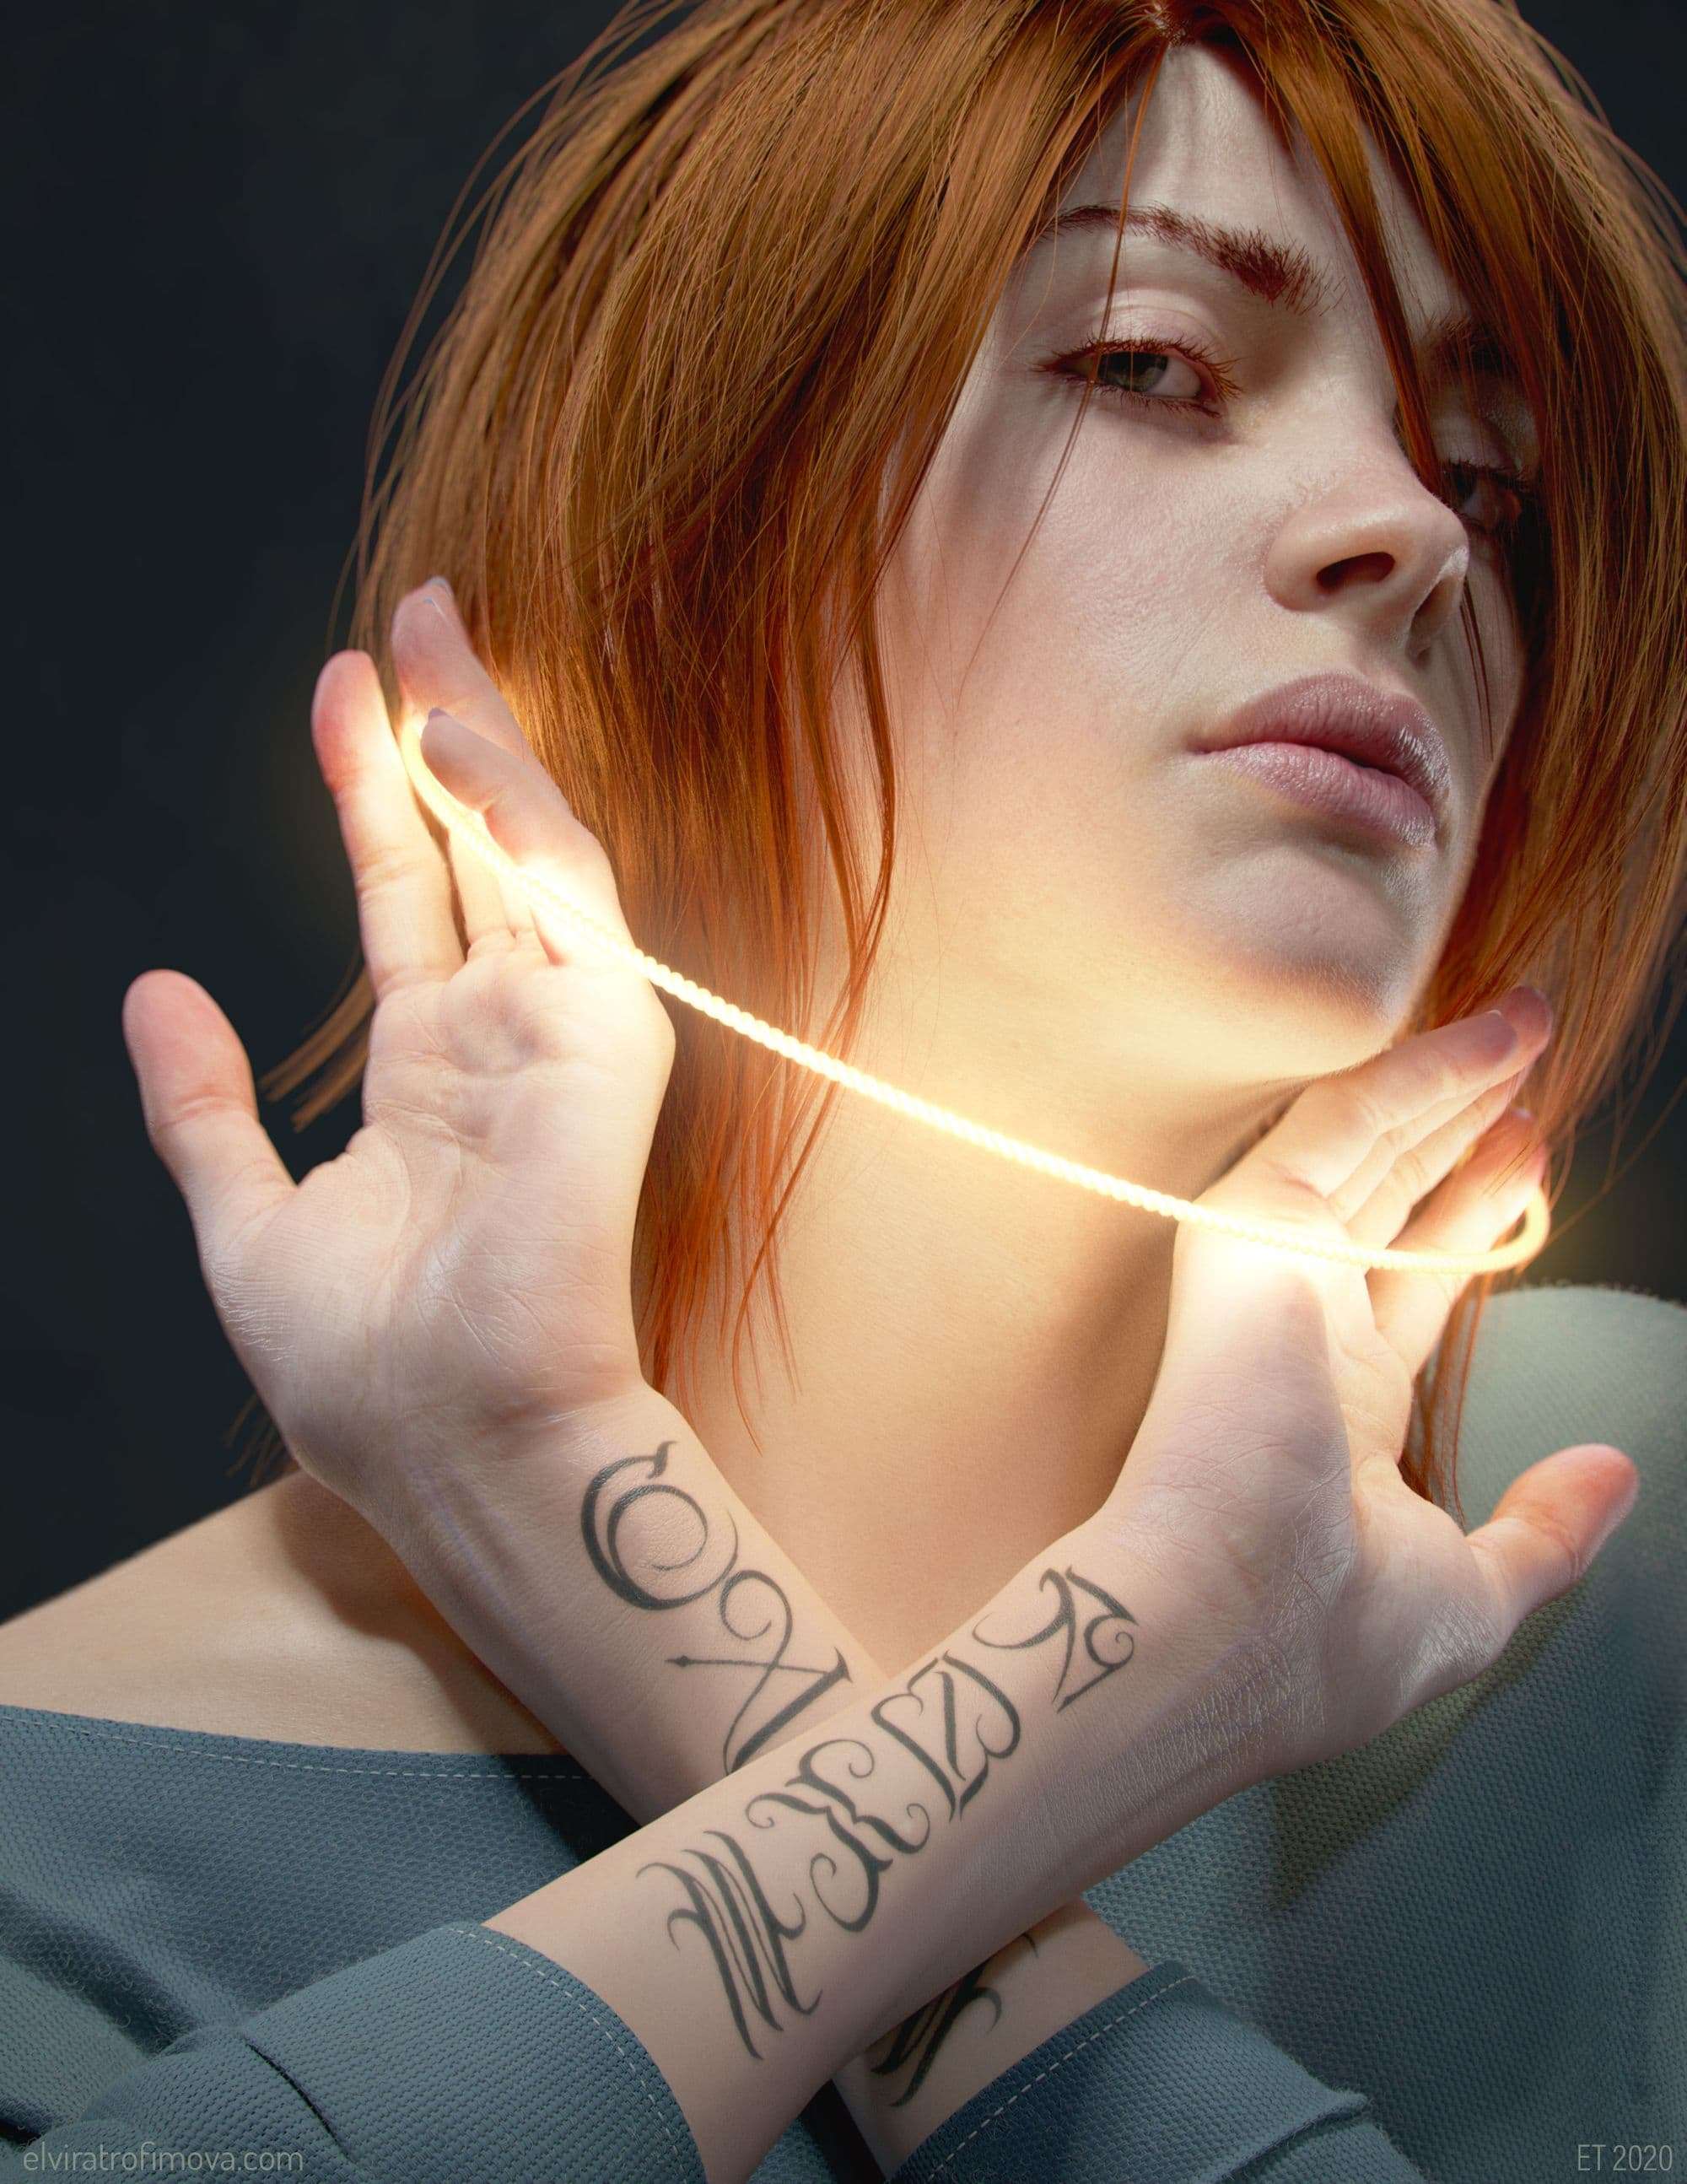
Hi, today I want to share with you the creation process of one of my works - The Noose.
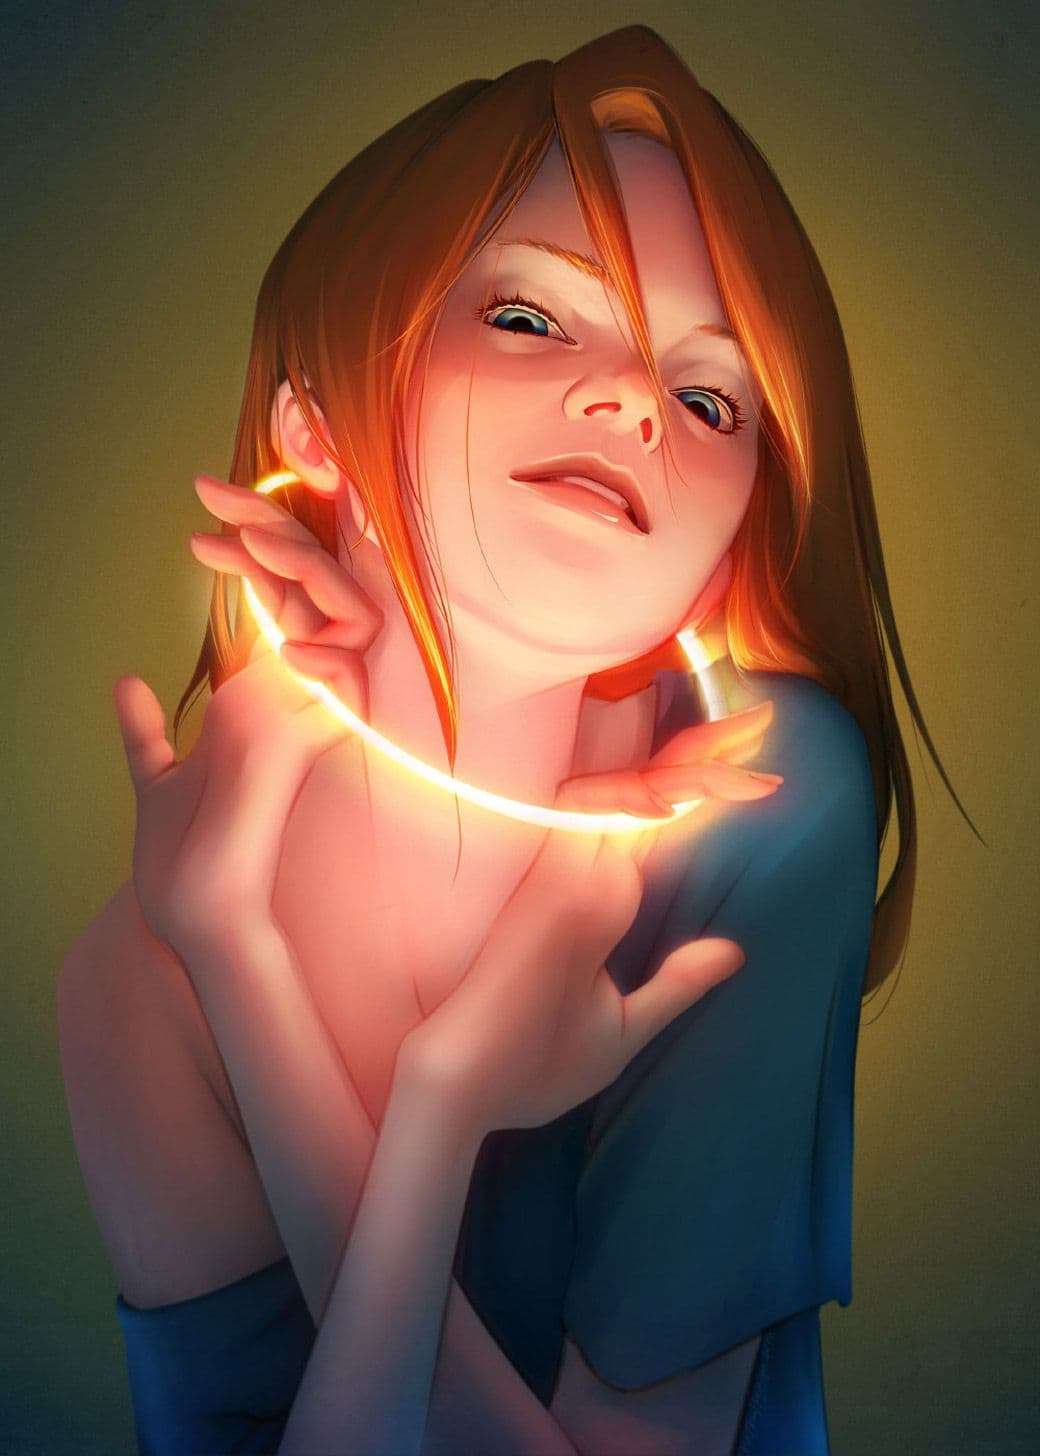
I took one of my old 2d illustrations as a concept because I wanted to have a room for experimentation and be able to adjust the concept as I see fit. I picked The Noose because I still liked the idea but was not super happy with the execution anymore.
This illustration is based on a namesake song by A Perfect Circle:
Your halo slipping down
To choke you now
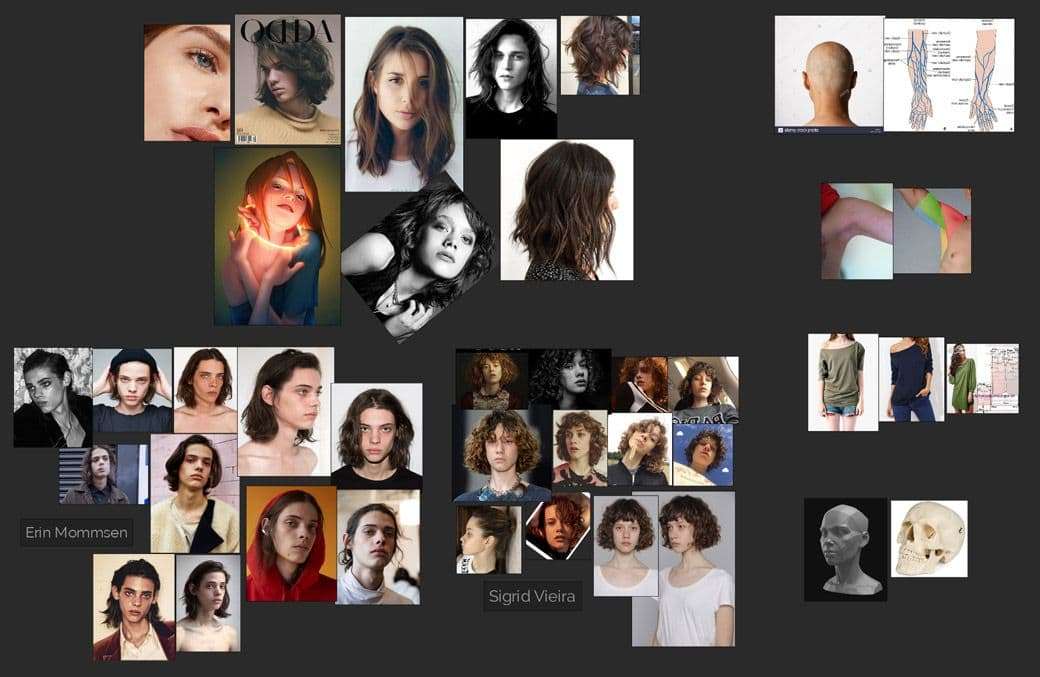
I wanted to challenge myself and picked young people as references. Even though likeness wasn’t the purpose of the exercise I still needed a guide to keep my proportions realistic. I used female and male models together to achieve sort of androgynous look. I found Erin Mommsen and Sigrid Vieira through Pinterest and loosely based my character on them.
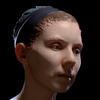
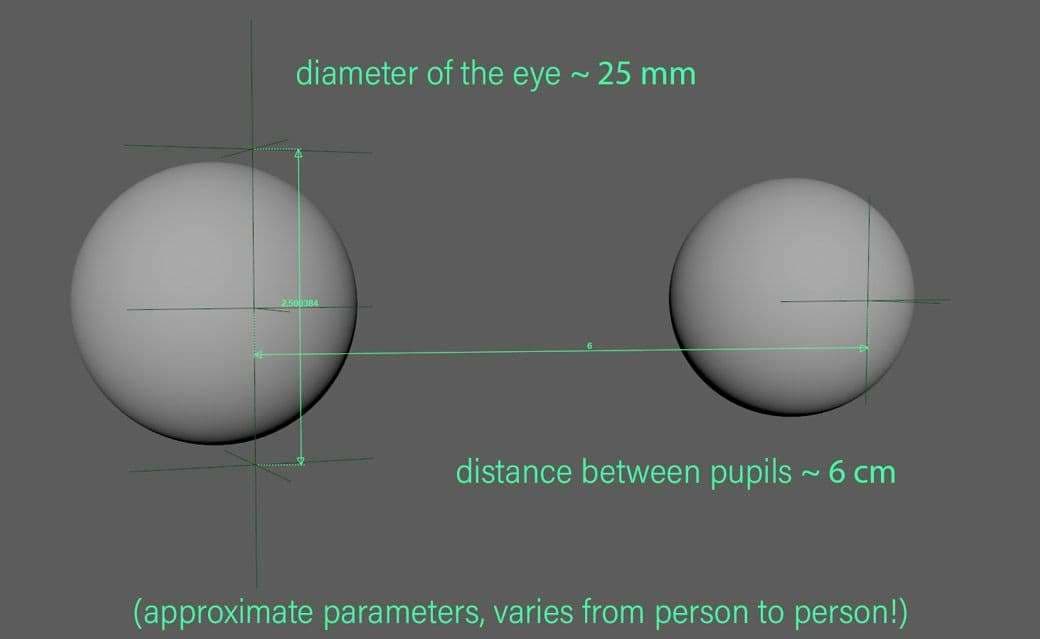
One of the goals for me was to make a more realistic face than I tend to do. I usually make eyes bigger so for this project I started blockout by placing human-sized eyes at the proper distance from each other. That was the constant that kept the face from being too stylized.
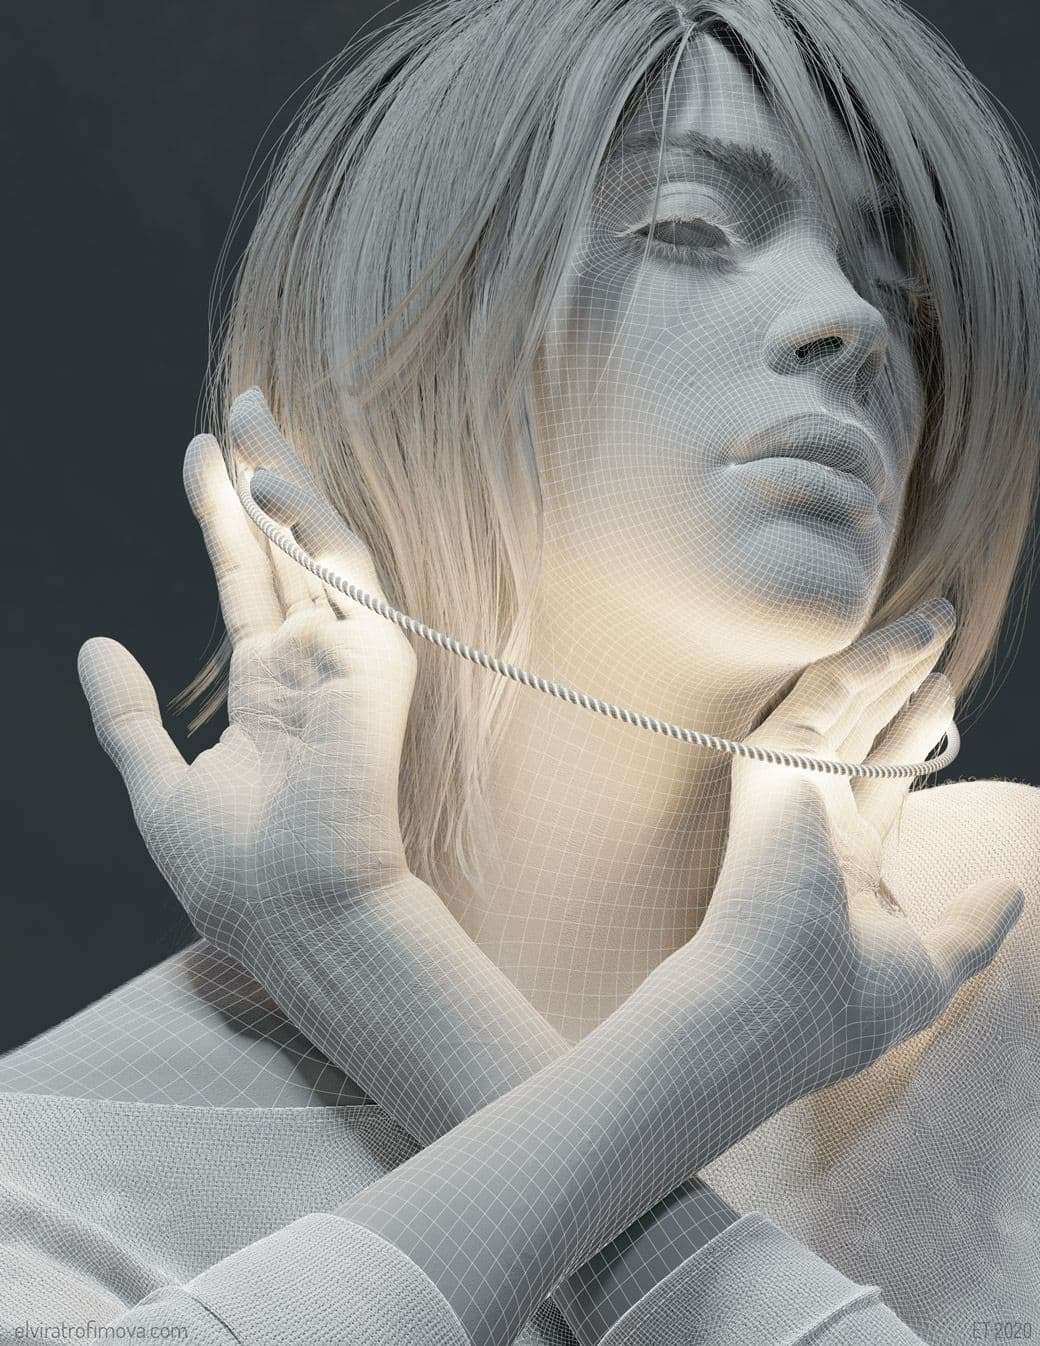
I wanted to have a nice topology to sculpt on so I started with box modeling in Maya. Once the low-poly blockout was finished I smoothed it and exported to Zbrush. I was going back and forth between Maya and Zbrush adjusting the topology to support my sculpt. I like solving topology puzzles so it was a very pleasant process.
The final topology is not optimized for animation but the goal was to practice texturing. Given the time constraints of the 10 week class I had to cut some corners.
I also enjoy working in Marvelous Designer and for this project I wanted to give my character a loose tunic-style top.
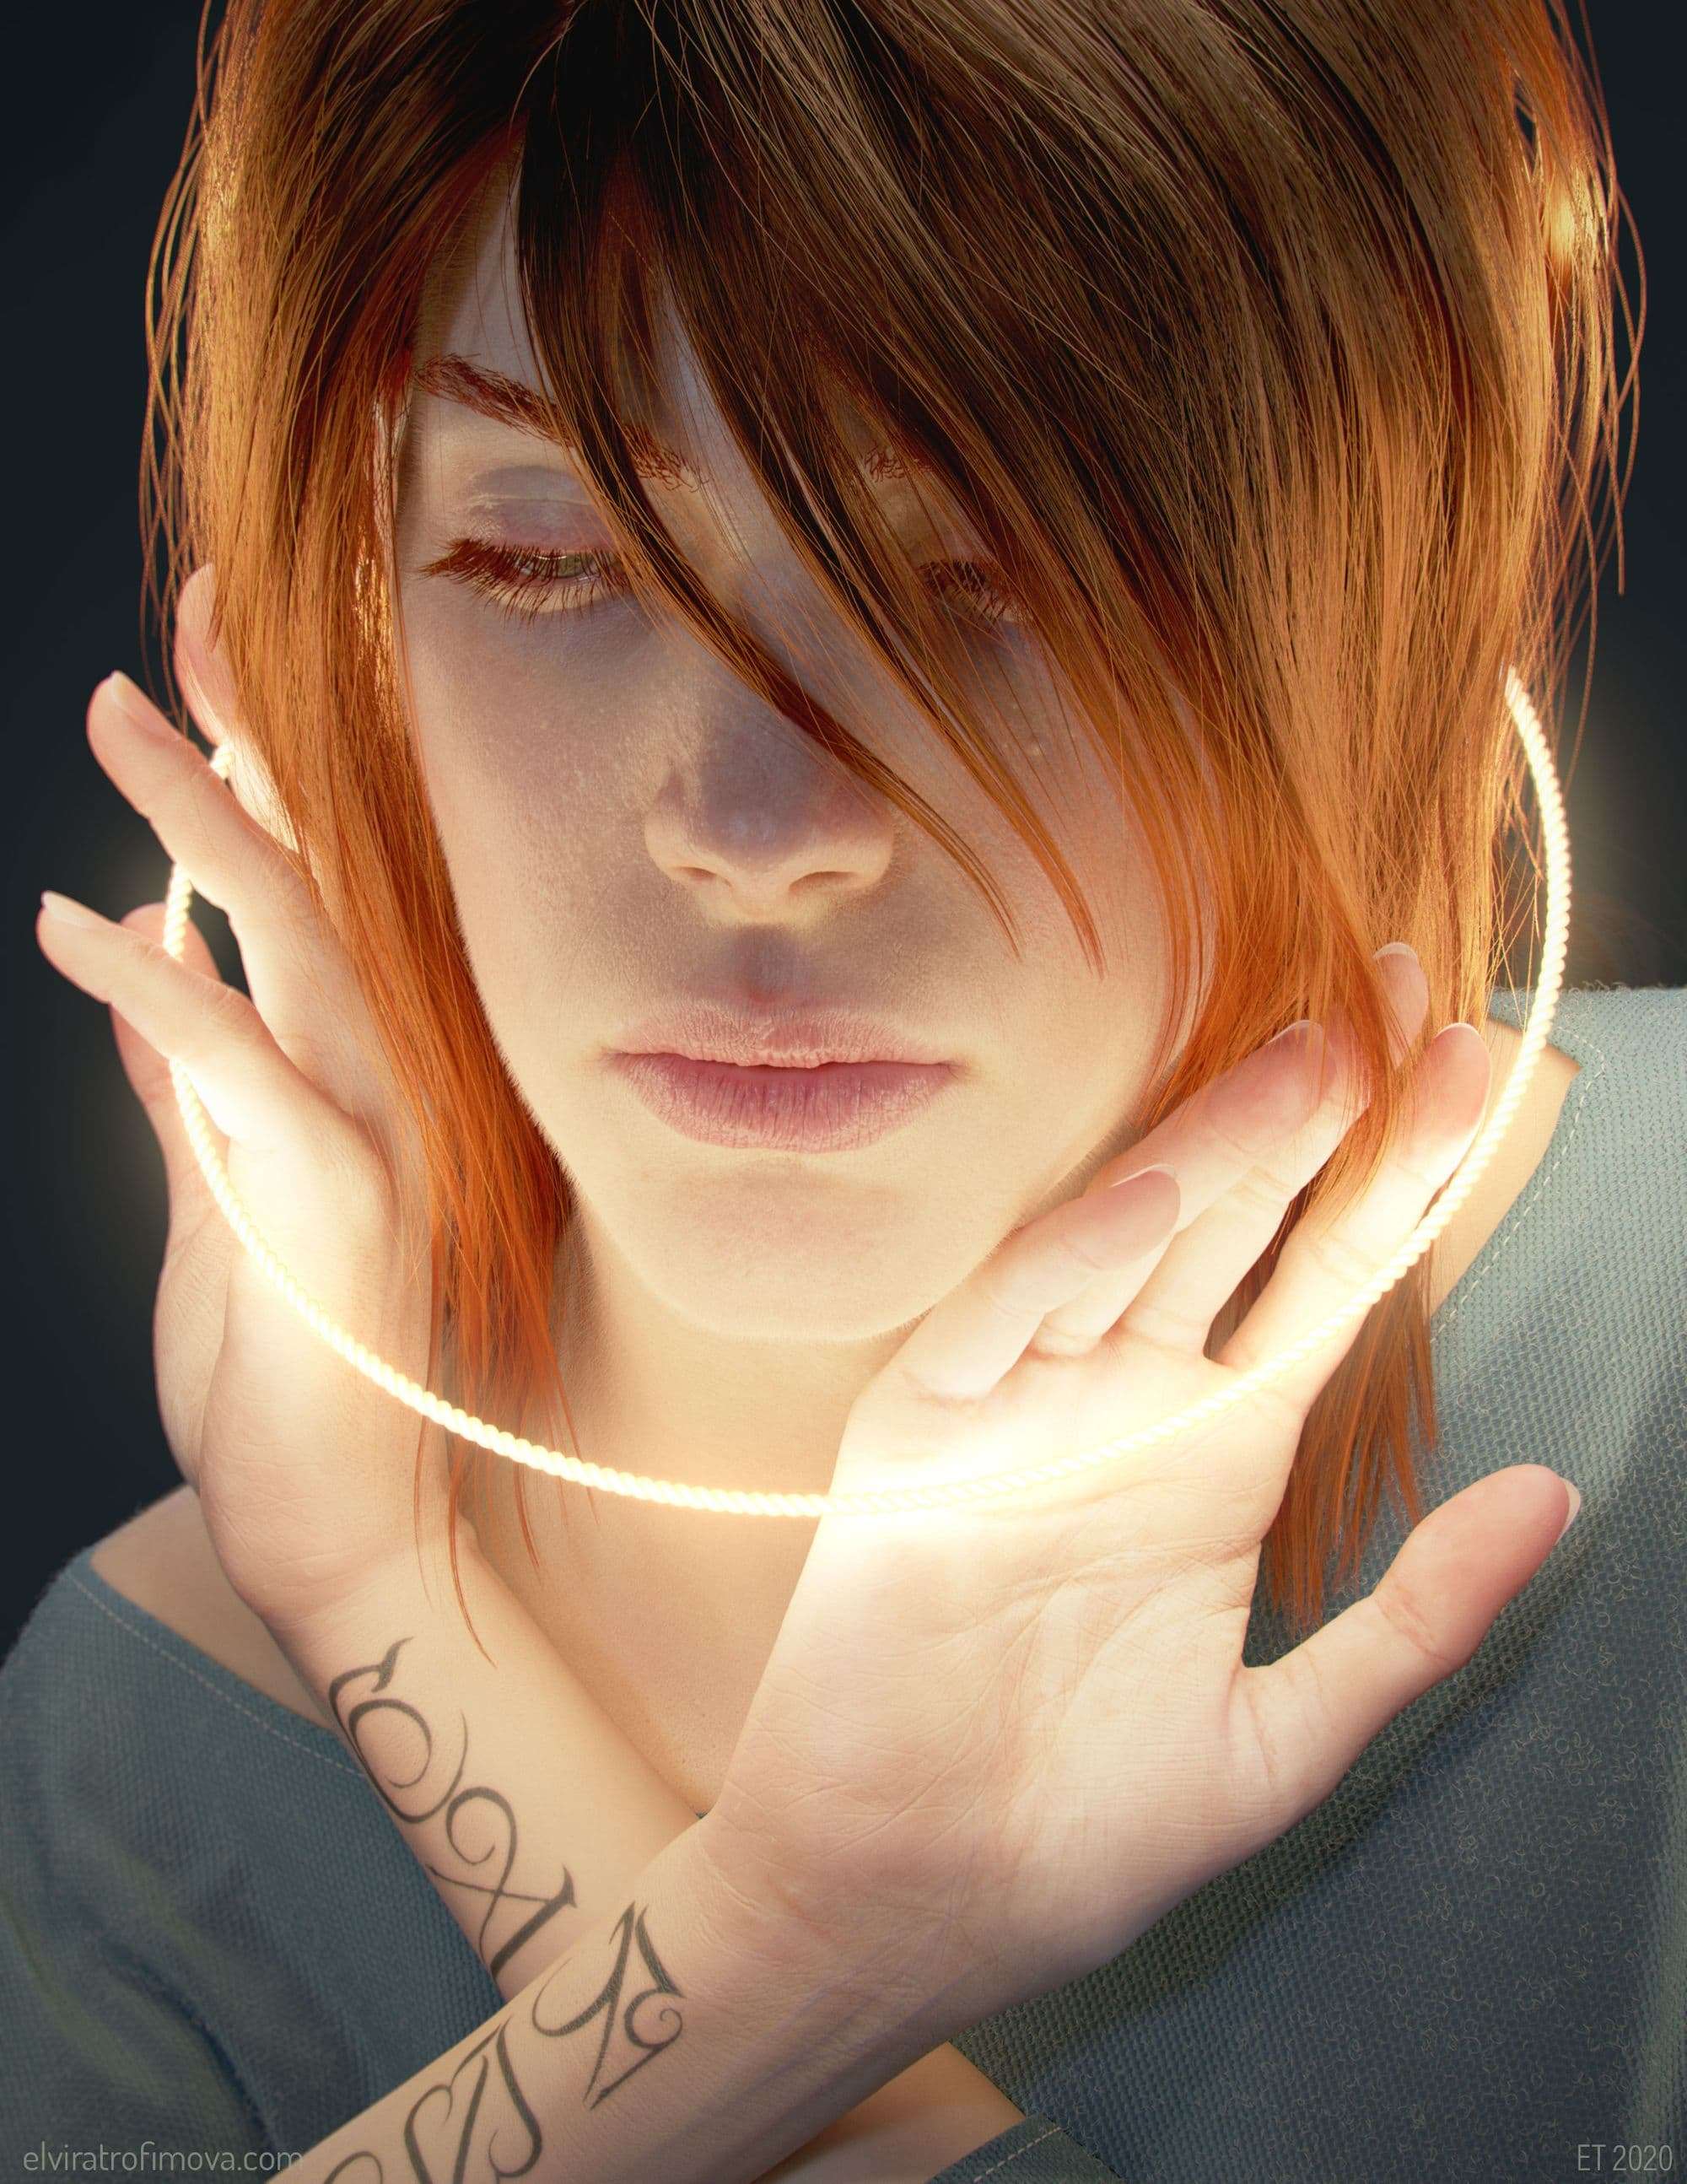
For the main shot I wanted her to look at the viewer so I aim-constrained eyes to the render camera and got a cool creepy result
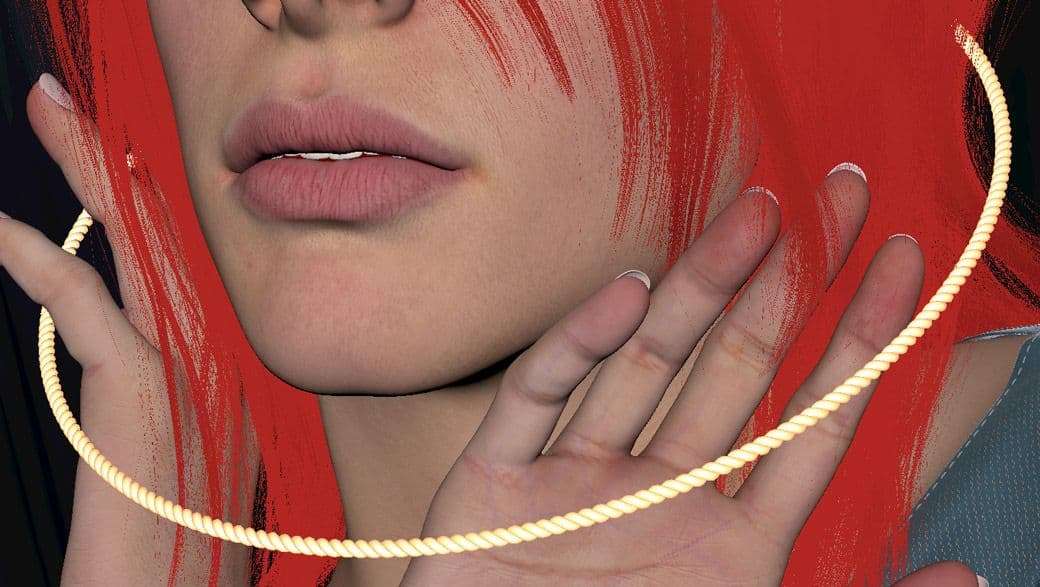
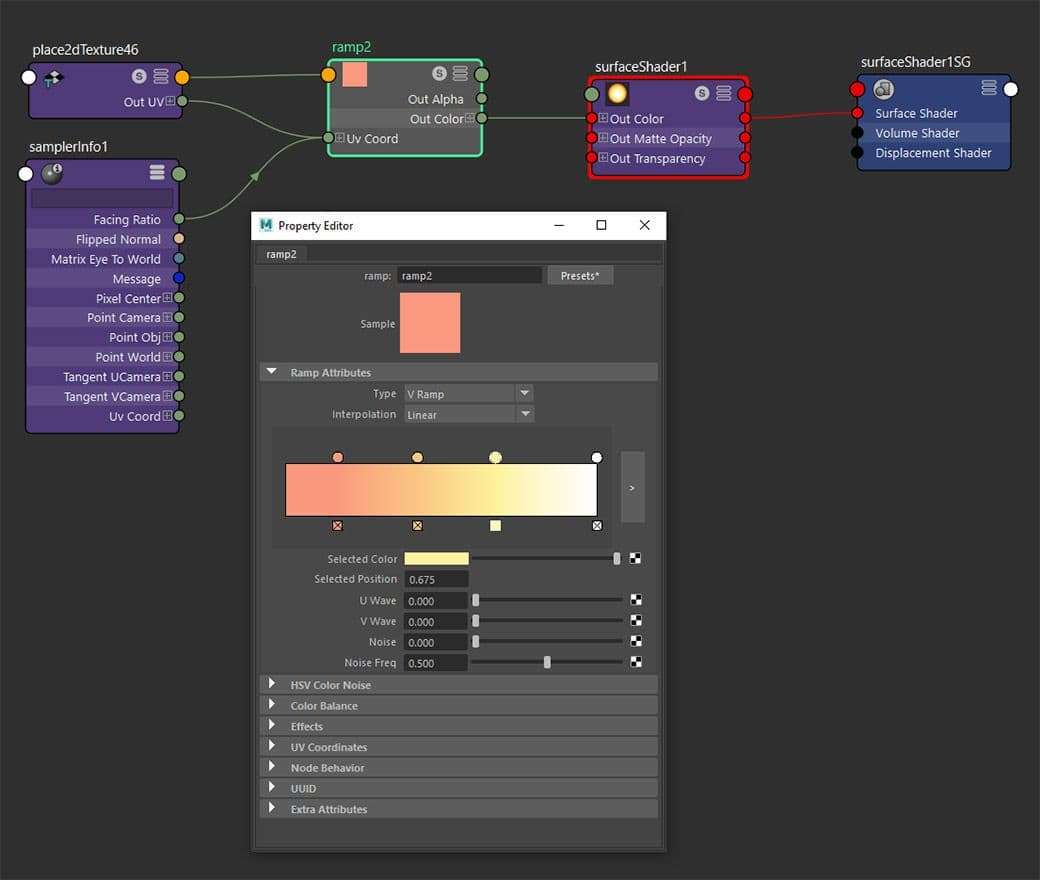
To make the halo I used two instances of helix shape slightly offset from each other
And Bend deformer to make a circle shape
The halo itself doesn’t emit light, instead it’s rendered with surface-shader material and SamplerInfo node’s Facing Ratio plugged into V coordinate of the Ramp (similar setup is used for fabric shader)
For the skin texturing we used Mari and Texturing.xyz resources. It was my first experience working with Mari and multiple UDIMs and it was super-fun. I especially enjoyed the ability to link-share layers between channels. For example to add a mask from tattoo to the displacement layer to raise the bump or duplicate red veins from subsurface scattering channel onto albedo and make them transparent blue.
To pose her I tried to use a quick Mixamo rig but the elbow area wasn’t behaving that well. Since I decided not to include elbows in the composition anyway and was short on time I cheated by duplicating her arms and just posing shoulders. I imported the posed version to Marvelous Designer to simulate the folds of the tunic.
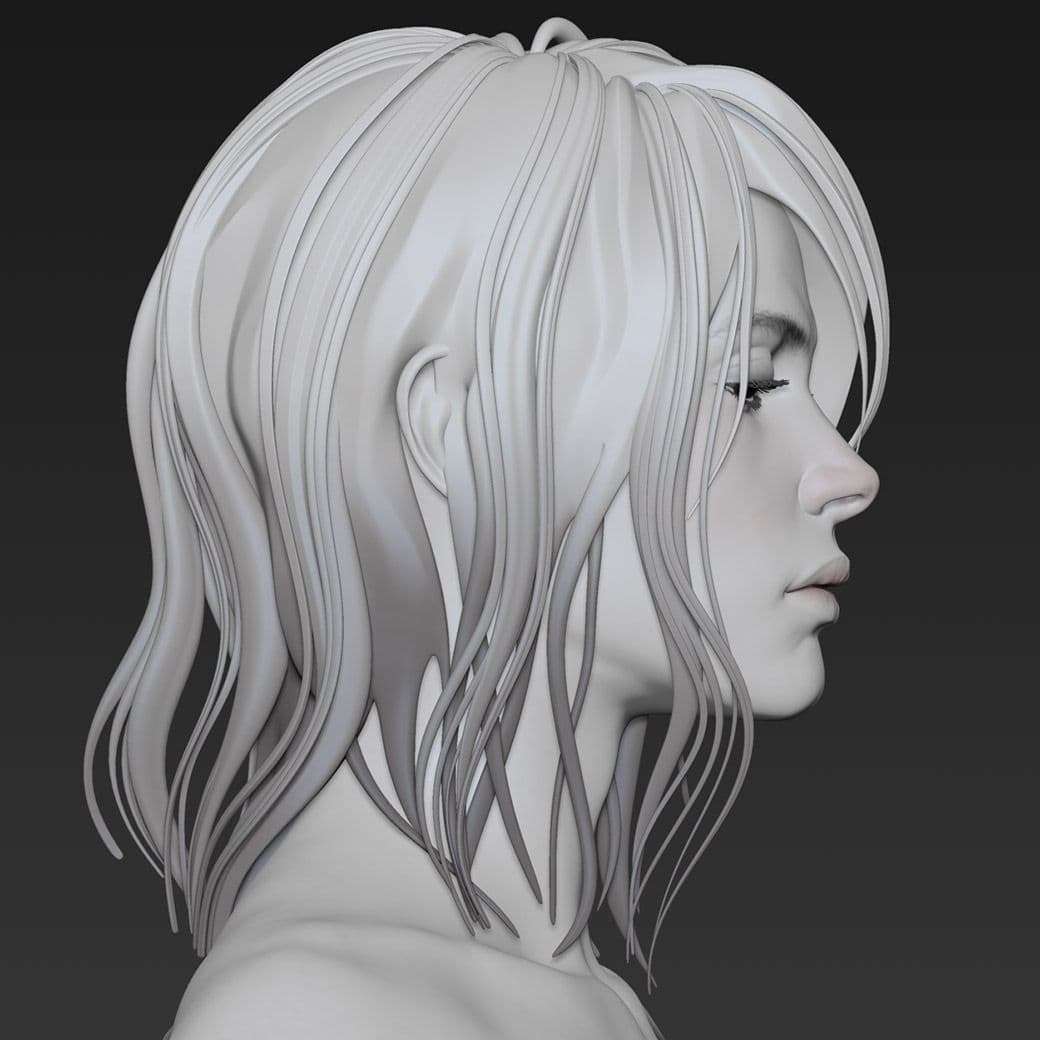
For hair blockout I used Dylan Ekren’s brush on top of roughly sculpted mesh (used SnakeHook brush to pull chunks of hair)
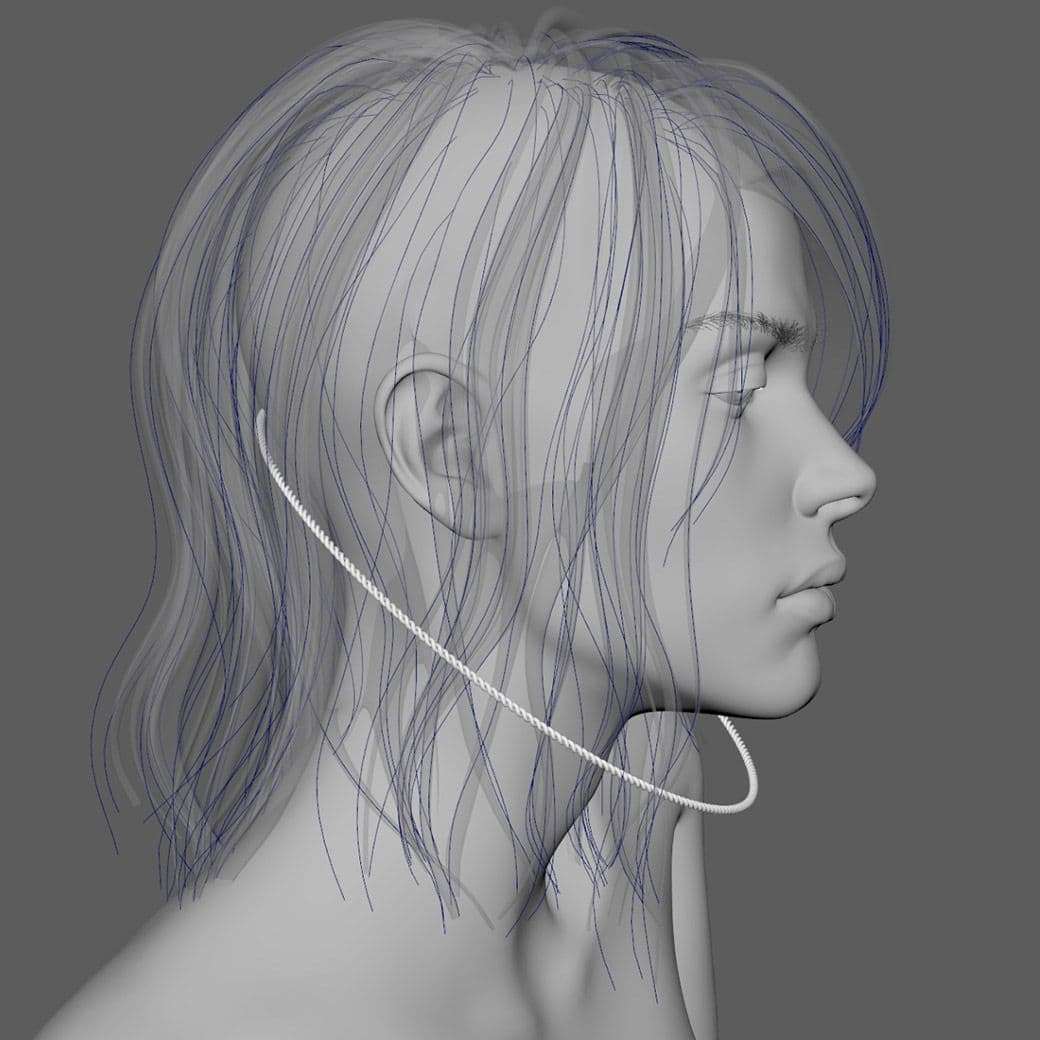
Then I deleted caps from DE brush’s chunks and exported mesh to Maya. There I selected edges of those pieces and converted them to curves, and also made my rough sculpt a live surface and drew some more curves on it.
(Not that many though, this is overkill)
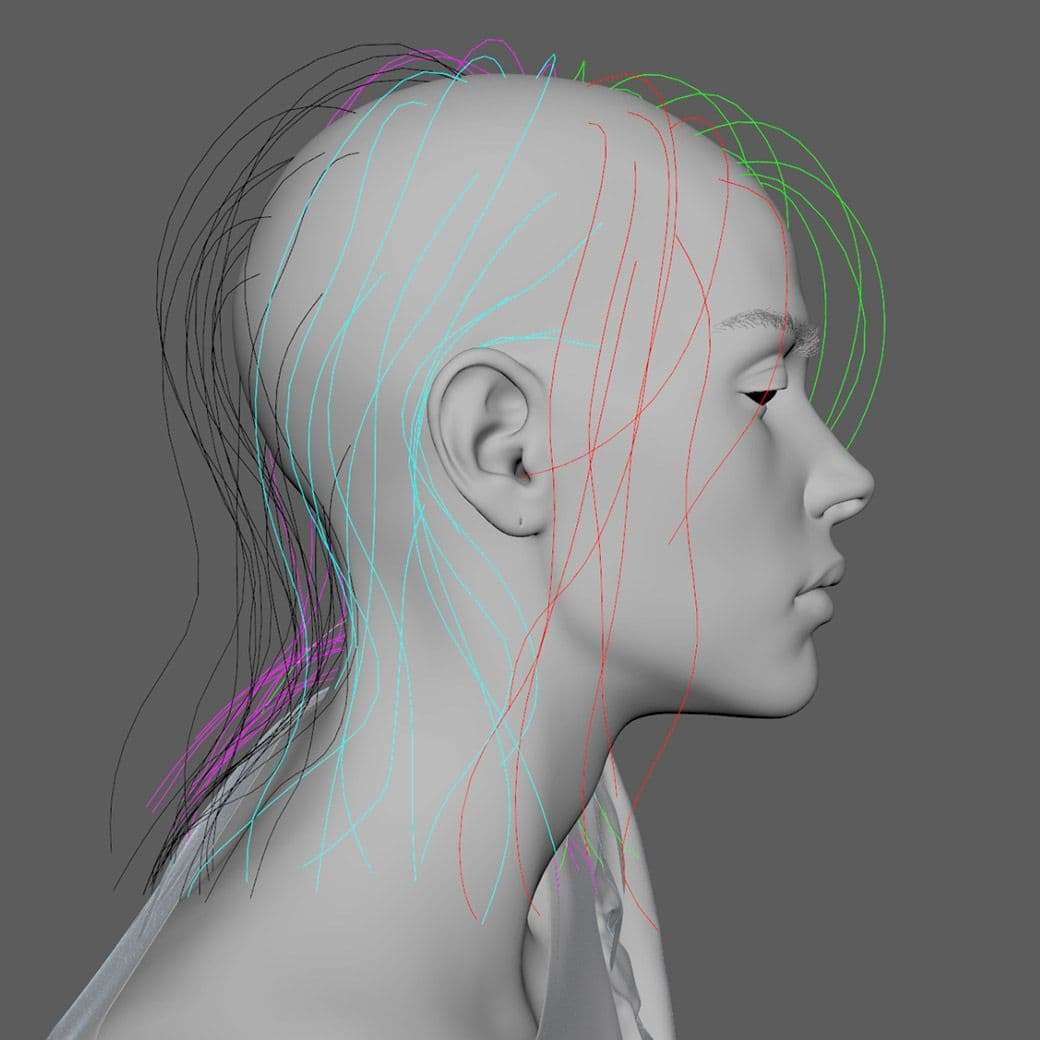
It's important to make sure that the first CVs of those curves are at the roots (Select—First CV) and if needed reverse them (Curves—Reverse Direction). Rebuilding curves is a good idea too, for this project I reduced them to 12 CVs but that depends on the length of the hair. After creating XGen Description I used Utilities—Curves to Guides and generated my hair. I painted a region map to make sure XGen separates the regions where I need it.
After all the standard modifiers applied (Clumpings, Cut, Noises) the result was acceptable but I wanted to push it even more. I converted it to XGen’s Interactive Grooming System and tweaked some areas manually.
For the presentation I experimented with 3-point lighting setup but at the end I only kept rim light and HDRI dome with texture from hdrihaven.com as a subtle fill light (~0.1 intensity). The lighting and lookdev process looked like this
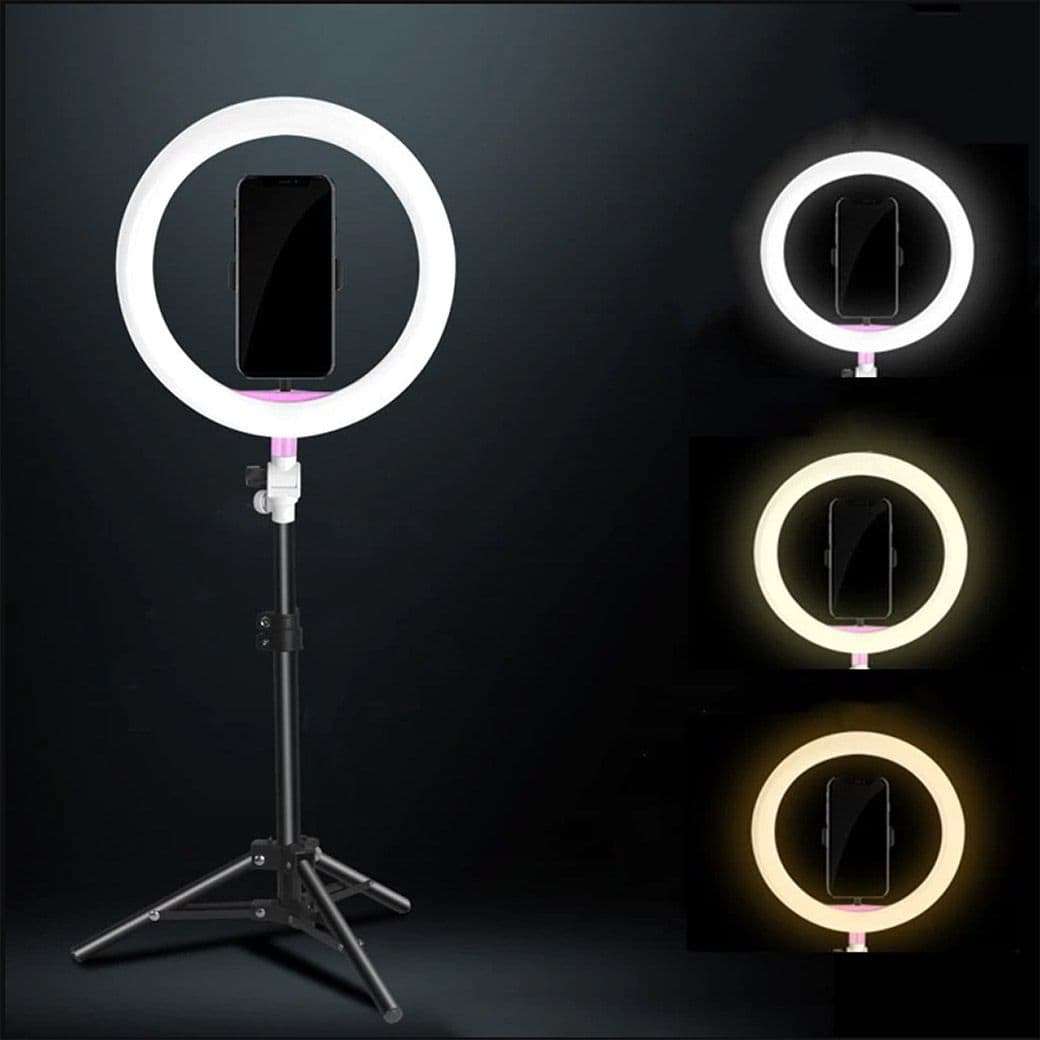
Since I was looking at that angle for 10 weeks I decided to render some extra shots and experiment more with lighting. I ended up bringing HDRI’s intensity even lower, duplicating and scaling the halo (invisible Vray mesh lights) to make the contrast higher and improve composition. The soft light from halo is similar to those ring lights for selfies
(Image from Google)
The final composite was done in NukeX. I used ZDefocus to blur the background and Glow for the halo.
Since it was the first time learning this workflow, the most challenging part for me was, well, the process itself. I just had to trust it and carefully execute each step hoping it all will come together in the end and I’m very happy that it did.
My advice is — trust the process and follow it all the way through.
Thanks The Rookies for the opportunity to share my work and thought process. Special thanks to my instructors Tran Ma, Anton Napierala, Miguel Ortega, my classmates, Gnomon faculty and instructors and my clowder Musya and Alex.