
Automation versus Manual: Beginners Guide to 3d Texturing
This blog highlights new ways to enhance your texturing workflow. How you can push your procedural materials a step further with filter creation.
This blog highlights new ways to enhance your texturing workflow. How you can push your procedural materials a step further with filter creation.
Two years ago Johannes Boivin was studying in mechanical engineering and it was mostly the storytelling aspect and the creativity that was lacking in these studies. So he created a portfolio and applied to the 3D animation program of Dawson College in Montreal. A big part of the work is problem solving and being able to think technically as well as creatively brings the best of both worlds.
As an artist we always want more time to polish our piece further. Saving time in our workflow means having more to get in the details that matter. In texturing, this often involves using procedural and tiling materials. This might give an even result without artistic insight. But, I will present how I balance tiling materials and how filter creation can make your texturing workflow faster.
Whenever I start a project it’s important for me to figure out which part of my scene is a hero asset. A hero asset is a unique asset that needs special attention during the gameplay. In game’s environments this is a critical part as the artists try to make their environments modular. Making the environment with Trim sheets means having more time to put the effort where it counts. We can apply this idea when making our personal projects, as, based on our concept, we know how much screen space the assets will take, if there is fog etc.
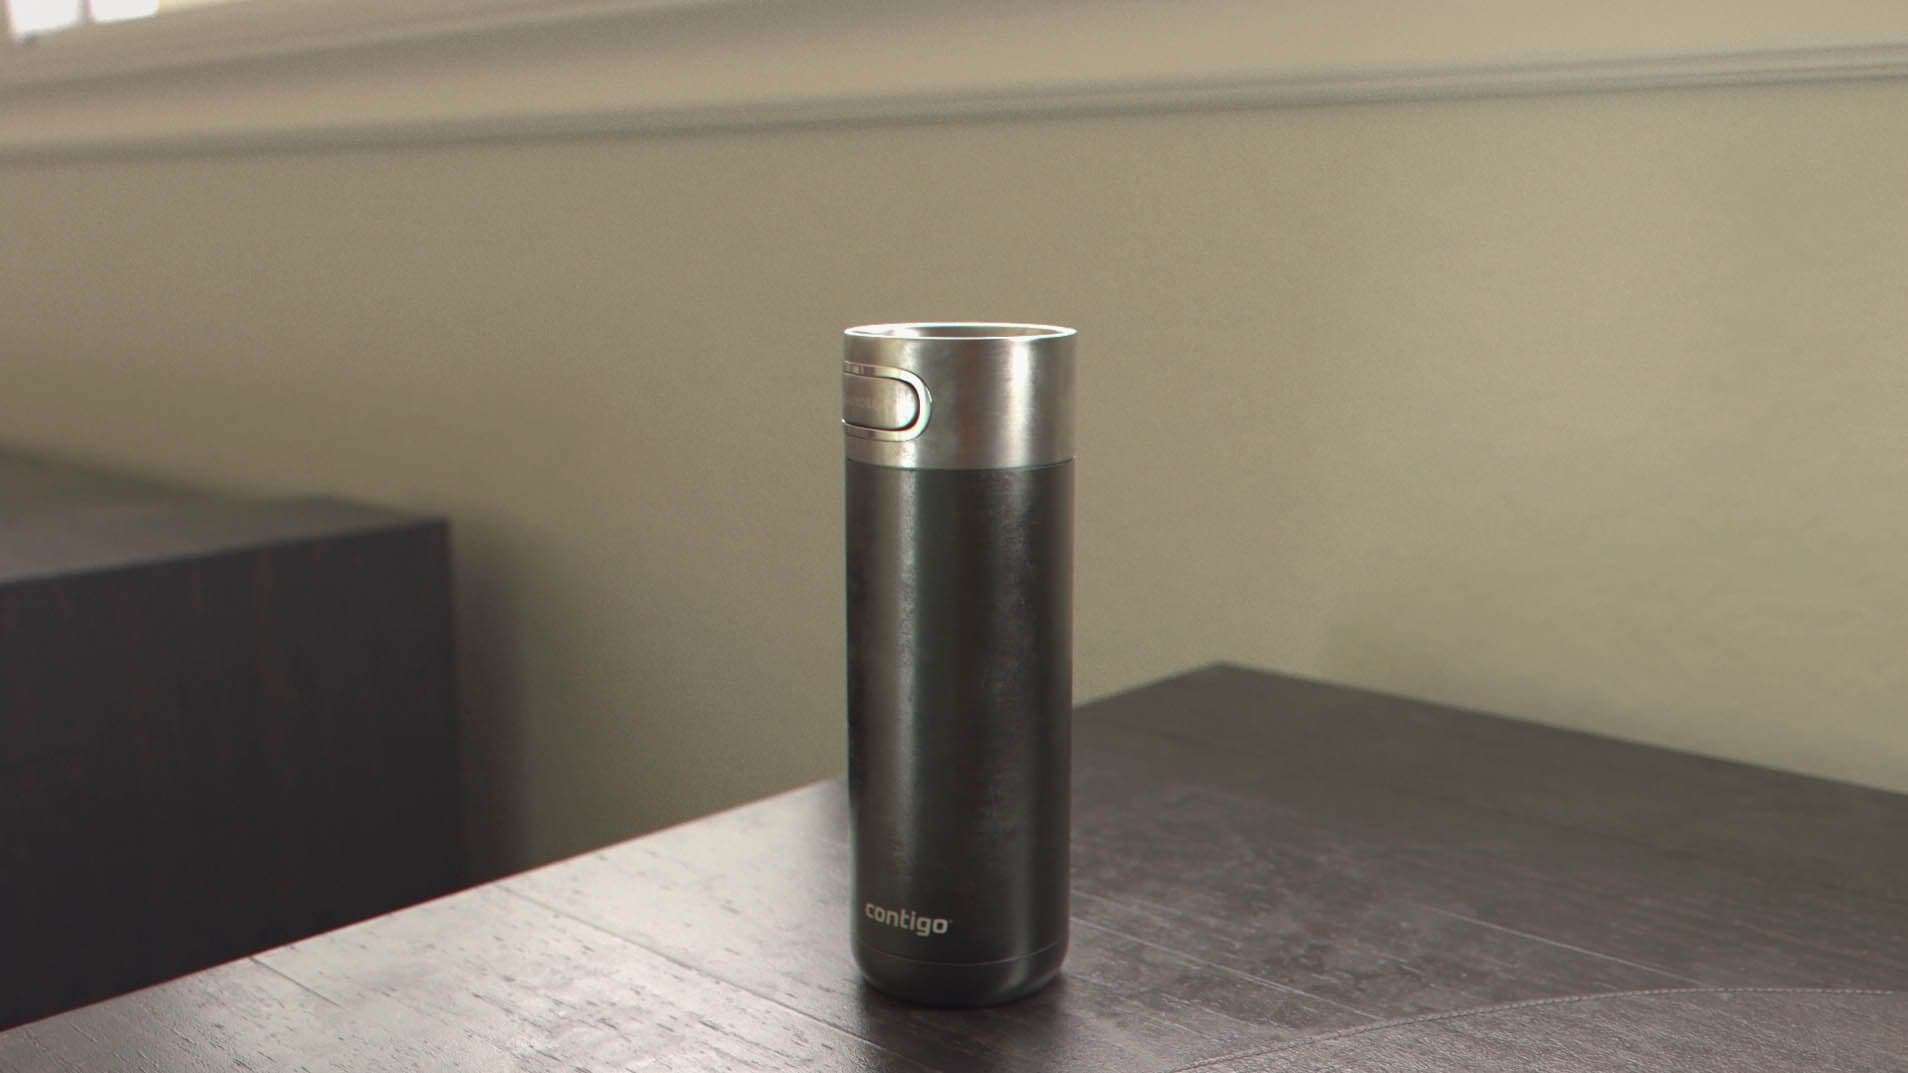

It is important to have a focus; bring the attention of the viewer towards a certain part of the frame and center your work time in this area.
In this picture we can see that my bottle is my hero asset, it is a unique object and it is the center of attention. The desk is in focus and right under the bottle and thus needs a careful attention to detail. But, since we only see a small part of the desk I decided to make a detailed tiling material. This also solved the case for the other piece of furniture since I could give it the exact same material. For the desk cover I made a tiling leather material and added the stitches in substance painter. The wall wasn’t fighting for attention, thus I simply added a bump map with Maya’s fractal noise. For the moldings, I didn’t need more effort than adding a color and setting a roughness value.
When creating a filter I like to refer myself to 2 principles: simple input/complex output and mesh and user involvement.
It is important to have a focus; bring the attention of the viewer towards a certain part of the frame and center your work time in this area. The exclusivity of a hero asset brings attention to itself and thus requires the highest amount of details. A tiling material is cohesive as it brings a uniformity to the frame. To make the material cohesive with the mesh, some quick painted details might be all it needs. At the start of a project, figuring out where to spend our energy is a critical step to get the results we aimed for.
Although I talked about having focus within a single frame, how do we achieve focus in an entire production? If want to make a forest and texture hundred of rocks, how do I save production time while keeping a high quality benchmark. This is where procedural materials and filters comes in handy.
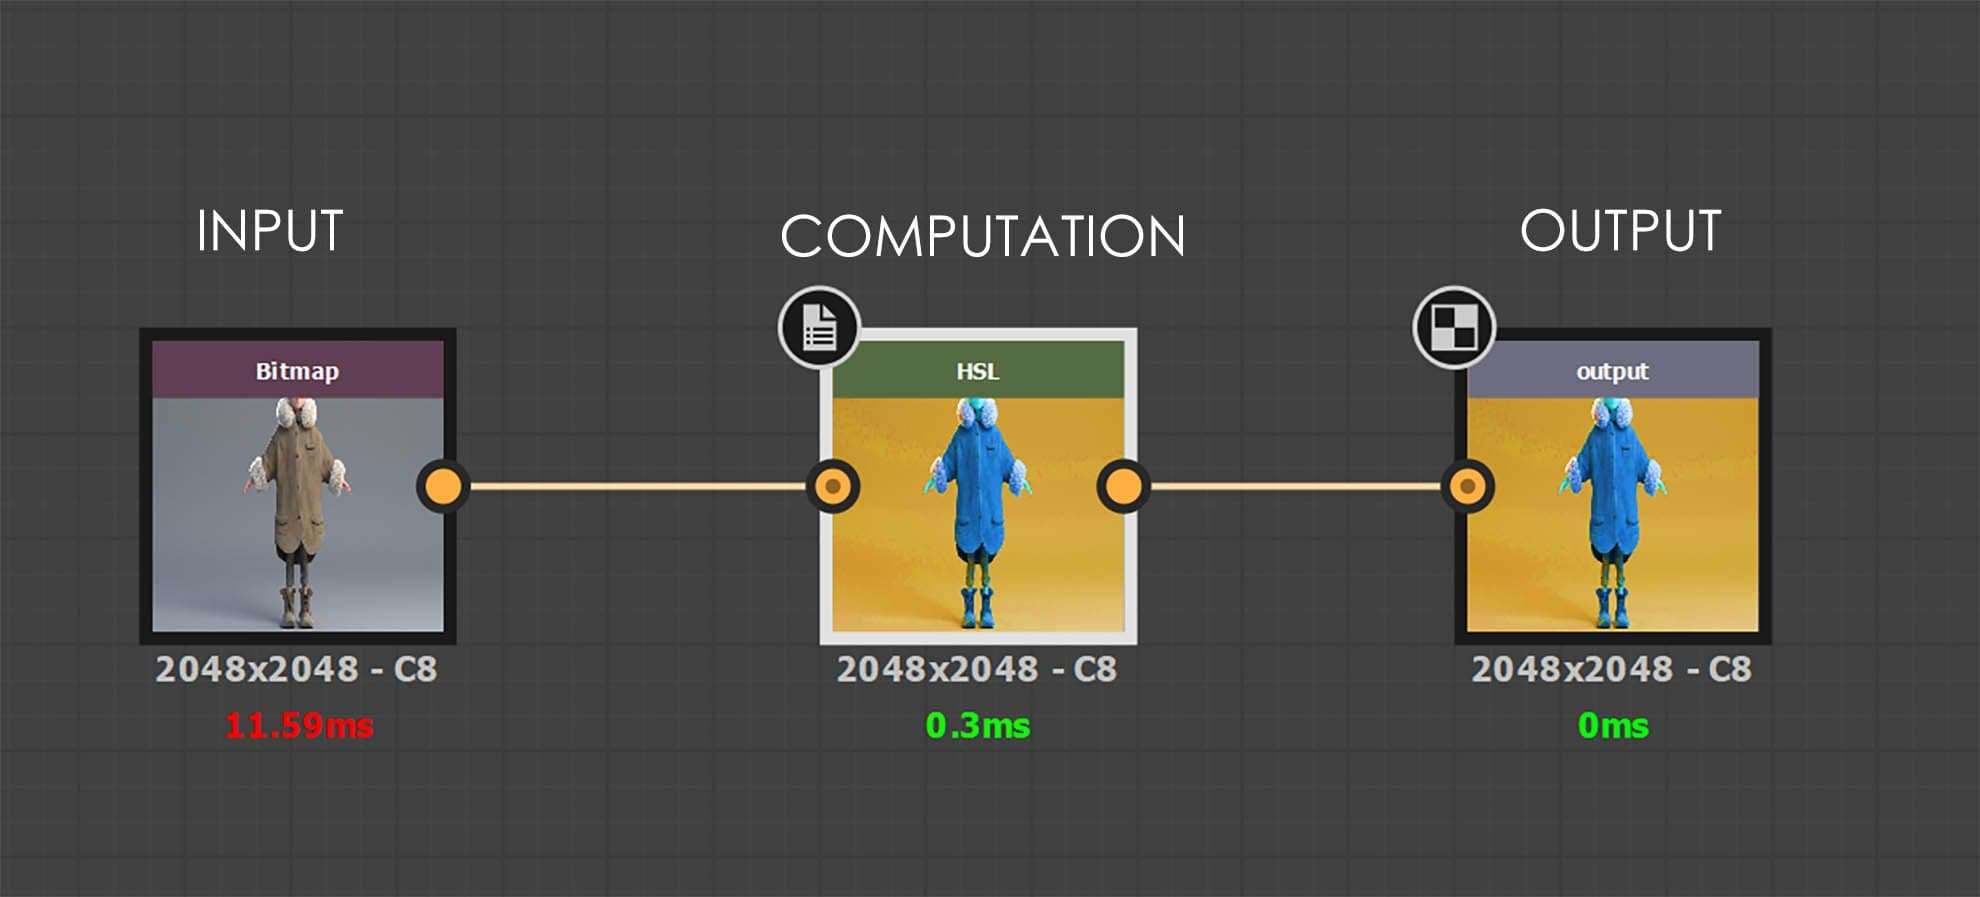
First of, what is a filter? A filter is a series of calculations that transforms an input into a new output(s) . Substance designer relies almost completely on filters, here’s how the HSL node (hue, saturation, and lightness modifier) is a filter:
Creating a filter means giving the user the ability to give input data.
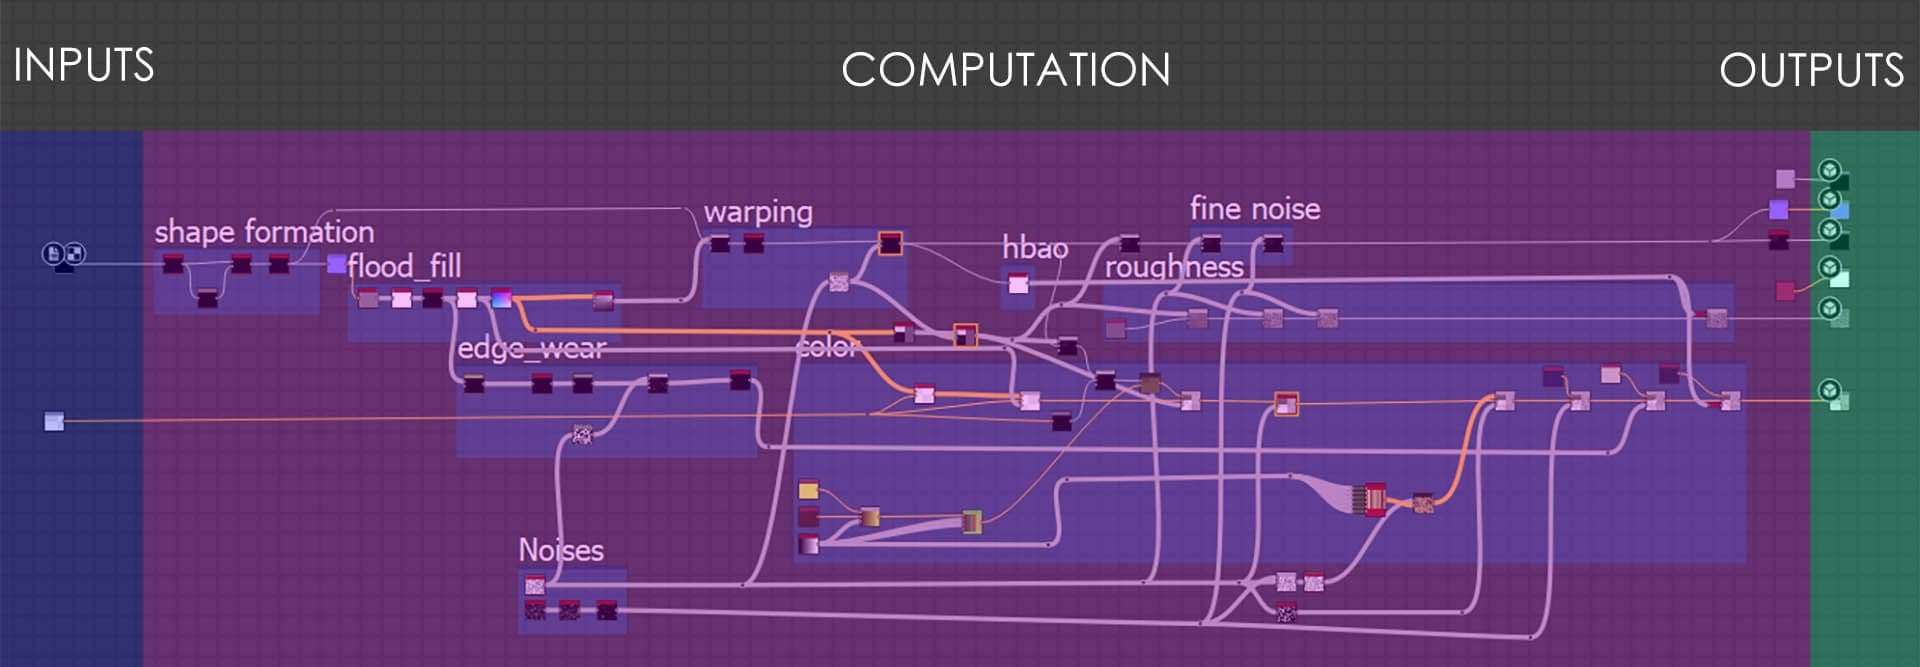
In this picture, we can see the HSL node take an input then make some color calculations and outputs the result. The calculation can be as simple and complicated as it gets. Here’s an example of a filter that I created that takes 2 inputs and outputs a complete material.
When making procedural materials in Substance Designer we use the filters (nodes) to warp, blur,and transform the inputs. But a procedural material is not a filter since it doesn’t take an image input. With procedural materials, you can expose parameters,for the user to change the result. The user changes the calculations of the nodes but doesn’t change the input data. Creating a filter means giving the user the ability to give input data.
The pillars of Substance Designer are atomic nodes, these nodes are the filters that Designer uses to make any material. By mixing them together, not only can you create complex results, but you can also create new filters. The software works on the concept that, by connecting simple nodes together, you create a more complex one. This new node can be used to get even more complexity. (also called Sub-graph)
PS: If the node you’re using is red, it means it is a sub-graph. You can press CTRL+E to open these sub-graphs and see how they were made.
Here’s some links from the docs to help you demystify nodes, filters, parameters, sub-graphs etc.
Enough theory, how and when do I use filters? Let’s take the previous example of the forest: you want to create a large number of rocks of different size.
They should look something like this:
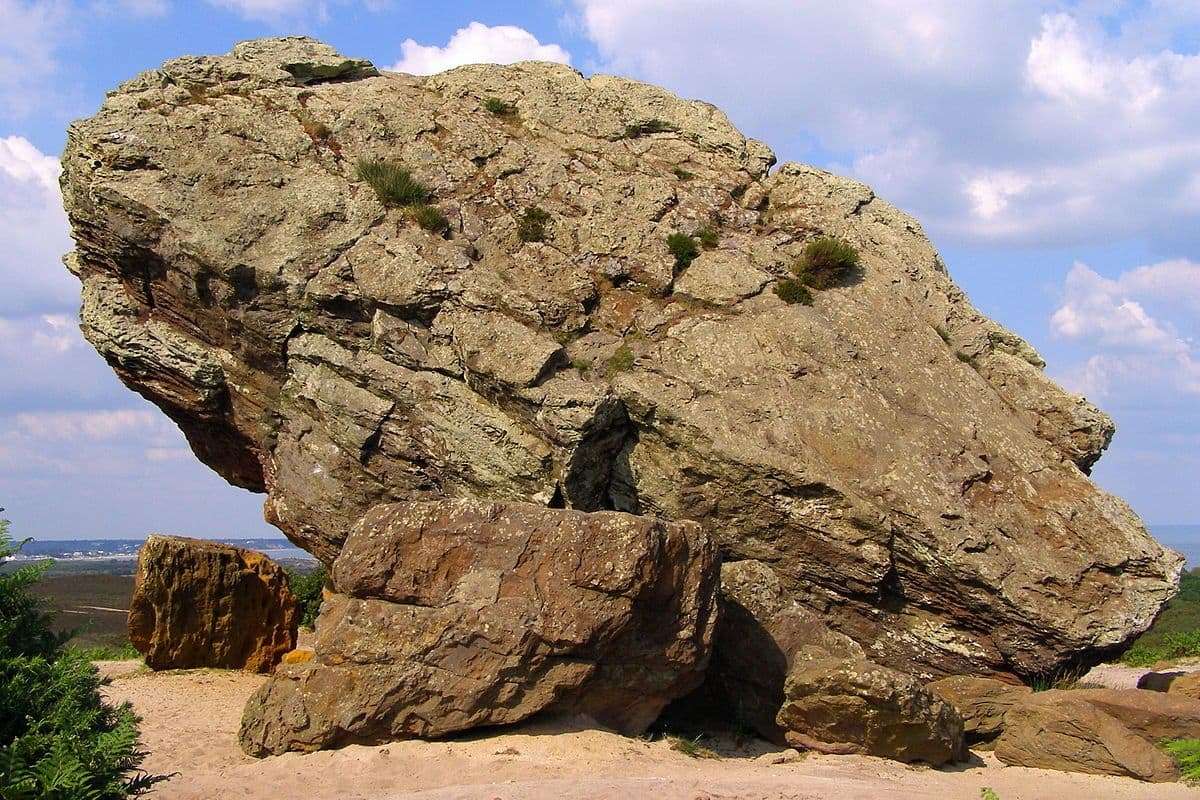
You first decide to model some basic rock shapes. You then create a procedural tiling material to make it look like this rock. You give your material some cracks, some overlapping shapes, some dirt, even some detailed stratum. You then expose some parameters for the user to change the crack amount the color and amount of the dirt etc. But what if you pushed this material one step further by making it a filter. What if you chipped the edges of your mesh based on its curvature.
Based on the ambient occlusion of the mesh you could add dirt. How about if the stratum position was based on it’s World Space normal position. What if the rock’s base color was based on the color the user painted and then warped to make it fit with the rock details. What if the user could paint where he wants the cracks to be. These are all simple examples that make your results reach the next level.
From your basic procedural material you get an even result. By adding the filter component you can reach a uniqueness for each rocks that makes it organic. Another example is if you want to transform any picture into a painting. Your filter would transform the color input to make them look like brush strokes.
Emrecan Cubucku explored this idea by transforming the input into a full material.
If you’re unsure on how to create a filter here’s a good tutorial to get you started:
When creating a filter I like to refer myself to 2 principles: simple input/complex output and mesh and user involvement.
The first and main goal of a filter is to save time. By giving my filter a simple input, it does not only save creation time but also gives much more iteration flexibility. Now, by adding a level to my picture input the output changes completely. By complexifying the result, a simple modification to the input goes a long way. The director could sit next to me and in matter of seconds I could create a completely different result. By having more iteration time I also make the results better as I can get the exact look I want.
When creating a material we constantly take artistic decisions along the way: where are the cracks placed, what is their shape, what is the color of a rock, how do the shapes overlap etc. By getting the user (or yourself) involved in the creative process, you insure that the result adapts to his vision and to the needs of the project. For the rock filter example, the user now decides what kind of color he wants on his rock by painting it, he decides which part of the rock should be bumpy or not.
The filter then interprets this data and uses it too change the material. Letting the user make the decisions insures that your filter is flexible and will be useful for a long period of time. Involving the mesh in the material is as important; it makes the material unique to the mesh. When the material depends on the curvature of the mesh or its orientation, you get a sense that the texture fits with the mesh.
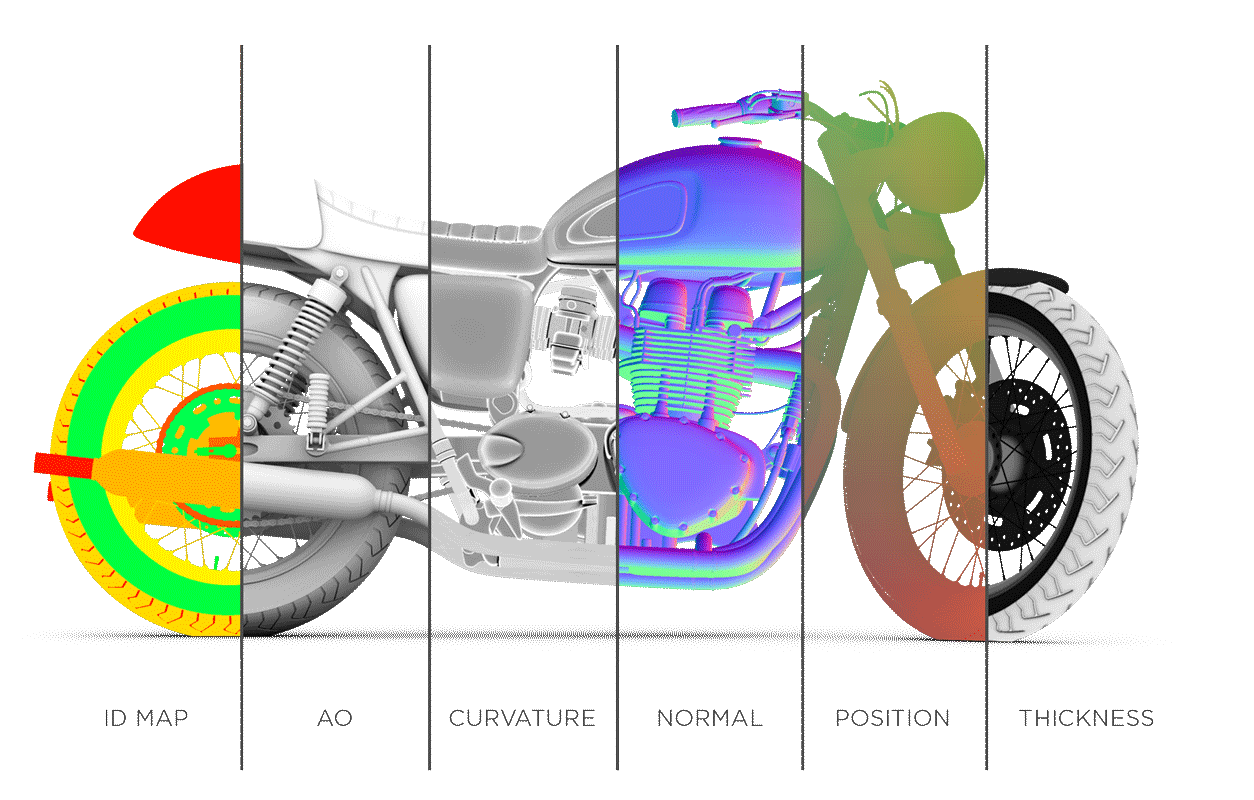
Here’s all the basic maps that get baked from your mesh in substance painter. Using these maps is primordial to make a material related to the mesh. You can use as much of these as you wish and can even create some custom one. You could create an age mesh map and paint in black and white which part is older or younger. An important learning curve is how do you use this data to get the desired results.
How to get predictable and consistent results when using these maps. What are the limits of the maps to ensure the tool doesn’t “break”. In the end, when the tool comes together you get a new powerful node that you can use for all your projects. You will also be able to extend the tool with other tools, making a complex algorithm to help your workflow.
Here’s how Ben Wilson created his Color Variation filter and some precious information about data usage.
Although a tool of the sort takes time to build, the benefits you get in time and in quality makes it worth it. I hope you learned something about filter creation and how to make your texturing workflow faster.