How to Integrate Explosion Simulations into Live-Action Footage
Creating the smoke trail effect was a technical challenge. Simulation of fluids such as smoke, fire, explosion, and water in Houdini is calculated in the bounding box. Since the bounding box is a voxel unit, the larger the box, the longer the simulation time.
FX Artist Park Sangbin, a self professed "Master of Disaster & Nature FX Artist", takes us through his process of integrating explosion sims into live-action plates, from concept to final composition.
Reference and Scheduling
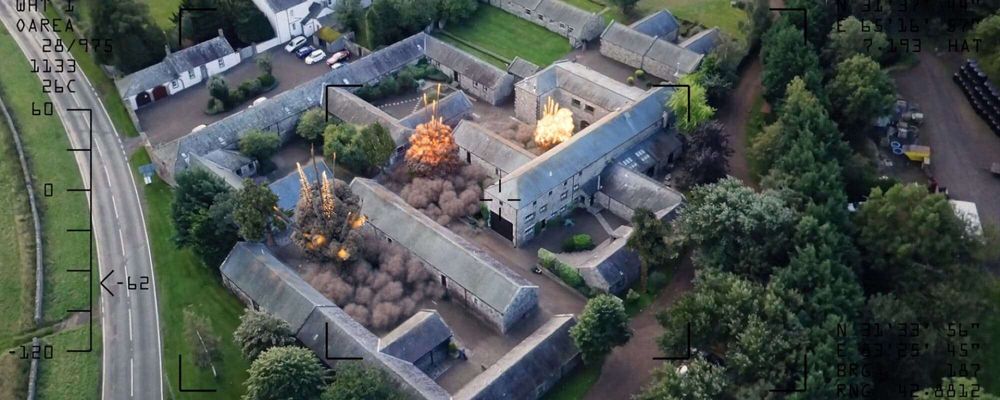
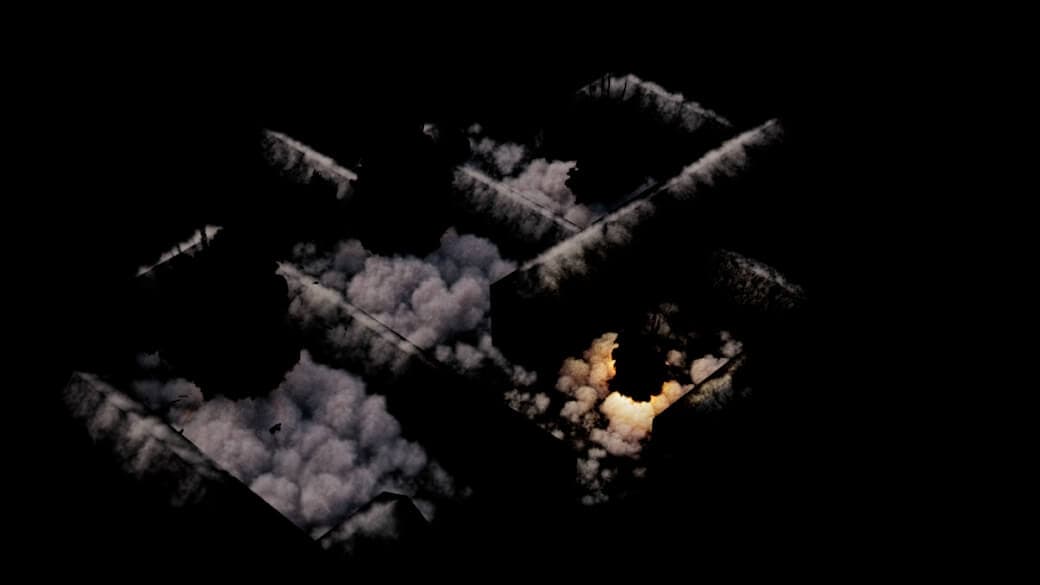
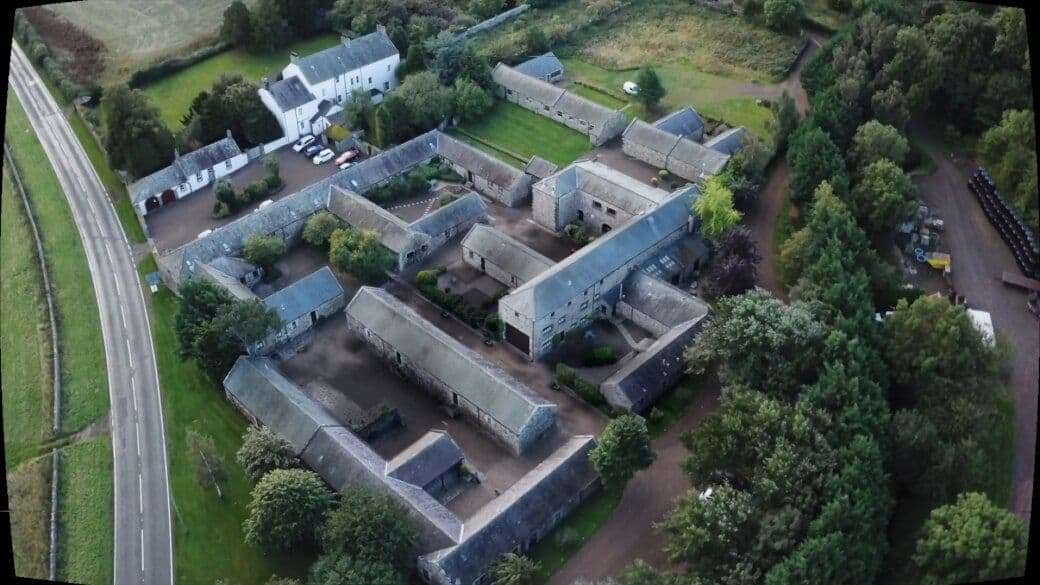
Inspired by a video of a drone bombing, I wanted to find concept for my demo reel to show off volumetric effects.
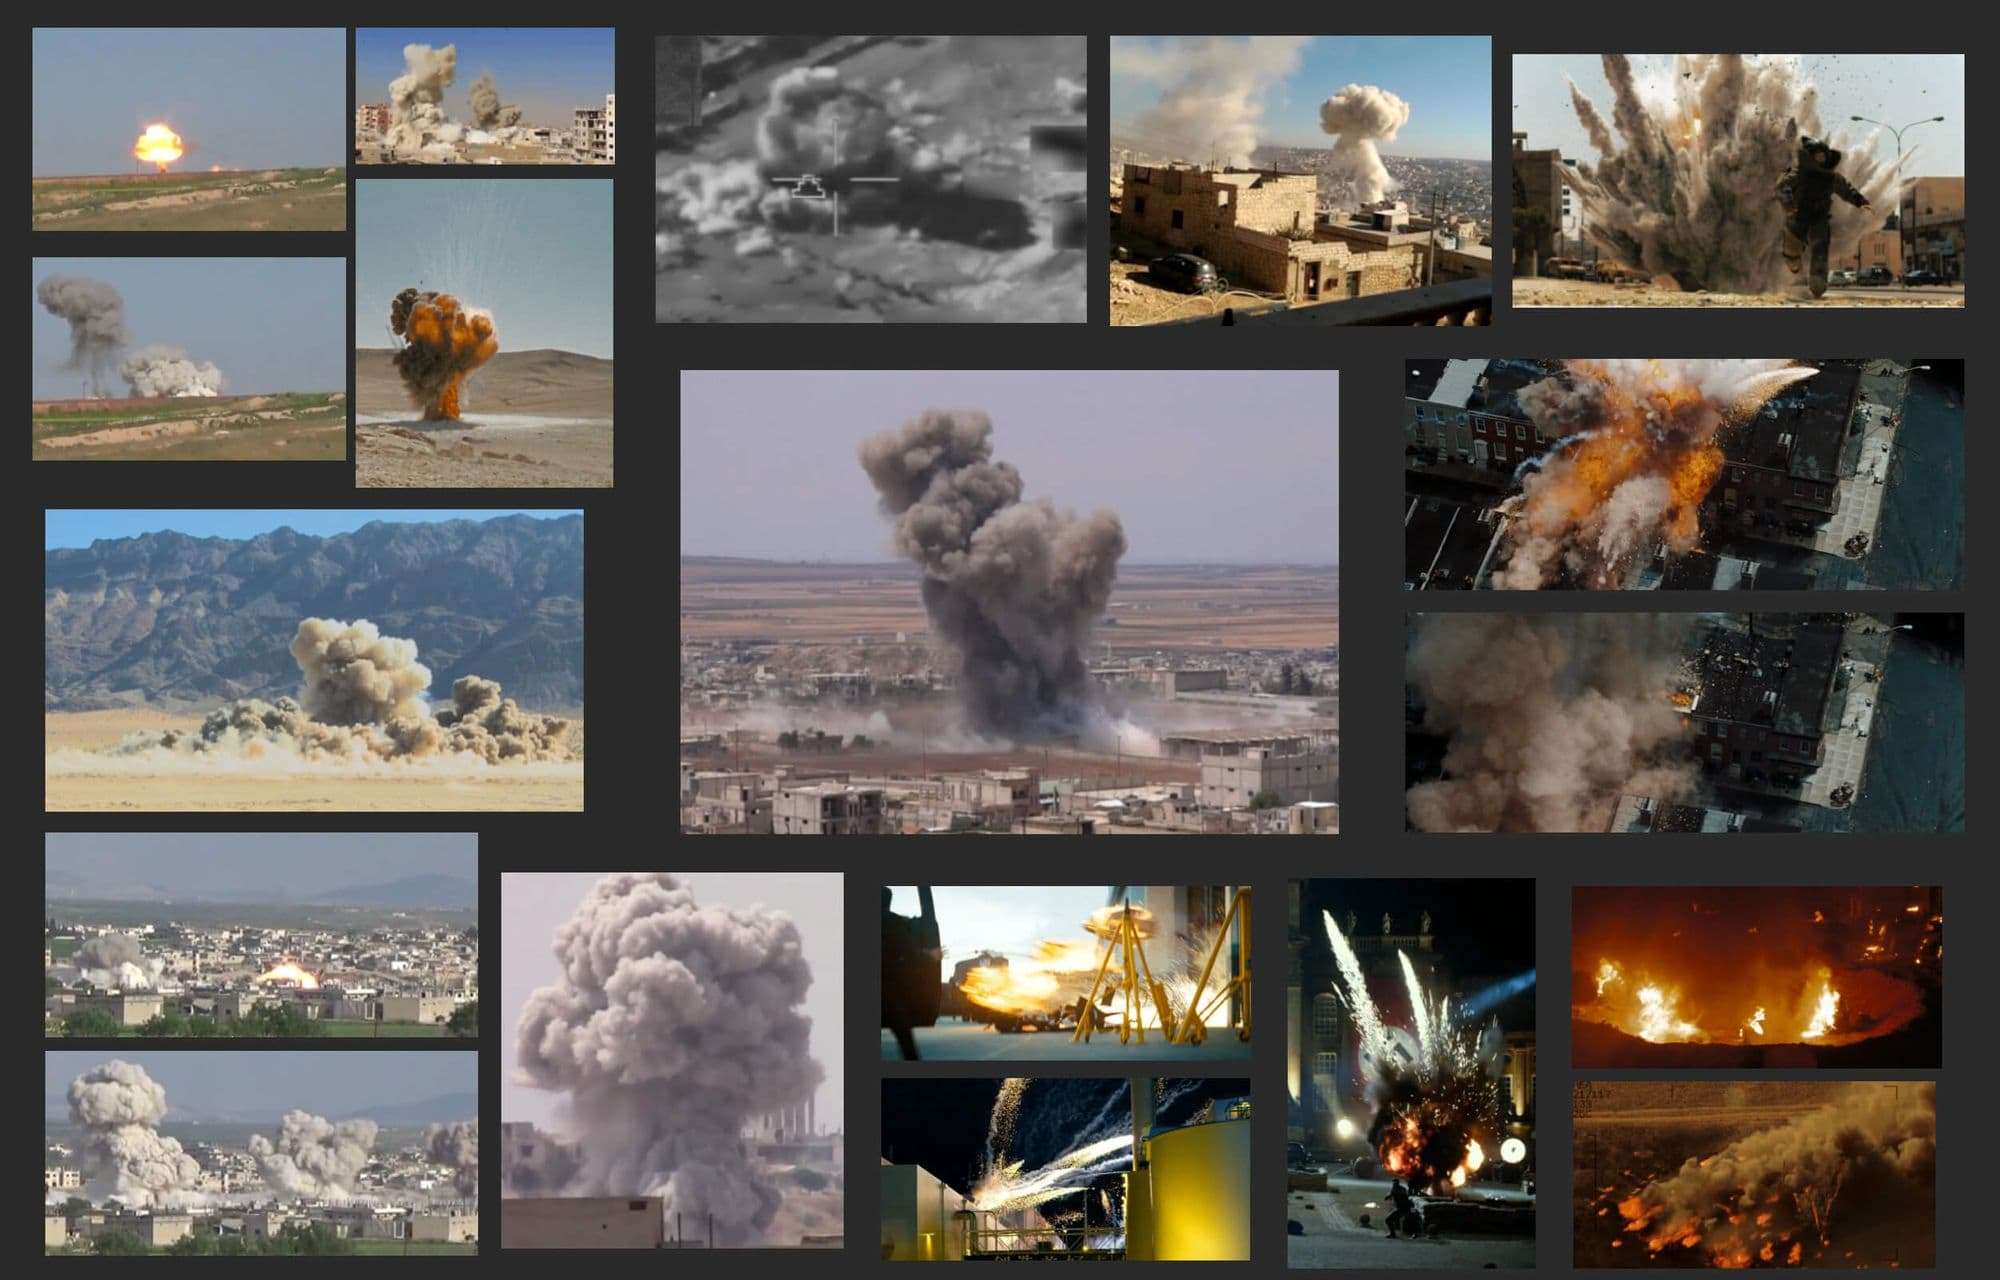
If you look at the reference from which you want to create, there are small effects as well as major effects. For example, there are things like dust, debris, sparks, and fire as well as explosion. It's important to know, that layering small effects amplifies the detail, even if hard to see.
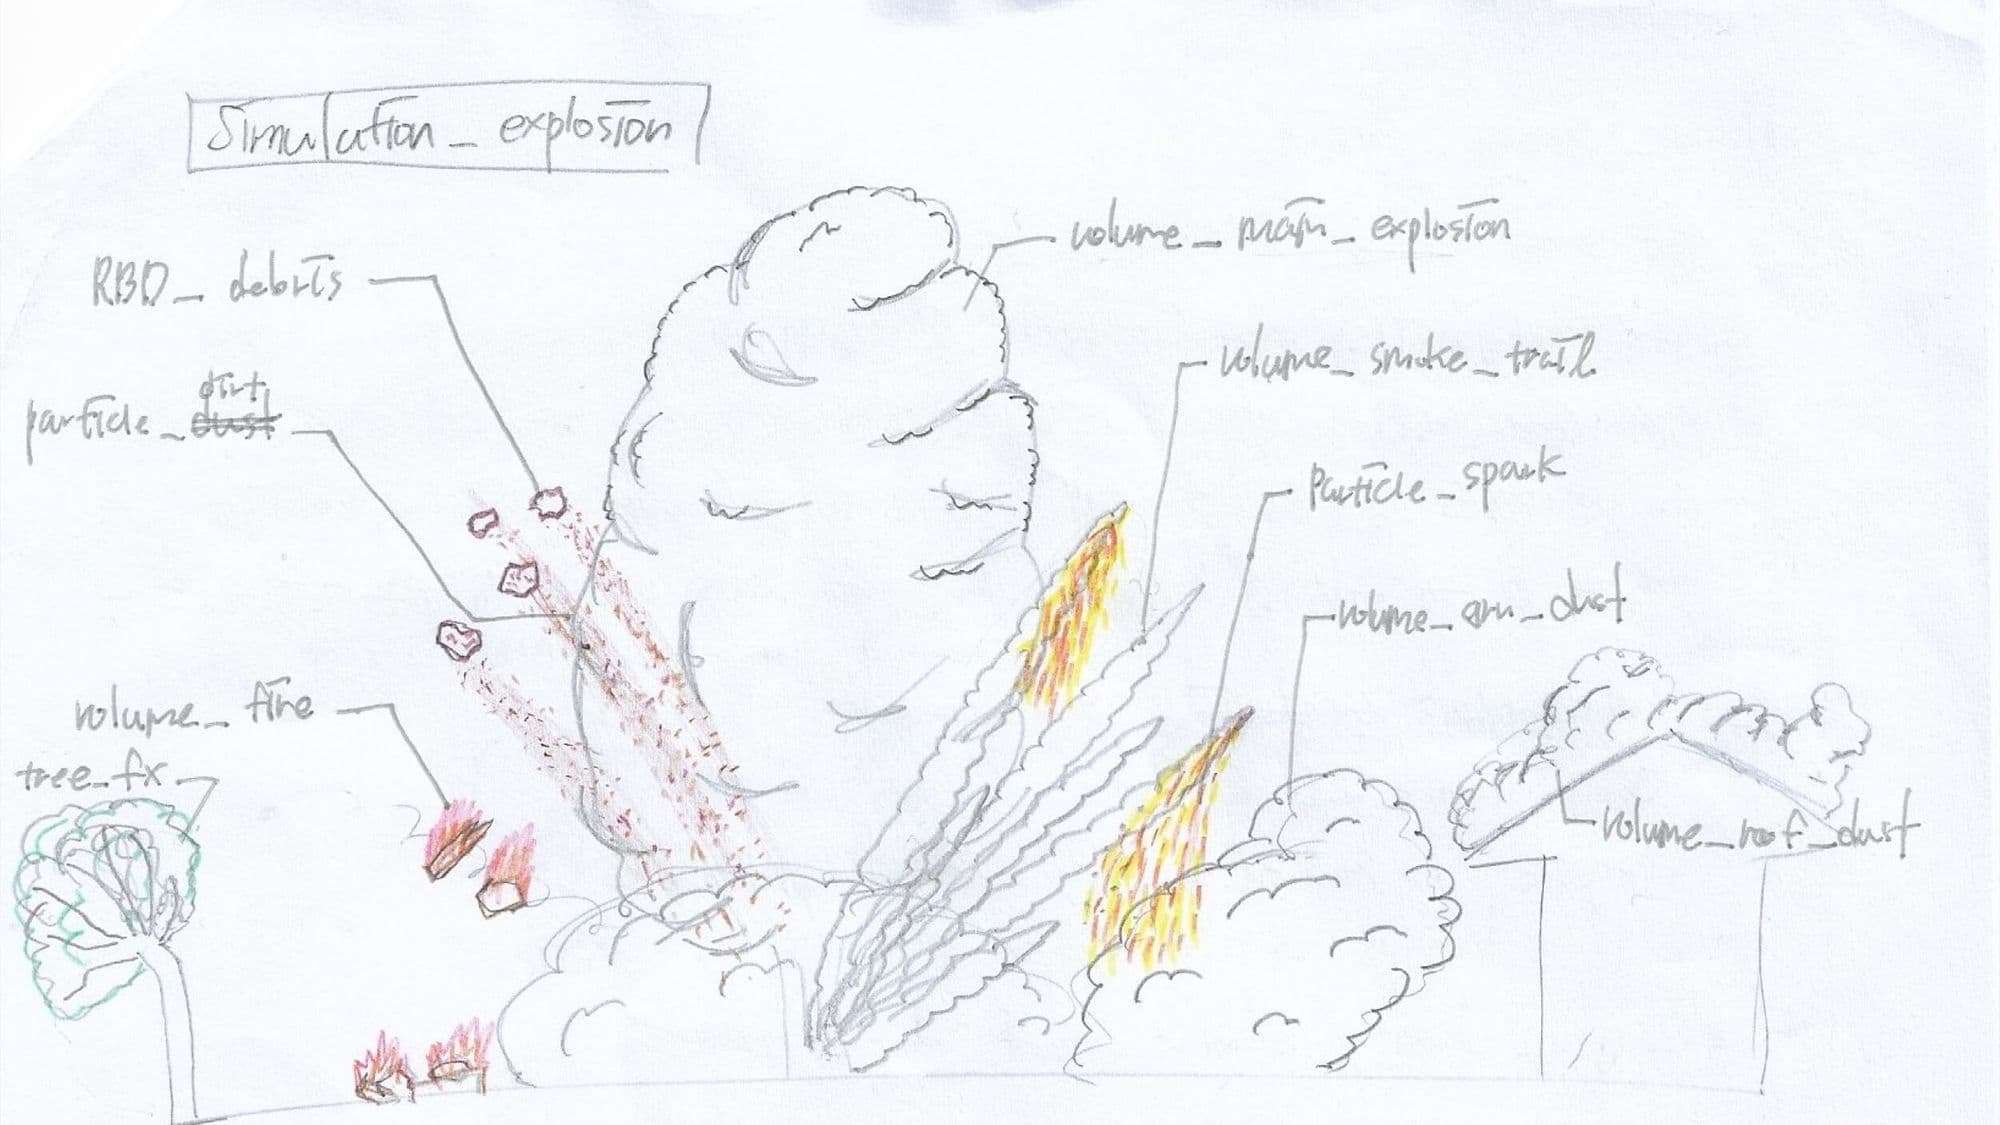
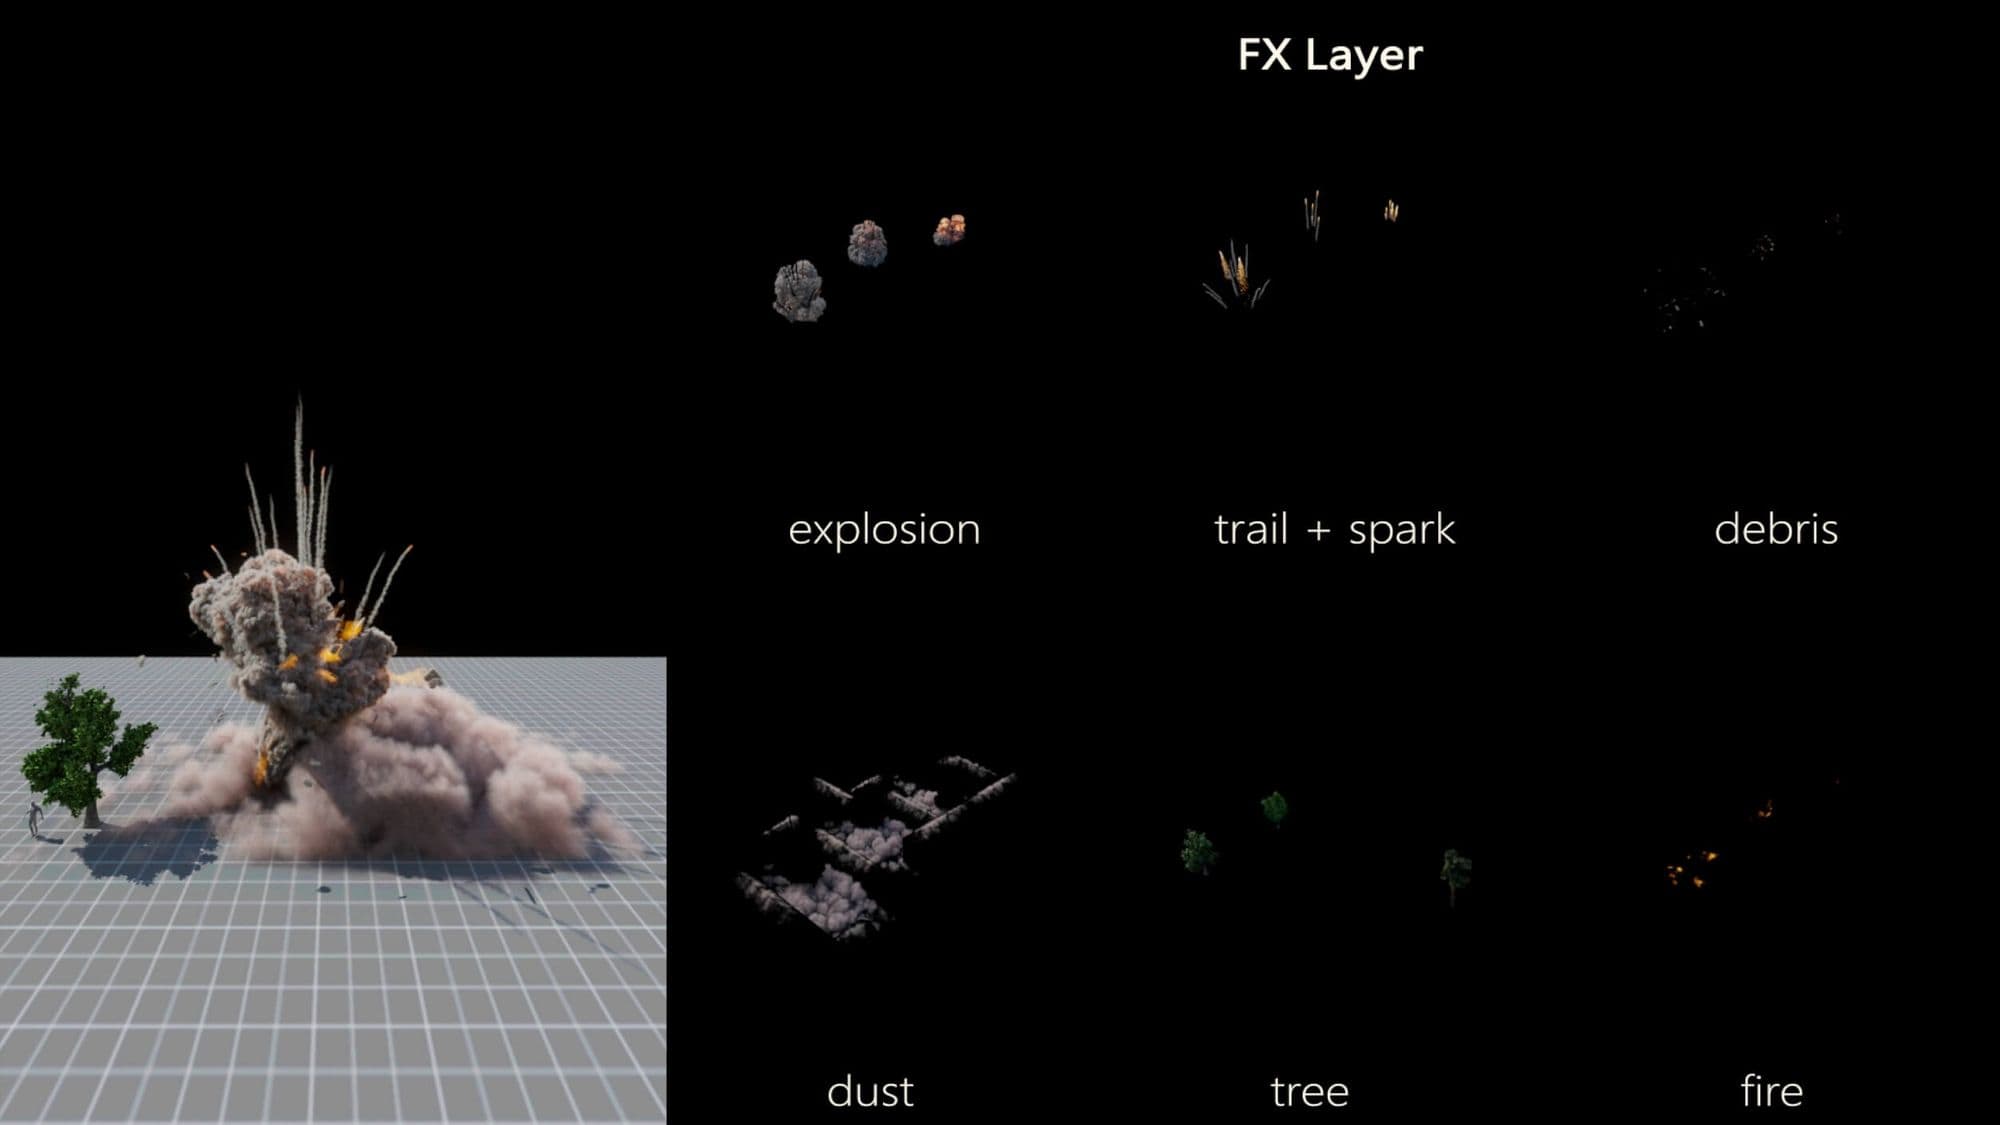
After analysing the reference, I decided to create the following fx elements: hero explosion, smoke trail, spark, debris, fire, dust, tree, and cloud. Below is my concept art in the early stages and the effects I finally created.
Matchmove is the first step to creating live-action VFX. This is the starting point for transforming 2D footage into a 3D world. Here's what you need to do at this stage: get a 3D camera, point cloud, and undistorted footage from tracking software, then, correct the horizontal rotation and physical scene scale in 3D software.
There are several types of tracking software and I used PFTrack. PFTrack is node-based software, so it is more intuitive. Here are some tips on what you need to do in the camera tracking phase:
get a 3d camera that matches the movement of the real-world camera;
get point cloud and undistorted footage to place assets within 3d scenes of Maya or Houdini.
camera tracking in PFTrack
I used Maya to bring in tracking data and to create a set that fits the plate. An FX artist usually has to do collision calculations when doing simulation - you need to model the collision object at this stage because a collision object is required at simulation. I made the structure object similar to its actual size for dust/debris simulation. After matchmoving, I exported to an fbx file for Houdini.
set-fitting in Maya
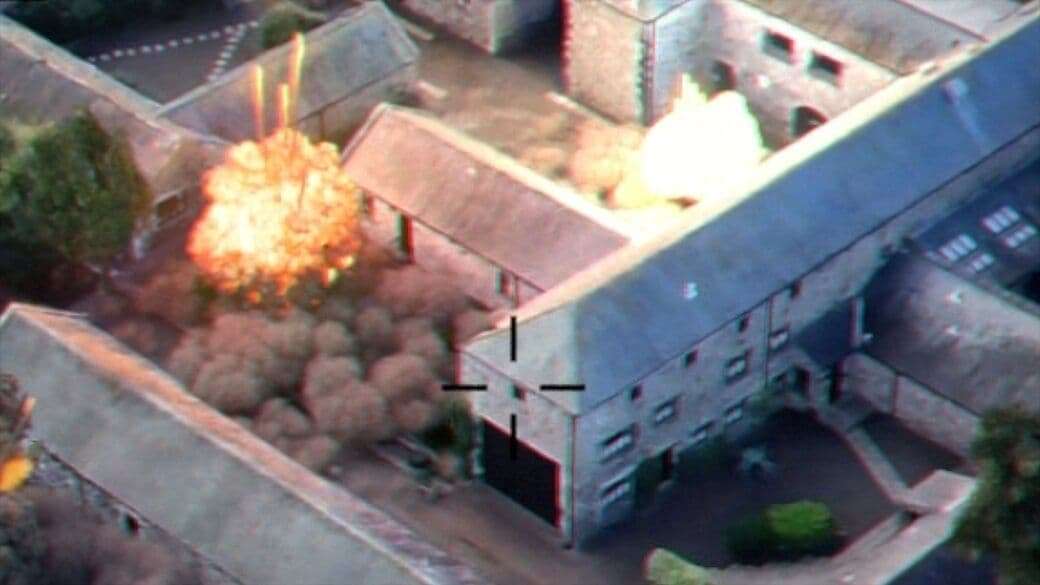
Simulation : Hero Explosion
Hero explosion is the core element of the project, so getting the desired outcome was a challenge for me. Before the simulation, the location and timing of the explosion were set in the pre-visualisation stage. Modeling the structures in the matchmove phase helped determine the location of the explosion.
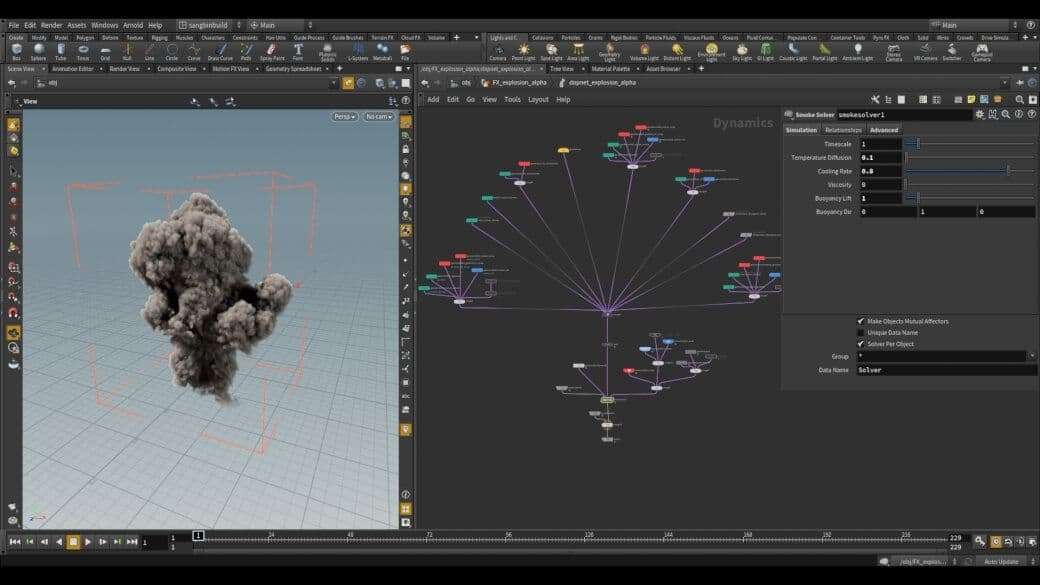
Simulating an explosion is not as intuitive as extruding a polygon - because it is made by chaining quite a lot of parameters, it is easy to mess up with even small differences.
As for the method in creating the explosion simulation, I first focused on how much it would expand by adjusting the "divergence field". Then, I produced the buoyancy and emission of the explosion by adjusting the "temperature field". Finally, I added detail using a micro solver such as "gas vortex confinement". Here is a document from Sidefx Houdini for the workflow of Pyro simulation.
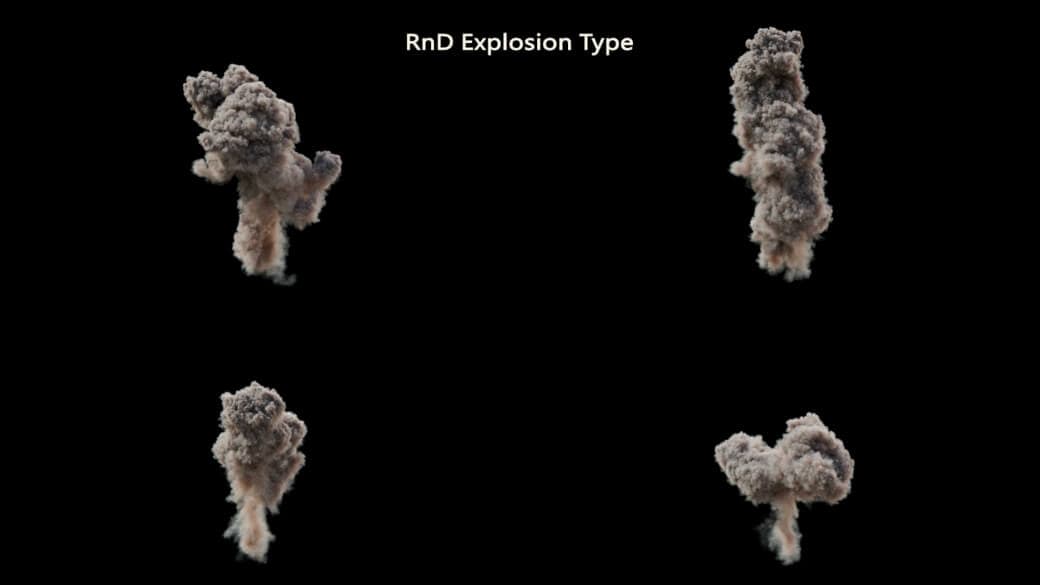
On average, the time taken to simulate the final version of the explosion is 6 hours. If you are doing volumetric simulation, I recommend starting with a mid resolution for efficient time management. Then, if the volume has the proper motion, switch to high resolution.
Simulation : Smoke Trail and Sparks
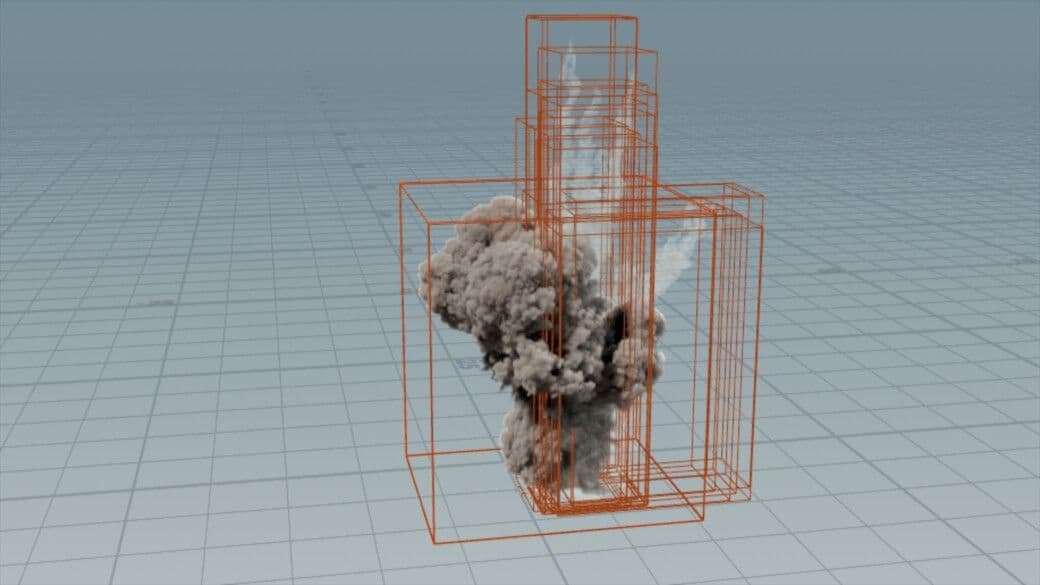
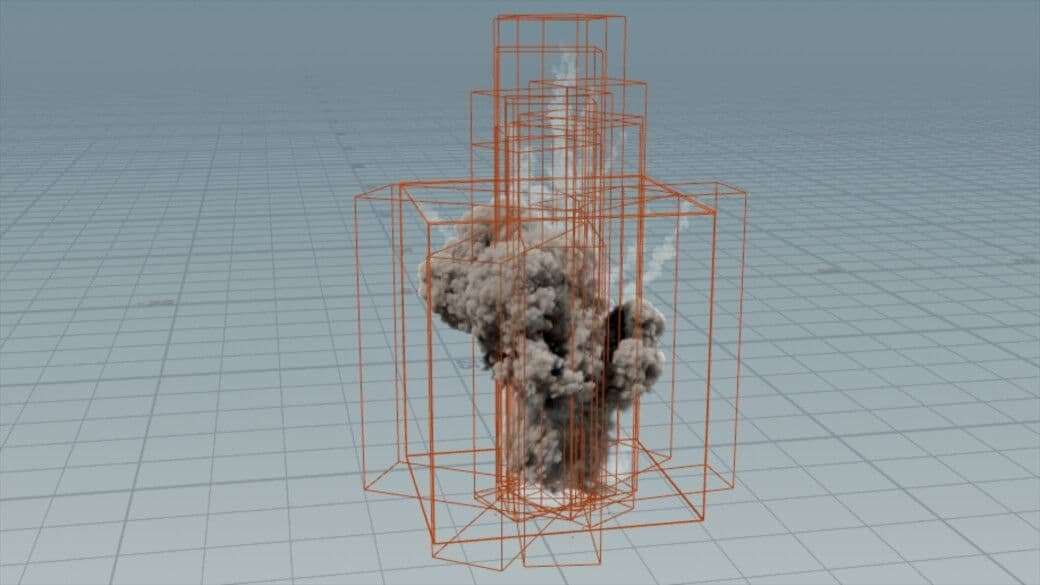
Creating the smoke trail effect was a technical challenge. Simulation of fluids such as smoke, fire, explosion, and water in Houdini is calculated in the bounding box. This bounding box is a 3-dimensional box with x, y, z axes. Since the bounding box is a voxel unit, the larger the box, the longer the simulation time.
At first, I simulated a smoke trail flying in random directions at once. I was not satisfied with the results because the bounding box was large and the resolution was low. For the optimisation of the bounding box, I aligned the emitter with the x-axis before simulated. To increase resolution, I simulated the smoke trail one by one. Then, returned to the original direction after simulation.
smoke trail that aligned with x-axissmoke trail that returned to original directions
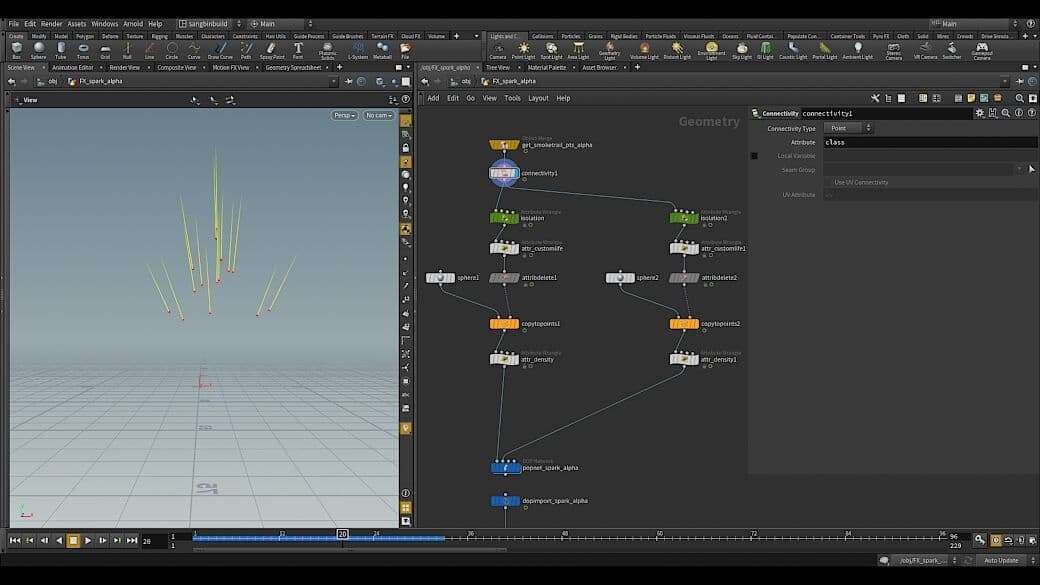
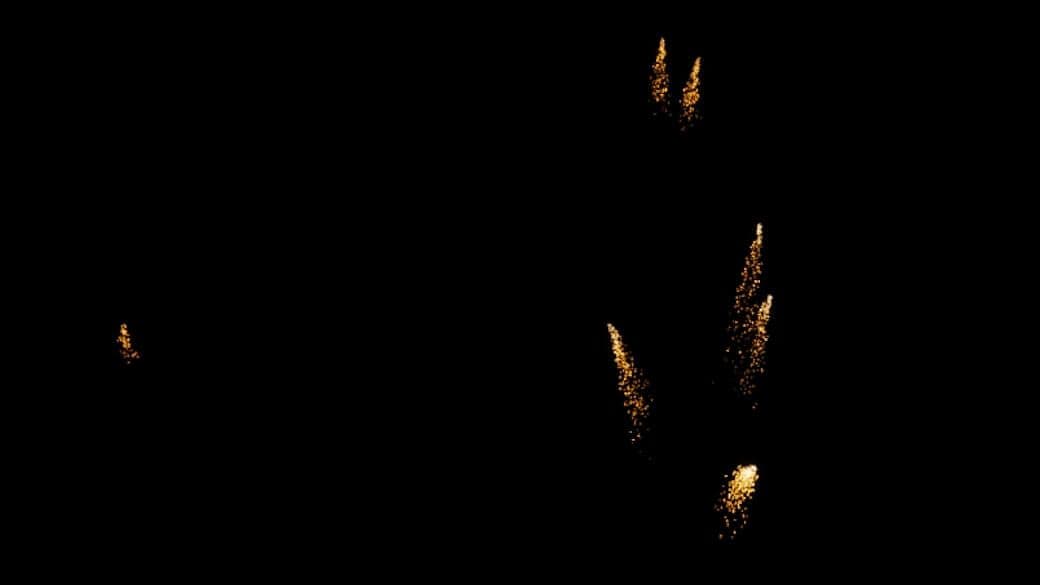
The spark effect was created with two particle simulations: In the first simulation, points were created to be used as emitters; they are about 5 in total and fly in random directions.
red dot : emitter point. yellow line : visualizer for velocity.
In the second simulation, spark particles were created from the emitter points. 200 particles were generated per frame, life expectancy was 0.7 seconds, and life variance was 0.3 seconds. Since sparks are small pieces of metal, they cannot fly much and fall. To make this, I used a gravity force.
Simulation : Debris and Fire
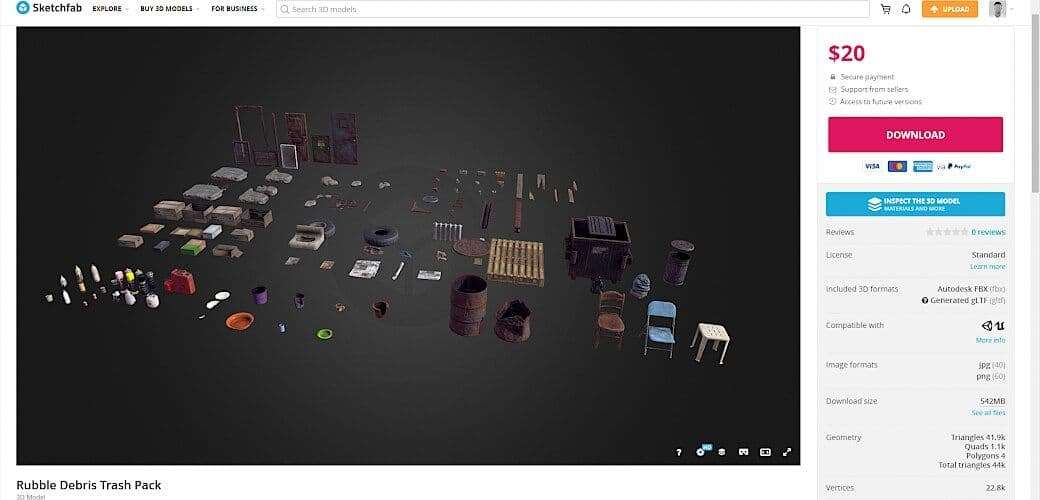
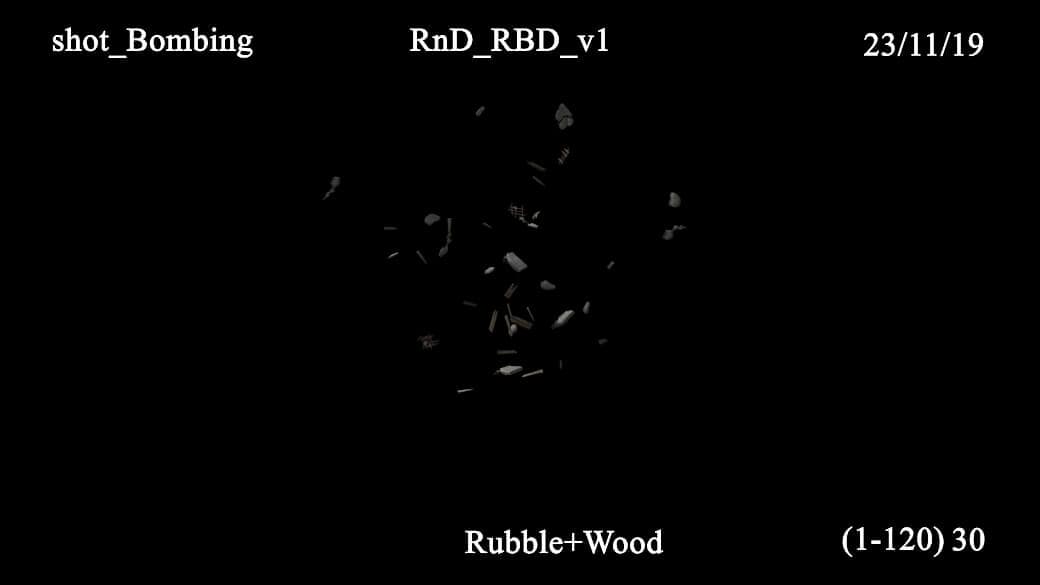
If you watch an explosion, you will find a variety of debris. There are many types of debris, such as rubble, wood, bricks, window frames, and trash. I did not have enough time to make all these assets, so I bought a digital asset from Sketchfab. If you need a character or environment for your project, I recommend Sketchfab.
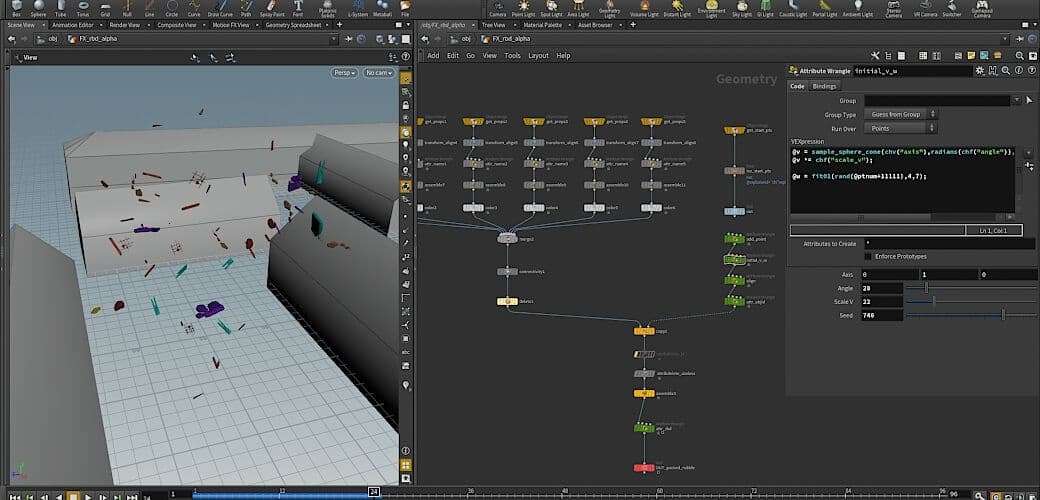
I picked 20 useful debris models from the purchased asset and imported them to Houdini. I then created an effect that caused the debris to collide with the ground and the roof of the structure through a rigid body simulation. Before the simulation, I pre-assigned the point attributes such as velocity and angular velocity required for rigid body simulation. This allowed me to do art direct control.
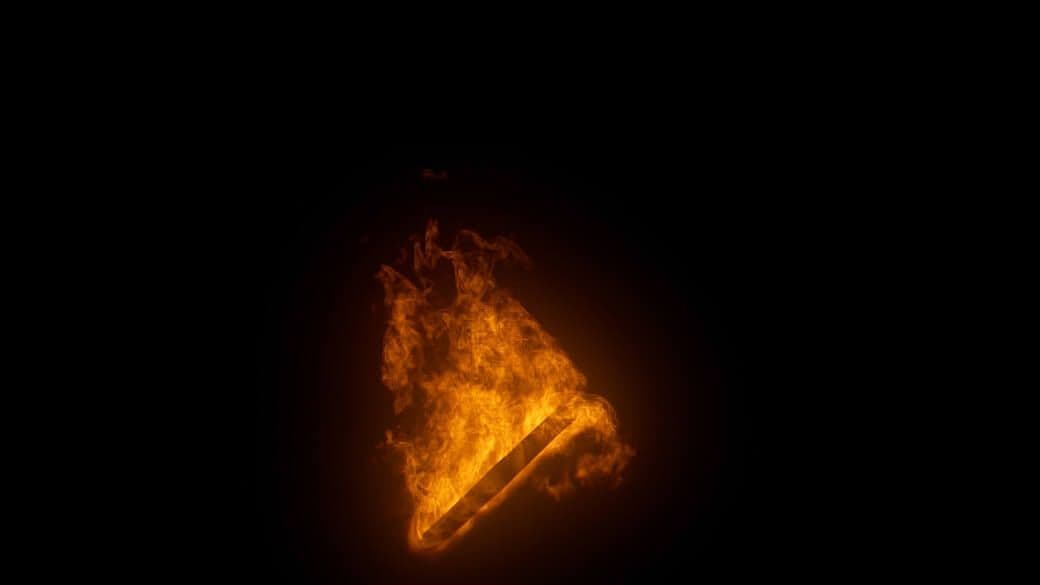
In order to create a fire effect, you need to simulate a fast, aggressive volume. At the tip of the fire there is a tearing characteristic, which can be made using micro solvers such as "gas disturb" and "gas shred". I also used "gas dissipate" because fire, unlike smoke, should quickly disappear at the same time as it burns.
The technical challenge was to simulate a fast-moving object; fast-moving objects are more difficult than static objects in the simulation, and this is because the simulation is calculated in frame units, and if the object moves too fast, it cannot be calculated stably. In the case of volumetric simulation, artifacts such as stuttering occur.
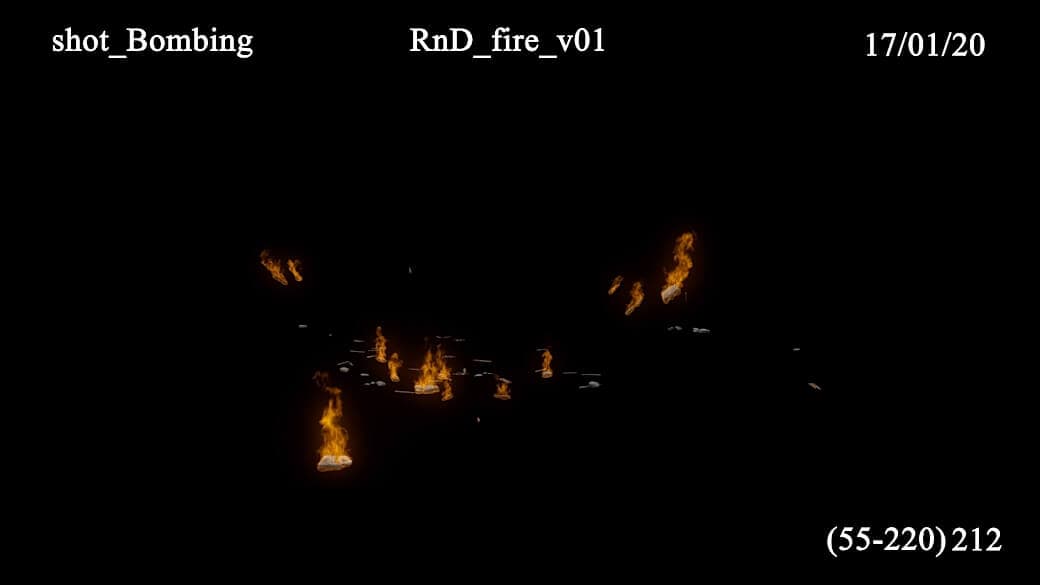
I used an animated debris object achieved through debris simulation, as an emitter. Since this is a fast-moving object, I also struggled with artifacts. In this case, I solved it by increasing the length of the geometry without using the geometry itself as an emitter. This approach gave me the proper motion from the fast-moving object.
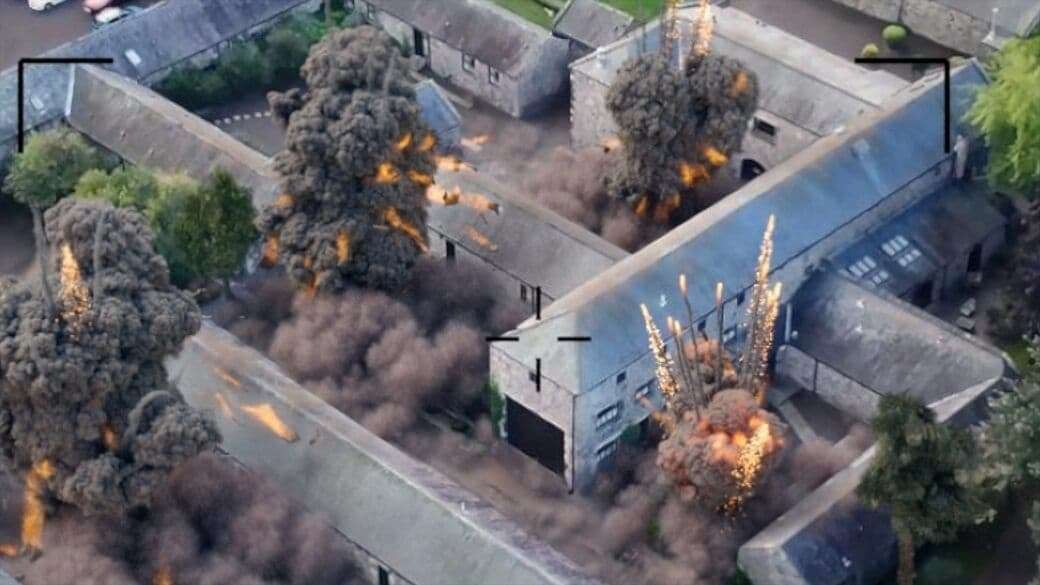
Simulation : Dust
I planned to make dust that occurs on the ground and roof from impact. Dust effect is one of the effects that I’m most satisfied with. this led to more natural results in the compositing phase.
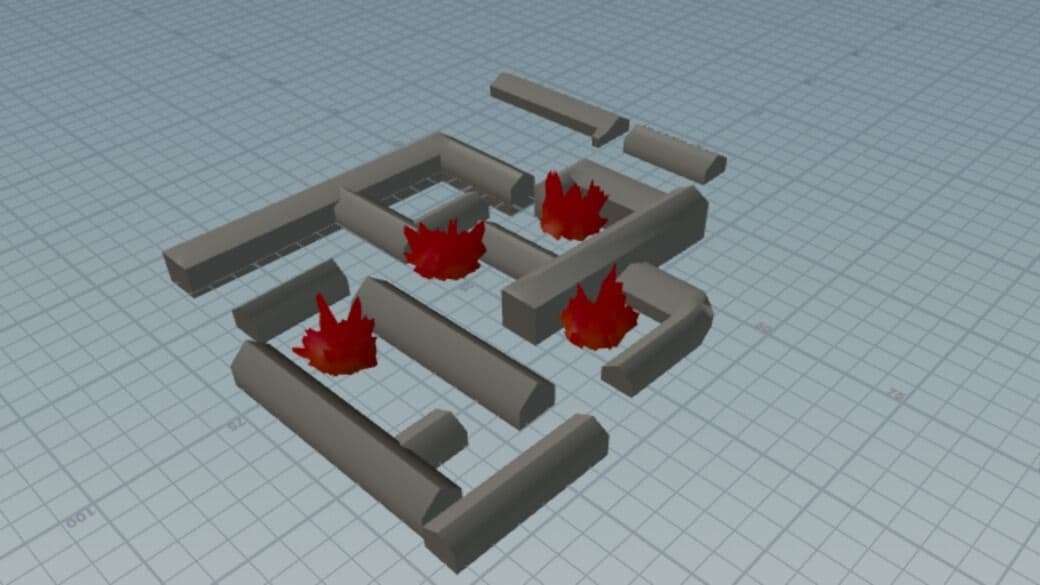
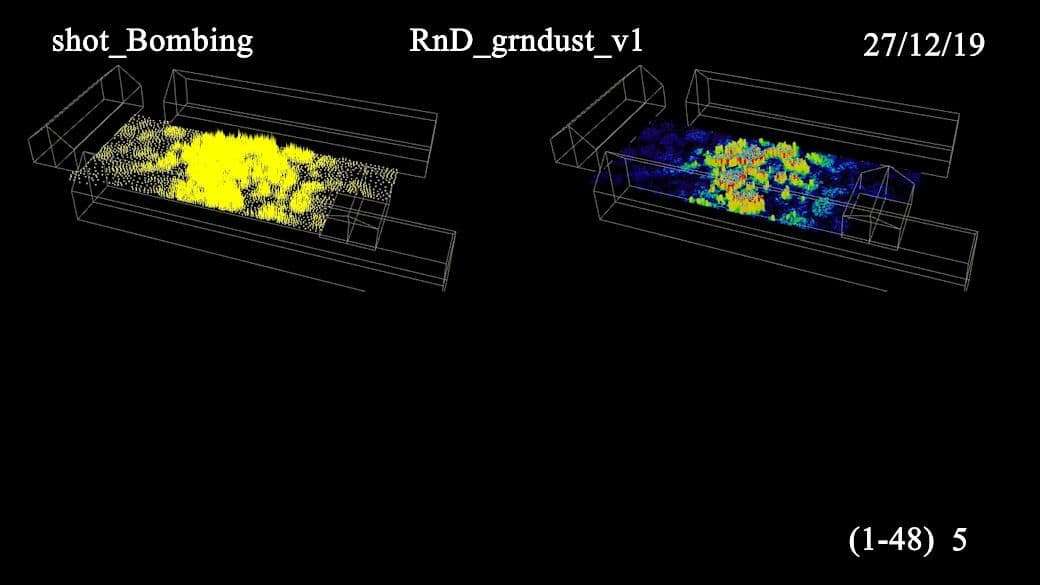
As the explosion occurred in 4 places, the dust was also divided into 4 areas to make volume simulation. I made 2 types of dust effects. one is ground dust and the other is roof dust, but the idea is the same. I used the ground plane geometry as an emitter and created an upward velocity that set to weaken away from the centre of the impact area. Following this method, I generated a cool motion of dust.
the emitter's velocity that set to weaken away from the centre of the impact areavolumetric simulaton for dust effectrendered image of dust effect
Simulation : Tree
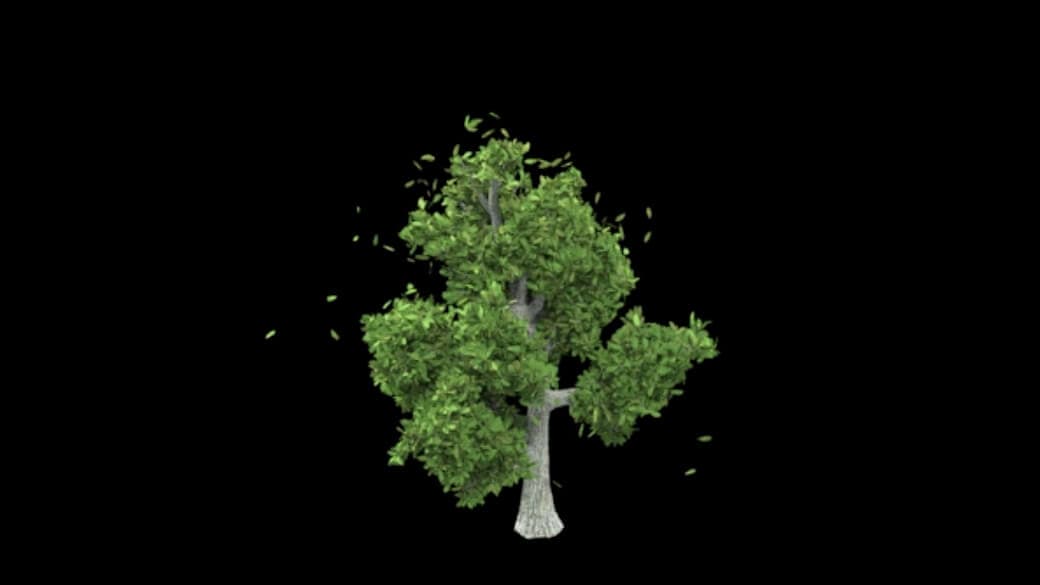
Like the dust effect, I wanted to make the tree shake due to the impact, but I remember having a hard time because it was my first time trying this effect. It was difficult to find data on how to simulate a tree and how to get the tree asset.
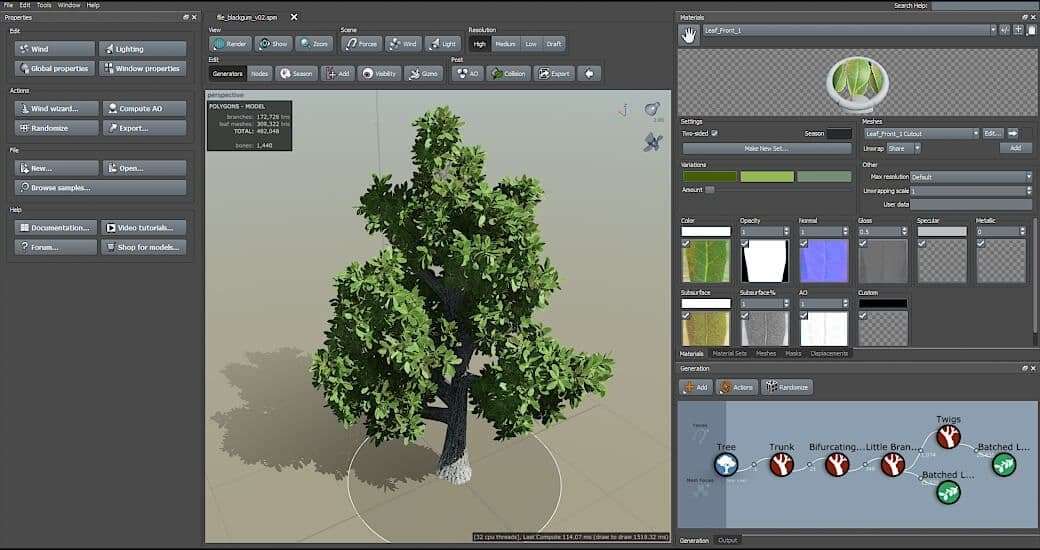
After several attempts, I finally decided to create my own tree assets using SpeedTree. SpeedTree was a completely new tool for me, but it provided an easy and intuitive interface. Two days was enough for me to pick up the essential knowledge. I made 3 different trees from Speedtree.
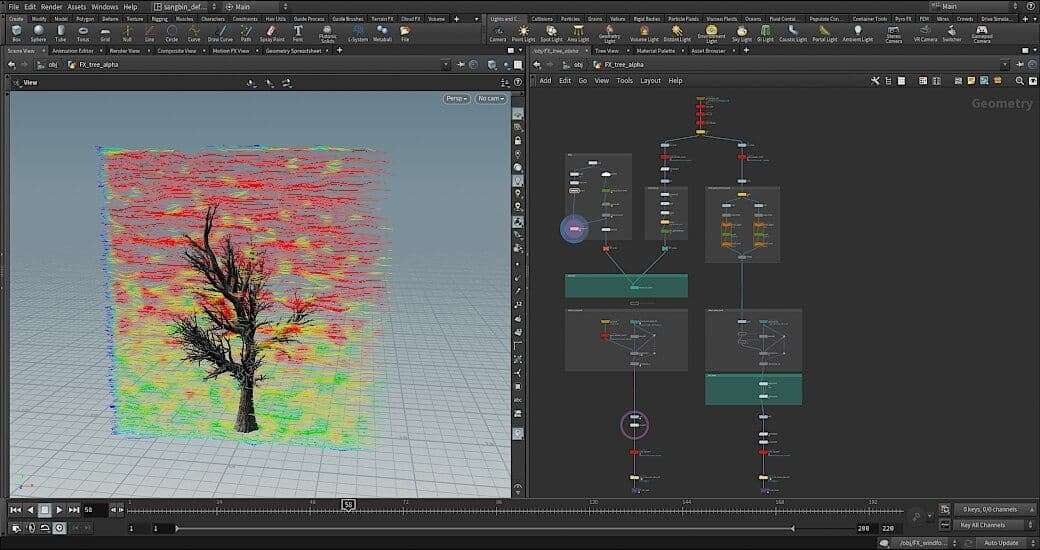
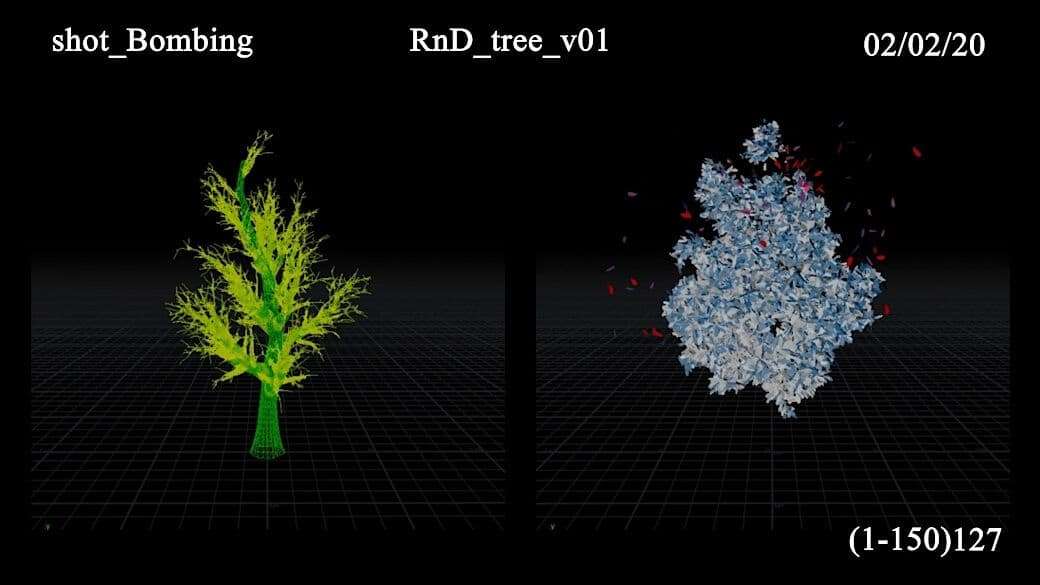
The tree simulation setup is divided into 2 different simulations.after importing the tree asset into Houdini, it needs to be separated into the trunk and the leaves.
In the case of the trunk, I use wire simulation. I convert the trunk geometry into a line to complete the preparation. and I made the wind force that pushed for a short frame. after that, in the wire simulation, I choose how strongly the wire resists stretching and how strongly the wire resists bending from the wind force.
In the case of leaves, I use vellum simulation. when a certain impact threshold value was satisfied, leaves were separated and dropped. When all this was done, the trunk and leaves were put together to achieve a tree effect.
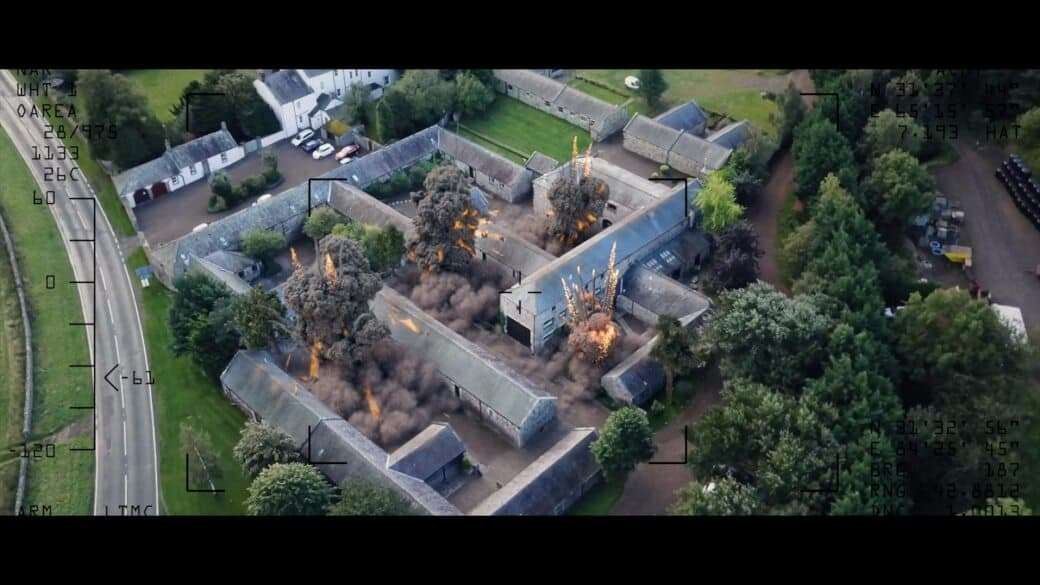
Asset : Cloud
In fact, there was no plan to create a cloud effect at the initial planning stage of the project. However, as you can see from the footage, it was shot from the air, therefore my render camera was also far from the ground. I decided to place a cloud in the camera path to show the distance from my effect elements.
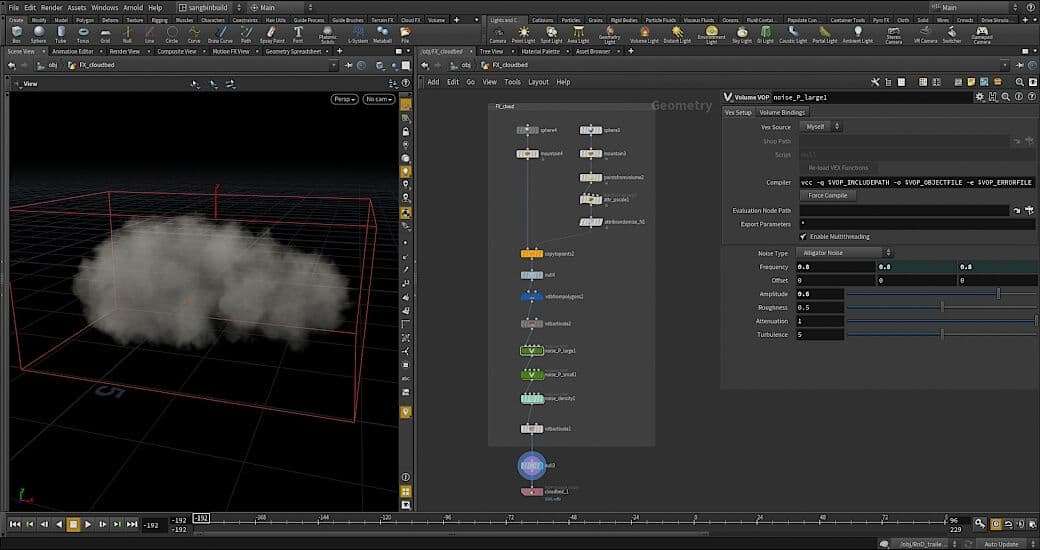
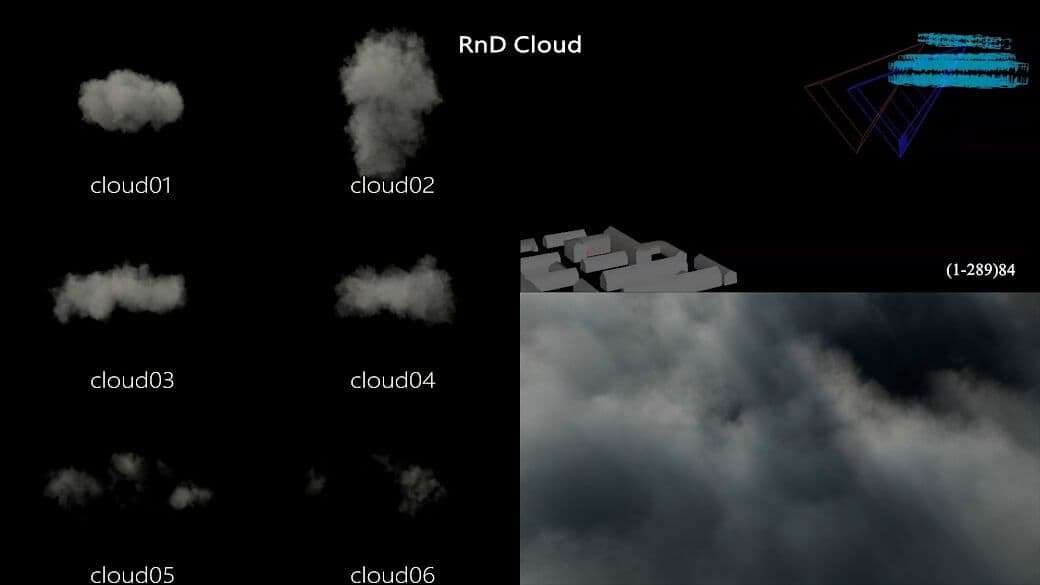
Houdini has an easy-to-handle tool for volume data, such as VDB, as well as a polygon. For the cloud effect, I created a little library first. I converted a simple sphere geometry into a VDB volume to create a cloud effect without simulation, layering various noises with different frequencies giving the clouds more detail. I made a total of 6 different cloud volumes and then instanced them to have 400 random orients and scales. I used distance light to make bleeding and contrast to achieve a cinematic feel.
Lighting and Look dev
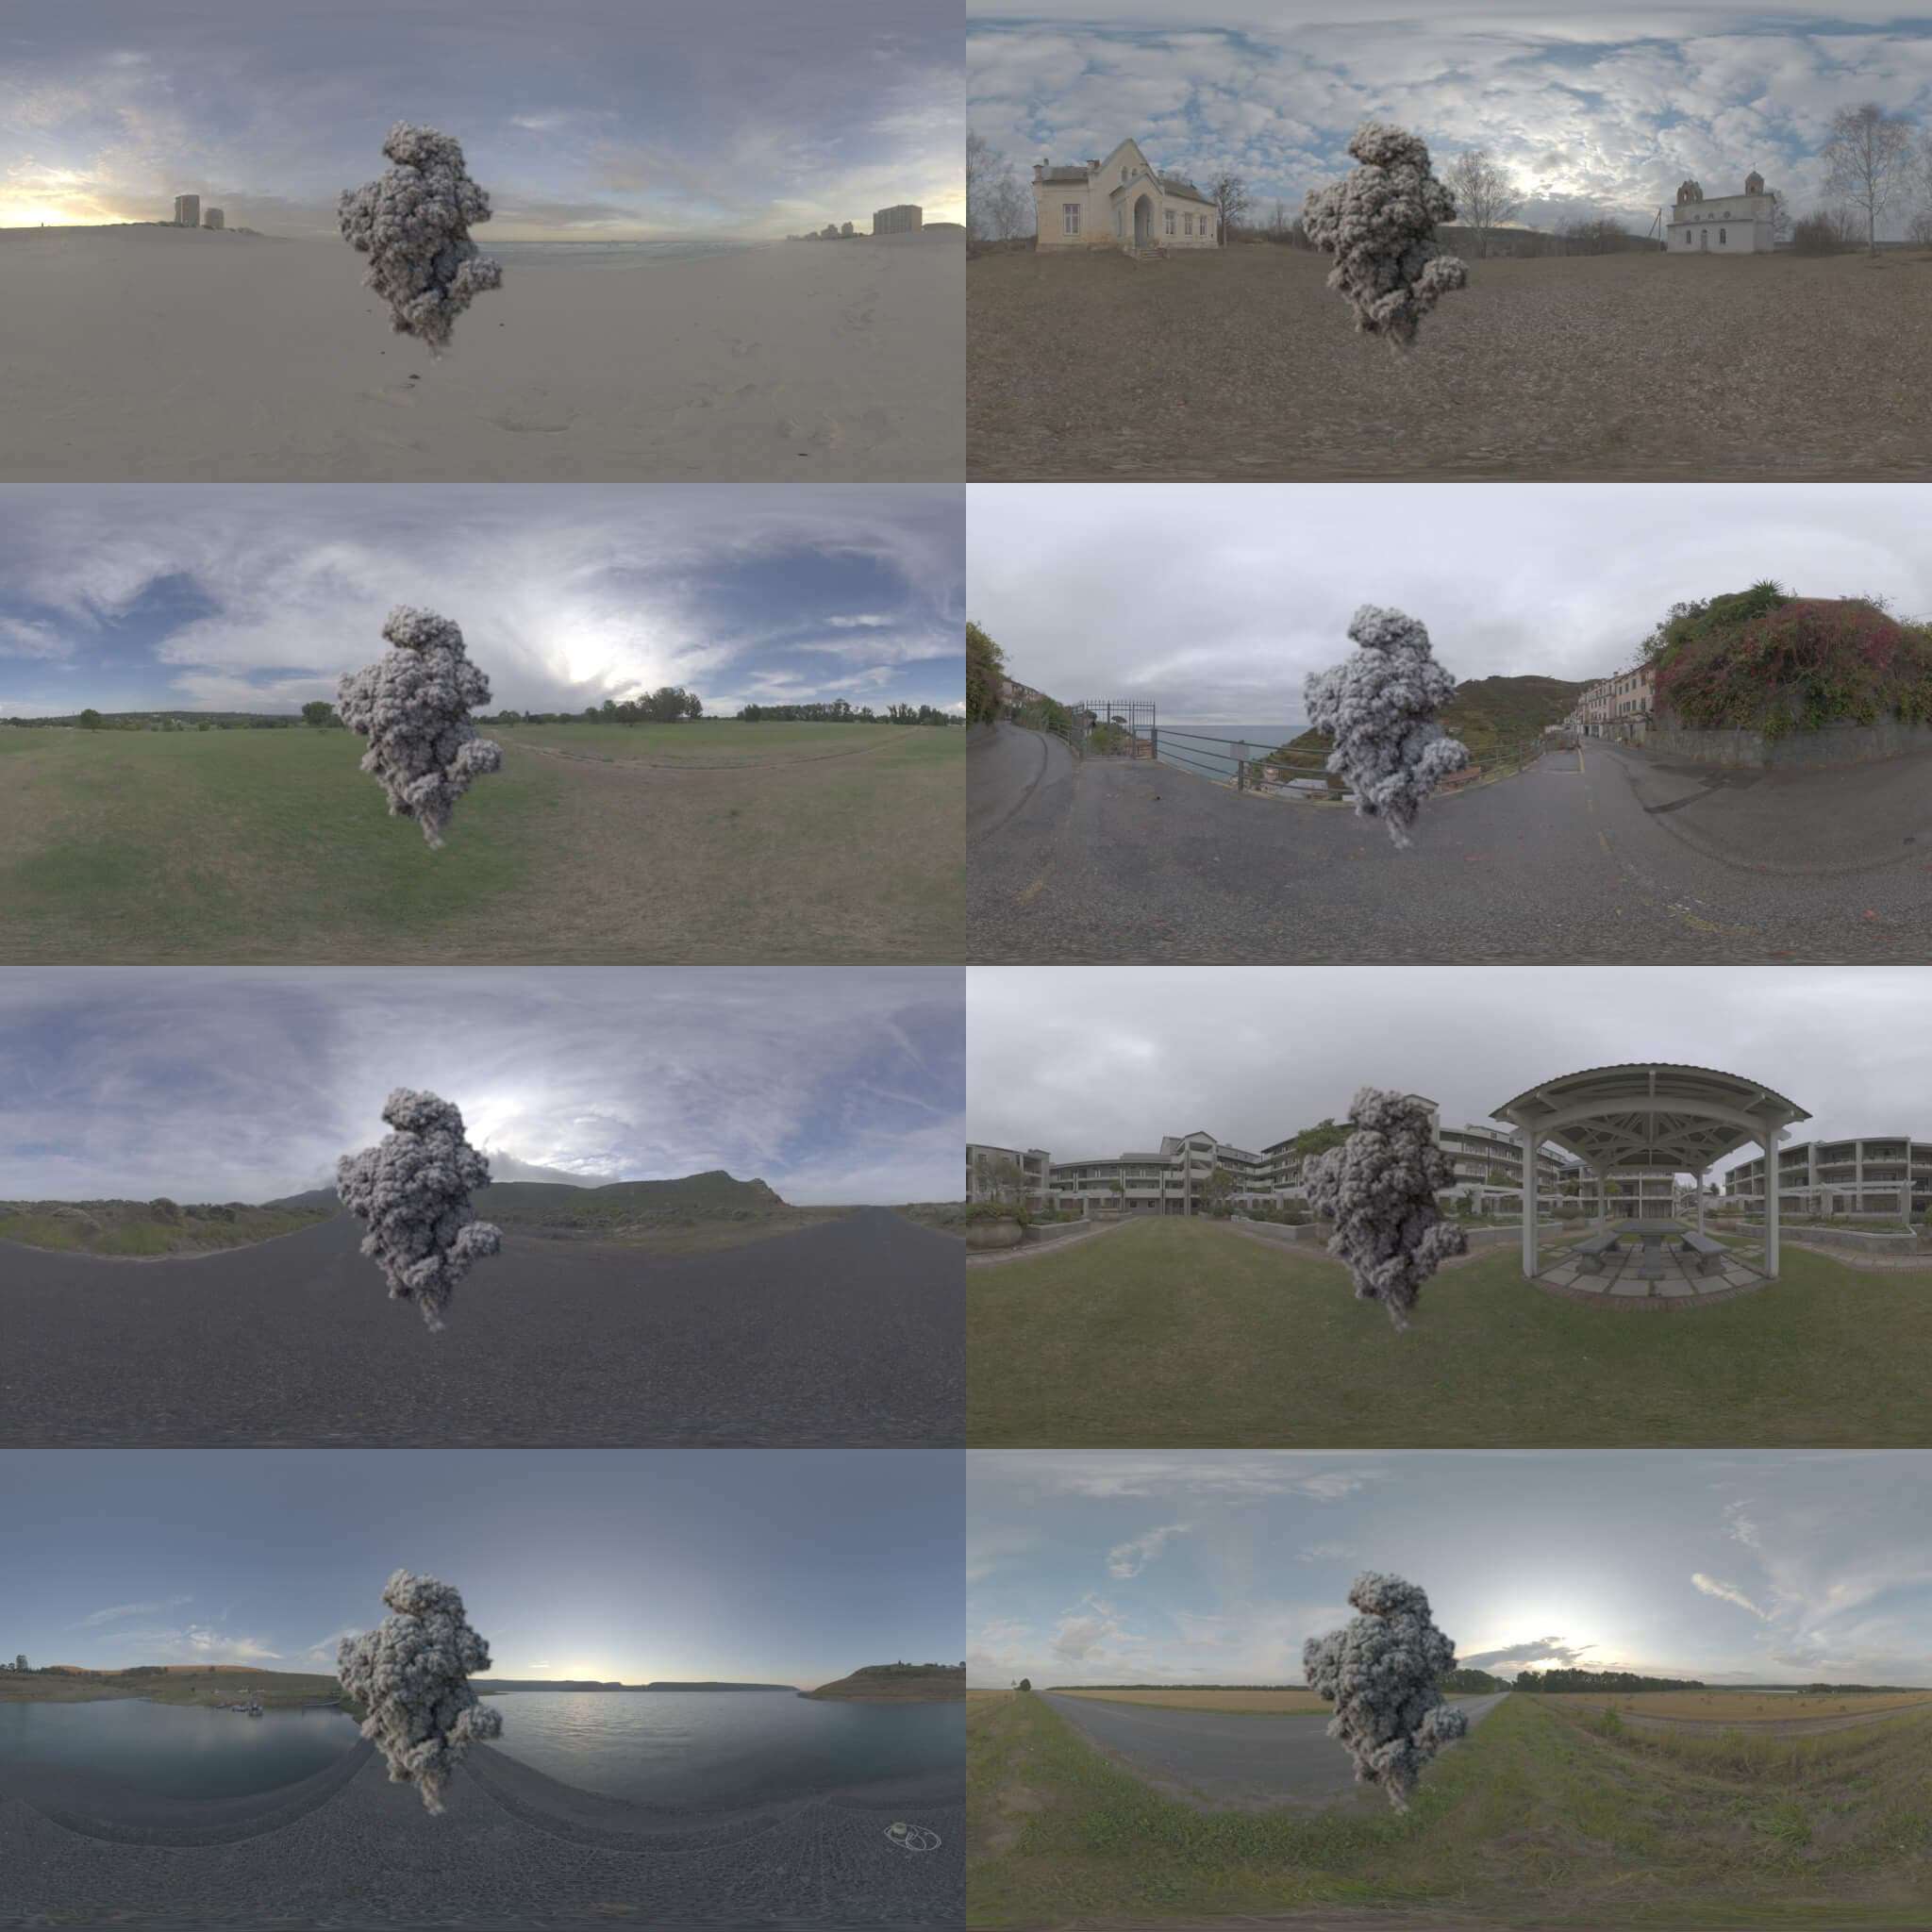
If you're lighting to create a live-action VFX, make sure to match the footage's weather, time, sun direction, and shadow as closely as possible. I usually prepare several hdri files and use skydome light from Arnold to make the rendered image as close as possible to the footage's mood. Then I use distance light to make it similar to the direction and angle of the sun and the intensity of the shadow. Making it as close as possible at this stage is important to be able to work easily in the compositing stage.
look dev with various hdri lights
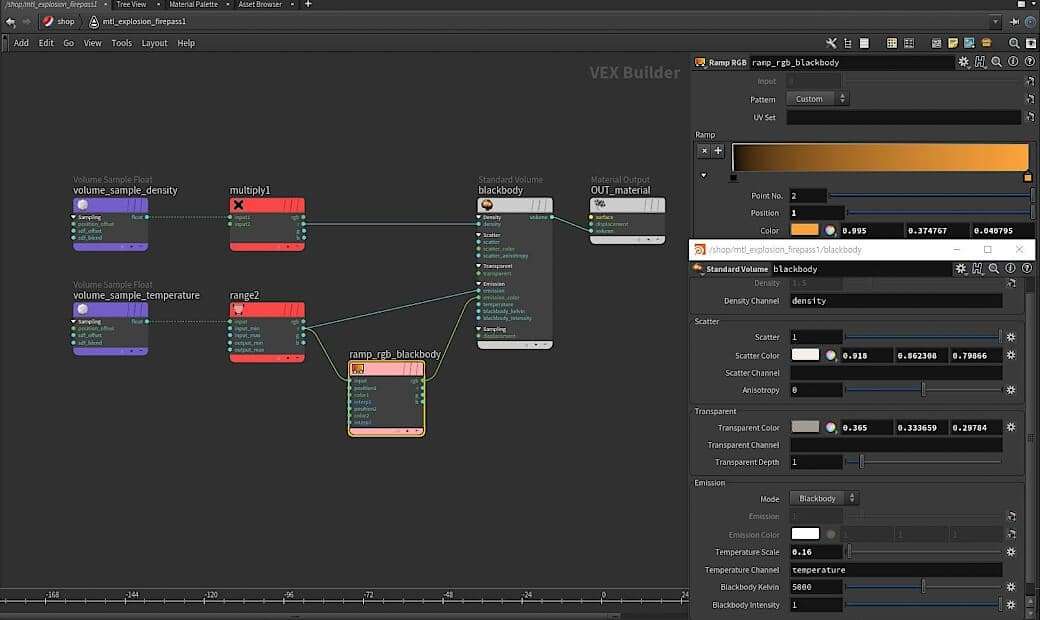
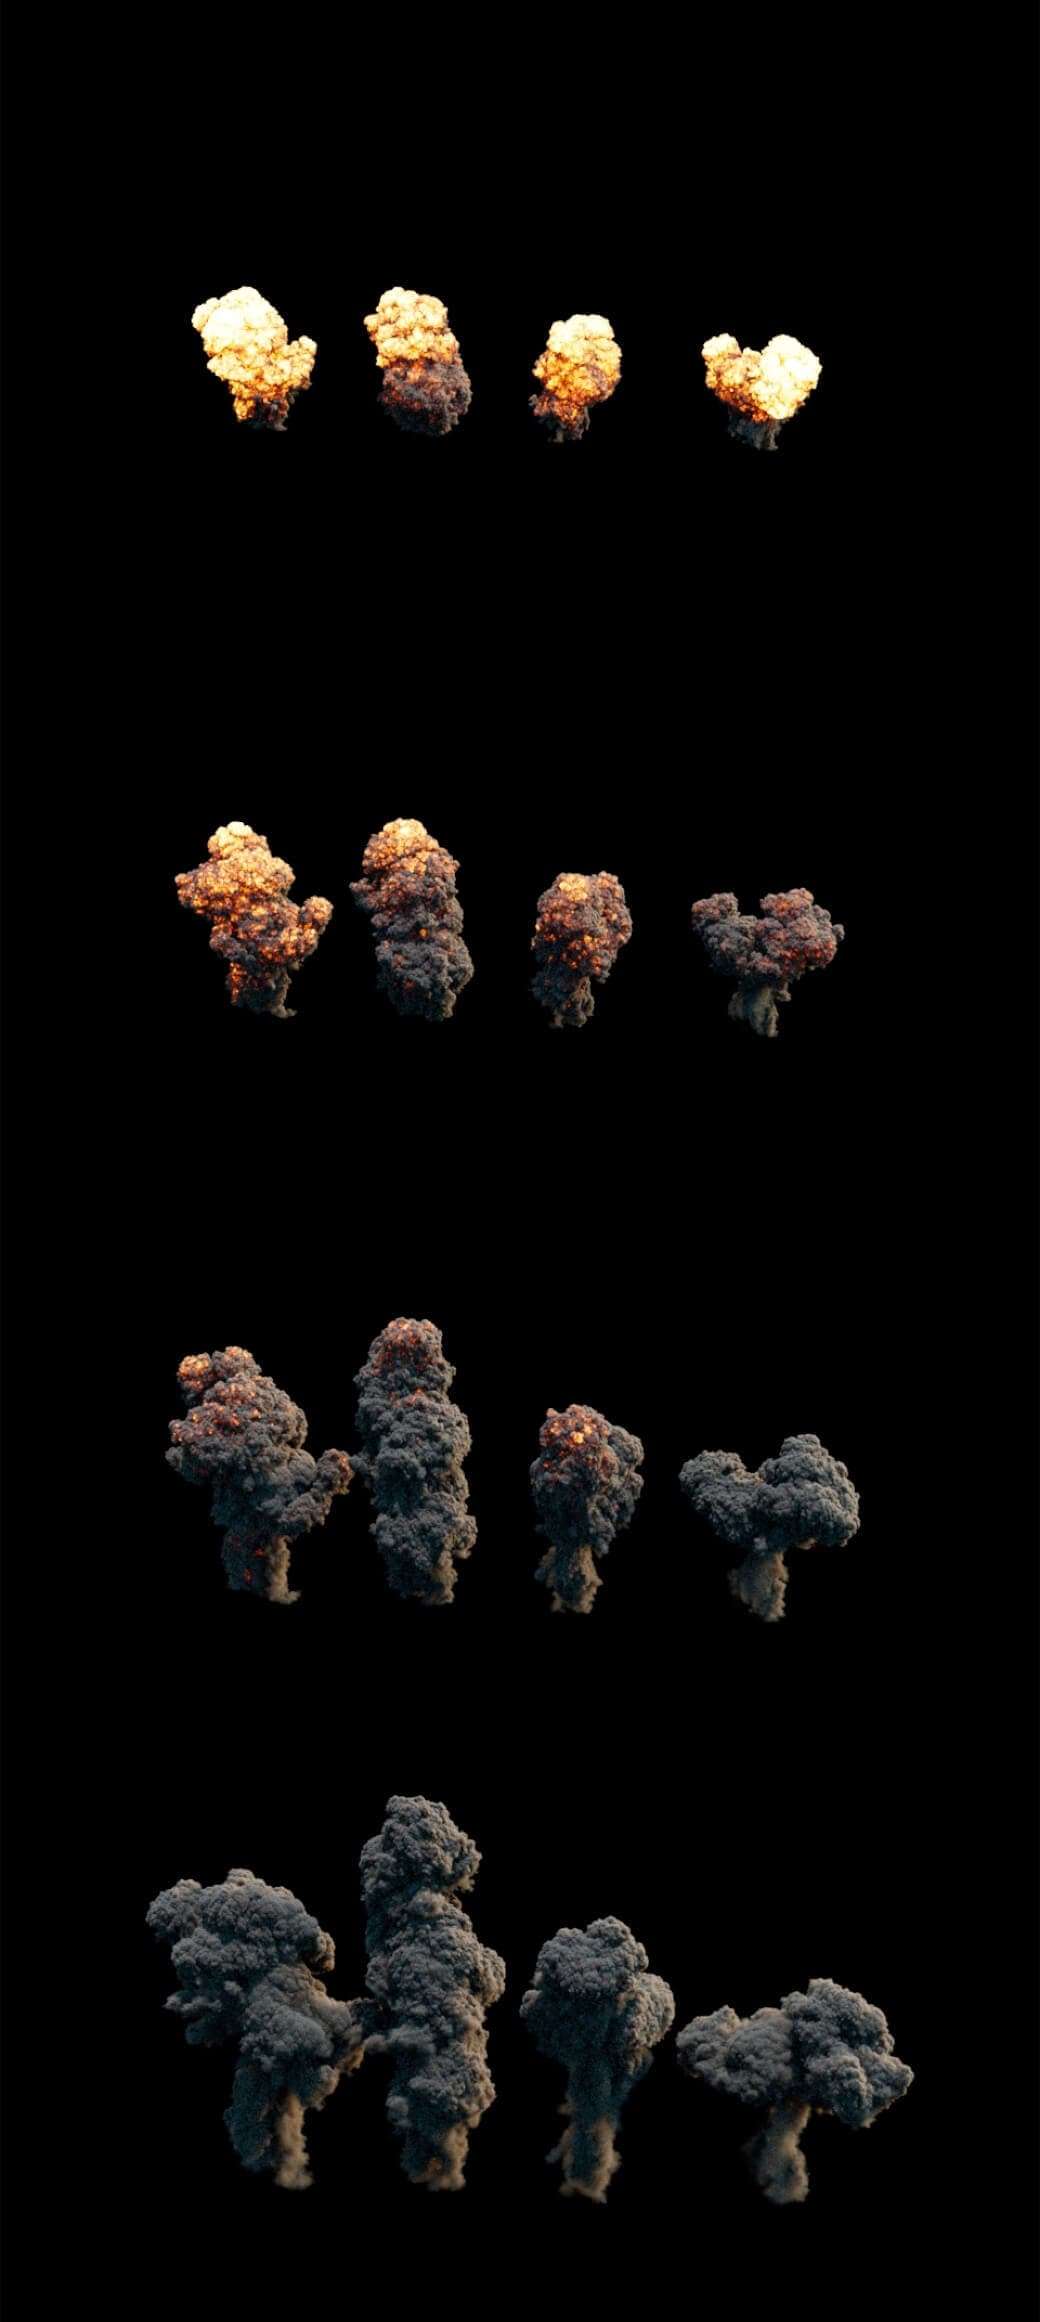
All shading for the effects were done in Arnold. In Houdini, there is no need for uv or texture when rendering volume. After volume simulation, attributes such as density and temperature are used in the shader, determining how thick the smoke is and how hot the fire is in the volume such as explosion, dust, fire, smoke trail.
custom shader for volumelook dev of explosions
Render passes
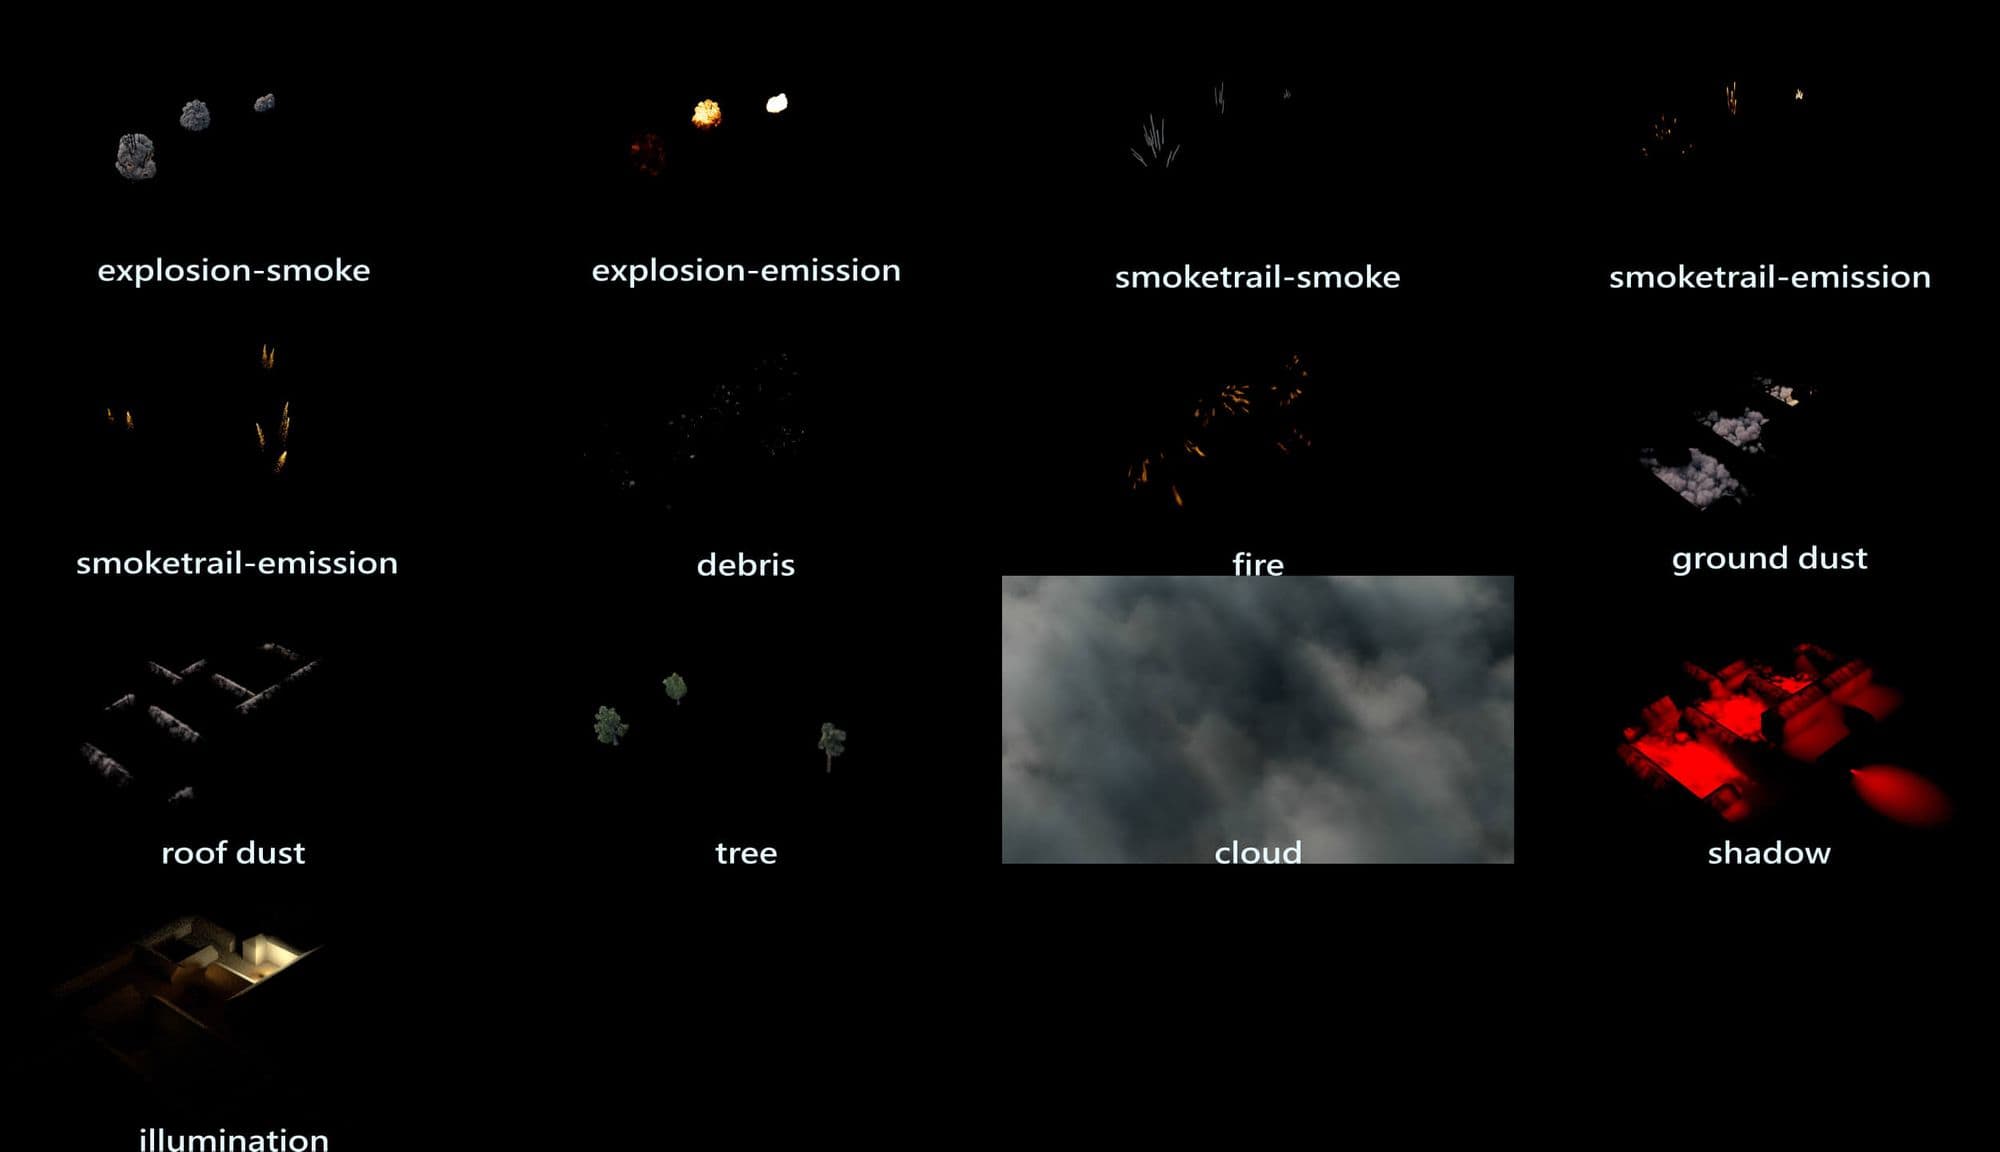
Everything was done in separate passes so that in compositing I could pick and choose what needed tweaking. So, rather than rendering all the effects at once, you should divide them properly. Also, every polygon, volume, and particles need different render settings for rendering.
If you are not planning a full CG shot, you will need extra passes for live-action footage. I made a shadow pass and illumination pass - this is why it is good to create an environment at the matchmove stage, because the shadows captured by the environment and ground will be more natural in the compositing stage.
I finally divided the render pass into shadow, illumination, explosion, smoke trail, sparks, debris, fire, dust, tree, and cloud.
Compositing
All 3 videos of my demo reel including this project are live-action VFX. I'd like to share with you some tips at the compositing stage to create a live-action VFX. Composition was done in Nuke.
At the very beginning, I observe the shadow of the footage. Once I knew the intensity or colour of the shadow, I made a shadow with my shadow pass.
After that, I separated the render passes into AOV units such as rgba, volume direct, volume indirect, and emission. then, reassembled them through the Nuke merge node; this is for finer control.
At this stage I highly recommend Hugo's Desk. Hugo Guerra is a VFX supervisor and shares his knowledge about compositing in Nuke.
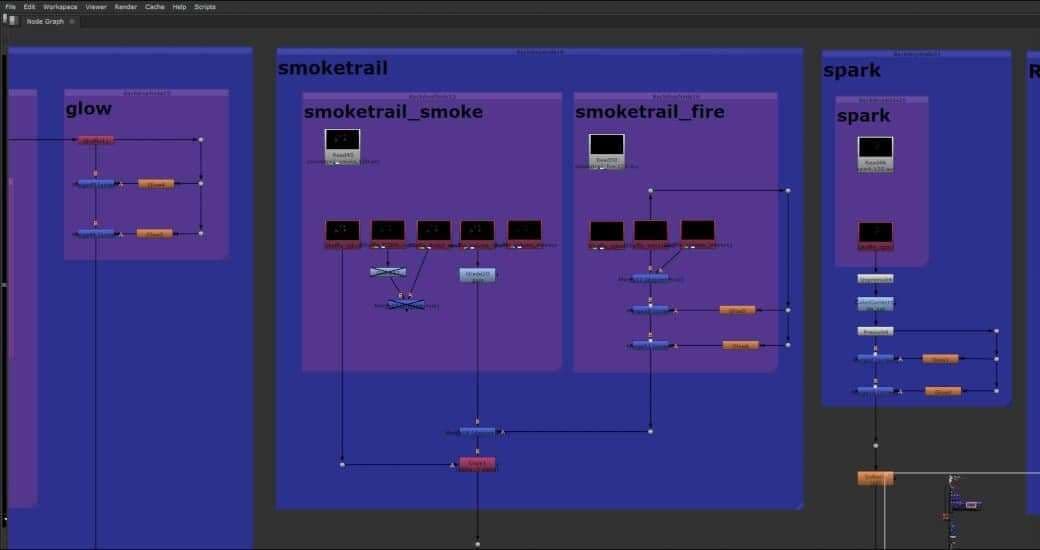
Now the most important part - each pass should be matched to the footage as much as possible. This is done by tweaking lift, gain, saturation, and contrast. Remember that the colour grading of CGI should be done between unpremult and premult to avoid the black edge issue. Next, you should filter each pass according to your needs. In my case, I used a little edge blur and soften to avoid super sharpness of CGI, and I used glow for the explosion pass to make it look better.
before colour grading and filteringafter colour grading and filtering
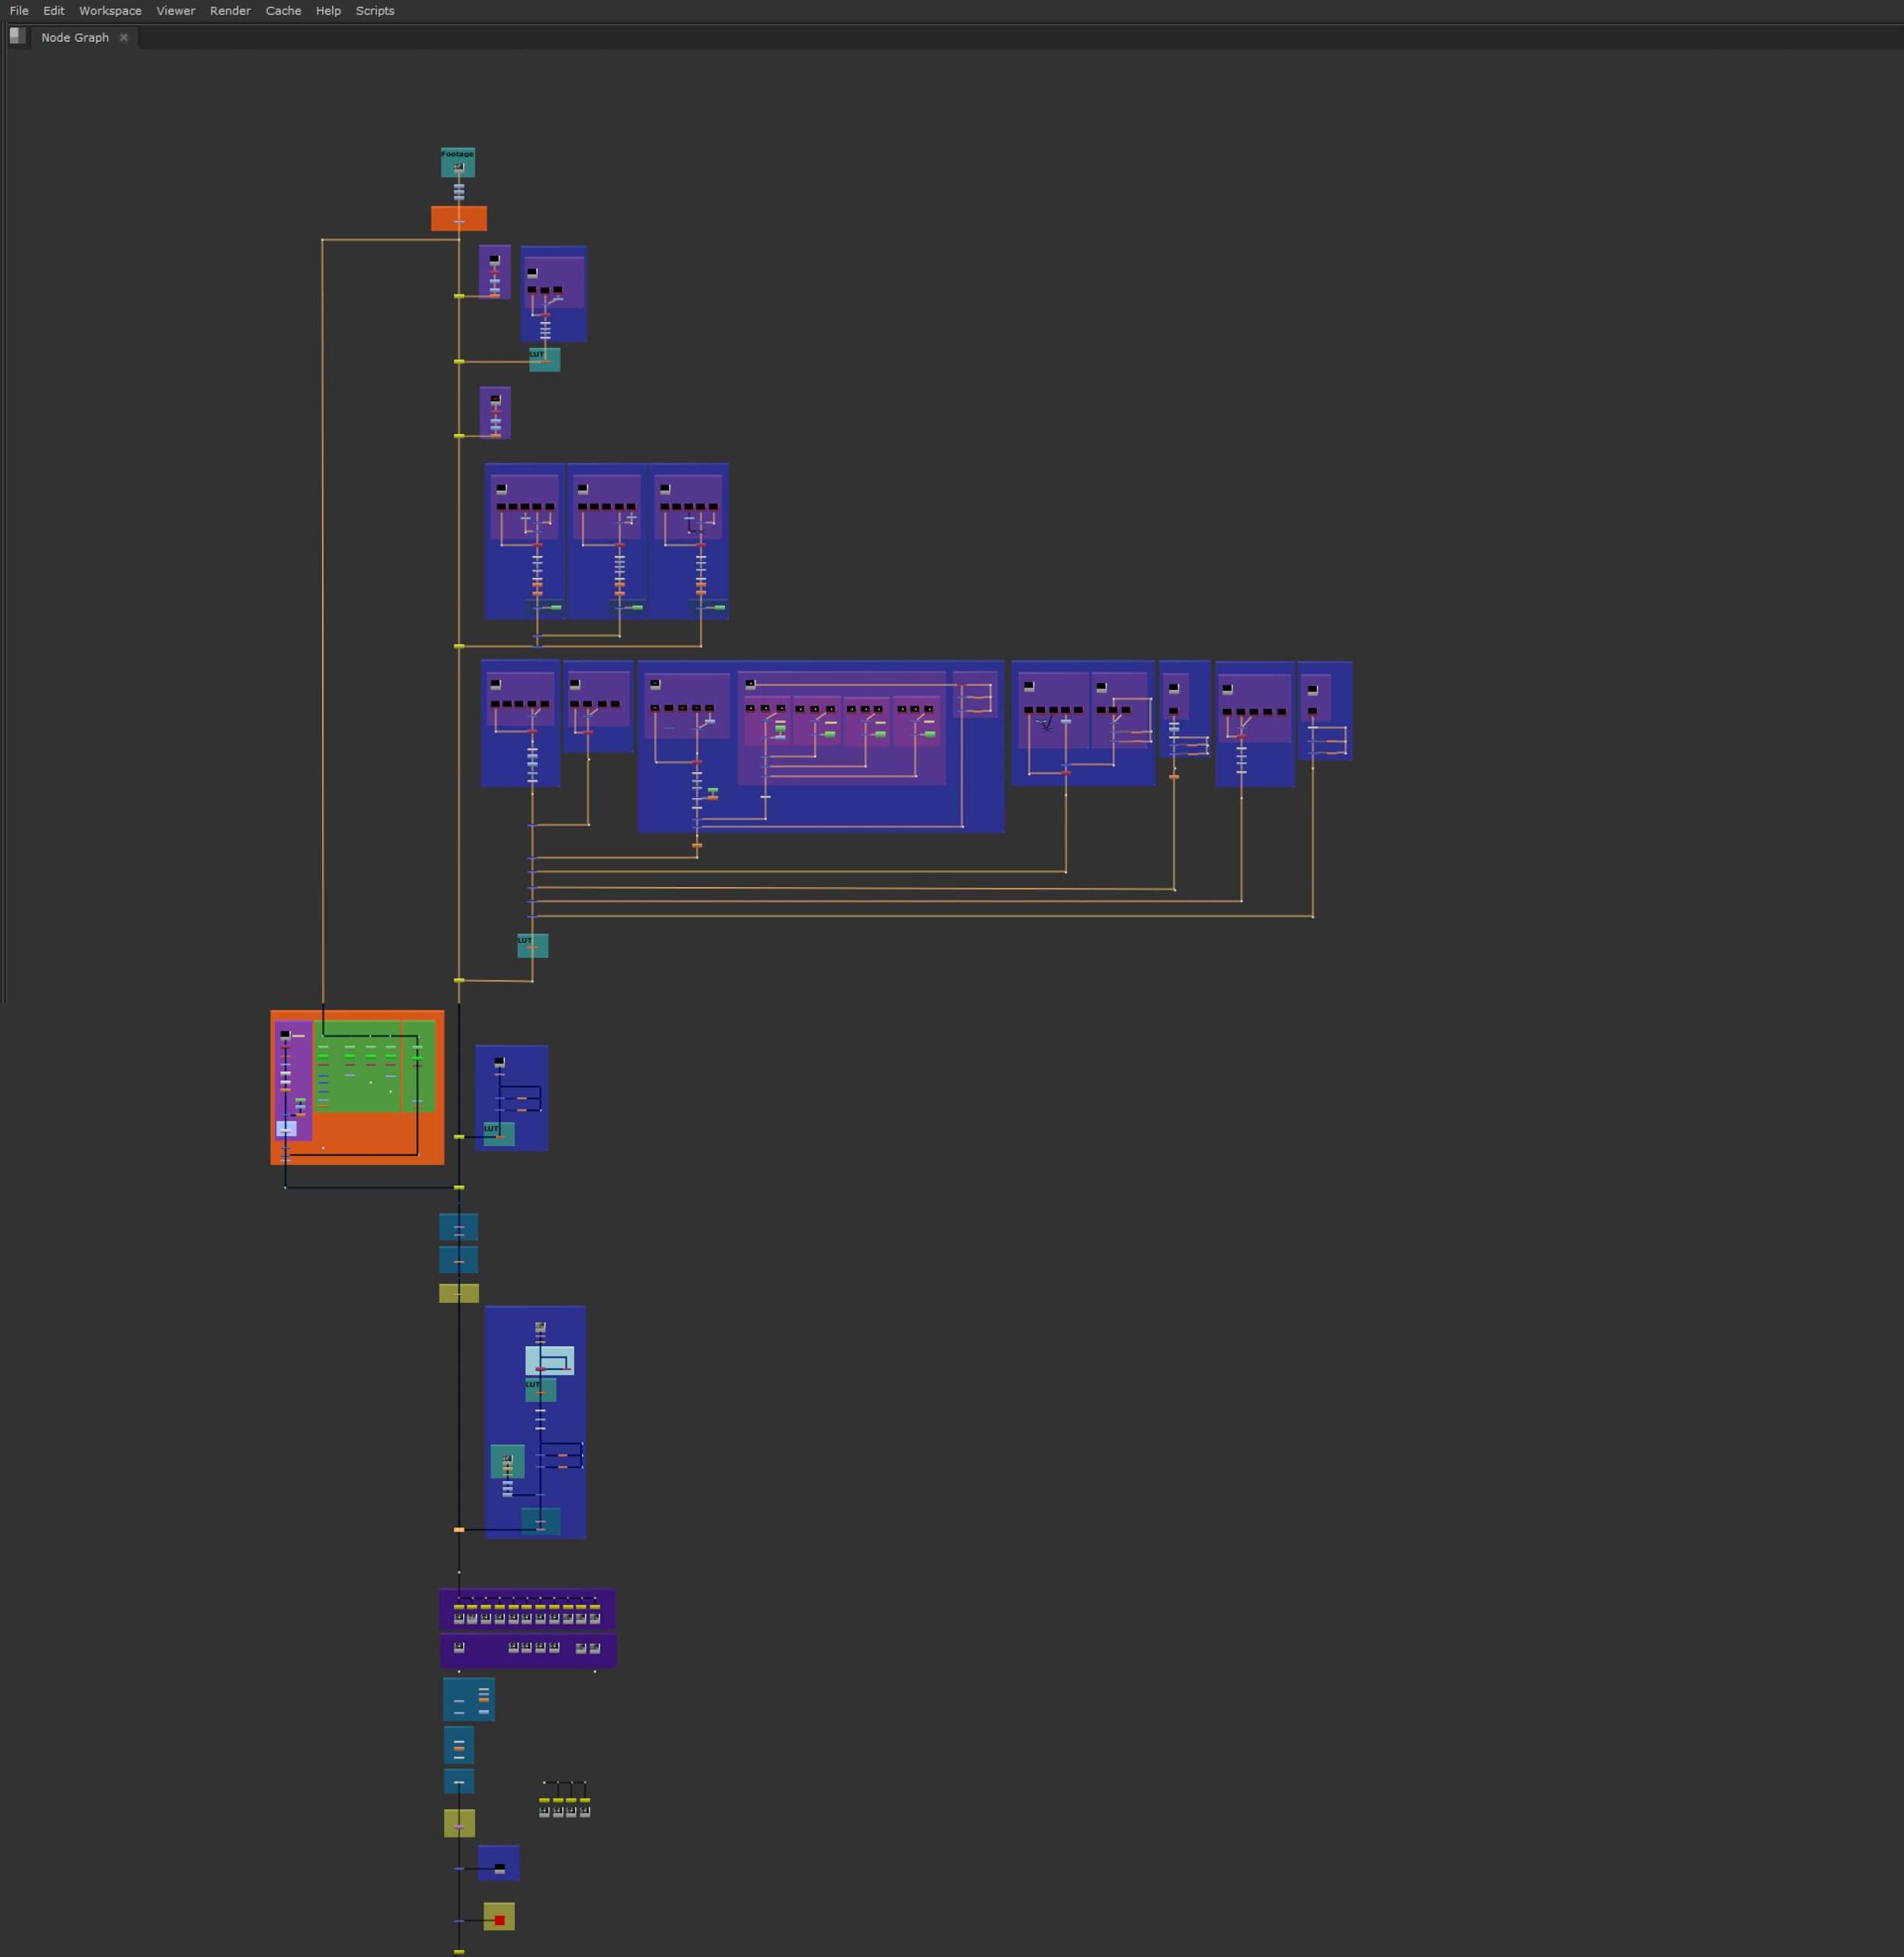
When you come to the final stages of compositing, always think about the camera lens effect; distortion, vignetting, filter flare, chromatic aberration, and grain, as it may exist because the footage was taken with a real-world camera. But the CGI made with our 3D camera is very clean, therefore the lens effects should be added to CGI to make the composition more in the real-world.
node tree of NukeX
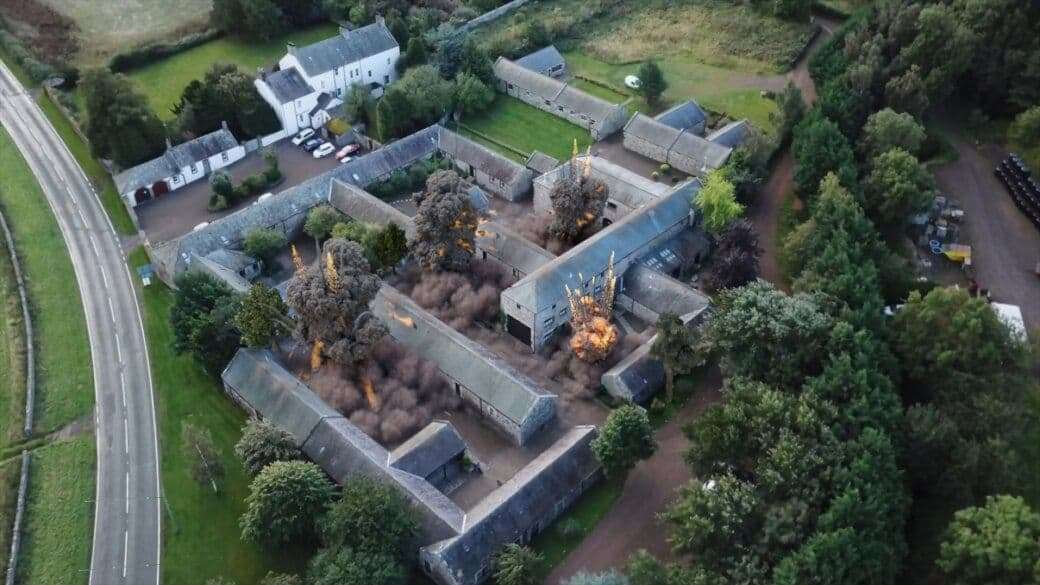
Boom! this is my final composition.
The Finale
A lot of effects came with their own challenges, either technical or creative but I am proud of the final product.
I still have a lot to learn to become a FX artist; I always look for more inspiration and challenges.
Thank you for reading my article and I hope you get some great ideas from it. I look forward to seeing you as an artist someday!
Lastly, I really appreciate the team at The Rookies for giving me the opportunity to share my project.