The Magic and Power of Lighting in VFX: Face Integration Breakdown
Ever watch a movie and think you're not sure what's wrong? It's probably the lighting - it can take away from the strengths of all other elements. We don't always hear about the lighting and its importance for the integration of the assets, the story telling and depth that is brought to the shot.
Over the years we have seen stunning shots, projects and scenes that Modelers, FX and Look dev artists have been praised for. These artists amaze the world with explosions, destructions, creatures, and recreating people or objects from our world.
However, we don't always hear about the lighting and its importance for the integration of the assets, the story telling and depth that is brought to the shot. If we don't have light we see nothing and if we don't have good lighting, we will notice it. Ever watch a movie and think you're not sure what's wrong? It's probably the lighting - it can take away from the strengths of all other elements.
Find a reference
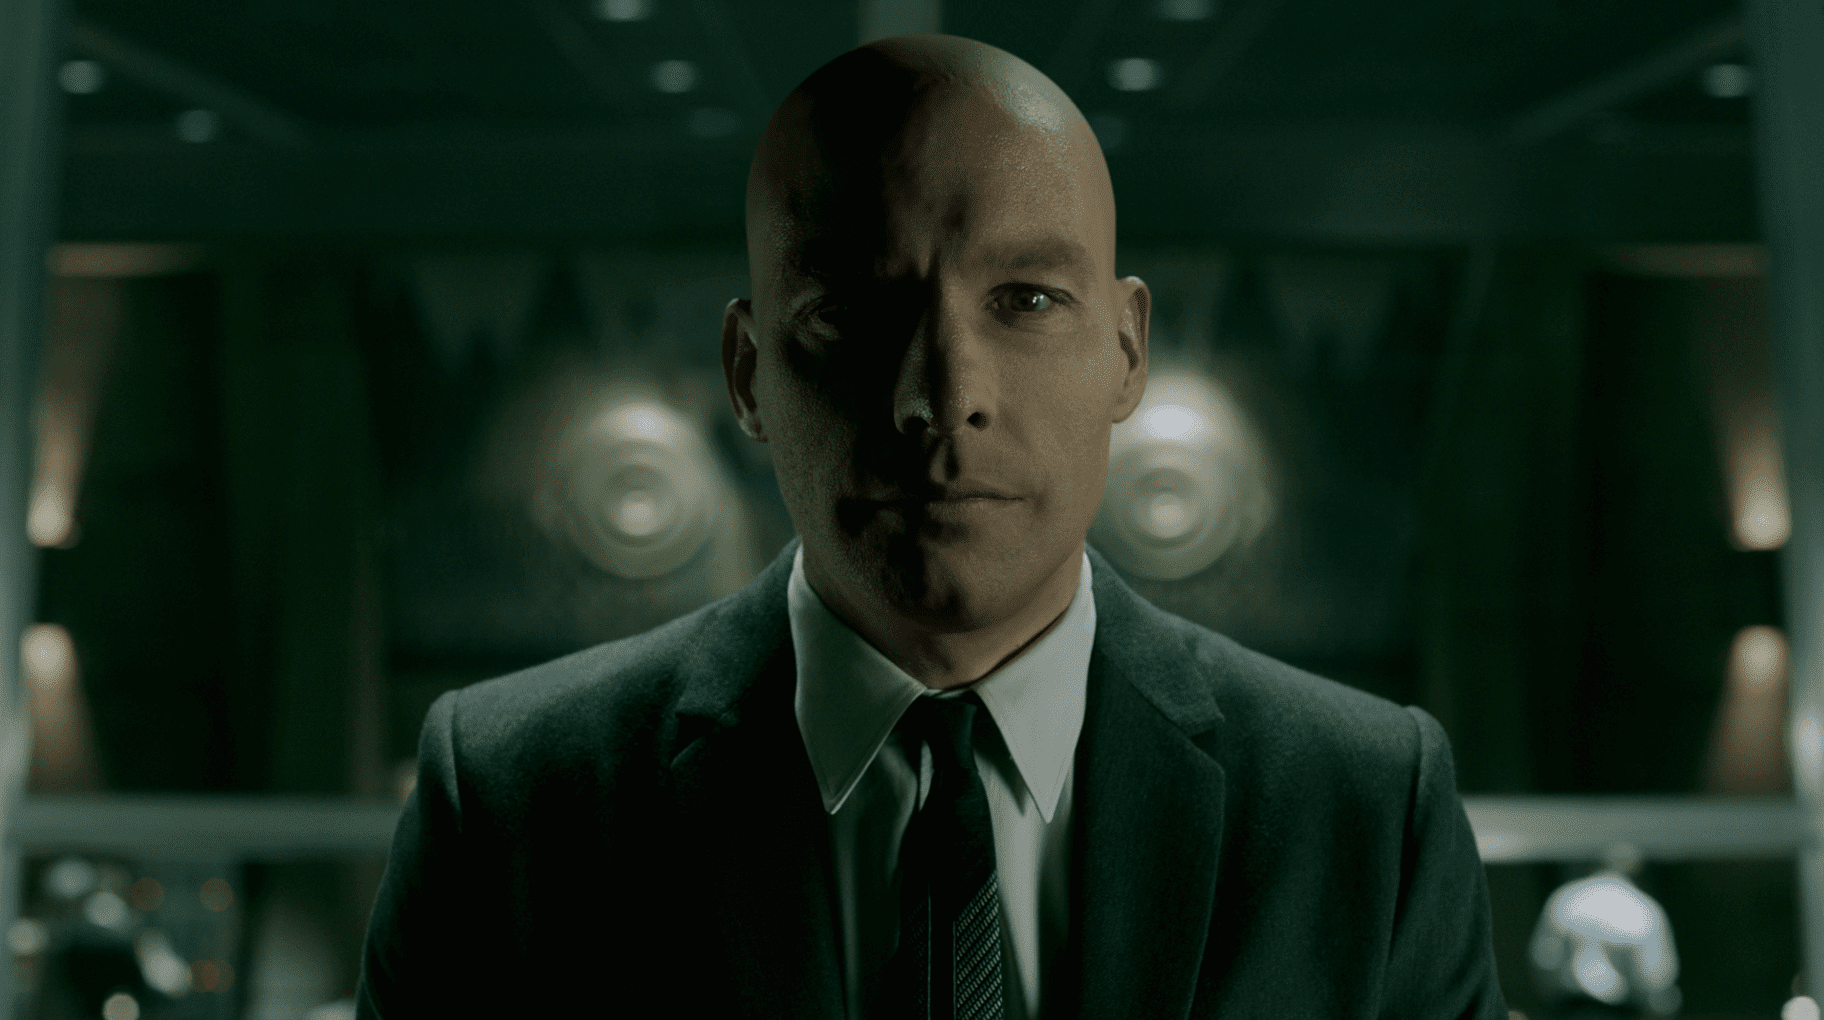
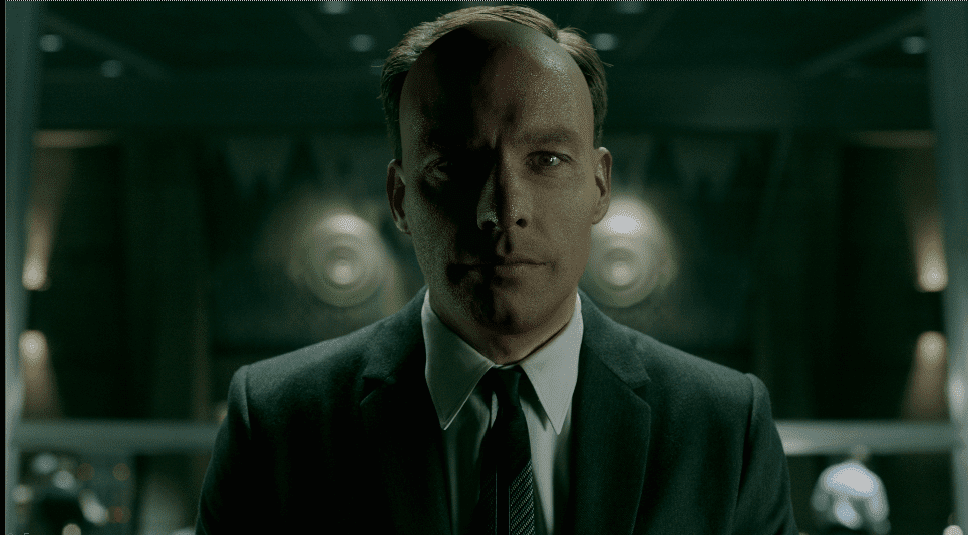
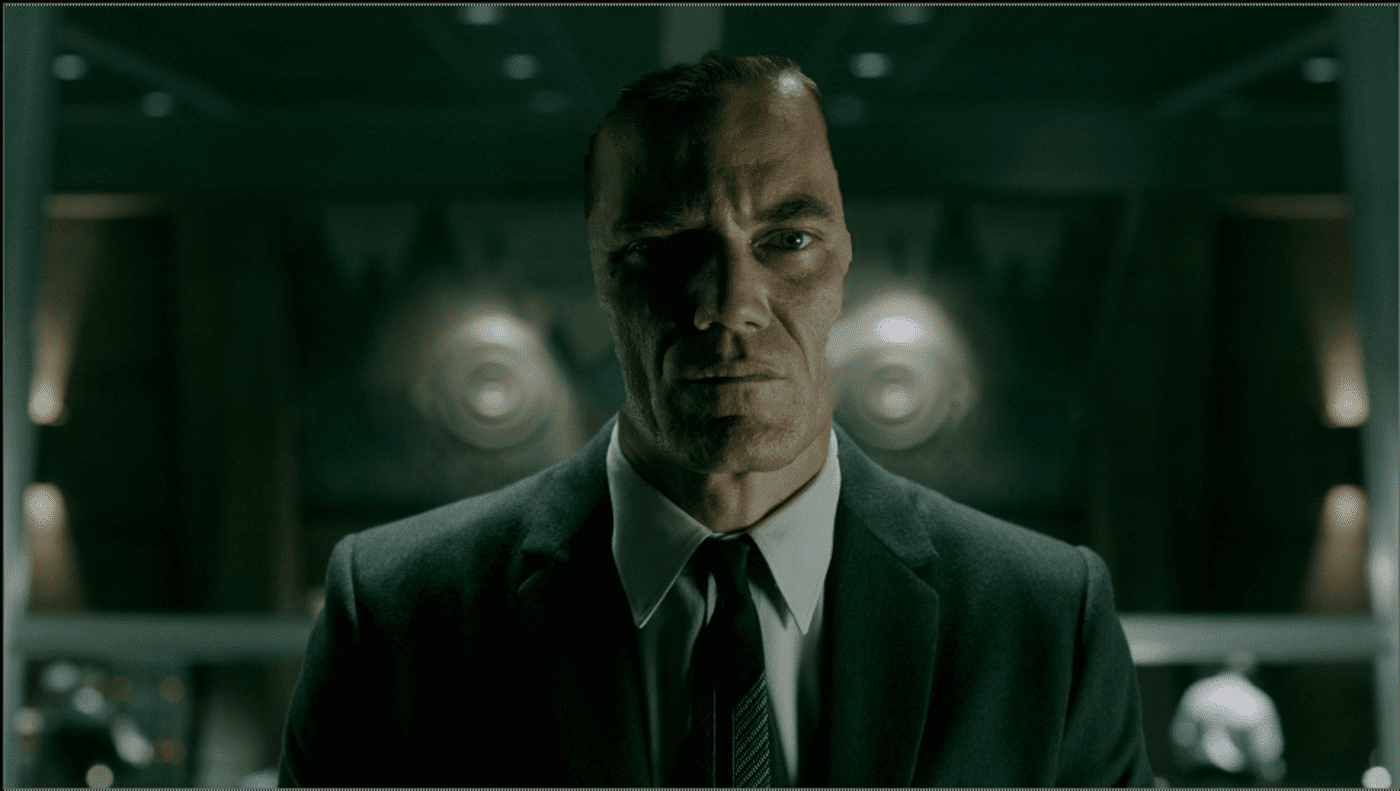
When I started this shot, I was in the first weeks of my program, learning about how to use Katana and Nuke but with a strong knowledge of photography and lighting. I decided to use this shot from “The Shape of Water” because I love the colours. The actor's position helped me to get an accurate match and integrate the head model. Once my reference was approved by my teacher we moved on to the next step.
Strike a pose
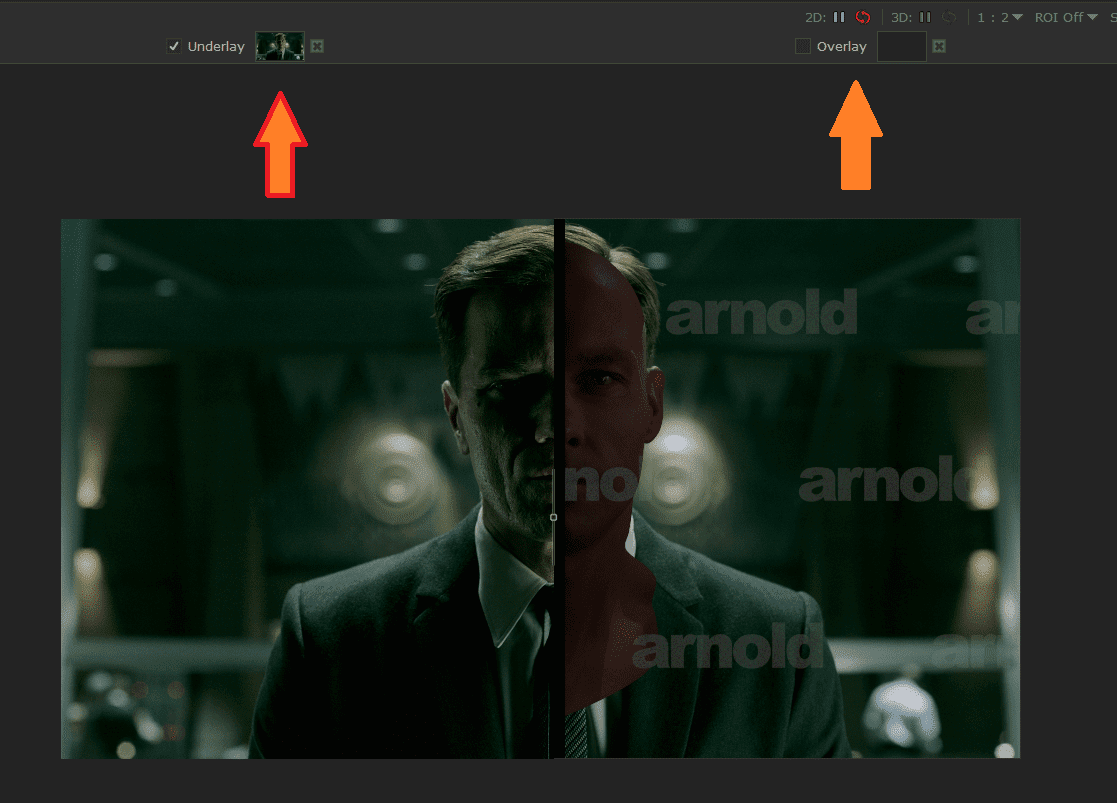
Time for Katana! To match the position of the character in shot, I used the interactive (or live render) tool to move the head while I was using the reference as background in the Monitor section with a tool call Toggle Overlay/Underlay Controls along with the Swipe control options.
This was a bit hard to do because even with a portrait position the facial features must match as close possible, keeping in mind that their faces are different. It's important to say that I moved the camera and the head model to get the position.
Matching lighting
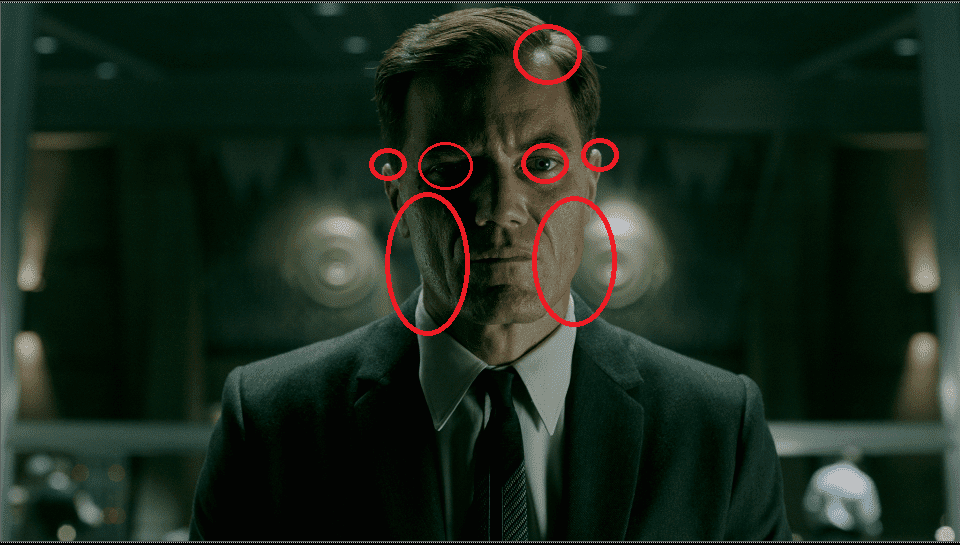
From here everything was smoother! With the same tools I used in the Monitors section, I started to match the lighting by checking the specular in the original actor’s skin and the reflection in his eyes. These are two really good points to look at to find out what the lights position, direction, size, distance and intensity are and will guide you to get a good look, whether you have an HDRI or not.
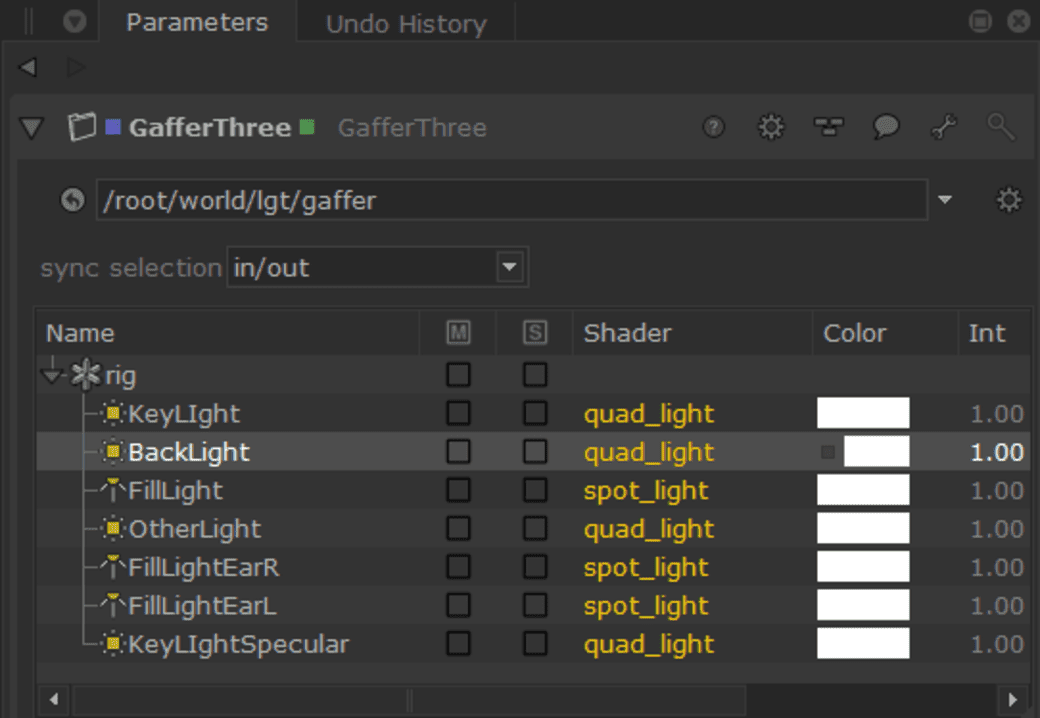
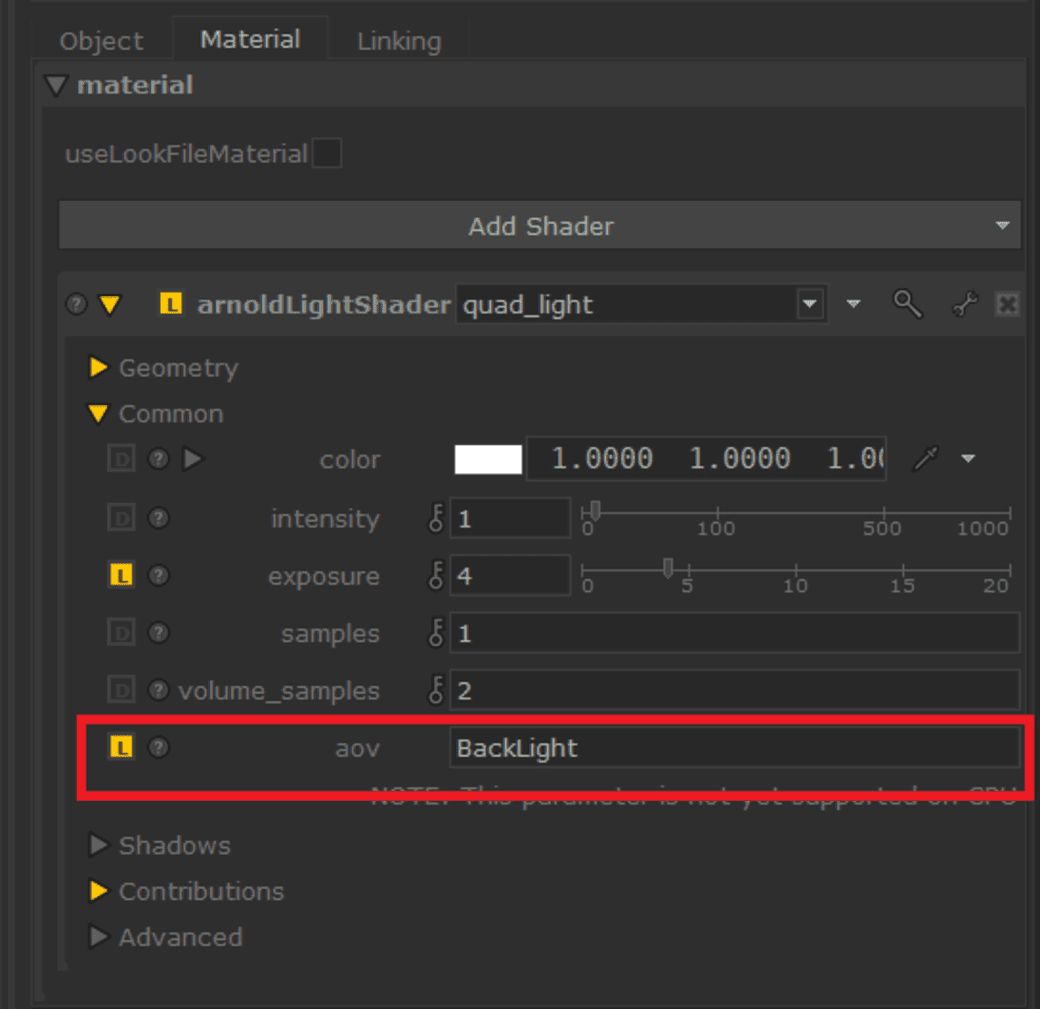
After a long process of trial and error I got the position of each light, creating AOVs for every single light and a light rig to organise them, in case I had to move them all together or even save the rig apart of the script. I rendered lots of times to test it - don't miss this step!
If you want two or more lights to be in the same AOV just name their AOV section the same way and Katana will render them together
Show me your true colours!
Once the position was accurate, I moved to Nuke to test the colours of my renders which were all in white colour lighting still. The shuffle and grade nodes to control the lights and give them their singular colour depending on the reference, were super useful. This process can be done in Katana as well, but it's easier in Nuke, as you don't have the same render times when tweaking colours. In Nuke, you can double check the exposure of your lights faster, and change the values in Katana later if you have to. As I tested I got closer to matching colours and would have to increase or decrease exposure accordingly. Once I nailed the best fit, I could move on to the next step!
Compositing: bringing it all together
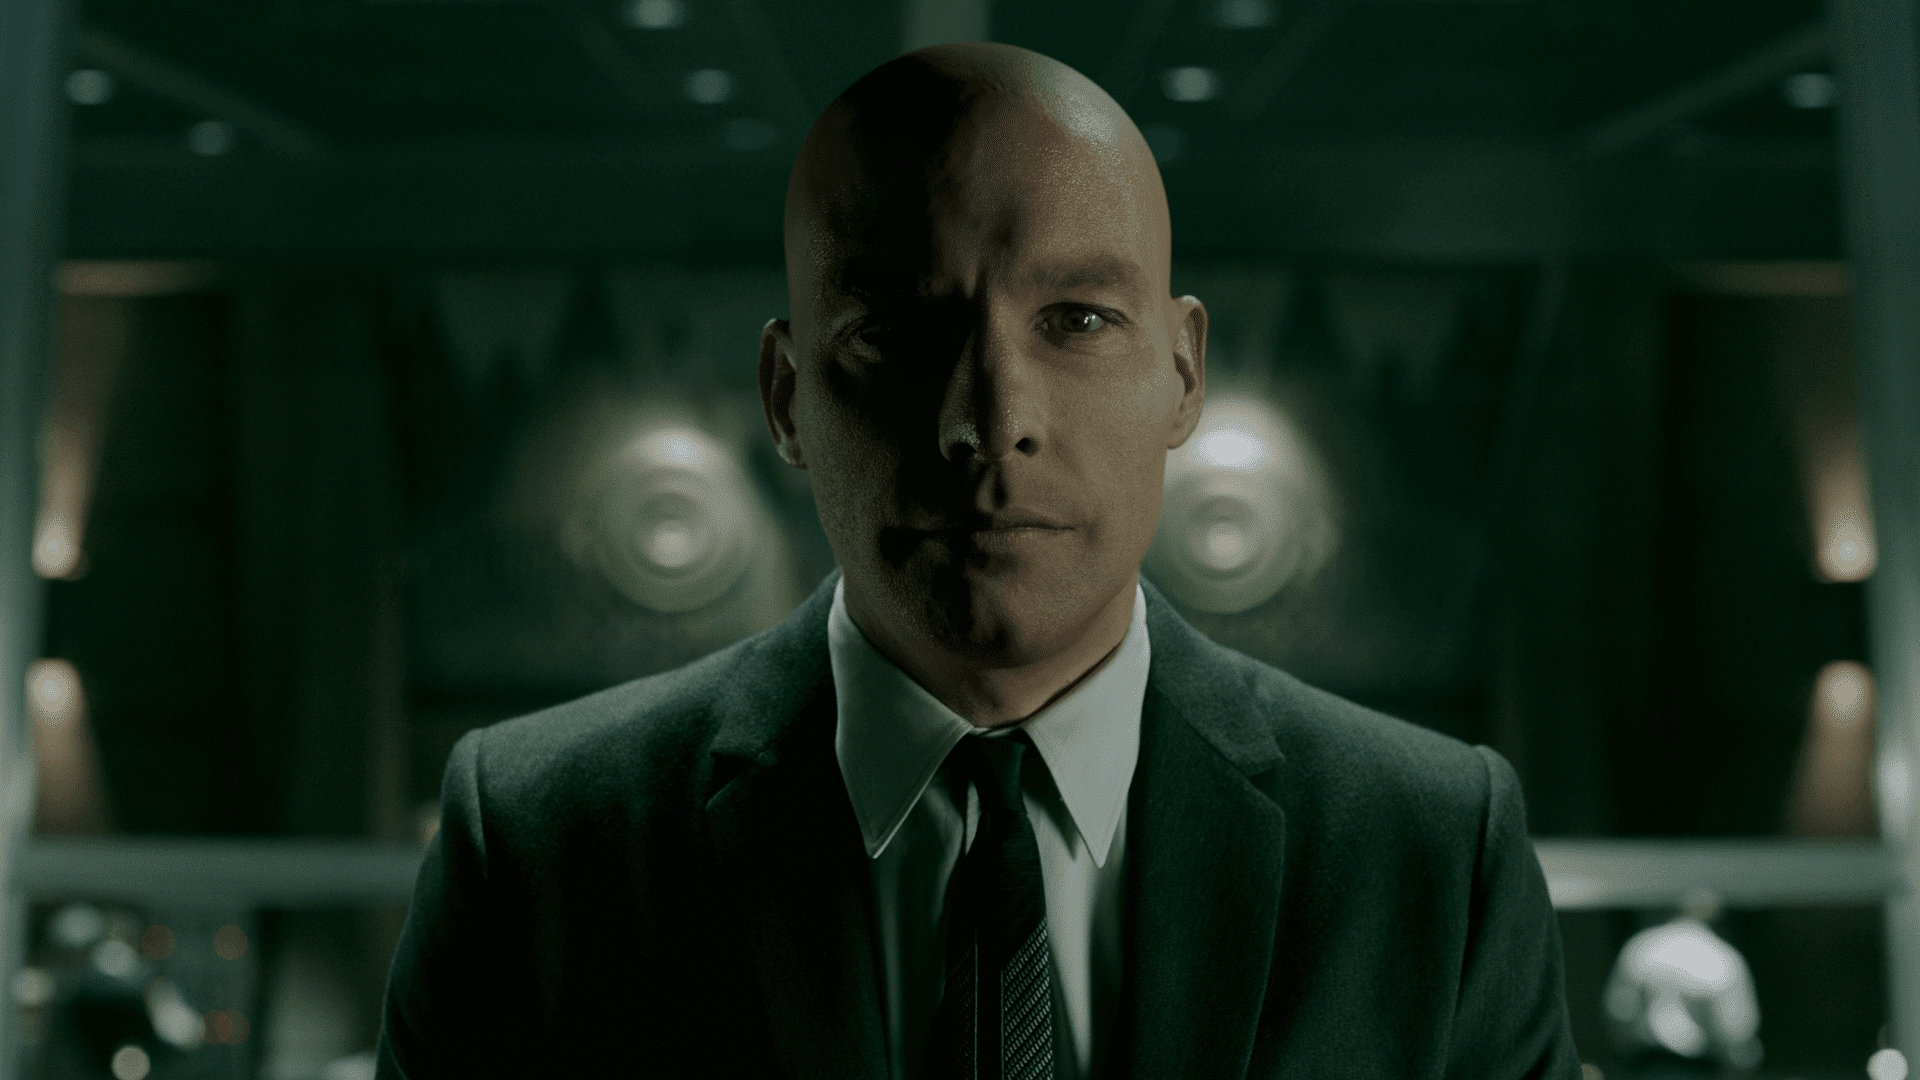
At this stage, I needed to integrate my character with the background. Sometimes it is necessary to tweak the exposure a bit, even though we checked it before - you wouldn't go back to the rendering stage for a ¼ stop up or down. This is when I took advantage of my AOVs to do the fixes. At this stage I had to make a rotoscope to cut my asset’s neck and shoulders out to fit a "suit" on it to match the original reference.
At the same time, I created a roto around my character to remove the original actor’s hair, ears and other parts that were showing from behind.
Last but not least I used the same roto from the neck to blend it with the original actor’s neck, so I could use the shadow casting from within the shirt line. I added a bit of depth of field as a last touch to make it look part of the overall environment. And that's it! My head integration was done.
Conclusion
What I achieved over a week, I was super proud of. I hope this helps you to better understand what lighting strong lighting can do for your projects. If you are reading this I recommend you to watch what surrounds you for inspiration, sometimes there’s magic in the smallest thing, just open your eyes and let your imagination fly.