How to Create an Army Tank for Games
I collected a large volume of reference photos, many of the vehicle in different states. This included disrepair, moving parts, components, and a technical repair manual.
I collected a large volume of reference photos, many of the vehicle in different states. This included disrepair, moving parts, components, and a technical repair manual.
Curtis Norton is in his final year at Swinburne University in Melbourne, Australia. He has been kind enough to give us a comprehensive breakdown of one of his projects.
Stories exist in everything that we are surrounded by. Objects are like time capsules, they capture and are shaped by events that affect them.
When starting any project I always have this mindset. What condition is the prop i'm creating? Who and how do people handle this object, how has the environment influenced the prop? These are essential questions I ask myself when researching a new project.

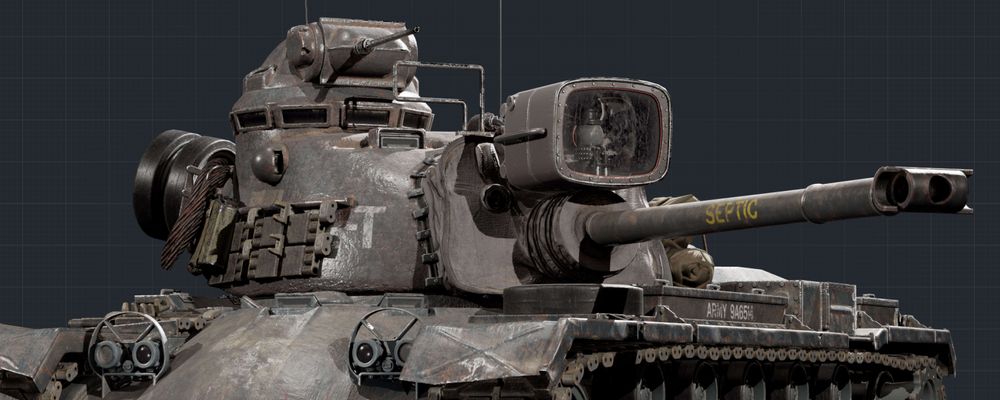
I started by investigating the stories of those who operated these machines. Rick Lewis from the USMC Vietnam Tankers Association gave insight into their experiences. He discussed how crews customized their vehicles to compensate for extreme climate conditions. I also learned about the 1st Field Squadron of the Royal Australian Engineers. They used a modified Patton tank, 92 Tango nick-named ‘Septic’, to clear landmines.
I collected a large volume of reference photos, many of the vehicle in different states. This included disrepair, moving parts, components, and a technical repair manual. Watching Inside the Chieftain’s Hatch by Nicholas Moran helped identify components and their function.
It's very important to spend the time upfront to collect as much reference material as you can. Having lots of reference photos and diagrams will save headaches down the road. You want to give yourself the greatest opportunity to make correct interpretations.
If you have trouble finding some references for military vehicles, many share the exact same components. So check other variants, one is bound to have what you're after!

If you can find a technical manual for the vehicle, they can help immensely.

Blocking out is one of the most crucial stages of the pipeline. So much can go right or wrong depending on how one executes during this section. For the Patton tank, ensuring all the moving parts were proportional was essential. Having the tank hull misaligned would have a chain effect on connected components.
Consult your reference as different surfaces may wear down differently to others. Don't overwork the damage too much, keep it with in reason.
This would also influence how the track linkages connect and move. Make use of primitive objects. Keep the attention on defining the forms and proportions while building the block out. Using PurRef, I am able to keep my references present on my screen as I work to refer to when needed. Keeping a focus on primary forms, silhouette, and function was critical.

For the highpoly stage, I made use of traditional Sub-D modeling techniques. Using the block out model as a guide, I was able to focus on the mechanics of the vehicle and how they connect. I work through the vehicle from the largest forms down to the small tertiary forms. Modeling with the manufacturing process in mind is important.
A great resource on subdivision modeling is Andrew Hodgeson’s Sub-D Basics Series. The only slight difference being emphasizing the edge softness more than real life. This will help readability at a reasonable viewing distance after we bake textures.

I focused on placing lots of different storytelling elements. Ammo boxes, sleeping bags, tow cable, jerry cans, and other items make the vehicle feel used.
Additionally, I bent up the fenders at the front and rear to suggest damage by mine detonation. Adding these small details helps ground the asset in reality and interesting to look at.

I took the highpoly into zBrush for further detail sculpting. This is where you can start to introduce some of those sculpted tertiary details. Details like hull damage, brushing, welding seams, steel warping, and other worn elements. These details give life to the prop. It helps it show exposure to harsh environmental conditions and human intervention.
Finding points to inject a story into the art you create is one of the most fun parts of the process.
You can make use of the ClayBuildup brush to remove or add volume to surfaces quickly. Further direction wear can be added with a combination of the standard brush and ClayBuildup. You can give your edges some worn look by tapping the TrimDynamic or TrimSmoothBorder brushes along the edge surface.
Consult your reference as different surfaces may wear down differently to others. Don't overwork the damage too much, keep it with in reason.

Fabric items like sleeping bags and gun cover got created in Marvelous Designer. They were then touched up in zBrush.

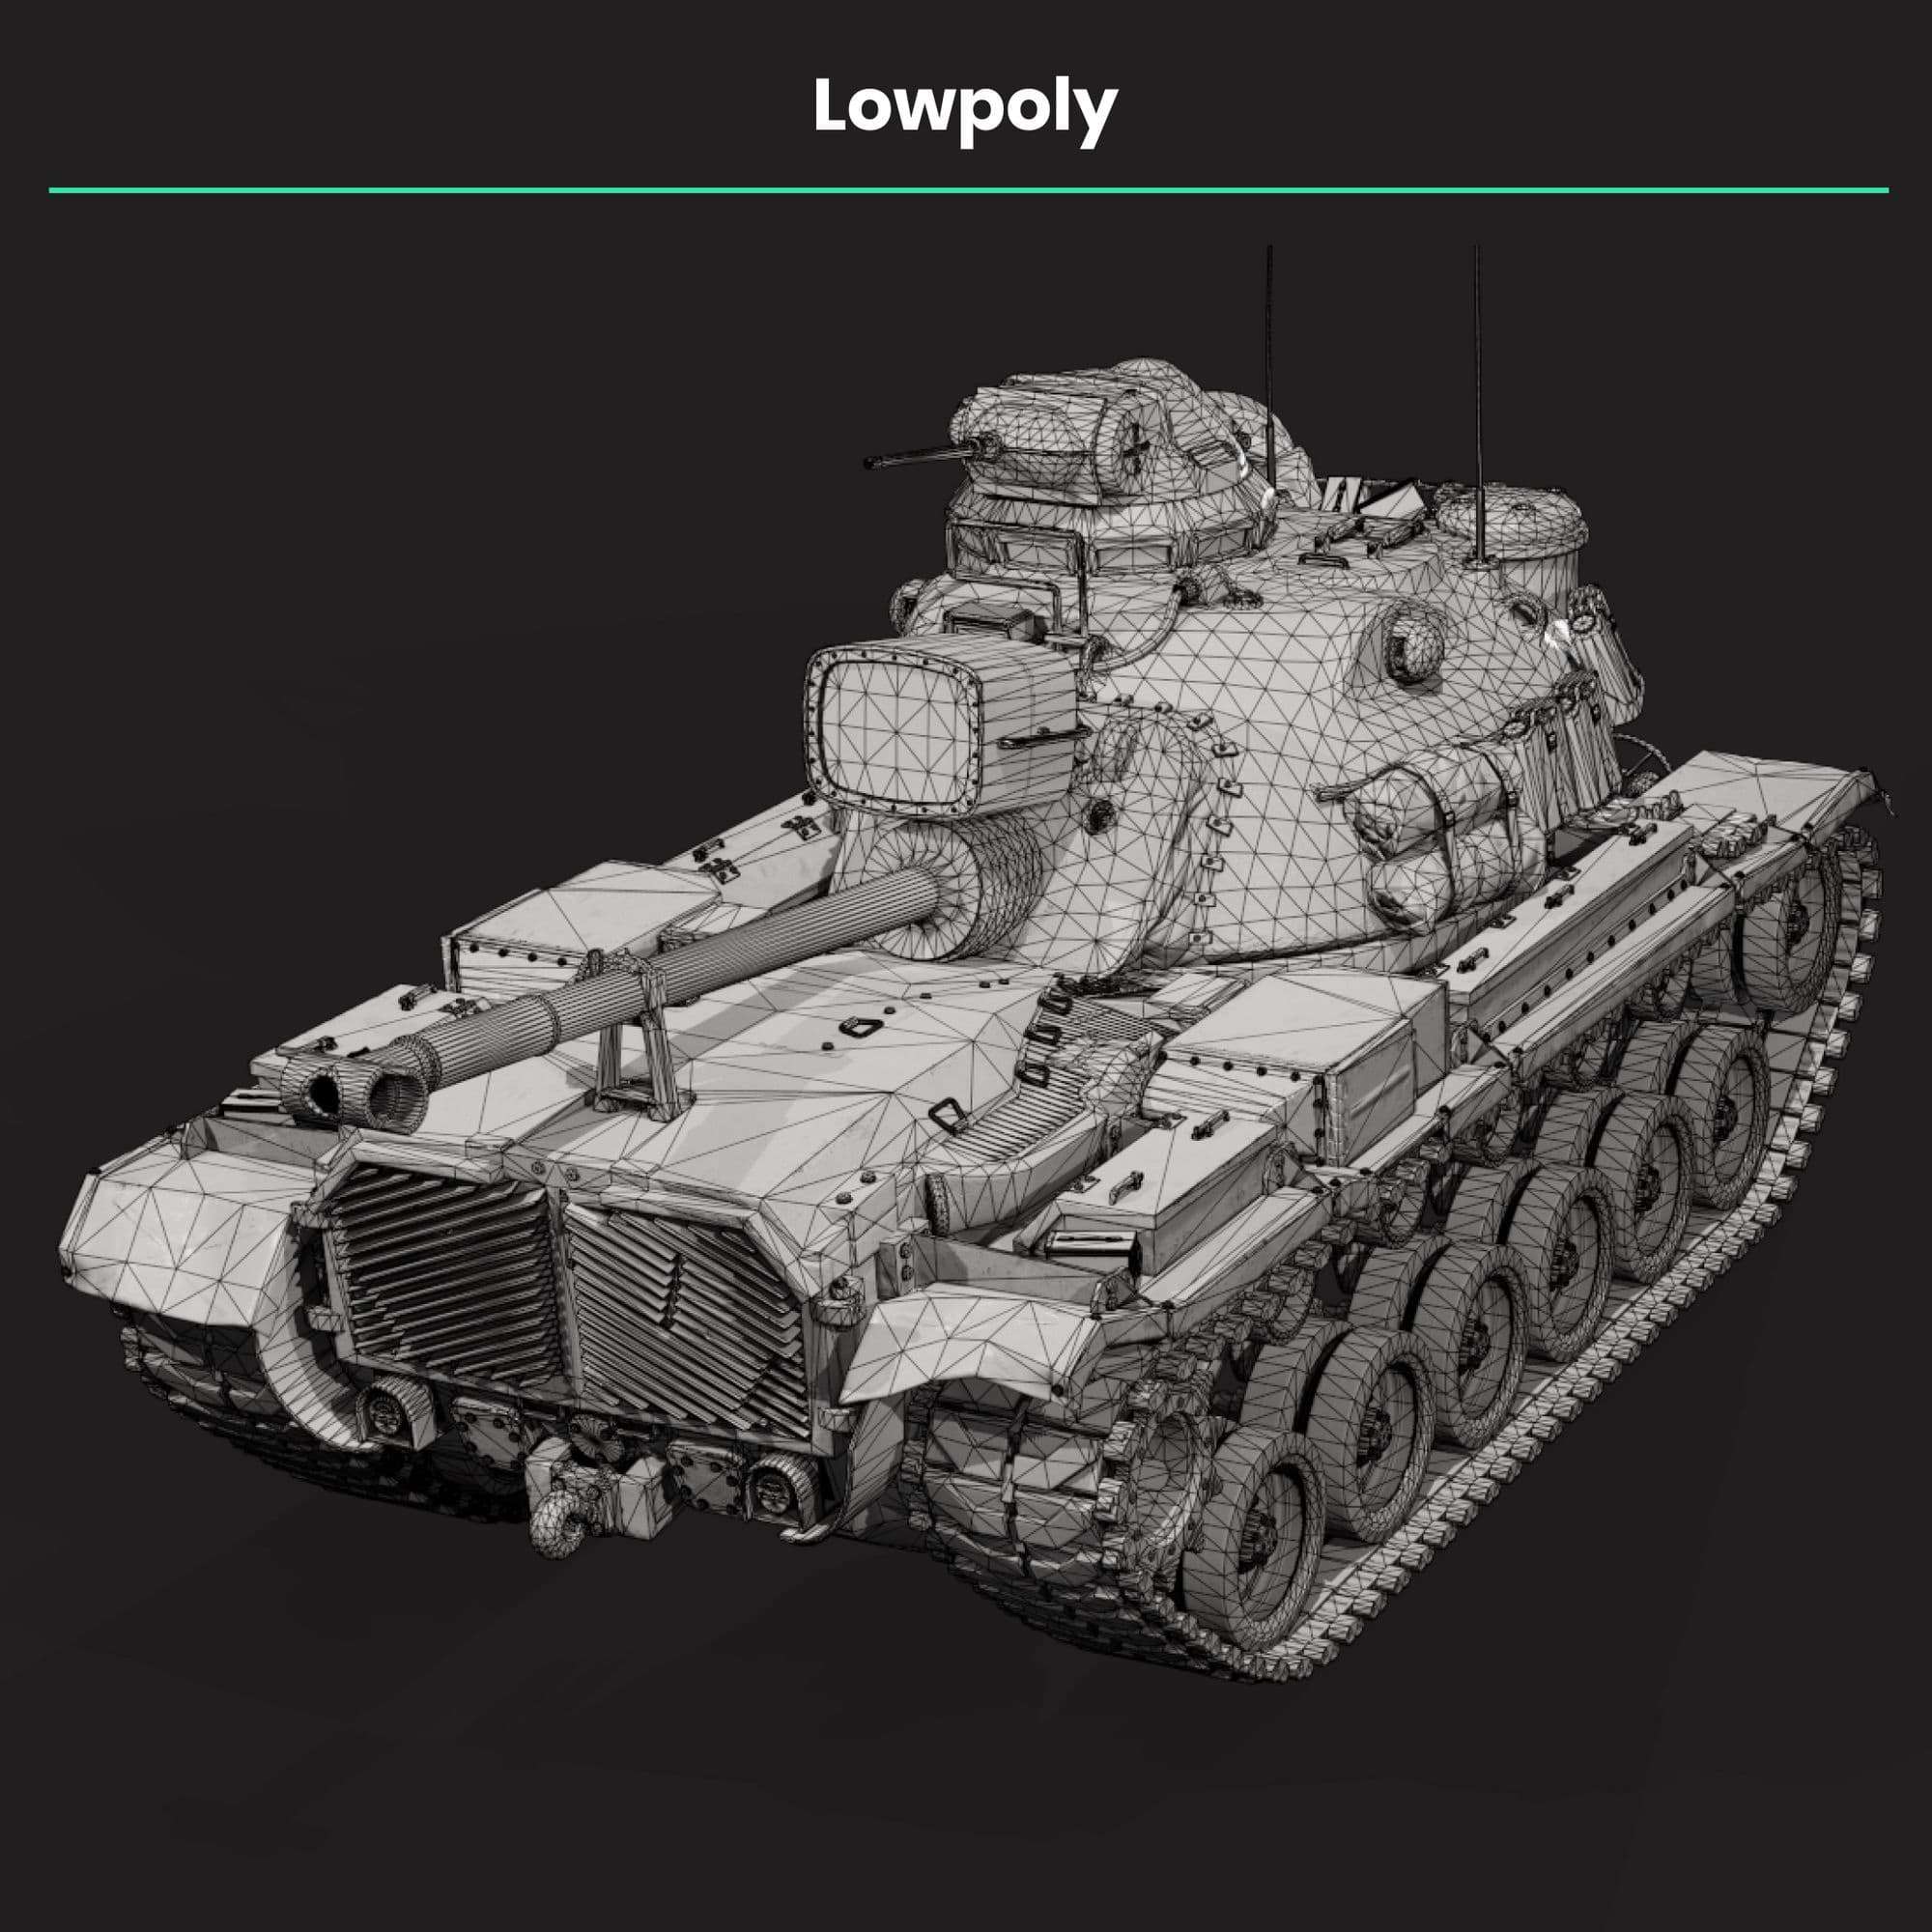
For the lowpoly, I keep the focus on the silhouette of the forms. Details that don't contribute to the silhouette of the vehicle, are baked down. Use judgment. Depending on how close the camera gets in areas, we can optimize for performance.
For portfolio reasons, I like to push my triangle counts higher than production. Explore alternative avenues to optimize like for the tracks. Be curious and look into some of the games you play.
By diving into Squad’s Public Development Kit I learned trim sheets can be used for animated tracks. The vertical panning speed of this trim sheet texture controls the speed of the tracks.
For baking the vehicle, I split the vehicle into 3 major components. The turret, the hull, and the suspension system. Extra elements such as the crew sleeping bags got its own texture. These components each got a texture sheet allocated.
I baked down 2-3 variants of common vehicle parts and distributed them to break up and repetition. I used Marmoset Toolbag 3 to bake all my textures. This was due to the flexible nature of its tools that allowed me to better control skewing and the cage.

Baked textures were made in the following resolutions depending on their surface area:
Texturing is another great opportunity to convey wear and weathering over time. I approach texturing with the real-life process in mind. I start with the base material composite and work my way up. Cast homogeneous steel, patina, primer and topcoat paint.

Once the primary material values are set, I added extra weathering and damage to each of the layers. Make use of Substance Painters anchoring techniques to capture snapshots of previous details. This will give you an extra level of detail and control when weathering.

You can download the anchor points demo here. Enjoy! :)
Some decals used an RGB mask format which could be selected in Substance Painter. This is useful to split up the mask to control colour, such as the star on the front of the tank. This is also covered in the above demo example!

More dirt and other elements that get caught in the vehicle's tracks and crevices were also added. This helps contribute to a more appealing surface definition of any prop you may want to emulate.
Use a HDRI without colour information (I recommend Tomoco Studio). This is critical to defining your materials without compensating them against the lighting. This will mean it should hold up under any lighting condition in the future.
For lighting the vehicle I took it into Marmoset Toolbag 3. I made use of an overhead light, rim lighting and some fill lights to illuminate the vehicle. Position your key light to illuminate the subject matter. Capture the work you invested into the roughness map.
Have secondary fill lights to brighten up areas in complete darkness. And finally, make use of rim lights to separate your subject from the background. Having a strong lighting setup is important to show the effort you put into texturing.
Capture the subject at different camera angles to convey different characteristics. Pose the subject to create interesting silhouettes. These help to composite that final image and impression of the prop.

Each stage of creating an asset takes careful thought and consideration. Always seek feedback, find a community of like-minded artists, share and learn from each other. Always consult your reference.
Finding points to inject a story into the art you create is one of the most fun parts of the process. It makes something generally viewed as mundane, into an interesting moment in time.
You can see the final M48A3 Mod.B Patton in full here.
Special thanks to Casey Coleman, Dennis Porter and Sven Ulrich for their valuable feedback during this project.