How to Turn a 3D Portrait Study into a Full CG Character
The key when using photos is to play with layer correction to harmonise the colours of the various textures together. It doesn’t matter the software you use, but it is important to understand the basic principles of painting a skin texture.
Mathieu PATE is a 3D artist passionate about creating 3D Characters for games and film. Next year will be his final year of his Masters degree at the University of Paris, in the Image Art and Technology department (ATI), and he is looking forward to beginning his journey as a Rookie in the industry!
Mathieu took the time to share with us his process of turning a 3D Portrait study into a full CG cinematic character.
Ideas and References
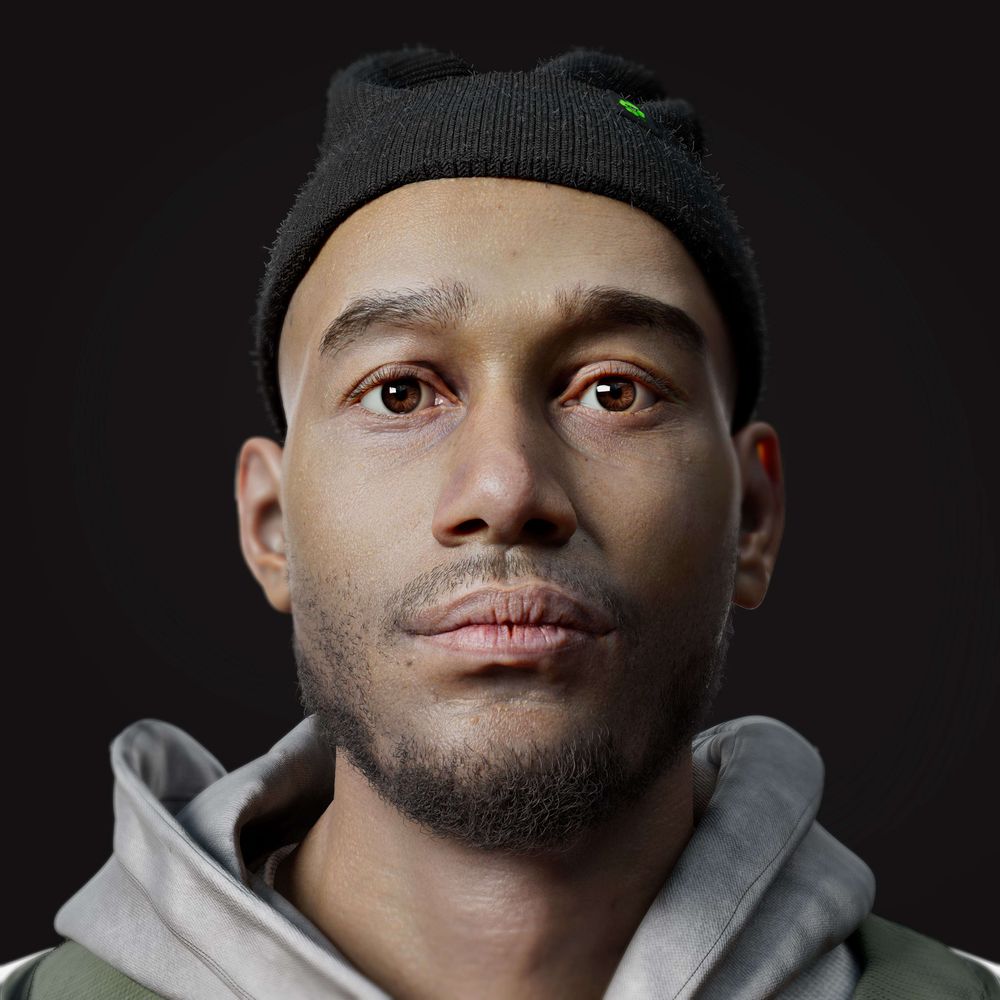
My initial goal was to challenge myself to achieve a photorealistic self-portrait and turn it into a full cinematic character. I called the project "Underdog" - every epic story begins with an underdog's story: Luke in Star Wars, or Frodo in Lord Of The Rings.
I feel that in our industry especially, all artists have at some point felt like the underdog, as they worked towards their goals. My character reflects that image, and reflects my own personal style as well.
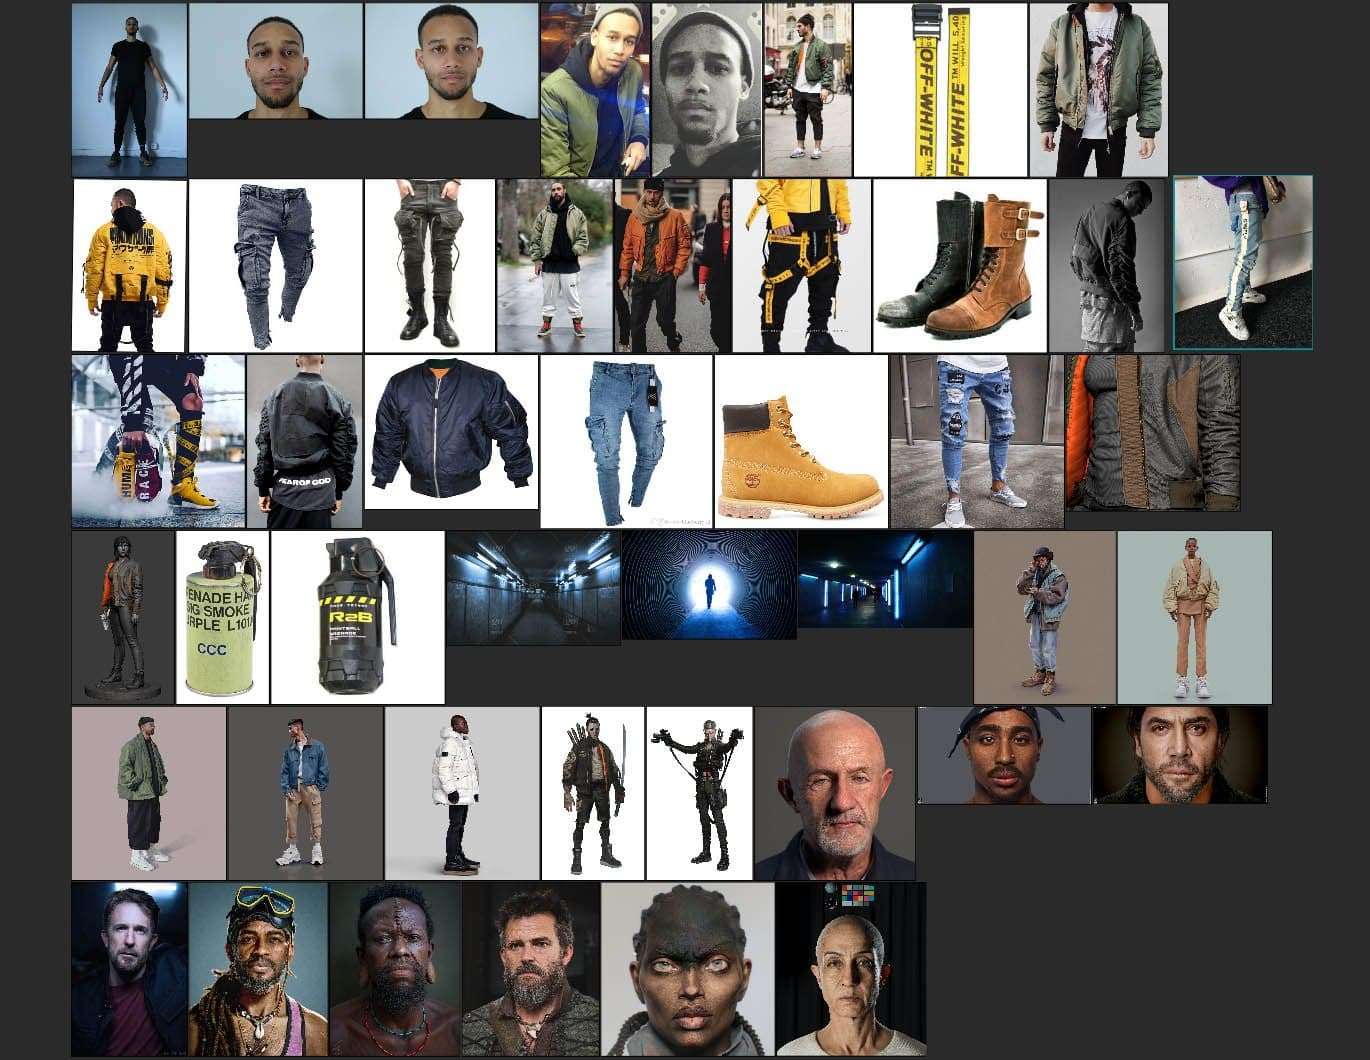
PureRef document
Modeling
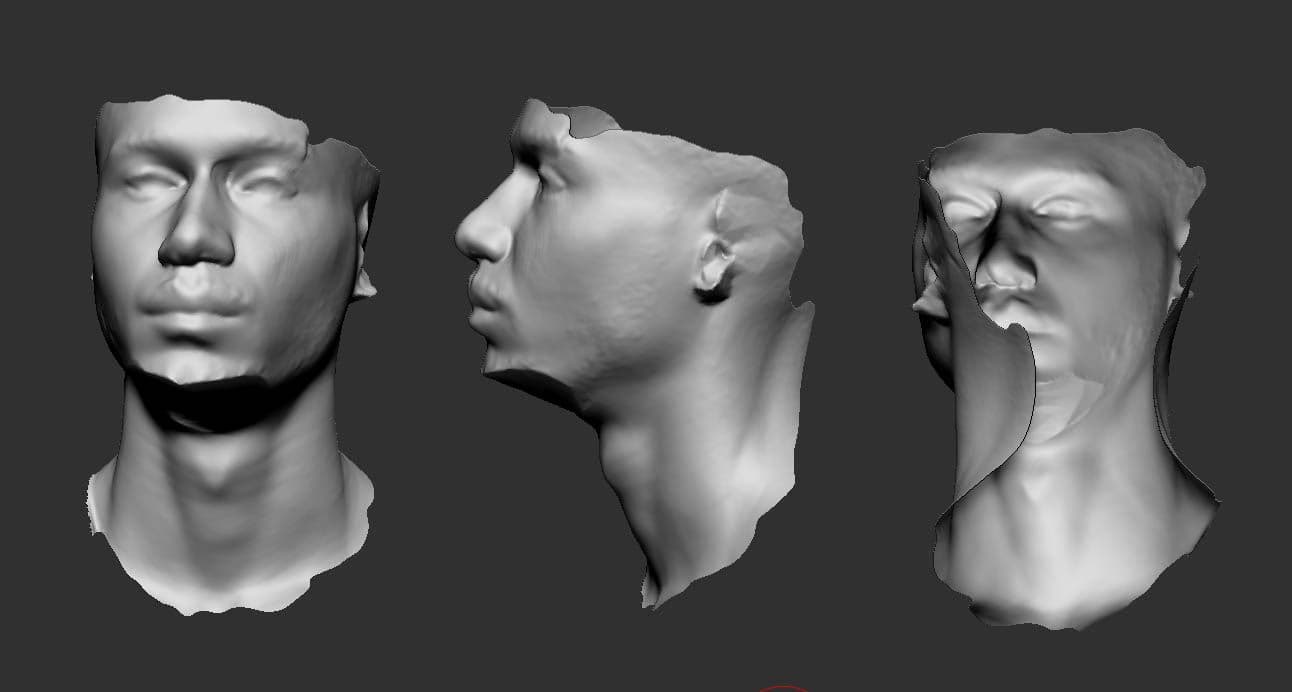
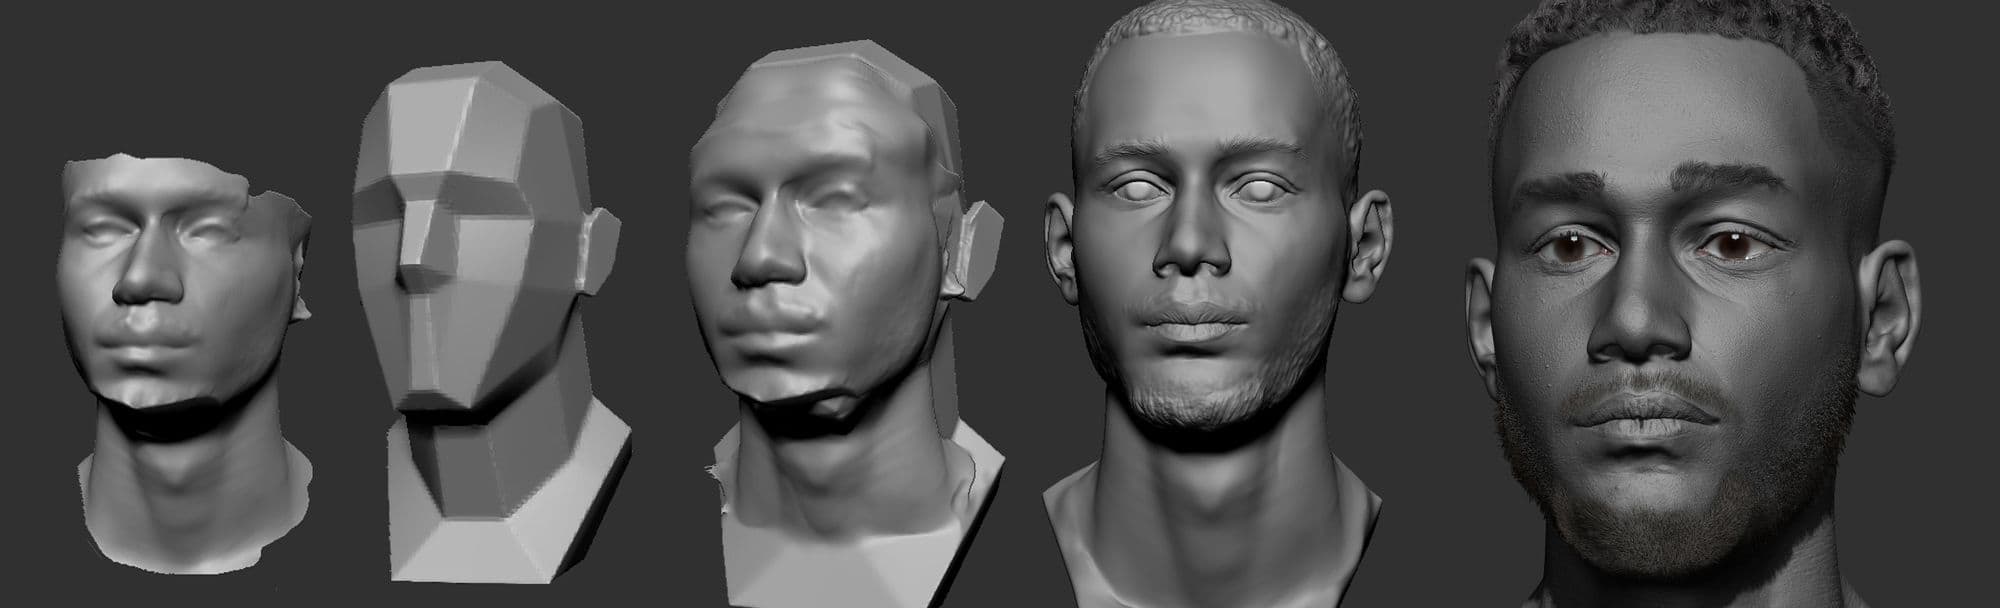
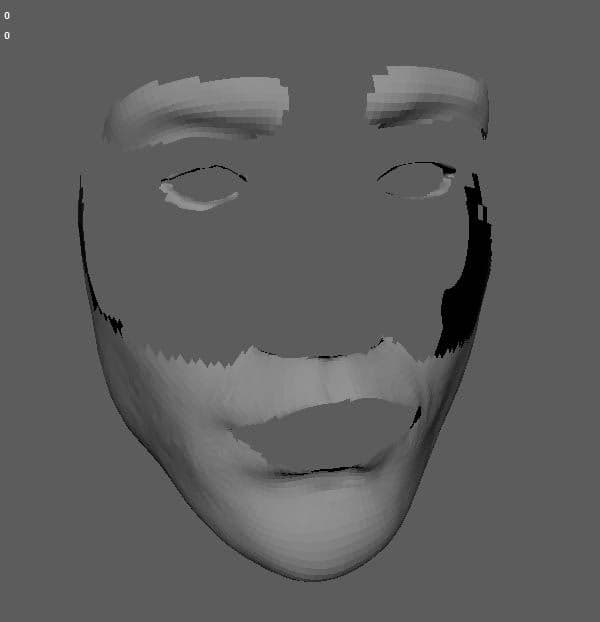
I started with a scan taken at school, with an artec scanner. It gave me solid secondary form to work with.
Result of the scan
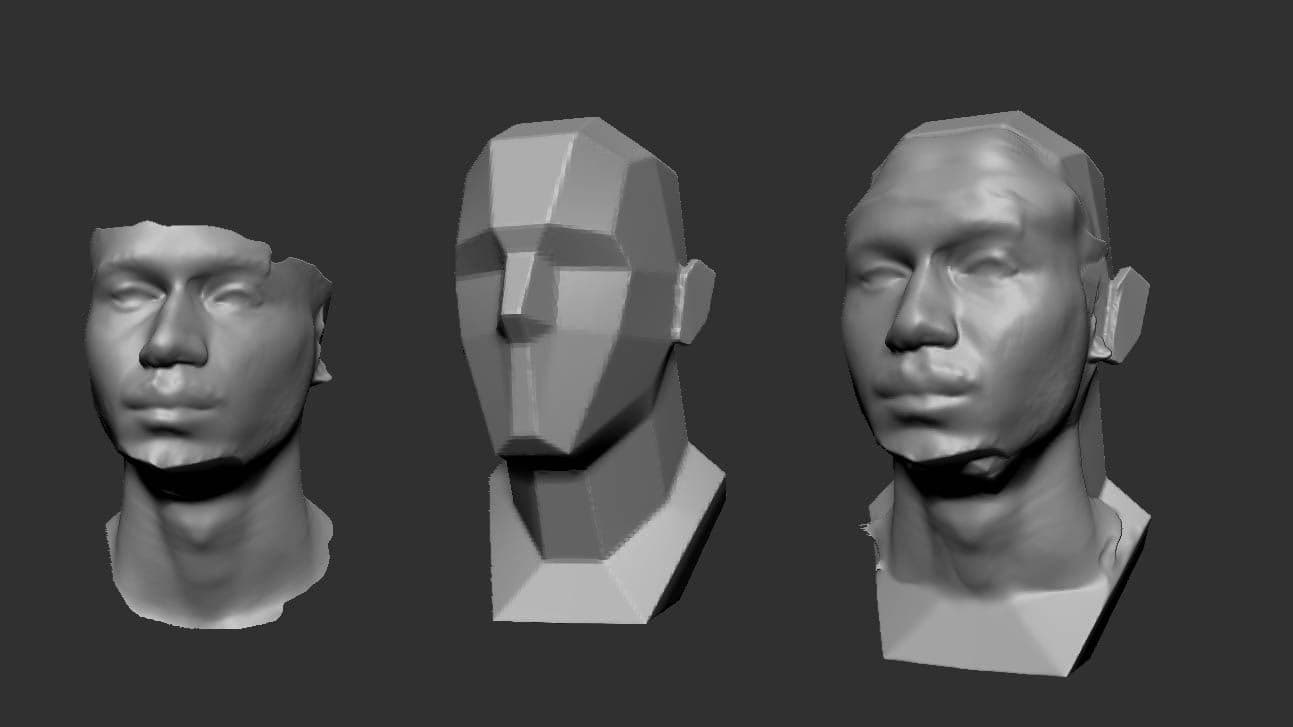
I merged the scan and the basic planar head from ZBrush. Zbrush is such a powerful tool, and the dynamesh offers alot of freedom to create and play with the forms. I dynameshed the scan and head together, and started to sculpt the rest of the head with added details.
To better understand the creative power of the dynamesh, Hussein Diba created a very cool video you can find here.
When the final shape was done I added pores and skins details with alpha and handsculpting. I worked with layers for better control. To obtain a realistic feel, I made sure to follow the skin direction, and varied the type of pores depending on where they were, for example, pores of the nose are different than the pores of forehead.
Chris Pollitt made a very good document to show the skins direction and the skin pore type differentiation here.
The layering process and the way to apply alpha and re sculpt to add details, was inspired by Frank Tzeng. See his video here.
Spots and subtle wrinkles help to break the clean look of the 3D alphas and give a more believable render of the face. To learn more about realistic portraits watch Kris Costa’s presentation here.
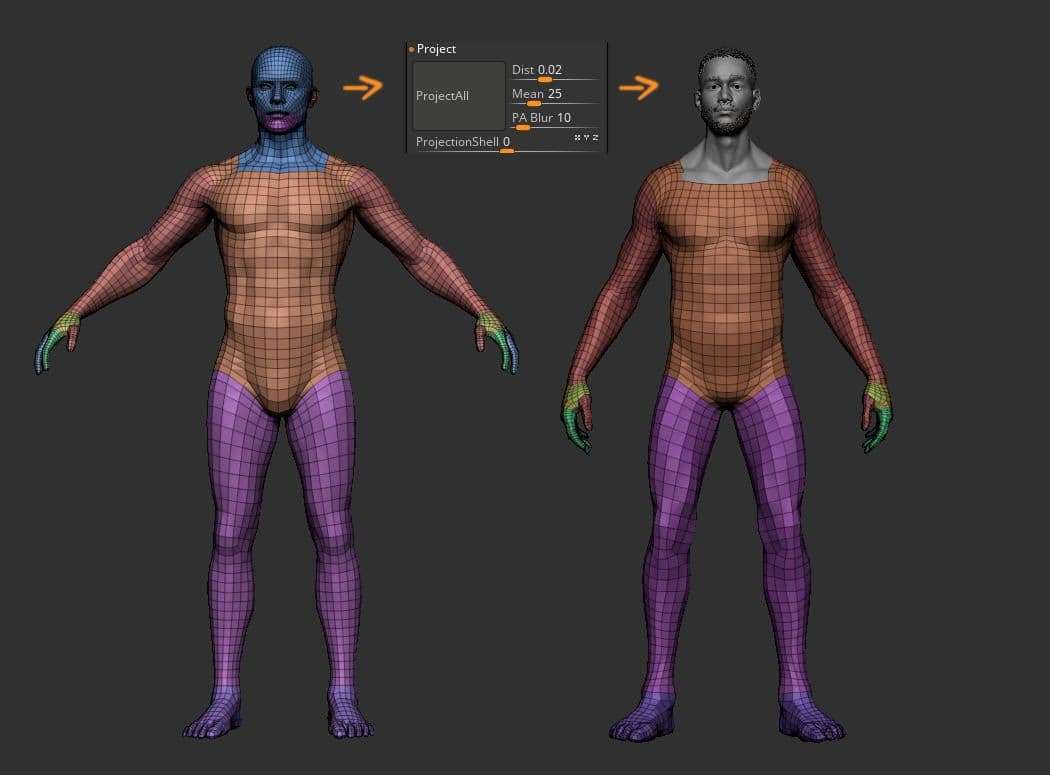
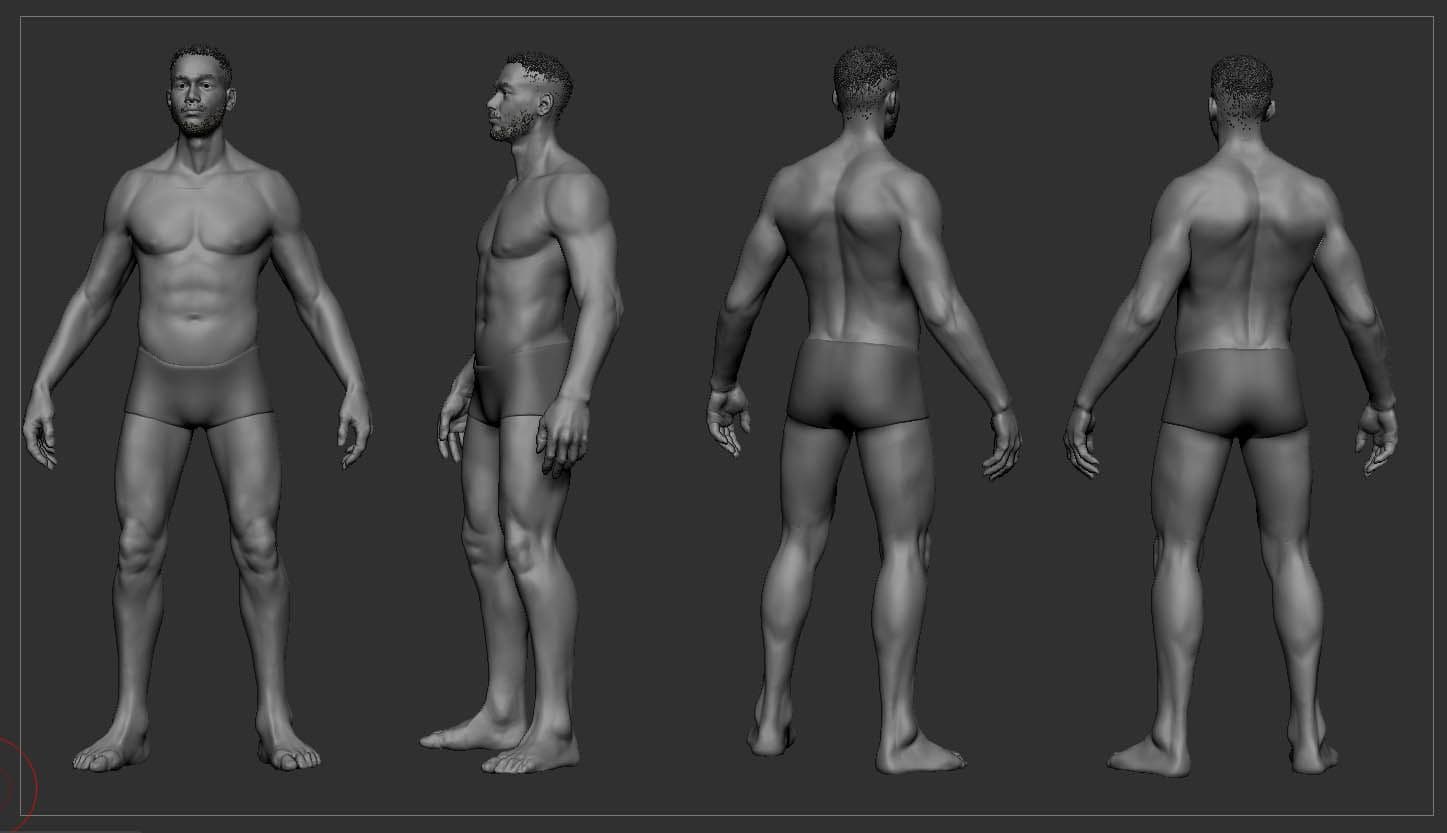
I decided to create a full body character, and used the male basemesh from Vincent Menier, to be able to work with good topology. I projected my head sculpt with the basemesh and re-sculpted the body as I wanted.
An amazing tool like Zwrap helps to easily reproject details on a good topology mesh, but with a little more time, you can get pretty much the same result using only ZBrush without paying for the extra plugin.
The book from Phillipe Faraut, Figure Sculpting: Planes & construction techniques in clay, is a great reference to understanding the basic of traditional sculpting and applying it to digital modeling. Anatomy for sculptors by Uldis Zaris helped me a lot too - it is a complete guide to understanding sculpting the human anatomy in 3D .
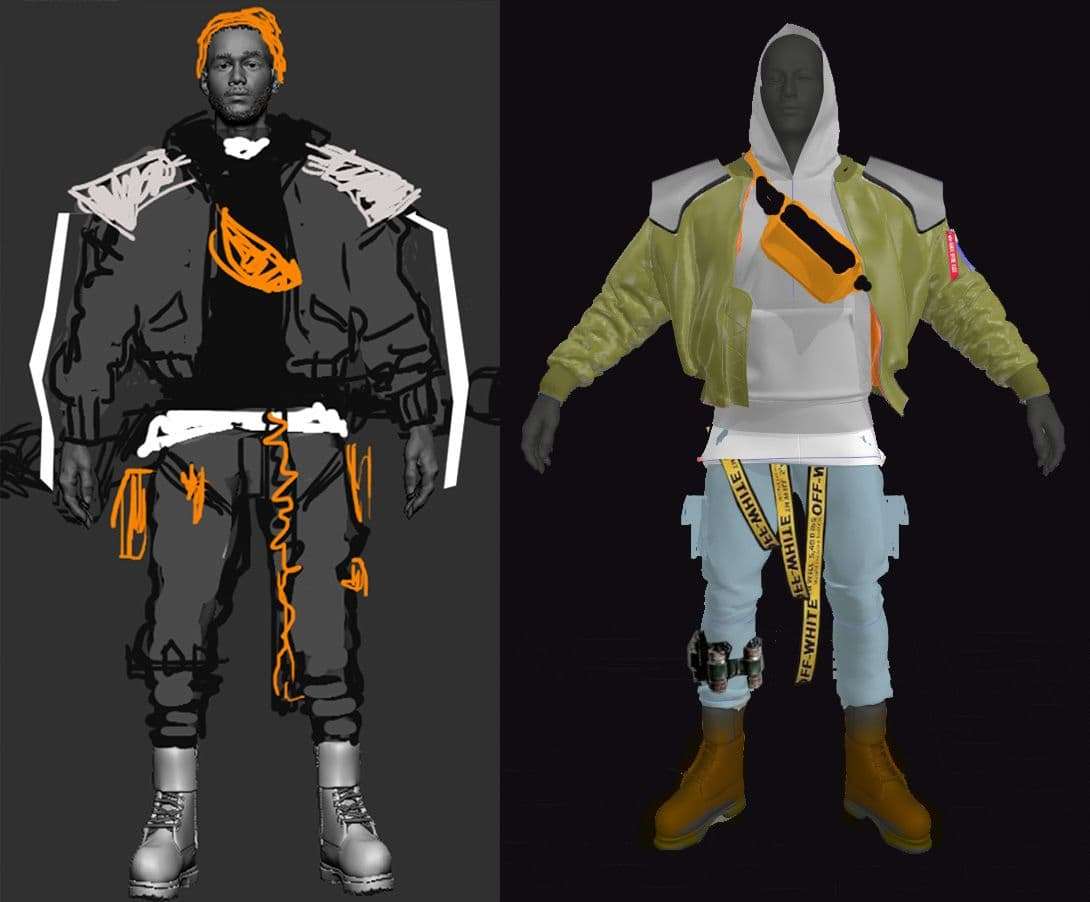
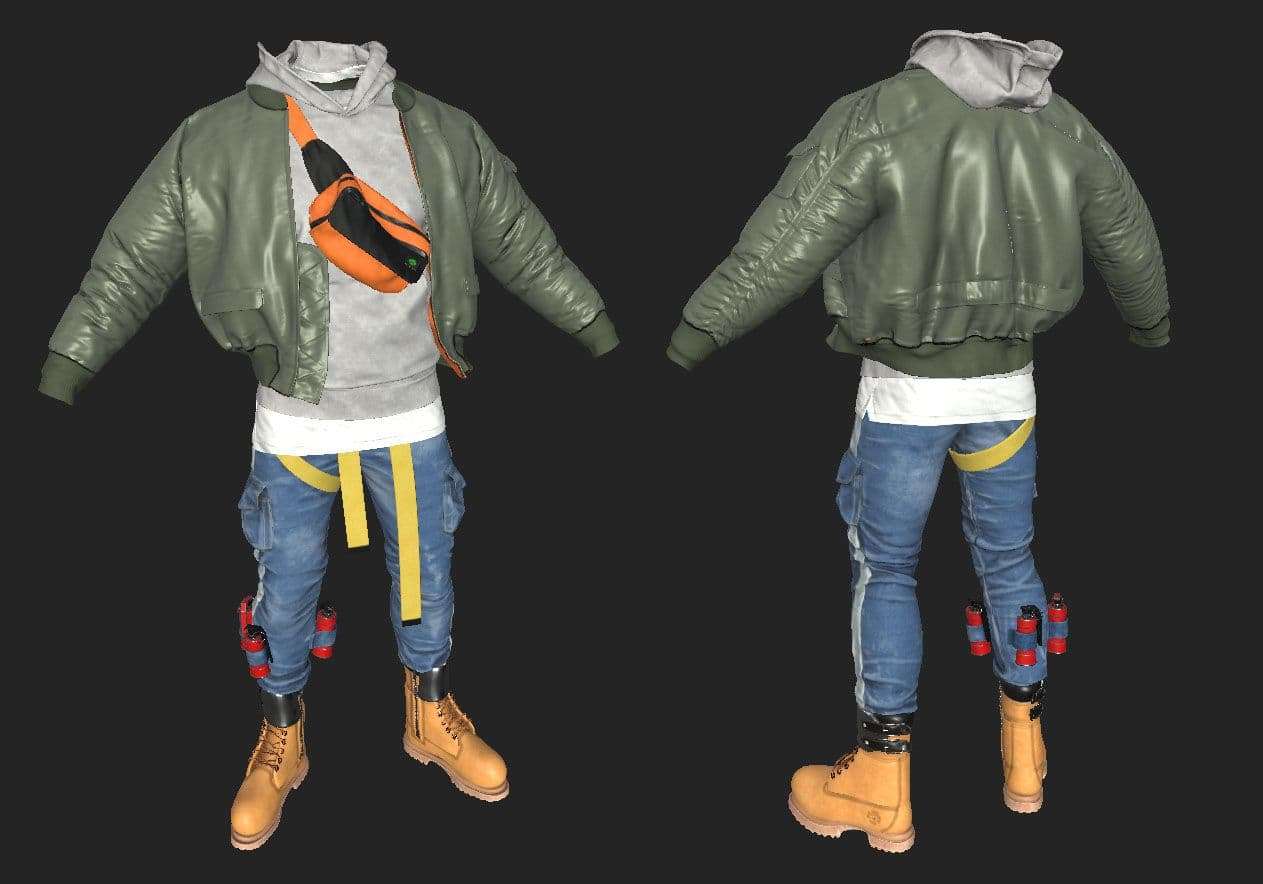
When it came to creating cloth, I started with a rough sketch in 2D, to work out what direction I wanted to move in. I took a screen shot of my 3D model and drew directly on top with Photoshop.
When the clothes were done in Marvelous, I added details with ZBrush, following the process of Yuri Alexander to export from Marvelous Designer to ZBrush.
The clothes from Marvelous before and after the sculpt pass in Zbrushbefore and after the sculpt pass in Zbrush
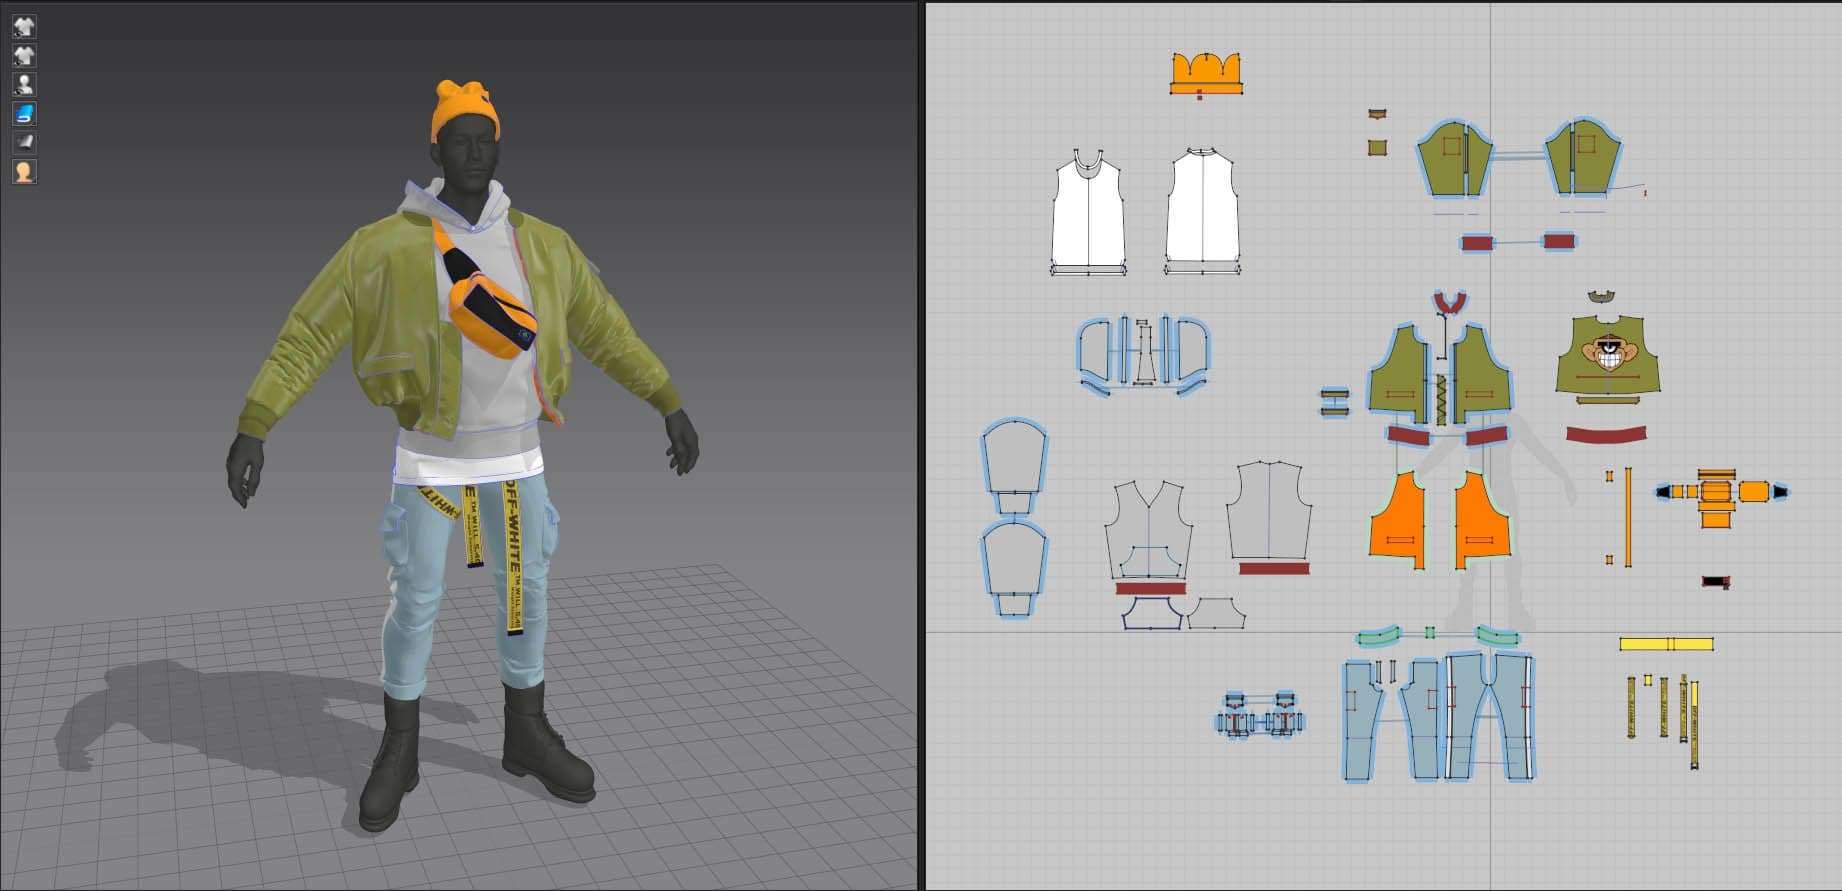
I moved on to doing a retopology, making my own UVs to prepare for the texturing:
Even though I lost my polygroup with the retopology, I made sure that I used my high resolution mesh with polygroup, based on the seam cut from Marvelous to polypaint. Then I transfered the polypaint on my low resolution mesh to be able to export from ZBrush a diffuse map, in order to use it as an ID map in Substance and easily work with the mask by colour selection. In this way I automatically had two different materials in one piece.
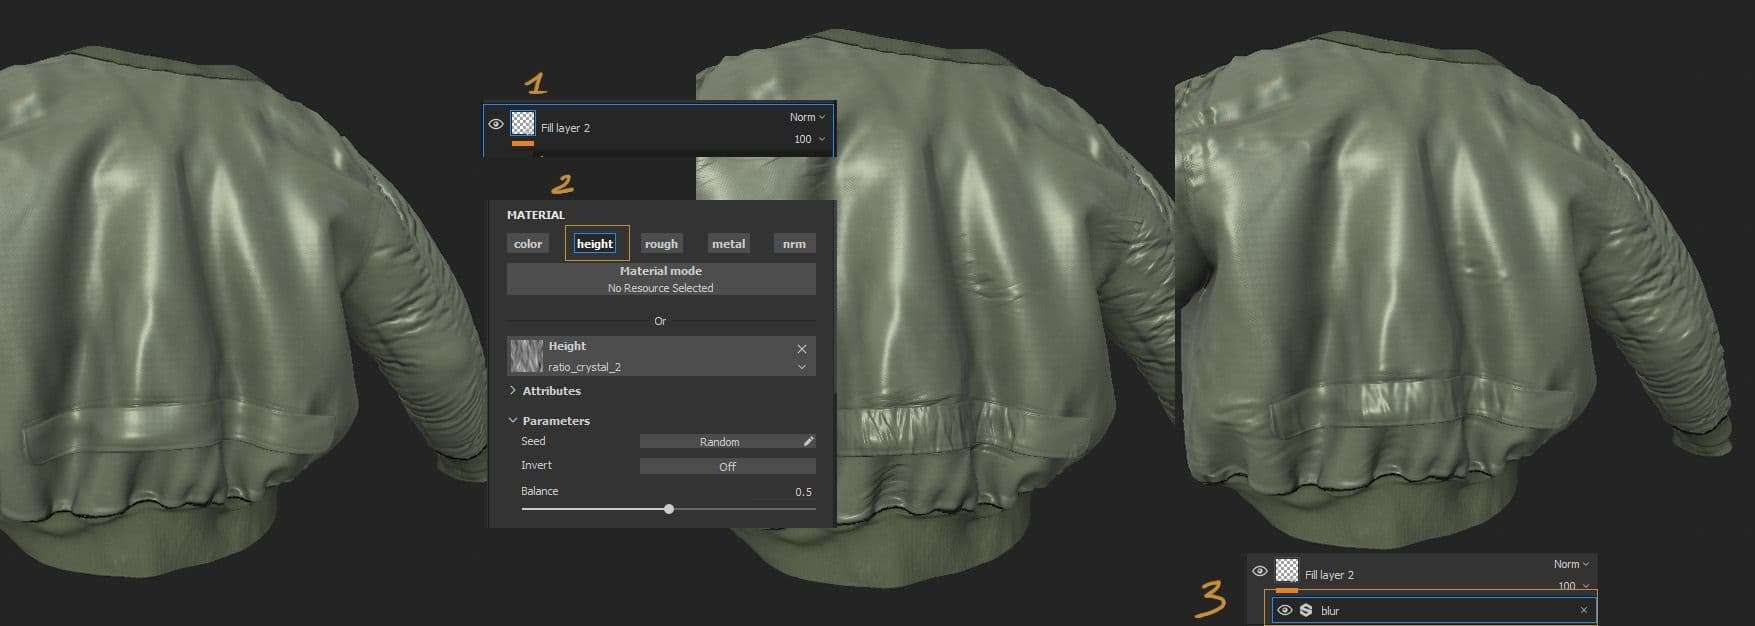
Step by step of the process for texturing the clothes
To give a more realistic feel for the clothes, I added memory fold on it. I created a new fill layer with only the height activated and filled it with a procedural map (crystal 2) to play with the parameters and blur it to get a more subtle render.
For the texturing of the head, I used Mari and my process was to project various photos of skin textures from me and others and to mix it with some hand-painting.
It doesn’t matter the software you use, but it is important to understand the basic principles of painting a skin texture.
Process of project photo texture and harmonise it together with layer correction.Layer correction
The key when using photos is to play with layer correction to harmonise the colours of the various textures together.
Then, blending by hand to make sure to distinguish the different features of the face which influences the skin tone (i.e. bony part of the nose, under eyes, etc.)
It doesn’t matter the software you use, but it is important to understand the basic principles of painting a skin texture. Magdalena Dadela explains this very well in her substance video tutorial here.
Step by step until the final result.
Grooming
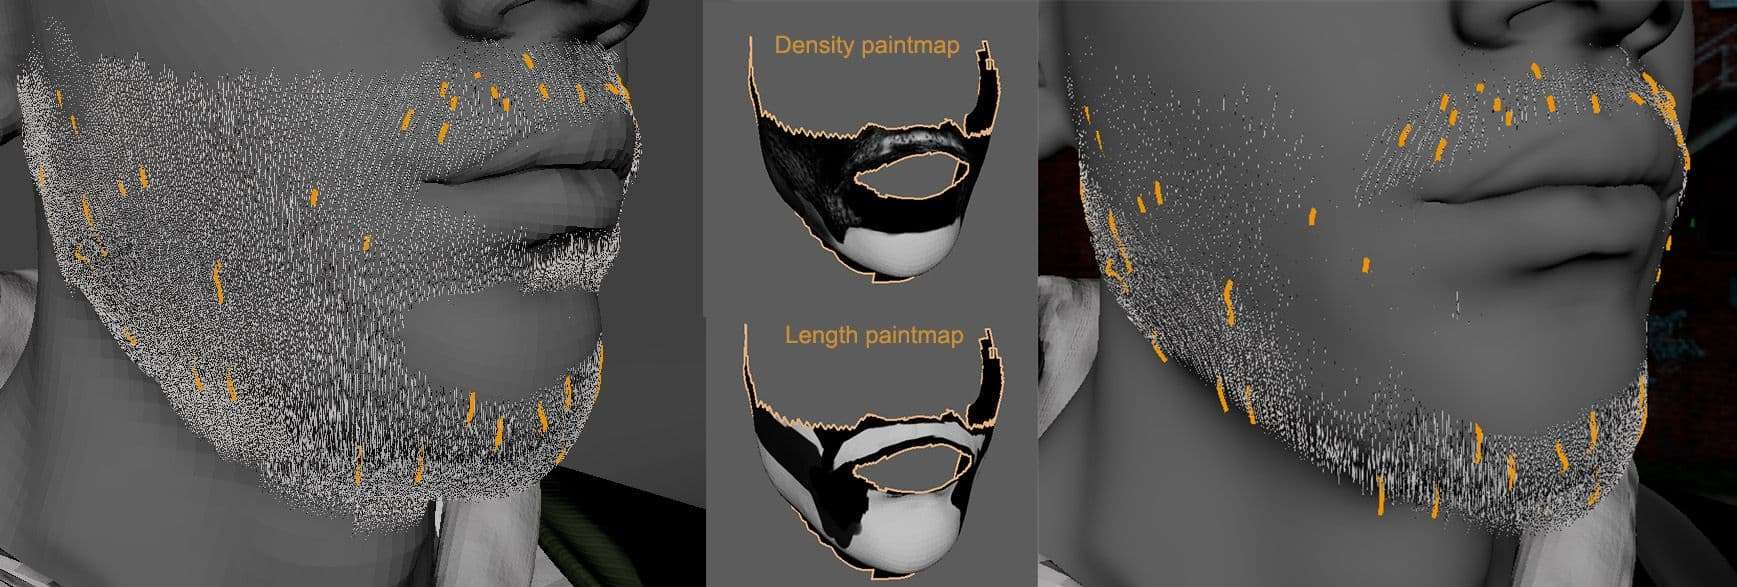
For the groom i used Xgen, placing some guides to tweak the basics parameters as I wanted. For better control of the density, the length and the modifiers, I created a paint map for each of these.
scalp
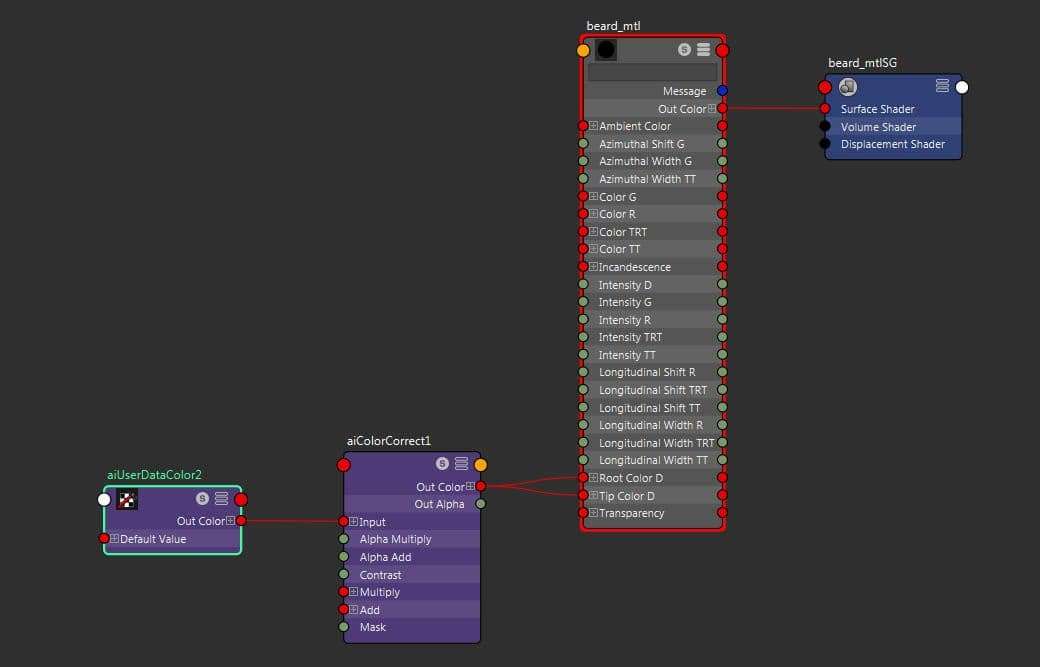
Once I finished setting up my groom, I added the modifiers to create the curly afro aspect of the beard. I learned the techniques from the artist Gbenga Ajetomobihere.
screen of the beard’s shader using the aiStandardHair
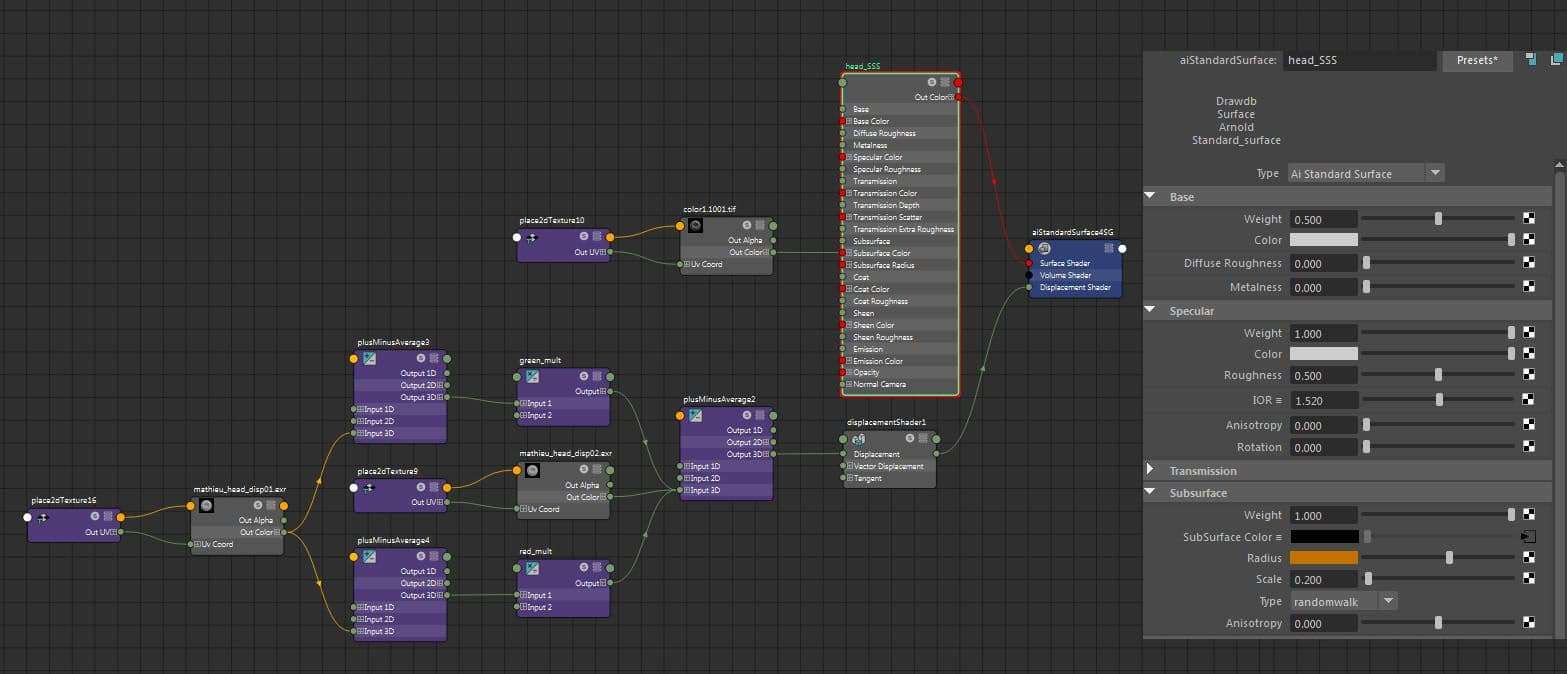
Lighting and Shading
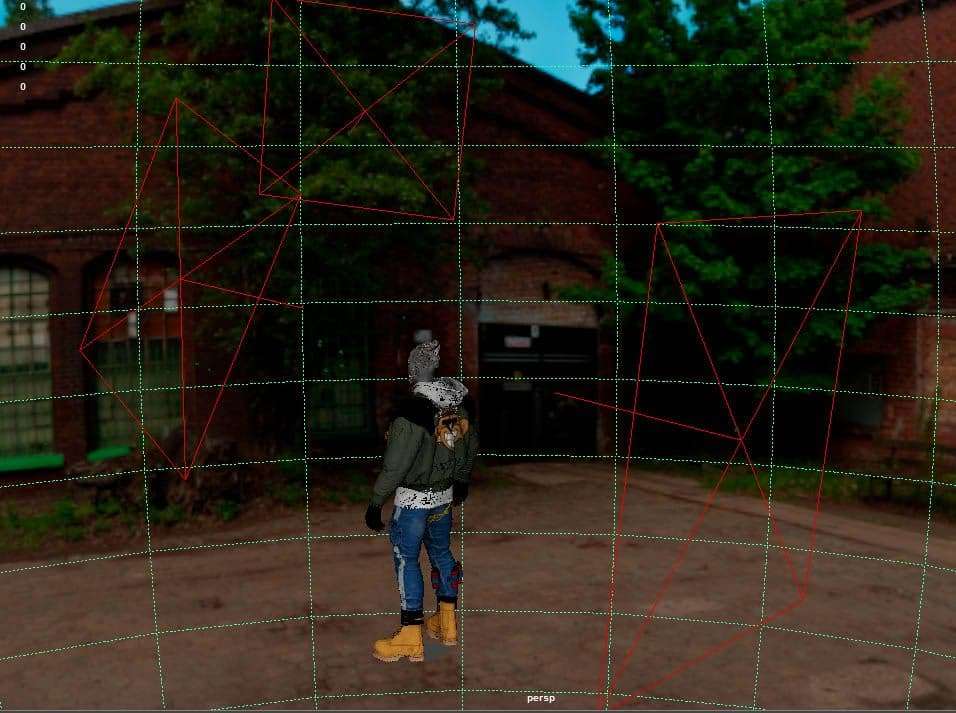
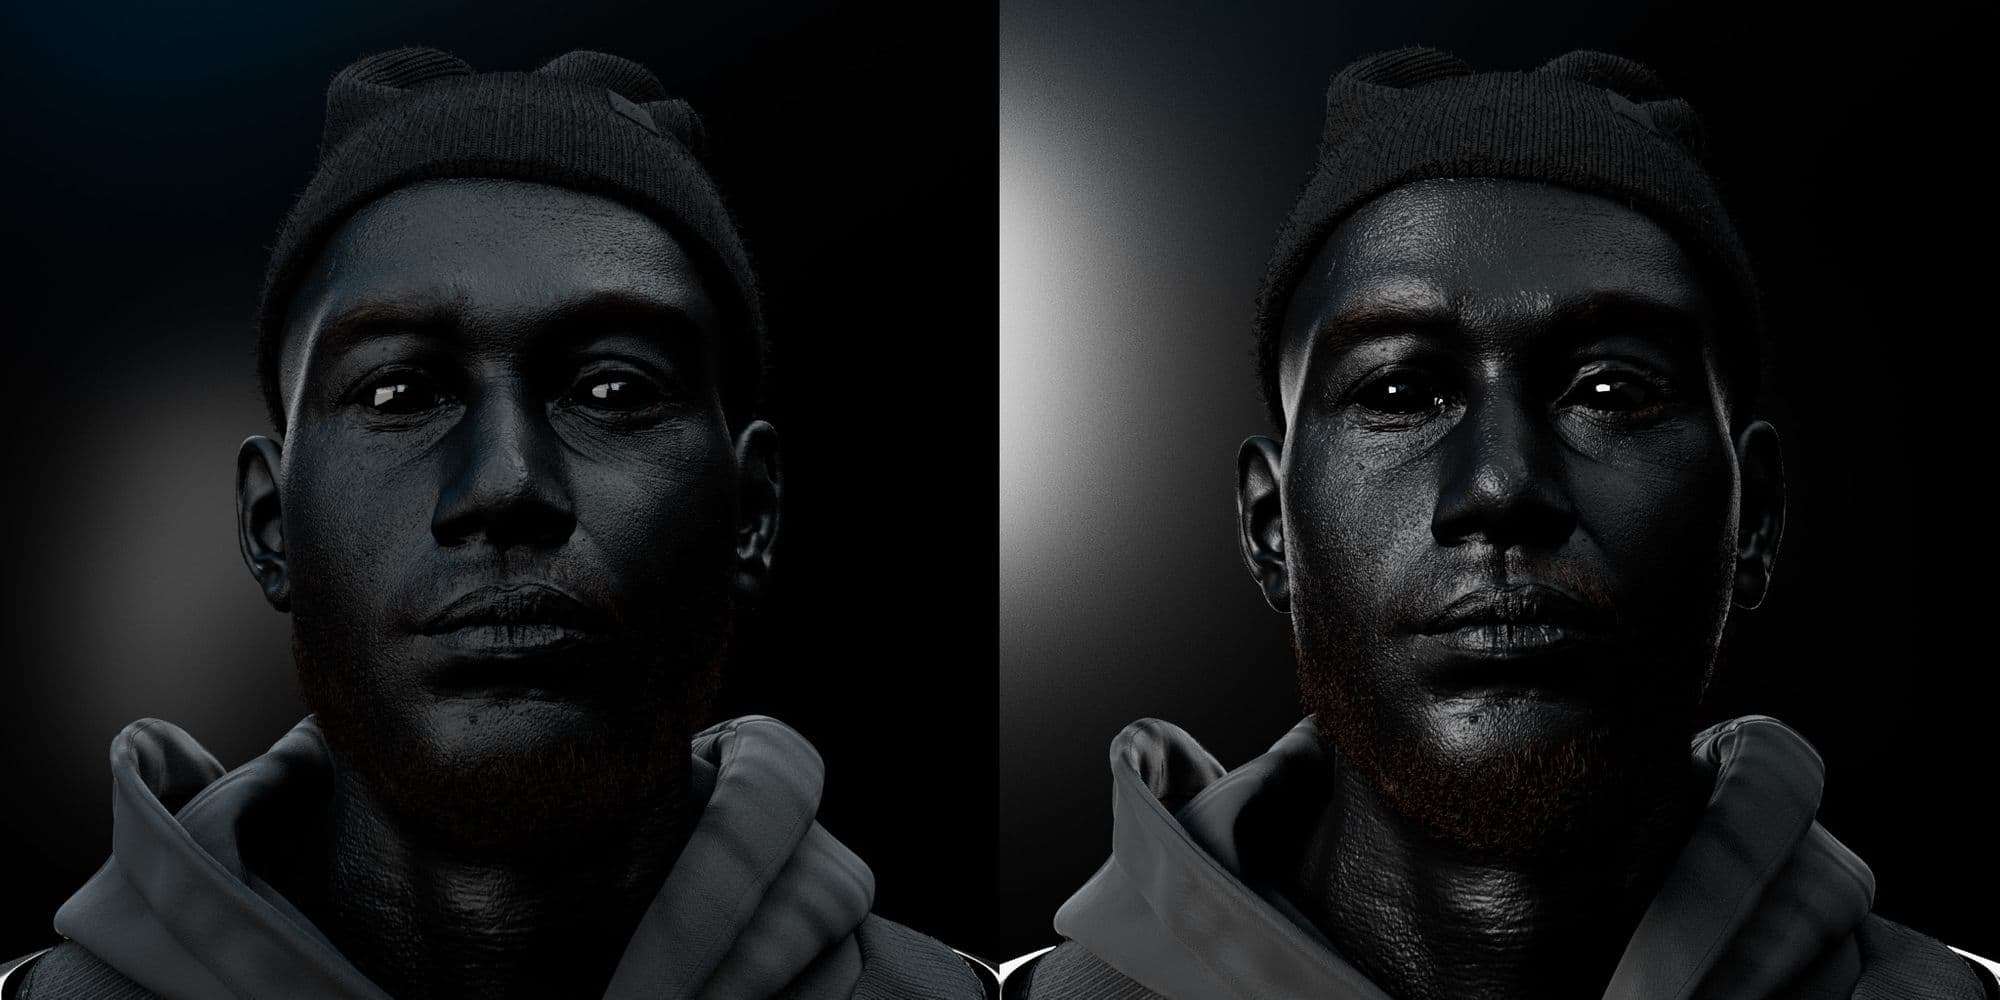
For the lighting, I made a basic 3 points light presentation with a Sky dome light and hdri in it.
Addition of the different lights: Skydome light plus the key light, fill light and the rim light.The three lights individually.Skin shader
The skin shader is inspired by this Arvin Schneider tutorial.
The quality of my displacement map generated from my Zbrush sculpt was good enough with nice micro displacement details, that I didn't even need to use a roughness map. I was able to just adjust the strength of the bump with the sliders, and didn't require an sss map.
Precise displacement and diffuse maps are essential for a real feel of the skin. It help a lot to have believable skin shaders in the render engine. For example, making the ears thinner like in real life, the engine understand and calculated correctly to obtain the result I was looking for.
The additional maps I created were mostly to have better control and to to affect different aspects of the shader.
After I had adjusted the ears for a better sss effect.
I want to share the article published on Artstation by Abdelrahman Kubisi which helped me a lot through this part of the project. And also, the breakdown of the Silvina project by Sefki Ibrahim here.
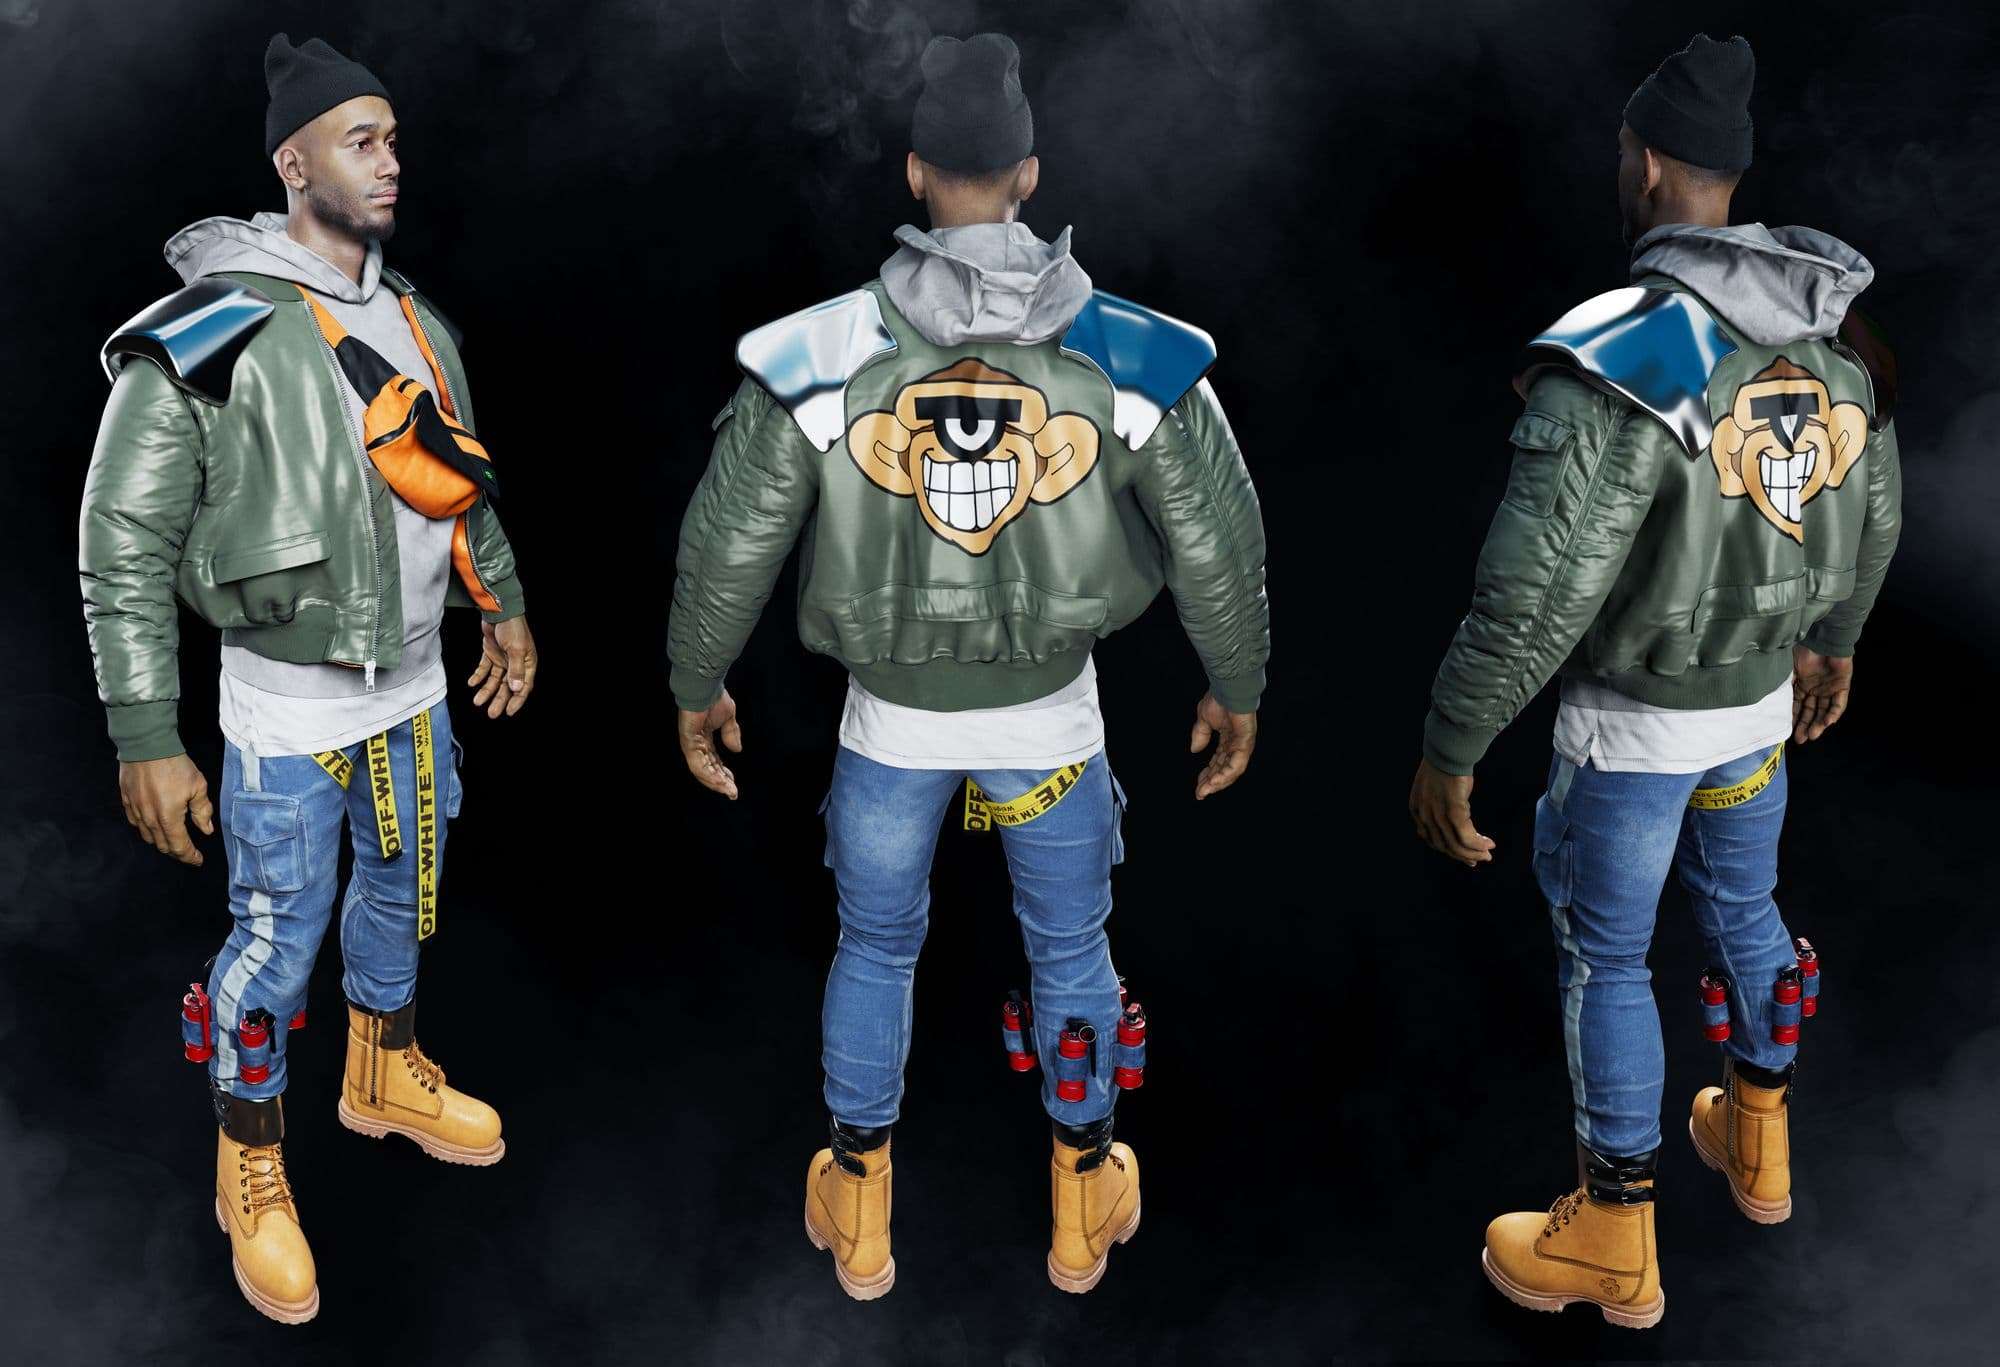
The Final Render
For the final full body presentation, I only did a quick comp with photoshop to add smoke and change the hue and saturation overall, to gave a more cinematic look with the classic cold sci_fi tones.
Wrapping It All Up
Thank you for taking time to read my breakdown, I hope you learned something.
If you are like me, passionate about character art and especially the sculpting part, Pixologic offers great content on their YouTube channel. There are a lot of interviews and workshops of the masters from the industry, as well as all the videos from the ZBrush summits.
Finally, thanks to The Rookies, which provide us great content to learn more about about our craft, and for giving me the opportunity to share with you.