Creating A Detailed Hard-Surface Prop For Games
Bjørn Hangel is a 3D artist from Denmark, and recent graduate from 3D College Denmark. Bjørn takes us through his process for creating a detailed hard-surface prop for Games and Film.
Bjørn Hangel is a 3D artist from Denmark, and recent graduate from 3D College Denmark. Bjørn takes us through his process for creating a detailed hard-surface prop for Games and Film.

Bjørn Hangel is a 3D artist from Denmark. I studied at 3D College Denmark before he went freelance. His current focus is on bettering his skills and creating a strong portfolio for his future.
Today Bjørn shares how to create a detailed hard-surface prop for Games and Film.
Before I start on a project I always look up different sources of inspiration and references. I believe that having a strong and thoughtful reference sheet is the best way one can prepare themselves. I use PureRef to achieve this, so that I can create a board to my liking.
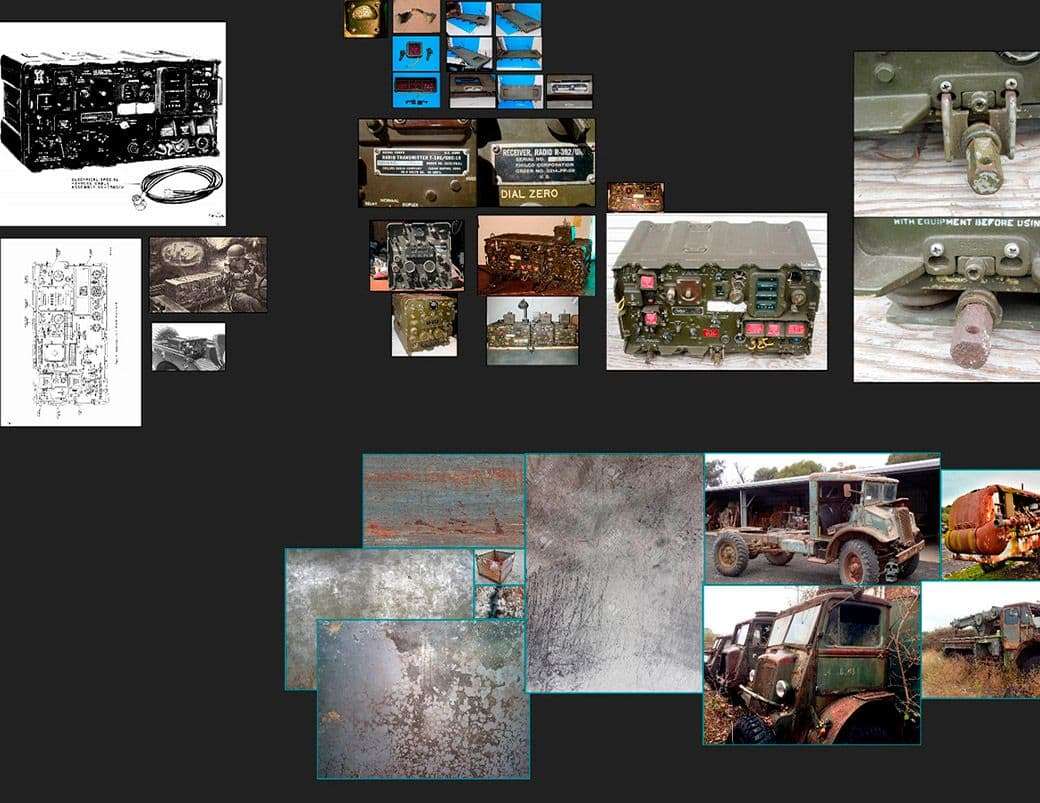
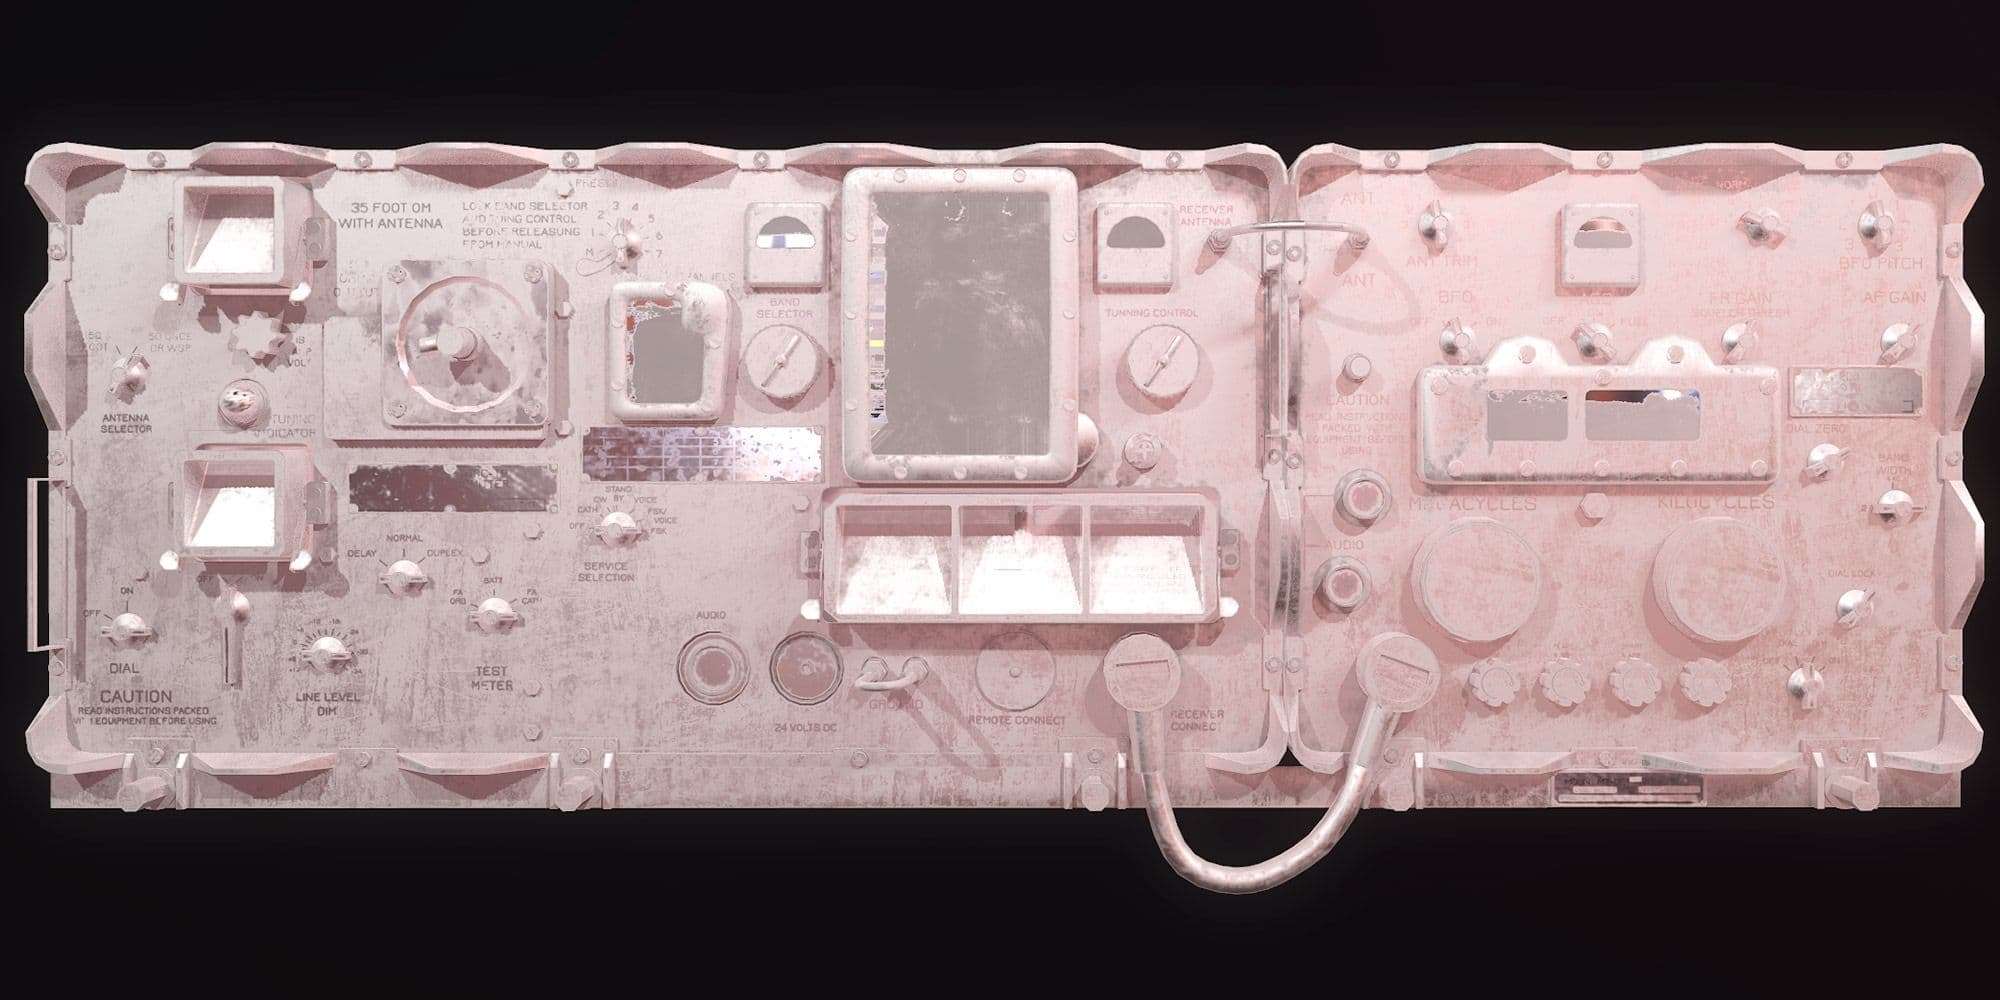
As I begin modelling I start out with the basic block out, this is to get the proportions right and the overall feel of the reference to match up. I keep returning to my references as I want it to look as identical as possible. Naturally, it is important to add a personal twist here and there but I focus on that in the texturing phase. I’ll come to that later on in the article. With that said, always try to find images from different sides and perspectives, so that you have a better chance and matching the proportions.
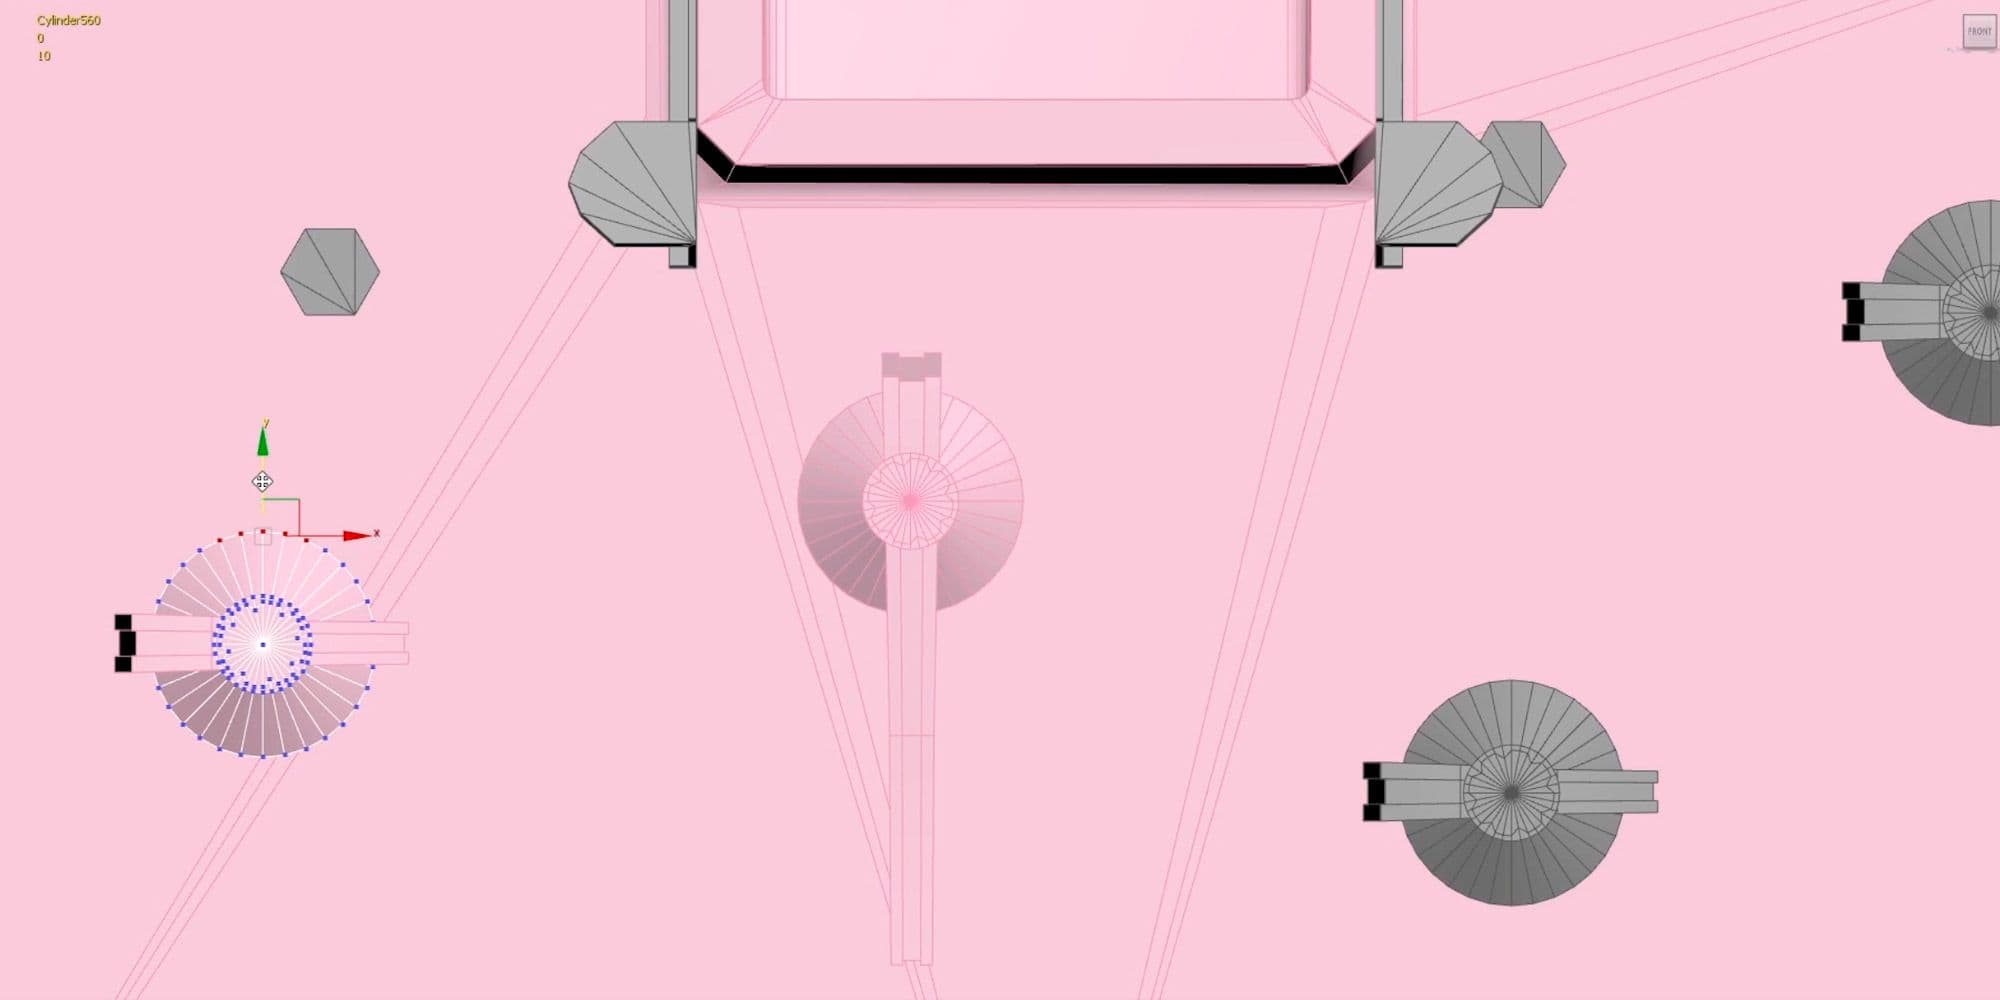
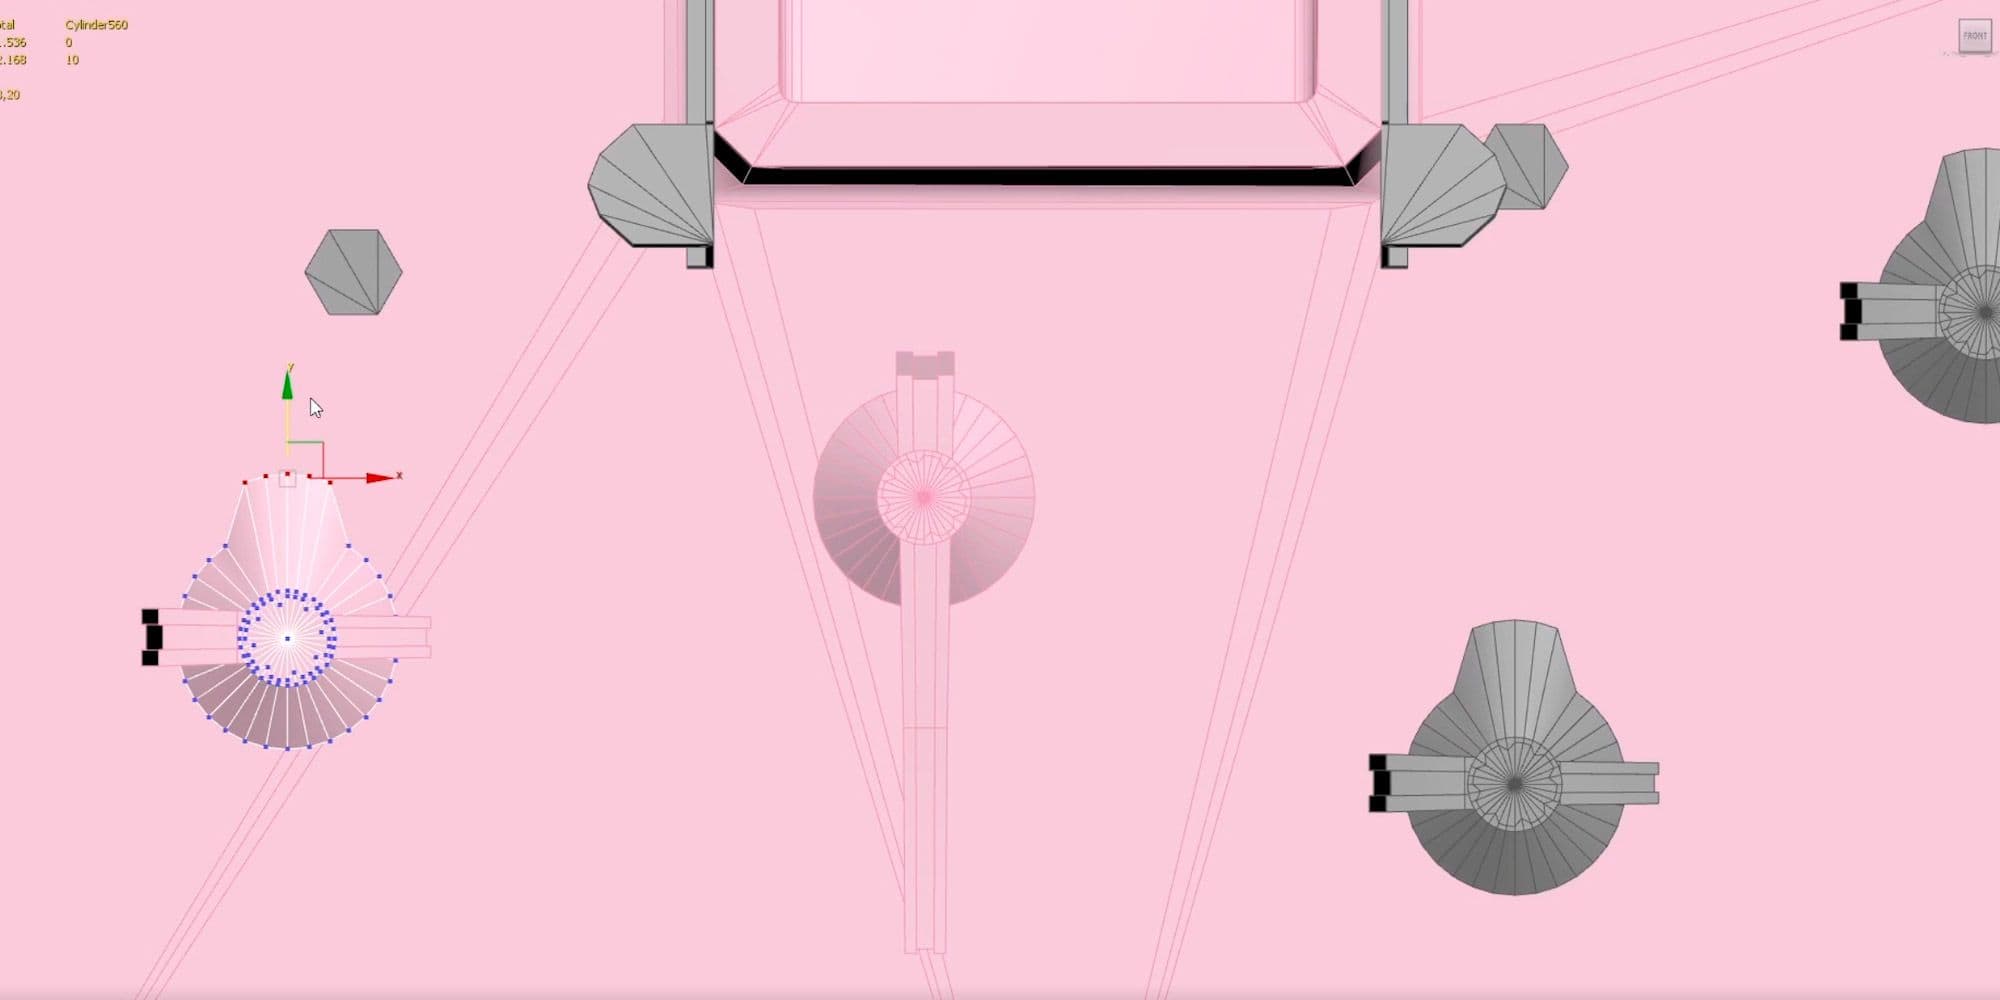
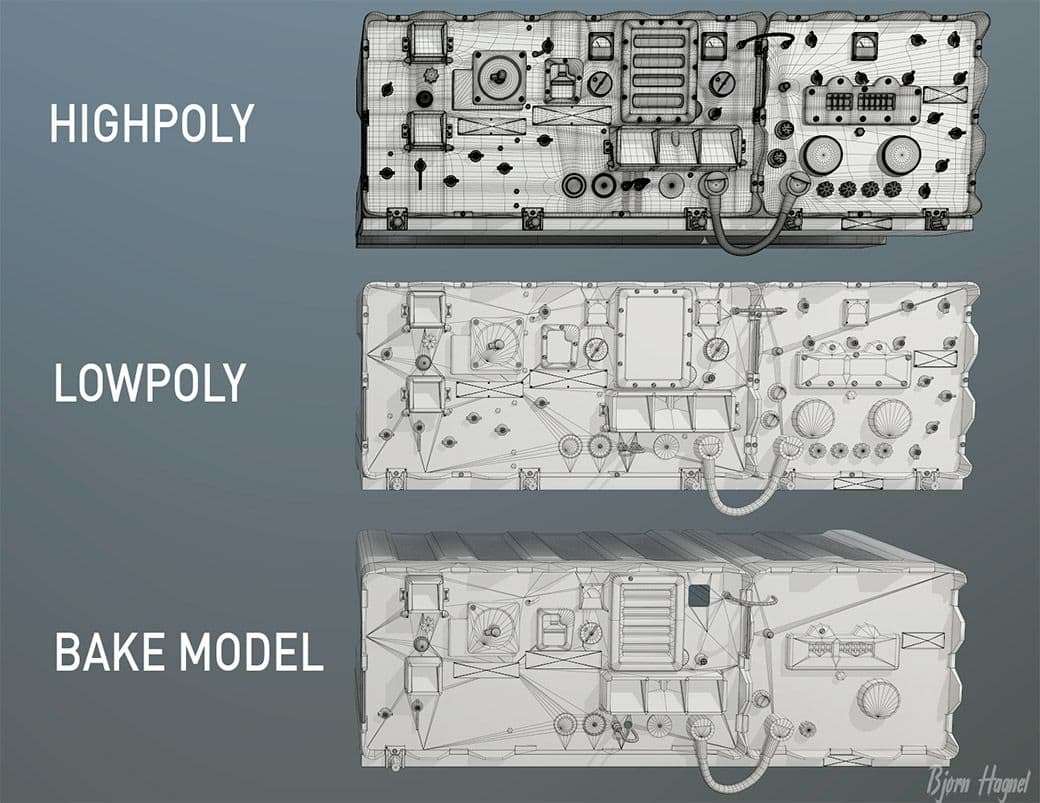
Once the block out has been made and I’m satisfied with it, I move on to the detailing phase. I know that I’ll need to bake this model, to minimize the polygon count that’ll else end up skyrocketing through the roof. And to achieve that, I made 3 mesh groups. One low poly, one bake model and one designed to be my high poly.
What is a bake model?
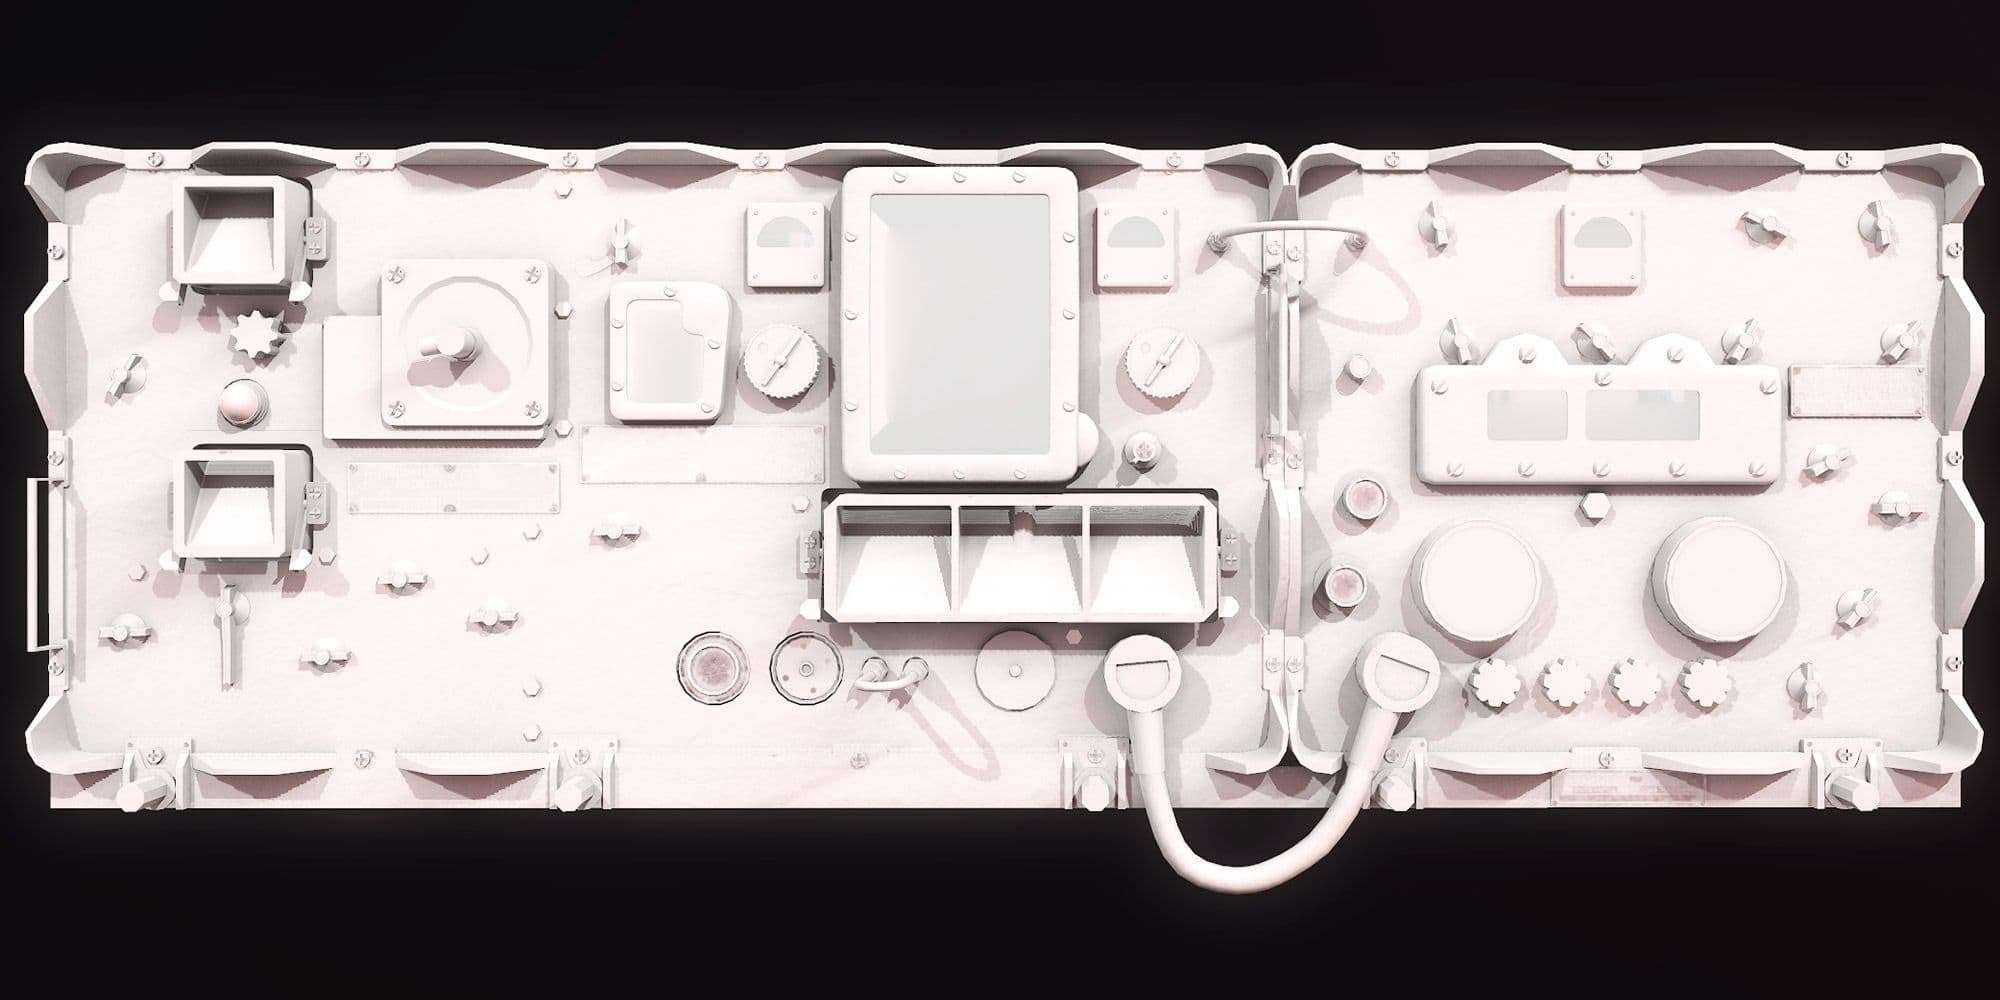
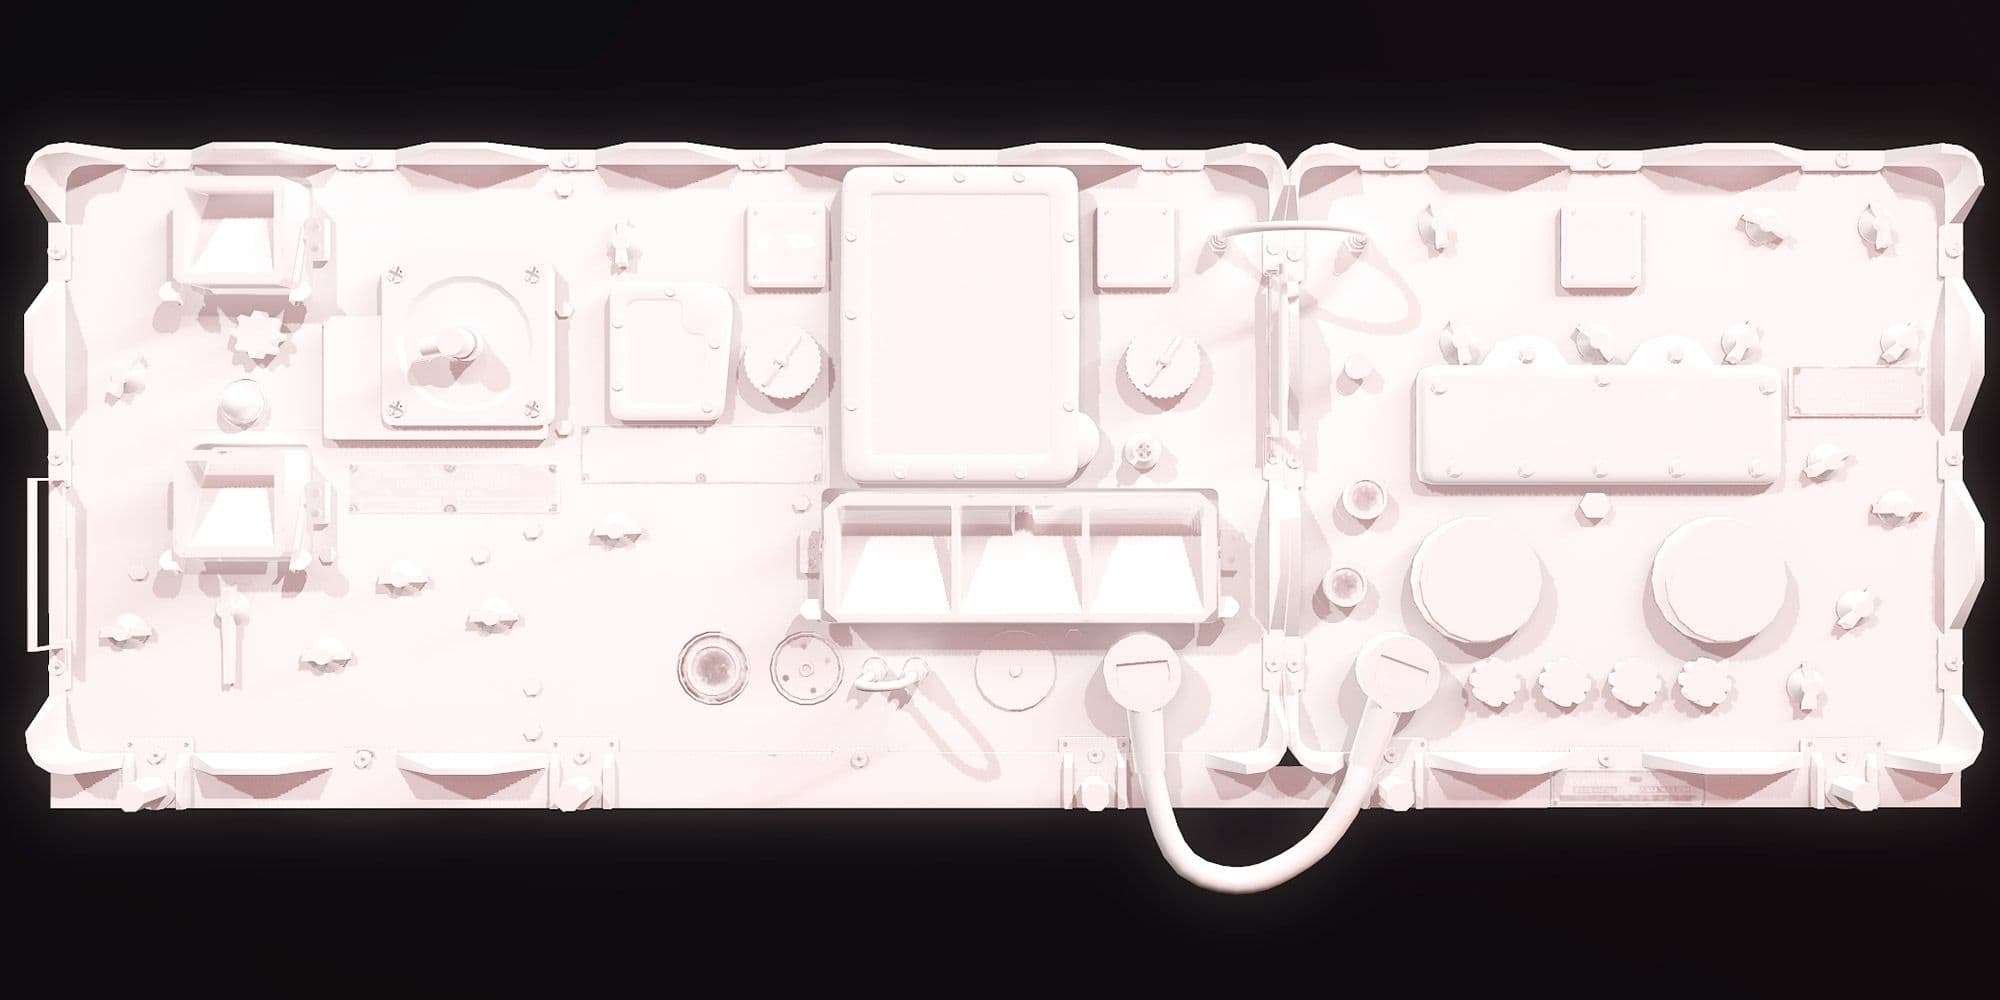
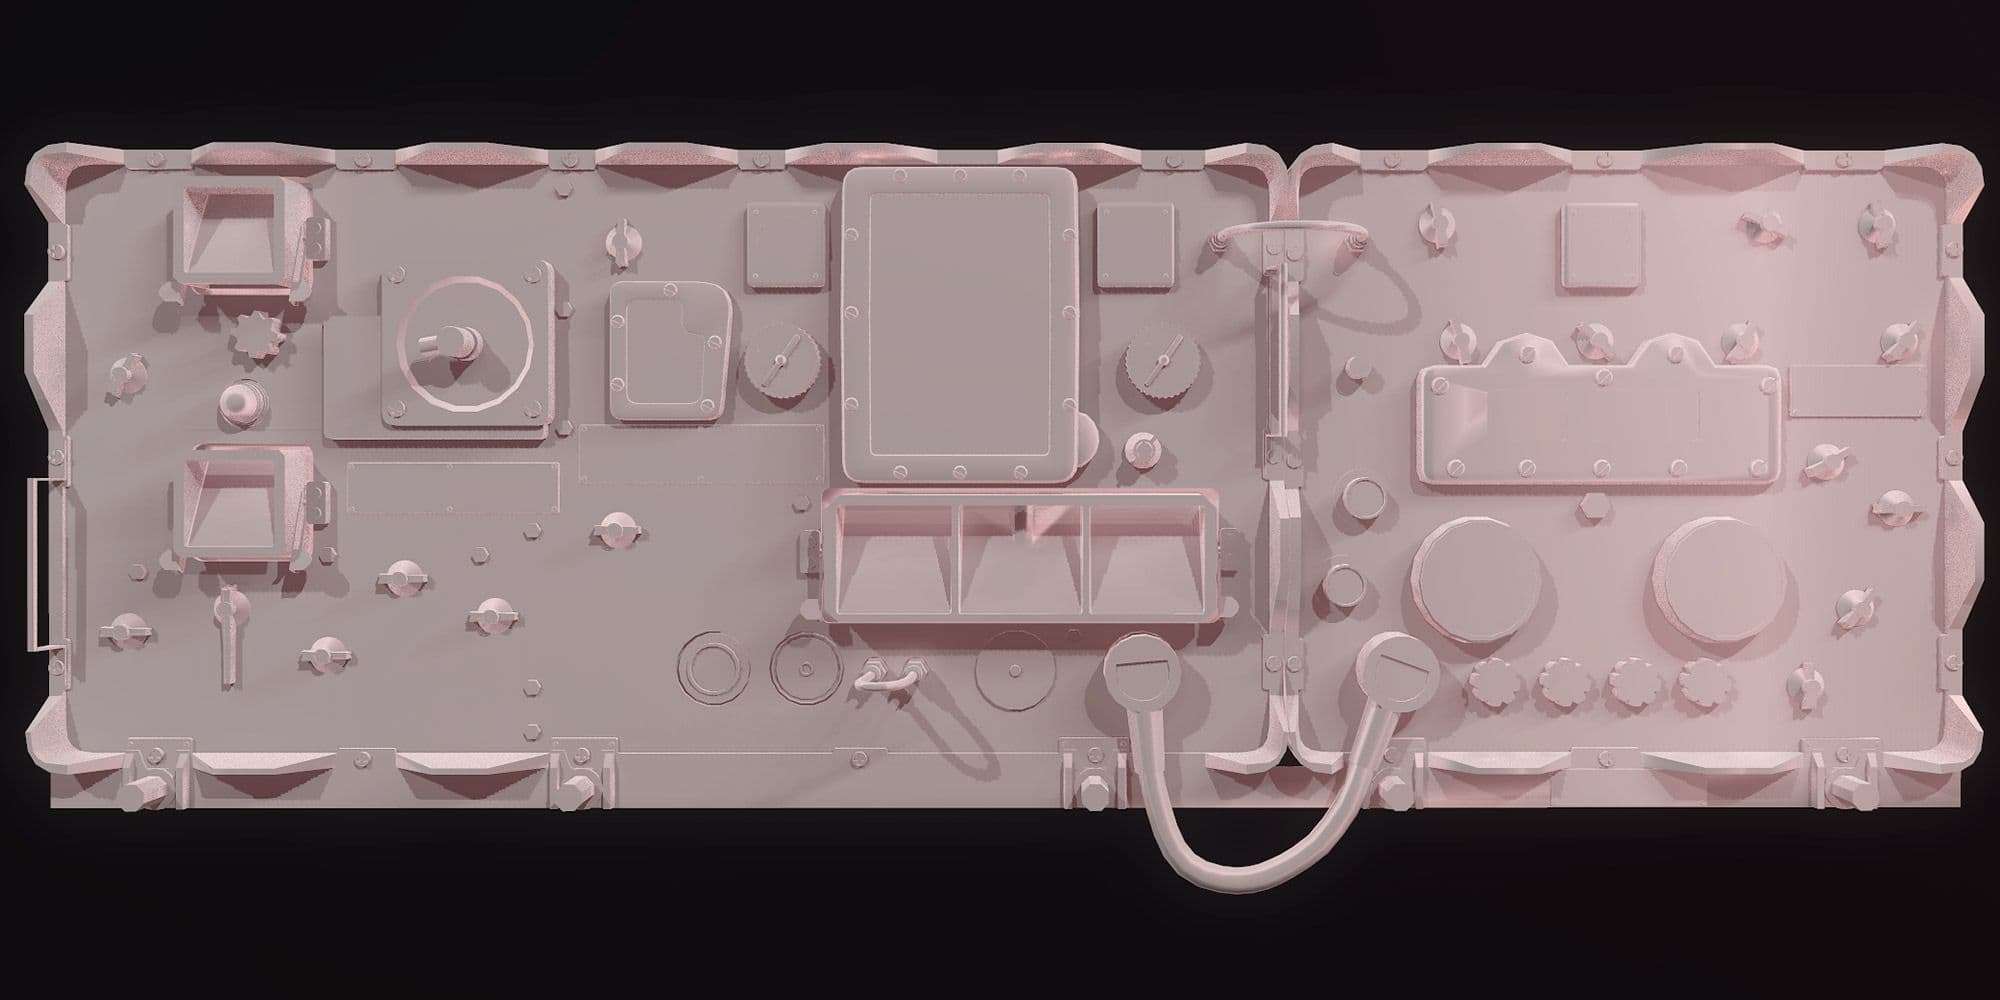
If your project has more of the same shapes you can stack the UVs and you can make them into instances and you would stack they uvs to save UV space, and to get a higher quality asset. So, a bake model is where you only have one of every shape (see below).
The high poly will be baked onto the bake model a bit later in the process where I usually use Substance Painter. In order to gain the wanted feel and design to my models I use control lines, it just gives a better flow and management when turbosmoothing is added.
As aforementioned I use Substance painter for my texturing and baking. I find it a very strong and compatible program for both texturing and the baking process. I import my bake mesh where I go over the UVs to check if everything is satisfactory. If that is alright I add the high poly and do a test bake, to see if everything still looks in order. If that’s good, I increase the quality and do a detailed bake.
What I now do, is to go into project configuration and instead of selecting the bake model, I select the lowpoly. I do this because I sometimes get errors with overlapping uvs, so by doing it like this, we can get around this problem.
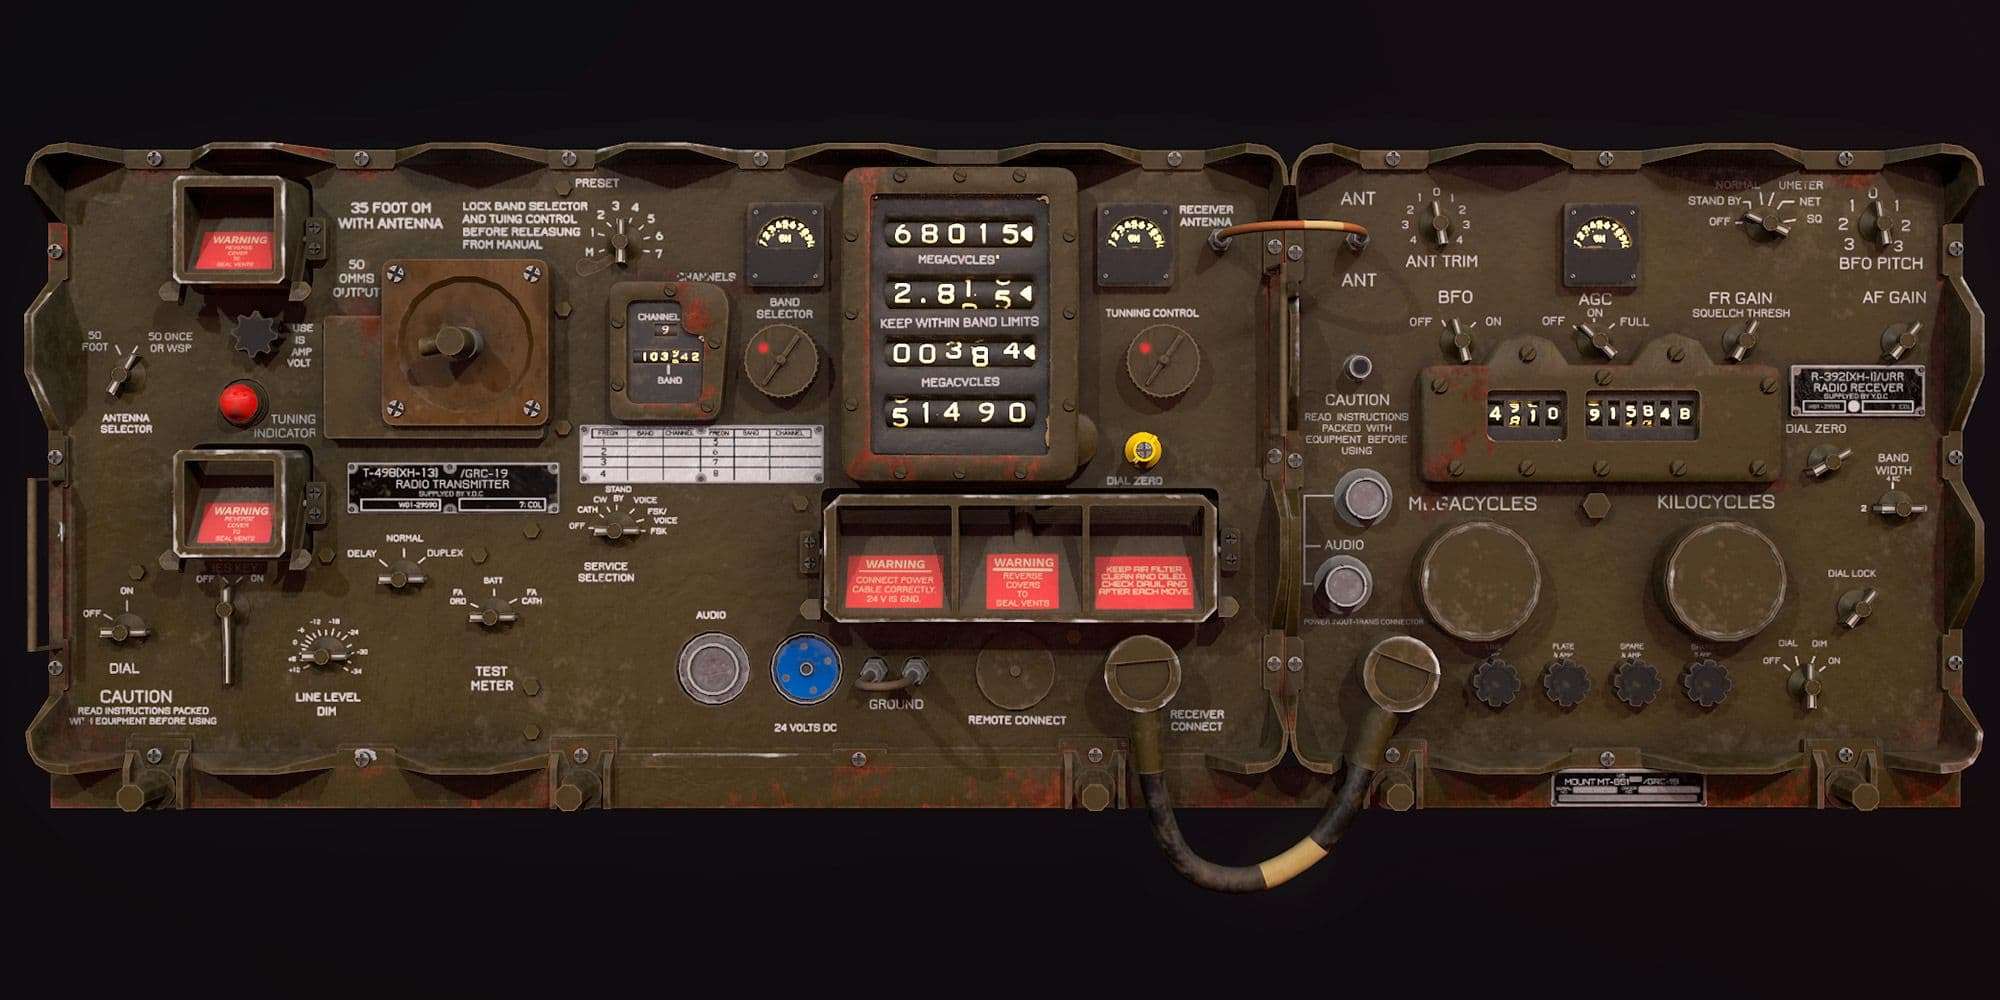
And now comes the part where I add my personal touch. To create a model that’s unique yet still looks like your reference is honestly one of the most fun challenges in my opinion. To add that sprinkle of life or personality to something inanimate, is where I believe the true power of creativity and fantasy comes to play.
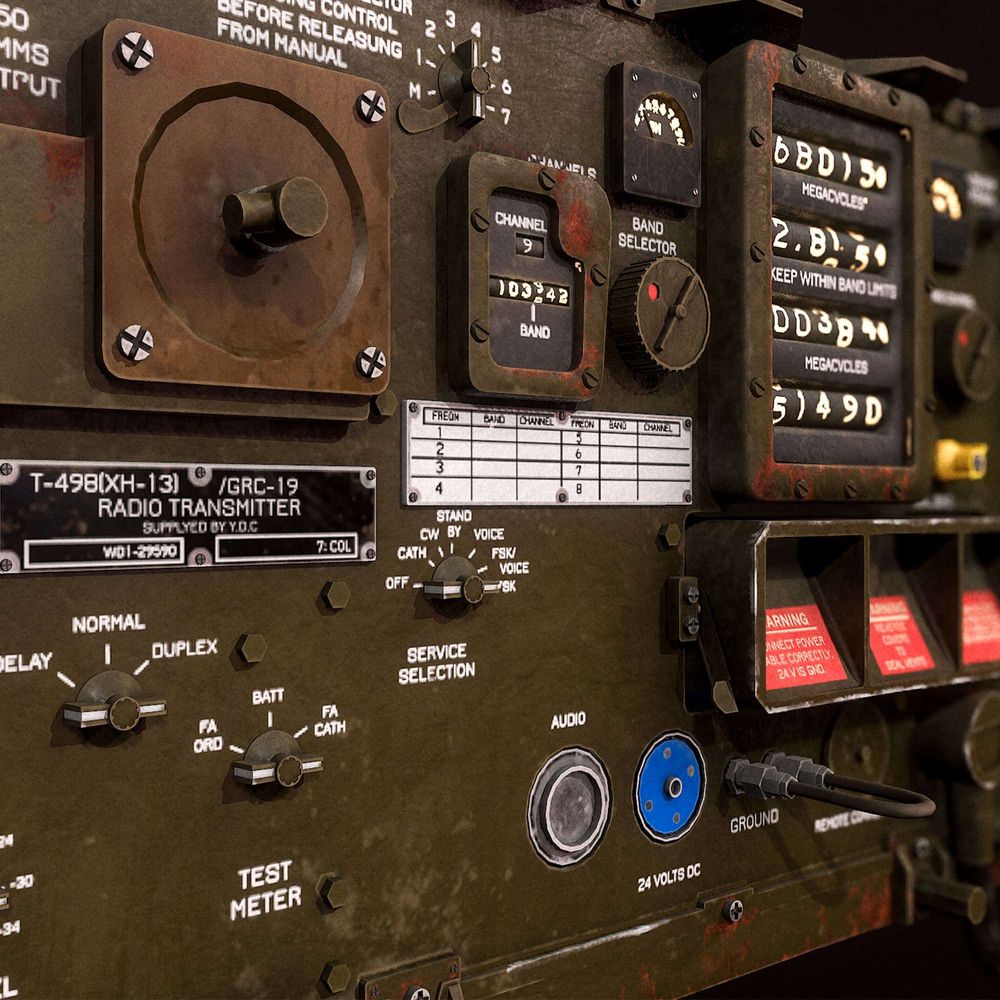
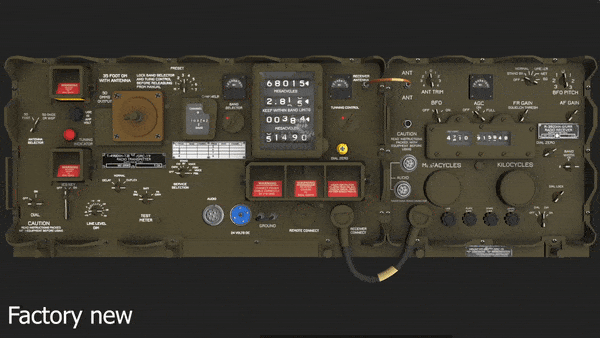
I add a new coat, as my first step. The aim is to make the model look as if it was just exported out from the factory it was made in. I do this so that I know how it would have looked once new, rather than start out with a damaged product so to speak. My goal with this model is to add wear and tear, scratches and imperfections. In order for me to do that, I need to understand the history of where this item has been, and what is has gone through. It’s a fun process, to try and figure out where the scratch marks would be placed, as well as the rust if sand or wind has eaten away at it.

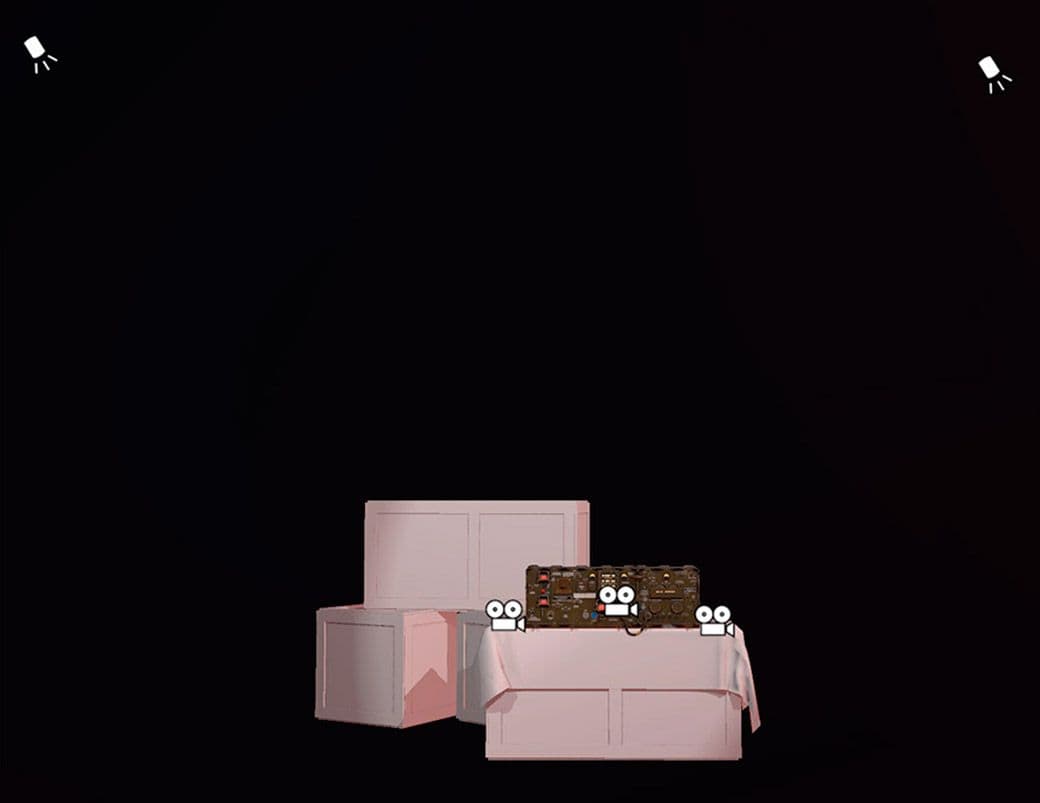
Once the model is done, it is time to present it and render out a series of nice images that I can use in my portfolio. I think this step is one of the hardest as presentation is yet not one of my strong skills But nevertheless I here too, use references. I love the look of Wardog Collective and how they get their light to fall on their models.
Their overall aesthetic is just really good, so I try and replicate that in my own renders, to learn from it. Wardog is a hard surface outsourcing studio and they make really high quality models and renders. For this project I started out with setting up lights behind the model, to try and create the edge light I was looking for. But I didn’t feel it worked for this model, so I instead set up a two point light. It worked better.
I used a mix of various techniques and programs to get the result I wanted. Sometimes I hit the mark, other times I get something that wasn't what I was thinking but still feels really good. But that’s the fun of 3D and being a creative person, you get to explore various areas and methods to try and bring out your best.
I hope this article was helpful! If you have any questions feel free to contact me on artstation, facebook or twitter