Creating a Steampunk Inspired Character Using Substance Painter
Álvaro Ródenas Fernandez is a 3D modeling and texturing student at UA School in Spain, and graduate of Animum University. In this article he shows us how to achieve a steampunk inspired look for your character using Substance Painter.
Álvaro Ródenas Fernandez is a 3D modeling and texturing student at UA School in Spain. Álvaro specialised in creating assets and models for videogames using Maya and Substance Painter, at the Animum University of Granada, in Spain.
He currently works as a freelance in companies such as Ndemic Creations in the role of translator and will show how to achieve a steampunk inspired look for your character in a vintage porcelain finish, using Substance Painter.
Starting with a 3D Model
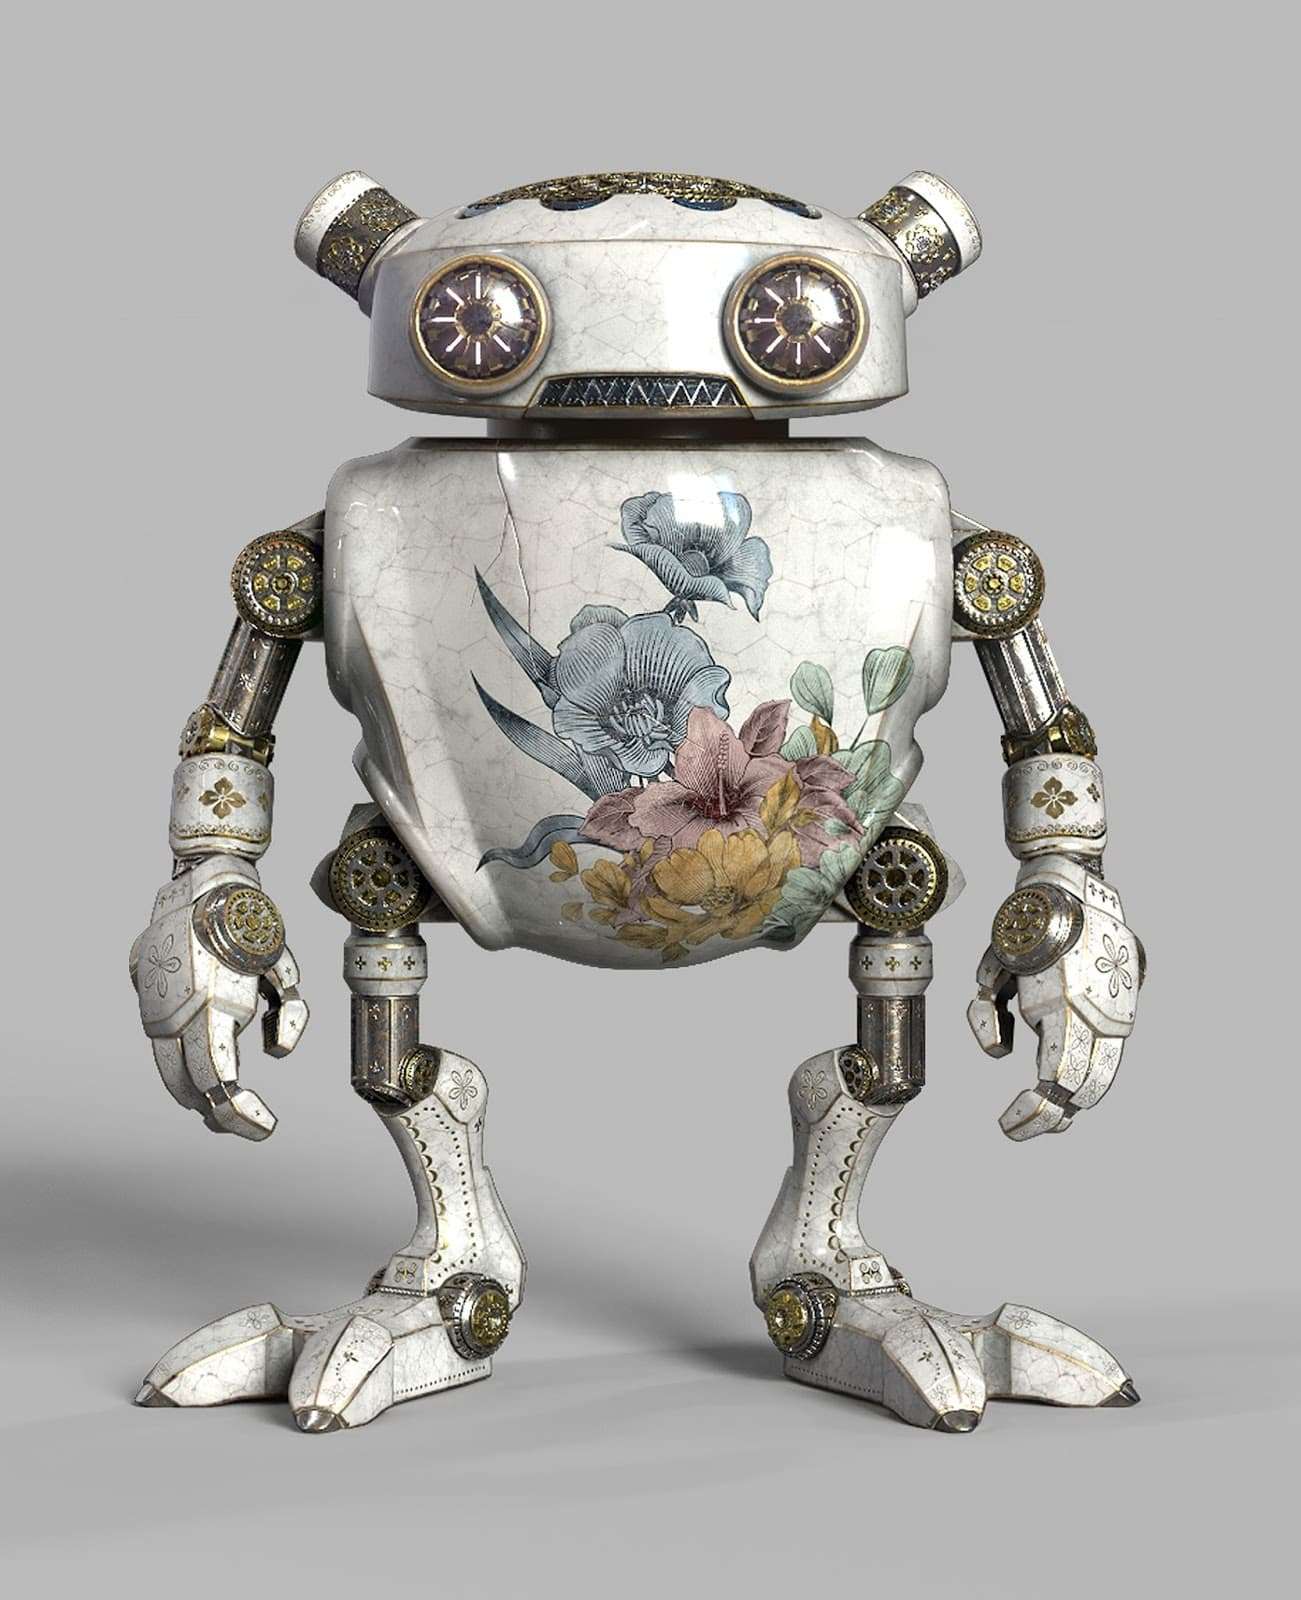
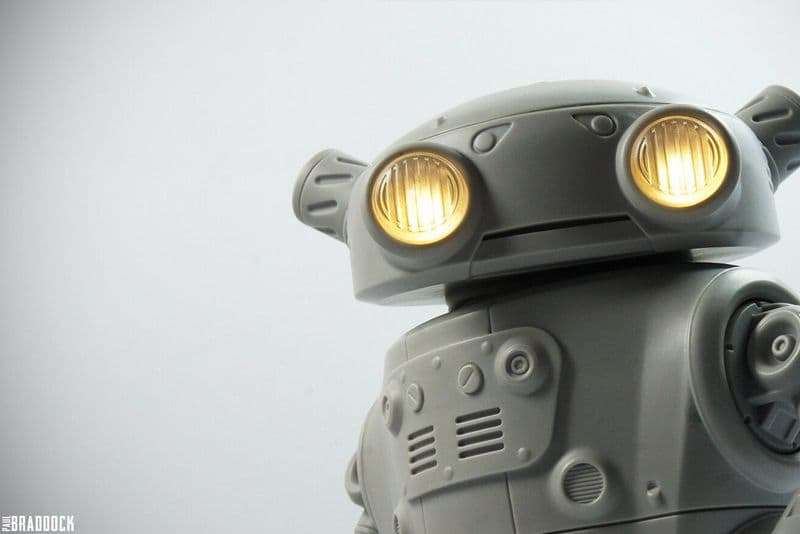
The work I am about to describe was for a contest at The Rookies - We took an amazing 3D robot Eddie, created by Paul Braddock, and were challenged to texture it using the latest release of Substance Painter.
When using an existing model, import into Substance in .FBX format with the UV maps finished. Keep in mind that for this particular project I have used the displacement effect, so it requires you to maintain a medium level of geometry instead of using an extremely simplified low poly. This helps the displacement effect to be error-free and look much prettier in the end.
Once you have imported your model and finished the texture bake in Substance Painter, it is time to start with the material.
Materials in Substance Designer
You can create materials yourself or download a simple database from the internet. There are many artists who sell very good porcelain or ceramic materials, but not detailed enough. In my case, I used a simple base in Substance with a Roughness and Colour the closest thing to porcelain. The Metalness channel must be off. I recommend adding an alpha of stains or dirty moisture to the Roughness, to create a more realistic effect. Simply import the alpha and drag it to the channel, then move its parameters until you get the desired effect.
Once we have the material we like, we create a new Fill Layer with only the Colour channel activated and we import a texture map with the porcelain effect - you can create these fibers in photoshop or look for a reference on the internet.
We repeat again and create another Fill Layer with breaks or cracks in the porcelain. Both this layer and the previous one must be placed on the base color layer, changing the display mode to Multiply and its Opacity to the minimum to create the final material.
Remember that you can edit the materials in their colour, opacity of their porcelain breaks and gloss until you like it. In my case, the robot had to look used, and the material a bit worn and old.
Texturing in Substance Painter
To show the final result, I am going to show only the body, because the rest of the parts use the same materials and you only need to repeat the process. It is also the largest and cleanest part of the character to see the changes made.
First, we have the base without materials, like when you are creating a Bake of the textures. Once finished, we have created the porcelain materials.
Now we drag our ceramic or porcelain base material without details, into the layer window, right click and create a black mask. In this step, you must select each piece separately that will be porcelain so that it does not affect the rest of the elements.
Once finished, you should see how your material has been added to the 3D model.
To pull out areas on which you would like to see gold trim or features, create a new Fill Layer with the Color, Metalness and Roughness channels. Edit the material to create a gold effect or you can directly use a gold material from Substance Painter. Then with the right button, add a generator and select the curvature generator so that it is only displayed on hard surfaces as seen in the image above.
Now, we can add the two extra layers of fibers and the broken effect of the porcelain (if you have already joined all the layers in a single material, you don't need this) and we position them on top of the base with multiply mode at 15% or 20%.
You can also add a new layer with the Height (in) and Color (darker than the base) channel, and holding shift + click to make straight lines, create a stroke using a hard brush and break the porcelain.
What remains, is to add a layer of dirt or dust, with a new Fill Layer of Color and Roughness with a Dirt generator on top of all the other layers. Also add (optional) the layer with porcelain break effect and finally project an image on the surface of the model with Multiply mode. You should have a result more or less like the one in the image below.
Metals and Displacement
The final and probably most beautiful part is the Displacement effect on the surface. But first, paint the porcelain parts using the same material as the body with a black mask and selecting those areas.
Now use one or more new layers of different metals to paint the rest of the pieces. This would be the base color without Displacement. You can edit the metals with more or less oxide until you like it. Use the default ones in Substance Painter like I do.
Create a layer to add alphas with the shapes you like the most to create details.
For the displacement, you must open the Shader Settings window in the upper right and activate the Displacement at least 0.1 force. Increase the subdivisions to the maximum. Remember to have the Displacement in the channel section (in Texture Set Settings). Then you just have to add a new Fill Layer only with Displacement and paint the areas that you like the most manually or using alphas.
Simply with this method, the entire final design is created. It is up to the individual to add more or less detail, but what I have shown you today is that with three or four high quality materials in Substance's library, you can create a stylised asset.
I have rendered the final model directly from Substance Painter using the mandatory cameras as stated in the contest. I ended up very happy with the result and will compete again in future projects. Thank you so much for everything.
You can reach Alvaro via email, and you can find more of his work on The Rookies.