How to Create 3D Hair and Fur for Iconic Pokémon Characters
In this article, Xgen enthusiast, Kapil Rawat, shares his learnings as he experiments with 3D fur for iconic cartoon characters. If you are a fan of Pokémon and you are curious about how to create a groom for your own characters, this article is for you!
Kapil Rawat is a self-taught 3D artist from India. When he started self-learning, 3D became his passion. He continues to forge his career path by experimenting and learning as he goes.
In this article, Kapil shares his learnings as he experiments with 3D fur for iconic cartoon characters. If you are a fan of Pokémon and you are curious about how to create a groom for your own characters, this article is for you!
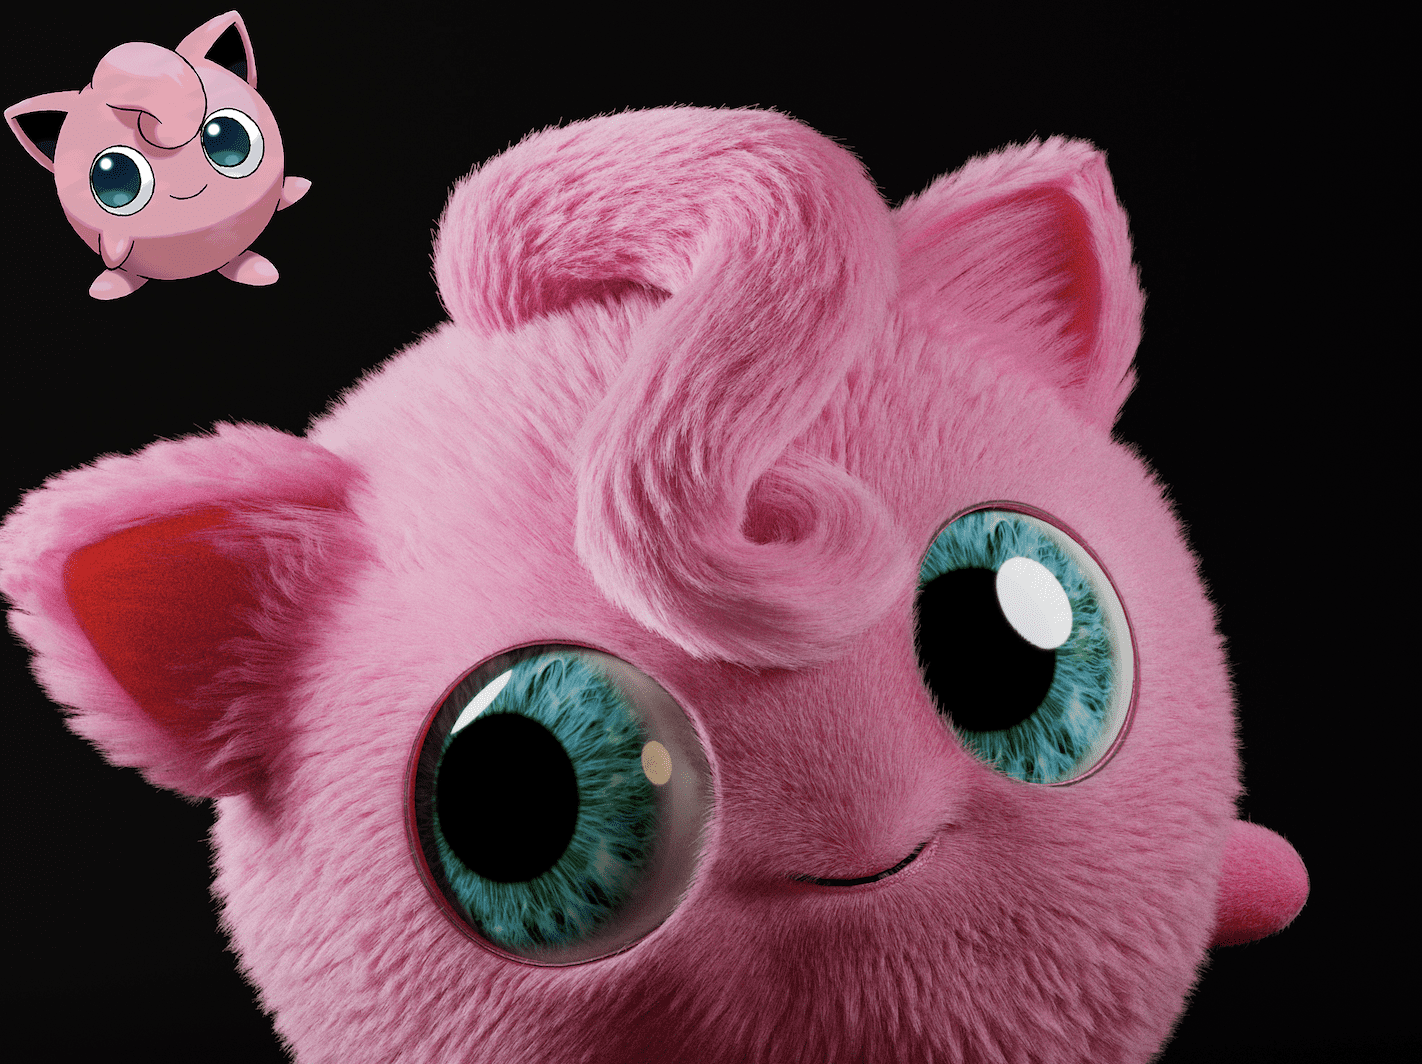
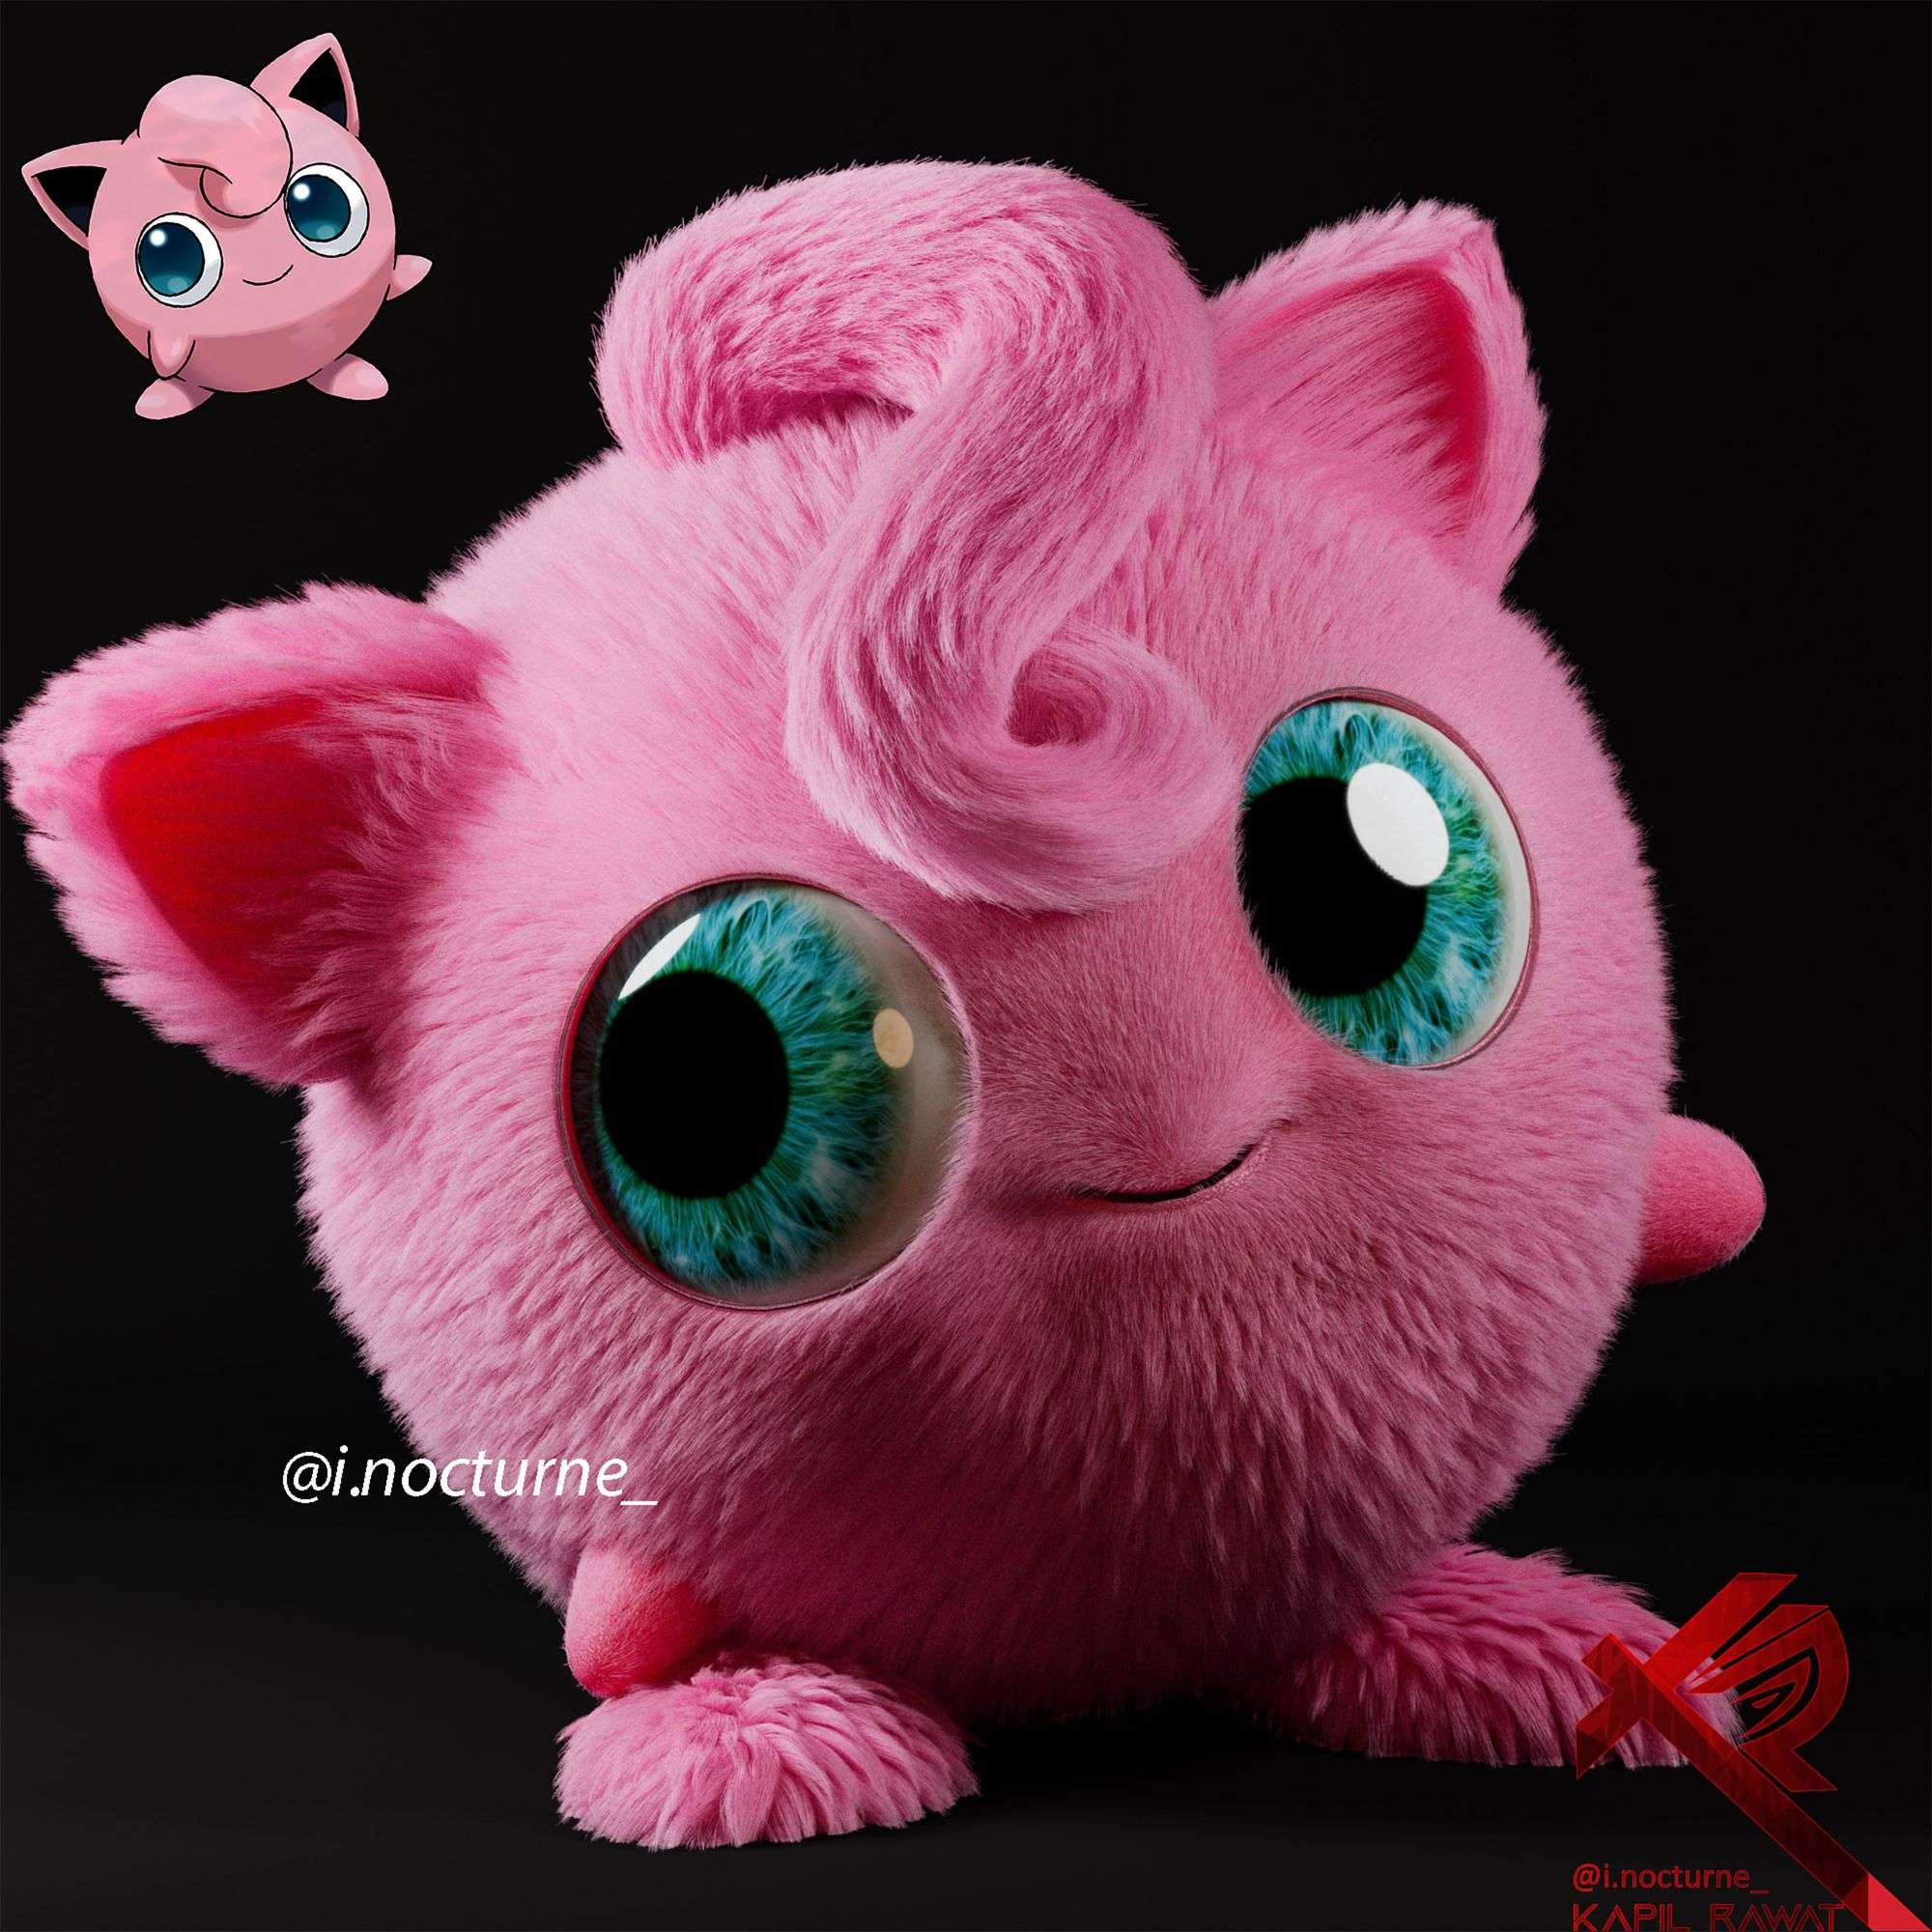
I am currently learning Xgen. After making hair for humans, I decided to move on to creating hair and fur for cartoon characters in the real world. I started with Winnie-the-Pooh and Jigglypuff. In this article, I will share with you how I achieved the furry Jigglypuff look.
To begin a project, you need to gather as many references as you can. It’s important to do some research. For this project, I gathered references from the detective Pikachu movie and obviously, I found some useful Jigglypuff references from the Pokémon tv series. I used Pureref for keeping my reference images in one place.
Modeling and UV Mapping
For modeling, I have some processes which I follow to get the project started:
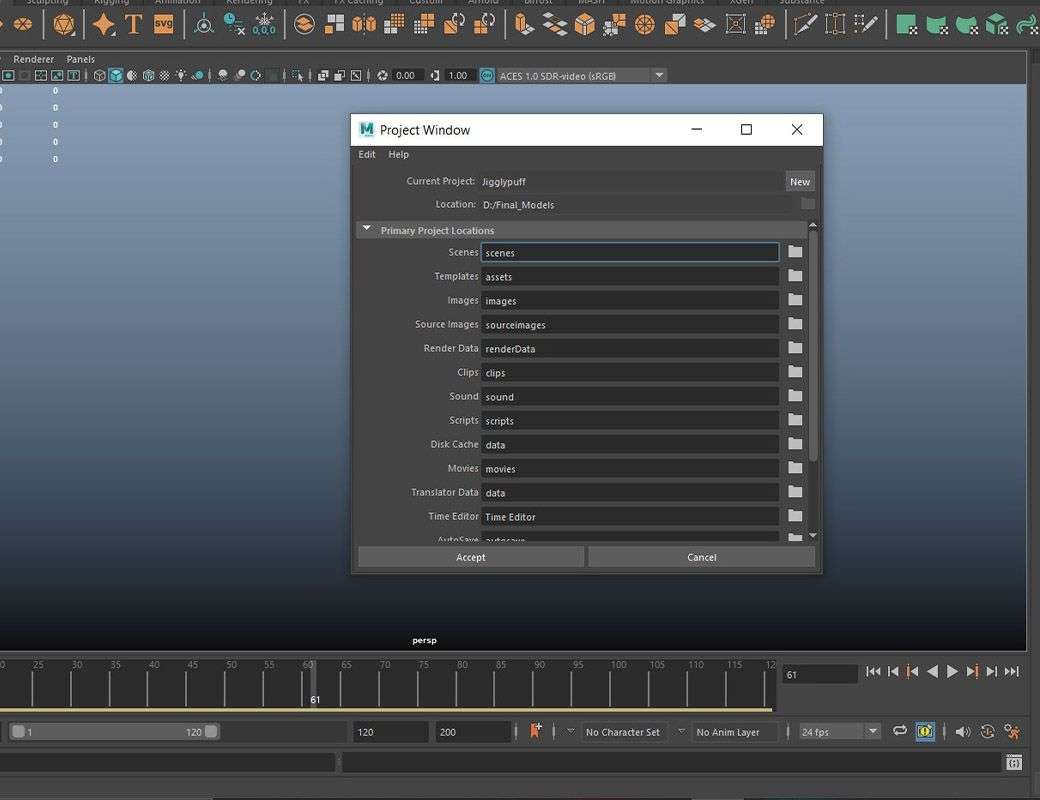
First create the project in Maya.
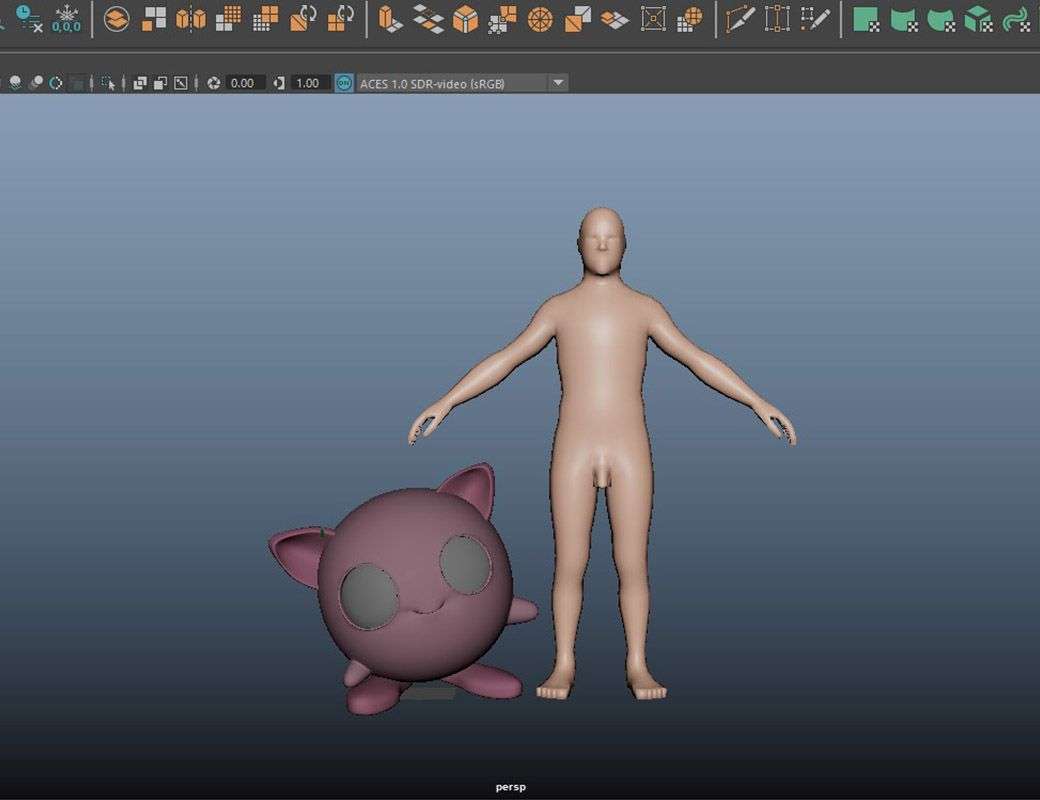
Make your model on a real-world scale.
Set the focal length of the camera according to your reference.
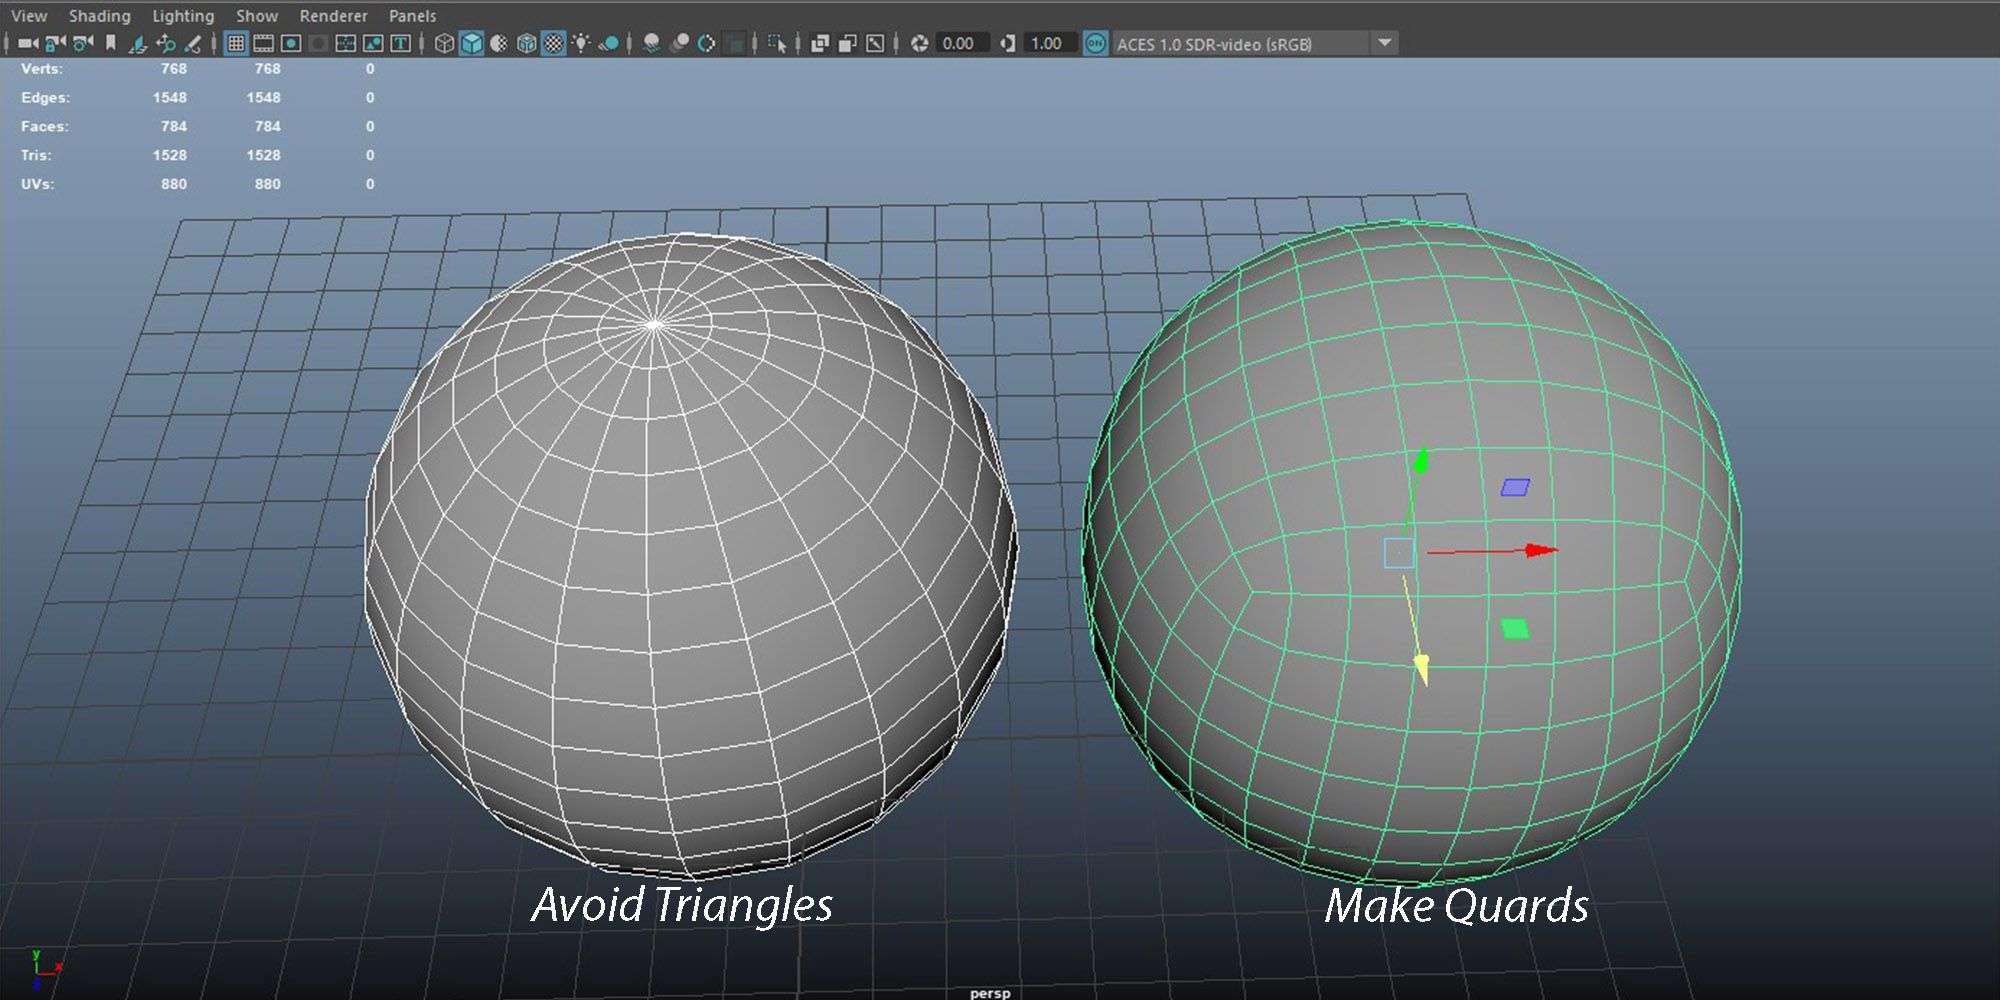
Avoid making triangles and Ngons in a mesh if you are using this mesh for Xgen.
When creating the project in Maya go into the file options then select the project window and create a new project. It’s important to create a project before starting because the project keeps your xgen files, textures, and renders, all in one place.
There are many options when creating your model in real-world scale. You can change Maya units to centimetres, millimetres, etc, and adjust the size of your model accordingly. or you can google the average height of a human.
Real-world scale matters in Xgen because when you start to create the hairs, to avoid downscaling your mesh and changing the scale later.
As you can see in the image below, the focal length of the camera is very important when it comes to getting a very detailed groom.
I started creating my model in Maya. I do not start my model with the sphere because in the sphere there are triangles on top and triangles cause problems in Xgen. I made a Jigglypuff body with a cube and smoothed the cube in order to turn it into a sphere. The sphere is not perfectly round, but it's a good start to avoid problems.
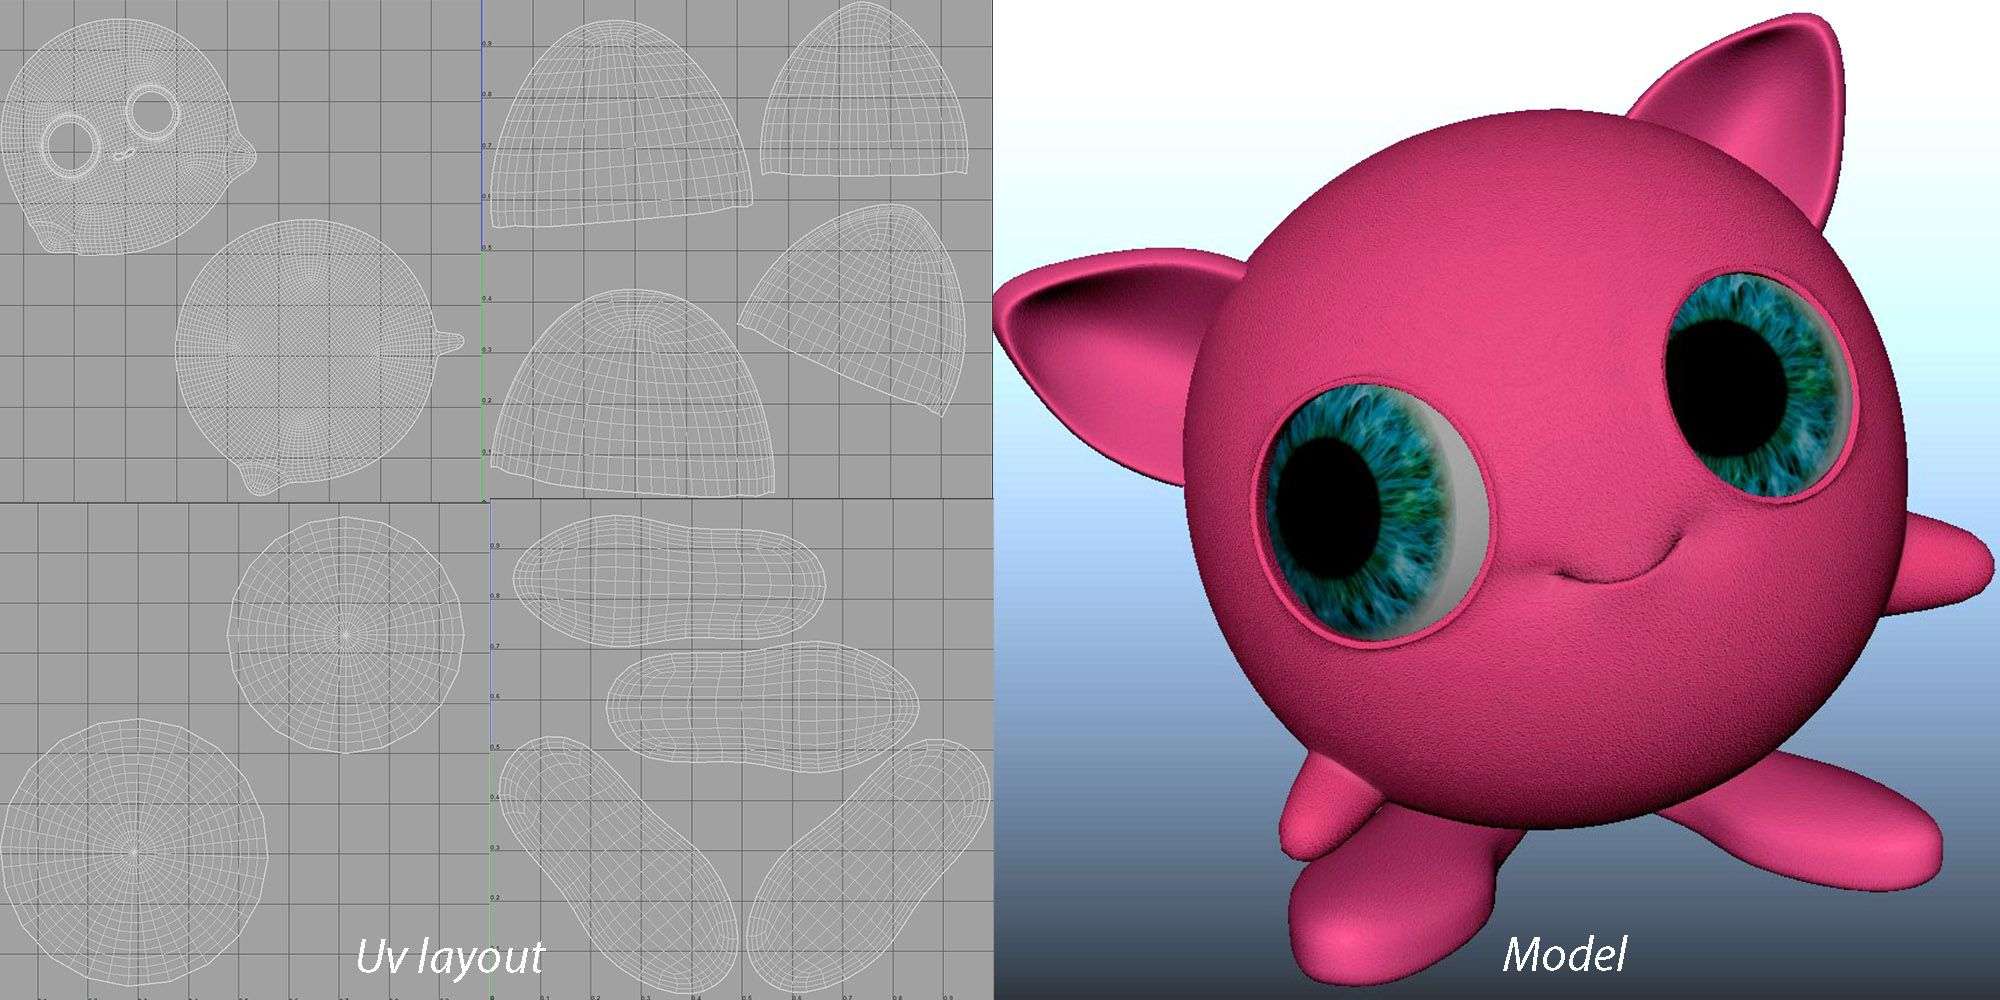
I then cut out the eyes and the mouth. The body, ears, and legs of Jigglypuff are all separate meshes. Doing this, gives me the freedom to create hairs separately in another description of Xgen. I then make UVs of every single mesh: I use a camera-based UV map, cut, then unfold. My model is ready for texturing!
Texturing
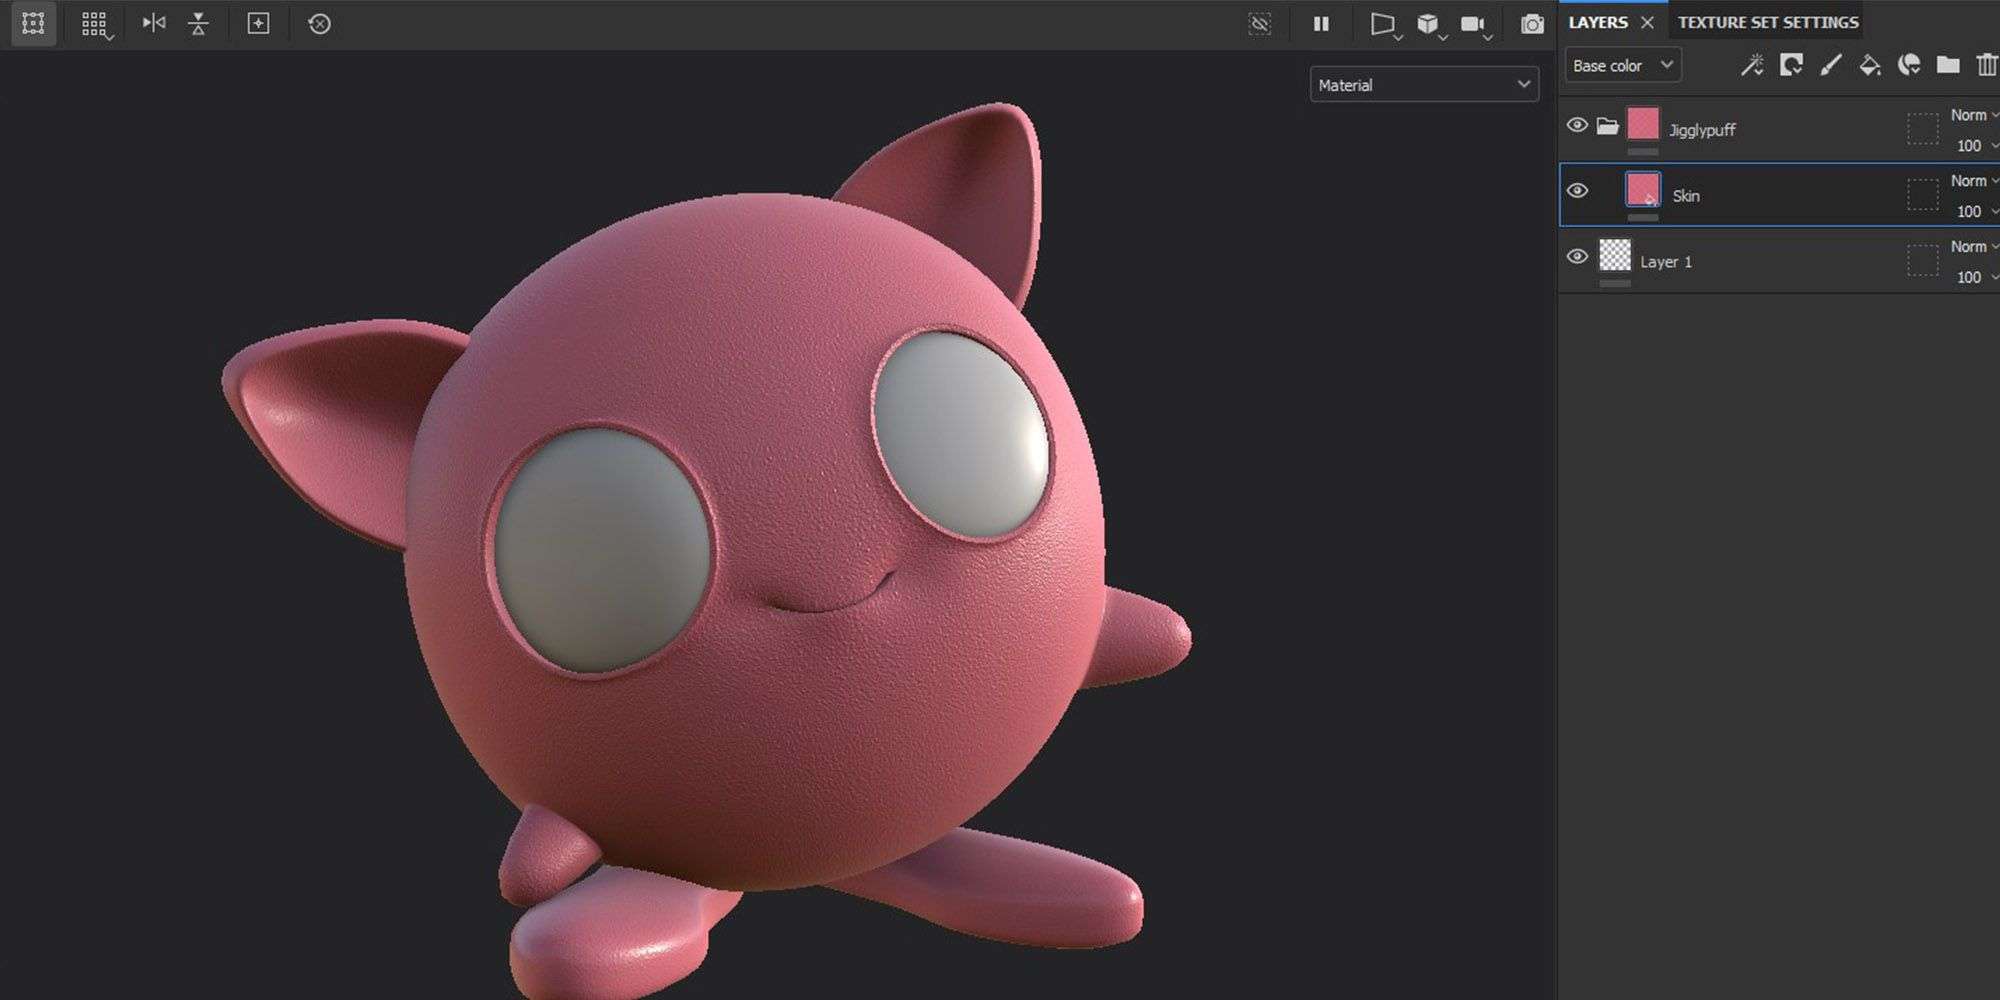
First I export all my parts in fbx format then import my files into Substance. For a smoothly working viewport, I set my texture resolution to 2k and exported them in 4k after finishing. I used a skin smart material to make the skin texture then I replaced its colour according to my reference.
For the eye texture, I found an image on the internet and downloaded it and change its colour, and put it on my eye mesh.
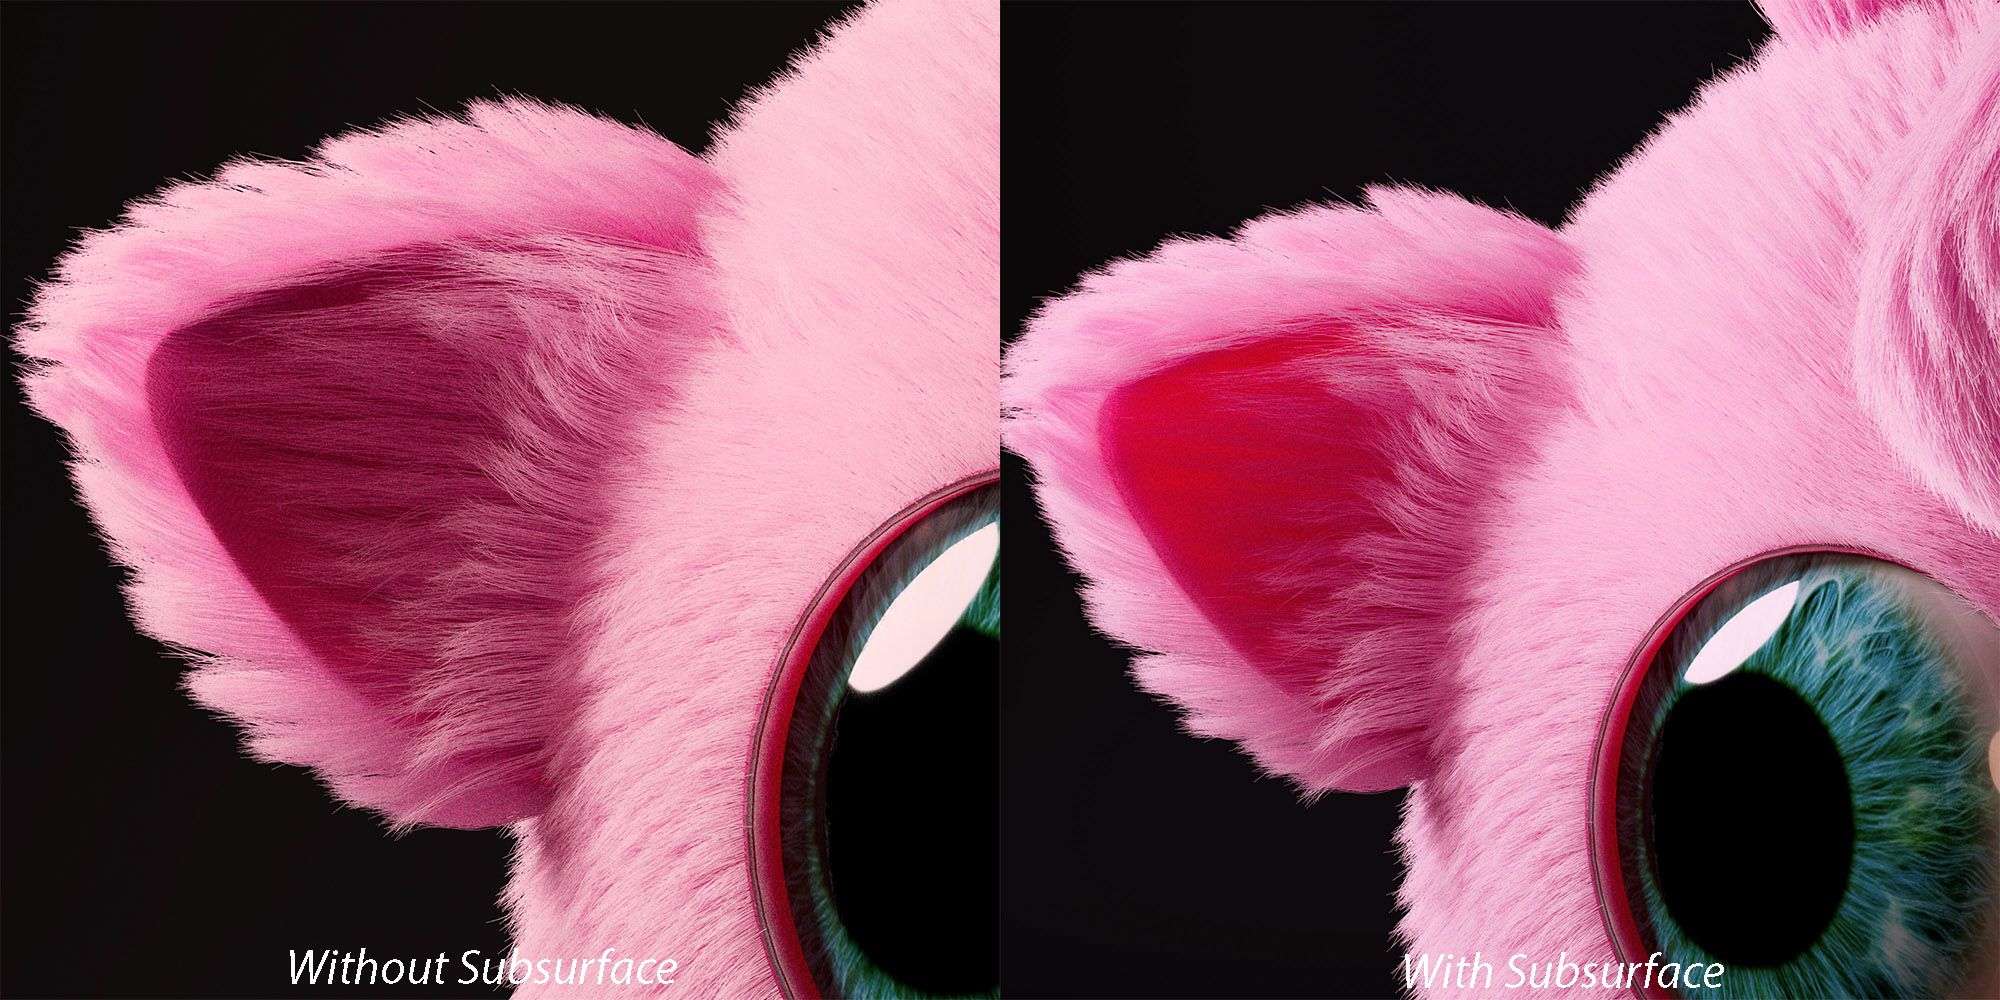
I assigned all my textures to the aistandard surface in Maya. I wanted a subsurface effect on a model so I used my base colour map which I exported from Substance, assigned it to a subsurface colour. I then increased subsurface weight to around 0.435 and selected the type randomwalk_v2. This gave my model a realistic skin look.
Grooming and hair shading
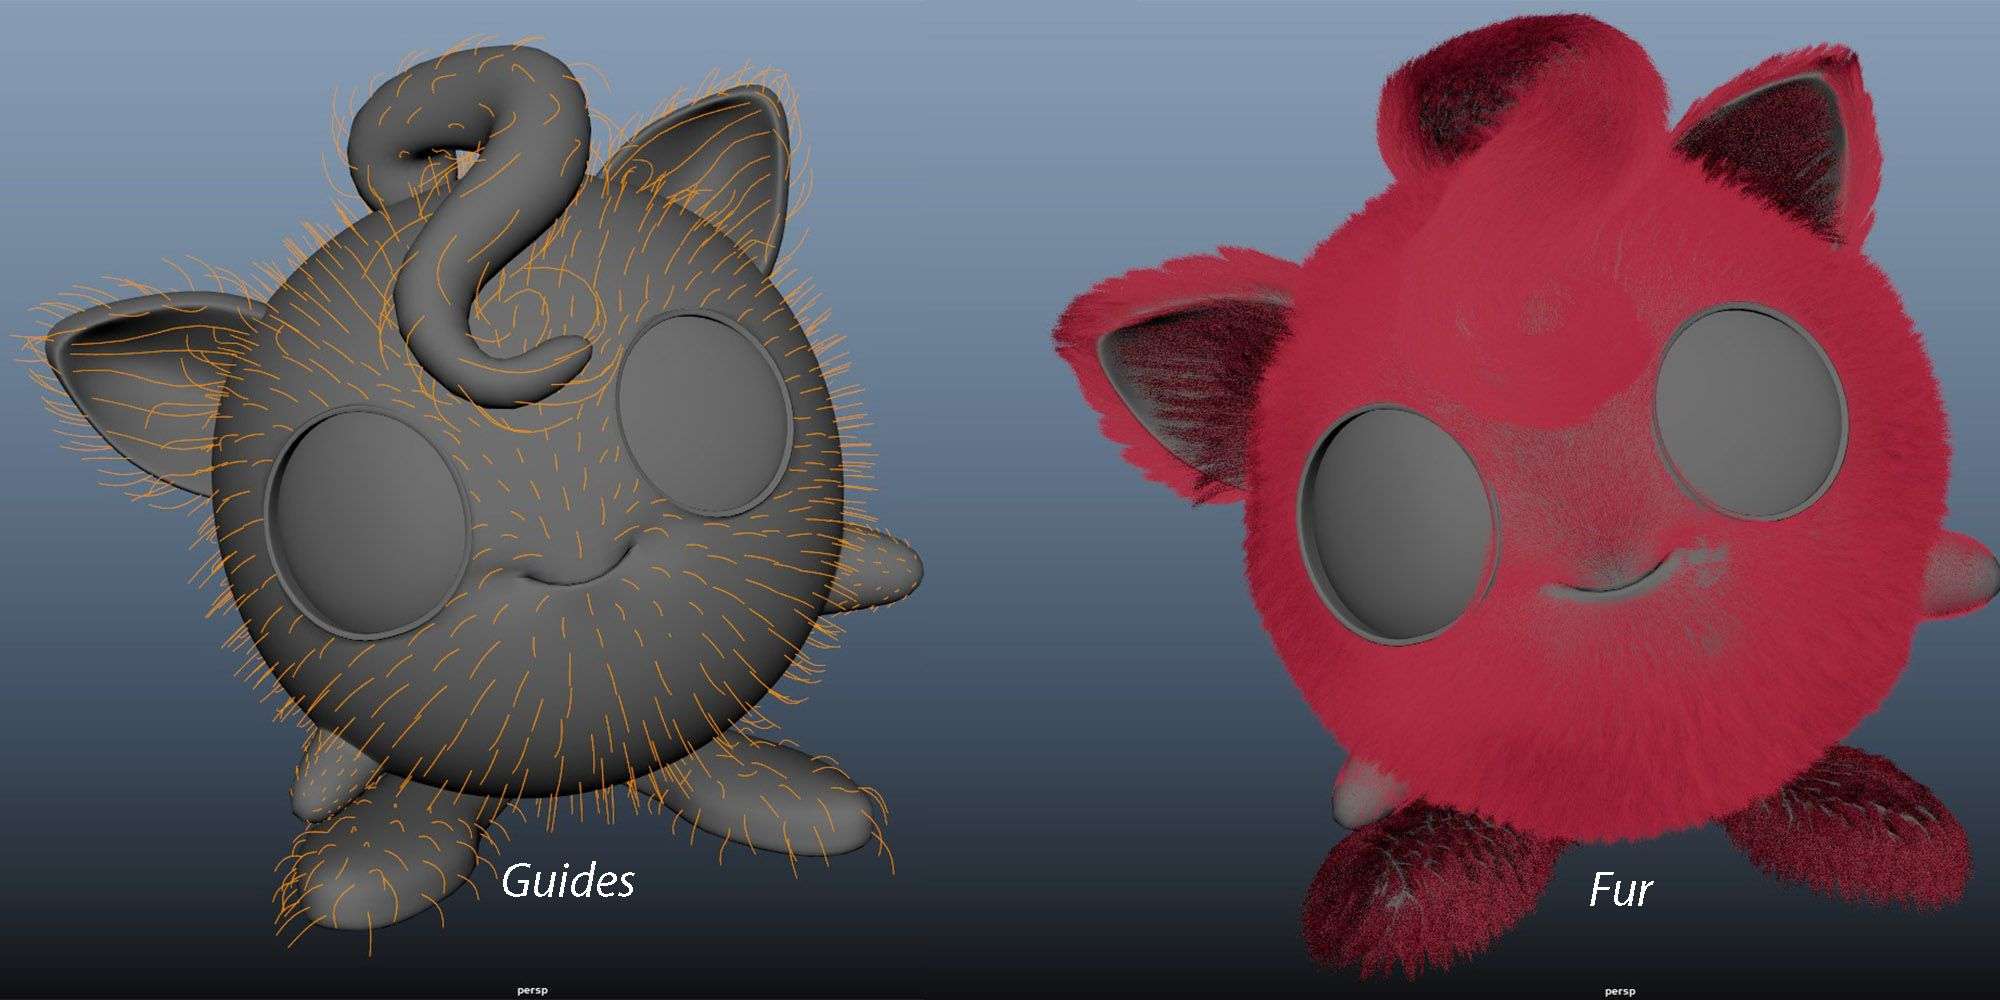
Now for the main event! I created an xgen description, and selected all default values. In the “control the primitives by” section, I select placing and shaping guides. After that, I created guides on the mesh and shaped them accordingly to my fur flow and at the same time, adjusted the size of the guides depending on what part of the face I was working on. For example, I made smaller clumps in the face area and bigger ones on the ear according to my reference.
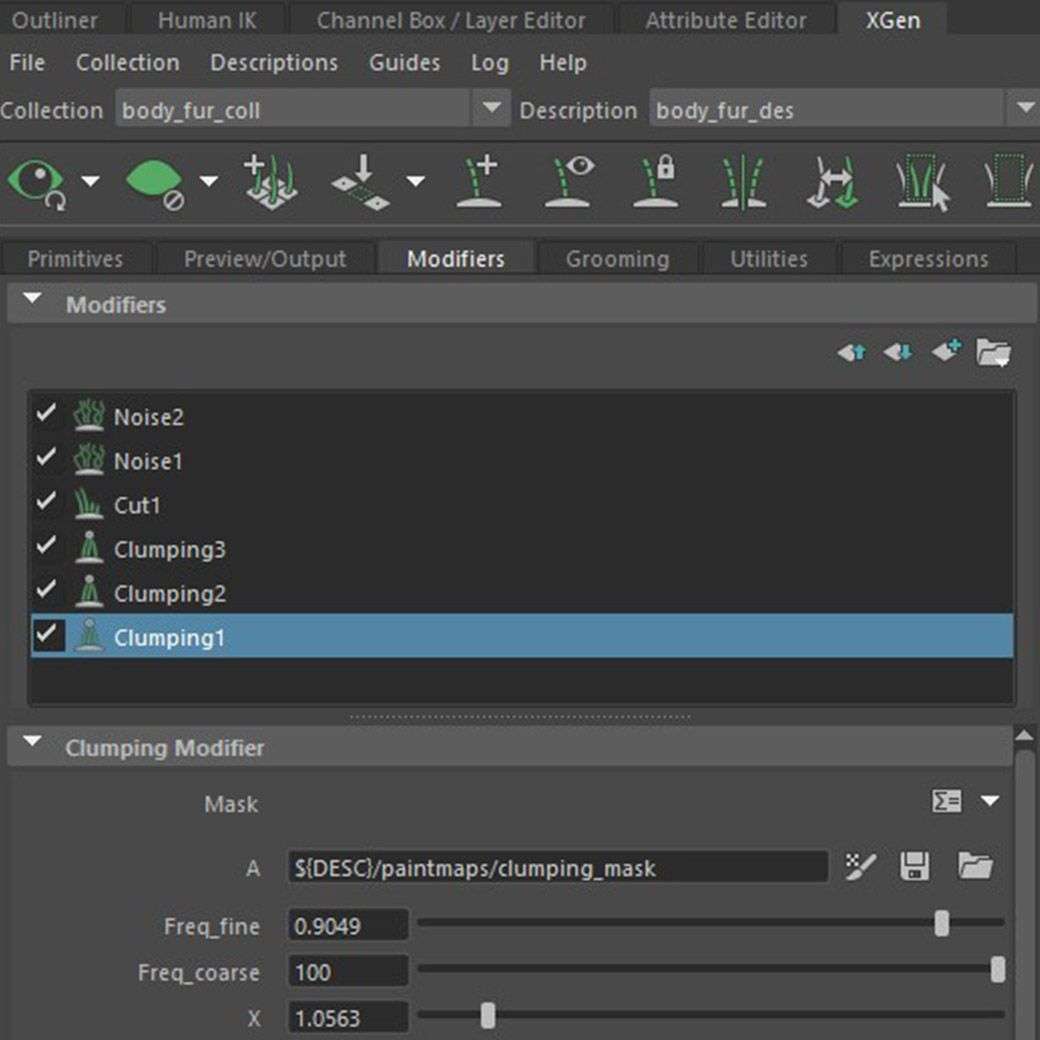
Next, I generated hair and adjusted the density. After that, I applied different modifiers like clumping, cut, and noise for making hair look like animal fur. I started with a clumping modifier for making a bigger clump, and then divided the bigger clump with another clumping modifier.
I made three clumping modifiers for dividing my bigger clump into smaller ones and also made mask maps for where I wanted a clump effect and where not.
When this was completed, I went with a cut modifier for giving my fur tips length and a bit of randomness. Then, I applied a noise modifier to give it a bit of noise.
When you are creating mask maps in Xgen be sure your mesh has assigned a lambert shader because when you start painting with the paint tool in Maya, and your shader is not lambert, the paint tool will not work. Maya will give you a runtime error.
Shading
Hair shading in my opinion, can be a time consuming part of the project. In Maya for hair, there is a separate shader called aistandardhair. Aistandard Hair is good at making human hair shaders. You just have to change the melanin value when you want different tones of hair colour. In my case, I had to change the base colour to pink.
The shading looks weird at first, but then I adjusted some values of melanin, melanin randomize, melanin redness, roughness, and shift. After much back and forth, I finally achieved the colour of fur I was after.
Lighting
Lighting is a crucial factor in rendering. In men's and women's hair, I generally create skydome light and apply an HDRI, but for this project, that process didn't work as well.
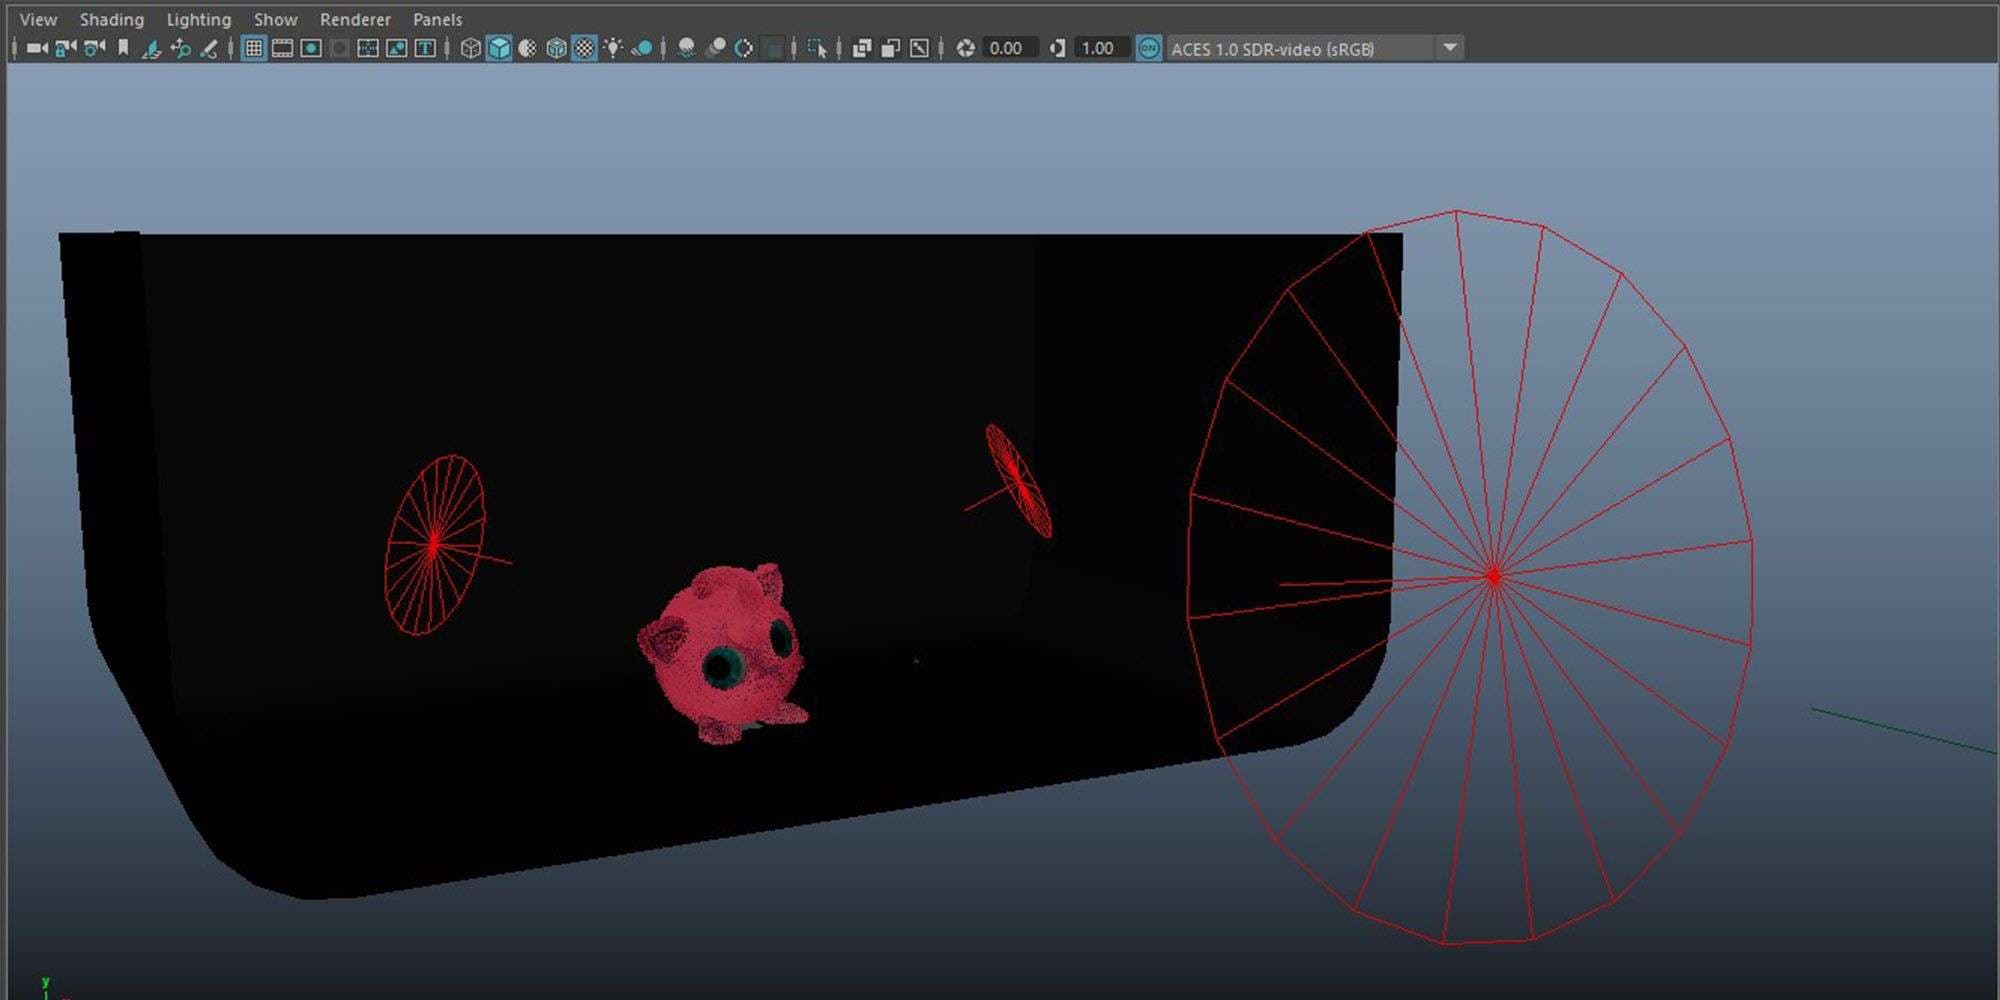
I created 3 area lights and placed them on the right side of Jigglypuff because I wanted the light to reflect in her eye. I changed the light shape into a disk because I wanted the reflection shape round not square, in Jigglypuff’s right eye, as you can see in my render.
The second area light I placed to the left side for a fill effect, and the third I placed in front of Jigglypuff but a little bit away from her because I wanted this light effect to appear very subtle. That’s how I created my lighting.
Finally, I created a backdrop for rendering. I chose a cube and made it big, deleted its front and top faces, and subdivided its lower edges. I then assigned a lambert shader on it and made the lambert shader black, hit the render button in Arnold, and voila!
This project allowed me to explore new processes and uncover errors for which I had to learn how to solve. My advice when taking on a process that is new to you, is to just ask someone for help. Never give up! Thank you The Rookies for the opportunity to share. I would also like to thank all our fellow artists who take the time to post articles and videos on the internet which are very helpful.