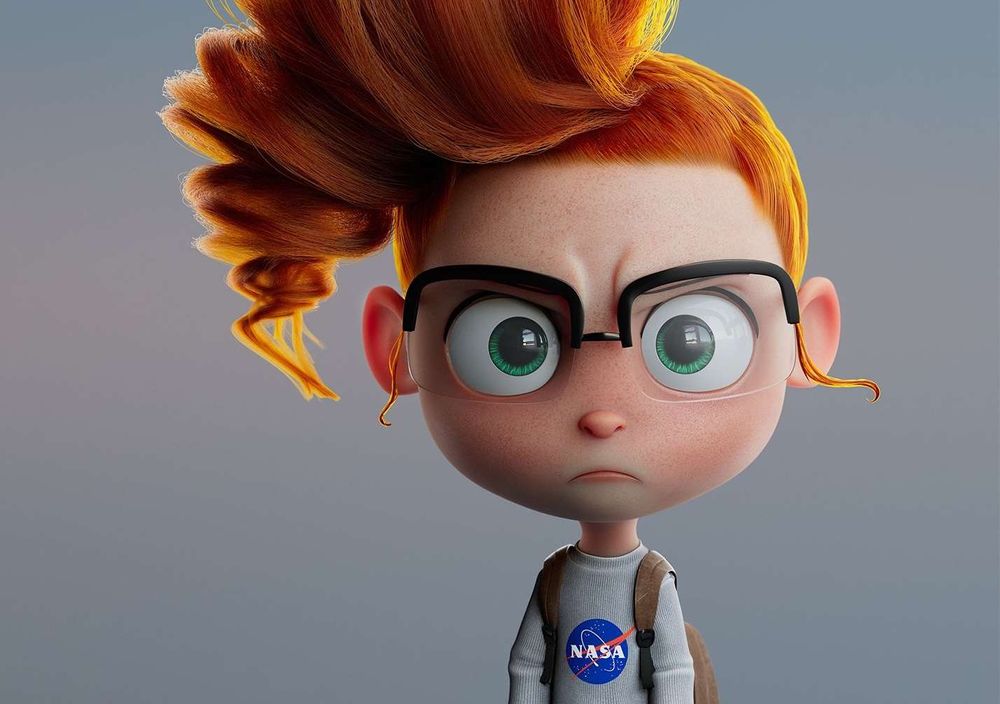
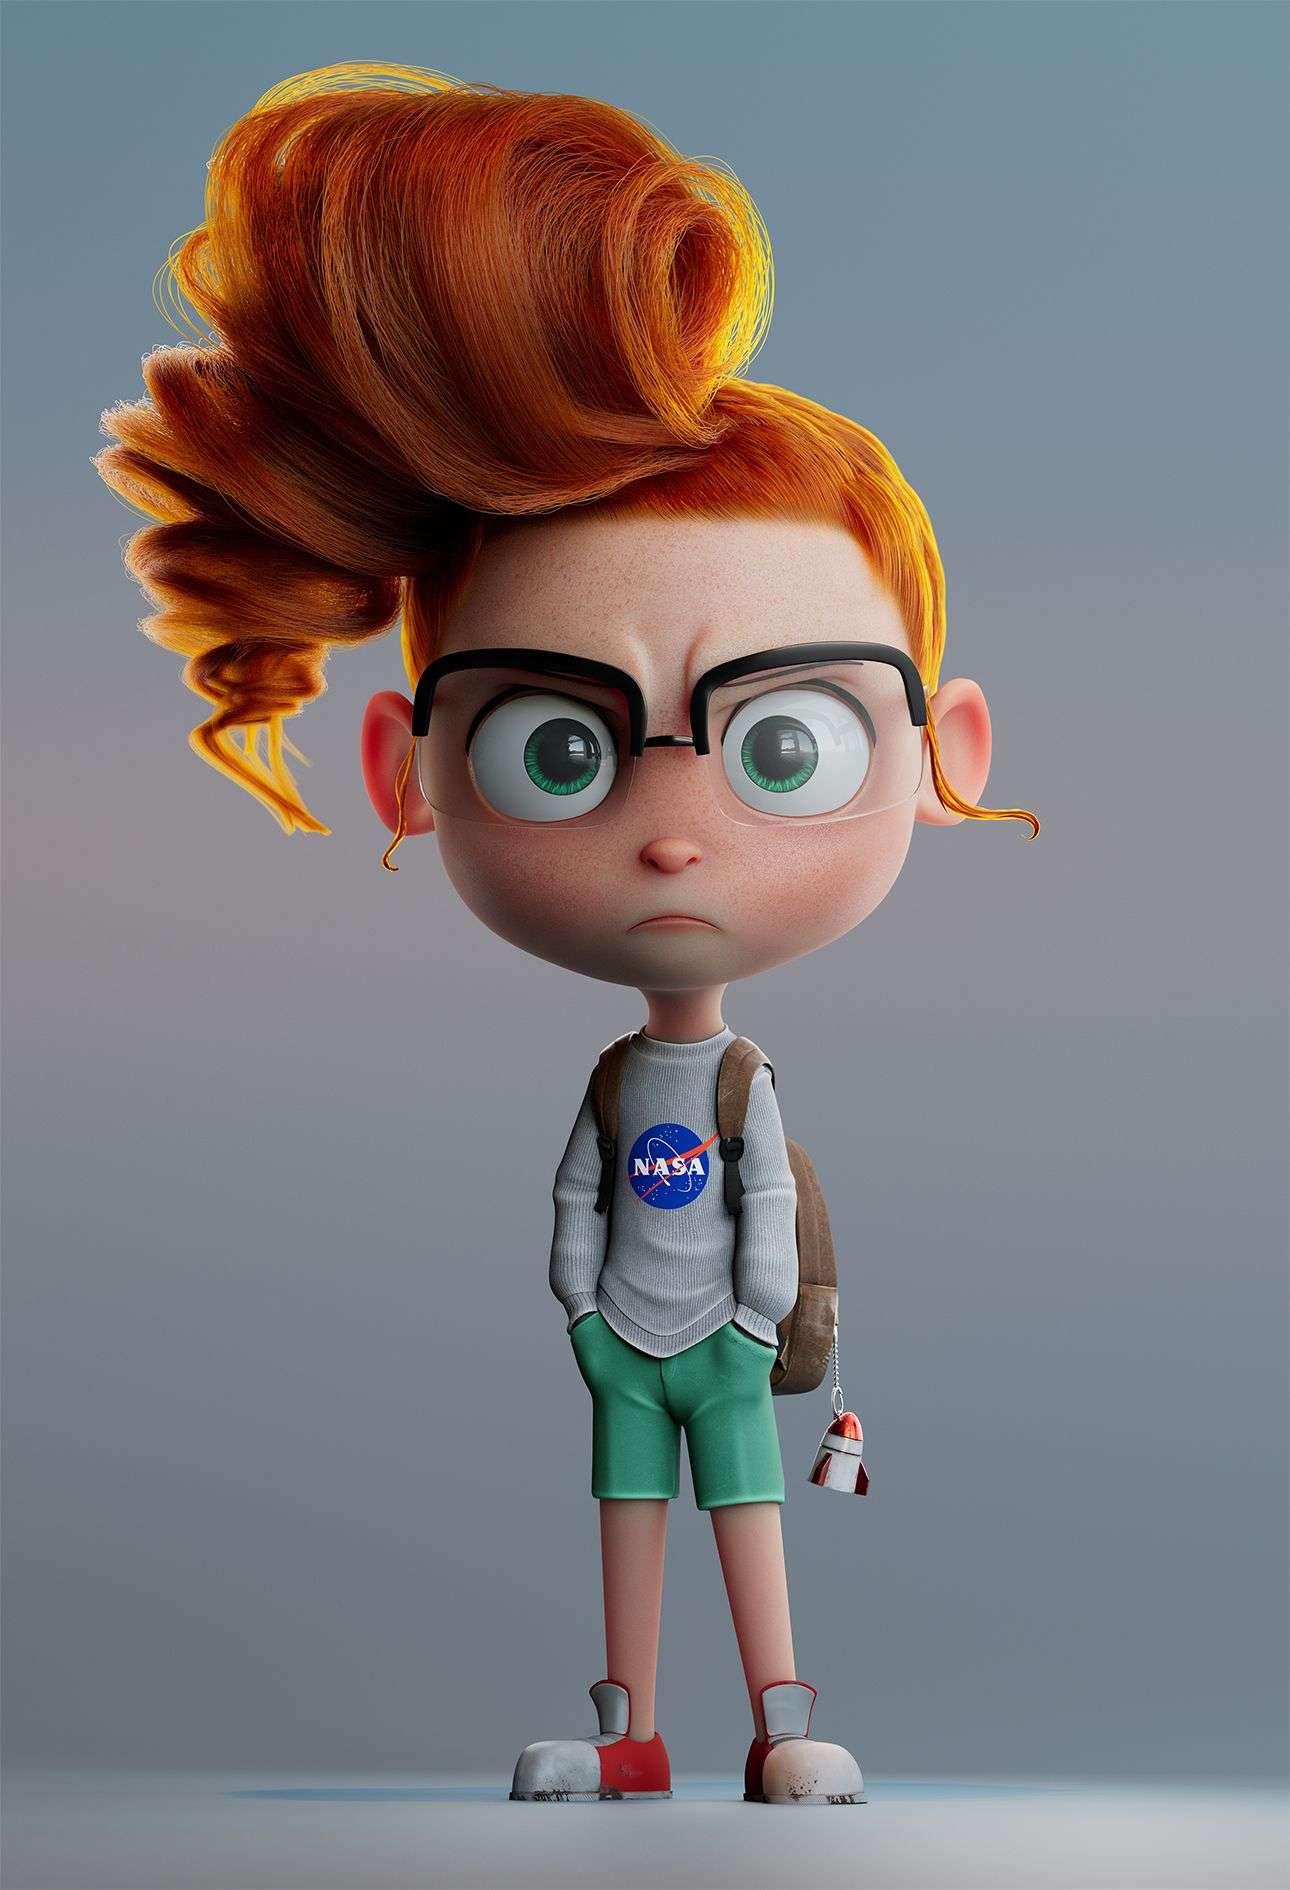
Red Hair Girl: Creating a Stylised 3D Character with Maya, Zbrush, Substance Painter and XGen
Simón Betancur Baghino is a 3D character artist that has finished his studies at Animum 3D School. He recently shared an incredible project entitled Red Hair Girl, and we jumped at the chance to learn more about it which is shared below.
Simón Betancur Baghino is a 3D character artist that has finished his studies at Animum 3D School. He is passionate about 3D and currently making his make on the exciting world of 3D. He recently shared an incredible project entitled Red Hair Girl, and we jumped at the chance to learn more about it which is shared below.
INTRODUCTION
I always wanted to make cartoon characters, like the ones I see in Disney or Pixar, know everything it takes to get that look that brings to life the model.
In my studies at Animum 3D School I found this incredible concept of Rayner Alencar, it was a concept with a lot of strength and personality.
This forced me to try to capture this in my model. I have to thank Juan Solis, Angel Roman and the school for helping me get such a good result.
SOFTWARE USED:
Modeling: Maya
Adjust model and posing: Zbrush
Texturing: Substance 3D painter
Render: Maya-Arnold
Hair: Maya-Xgen
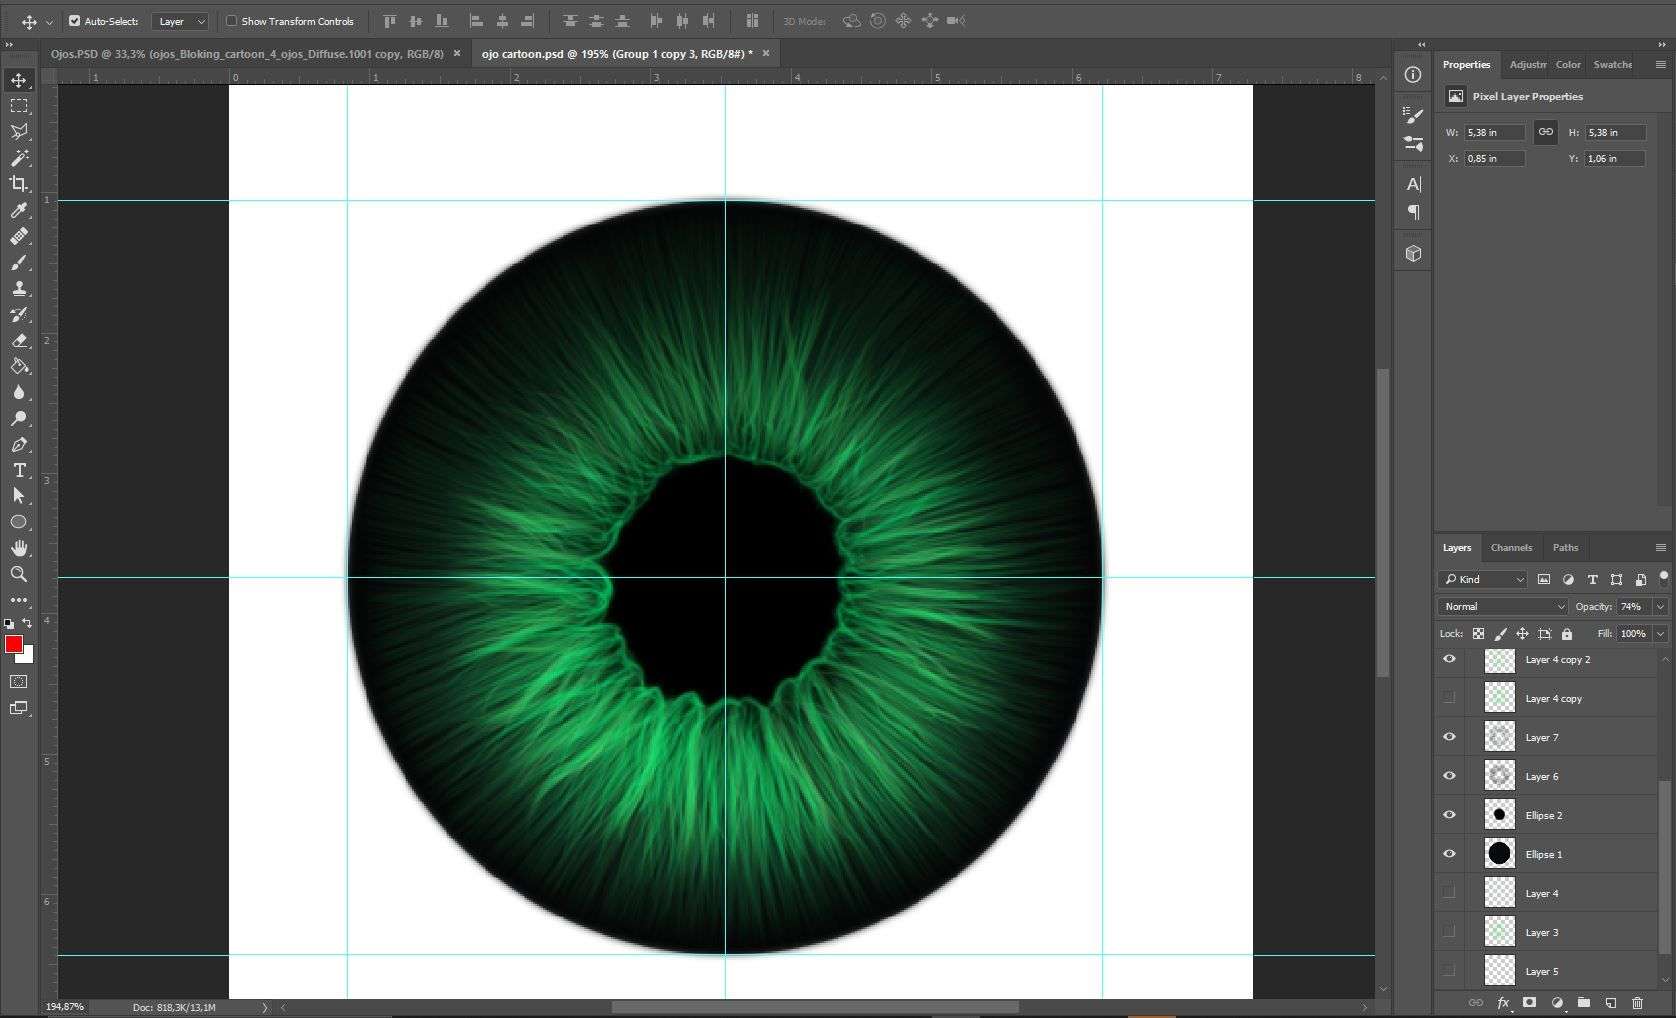
Texture eyes: Photoshop
FIRST STEPS
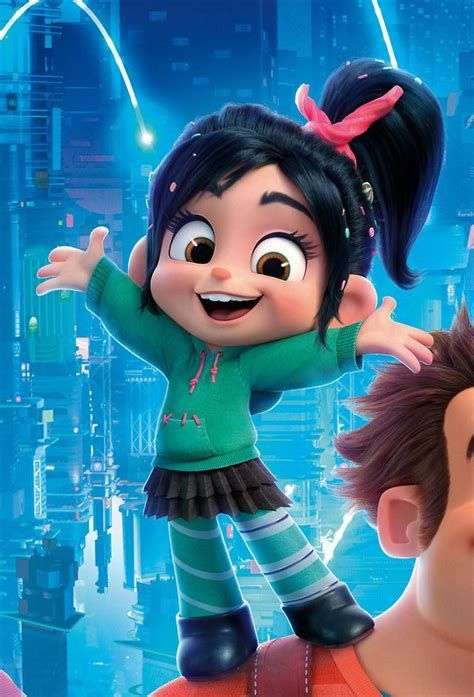
My first steps were to get references. As I said before, my inspiration is Disney and Pixar. So I searched amongst their characters to find one that had the shapes of the concept, because although it has a lot of anatomy, the character has simple shapes that must find their place.
Vanelloper from Wreck-It Ralph, from Disney Animations studio
I already have my references, it's time to model!!
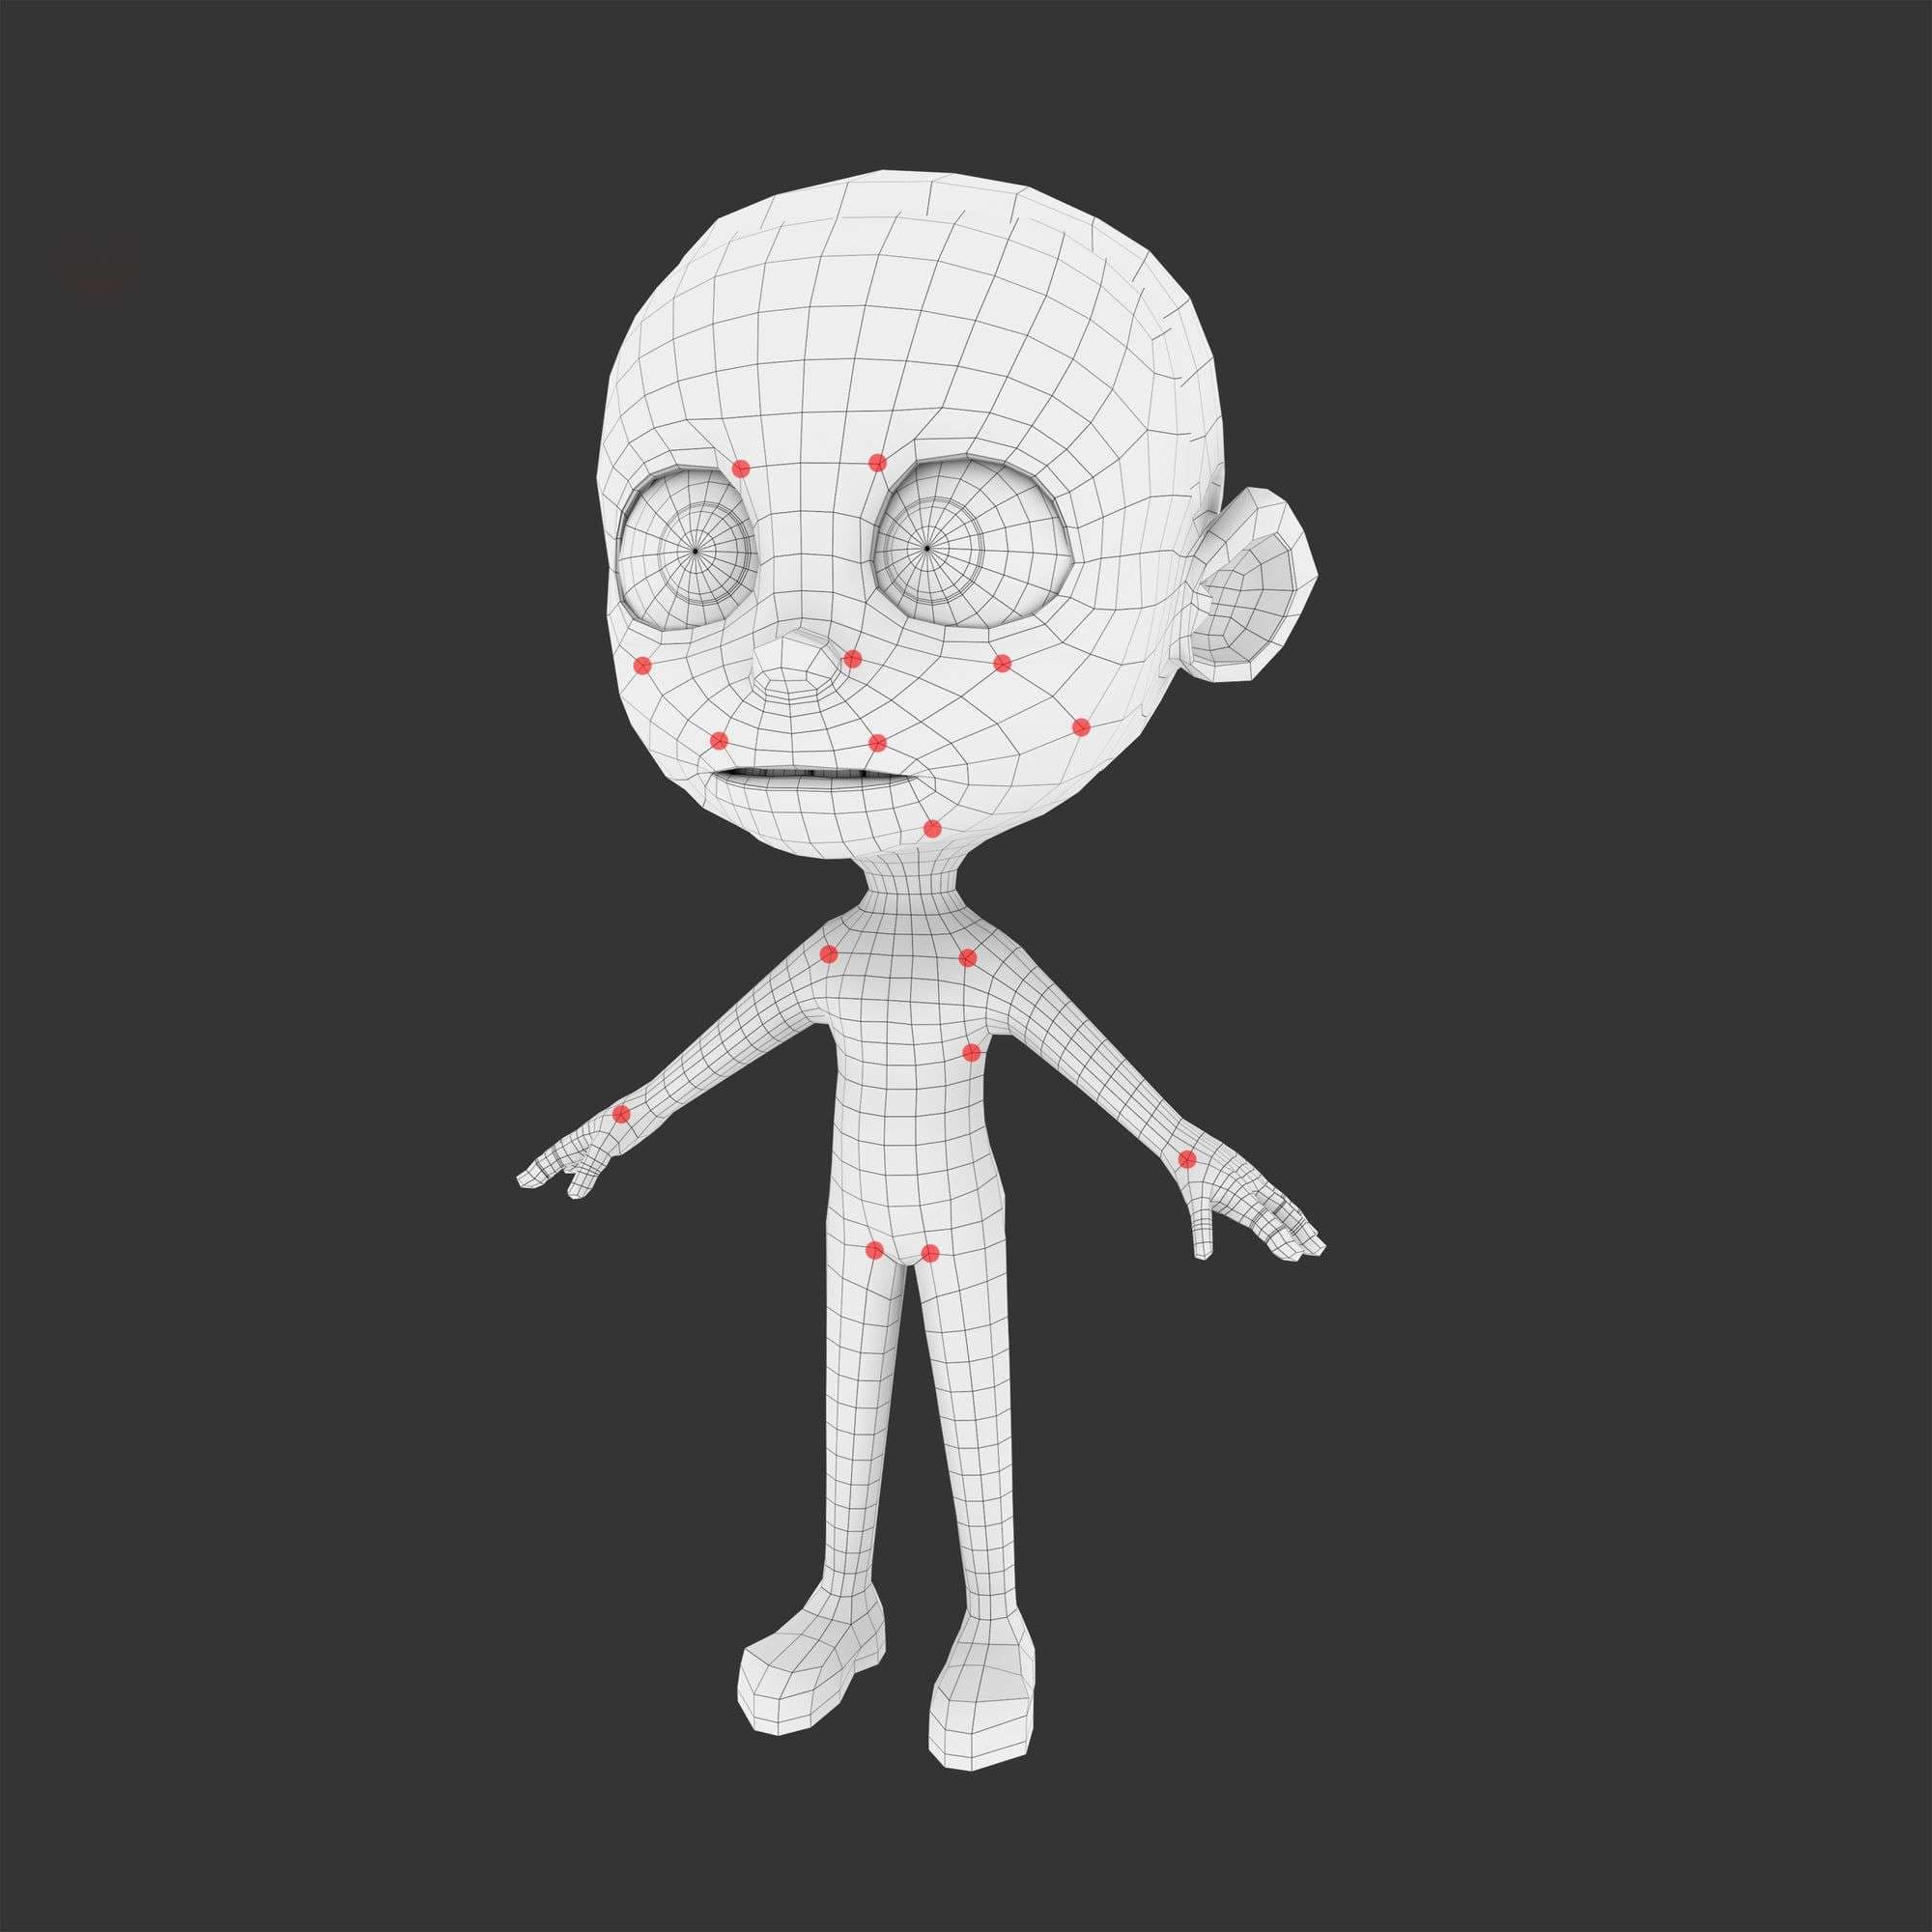
For this I started with a blocking mesh in Maya, I created this mesh in the traditional way (polygonal modeling), trying to have a proper mesh and avoiding trids, ngons and positioning the poles in the non-bending areas of the character to be able to animate it later (I have indicated the poles in the picture).
I recommend you follow and watch some of Sergi Caballer's courses. Keep in mind that this mesh must have enough loops in lips, eyelids, and areas that we want to keep their shape when applying a turbosmooth. This mesh will not be subdivided in zbrush several times and the details will be modeled, this will be our final mesh,the details are given by refining it.
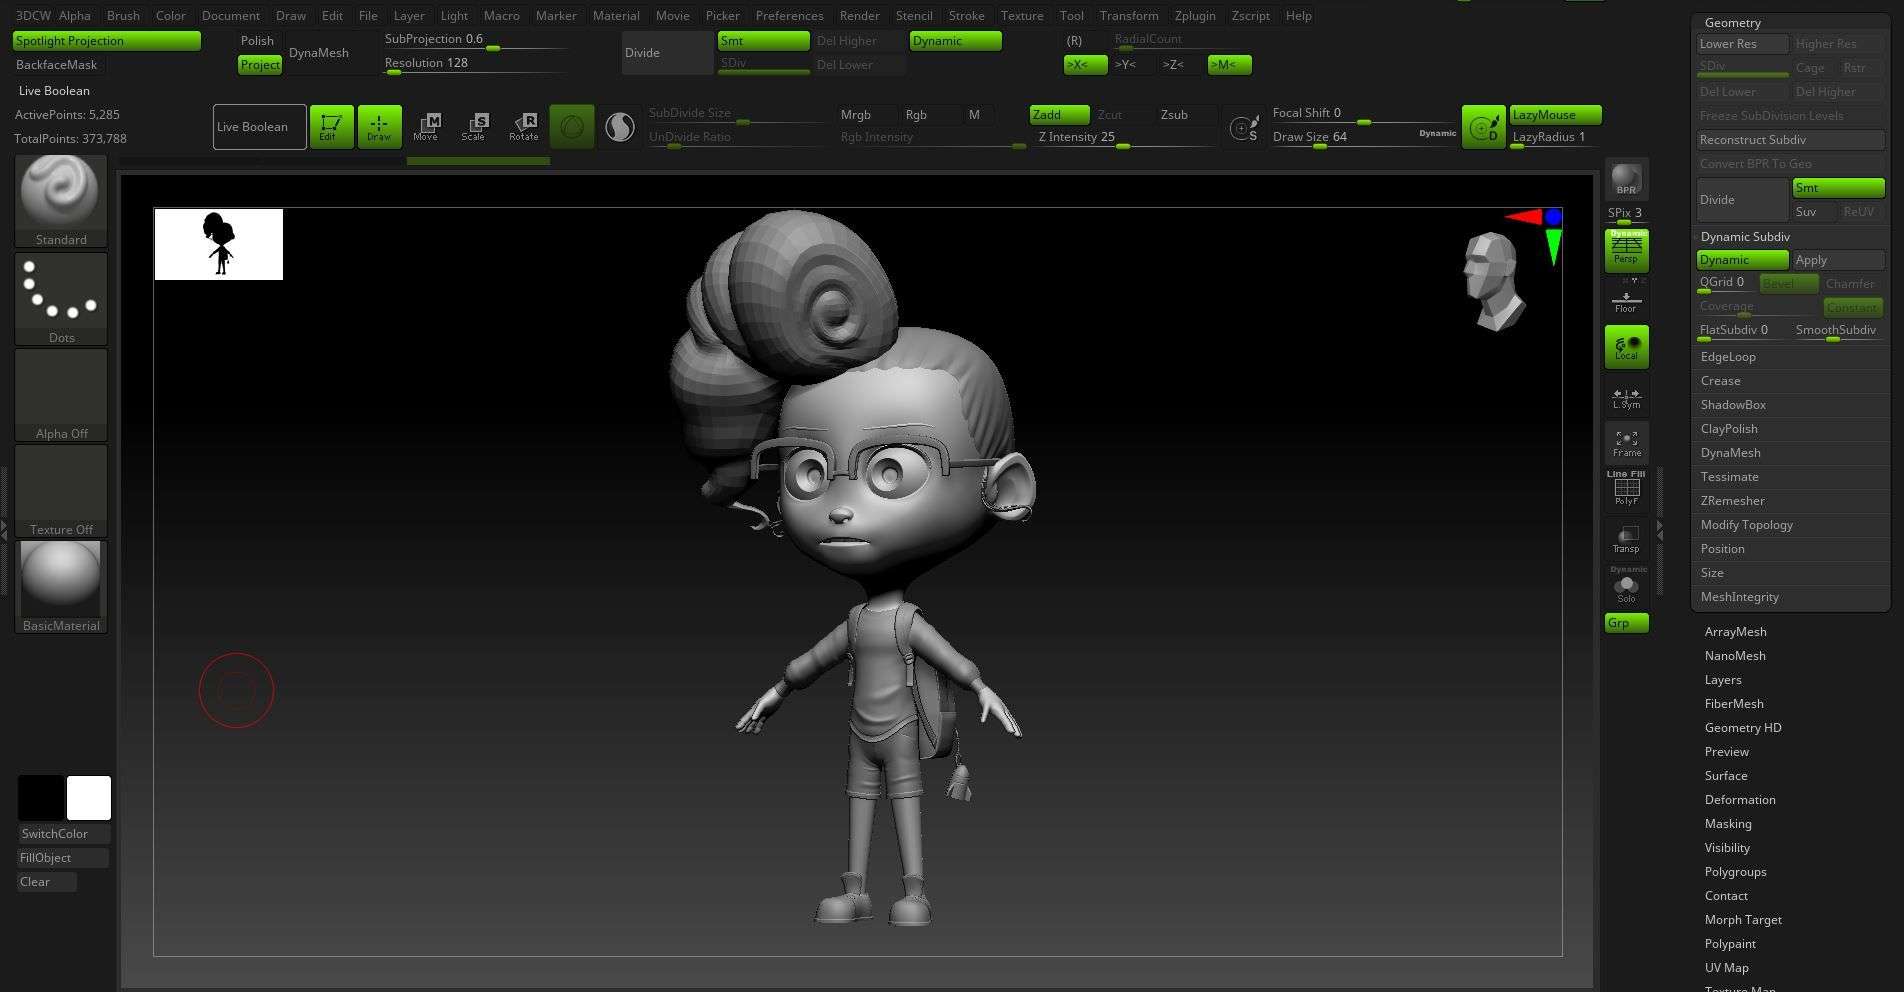
Once we are happy with the proportions of our model, it's time to define the shapes and silhouette. Looking for that appeal that makes it unique.
I take it to Zbrush where, I am more agile to move shapes. Without subdividing the model and working with the dynamic subdivision I try to give that appeal to my model.
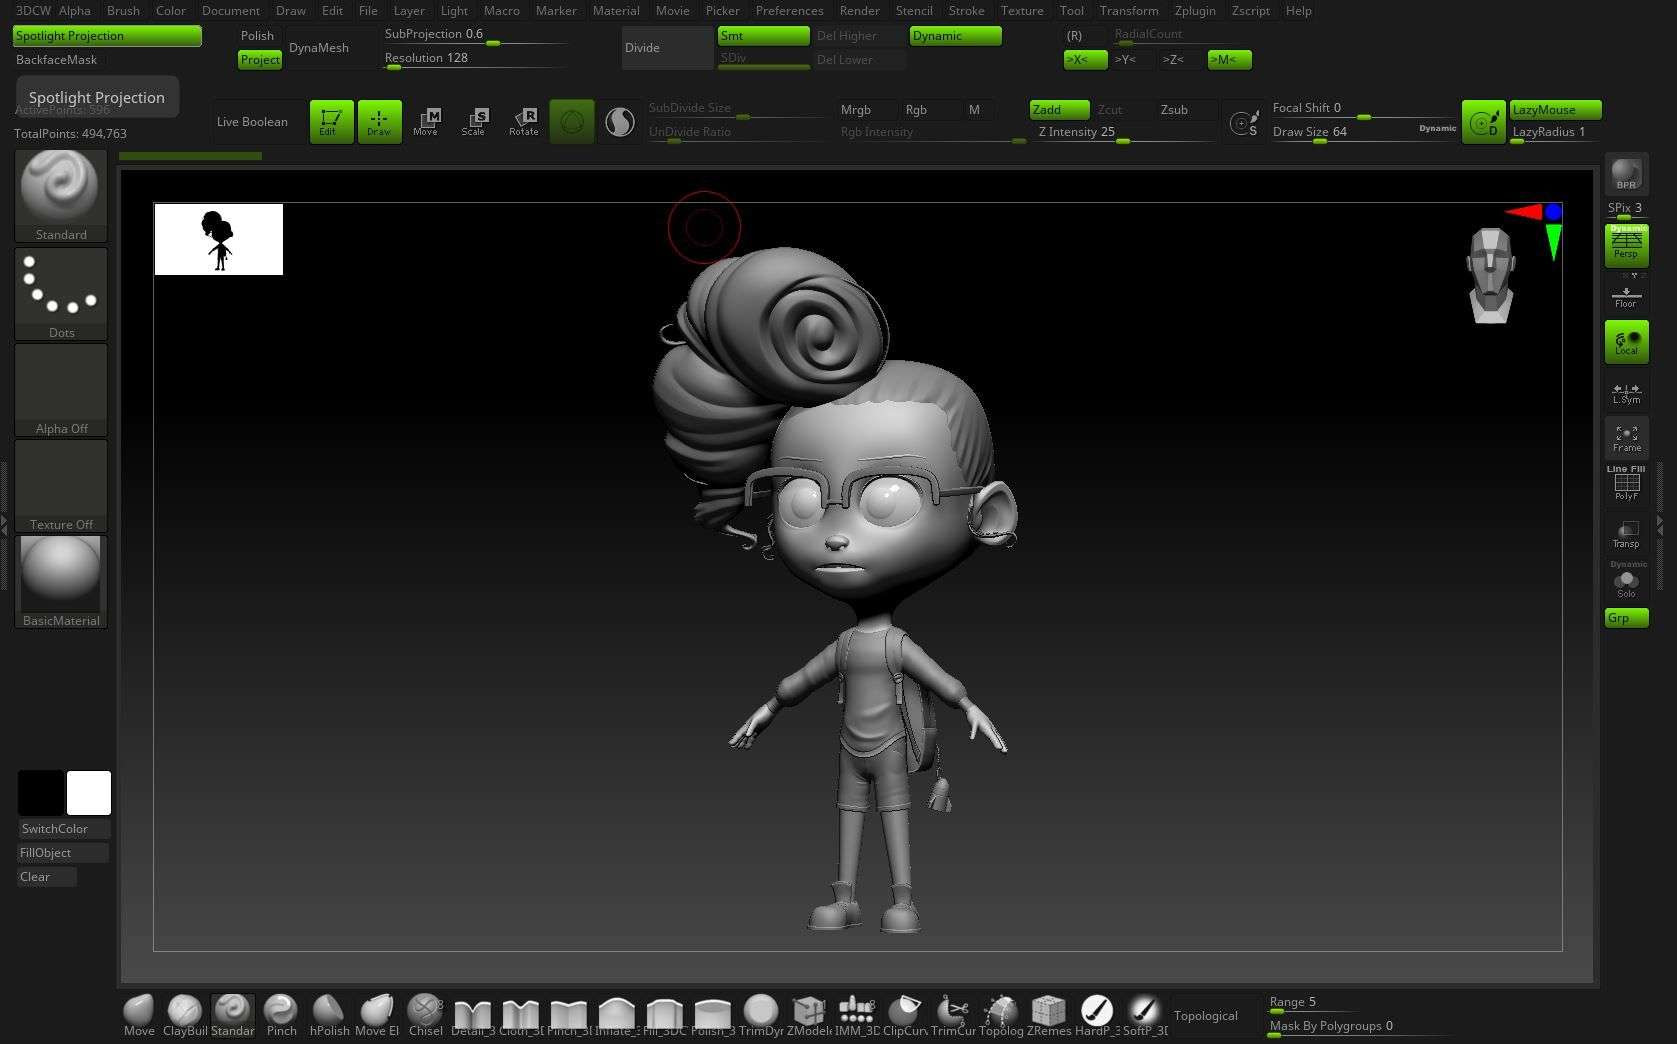
Yes I know!! I said we wouldn't model anything in Zbrush, but in this case I will model a detailed blocking of the hair to get an idea of what I want and see her silhouette.
I used some brushes that give an amazing cartoony feel. These are provided by Shane Olson, a great artist of whom I recommend watching on zbrushlive.
UV TIME!
I'm happy with my appeal!! Now it's time to make UVs.
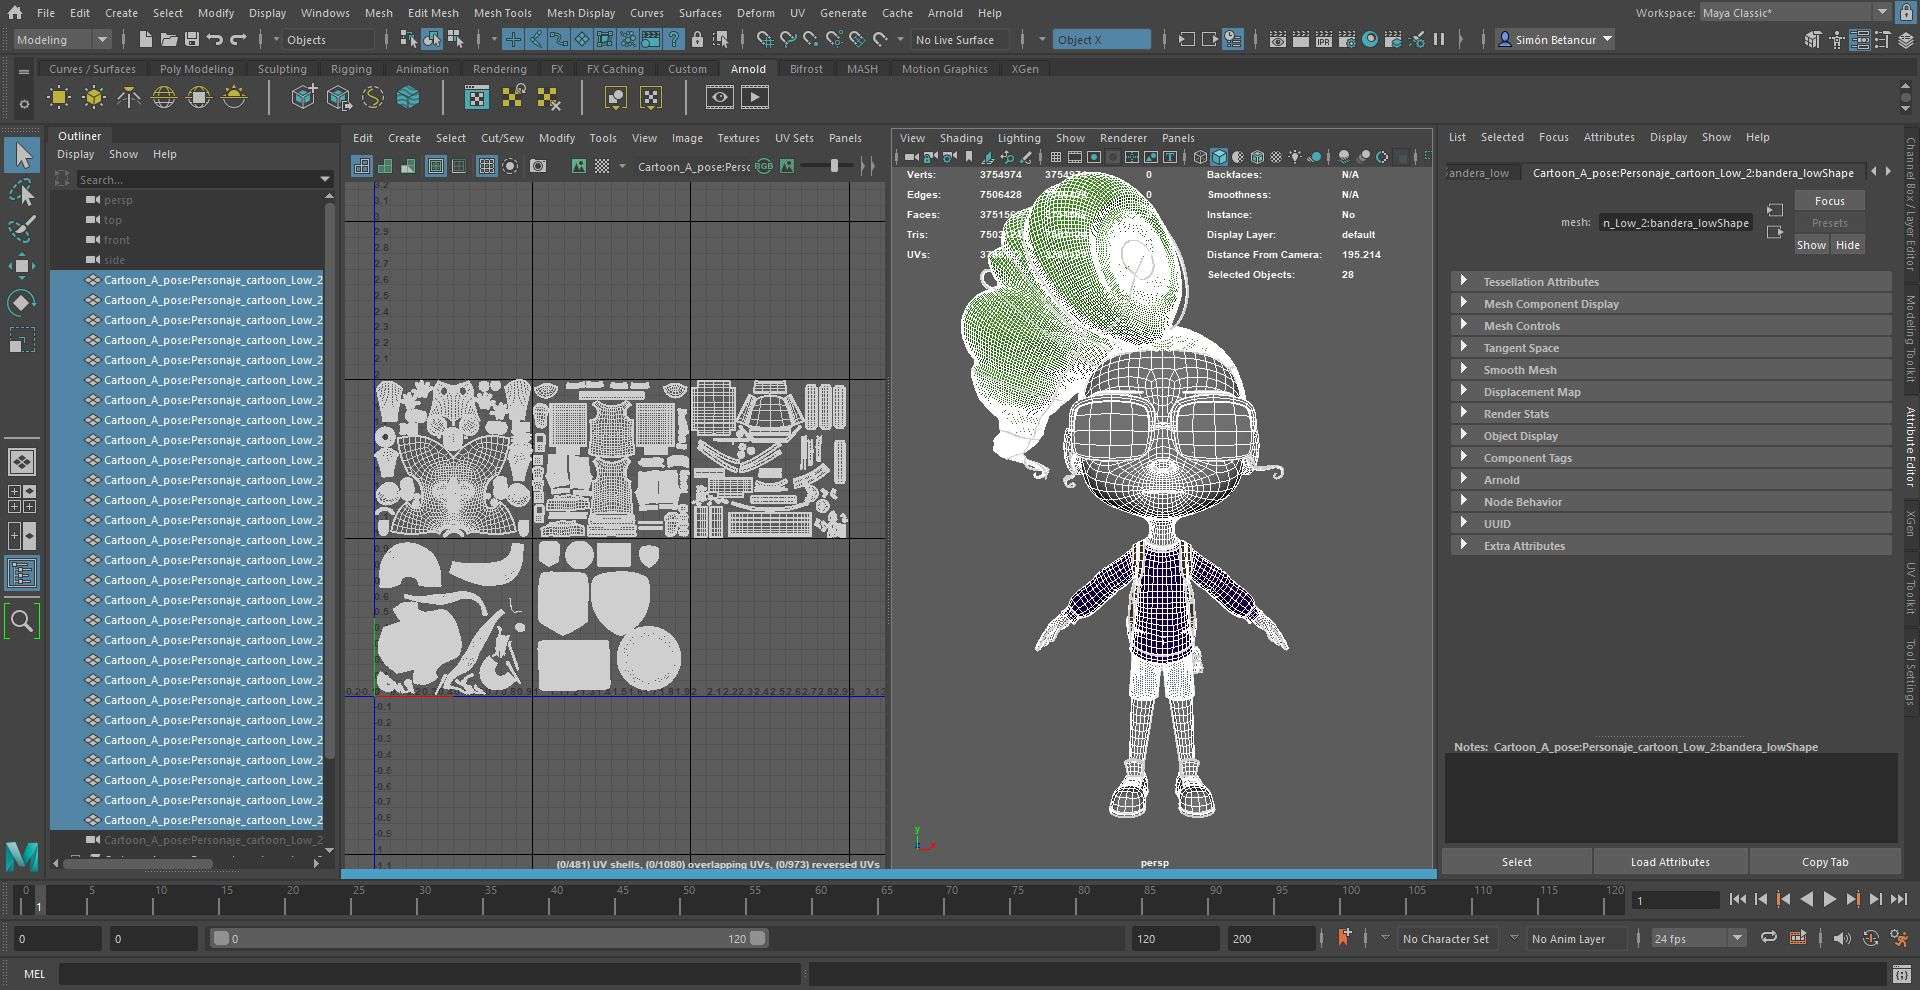
For this we go back to Maya where I work the UVs in UDIMs since it's a character thought for an animated movie.
UVs
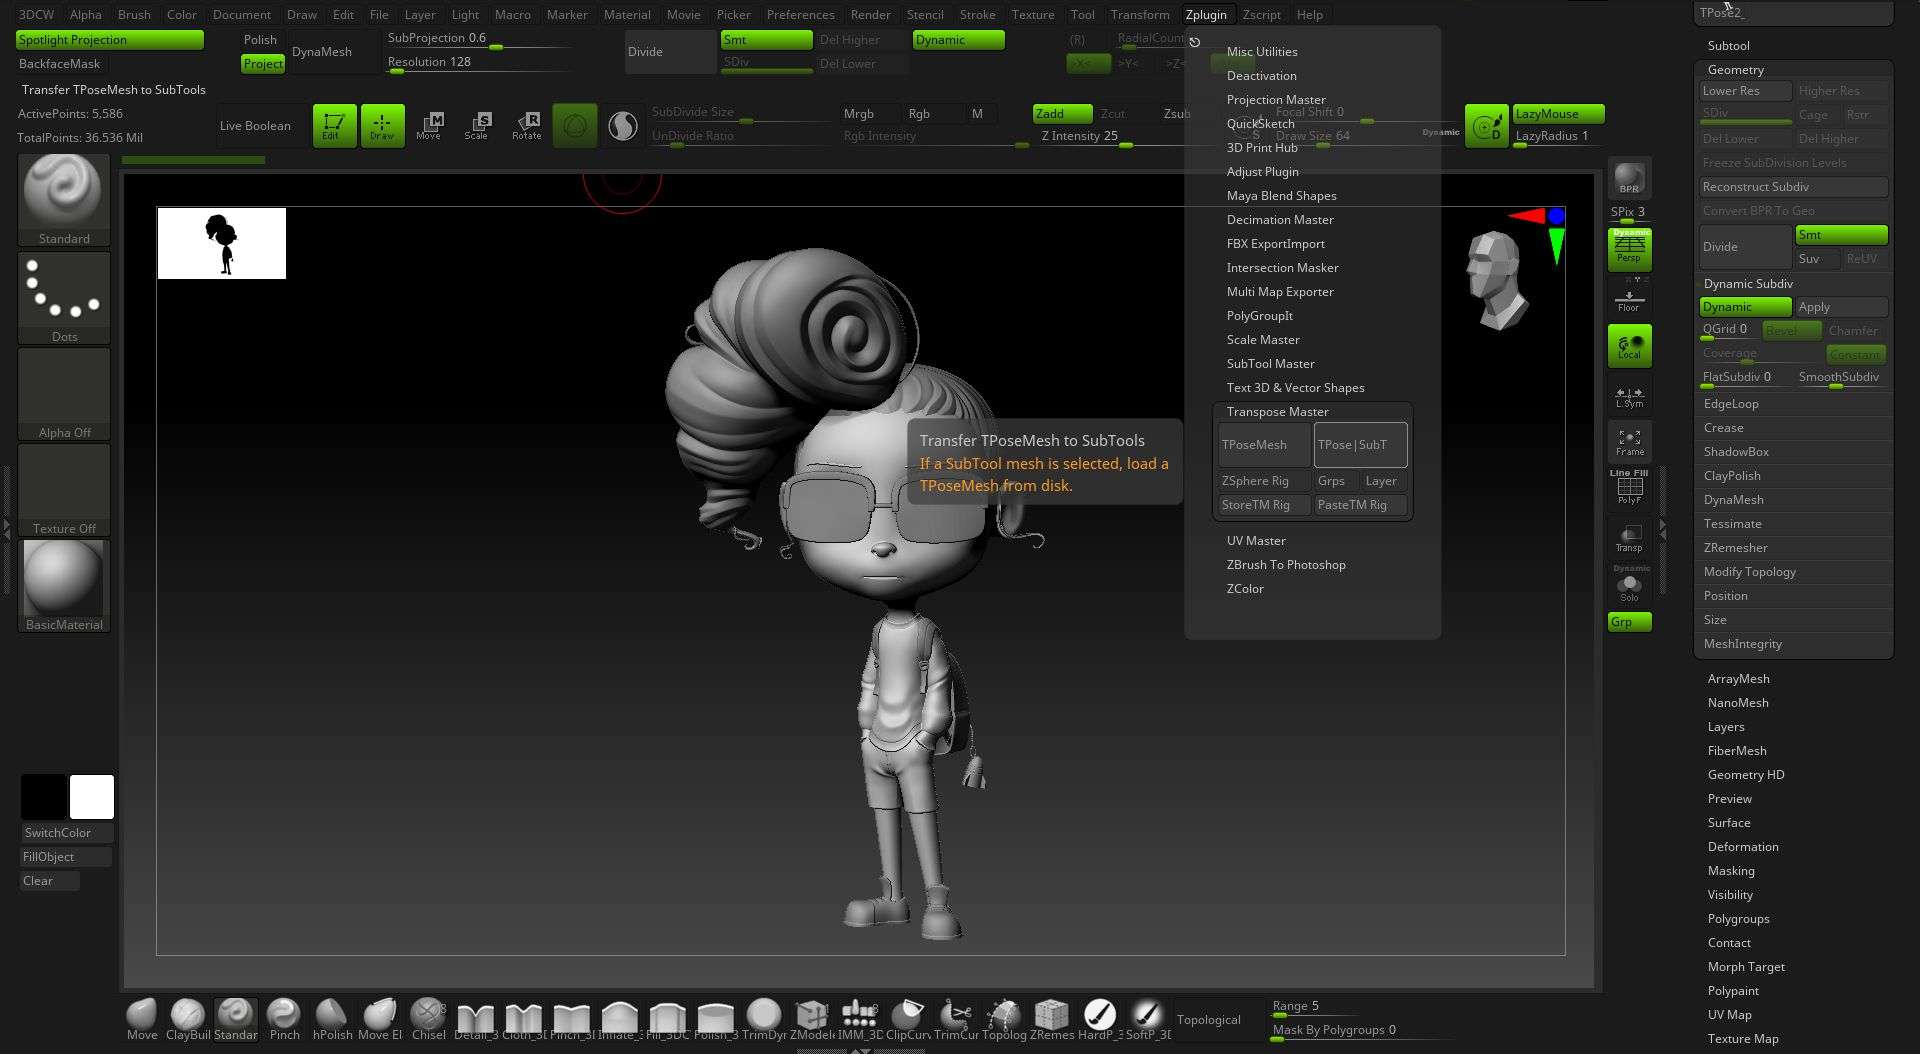
With the UVs done, we can go back to Zbrush to make the pose. Again, I look for references and look at myself in the mirror, trying to understand the dynamics of the body and how the weight of it falls.
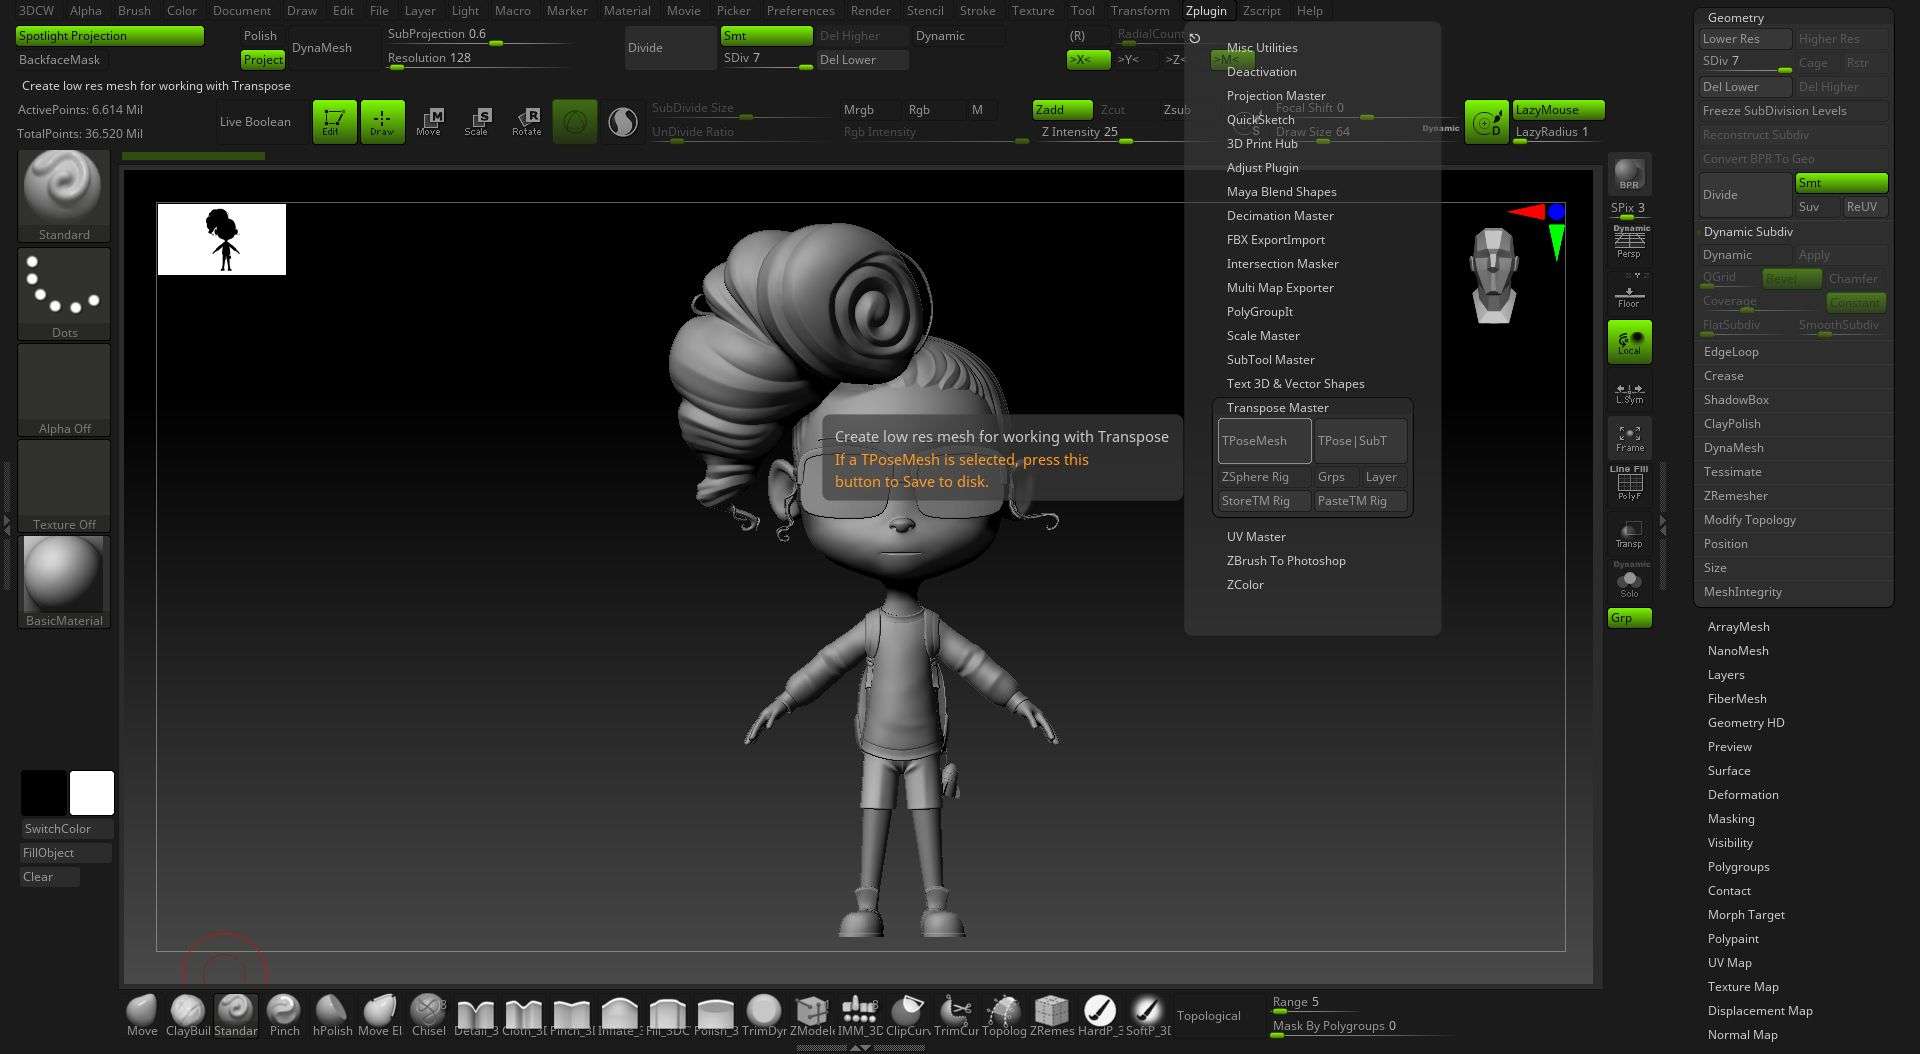
In Zbrush I use the Transpose master to work on my pose.
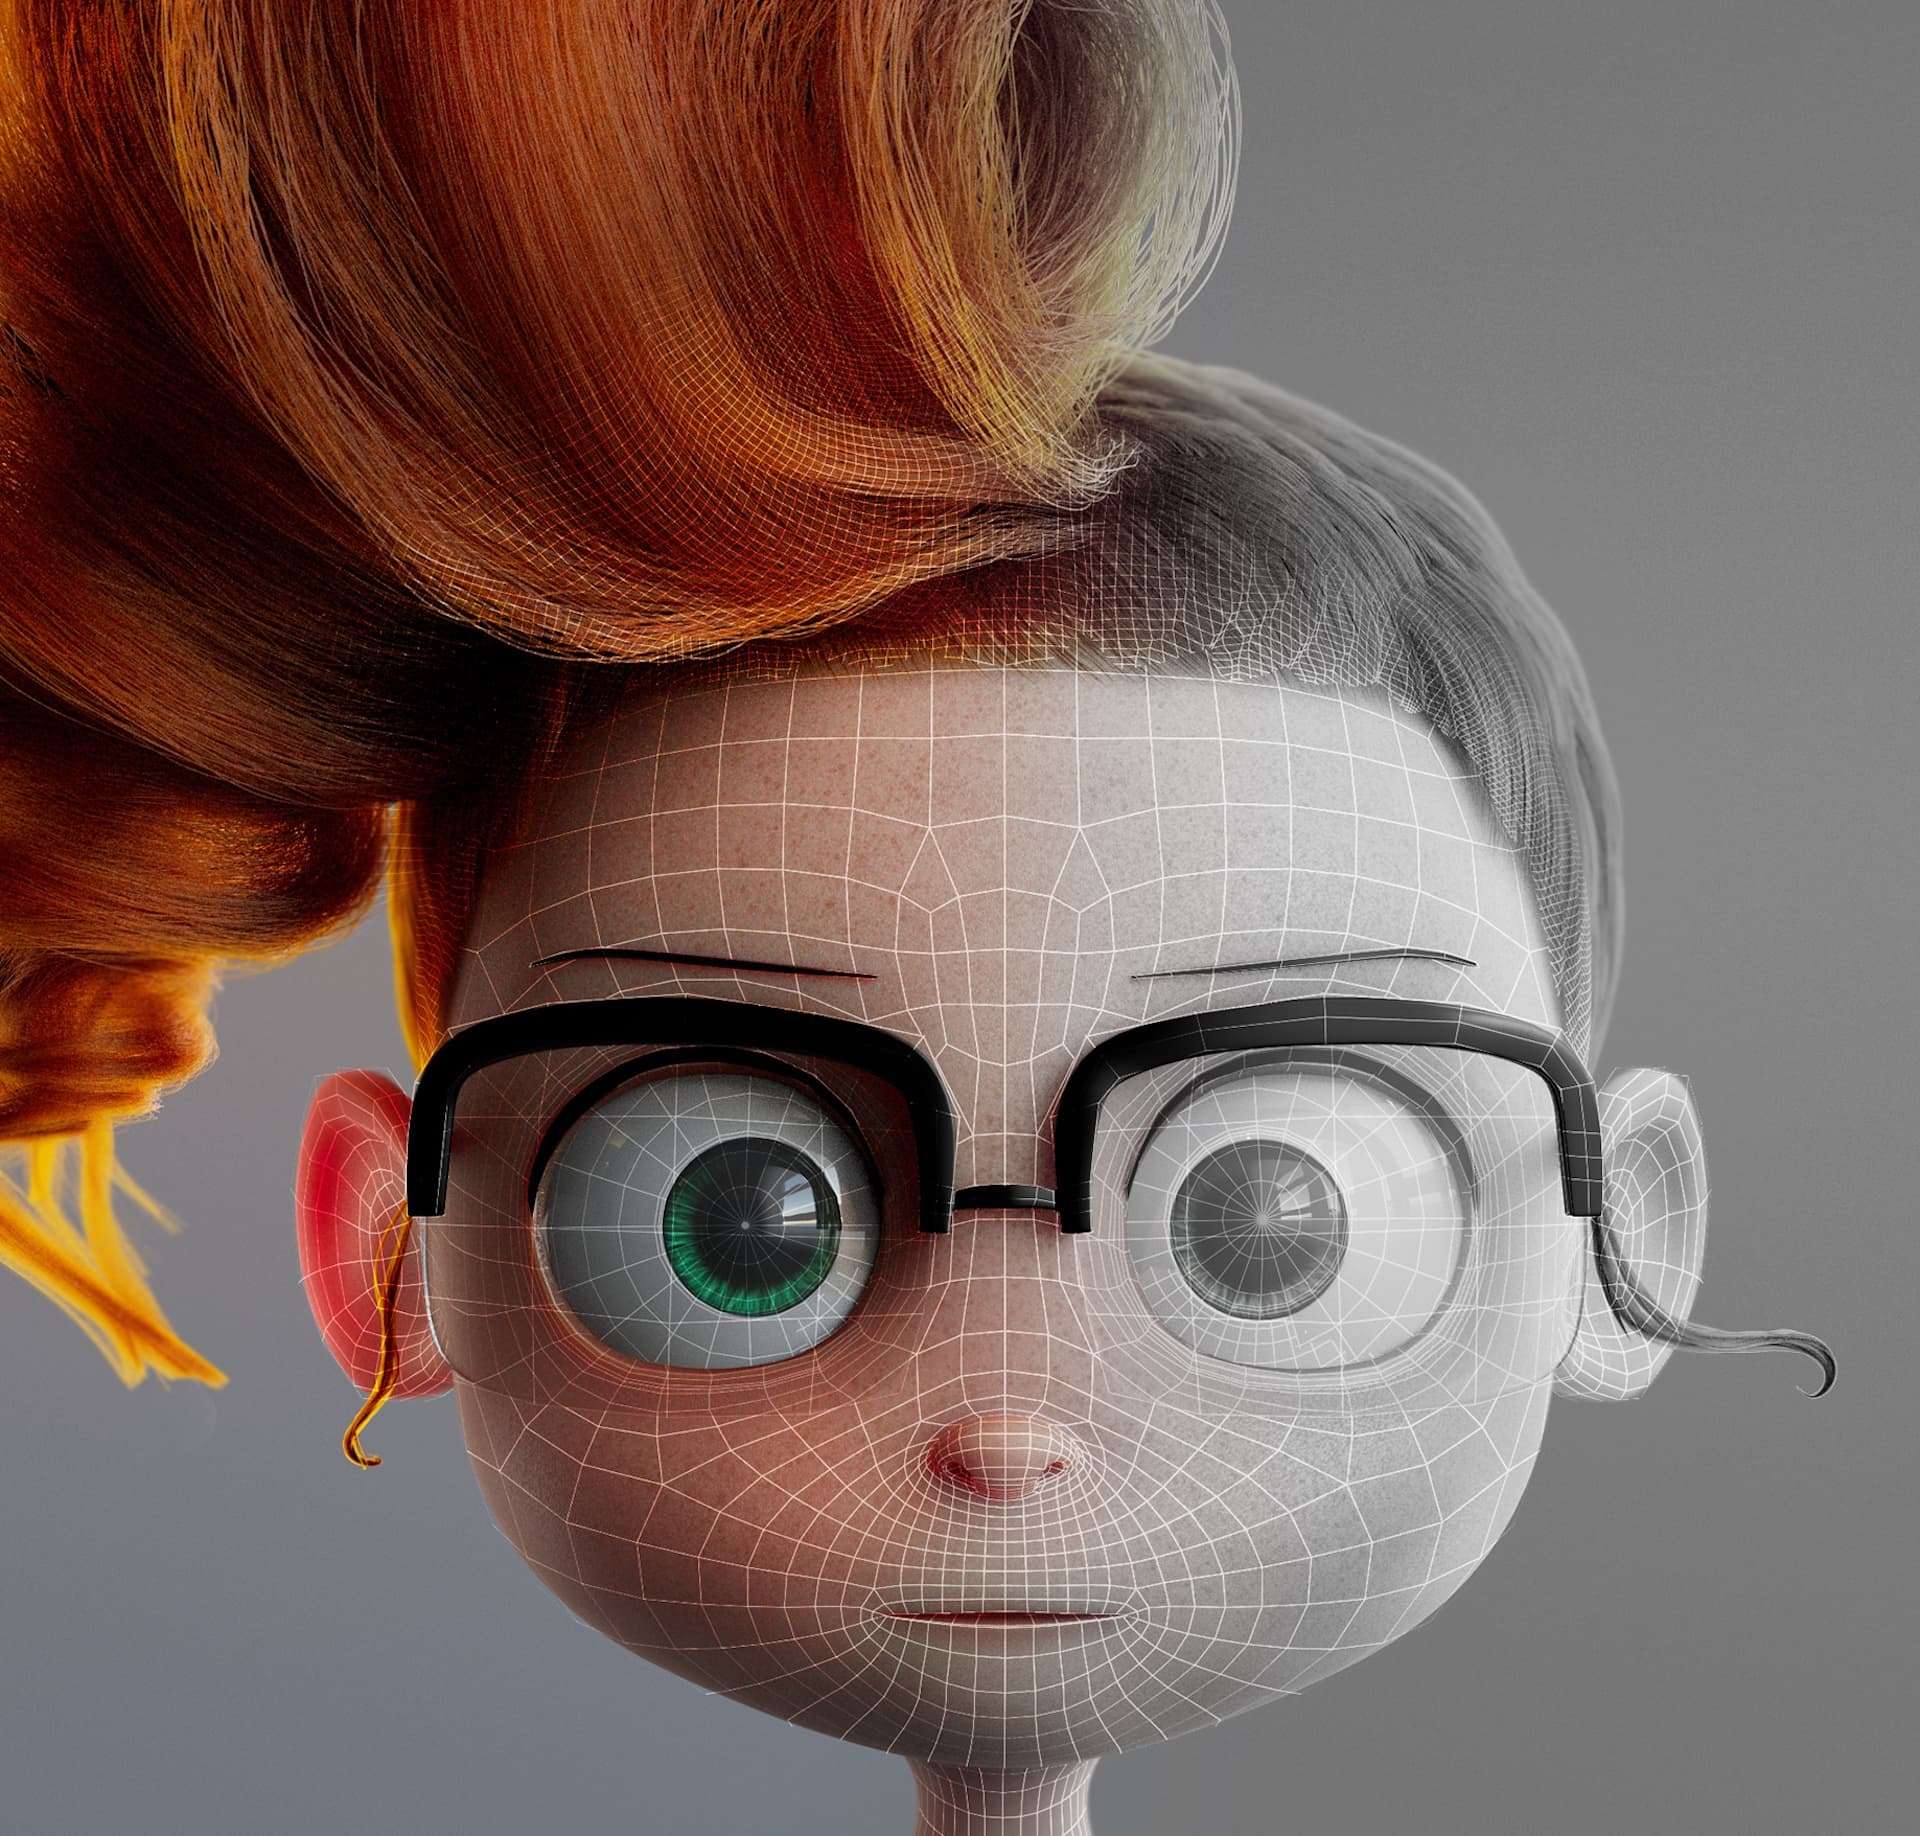
Zbrush transpose masterClean facial topology of the model
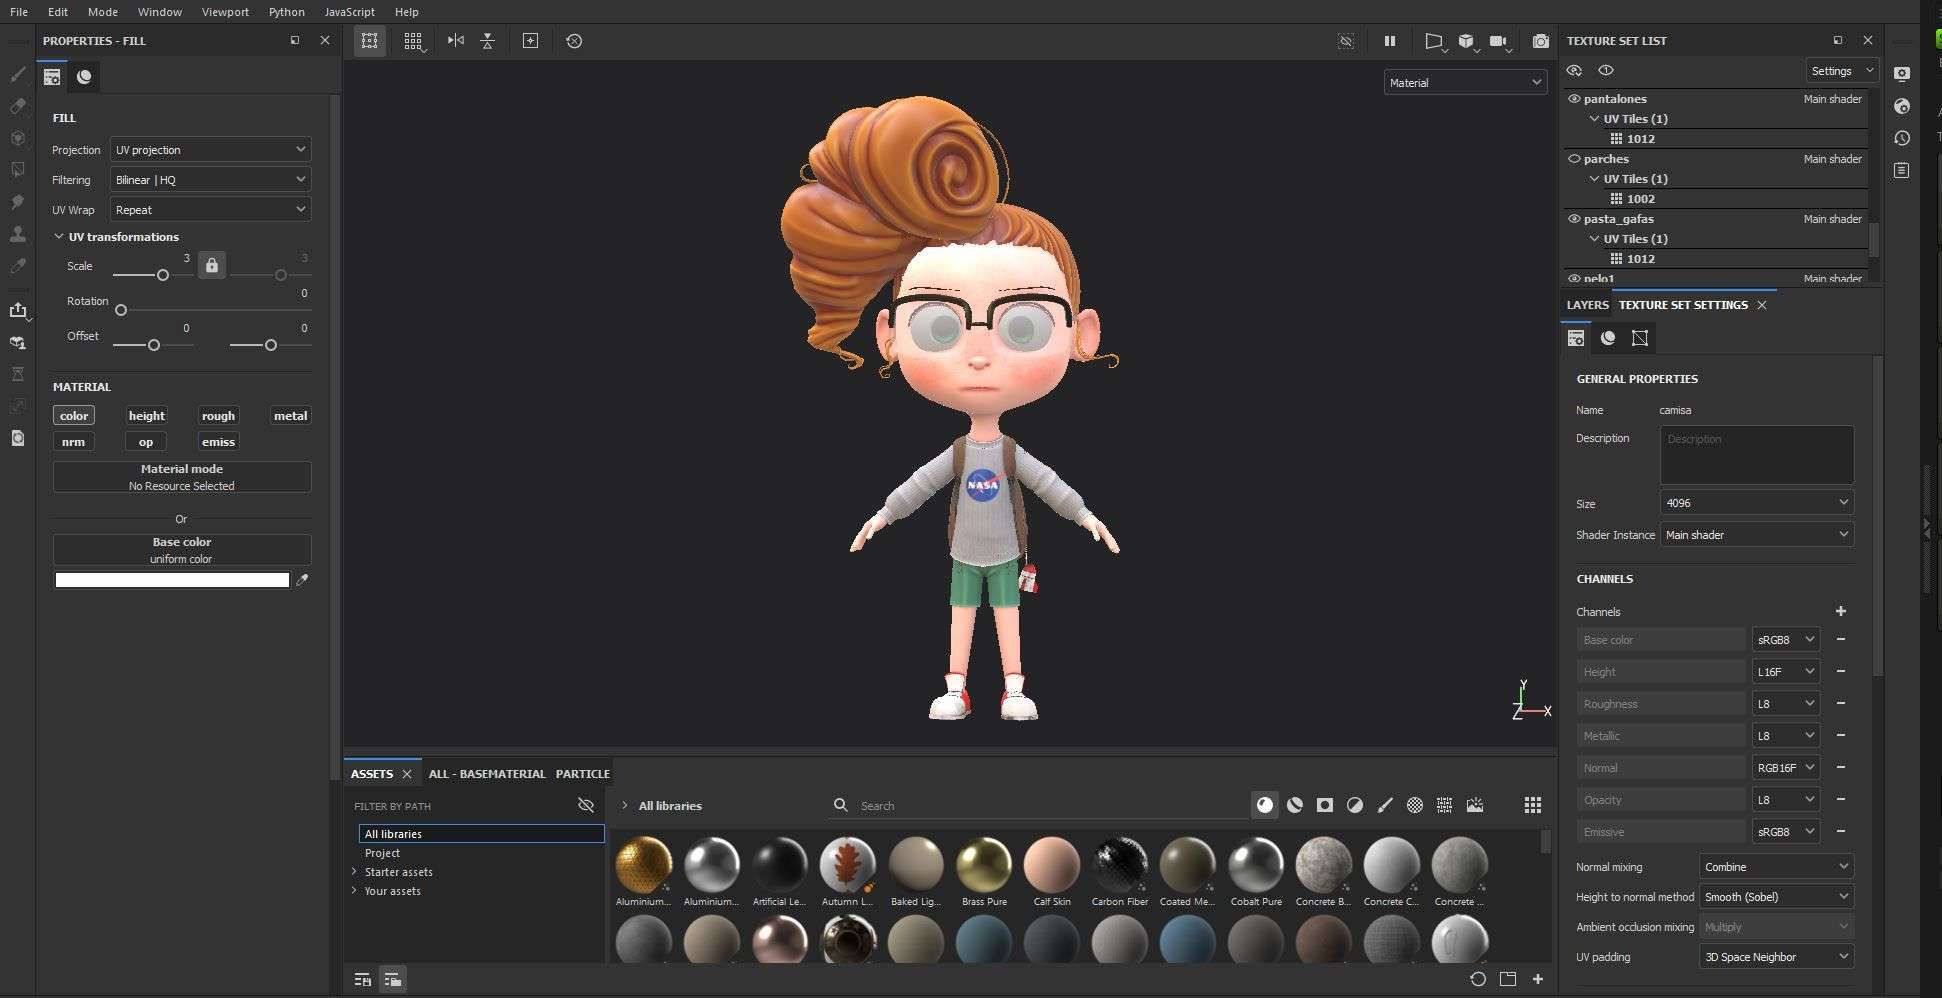
Then I took my model in pose A to Substance 3D from Maya in FBX format. Important before taking it!!. Apply turbosmooth, unlocknormlas and softeneges, to avoid surprises in Substance's 3D painter.
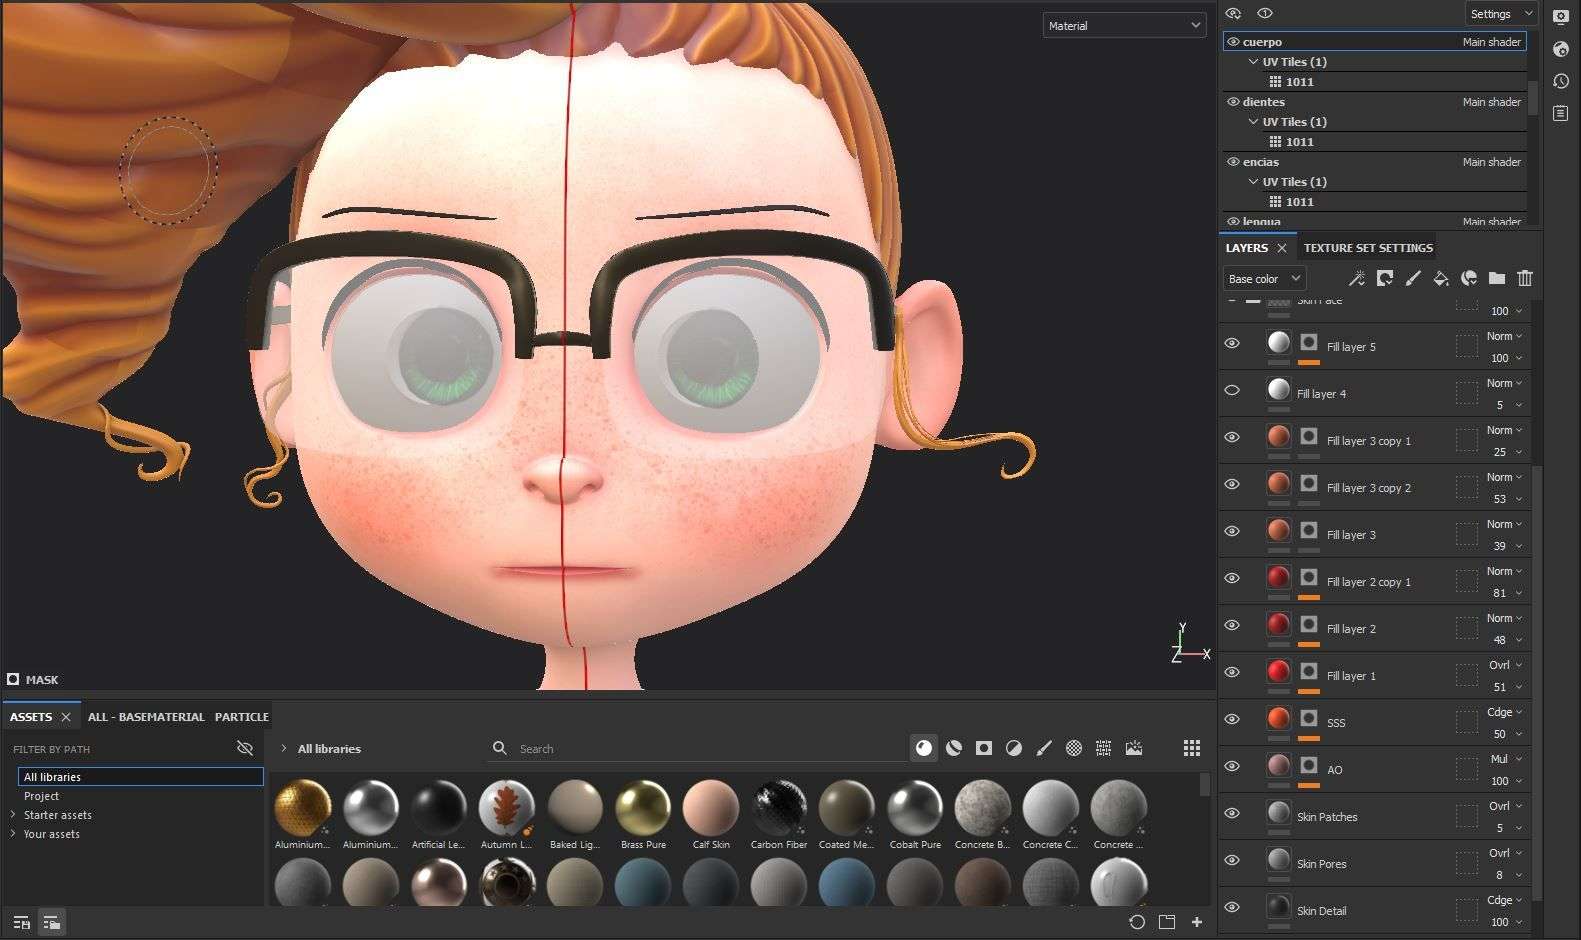
I applied a basic material of skin in Substance 3D, but I modified it trying to give those layers with the freckles and the redness of the skin.
A reminder: don't lost in the detail, because we must remember that it is cartoon.
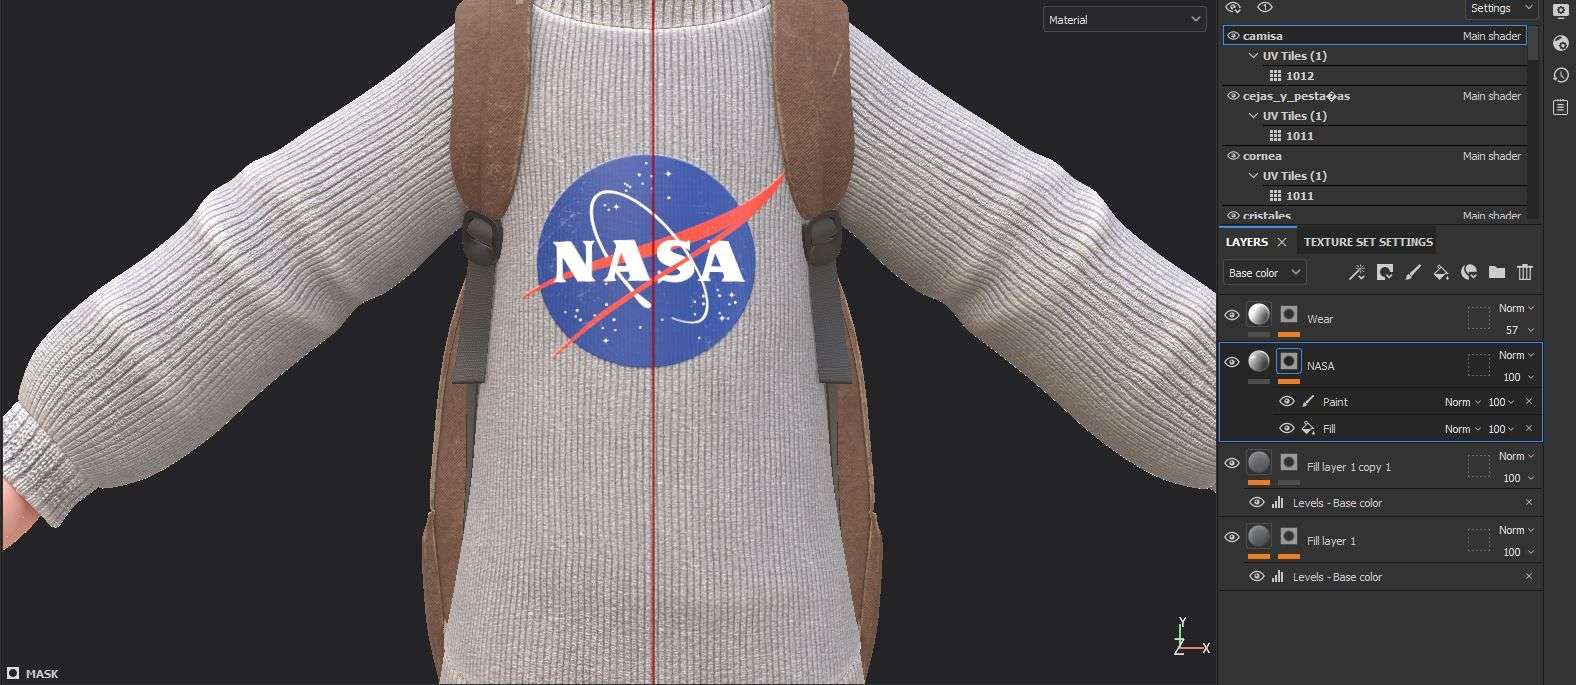
I applied a fabric texture I found on textures.com. For the NASA patch I found the logo and applied it with a fill layer looking to adjust the parameters to make it look like a silkscreen.
(for this you have to keep in mind that the UVs of the clothes must be positioned in the direction of the fabric pattern)
Nasa patch and T-shirt
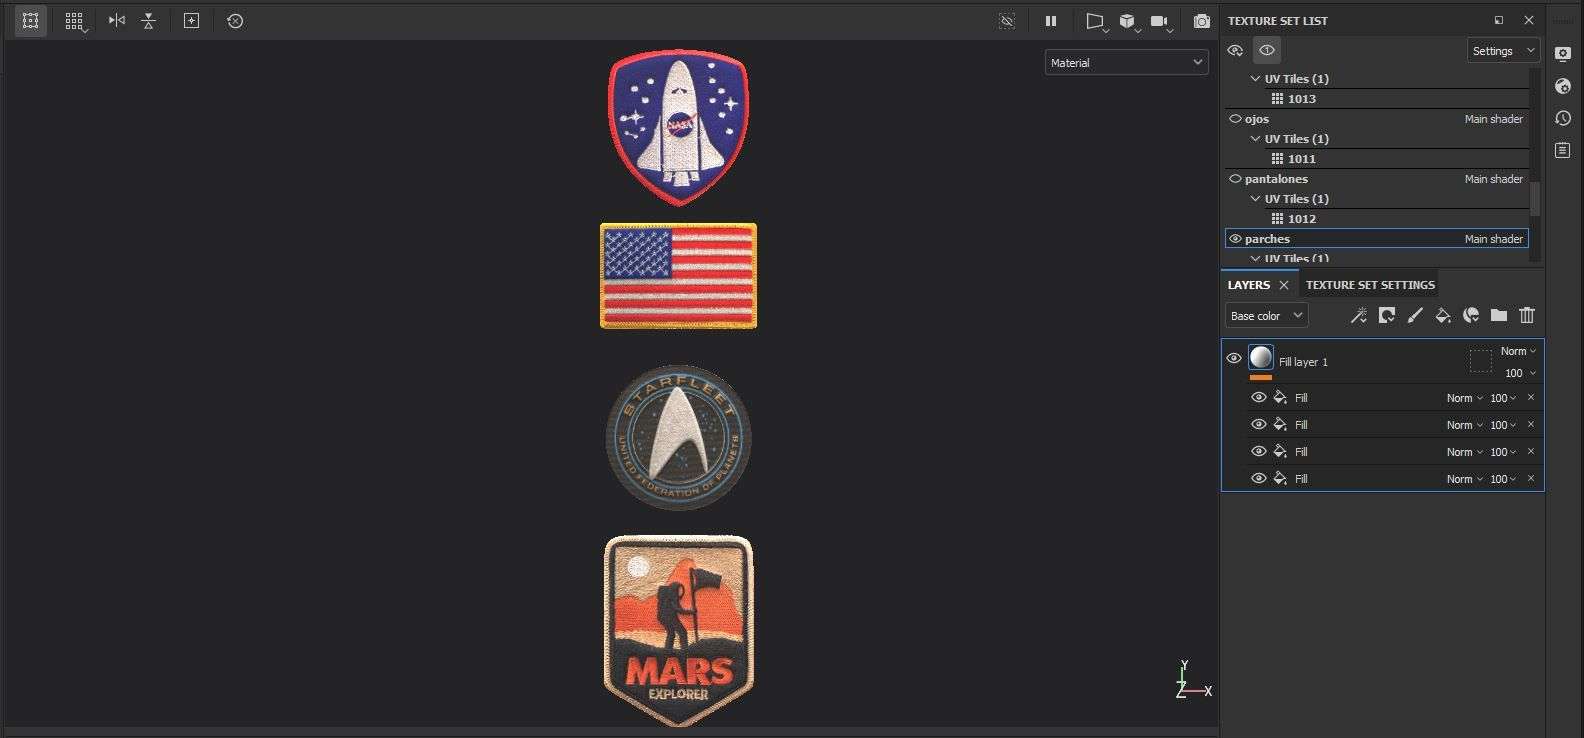
I also dedicated some time to details that are not seen in the original concept. But they went well with the personality of the character. These are the patches that goes on the backpack, which are models that I textured also in Substance 3D, applying textures that I found on internet.
Patches
I already have my textures, now I export them with the render engine in mind.
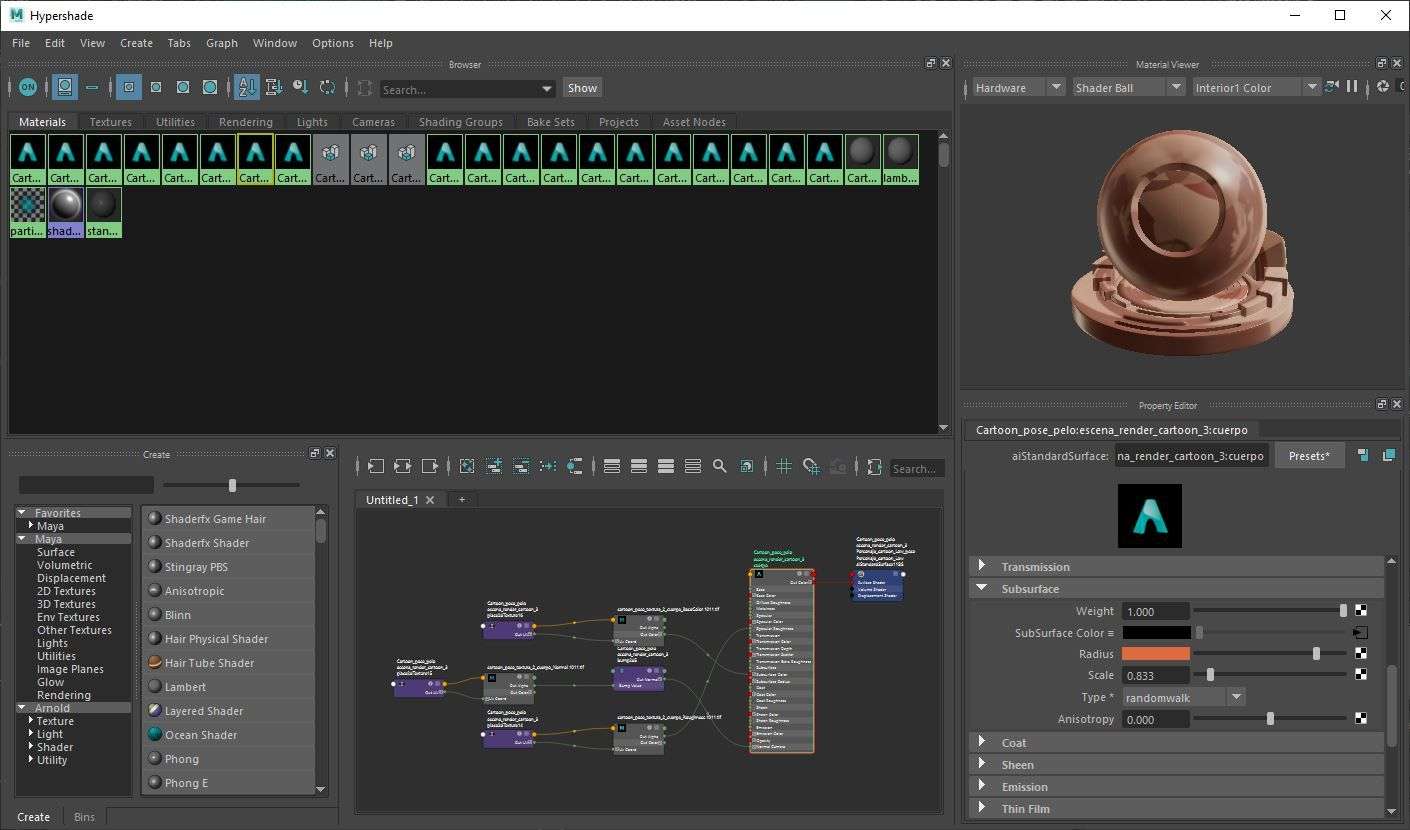
In Maya I open my posed character, and configure the materials (it is only to put the textures of Substance's, some may have to be retouched) The lights and textures will only work if the model is scaled to real size.
To create realistic skin, I applied the color texture to the subsurface color. I adjusted the scale to find the correct SSS effect (subsurfaces scattering).
Arnold materials
XGEN
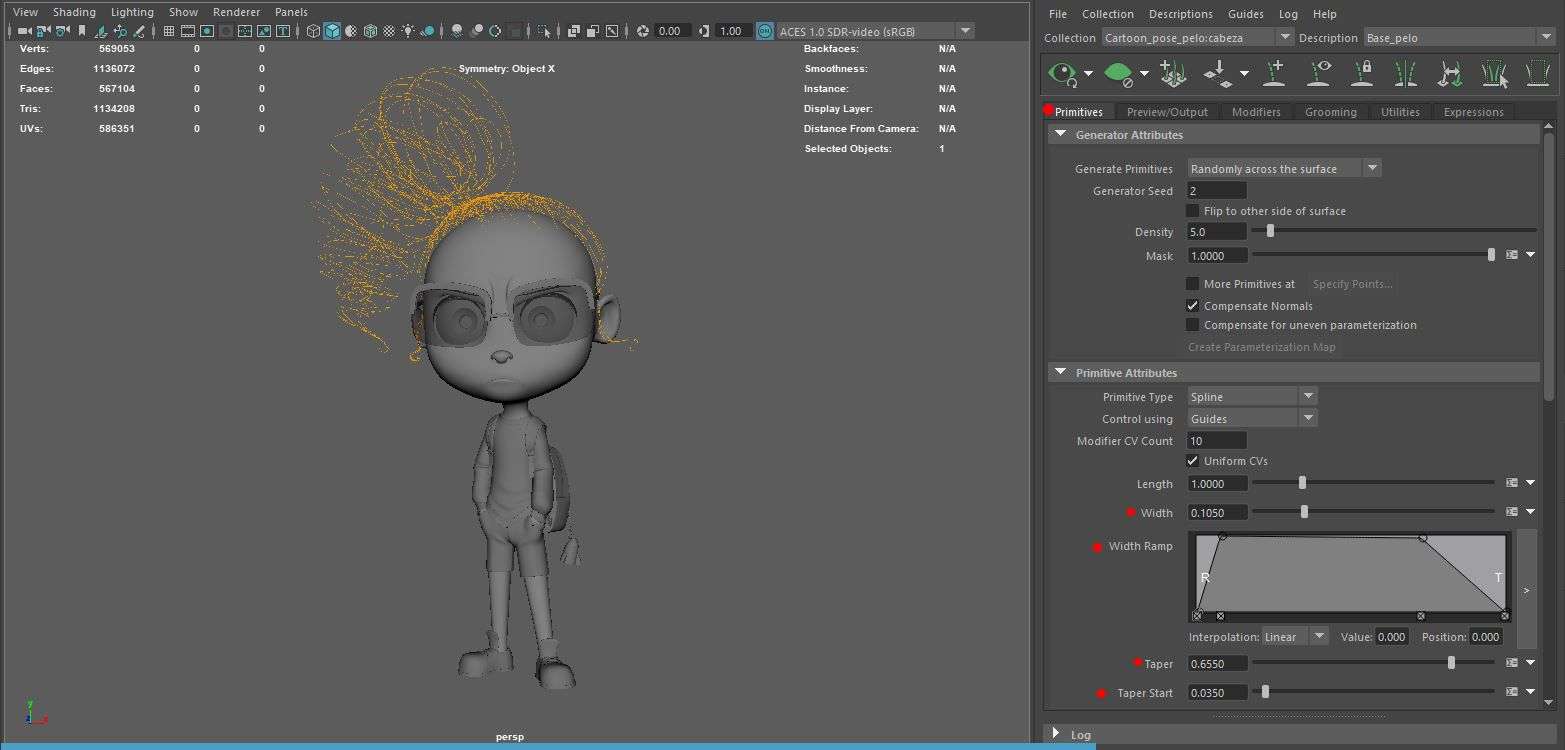
Materials are done!! Now it's time for the hair. To work with xgen I recommend watching tutorials since it is complex (and it is the first time that I make realistic hair). I create the scalp of the head, where I apply a description of xgen, then I begin to apply hair guides. Once I have these guidelines, I apply modifiers to give the hairstyle realism, volume and noise. I repeat this with the swirl and sideburns.
I use the hair that I previously modeled to have a reference of the hairstyle. In the attributes of the guides I apply its thickness and some parameters that give realism.
xgen hair guides
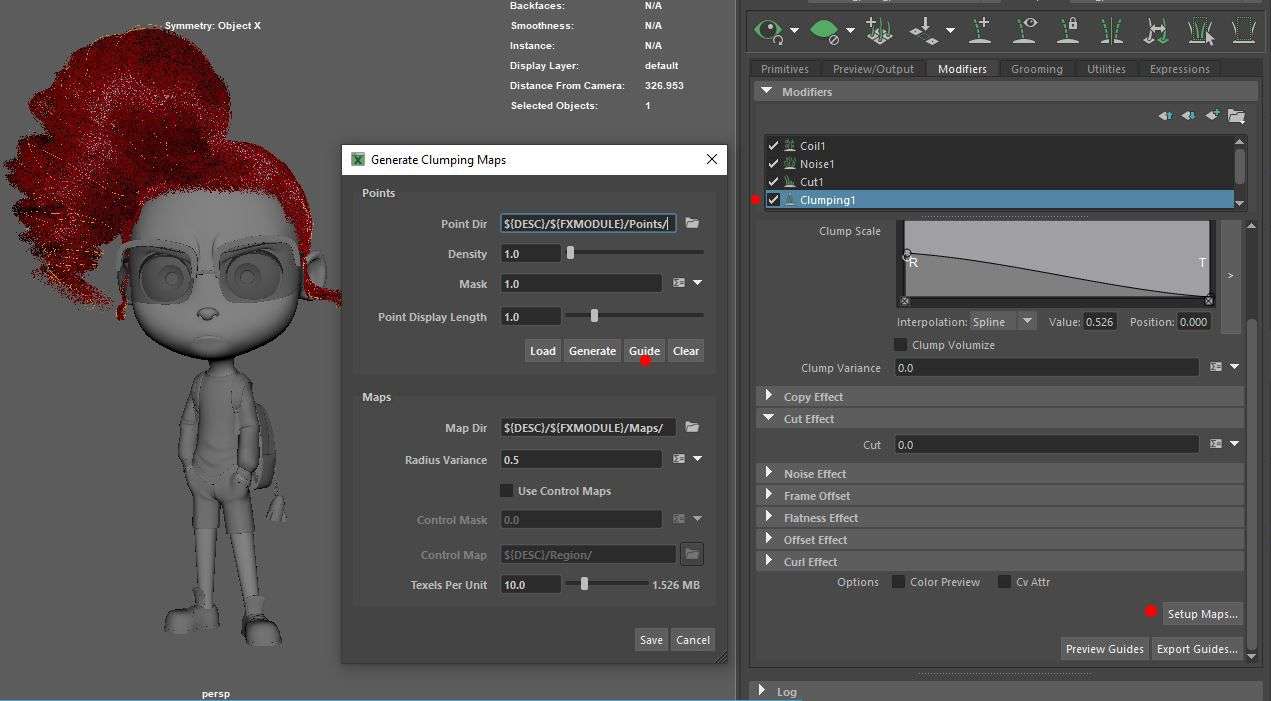
One of the most important modifiers is clumping. Clumping is the one thing that will create the strands of hair; you have to configure it so that it follows these guidelines.
Clumping setup
LIGHTING & RENDER
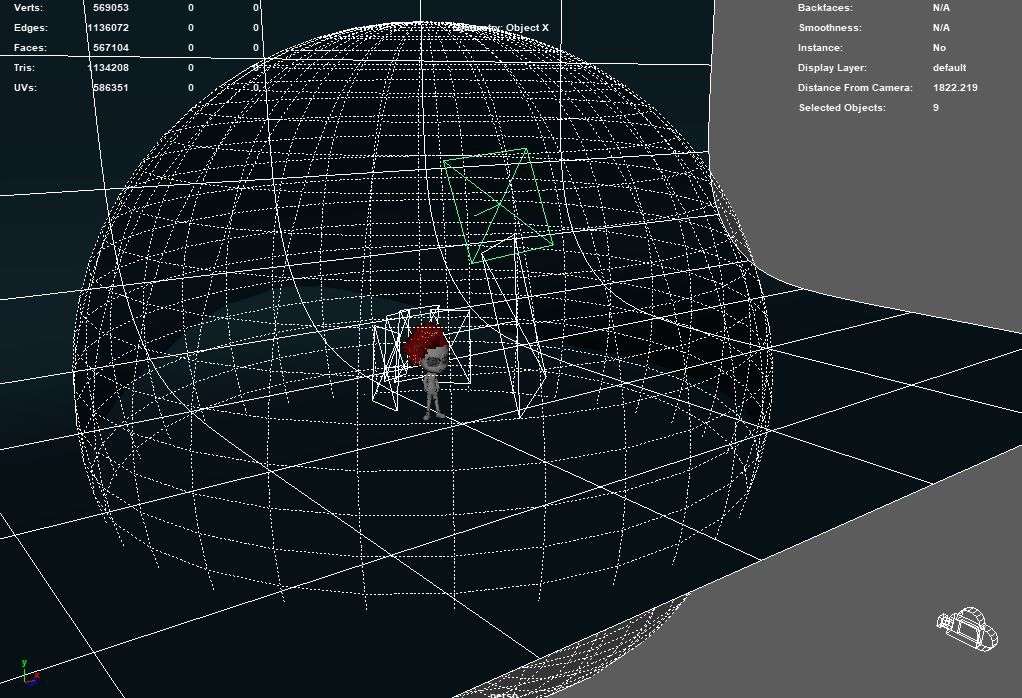
First I have created a stage to support my character. Then I have applied 6 area lights and an HDRI, 4 of these lights are the ones that seek to illuminate the silhouette of the character.
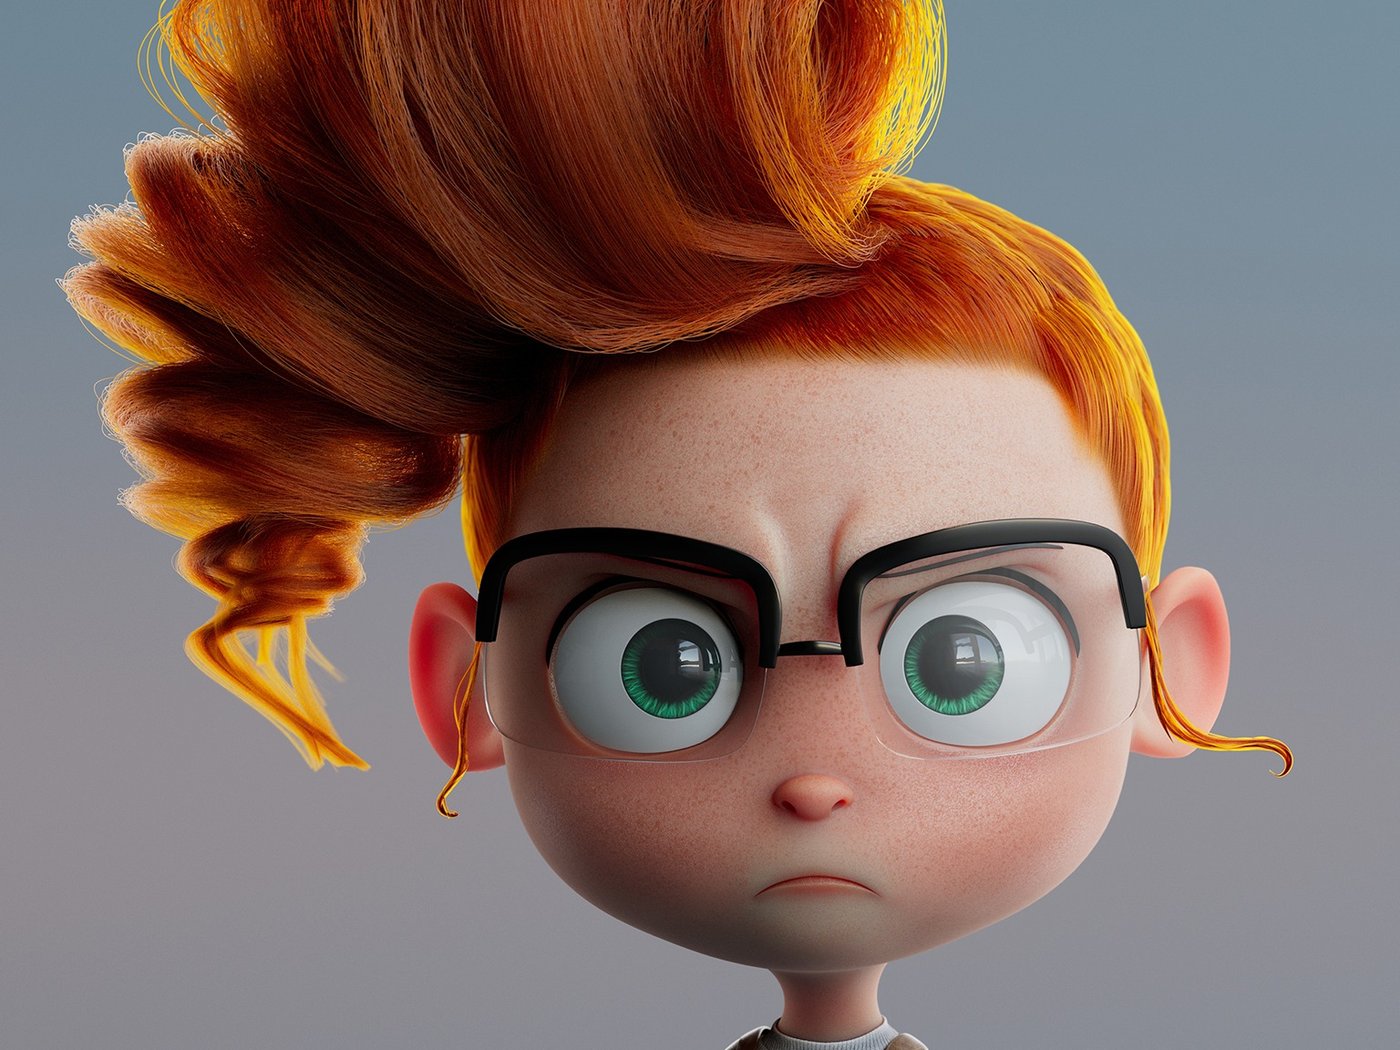
This helps the hair to see so well, because these let you see the empty spaces between the hair. The HDRI is a very good resource since it gives us more lights at different points, helping to better highlight the materials, specifically the bright ones. In my case, I positioned the window of the HDRI in my character's eye to bring this one to life. I found the HDRI on https://polyhaven.com/
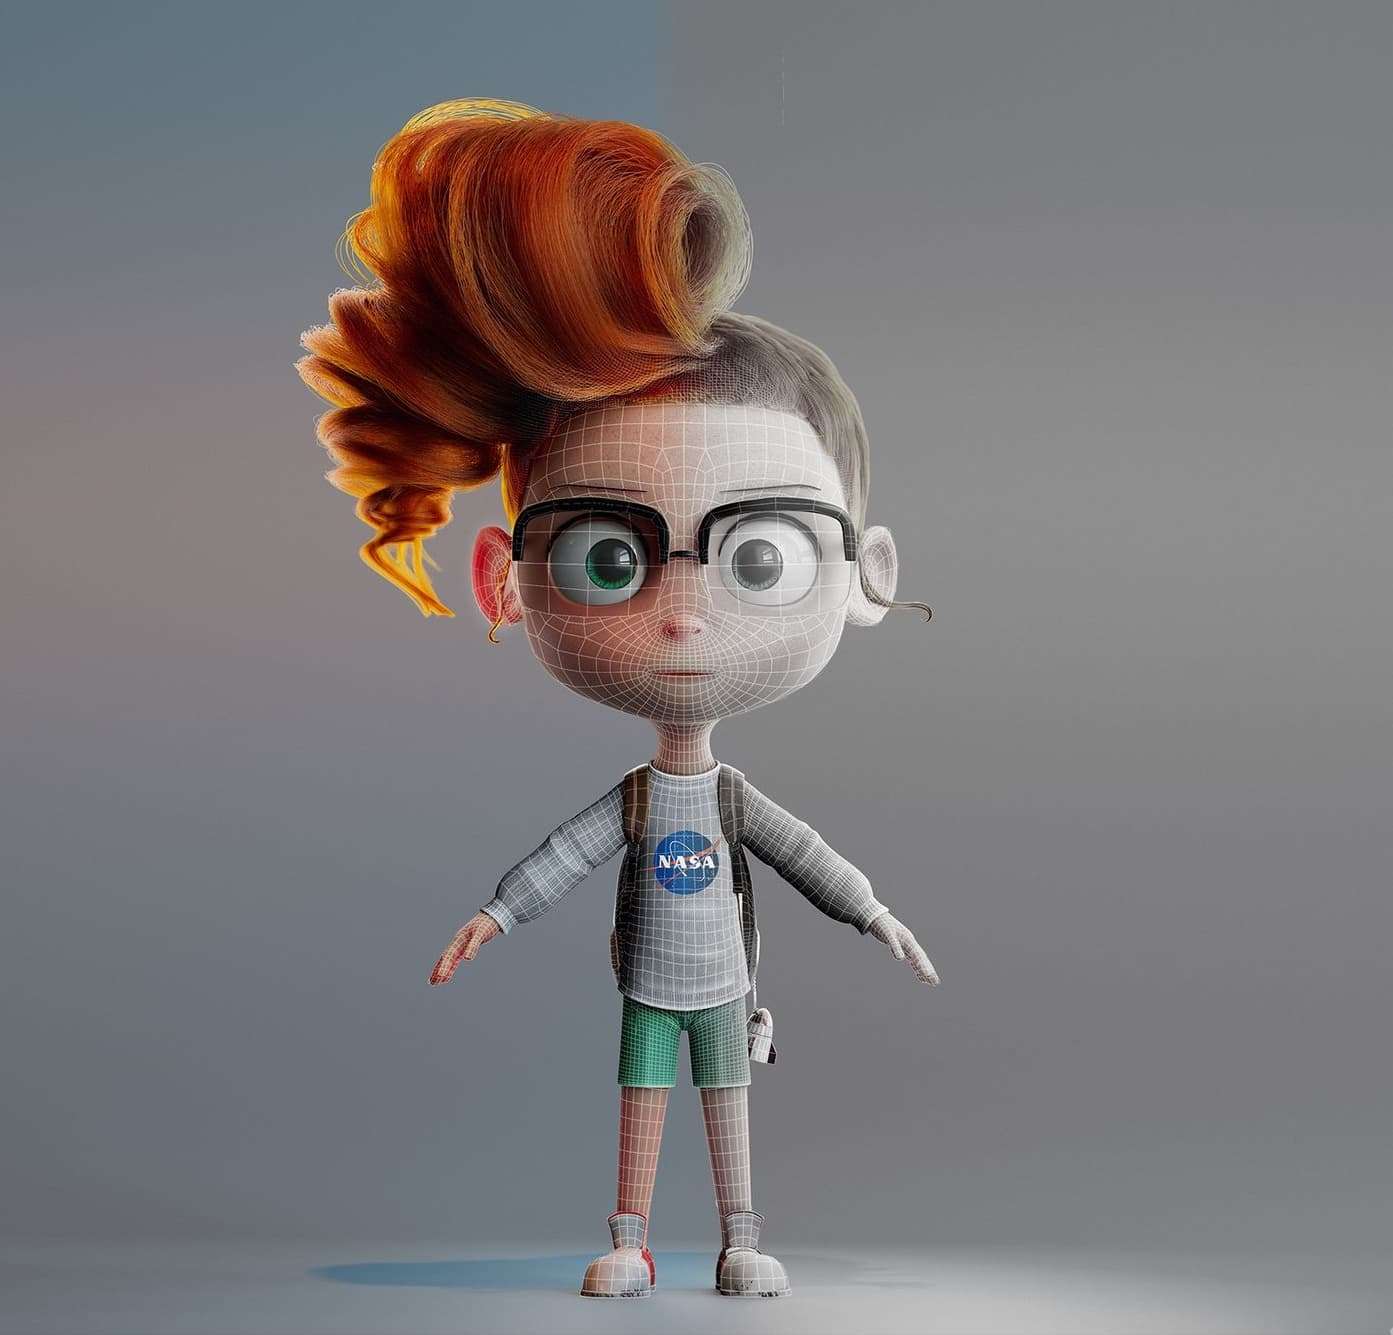
CONCLUSION & RESULTS
I can say that this result is thanks to being able to have an incredible concept with a lot of appeal, some tutors who give many tips for great results and a lot of work!!
I realize that there is no single way to make a character or the parameters that I have applied. There are always different ways to do it.
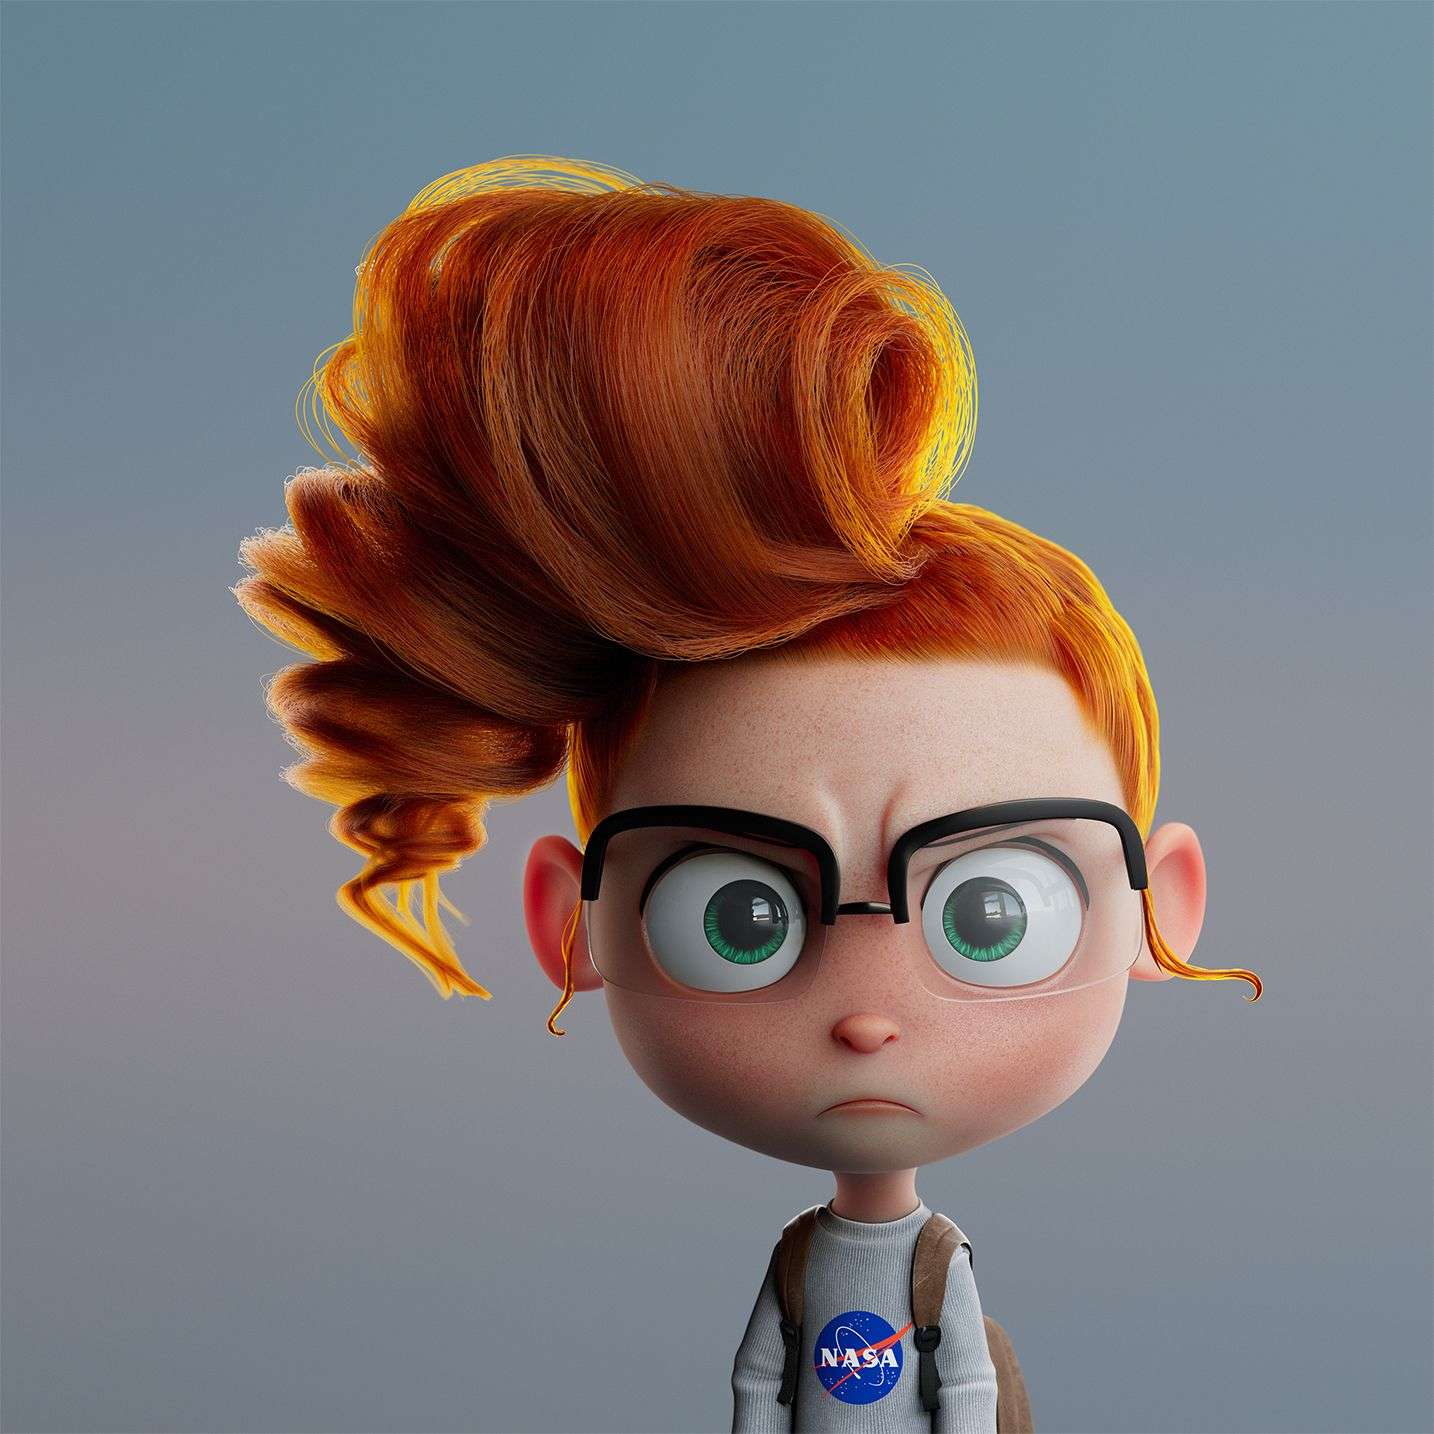
Final render/ Simon Betancur Baghino Red Hair Girl