Stylised Realism in Your Character Design and How to Achieve it
Character Artist and SCAD Alumna, Youran Lyu, shows you how bring your own 3D characters to life, using both a stylised and realistic approach.
Character Artist and SCAD Alumna, Youran Lyu, shows you how bring your own 3D characters to life, using both a stylised and realistic approach.
Youran Lyu, is a Character Artist at Framestore, based in New York City. A SCAD alumna, Youran has been obsessed with the fantasy world since she was a kid, driving her to become a CG Character Artist.
If you are looking to bring your own characters to life, read more about how she has designed her characters with both a stylised and realistic approach.
Gathering adequate references is a good warm-up before starting modeling. It benefits me to make the character image in my mind more and more clear.
This is how I usually look for reference materials:
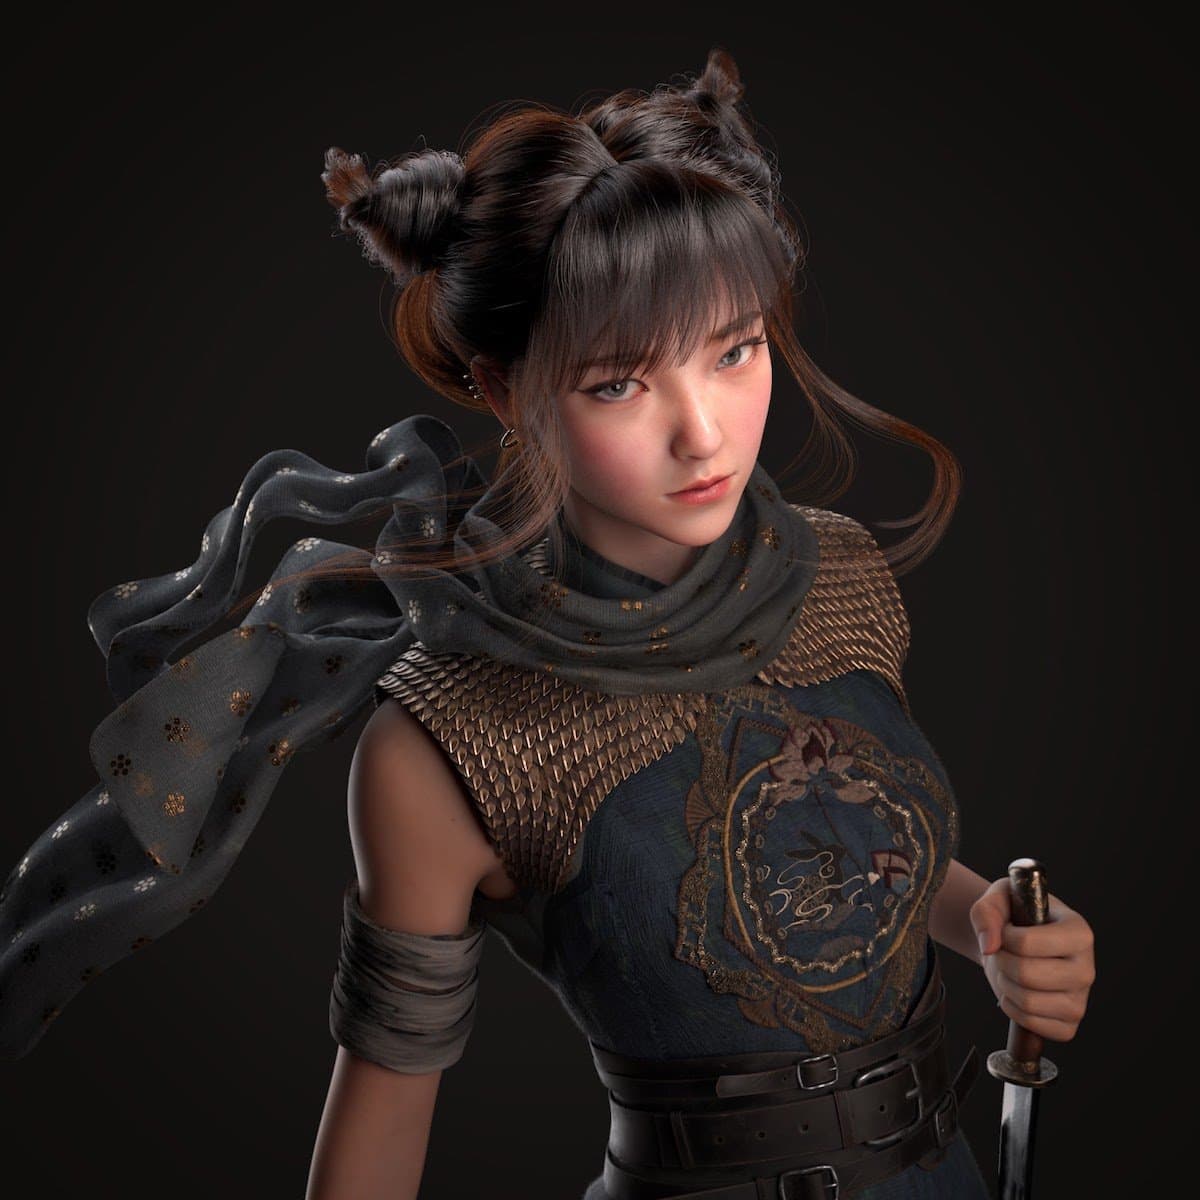
Of course, the references of the character's facial features is crucial. I personally tend to start with a portrait photo instead of a 2D concept. Because the photo allows me to depict more specifically design in my mind. Such as the shape of cheekbones or the textures of skin.
The picture below is an example to show one of my reference panels.

I recommend PureRef, a free program, helping gather everything together.
The design of the clothing is inspired by couturier Guopei’s East Palace : Spring Summer 2019, and by the cave ceiling art in Dunhuang.
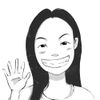
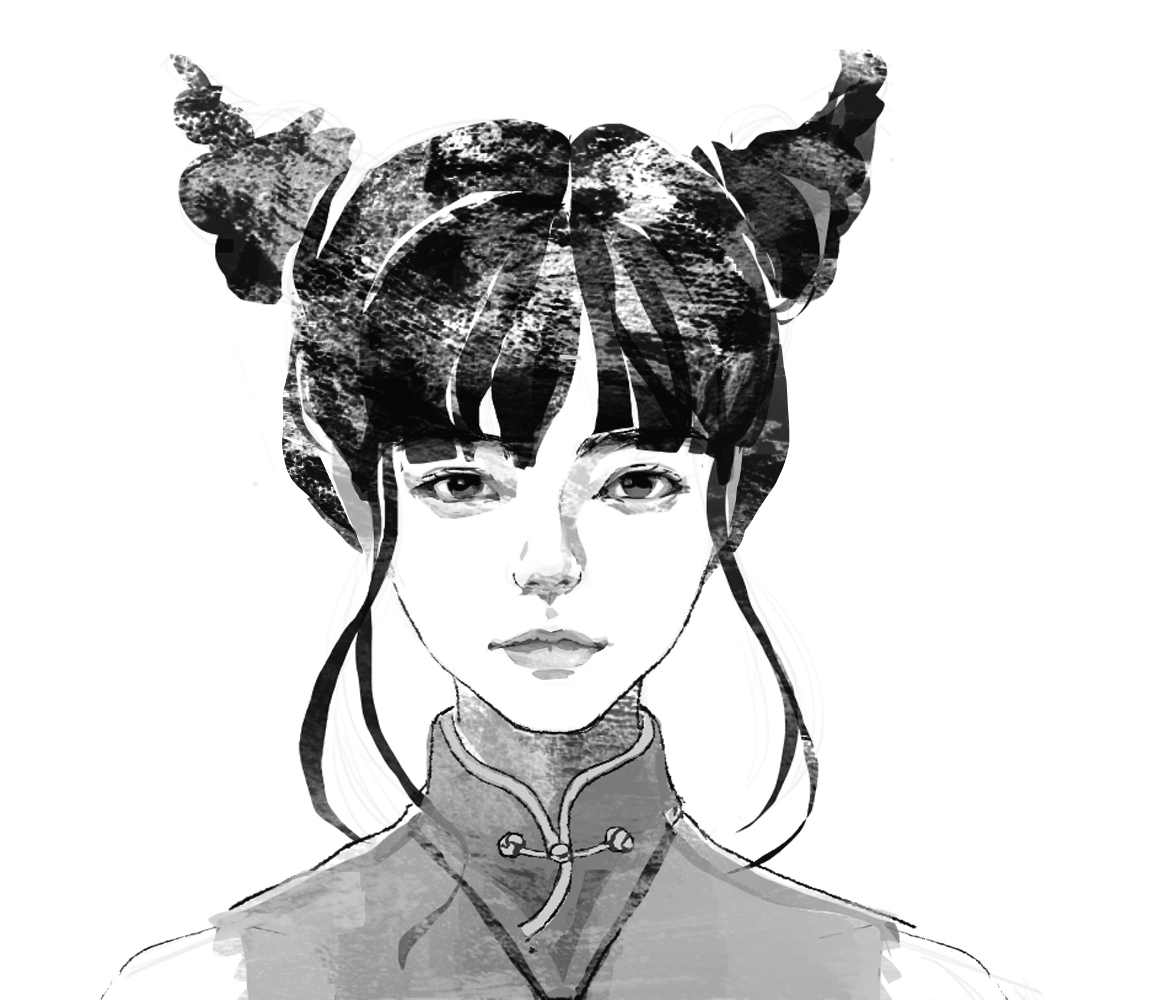
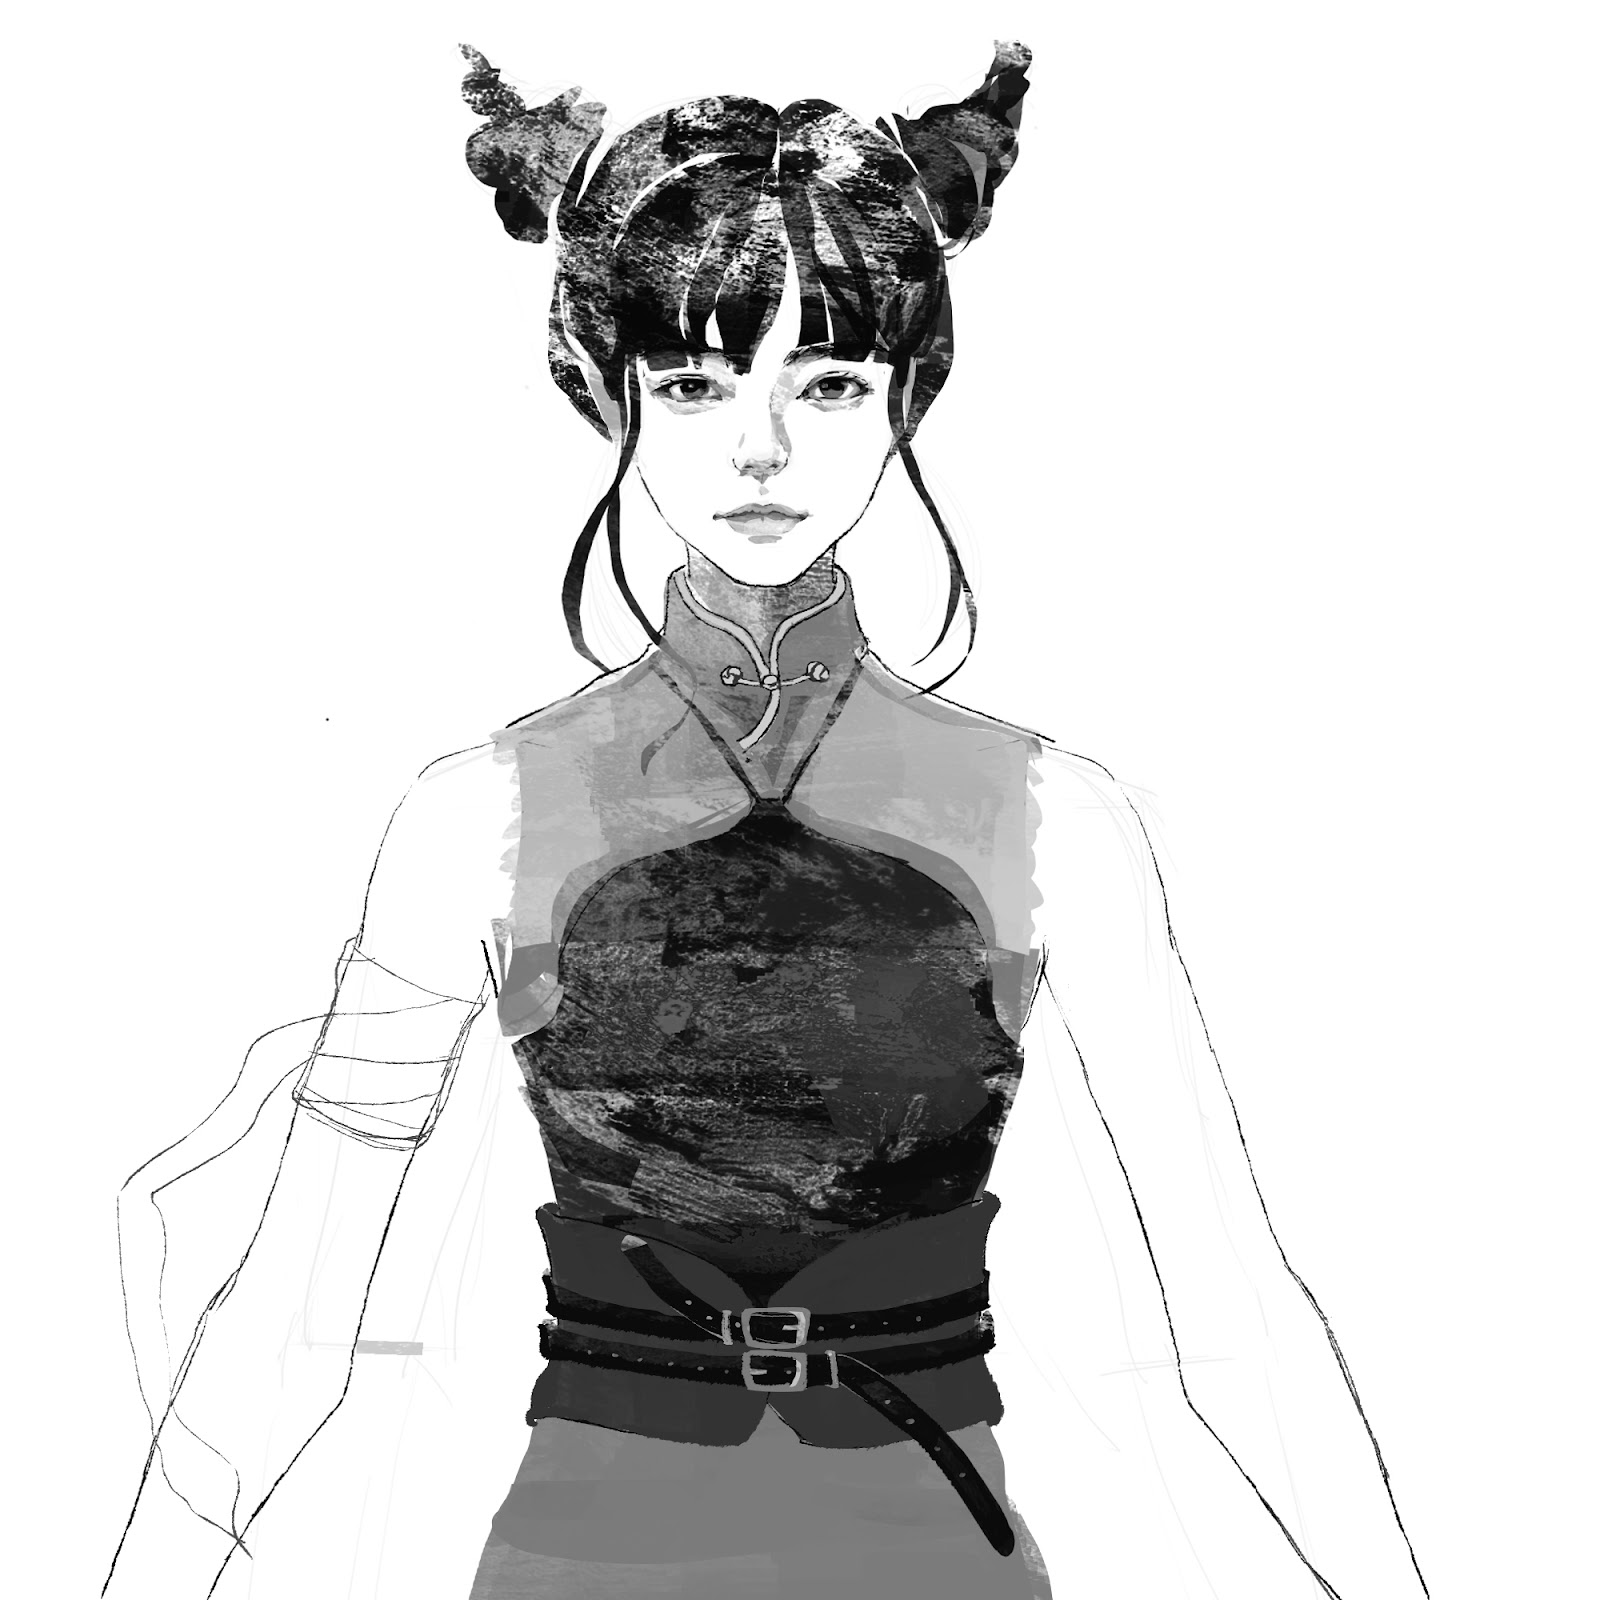
When I feel that the found reference materials can basically correspond to the character image in my mind, I project the image by drawing it out. This is for confirming and verifying my design. My past experience told me that if I design roughly in the early stages, I will have to pay for it by wasting more time to modify (even remodel) later. And this extra process makes me feel frustrated.
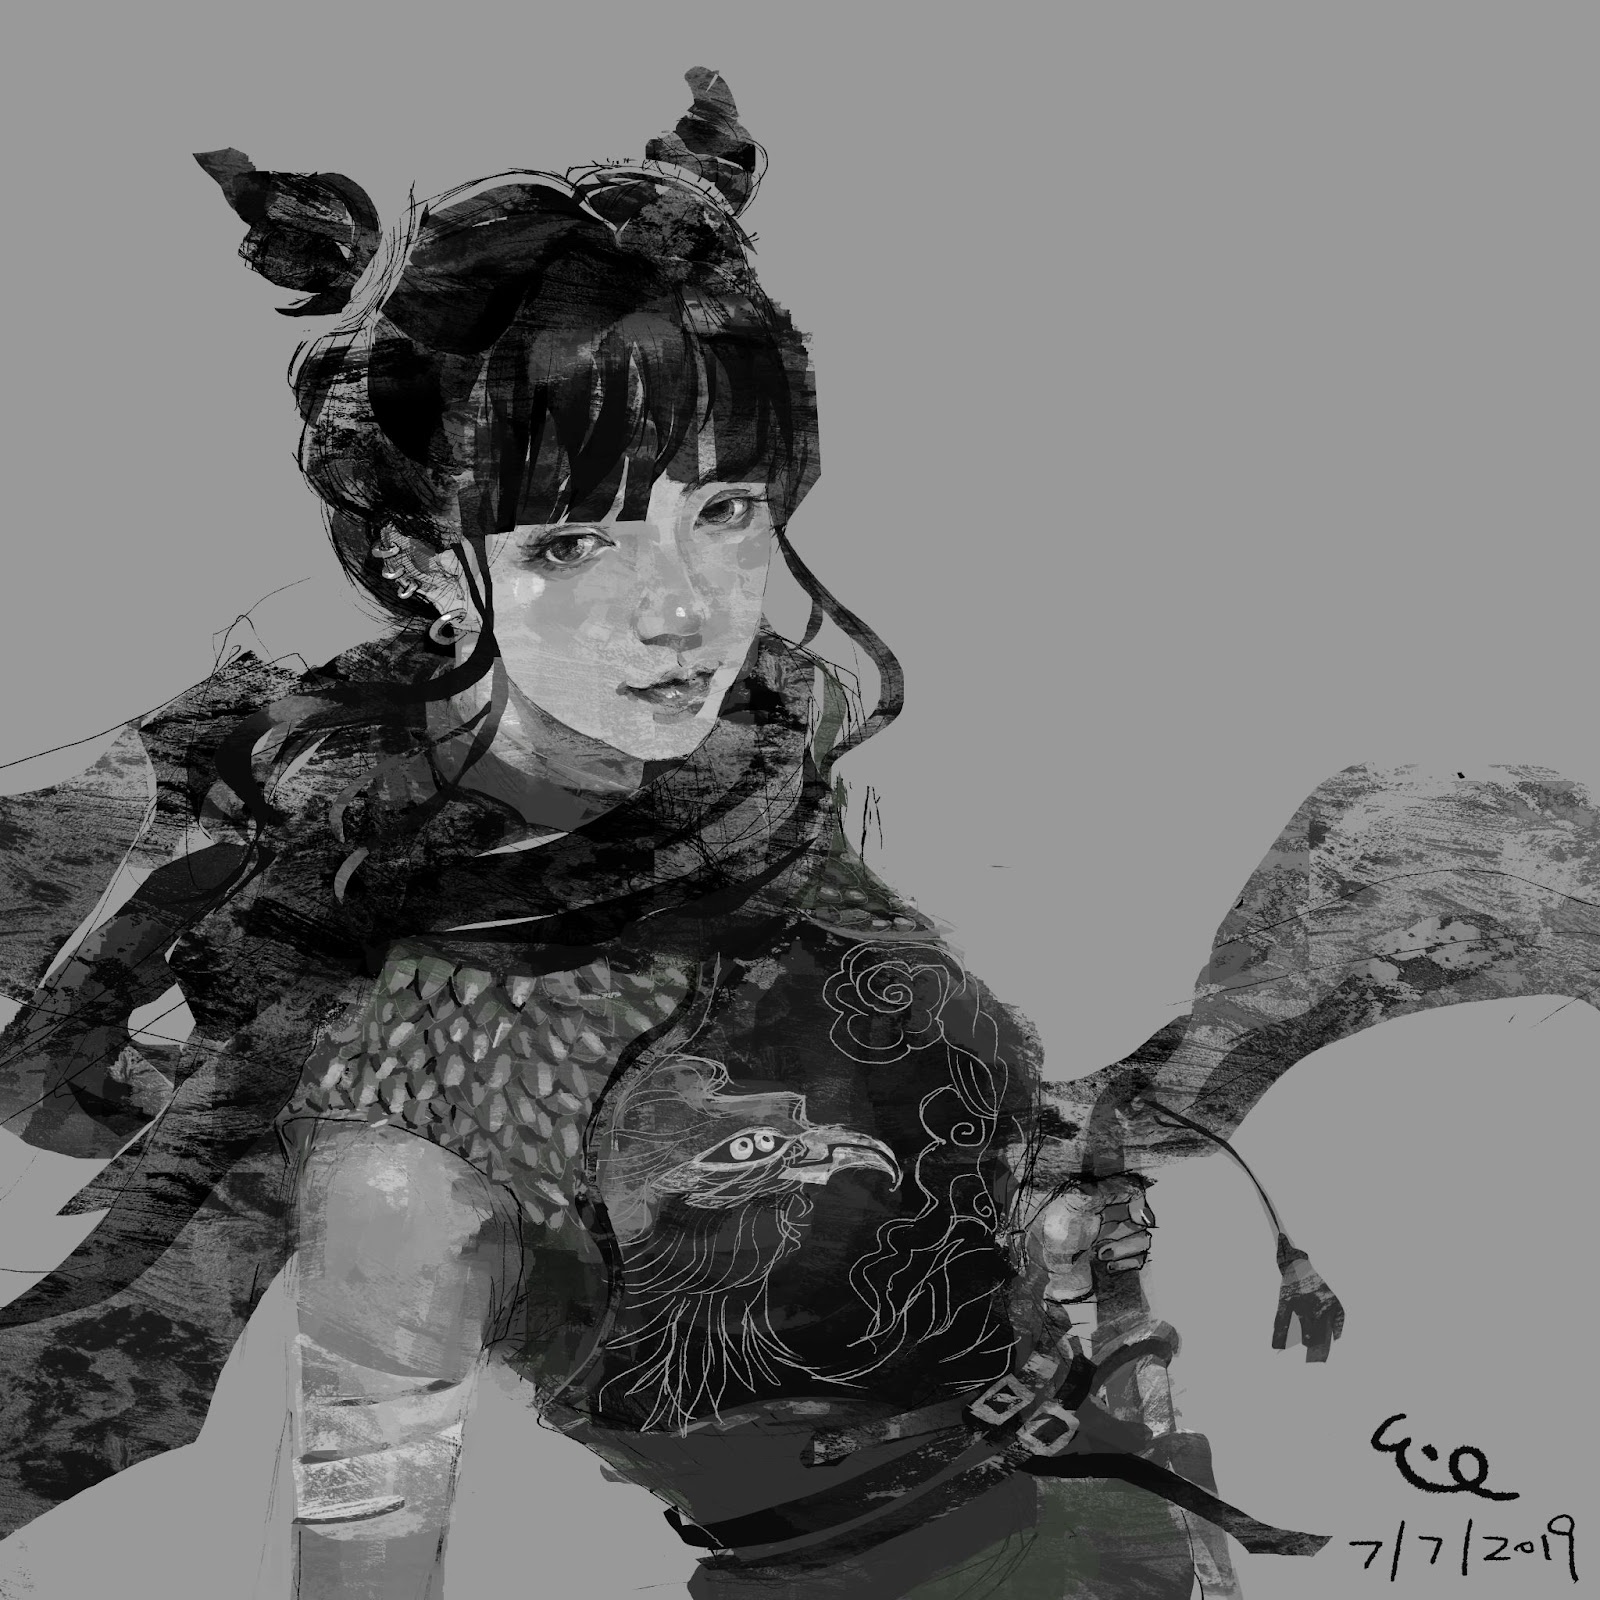
Once I have a concept sketch, the next step is to draw a front view and a side view as modeling references.


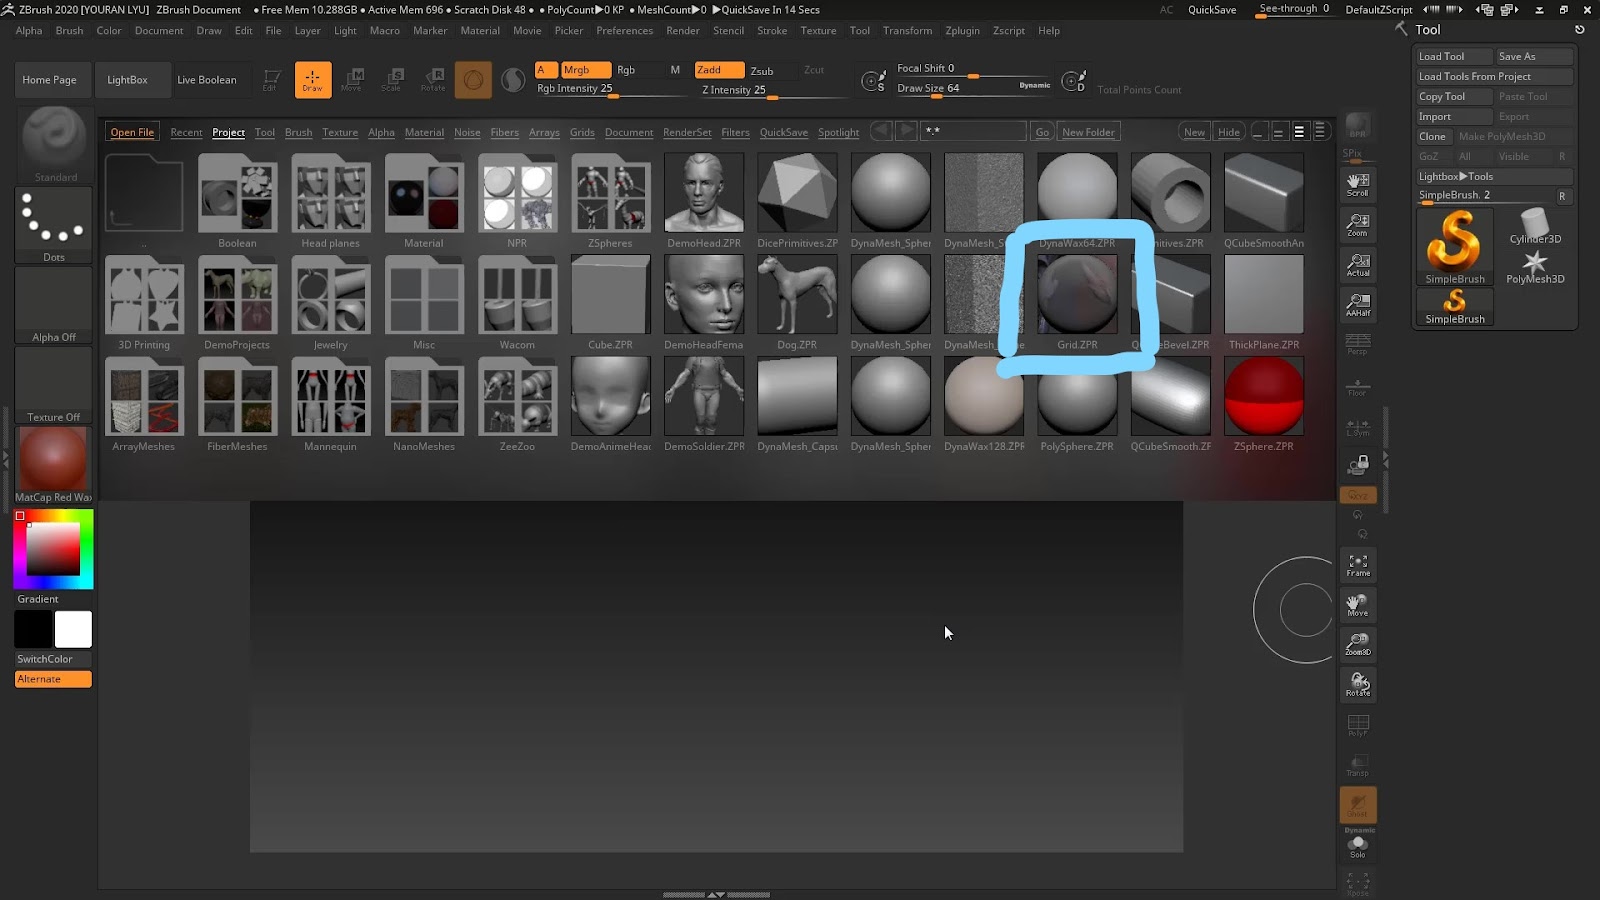
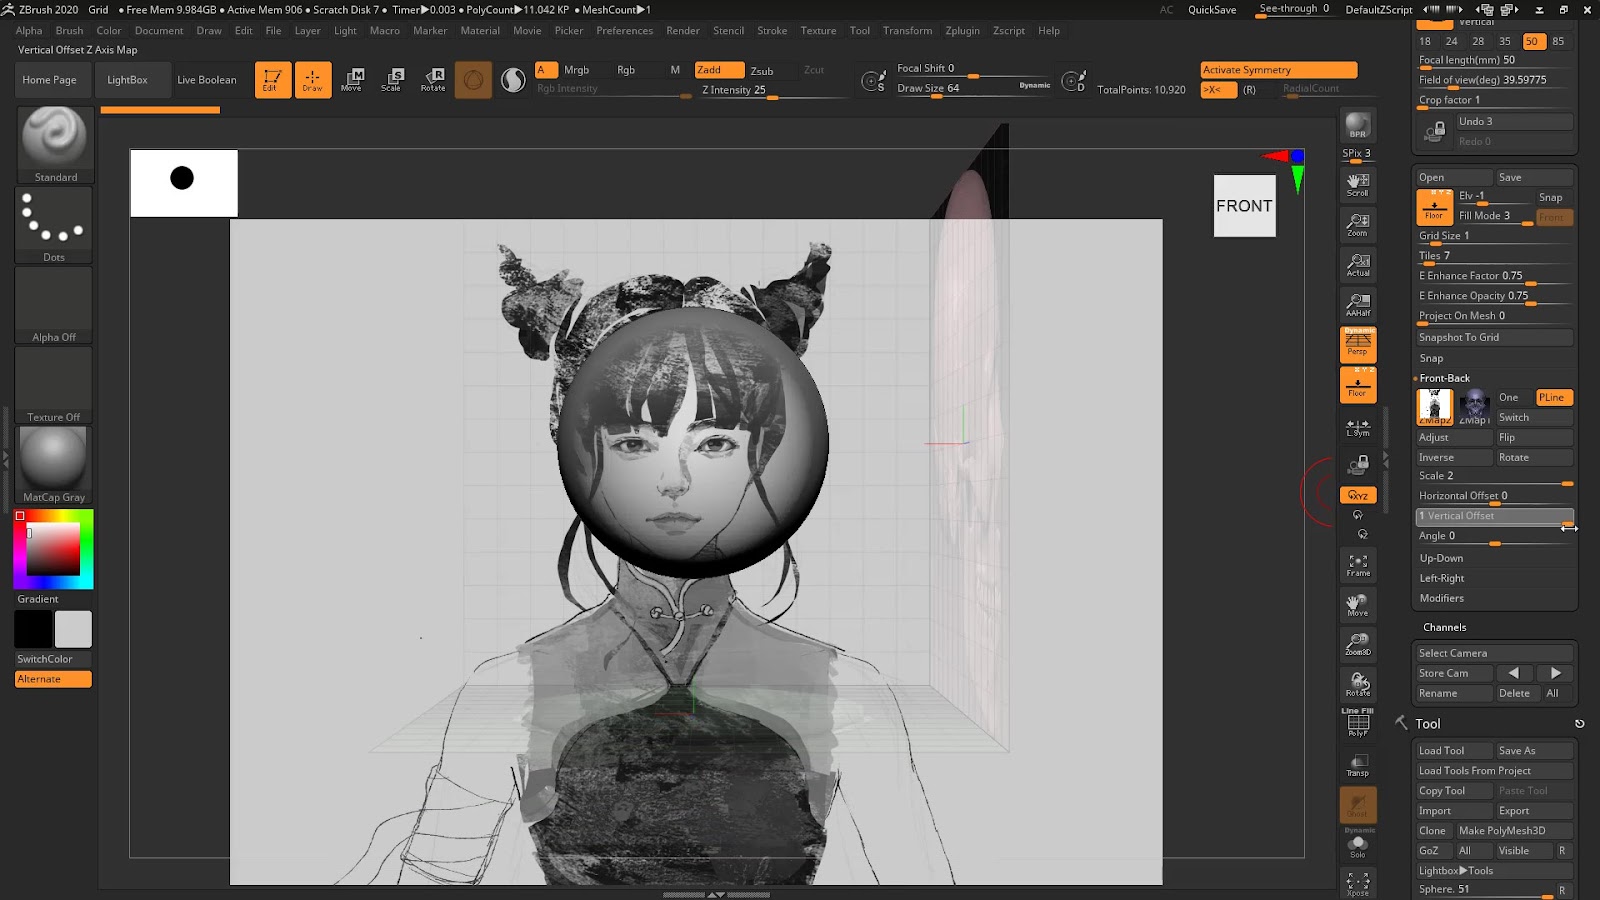
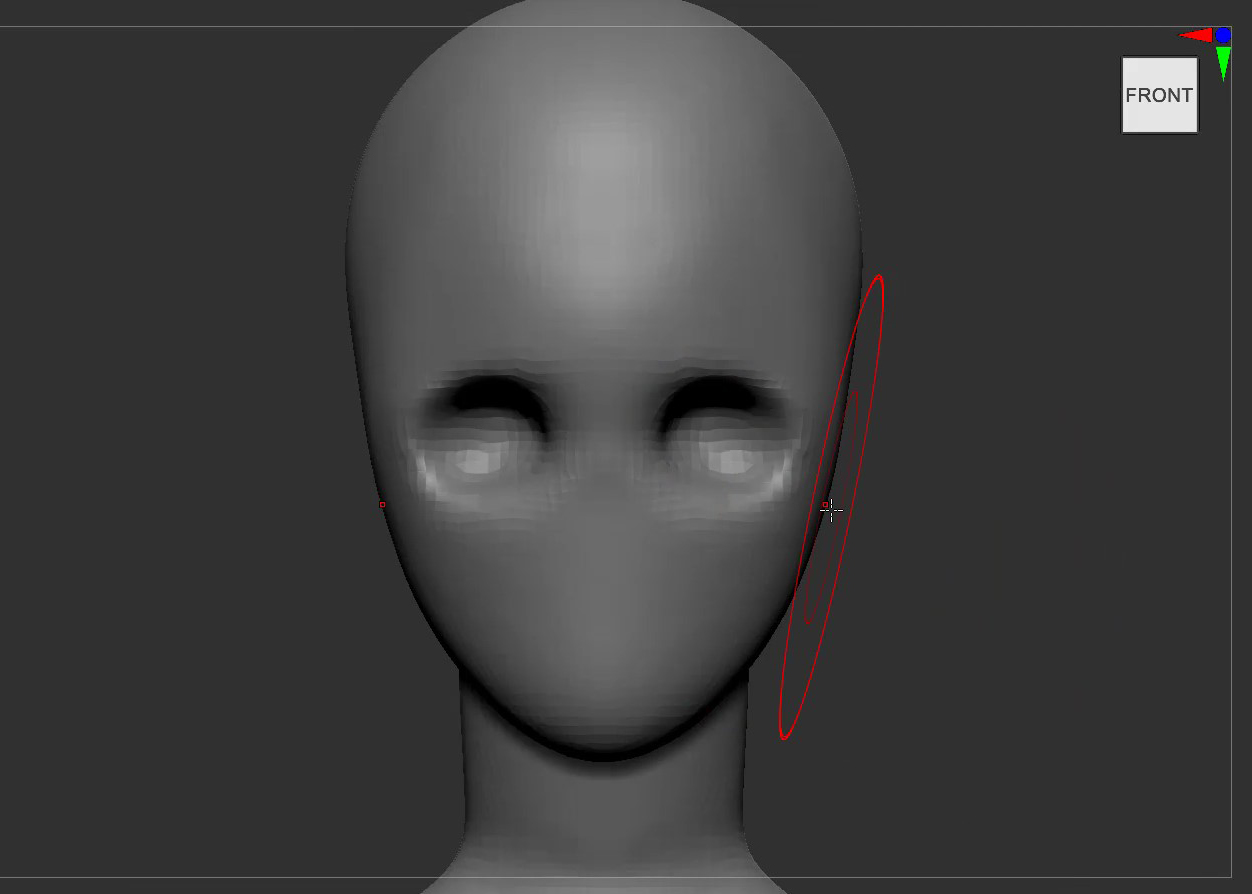
In ZBrush, I like to open the Grid.ZRP project to set reference images. There are some default head bone references, Under the draw menu panel, I can replace them with my images.
On the blockout step, I start to lock a rough head shape, then use it to measure the proportion of the body.
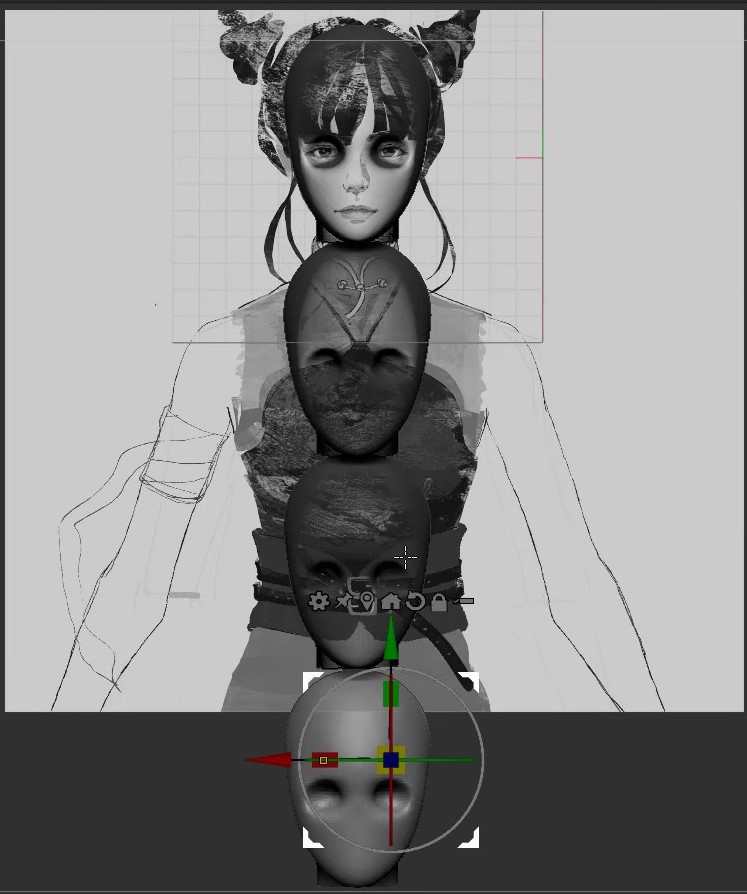
As you can see in the following images, I prefer to do the sculpting step by step instead of focusing on and diving into a specific part directly. Here are the reasons:


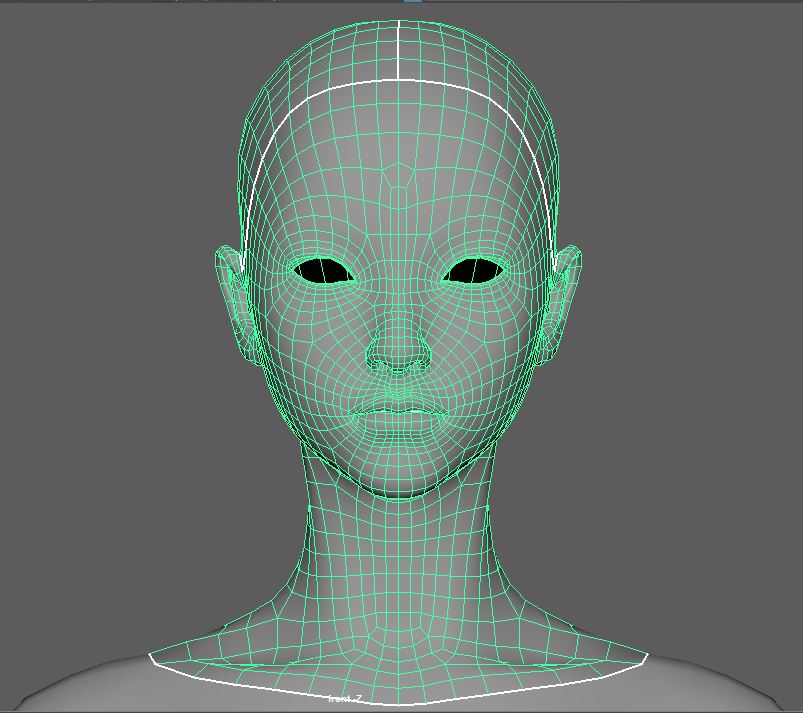
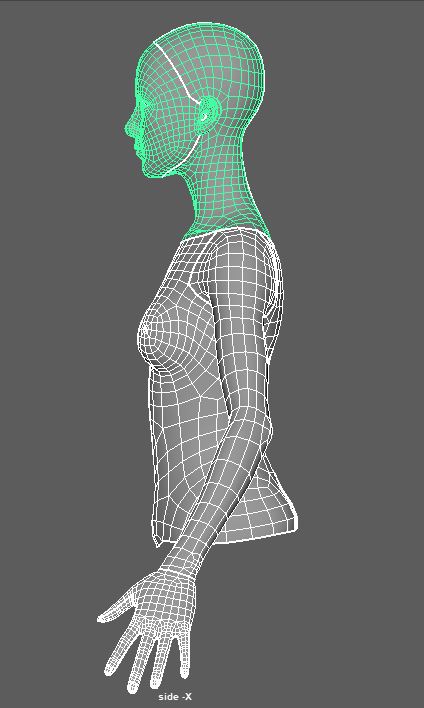
I usually use Topogun and Maya to do retopology. Here are some topology tips I learned from Peter Satera, which make my work much easier.


My head textures, including pupils, mostly come from texture.xyz. Here are a good amount of tutorials about how to use the textures. And here, you can find a good tutorial for eyeballs.
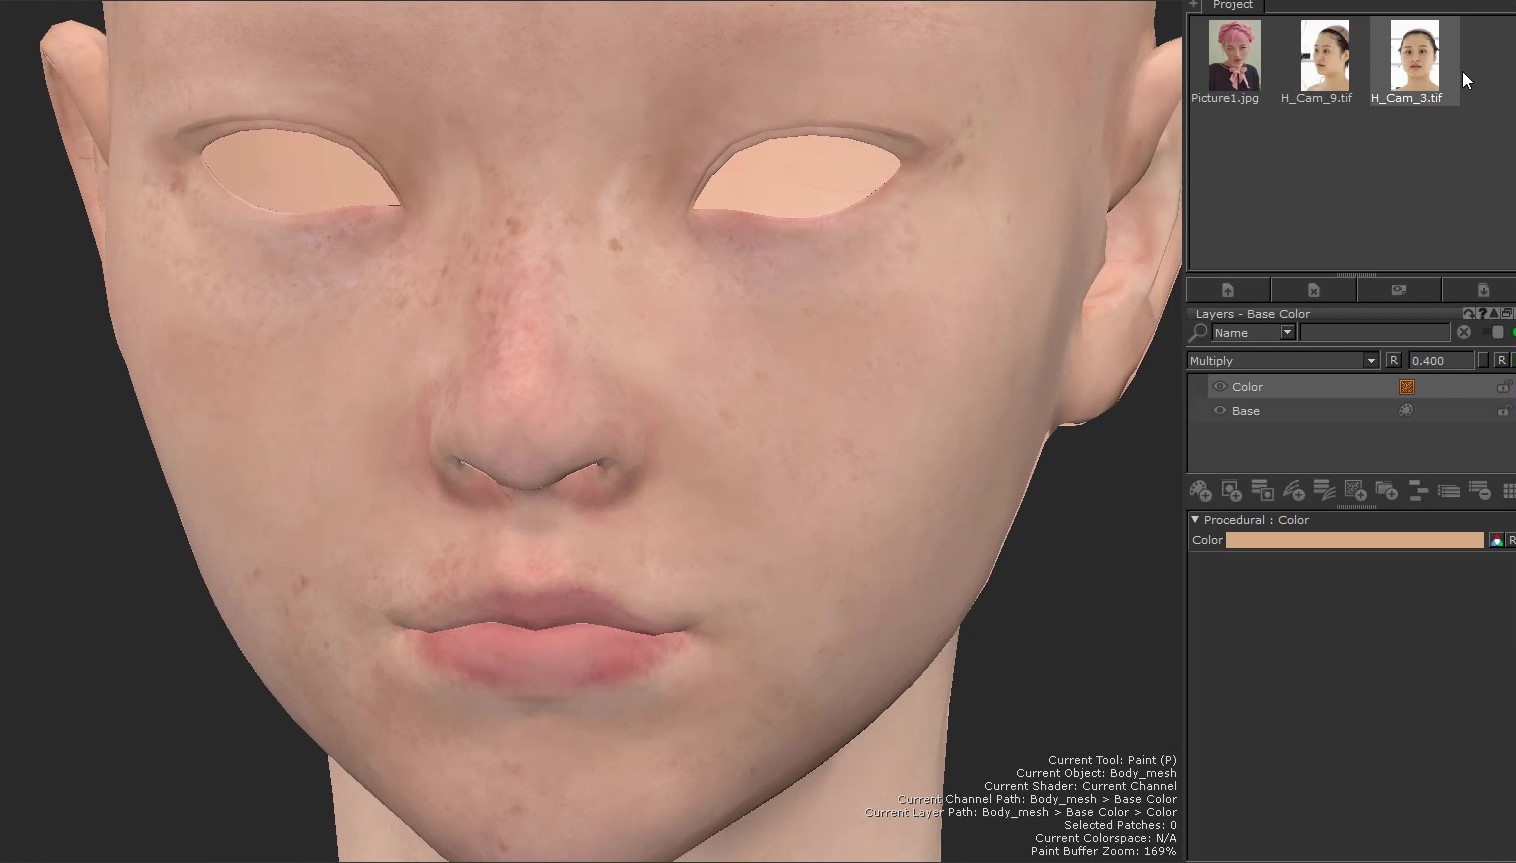
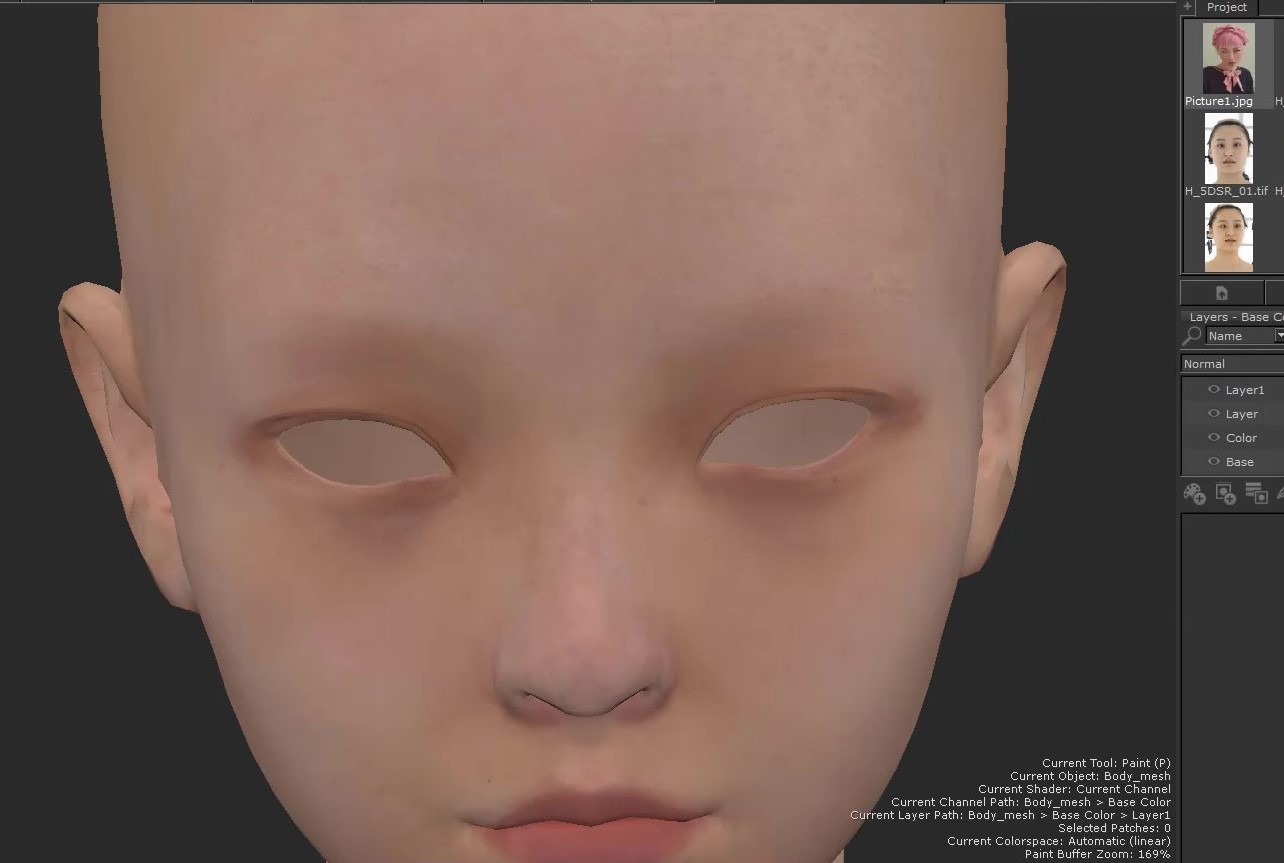
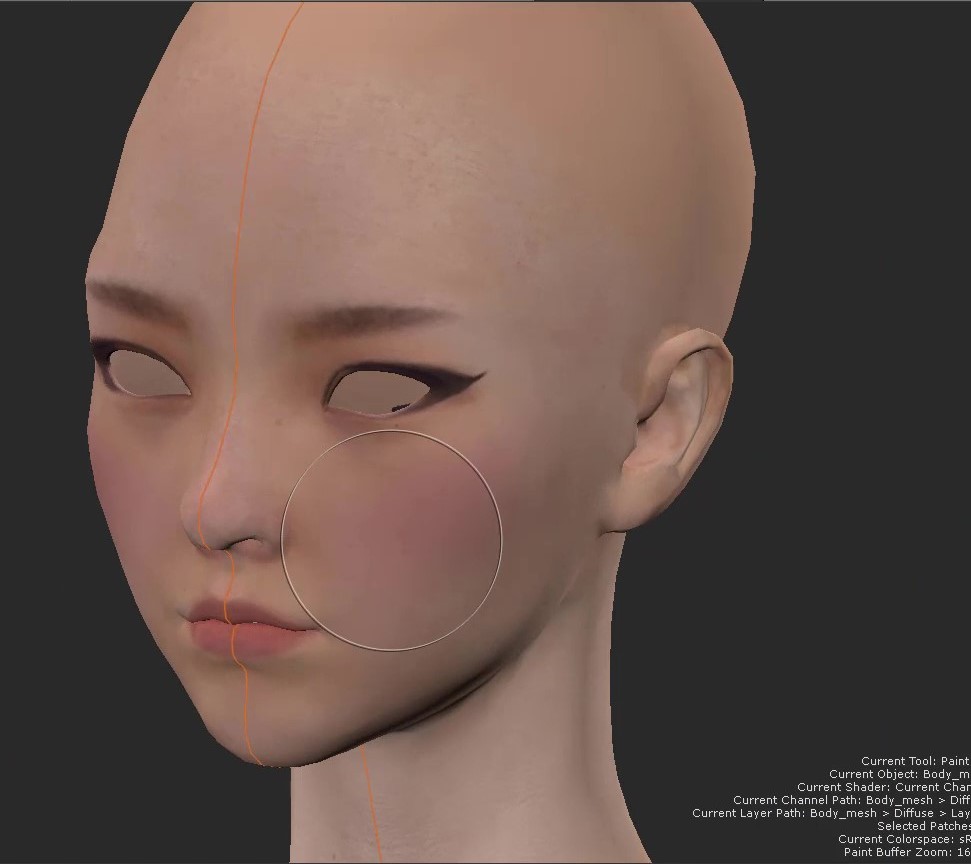
In order to get an idealised skin tone. I mix multiple layers to make a diffuse map.
From left to right:
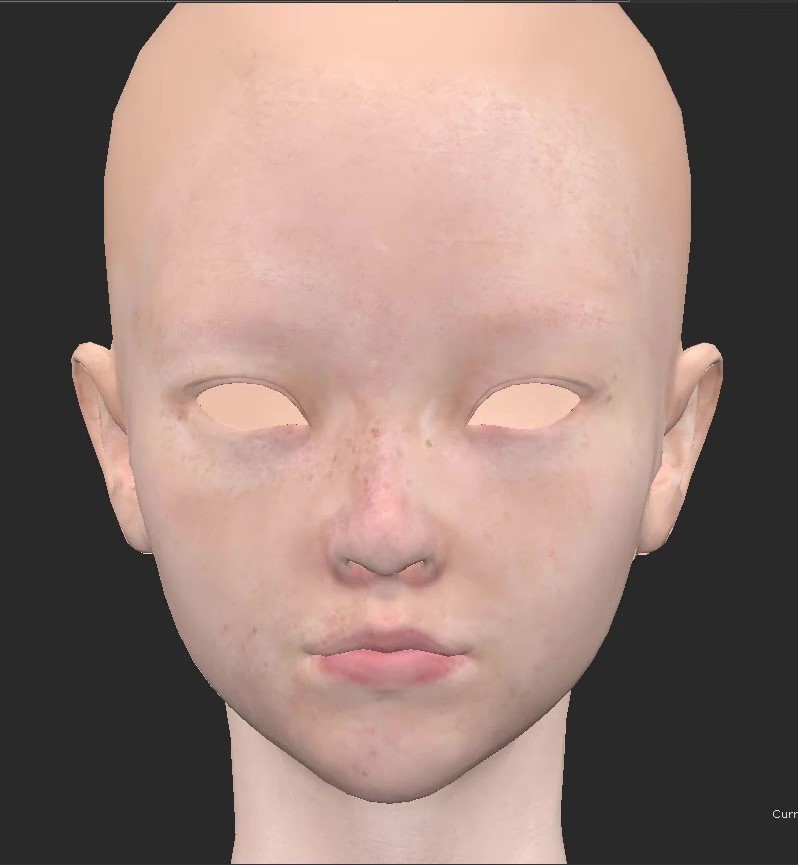

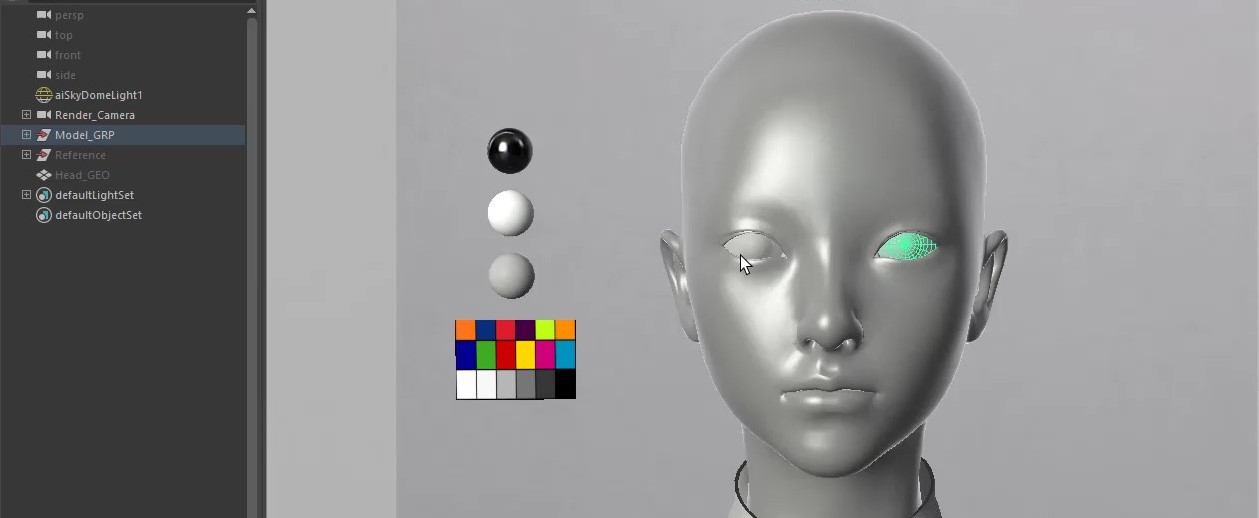
Before I do shading, I prefer to set up basic lighting. It could be very simple, just use aiSkyDomeLight and connect with an HDRI.
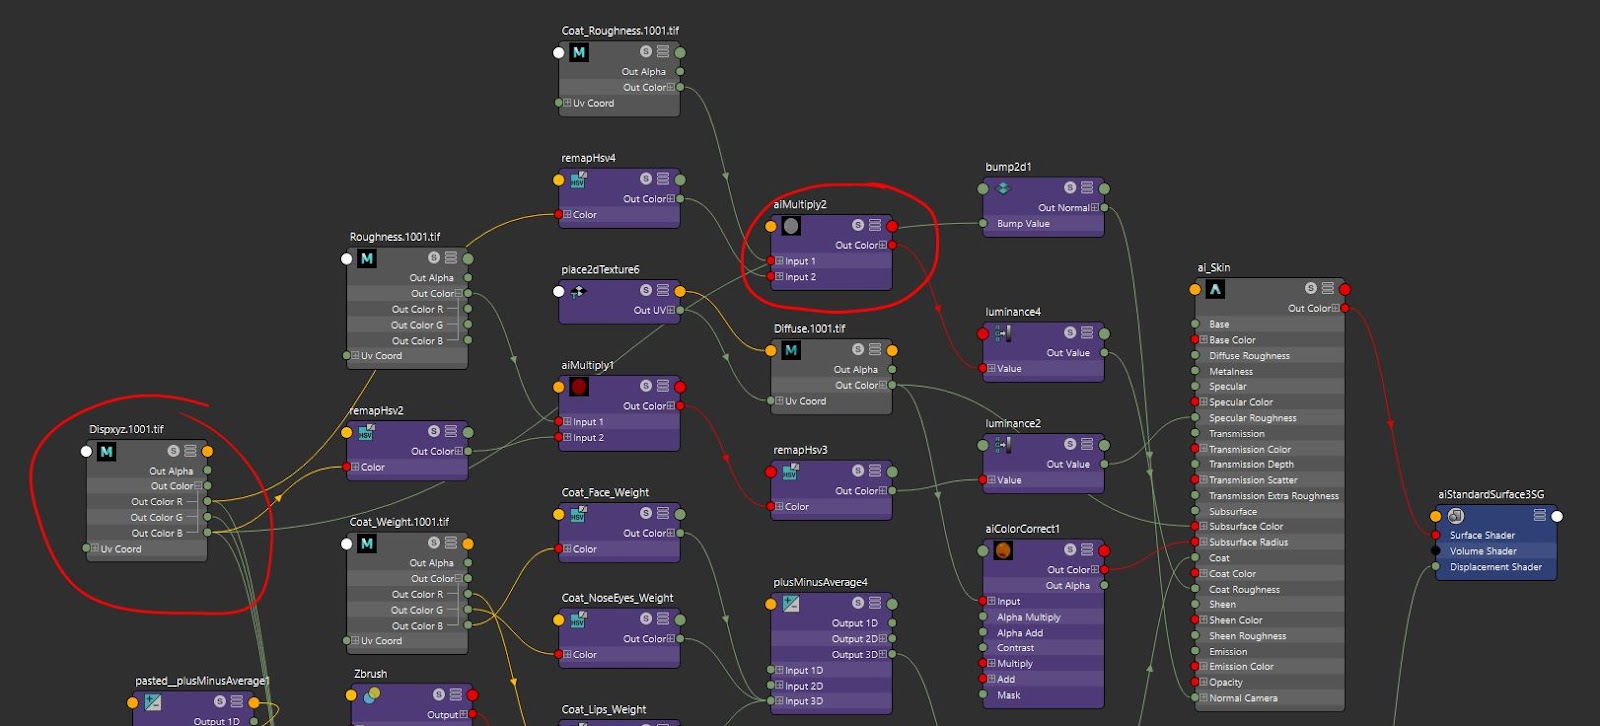
The image below is the skin shader setting.
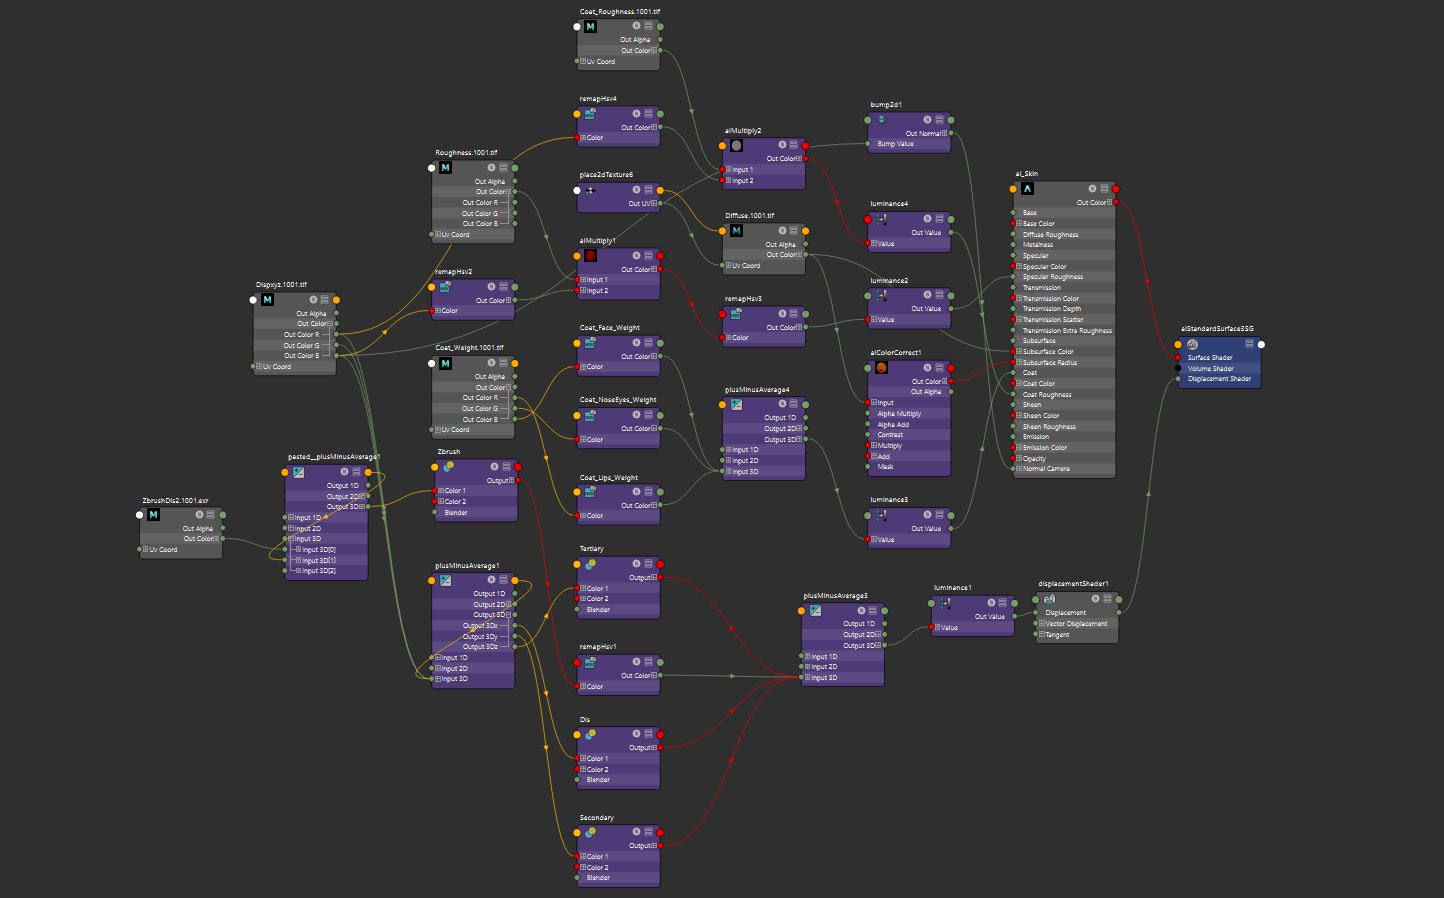
I split Displacement into multiple layers and used the Blend Colours node to give them separate controls.
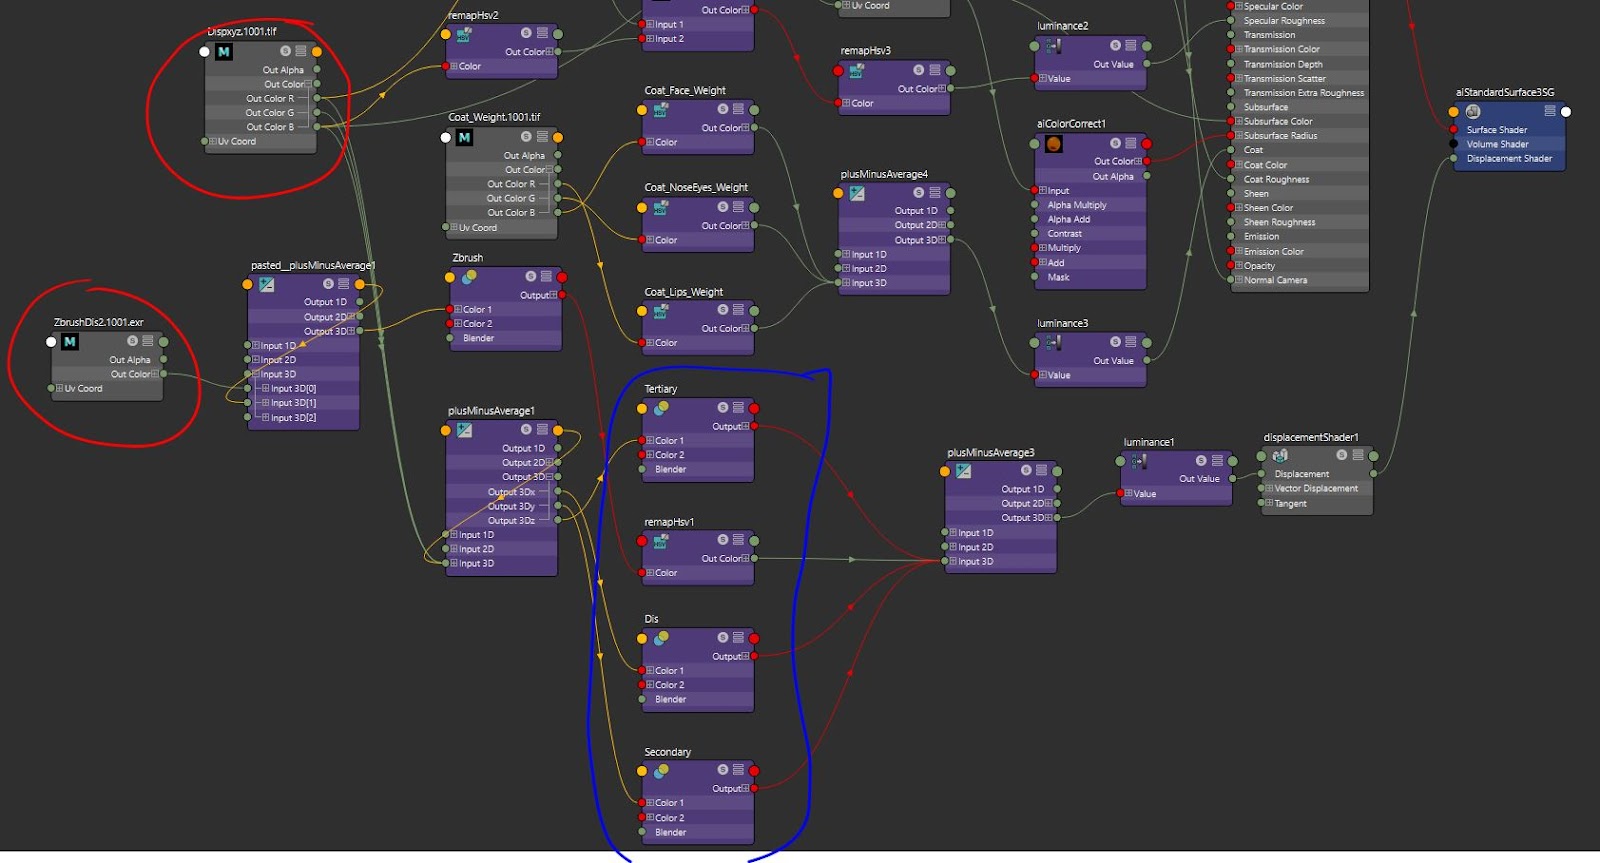
I also reused the single channel of the displacement map, multiplied it to specular map and coat map to add more skin pore details.
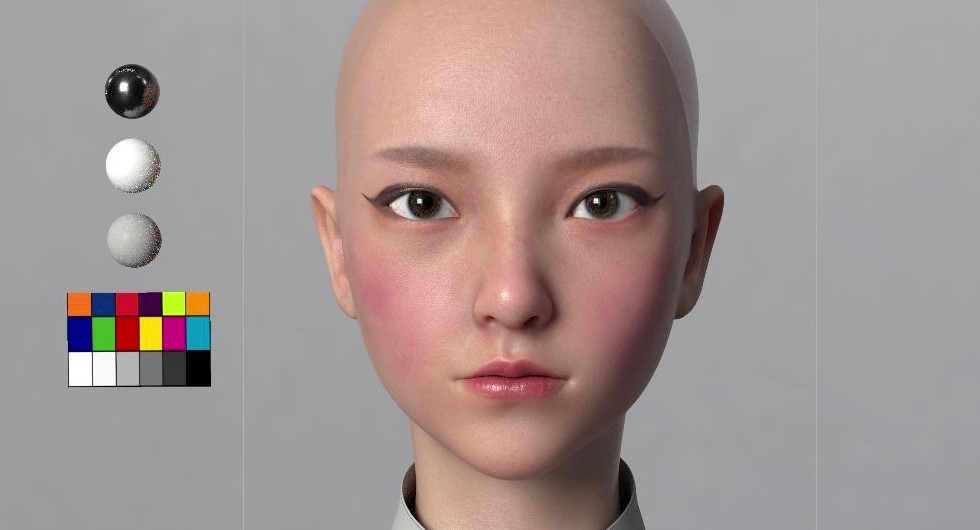
Here is the render, even though it needs more tweaks, it’s good to move on to do clothing at this stage, so I can have overall control.
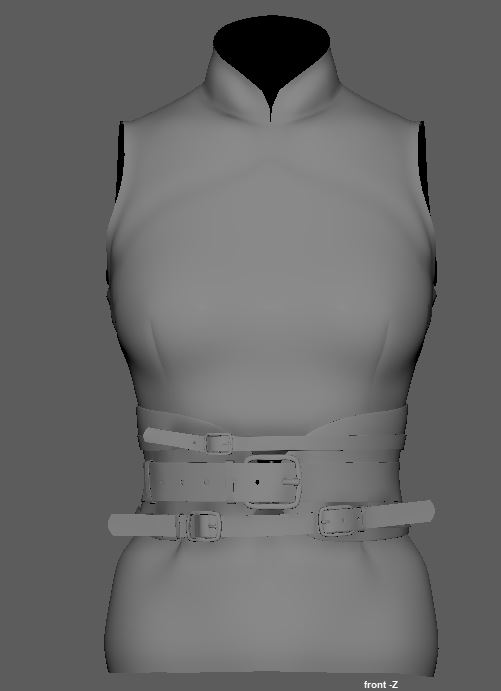
Marvelous Designer is a good tool for me to make clothing. It makes me feel I can really do sewing, although I never actually learned.
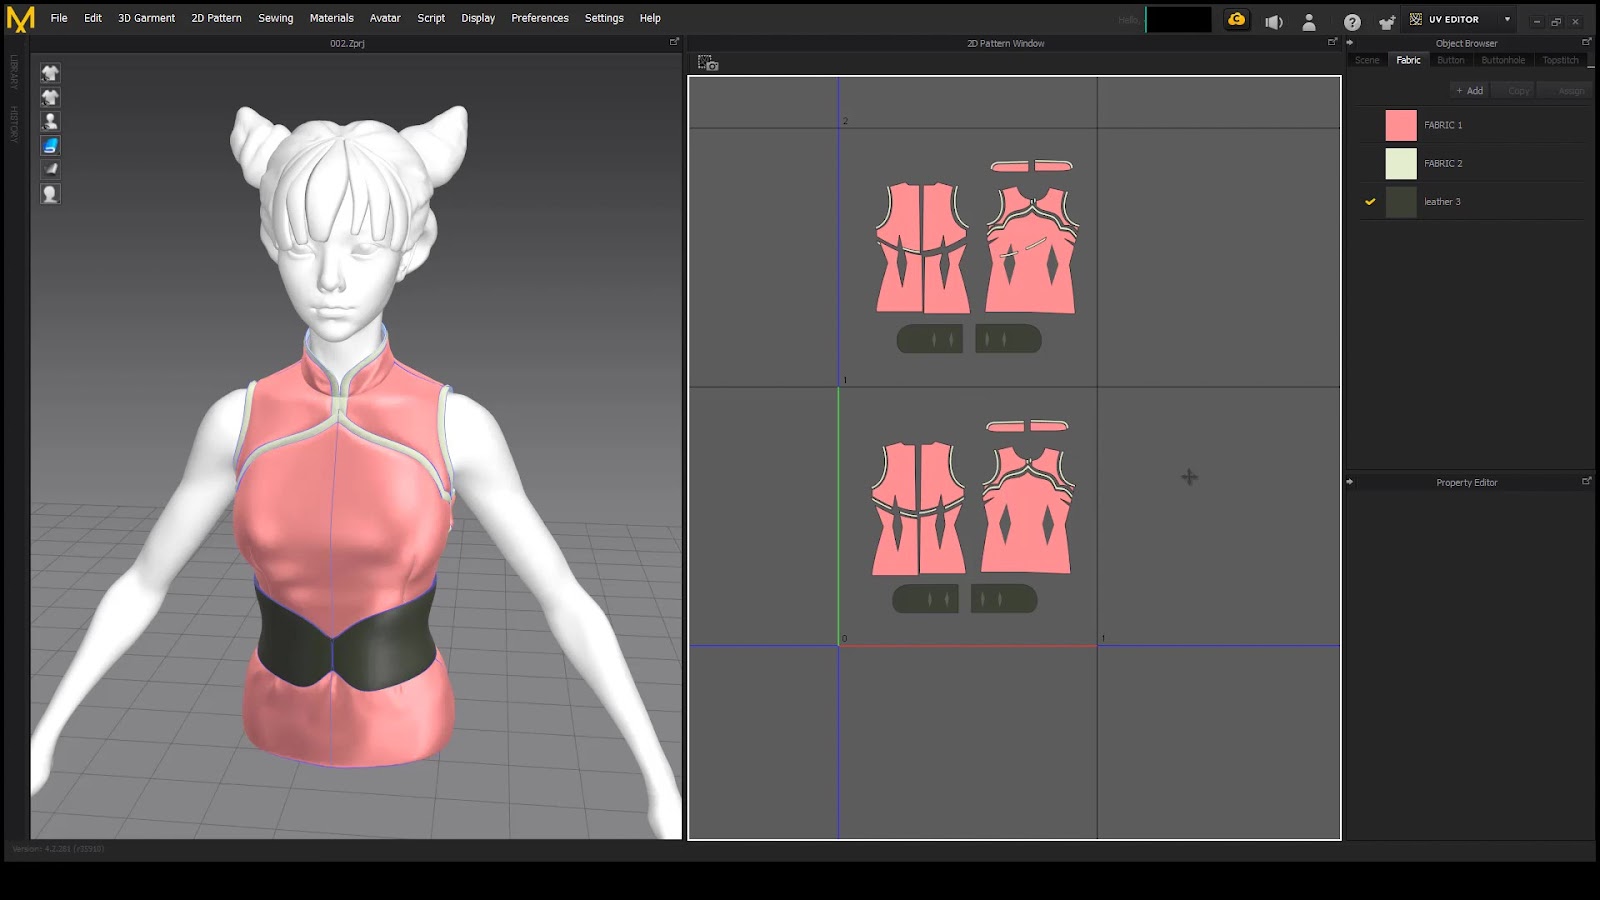
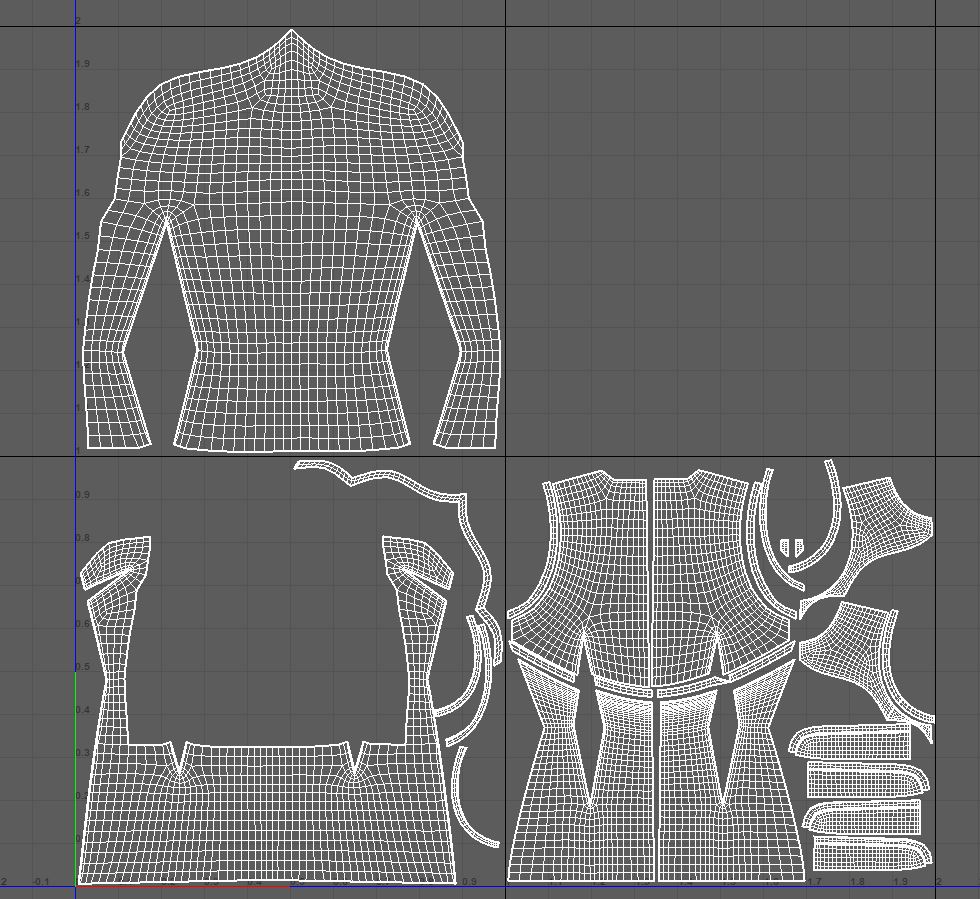
Flipped Normals shared a very good method about how to topologise the Marvelous Designer clothes. In this project, I made a lowploy first, then added a subdivision. Here is how it looks.
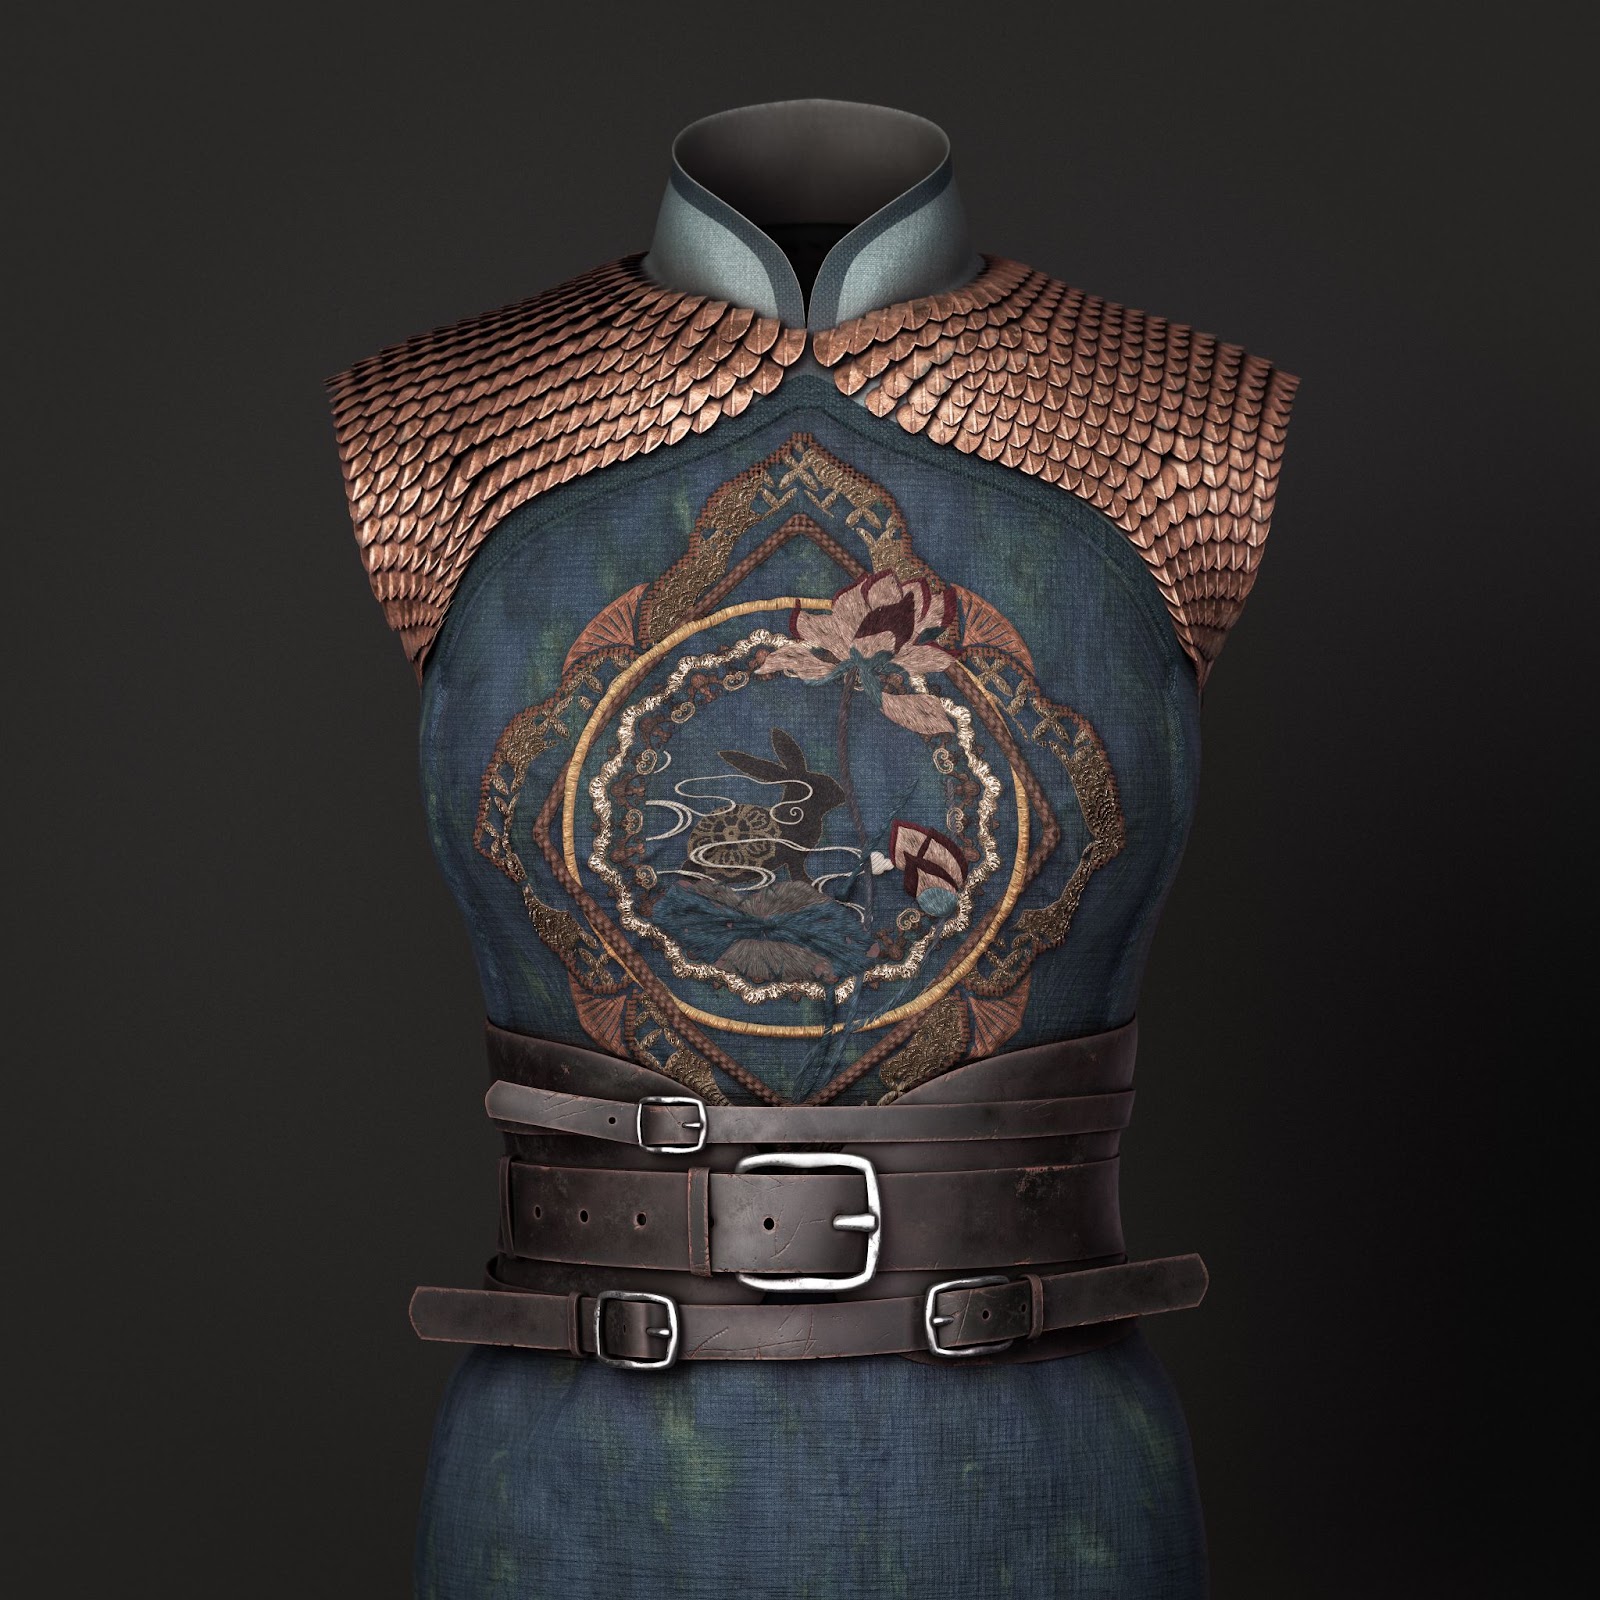
I use Substance 3D Designer and Substance 3D Painter to make clothing textures.
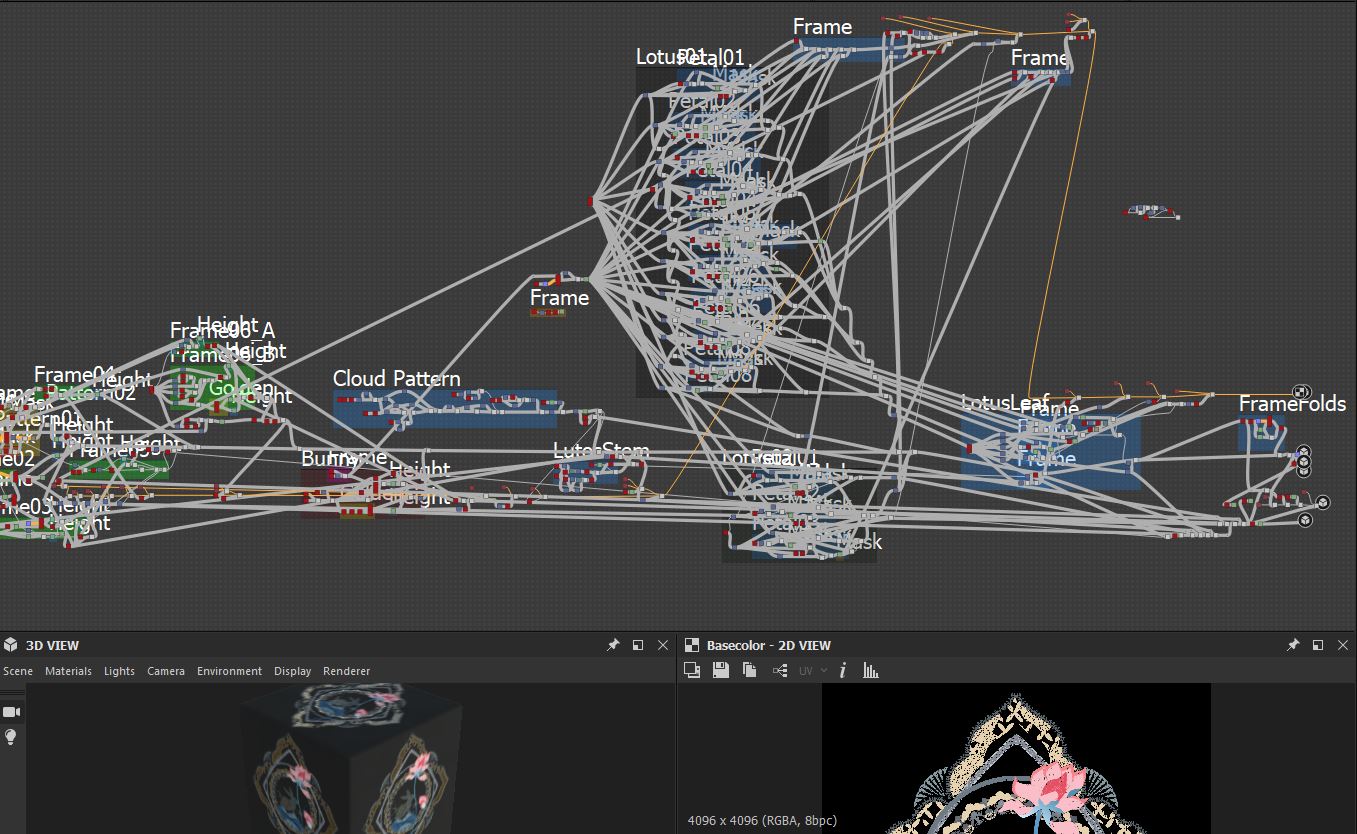
These are the nodes I mainly use in Substance Designer:
Here is an example of making the rabbit pattern:

Almost all of the patterns in this project were started from a ‘Shape’ node. By using the processing of the nodes I mentioned above I can generate a rabbit shape or a delicate flower pattern.
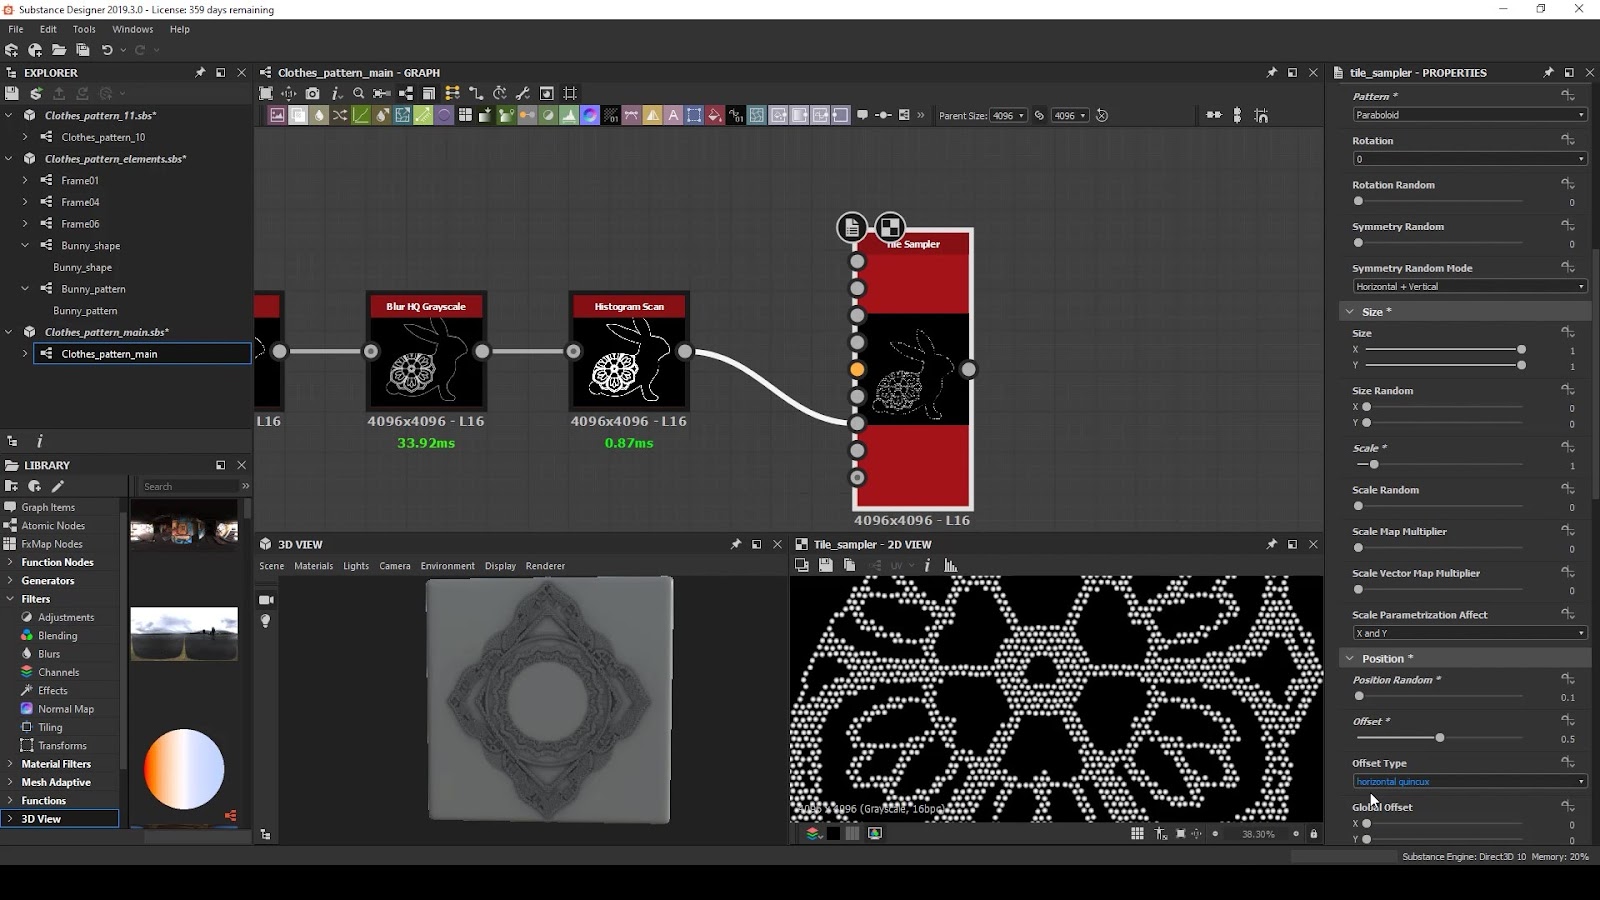
Even though the node map below looks complicated, every pattern follows the same logic. It is important to keep a clean arrangement while I am creating patterns. Highlighting the reusable pattern definitely helps to avoid the headache when finding them.
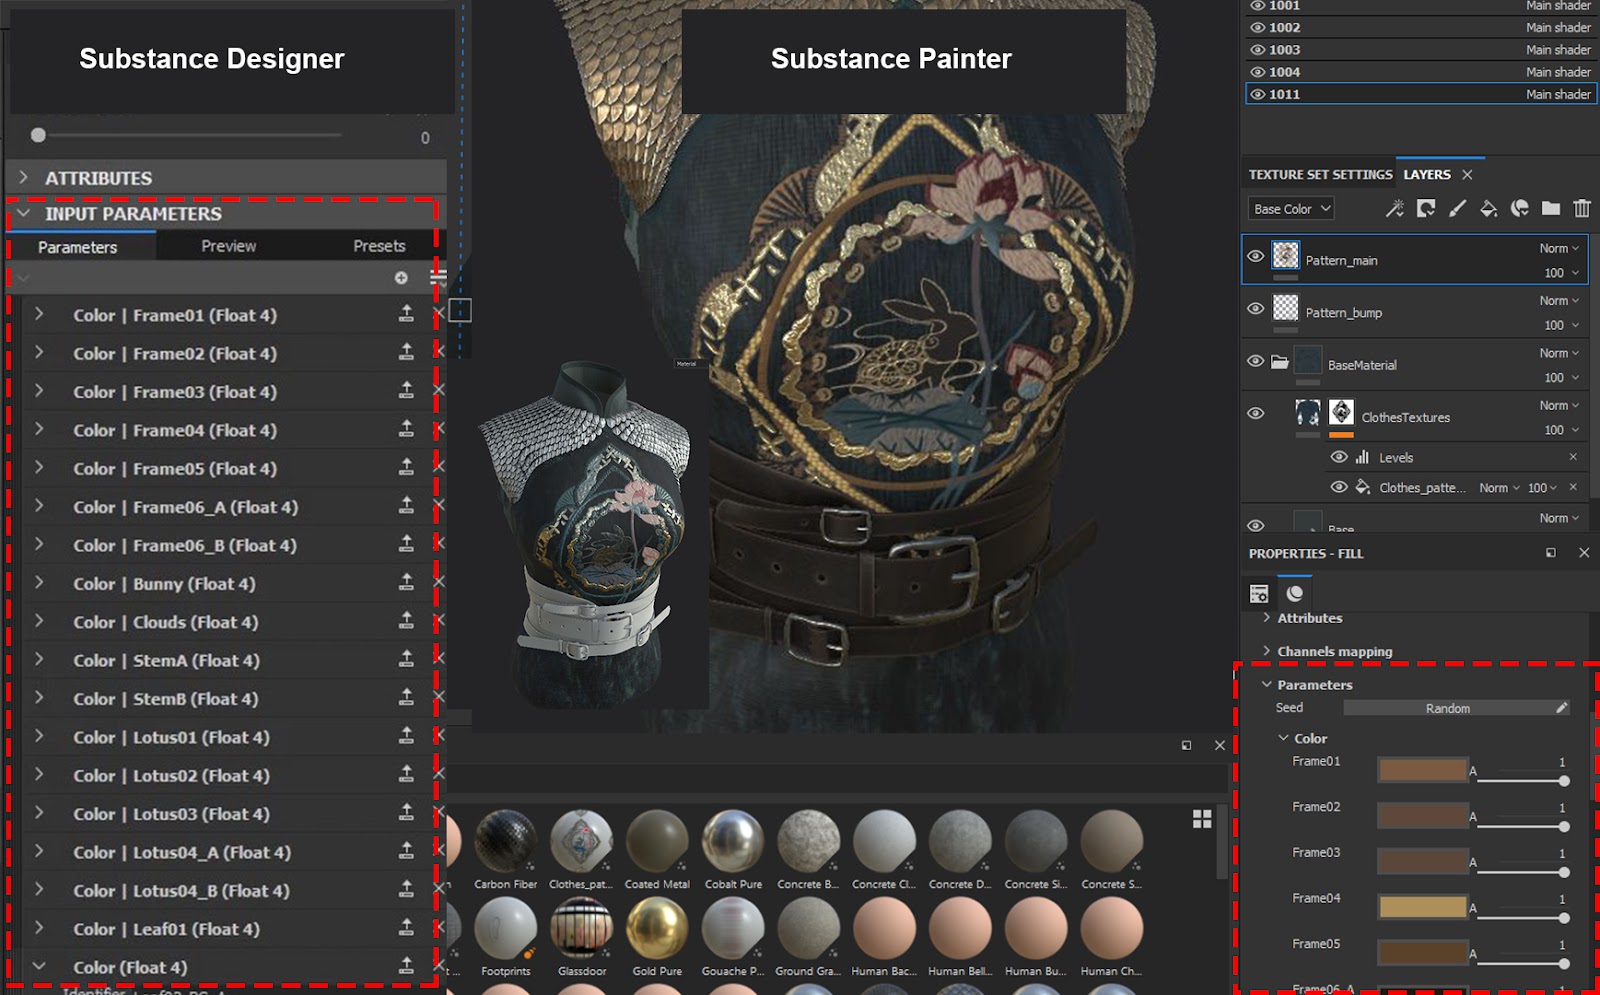
I set ‘Input Parameters’ in Substance 3D Designer before publishing the textures because changing the pattern colour in Substance 3D Painter is easier.
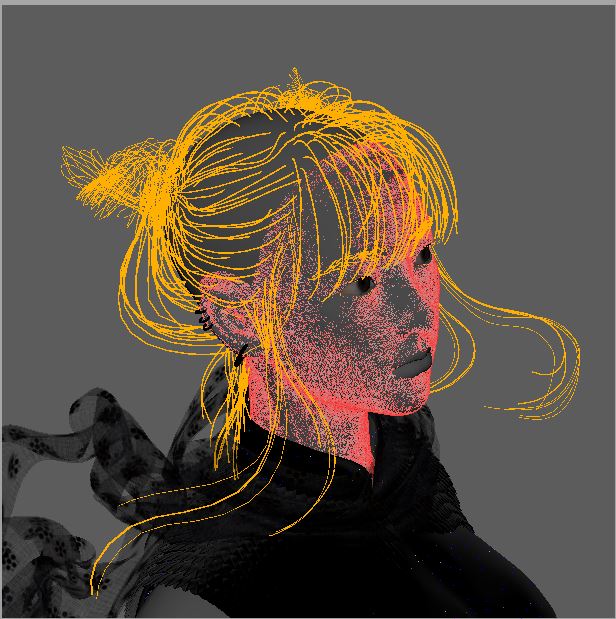
For her hair, I used Xgen, For the clothing fibres and the peach fuzz on her face, I used Xgen interactive groom.
I split the hair into several parts to have better control in different regions.
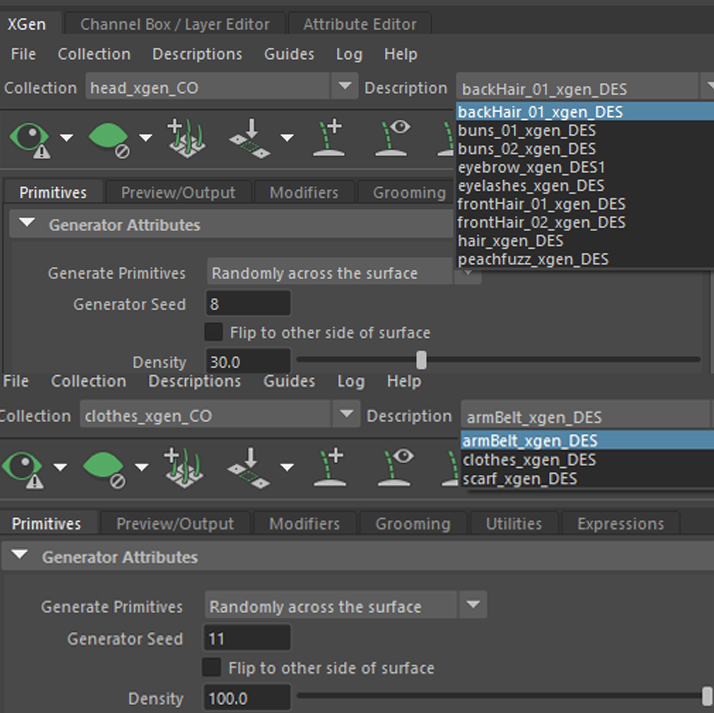
There are a few tips for using Xgen:
And here are some suggestions for creating Xgen guides:
Finally, I hope you have found something helpful in this article. And a big thanks to The Rookies for this great opportunity to share my experience.

You can find more of Youran's work on her website, The Rookies, Instagram, and ArtStation.